
Southern Fried Chicken
intro
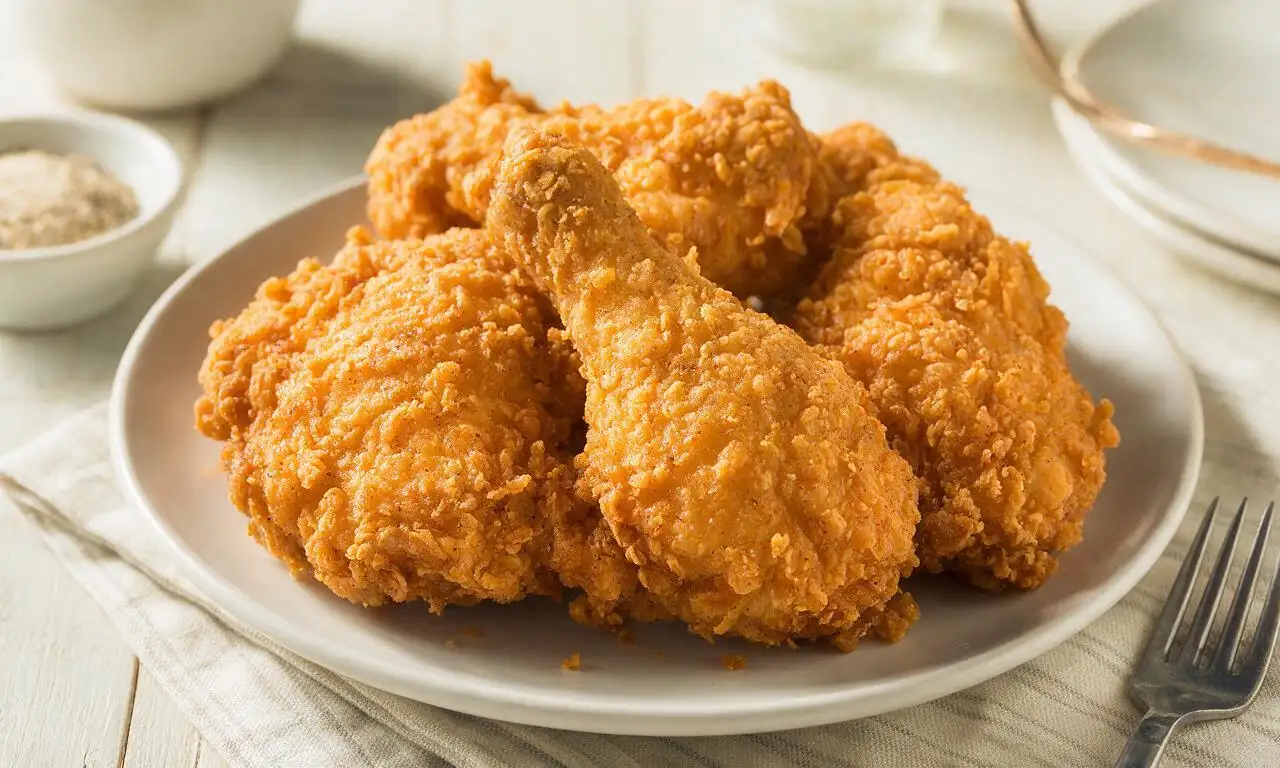
Juicy, well-seasoned chicken encased in a shatteringly crisp golden crust, this classic Southern American staple delivers bold, savory comfort in every bite.
Ingredients
Steps
Brine the chicken pieces
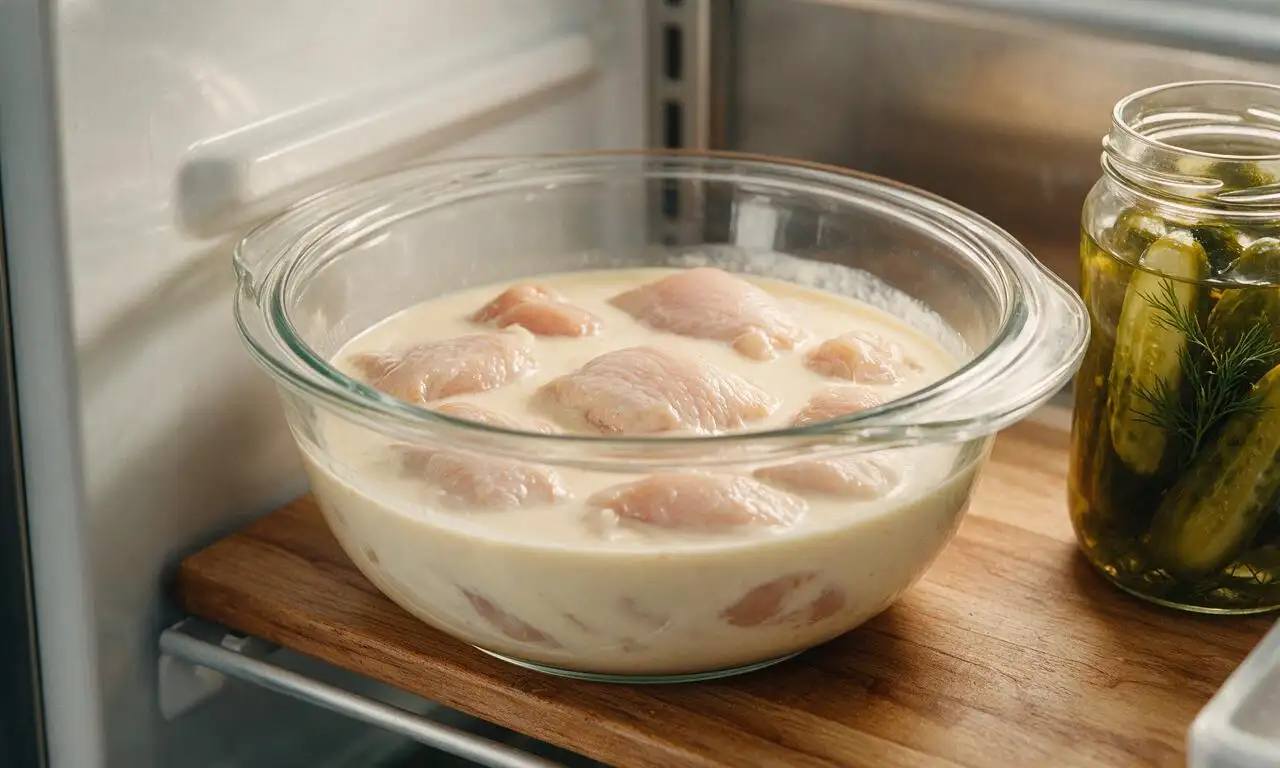
Pat 1.2 kg of bone-in, skin-on mixed chicken pieces completely dry with paper towels, then submerge fully in a mixture of 500 ml buttermilk and 1 tablespoon of kosher salt in a lidded glass bowl. Refrigerate for a minimum of 1 hour (up to 12 hours for extra tender, flavorful chicken).
Mix seasoned flour coating
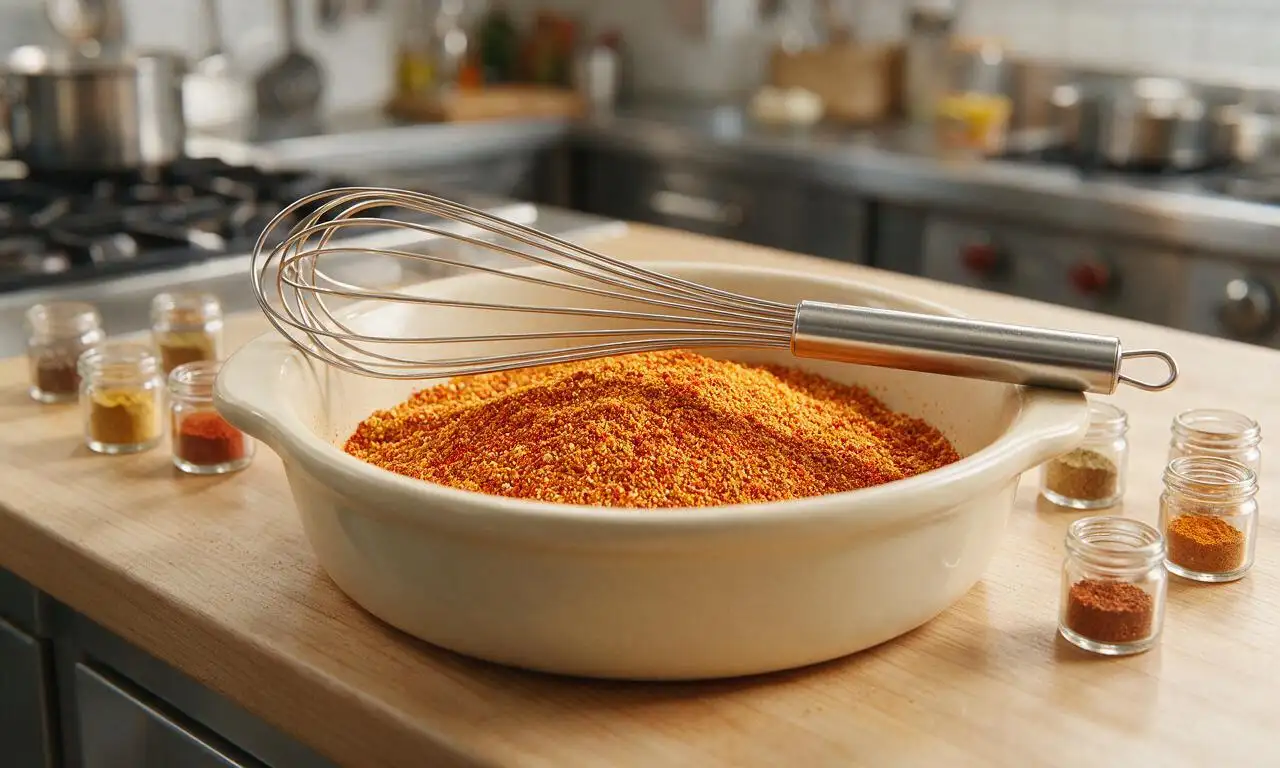
In a wide, shallow baking dish, combine 300 g all-purpose flour, the remaining 1 tablespoon kosher salt, 2 tablespoons smoked paprika, 1 tablespoon garlic powder, 1 tablespoon onion powder, 1 teaspoon cayenne pepper, 1 teaspoon black pepper, and 1 teaspoon baking powder. Whisk for 30 seconds until all spices are evenly blended into the flour with no clumps.
Heat frying oil to temperature
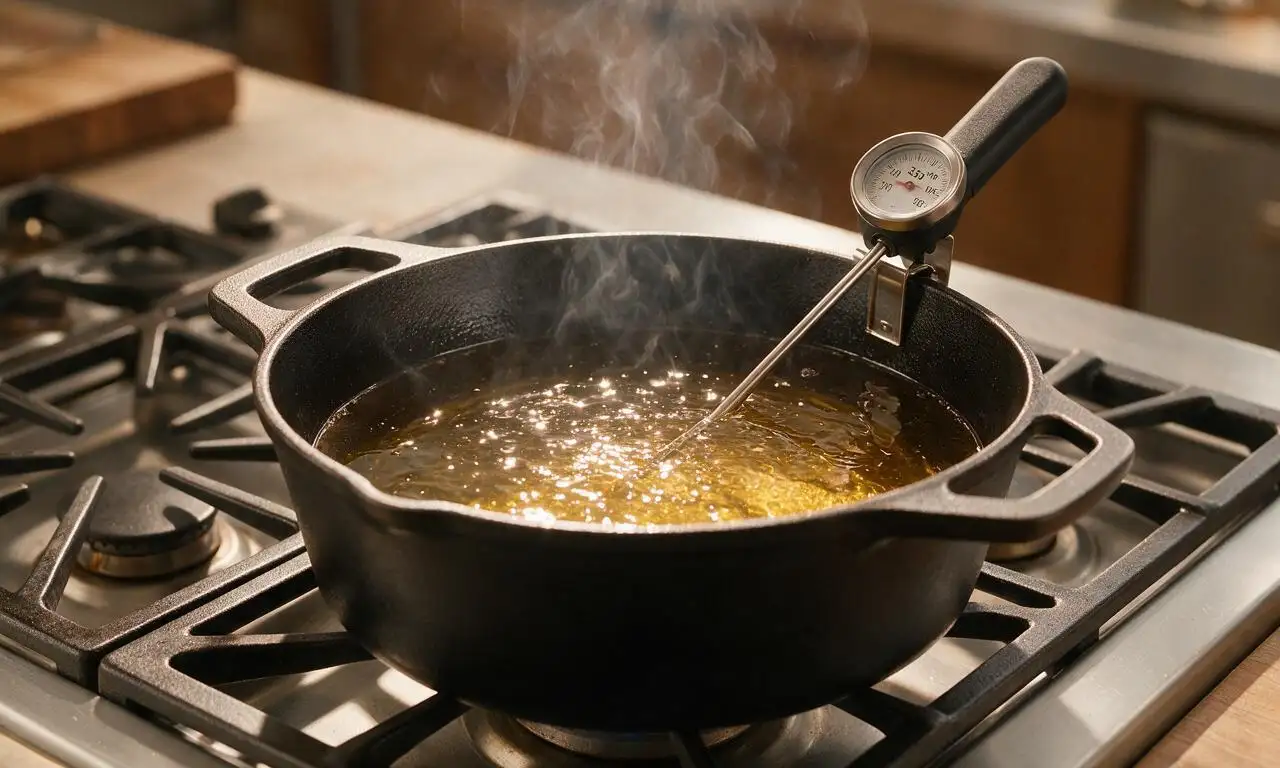
Pour 1.5 L of neutral vegetable oil into a deep cast-iron Dutch oven or heavy skillet, set over medium-high heat until the oil reaches a steady 175°C (350°F), measured with a clip-on candy thermometer. Adjust stovetop heat as needed to hold this consistent temperature through all frying batches.
Coat chicken evenly
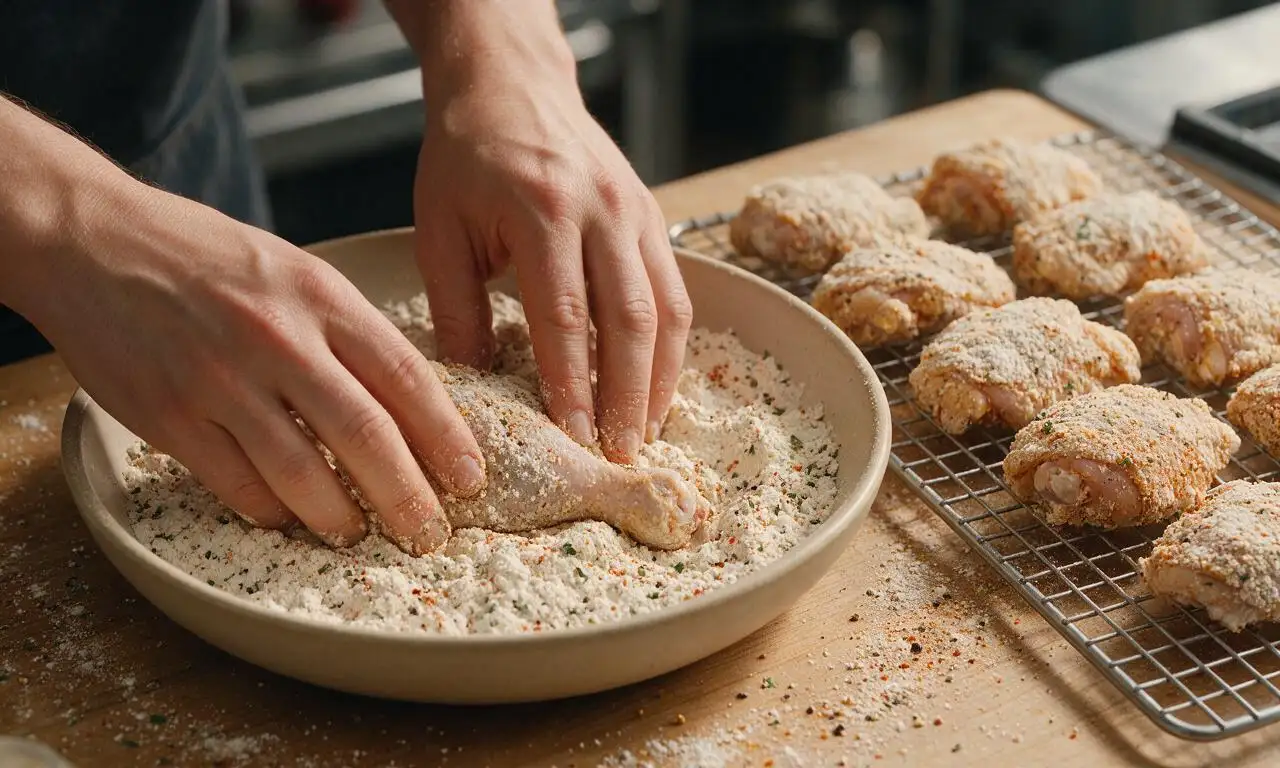
Remove chicken from the buttermilk brine one piece at a time, letting excess buttermilk drip off for 5 seconds per piece. Press each piece firmly into the seasoned flour on all sides to build a thick, craggy, even coating, then set coated pieces on a wire rack for 10 minutes to allow the crust to set and adhere before frying.
Fry chicken in batches
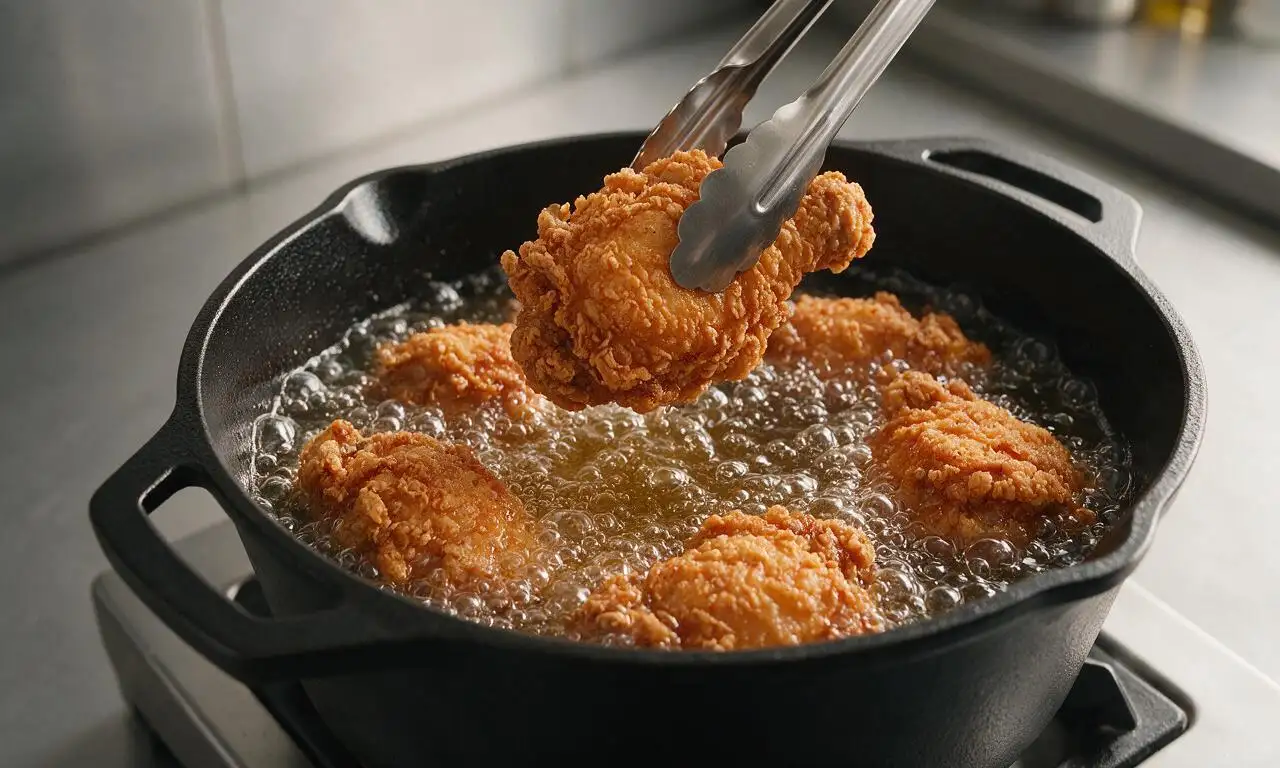
Carefully lower 3-4 chicken pieces into the hot oil at a time, taking care not to splash hot oil, and do not overcrowd the pot. Fry for 12-15 minutes total, turning pieces every 4 minutes with metal tongs, until the crust is deep golden brown and the chicken reaches an internal temperature of 75°C (165°F) at the thickest point, away from bone.
Drain and rest chicken
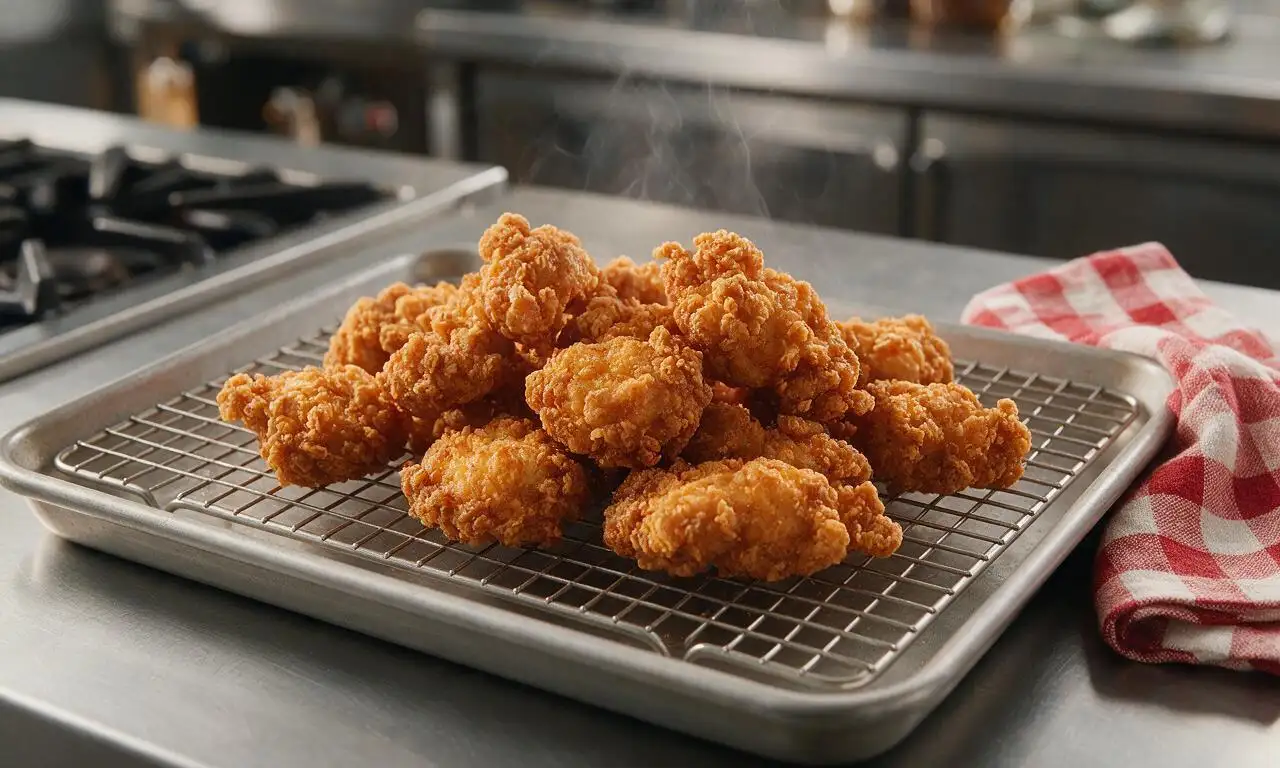
Use tongs to transfer cooked chicken to a clean wire rack set over a rimmed baking sheet to drain excess oil for 5 minutes. Avoid draining on paper towels, as this traps steam and makes the crust soggy. Let chicken rest 5 additional minutes before serving to allow juices to redistribute.
Tips
2.Never overcrowd the frying pot, as this drops oil temperature rapidly and leads to greasy, undercooked chicken with a soggy, sliding crust.
3.If you do not have a candy thermometer, test oil readiness by dropping a pinch of seasoned flour into the oil: it should sizzle immediately and turn light golden in 10 seconds at the correct 175°C (350°F) temperature.






OMG y’all, this fried chicken came out SO crispy I swear my family thought I picked it up from our favorite local soul food spot! I did soak the chicken in buttermilk a full 24 hours instead of the recommended time and it was so juicy, zero dry bites even on the white meat. Served it for Sunday dinner with collards and mac and cheese, zero leftovers. Total game changer.
Made this for our neighborhood potluck last weekend and people were coming up to me for the recipe all night! The crust didn’t get soggy even after sitting out for an hour and a half on the potluck table, which is always my biggest fear with fried chicken. My only note is I bumped up the paprika a little for extra smoke, perfect for my taste.
Meal prepped this for the week and it reheated so well in the air fryer! I was worried the crust would get mushy but 5 minutes at 375 and it was almost as crispy as when I first fried it. Perfect to pack for lunches with a side of coleslaw and cornbread muffins. 10/10 will be making this biweekly from now on.
Okay so flavor was great, but I had a really hard time getting the crust to stick! Half of it slid off the chicken when I flipped it in the oil, and I ended up with a bunch of naked chicken pieces. I followed the directions exactly so I’m not sure what I did wrong? Cook time felt really long too, almost 2 hours start to finish which caught me off guard.
My kids are SO picky when it comes to fried chicken, they usually only want the fast food stuff, but they devoured this! My 7 year old asked for thirds, which has literally never happened with a home cooked meal before. I used boneless thighs because that’s what I had in the fridge, worked perfectly.
Added a teaspoon of cayenne and a half teaspoon of garlic powder extra to the flour mix, and wow that little kick was perfect. The crunch on this is unmatched, I’ve tried like 6 different fried chicken recipes online and this is easily the best one. No weird ingredients, all stuff I already keep in my pantry.
Flavor profile was good but I found the seasoning way too salty for my taste. I used regular table salt instead of kosher salt and I think that’s where I messed up, whoops. Next time I’ll cut the salt in half for sure. The crisp factor was on point though, can’t fault that.
Wait has anyone tried this with a gluten free flour blend? I have celiac and have been hunting for a good GF fried chicken recipe that actually gets crispy, not that weird gritty texture you get sometimes. Would all purpose GF flour work here instead of regular?
Made this for our watch party for the football game last Sunday and it was gone before halftime. Served it with hot honey for dipping, chef’s kiss. People were asking if I ordered catering lmao. 10/10, will be my go-to fried chicken recipe from now on.
Now I’m a born and raised Alabama girl so I take my fried chicken very seriously, and let me tell you, this recipe passes the test. I’ve been making my grandma’s recipe for 30 years but decided to try this one when my grandson asked for “extra crunchy” chicken for his birthday dinner. Even my mama said it was good, and she never compliments anyone’s cooking but her own. Win!
This was my first time ever making fried chicken, I was so nervous I’d burn it or undercook it! The step by step instructions were so easy to follow, even for a total newbie like me. The crust was crispy, the chicken was cooked all the way through, no raw spots, no burnt breading. I was so proud of myself!
I used a cast iron skillet like the recipe recommended and oh my gosh, the heat retention makes such a difference. I tried making fried chicken in a regular non-stick pan before and it never got crispy enough, but the cast iron gave that perfect deep golden crust. Served it with pickles and white bread just like the old school diners do, so good.
I saw the cook time was almost two hours and almost skipped this for a weeknight, but I decided to make it on a random Tuesday anyway and it was totally worth the time! I prepped the brine before I left for work so when I got home all I had to do was bread and fry, cut the active time way down. Perfect weeknight treat.
Pro tip for anyone making this: invest in a cheap candy thermometer to keep your oil temp steady! I let my oil get too hot the first batch and the crust burned before the chicken was cooked through, but once I held it at 350 the rest of the batches came out perfect. The seasoning blend is chef’s kiss, that little hint of onion powder makes it taste just like the fried chicken I grew up eating.
Made this for a weekend brunch with my girlfriends, served it with waffles and maple hot sauce and everyone was raving. The chicken stayed crispy even when we piled it on top of waffles and doused it in syrup, which is exactly what you want for chicken and waffles. Will absolutely be adding this to my regular brunch rotation.
How long do the leftovers keep in the fridge? I’m making this for a small family gathering this weekend and want to make enough to have extra for lunches next week, but I don’t want it to go bad before I can eat it. Also, best way to reheat to keep it crispy?
I didn’t have buttermilk on hand so I used the old milk + vinegar trick to make a substitute, and it worked perfectly! I was worried it wouldn’t be as tangy or tender as real buttermilk but you couldn’t tell the difference. Saved me a last minute trip to the grocery store, win.
I’ve made this for three different potlucks in the last month and I’m officially known as the fried chicken lady at my church now. Strangers come up to me to say how much they loved it, it’s getting a little ridiculous. Worth it though, this recipe is foolproof even when I’m rushing to get food ready on a Saturday morning.