
southern fried chicken breast

title 1
southern fried chicken breast
⏱️ cook time 20 minutes
🍽️ servings 4
⚡ Difficulty medium

intro

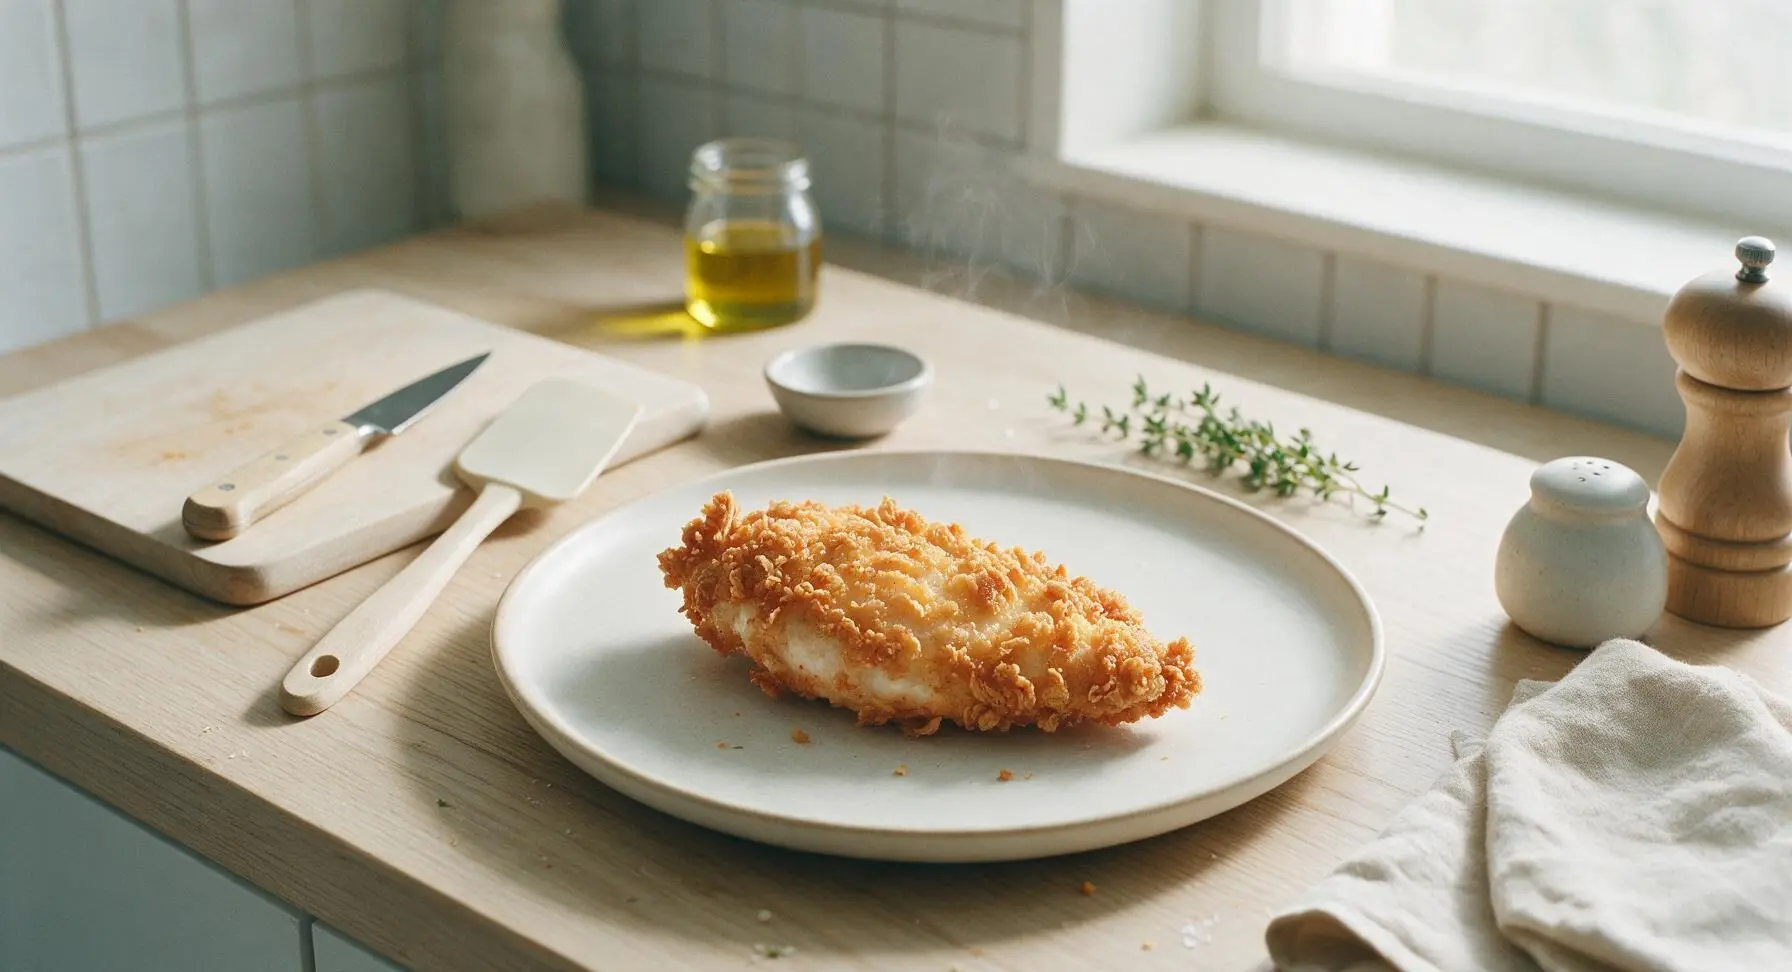
Juicy, tender boneless chicken breast coated in a shaggy, crispy golden crust, the iconic Southern comfort food made for gathering around the Sunday dinner table.

Ingredients
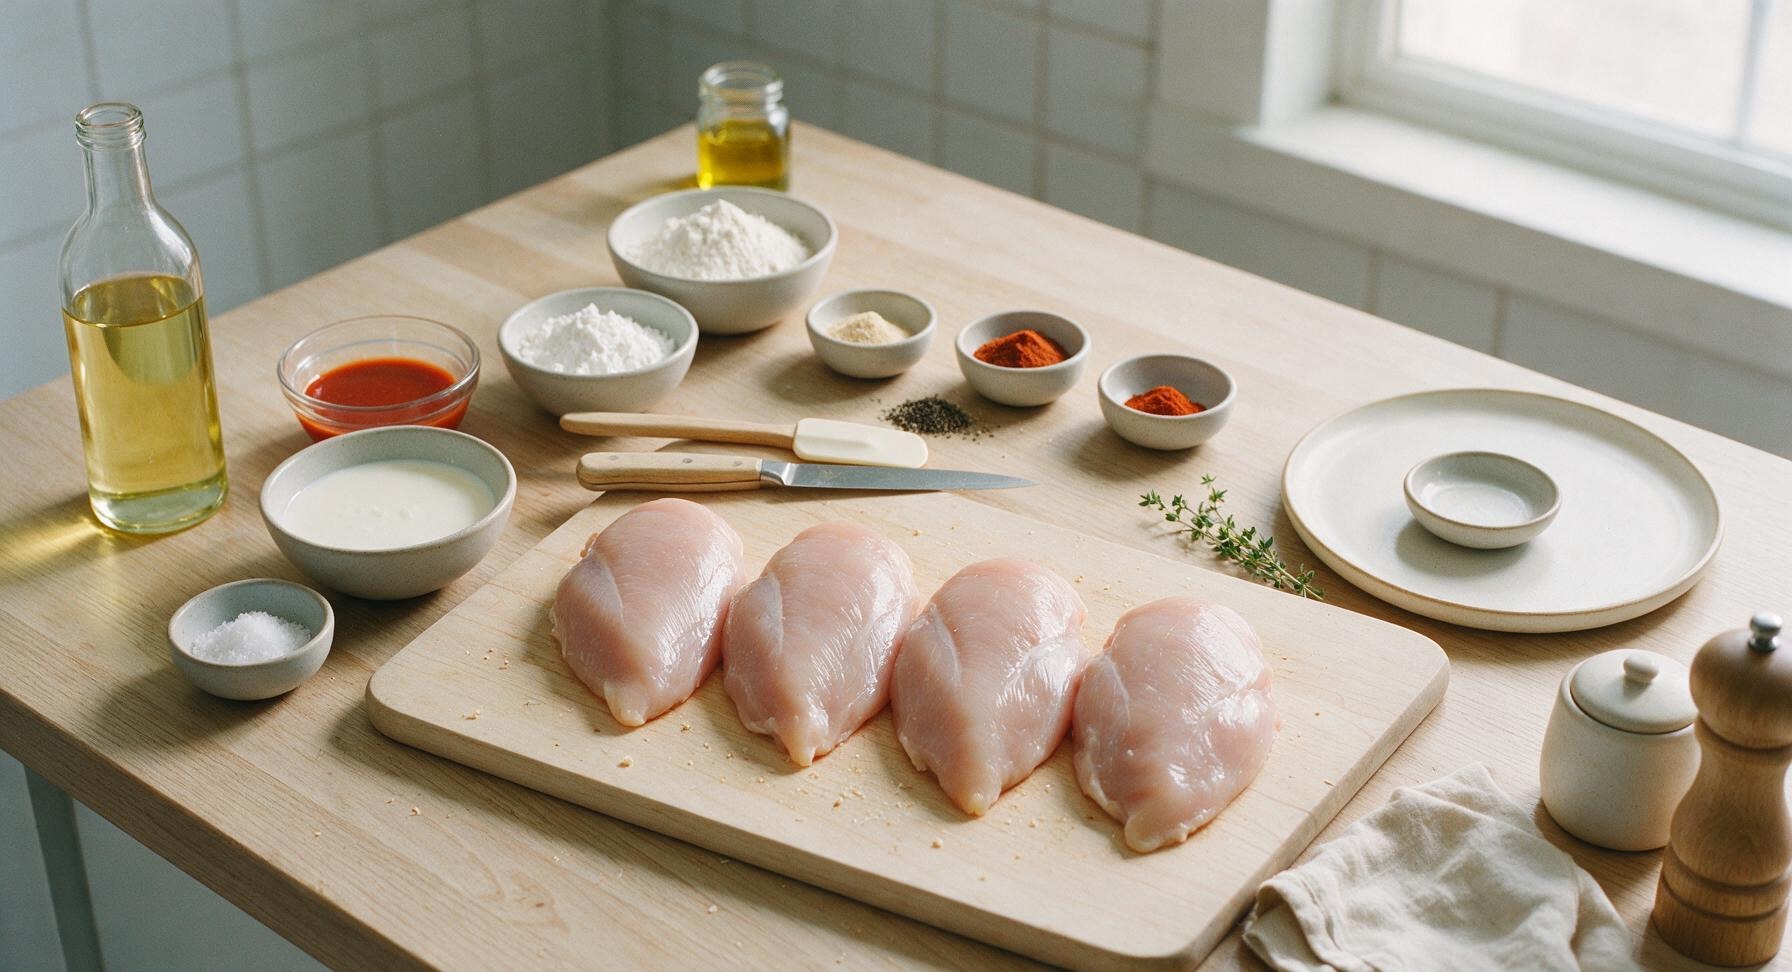
Boneless, skinless chicken breasts 4 pieces (≈680g total, 170g each)
Buttermilk 1.5 cups (360ml)
Hot sauce (e.g., Tabasco) 2 tbsp
Kosher salt 1 tbsp + 2 tsp, divided
All-purpose flour 1.5 cups (180g)
Cornstarch 1/4 cup (30g)
Freshly ground black pepper 1 tsp
Garlic powder 1 tsp
Sweet paprika 1 tsp
Onion powder 1/2 tsp
Cayenne pepper 1/4 tsp
Canola oil (for frying) 4 cups (960ml)

Steps

1

Pound Chicken Evenly

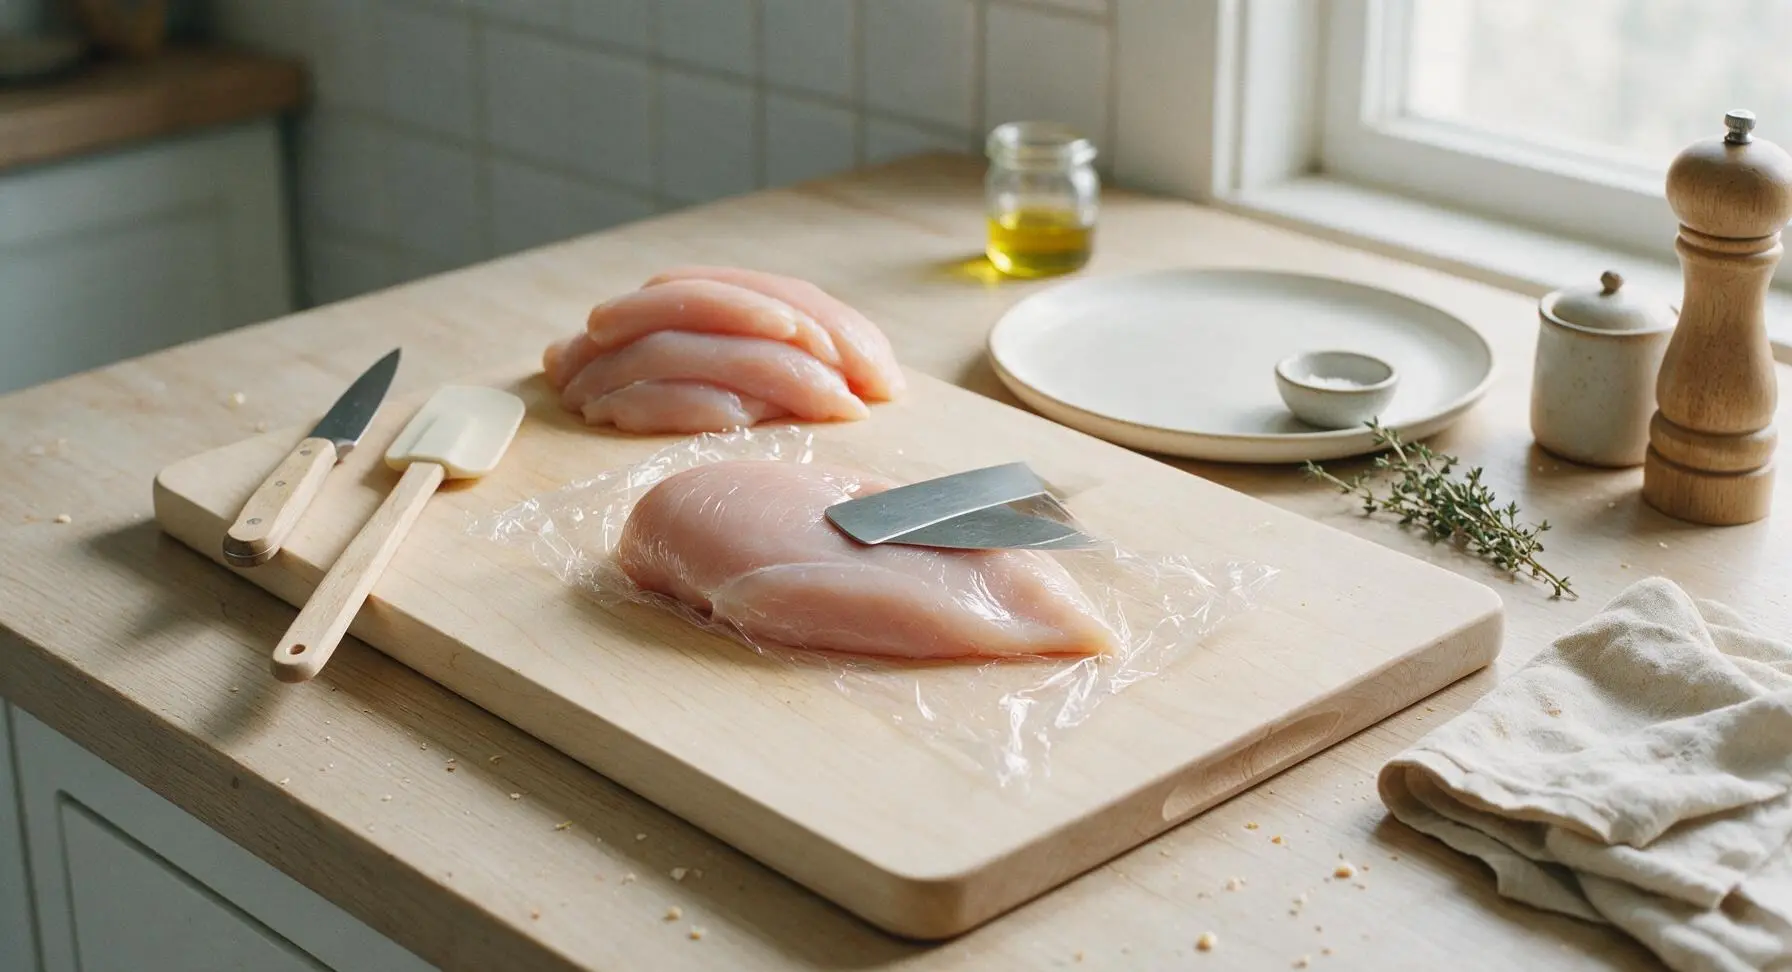
Place each chicken breast on the dark walnut cutting board, cover with a small sheet of plastic wrap to prevent splatter. Use the flat side of the walnut-handled chef knife to gently pound the thick tapered end of each breast to a uniform 1-inch thickness across the entire piece. This ensures even cooking, so the thin end of the breast does not dry out before the thickest section cooks through. Pat all pounded chicken pieces completely dry with paper towels before proceeding.
Step 1
step1:Pound Chicken Evenly
2

Soak in Buttermilk Brine

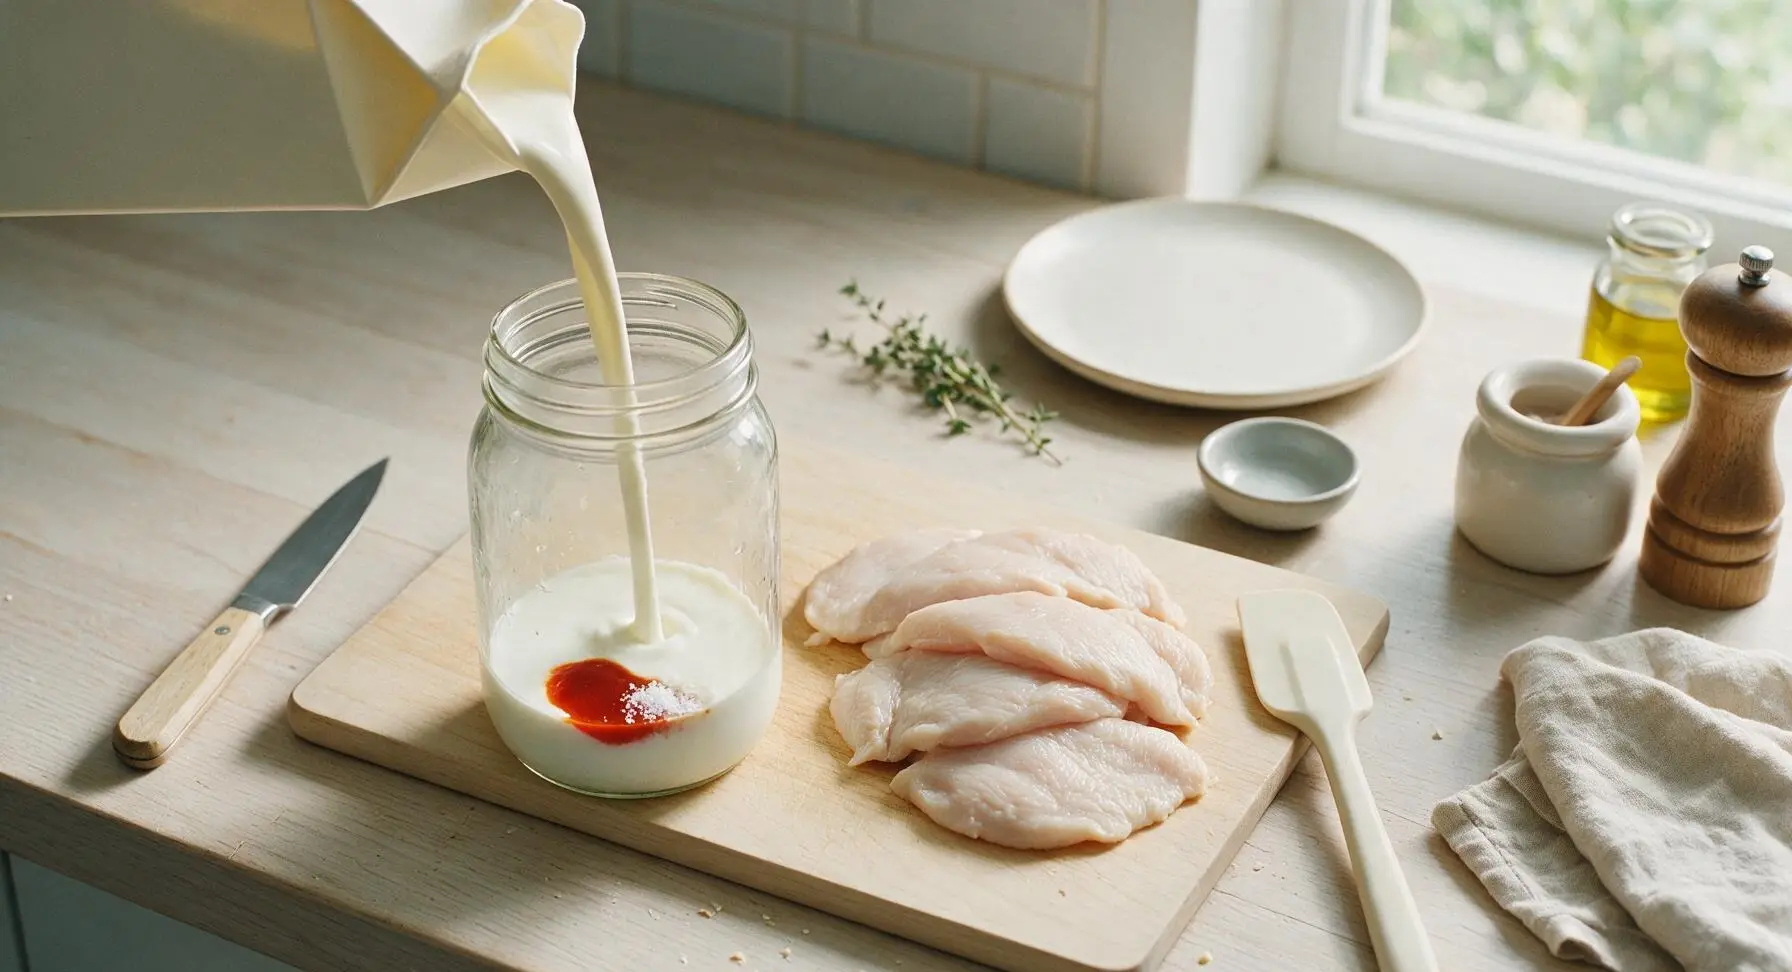
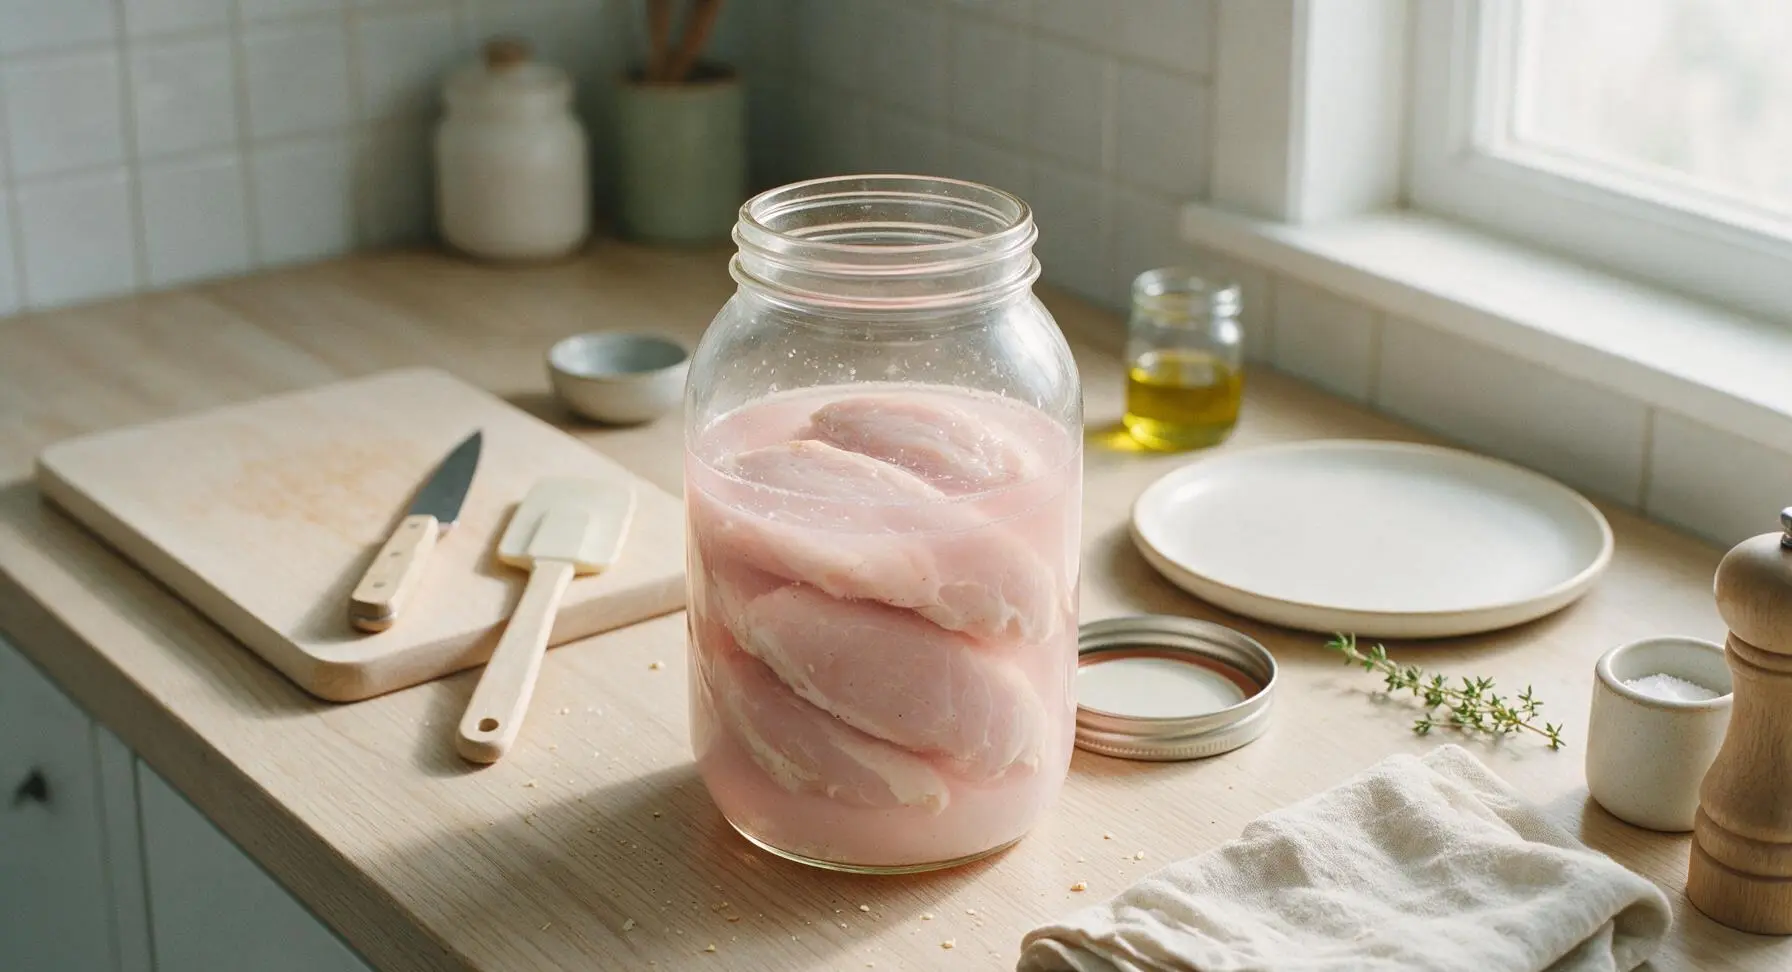
In the wide-mouth glass mason jar, stir together 1.5 cups buttermilk, 2 tablespoons hot sauce, and 1 tablespoon kosher salt until the salt fully dissolves. Add all four pounded chicken breasts, pressing down to fully submerge every piece in the brine. Let rest at room temperature for 15 minutes (or refrigerate for up to 4 hours for extra tender results); the lactic acid in buttermilk tenderizes the meat without making it mushy, and creates a sticky surface for breading to adhere to.
Step 2
step2:Soak in Buttermilk Brine
Step 2
step2:Soak in Buttermilk Brine
3

Mix Seasoned Flour Dredge

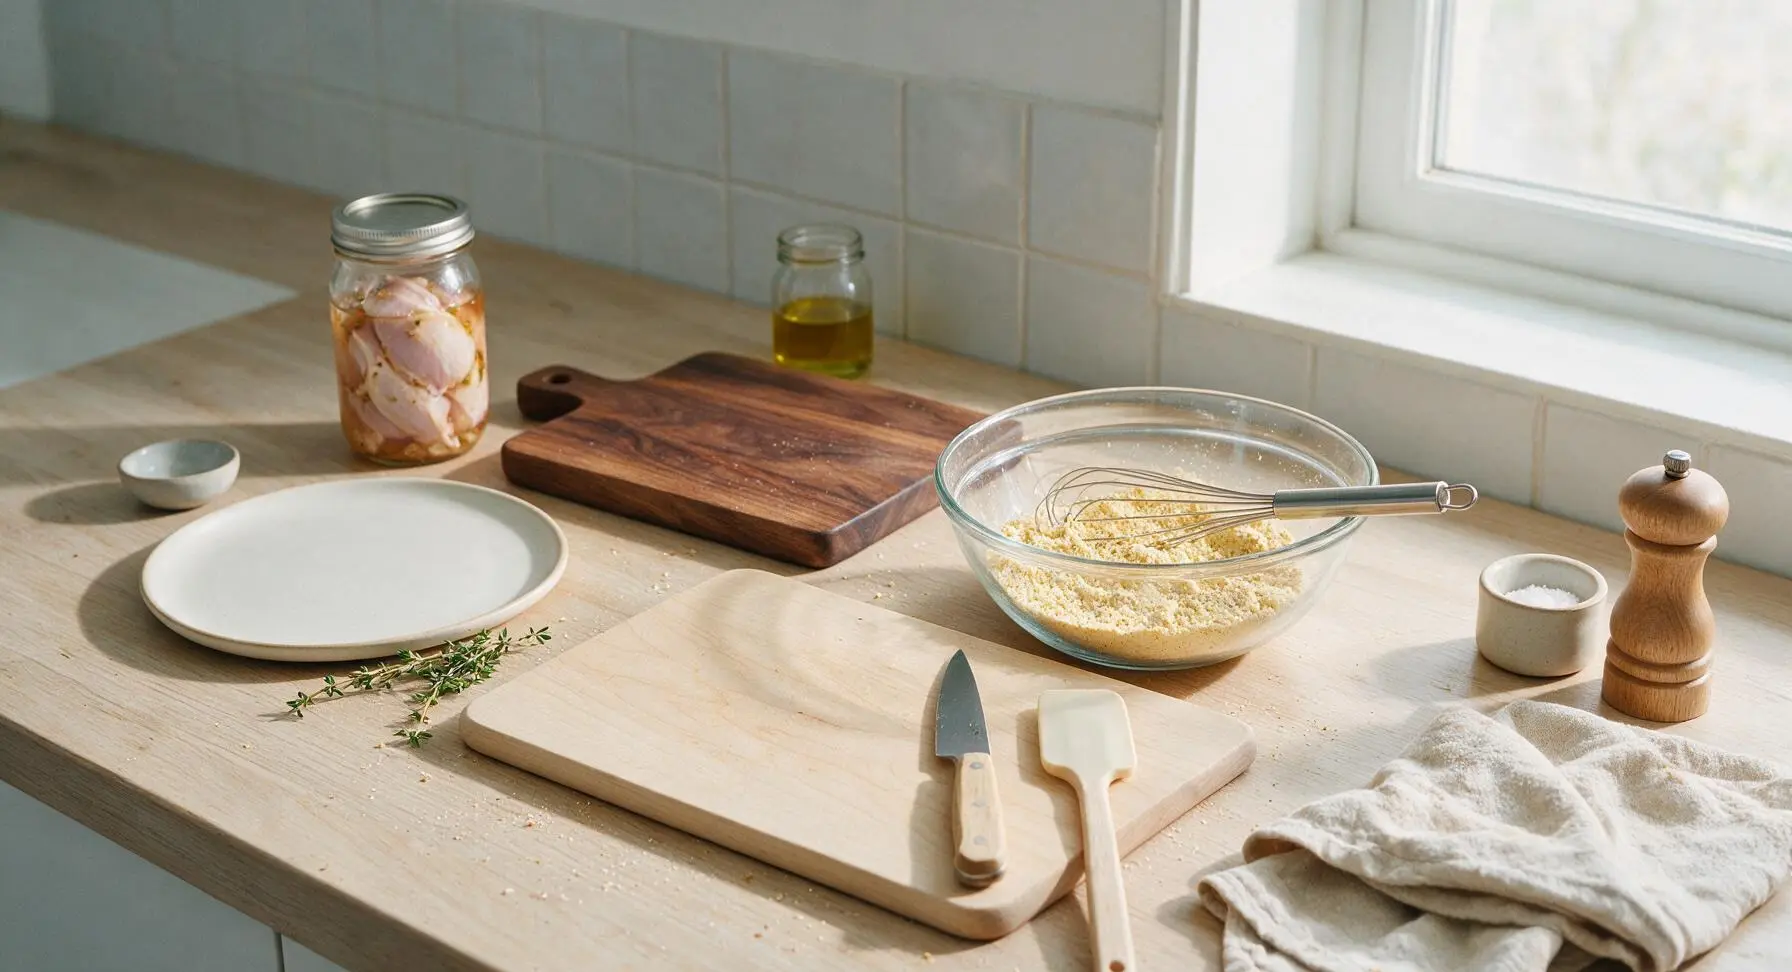
In one of the clear glass prep bowls, use the stainless steel whisk to combine 1.5 cups all-purpose flour, 1/4 cup cornstarch, 2 teaspoons kosher salt, 1 teaspoon freshly ground black pepper, 1 teaspoon garlic powder, 1 teaspoon sweet paprika, 1/2 teaspoon onion powder, and 1/4 teaspoon cayenne pepper until fully and evenly mixed. The cornstarch creates an extra-crispy, shaggy crust that resists sogginess, while the spice blend delivers classic Southern savory flavor with a subtle, warm heat.
Step 3
step3:Mix Seasoned Flour Dredge
4

Dredge Chicken in Flour

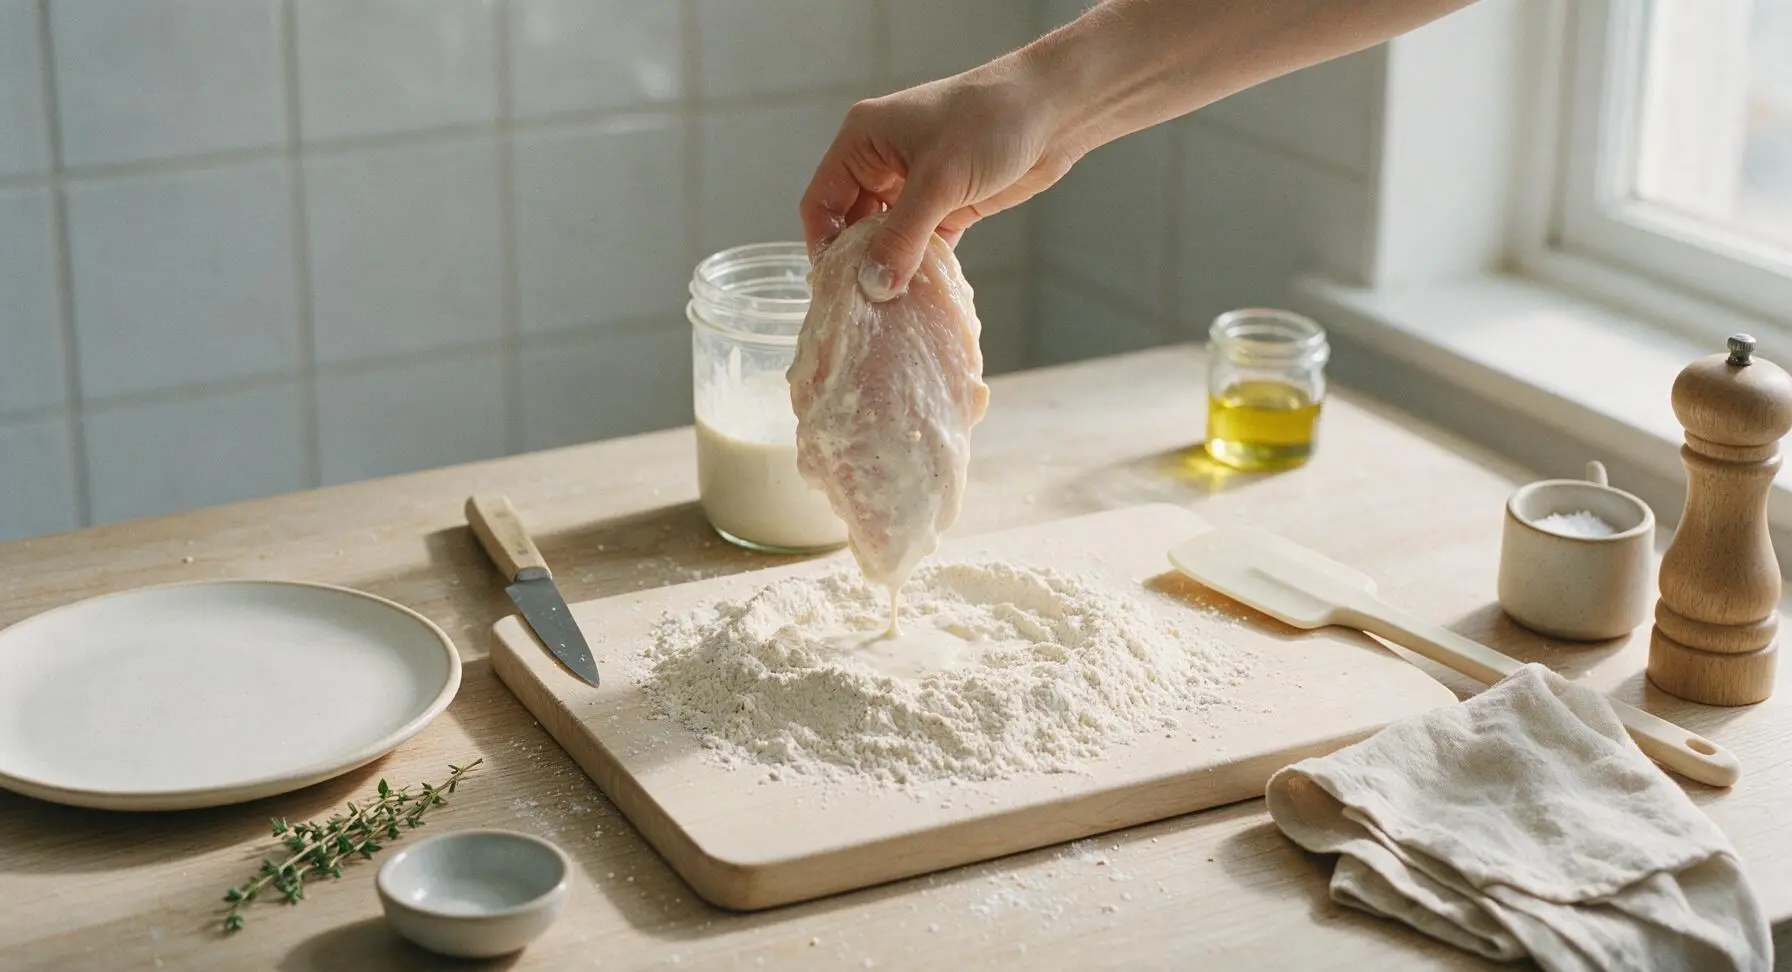
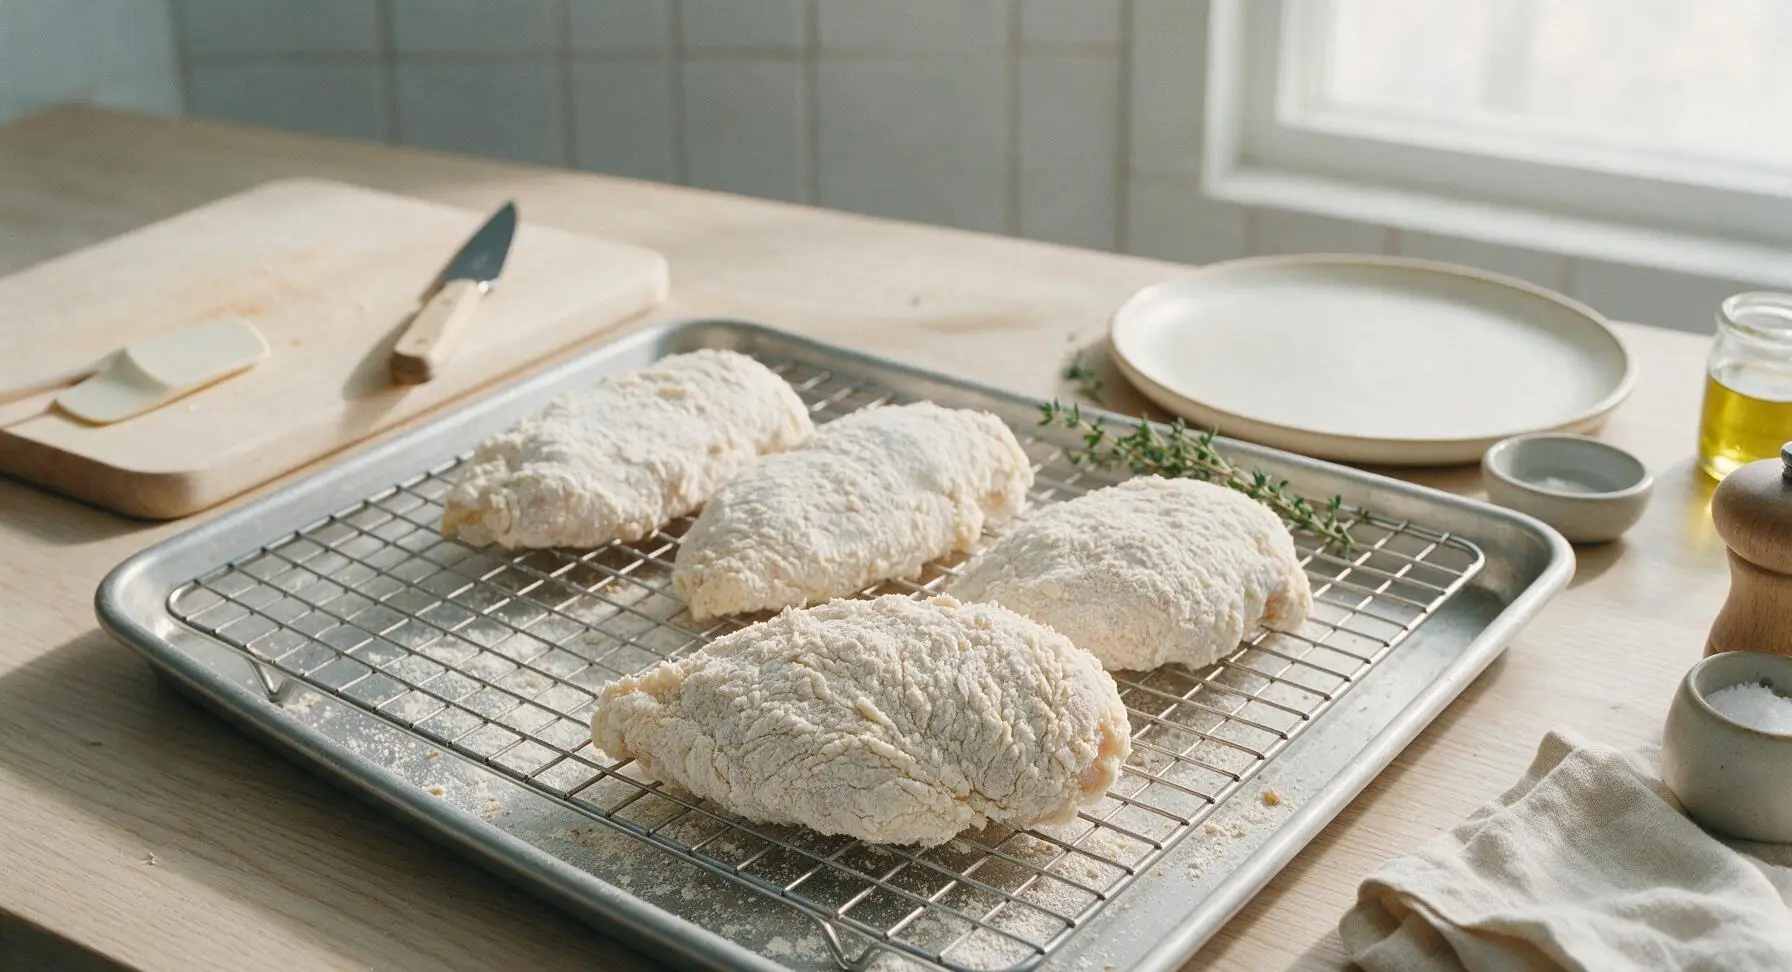
Remove one chicken piece at a time from the buttermilk brine, letting excess buttermilk drip off for 2 seconds. Drop the piece into the seasoned flour mixture, press firmly to coat every surface, then lift and toss the chicken in the flour to build up a thick, uneven, shaggy coating. Place coated chicken pieces on the chrome wire cooling rack set over the rimmed aluminum baking sheet, and let rest for 5 minutes to allow the coating to set; this prevents breading from sliding off during frying.
Step 4
step4:Dredge Chicken in Flour
Step 4
step4:Dredge Chicken in Flour
5

Heat Oil to Temperature

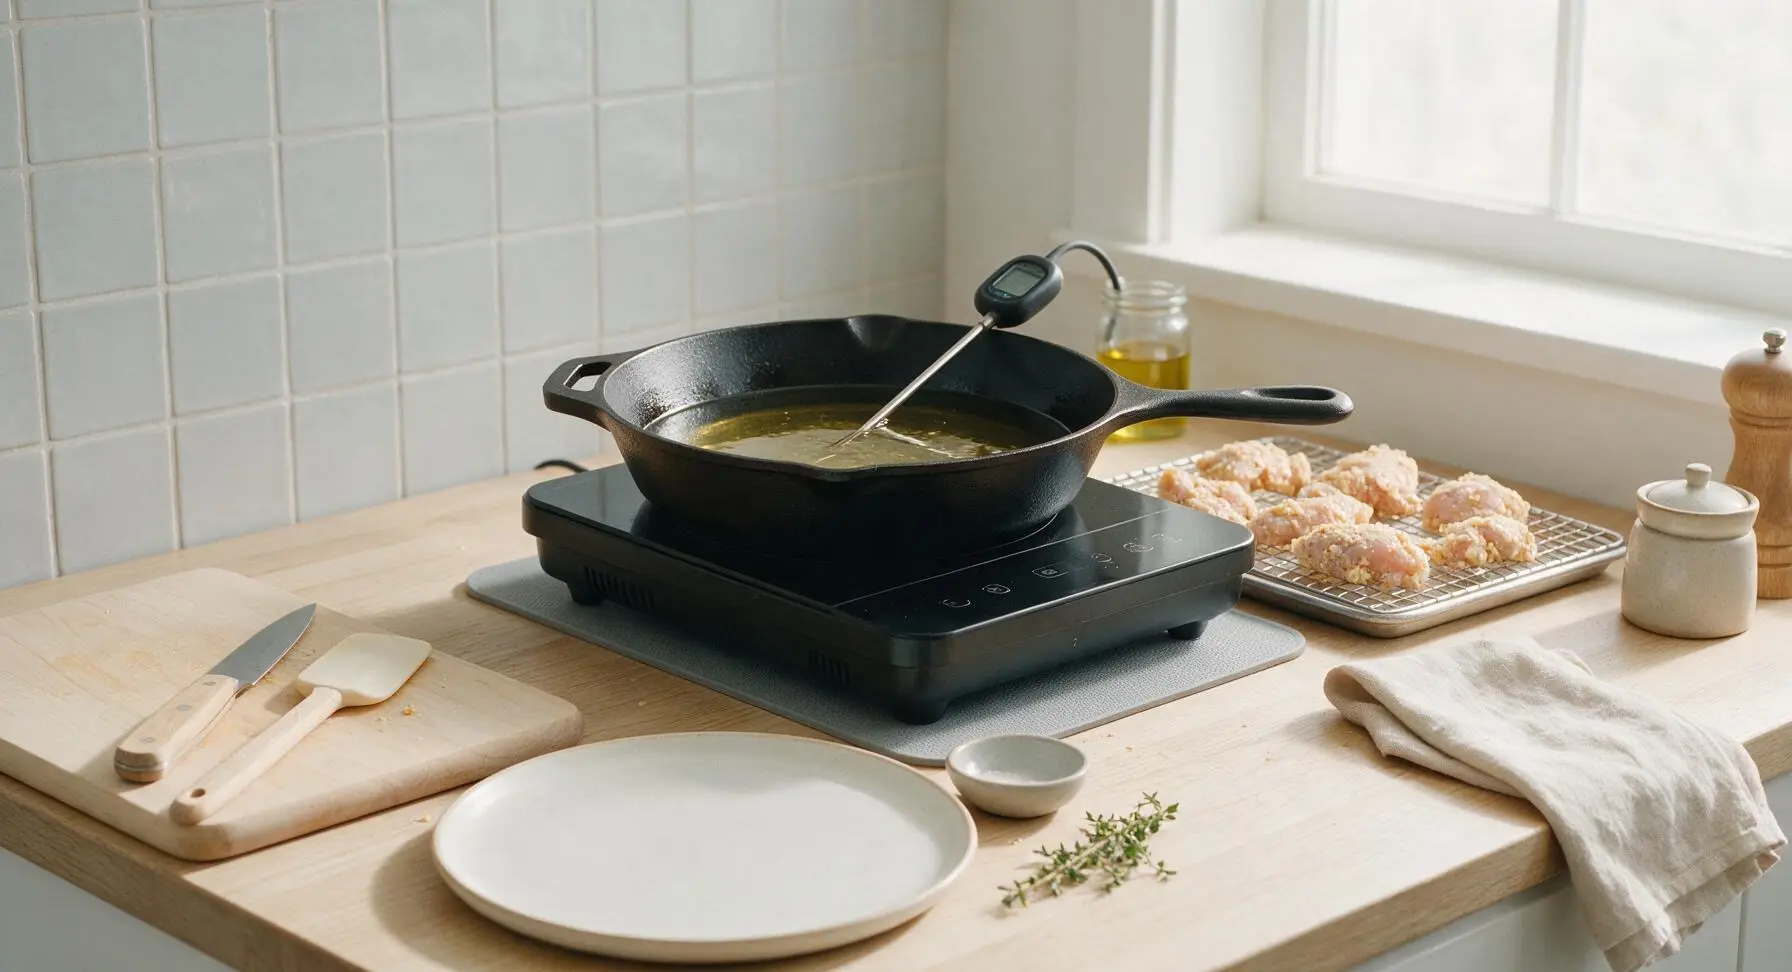
Set the matte black portable induction burner at center counter on the grey silicone heat mat, then place the 12-inch cast iron skillet on the burner. Pour 4 cups canola oil into the skillet, until oil reaches exactly 1 inch up the pan sides. Heat the oil to 350°F (175°C), checking temperature with the digital instant-read thermometer. Adjust burner heat as needed to hold temperature steady; do not let oil exceed 360°F, as this will burn the crust before the chicken cooks through.
Step 5
step5:Heat Oil to Temperature
6

Fry Chicken in Batches

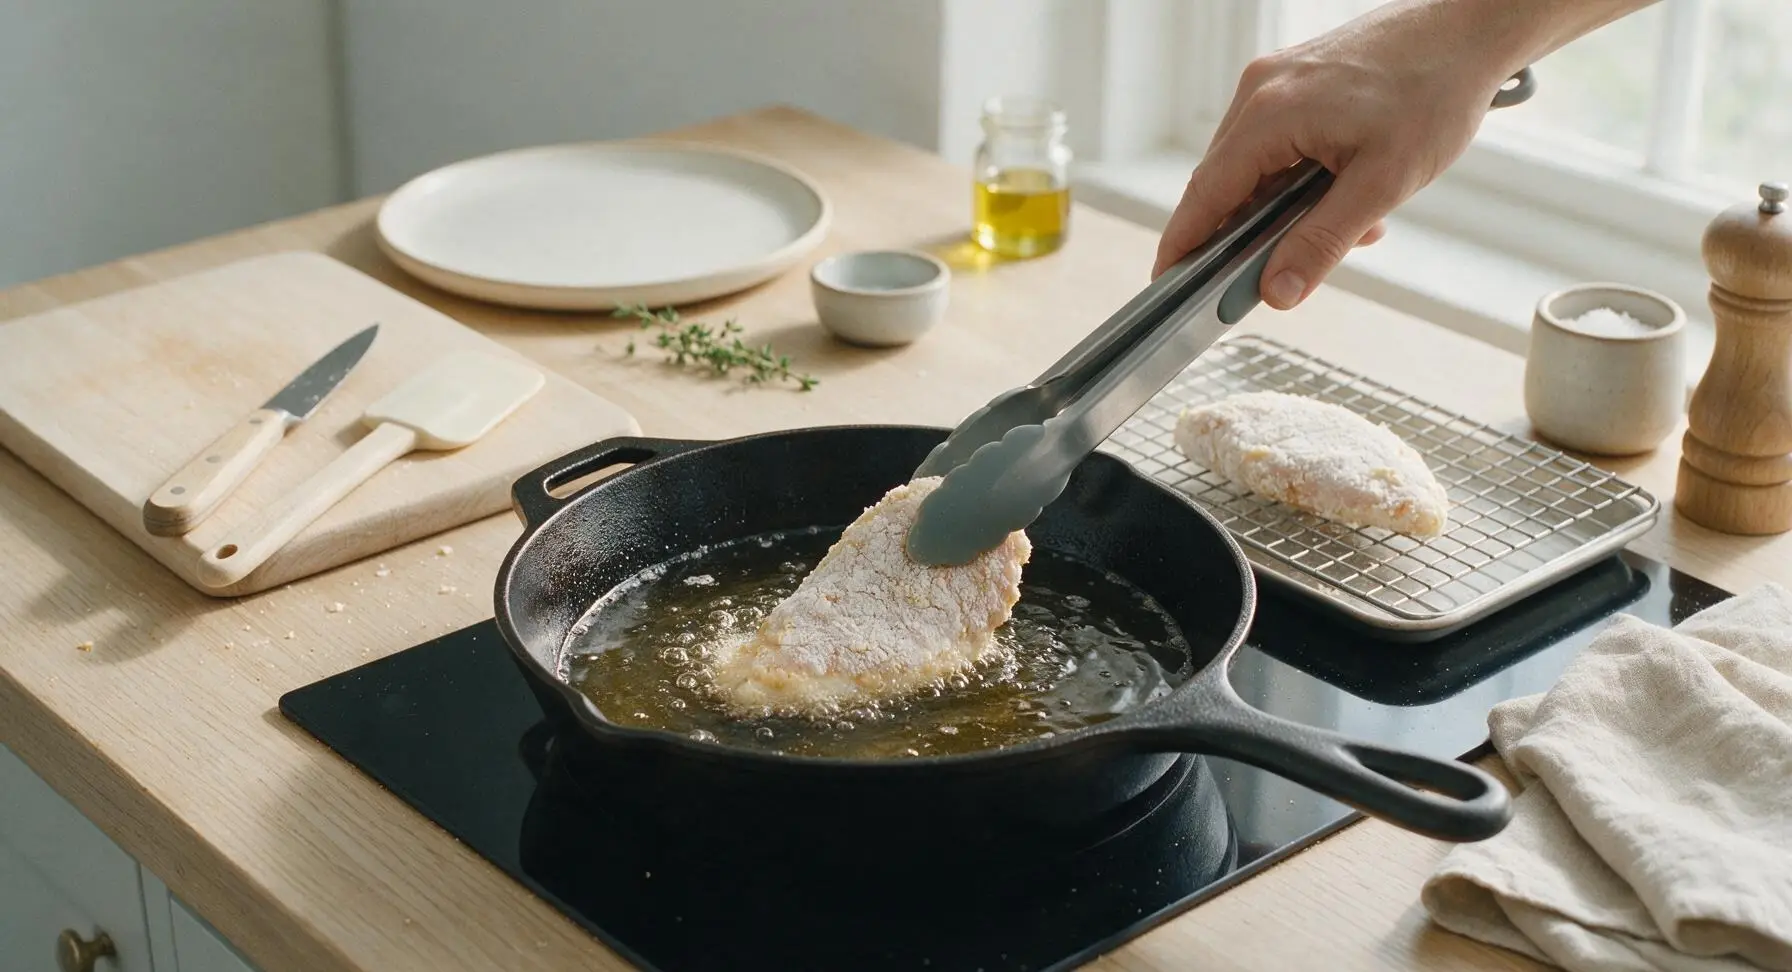
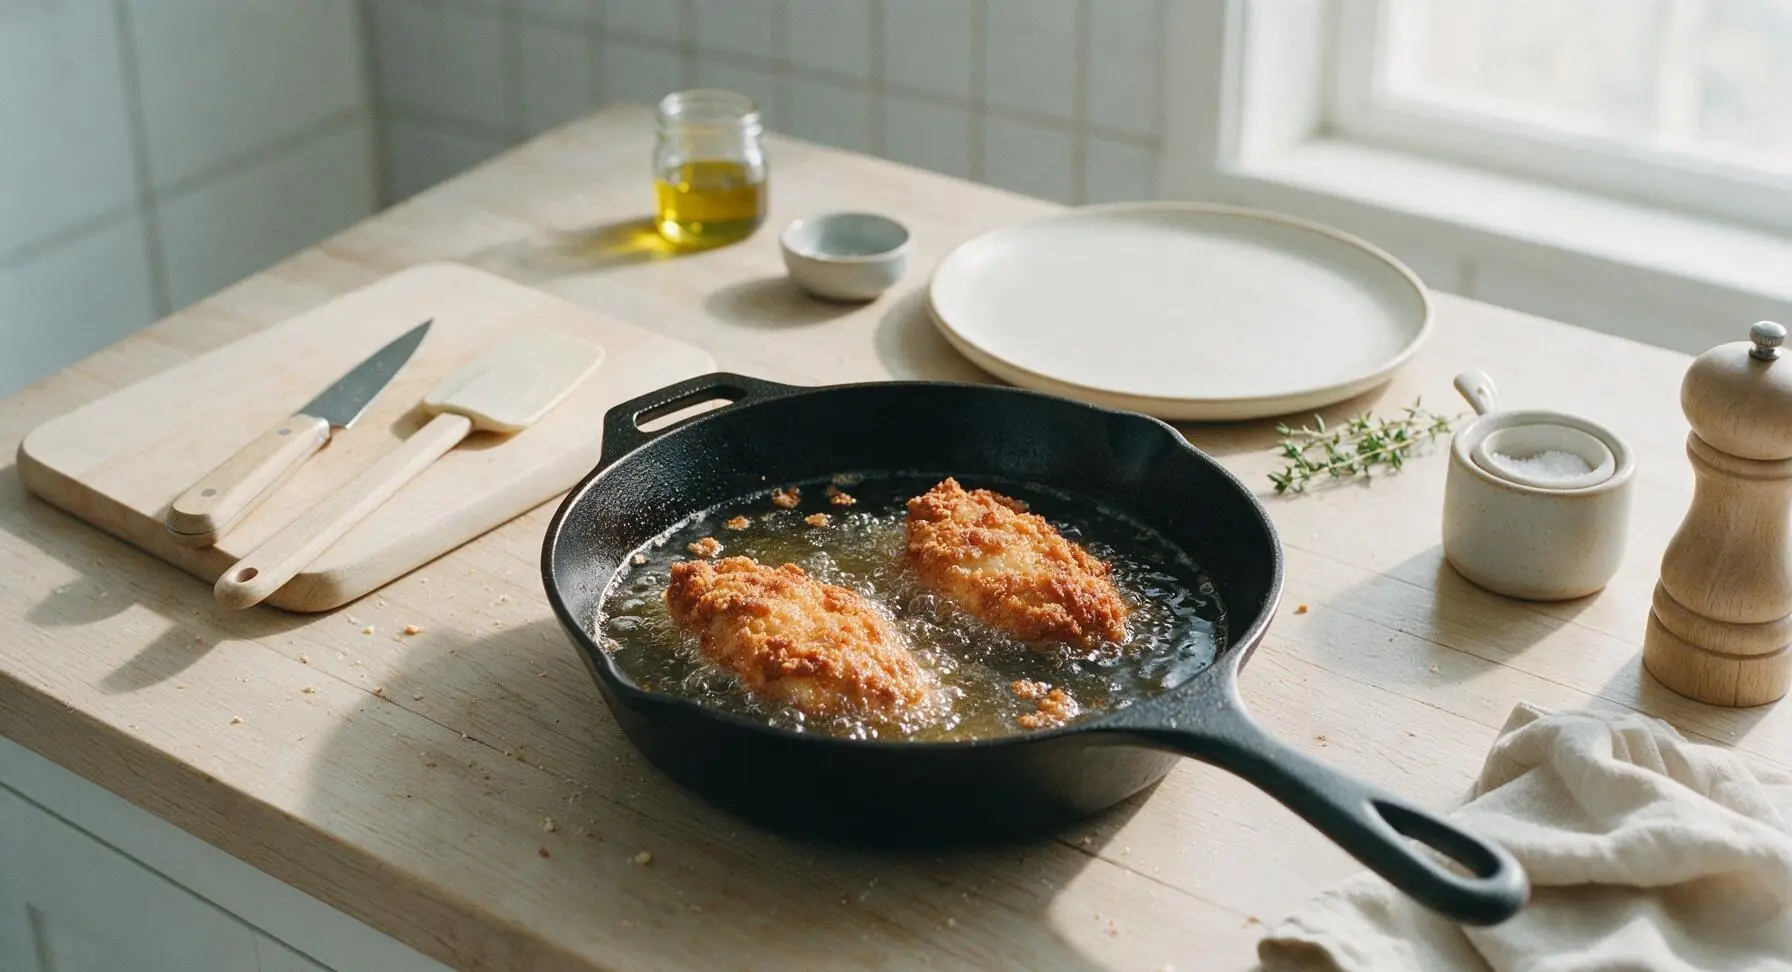
Using the silicone-tipped stainless steel tongs, carefully lower 2 chicken pieces into the hot oil, laying them away from your body to avoid hot oil splatters. Fry for 6-7 minutes per side, adjusting burner heat as needed to maintain a steady 325–350°F oil temperature. The crust will turn a deep, rich golden brown when the first side is ready to flip. After flipping, fry the second side for another 6-7 minutes, until the instant-read thermometer reads 165°F (74°C) when inserted into the thickest part of the breast. Fry only 2 pieces at a time to avoid overcrowding the pan, which drops oil temperature and leads to soggy crust.
Step 6
step6:Fry Chicken in Batches
Step 6
step6:Fry Chicken in Batches
7

Rest Chicken Before Serving

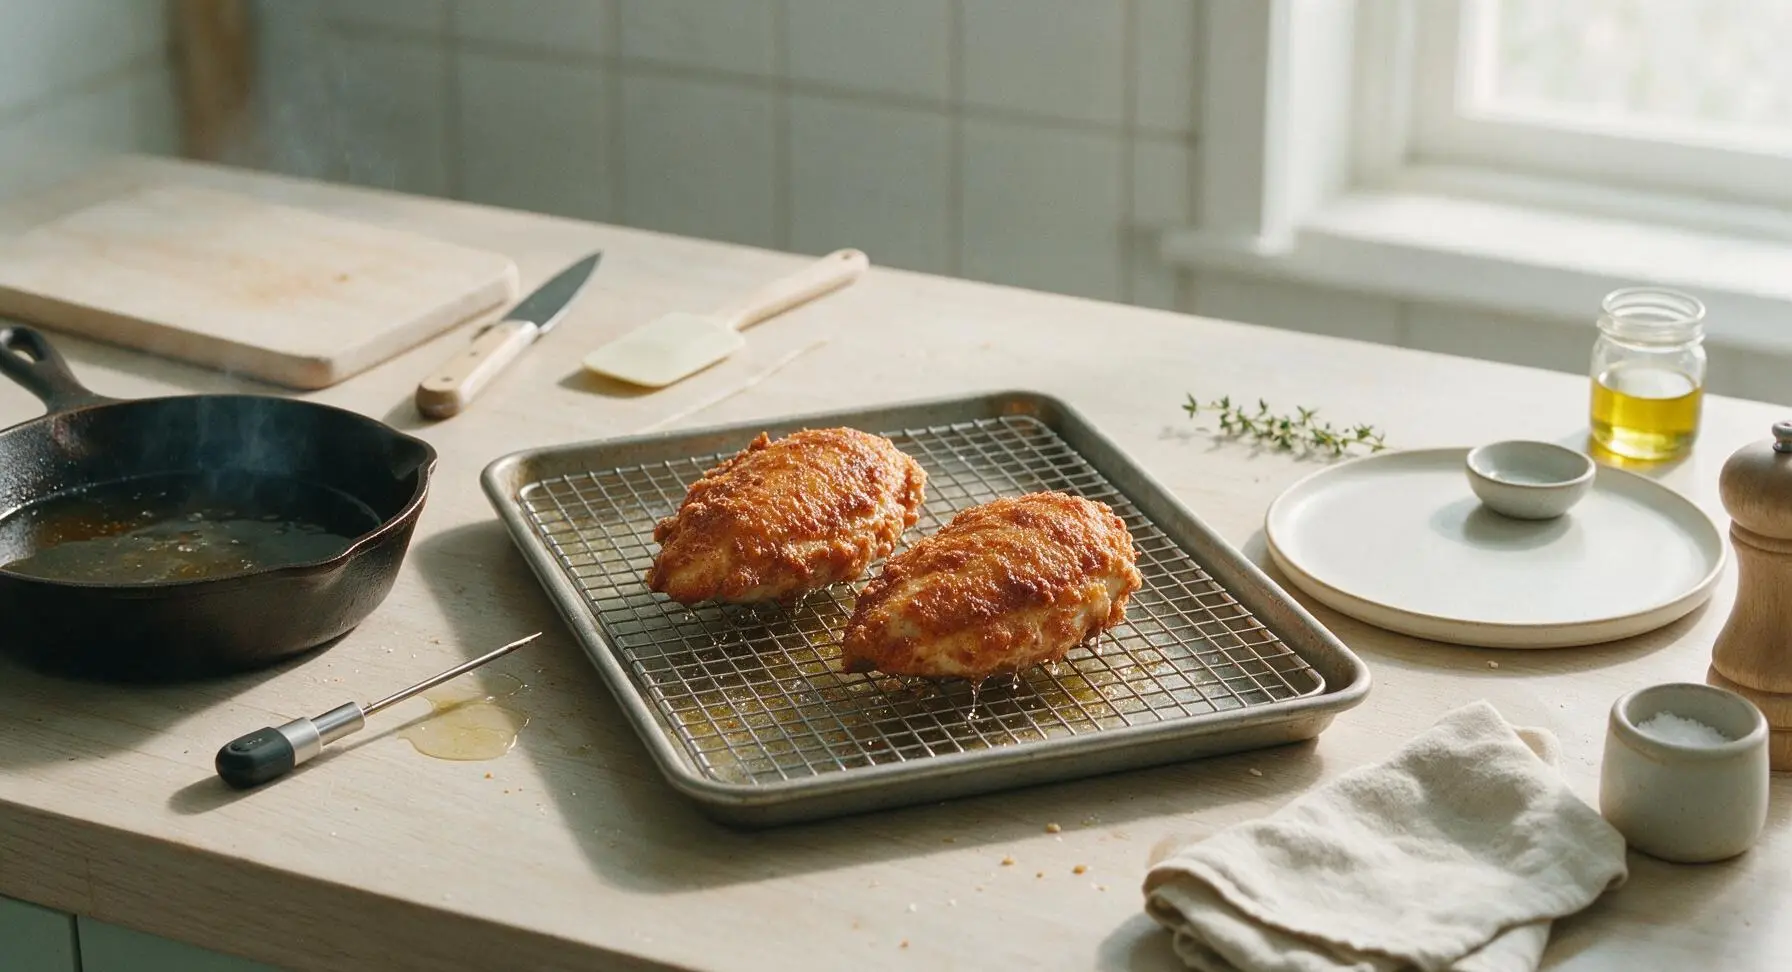
Once chicken reaches 165°F internal temperature, use tongs to lift each piece from the oil, letting excess oil drip back into the skillet for 3 seconds. Transfer cooked chicken back to the wire cooling rack, and let rest for 5 minutes. This allows juices to redistribute through the meat instead of running out when sliced, and lets air circulate around the crust to keep it crisp, rather than steaming it against a paper towel.
Step 7
step7:Rest Chicken Before Serving

Tips

1.Let dredged chicken rest for 5 minutes before frying: this wait time lets the flour and buttermilk form a tight, glue-like bond that creates a shaggy, crisp crust that won’t slide off into the oil, a common beginner mistake.
2.Keep oil temperature steady between 325–350°F: oil that is too hot burns the crust before the chicken cooks through, while oil below 320°F seeps into the breading, leaving it greasy and soggy instead of crisp.
3.Drain fried chicken on a wire rack instead of paper towels: stacking chicken on absorbent paper traps steam against the crust, turning it soft and soggy within minutes. Elevating the chicken on a rack lets air circulate to keep every side crisp.


✨ You May Also Like

Main Course
🍜 United Kingdom

A showstopping classic of tender seared beef, savory mushroom duxelles, and crisp prosciutto wrapped in flaky golden puff pastry, baked to juicy perfection.

⏱️ 2 hours 1Main Course ★ 4.7
Main Course
🍜 India

Tender charred marinated chicken simmered in a rich, spiced creamy tomato sauce, this iconic Anglo-Indian curry pairs perfectly with basmati rice or warm naan.

⏱️ 50 minuteMain Course ★ 4.6
Main Course
🍜 Thailand

Classic tangy, sweet, and savory Thai stir-fried rice noodles with shrimp, tofu, and crunchy garnishes, balancing all five core Thai flavor profiles.

⏱️ 30 minuteMain Course ★ 4.5
Main Course
🍜 United Kingdom

Crispy golden beer-battered cod and fluffy double-fried chips, served with tangy tartar sauce and malt vinegar: the timeless, beloved British pub comfort classic.

⏱️ 45 minuteMain Course ★ 4.7
Main Course
🍜 Mexico

Smoky, chile-marinated pork tacos with caramelized pineapple, fresh cilantro, and lime: a beloved classic Mexican street food perfect for casual summer gatherings.

⏱️ 1 hour 45Main Course ★ 4.8
Main Course
🍜 United States

Crunchy Fritos corn chips layered with savory beef chili and melted cheddar, topped with cool, zesty fixings for a beloved, cozy Tex-Mex comfort food.

⏱️ 35 minuteMain Course ★ 4.8

southern fried chicken breast:Frequently Asked Questions

1.Why do you use buttermilk for the marinade instead of regular milk? ▾
Buttermilk’s mild lactic acid gently tenderizes chicken breast without turning it mushy, while its thick, creamy texture helps the flour coating cling tight for that signature shaggy crust. It also adds a subtle tang that cuts through the rich, crispy crust, which plain regular milk can’t replicate since it lacks that gentle acidity.
2.How long should I marinate chicken breasts in the buttermilk mixture? ▾
For boneless, skinless chicken breasts, aim for a minimum of 2 hours and up to 12 hours in the fridge. Any shorter, and you won’t get that full tenderizing effect and subtle tang; any longer, and the acid can break down the outer meat too much, leading to a mushy surface under the crispy crust. Always marinate chilled, never at room temp.
3.My fried chicken breast always turns out dry—how do I keep it juicy? ▾
First, don’t overcook it: pull breasts when they hit 160°F internal temp, as they’ll carryover cook to the food-safe 165°F as they rest. Second, don’t skip the buttermilk marinade, which locks in moisture. Third, hold oil steady at 325–350°F; too hot burns the crust before the inside cooks, too cool makes chicken absorb excess oil and dry out.
4.How much hot sauce should I add to the buttermilk marinade? ▾
For a classic, not-too-spicy Southern kick, add 1 tablespoon of Tabasco-style hot sauce per 2 cups of buttermilk, plus a heavy pinch of kosher salt. You can bump that up to 2 tablespoons if you love more heat, but start light—you want the hot sauce to add subtle background zing, not overpower the savory, tangy marinade.
5.Can I use boneless, skinless chicken thighs instead of breasts for this recipe? ▾
Absolutely! While the recipe is written for lean breasts, thighs work beautifully for folks who prefer extra-rich dark meat. Keep in mind thighs have higher fat content so they’ll stay extra juicy, and you’ll need to adjust cook time slightly: they’re done at 165°F internal, which usually takes 1–2 minutes longer per side than 1-inch breast cutlets.
6.Why does my flour coating fall off when I fry the chicken? ▾
Coating slippage usually stems from one of three common mistakes: you didn’t let floured chicken rest 10–15 minutes before frying (this lets the flour adhere to form a shaggy crust), your oil wasn’t hot enough when you added chicken, or you overcrowded the pan, which drops oil temp fast and makes coating slide instead of setting immediately.
7.How thick should I cut chicken breasts for even cooking? ▾
Aim for uniform 1-inch thick pieces; if your breasts are extra large, slice them horizontally into two even cutlets first. Pounding slightly thicker spots with a meat mallet helps eliminate lopsided cooking, so you don’t end up with burnt crust on thin edges and raw, undercooked meat in the thickest center of each breast.
8.What kind of oil is best for frying Southern fried chicken breast? ▾
Reach for neutral, high-smoke-point oils like peanut oil, canola oil, or vegetable shortening for the most authentic flavor and reliable results. These oils won’t burn or impart off-flavors at the 325–350°F frying temp, and they help the crust crisp up to that perfect golden, shaggy texture without muddling the classic savory chicken flavor.
9.Do I need to season the flour, or is salting the marinade enough? ▾
Don’t skip seasoning the flour! Add 1 teaspoon of kosher salt per cup of all-purpose flour, plus a pinch of black pepper if you like. The marinade adds flavor to the meat itself, but the flour makes up most of the crispy outer layer, so unseasoned flour will leave your crust tasting bland and flat, no matter how flavorful your marinade is.
10.How do I get that iconic super shaggy, crispy crust everyone loves? ▾
After dredging each marinated chicken breast in seasoned flour, press the flour firmly into every surface of the chicken, then lift and toss the piece to let excess flour fall off. Let coated pieces rest on a wire rack for 15 minutes before frying; this lets flour and buttermilk form a thick, craggy coating that puffs into that shaggy crust in hot oil.
11.Can I adapt this recipe to be gluten-free? ▾
Yes, you can swap the all-purpose flour for a 1:1 gluten-free all-purpose flour blend that contains xanthan gum to help the coating stick and crisp up properly. Stick to the exact same marinating, dredging, resting, and frying steps, and double-check that your hot sauce is certified gluten-free to avoid cross-contamination for sensitive eaters.
12.How long do I fry chicken breasts to make sure they’re fully cooked? ▾
For 1-inch thick breast cutlets, fry for 6–8 minutes total, flipping halfway through, until the crust is deep golden brown and the internal temp hits 160°F at the thickest point. Always use a meat thermometer instead of guessing, since fry time can shift based on oil temp, pan size, and how many pieces you’re cooking at once.
13.Should I cover the pan while frying the chicken? ▾
Skip covering the pan while frying! Trapping steam under a lid will make your crispy crust turn soft and soggy, and it can drop oil temp too much as condensation drips back into the pan. If you’re worried about oil splatters, use a mesh splatter screen over the top instead of a tight lid, which lets steam escape while catching messy oil pops.
14.Do I need to let the chicken rest after frying, and if so, for how long? ▾
Yes, let fried chicken breasts rest on a wire rack set over a baking sheet for 5 minutes after frying. This gives juices time to redistribute so they don’t run out when you cut in, lets excess oil drip off to keep crust crisp, and allows carryover cooking to bring meat to a safe 165°F without overcooking. Skip paper towels, which make crust soggy.
15.Can I bake this fried chicken instead of deep frying to use less oil? ▾
You can get a close, crispy baked version by setting coated chicken on a wire rack over a baking sheet, spraying both sides generously with cooking oil, and baking at 425°F for 20–25 minutes, flipping halfway, until internal temp hits 160°F. It won’t have the exact same deep-fried shaggy crust, but it will be crispy, juicy, and much lower in added oil.
16.What’s the best way to reheat leftover fried chicken breast so it stays crispy? ▾
Skip the microwave, which turns the crust soggy and rubbery and dries out the meat. Instead, reheat leftovers on a wire rack set over a baking sheet in a 375°F oven for 10–12 minutes, until chicken reaches 165°F and the crust is crisp again. If you’re short on time, an air fryer set to 375°F for 4–6 minutes works great too.
17.How much kosher salt should I use total so the chicken isn’t under or over-salted? ▾
For 4 boneless chicken breasts (about 2 pounds total), add 1 tablespoon of kosher salt to 2 cups of buttermilk marinade, plus 1 teaspoon of kosher salt per cup of all-purpose flour for the dredge. This seasons the meat all the way through and flavors the crust, so you won’t end up with bland meat or an over-salted outer layer.
18.Why is my crust dark brown but the chicken inside is still raw? ▾
That almost always means your oil is too hot! If oil climbs above 375°F, the flour coating will brown and burn fast before the chicken has time to cook all the way through. Keep a clip-on thermometer on your fry pan to hold a steady 325–350°F, and don’t overcrowd the pan, which causes uneven cooking across all pieces.
19.Can I prep the coated chicken ahead of time to fry later for a party? ▾
You can marinate the chicken in buttermilk up to 12 hours ahead, but wait to dredge it in flour until 15 minutes before you plan to fry it. If you let floured chicken sit in the fridge for too long, the coating will get gummy and won’t crisp into that shaggy, golden crust. Hold cooked chicken on a wire rack in a 200°F oven for up to 30 minutes before serving.

Comments (15)

2 days ago

OMG this southern fried chicken breast came out SO crispy! My kids begged for seconds before they even finished their first piece. I brought the leftovers to our neighborhood potluck last night and three people asked for the recipe! Only thing I did different was add a little extra paprika because my family loves a smoky kick.

yesterday

Wait how much extra paprika did you add? I’m making this for my church potluck this Sunday and everyone goes crazy for smoky flavors!

yesterday

So glad your family and neighbors loved it! Adding 1/4 tsp extra smoked paprika per cup of flour is a perfect swap if you want that deeper smoky flavor without overpowering the classic southern seasoning. Hope the church potluck goes great!

1 week ago

Game changer for my weekly meal prep! I was so tired of dry, bland chicken breast for my lunches, and this recipe stays juicy even after I reheat it in the office microwave. Cook time was right at 20 minutes too, which is perfect for my busy weeknight schedule. 10/10 will be making this every other week for sure.

5 days ago

Wait how do you store it? I’ve had fried chicken get soggy when I keep it in meal prep containers, do you use a paper towel in the container or something?

3 days ago

Great question! To keep leftovers crispy for meal prep, store cooled chicken in an airtight container lined with a paper towel to absorb excess moisture, and keep it in the fridge for up to 3 days. Reheat in an air fryer or oven at 375F for 5 minutes if you can, but the microwave works too if you’re in a pinch!

3 days ago

First time ever making fried chicken and I was so nervous it would be raw inside or burnt on the outside, but the instructions were so easy to follow! The only issue I had was the breading sliding off a couple pieces—did I do something wrong? Tasted amazing even with that mishap though, my roommate ate three pieces!

2 days ago

I had that happen my first time too! You gotta let the breaded chicken rest for 10 minutes before you fry it so the coating sticks, trust me that fixes it every time.

2 days ago

So proud of you for giving fried chicken a try! @HomeCookVeteran is exactly right—letting the breaded chicken rest for 10 minutes before frying helps the coating adhere, and also make sure you’re patting the chicken dry before you dip it in the egg wash too. Glad it still tasted great for you and your roommate!

yesterday

Made this for our family dinner after my son’s soccer game last night and it was a home run! Served it with mac and cheese and collard greens just like my grandma used to make. The only note I have is that I had to fry my batches a little longer than 20 minutes total because my chicken breasts were extra thick—maybe that’s a tip for other folks with bigger cuts?

2 hours ago

Thanks for that tip! I buy the giant value pack chicken breasts from Costco and they’re always huge, I would’ve burned the outside waiting for the inside to cook if I didn’t see your comment.

30 minutes ago

So glad it was a hit after the game! Great call on adjusting the cook time for thicker cuts—if your chicken breasts are over 1 inch thick, you can either pound them to an even thickness first for even cooking, or add 3-5 minutes of cook time and use a meat thermometer to make sure the internal temp hits 165F. Great tip for other readers!

5 days ago

This is SO good! I added a teaspoon of cayenne to the flour mix for a little heat and it was perfect, not too spicy but had a nice little zing. Crunch was perfect, chicken was juicy, no complaints here. Will definitely be adding this to my regular rotation.

3 days ago

Love the cayenne addition! That’s such a fun way to customize the recipe to your taste preferences. So happy it turned out perfectly for you.

2 days ago

Made this while I was waiting for my new game to install yesterday and it blew my mind. I’m usually a frozen chicken tender guy but this was way better, and way easier than I thought it would be. Crispy, juicy, way better than the fast food fried chicken I usually order.

yesterday

Right? I was shocked how easy it is too, I thought good fried chicken took all day to make but this is so quick for a weeknight.

1 week ago

I’ve been making southern fried chicken for 50 years and I have to say, this seasoning blend is spot on! I usually use my own secret recipe but I tried this when my granddaughter sent it to me, and even my husband said it was some of the best I’ve ever made. Great job on a classic done right.

5 days ago

Wow, that means the world coming from someone who’s been making this classic for decades! So glad you and your husband enjoyed the recipe, and thanks so much for taking the time to leave such a kind note.

5 minutes ago

Haven’t made this yet but it looks incredible! Quick question though—has anyone tried this with gluten free all purpose flour? I have a gluten sensitivity but I’ve been craving fried chicken so bad, I’m wondering if the breading will still get crispy if I swap the regular flour?

just now

Great question! A 1:1 gluten free all purpose flour works perfectly for this recipe, you won’t even notice a difference in crispiness. Just make sure to use a blend that has xanthan gum in it to help the coating stick, and it’ll turn out great!

2 weeks ago

Made this for our 4th of July cookout (yes I’m late leaving a review, oops) and it was the first dish gone! Everyone was raving about how crispy it was, even my cousin who swears only his grandma can make good southern fried chicken went back for thirds. 10/10, no notes.

1 week ago

Lmao same, my cousin is the exact same way—nothing is ever as good as his grandma’s cooking. I’m gonna have to make this for our next cookout to see if I can impress him too.

30 minutes ago

Wait a second—can I make this in the air fryer instead of deep frying? I try not to use a bunch of oil if I can help it, but I love that classic southern fried chicken flavor.

5 minutes ago

You absolutely can! Spray the breaded chicken generously with olive oil spray, air fry at 380F for 12-15 minutes, flipping halfway through, until the internal temp hits 165F. It won’t be exactly the same as deep fried, but it’ll still be crispy and delicious!

2 hours ago

Just made this in my tiny apartment kitchen with the cheapest frying pan I own and it still came out amazing! I was worried I’d set off the smoke alarm (I’ve done that way too many times) but the temperature tip in the recipe was so helpful, no smoke, no burnt chicken, just perfect crispy fried chicken. So proud of myself right now.

yesterday

Made this for my date last night and he said it was better than his mom’s fried chicken… don’t tell her I said that lmao. Served it with waffles and hot honey for a little twist, and he asked if we could have it again next weekend. Total win, 10/10, recipe is a keeper.

3 days ago

Chicken breast is always the cheapest cut at my grocery store so I’m always looking for new ways to make it not boring, and this recipe is a total home run. Cost me less than $10 to make enough for four people, which is perfect for my tight grocery budget. Way better than paying for takeout.

5 days ago

Pro tip: add a little dill pickle brine to your egg wash! I did that because I love that tangy pickle flavor you get at fast food fried chicken spots, and it made the chicken so juicy and flavorful. This recipe is already chef’s kiss, but that little swap made it even better for me.

1 week ago

My whole family came over for Sunday dinner last weekend and I made this chicken, plus mashed potatoes, green beans, and biscuits. Everyone cleaned their plates, even my super picky 7 year old niece who only eats chicken nuggets. I’d call that a massive success! Will be making this for all our family gatherings from now on.



