
Southern Fried Cornmeal Mush
intro
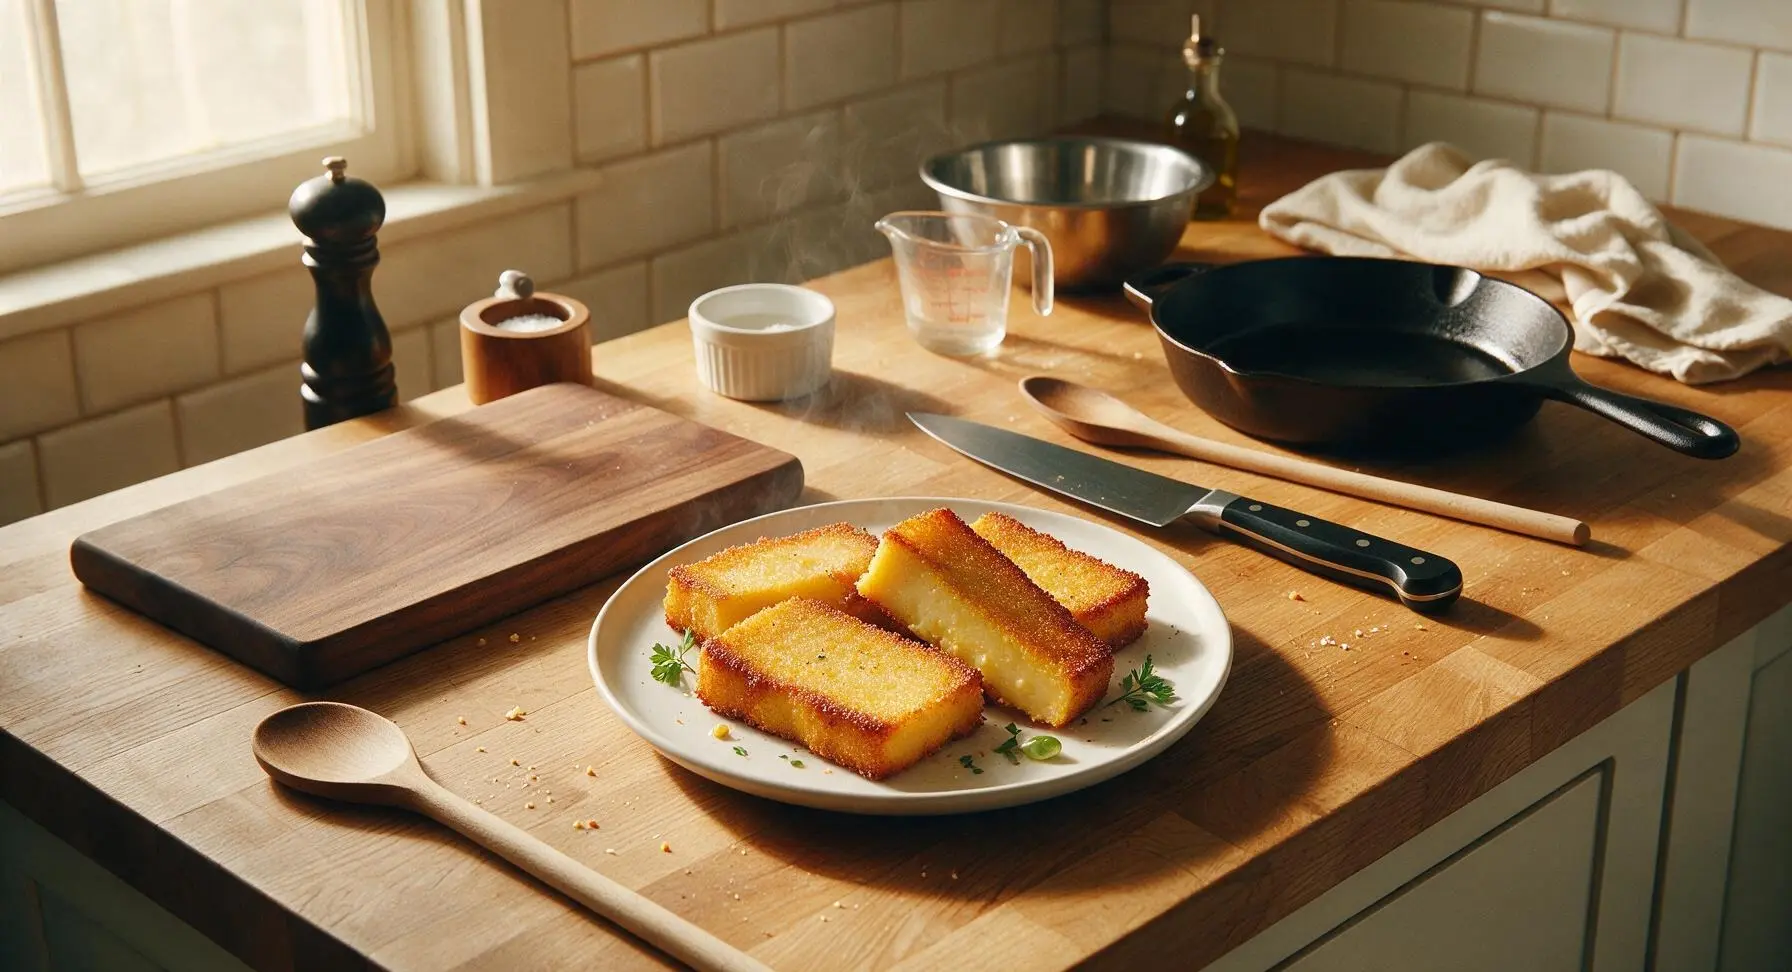
Crispy golden-edged cornmeal slices with a soft, creamy center, this nostalgic Southern staple shines sweet with syrup or savory alongside eggs and gravy.
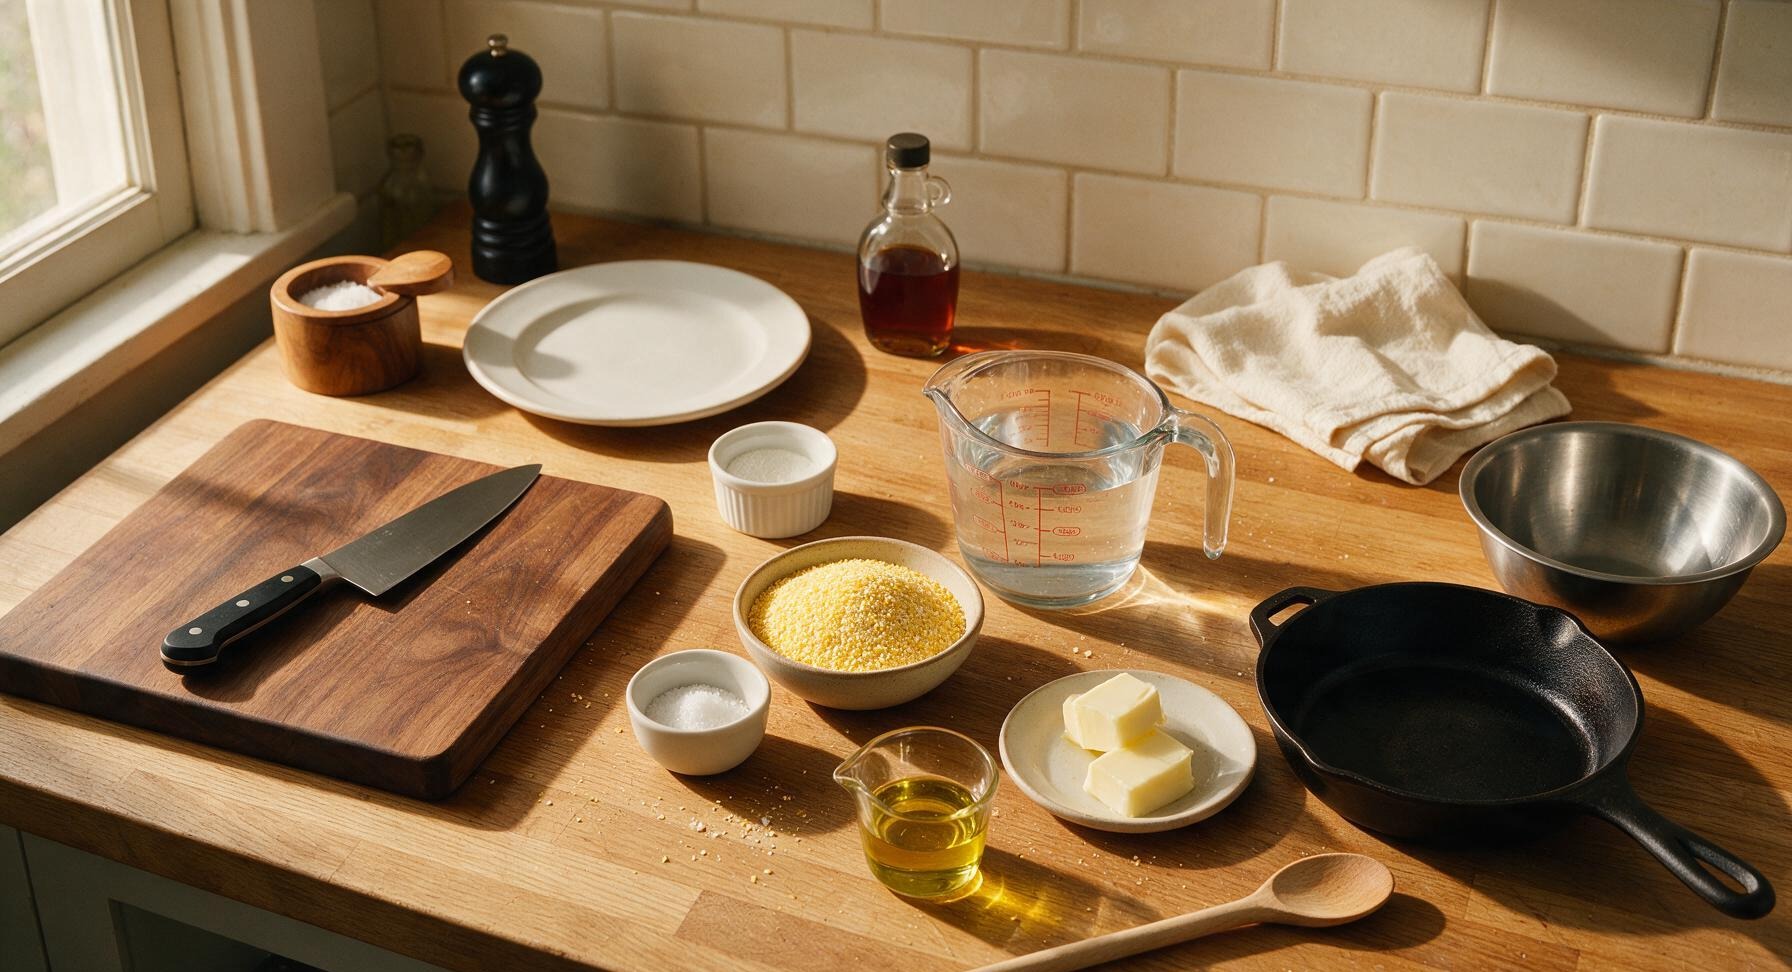
Ingredients
Steps
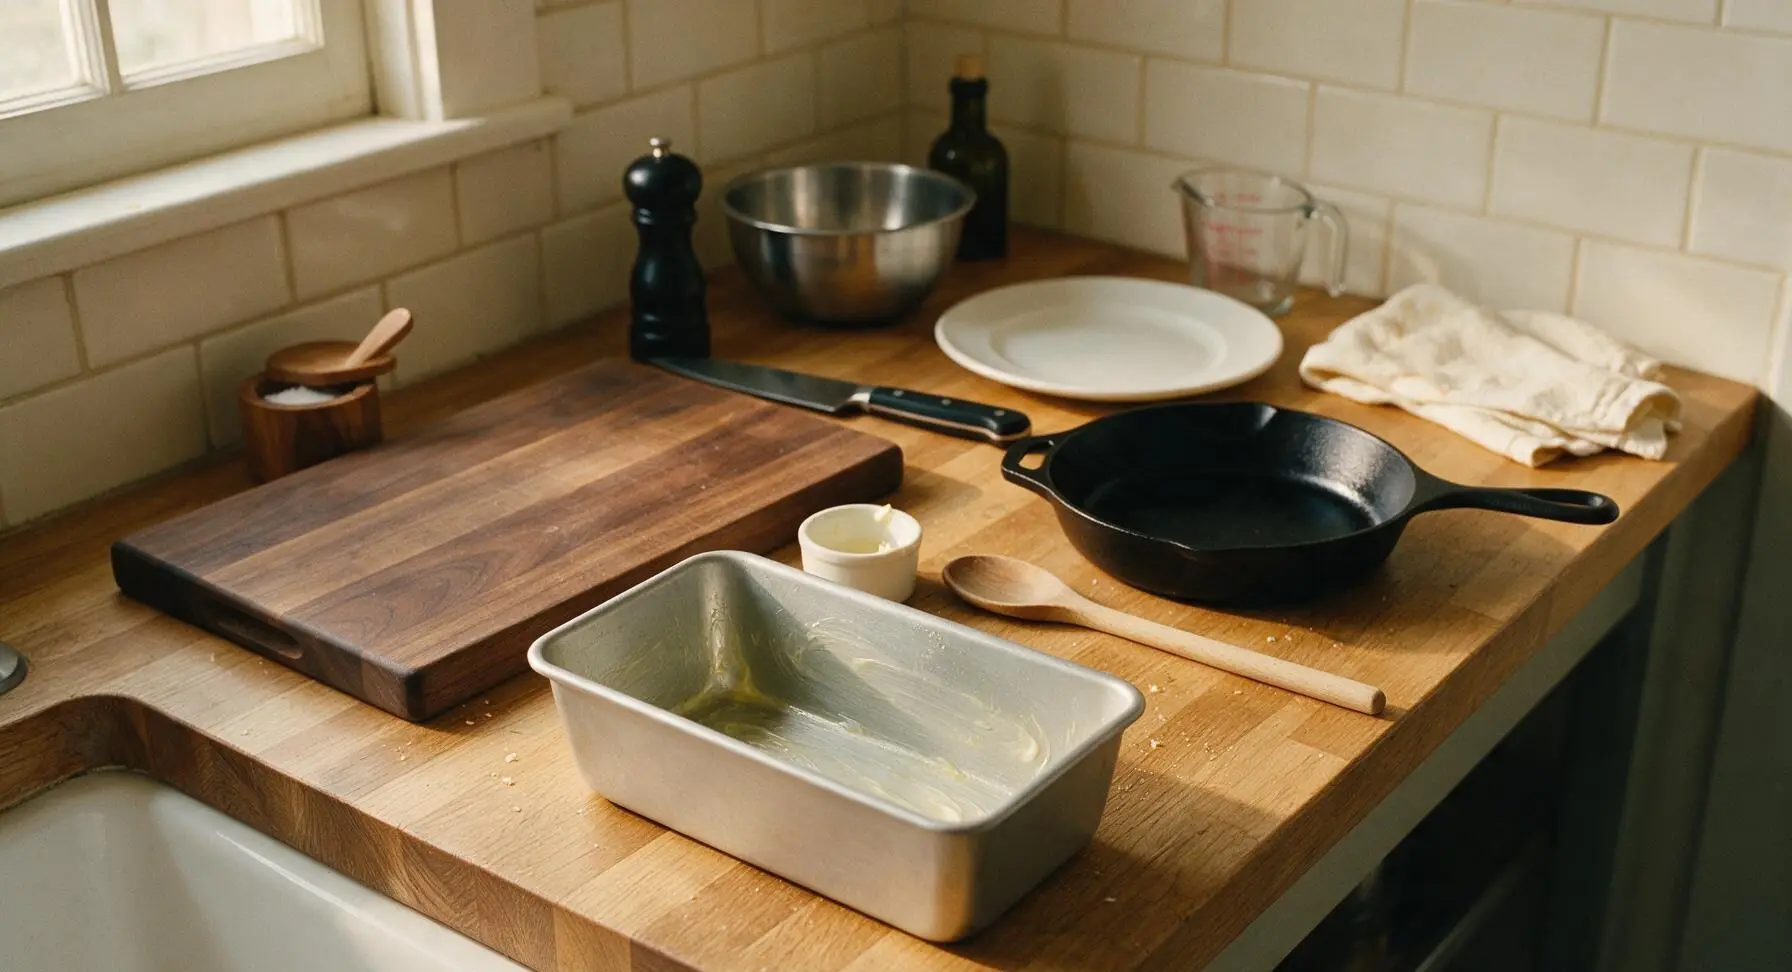
Prep the Loaf Pan
Use 1/2 tablespoon of the measured unsalted butter to thoroughly grease the interior sides and bottom of the 9x5 inch aluminum loaf pan. This prevents the set cornmeal from sticking when you remove it to slice later. Set the prepped pan near the stovetop.
Whisk Cornmeal Slurry
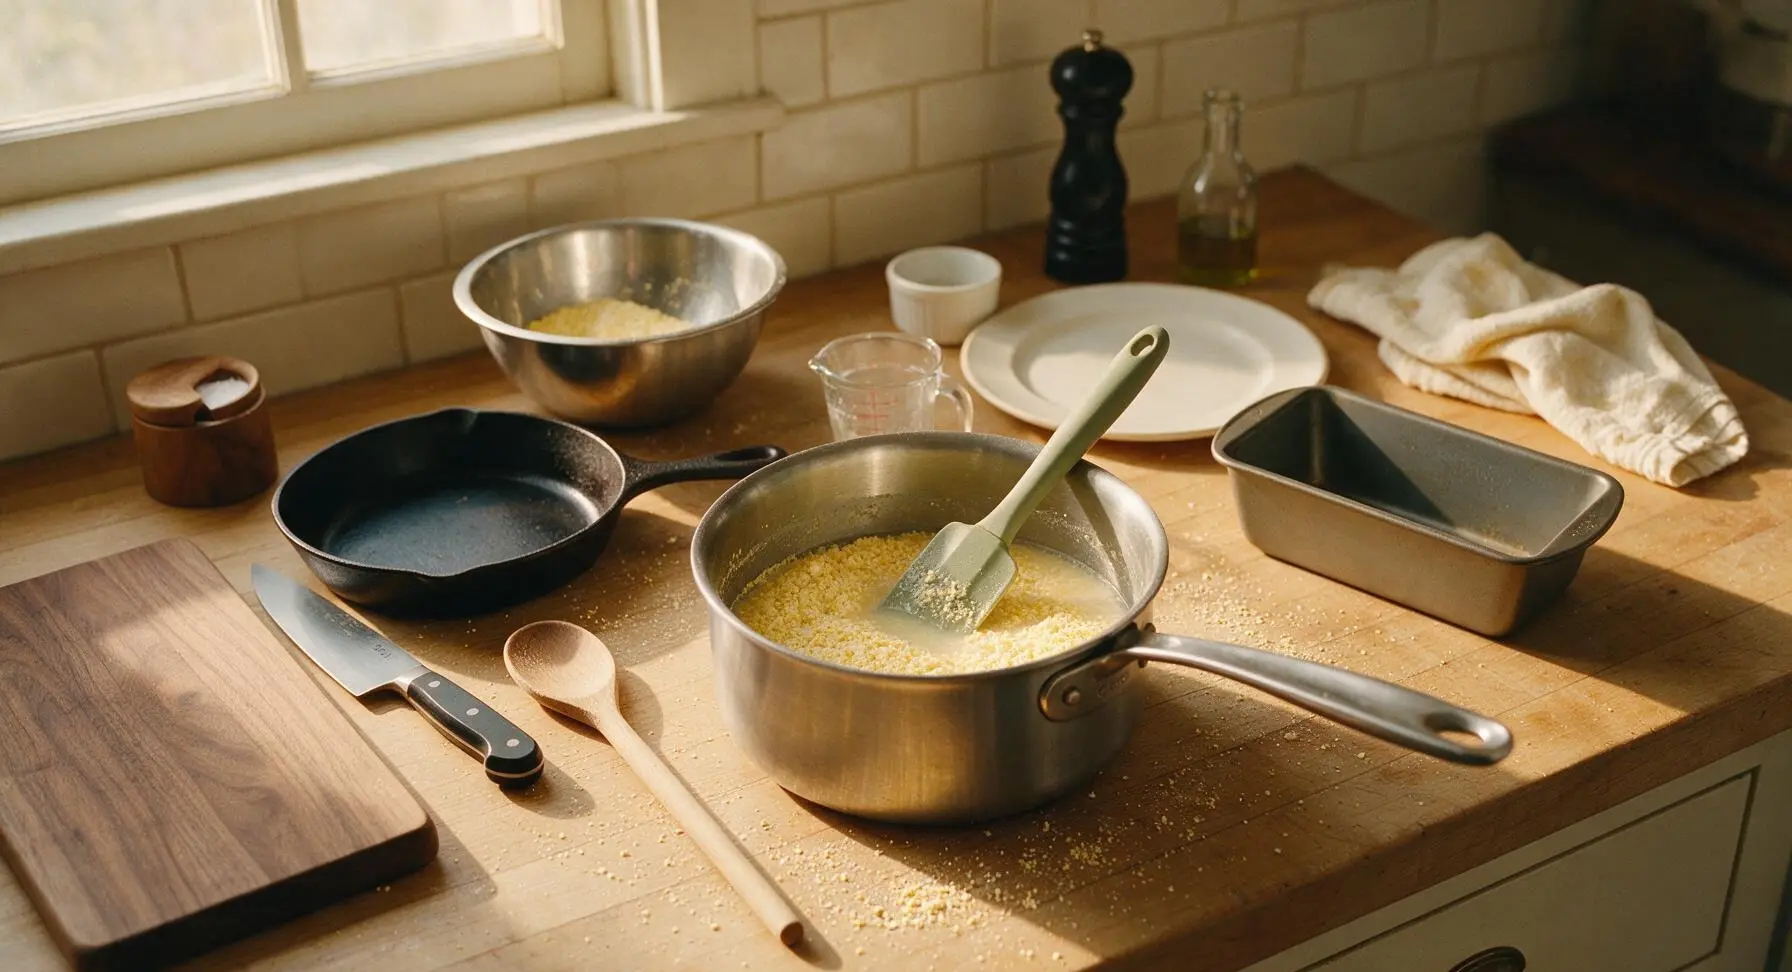
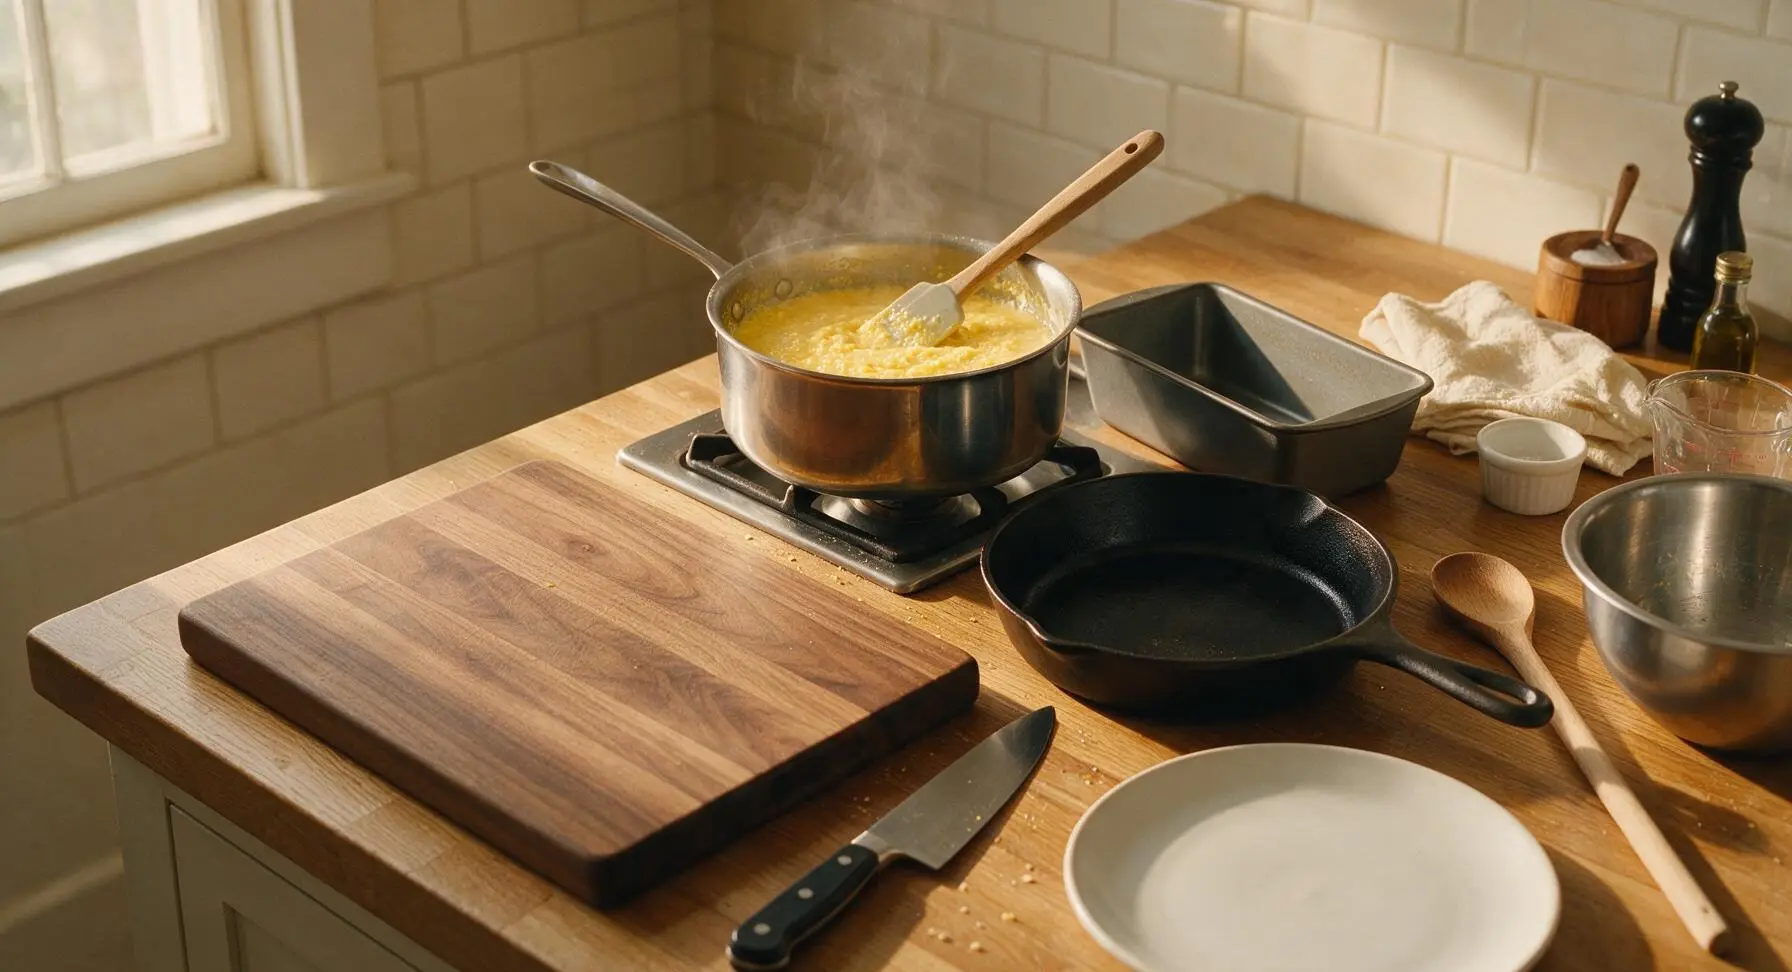
Pour 1 cup of cold water into the 3-quart stainless steel saucepan, add the full 1 cup of coarse cornmeal and 1 teaspoon kosher salt, stirring with the sage-handled silicone spatula until no dry lumps remain. Mixing cornmeal with cold water first prevents lumps from forming when the mixture boils, a common beginner mistake.
Cook Thick Cornmeal Mush
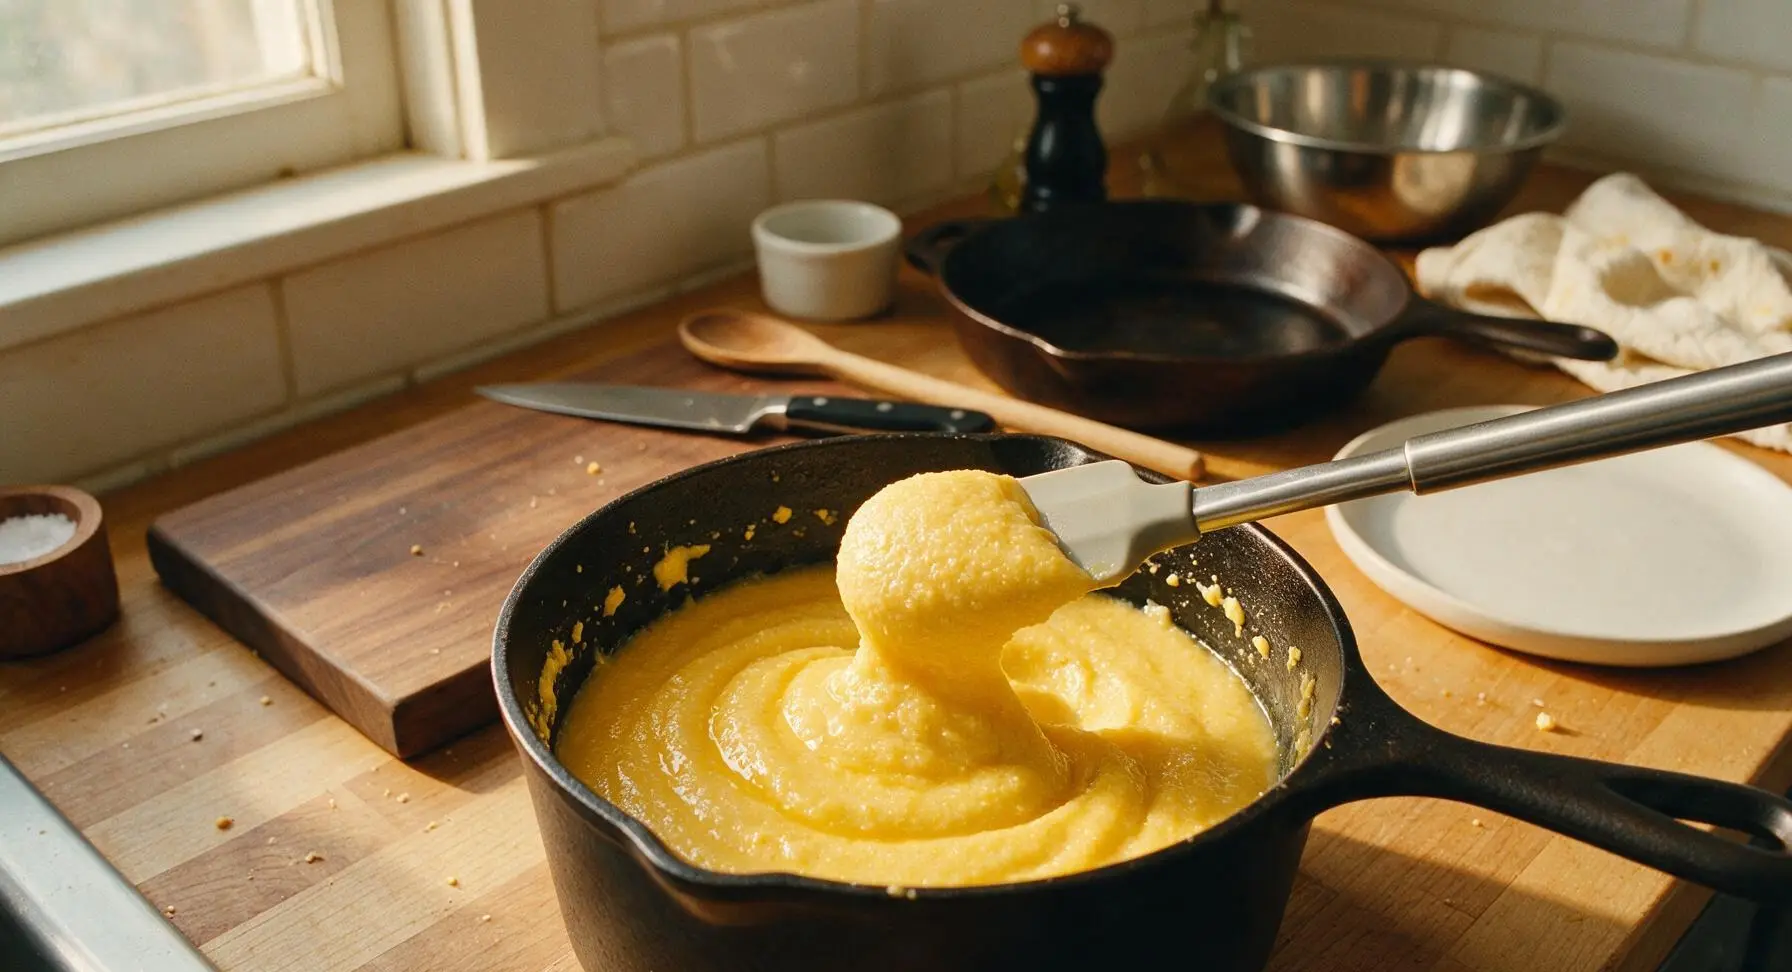
Place the saucepan over medium heat, pour in the remaining 2 cups of water, and stir constantly with the silicone spatula as the mixture comes to a gentle simmer. Once simmering, reduce heat to low, cover, and cook for 12-15 minutes, stirring every 2 minutes to prevent sticking on the pan bottom. The mush is done when it is thick enough to hold its shape when you lift a spoonful, with no raw gritty cornmeal texture when tasted. Stir in the remaining 1.5 tablespoons of unsalted butter until fully melted and incorporated.
Pour and Chill Mush
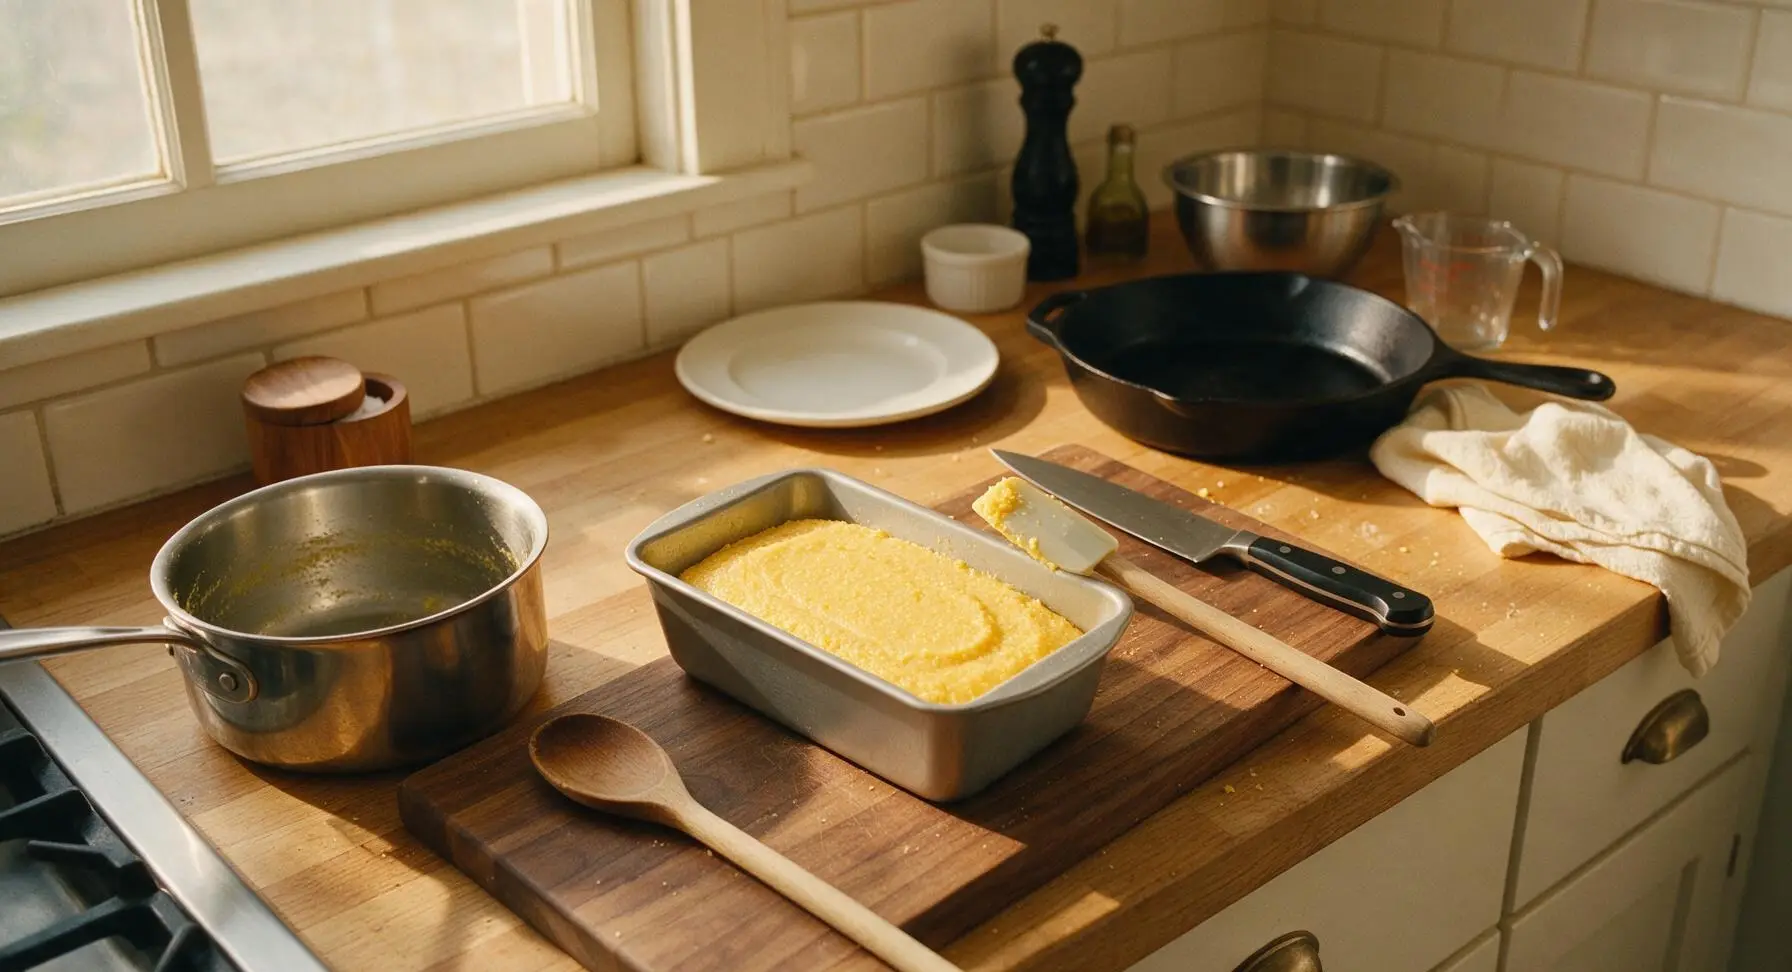
Immediately pour the hot cooked cornmeal mush into the pre-greased loaf pan, smoothing the top flat with the silicone spatula. Let it cool to room temperature on the counter for 30 minutes, then cover loosely with plastic wrap and refrigerate for a minimum of 4 hours (or up to 3 days) until the mush is completely firm and solid to the touch, with no jiggle when you nudge the pan.
Slice Firm Mush Block
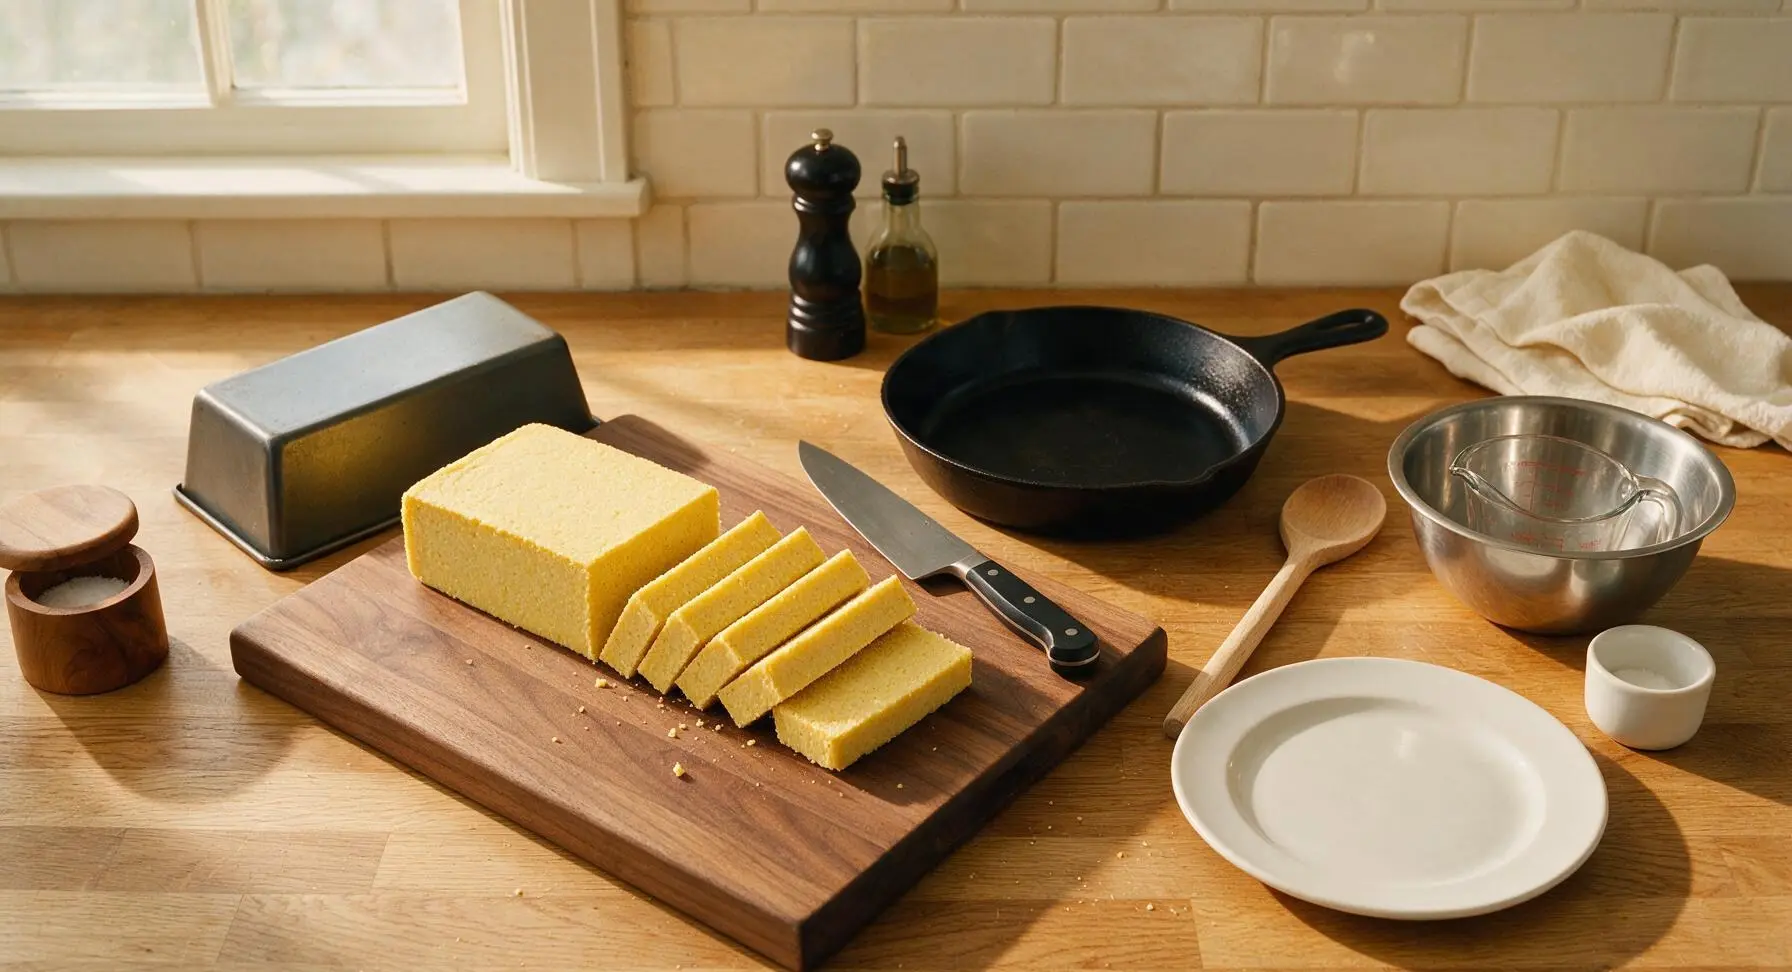
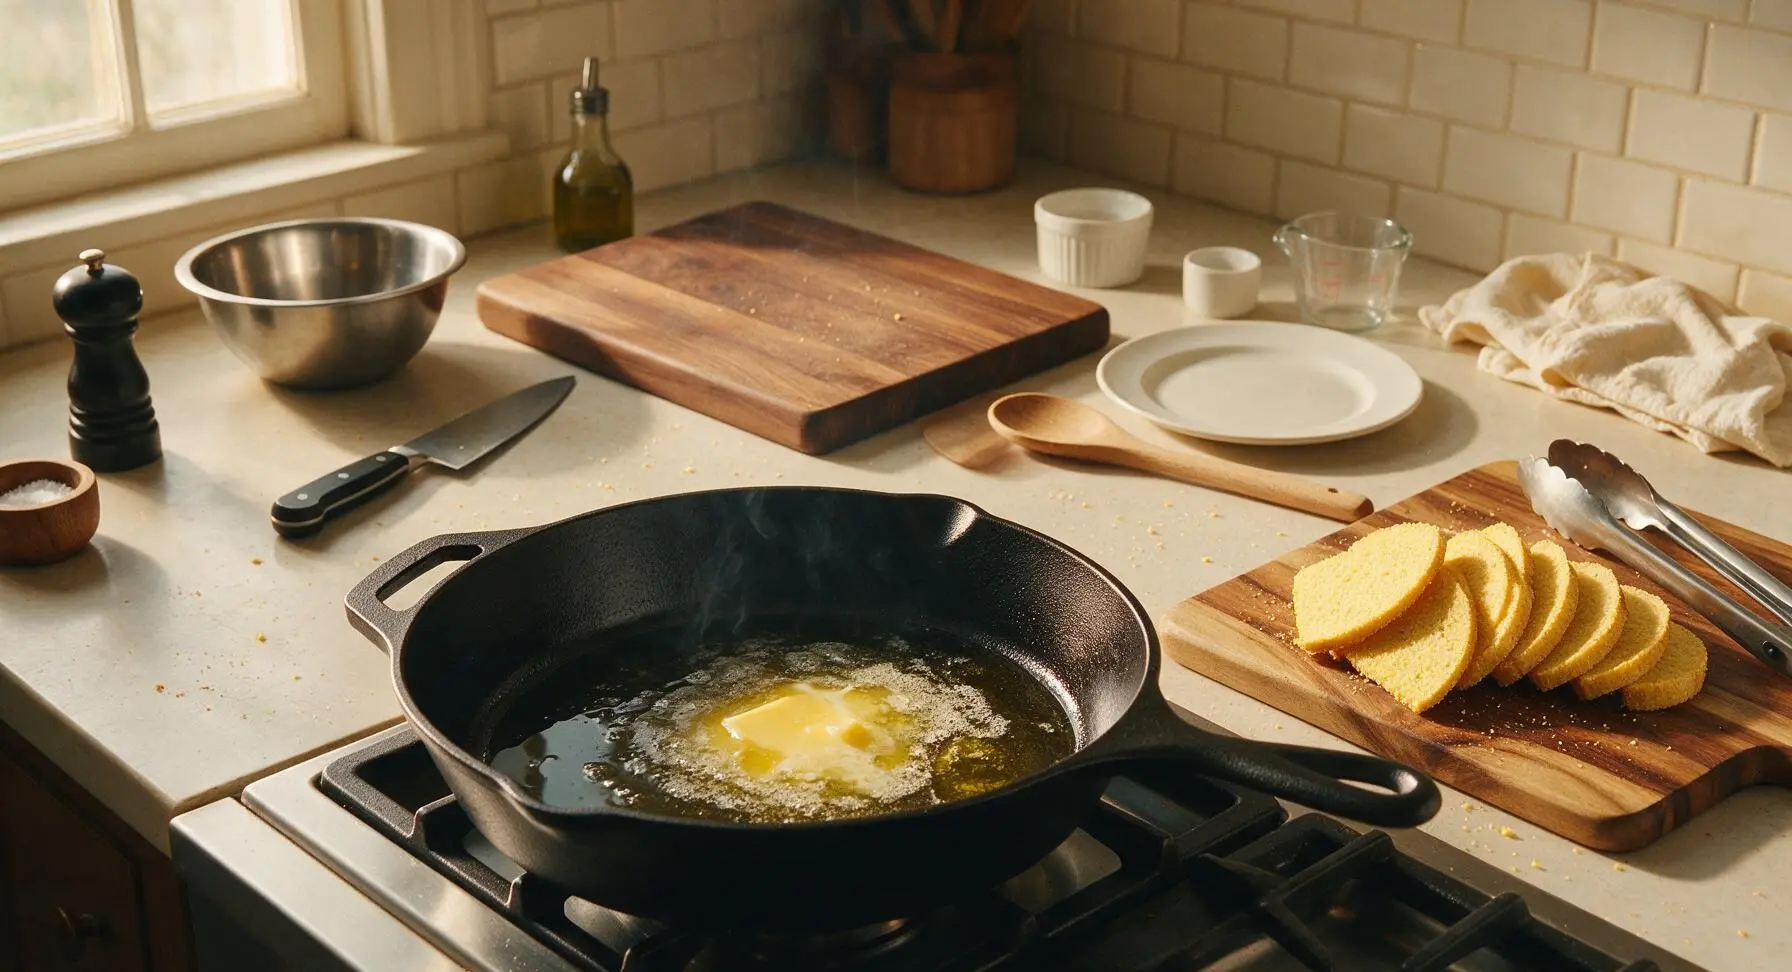
Once fully chilled, run a thin knife around the edge of the loaf pan, then invert the pan onto the acacia wood cutting board to release the solid cornmeal block. Slice the block crosswise into 8 even 1/2-inch thick slices; slices that are too thick will not crisp properly, while slices that are too thin will fall apart during frying.
Heat Oil in Skillet
Place the 12-inch cast iron skillet over medium heat, add 3 tablespoons of canola oil and the remaining 1/2 tablespoon of butter, heating until the butter is melted and the oil shimmers (about 350°F / 175°C). Test the heat by touching the edge of one cornmeal slice to the pan: it should sizzle immediately on contact; if it doesn’t, wait 1-2 more minutes before adding slices, as cold oil will make the mush soggy and greasy.
Fry Slices Golden Crisp
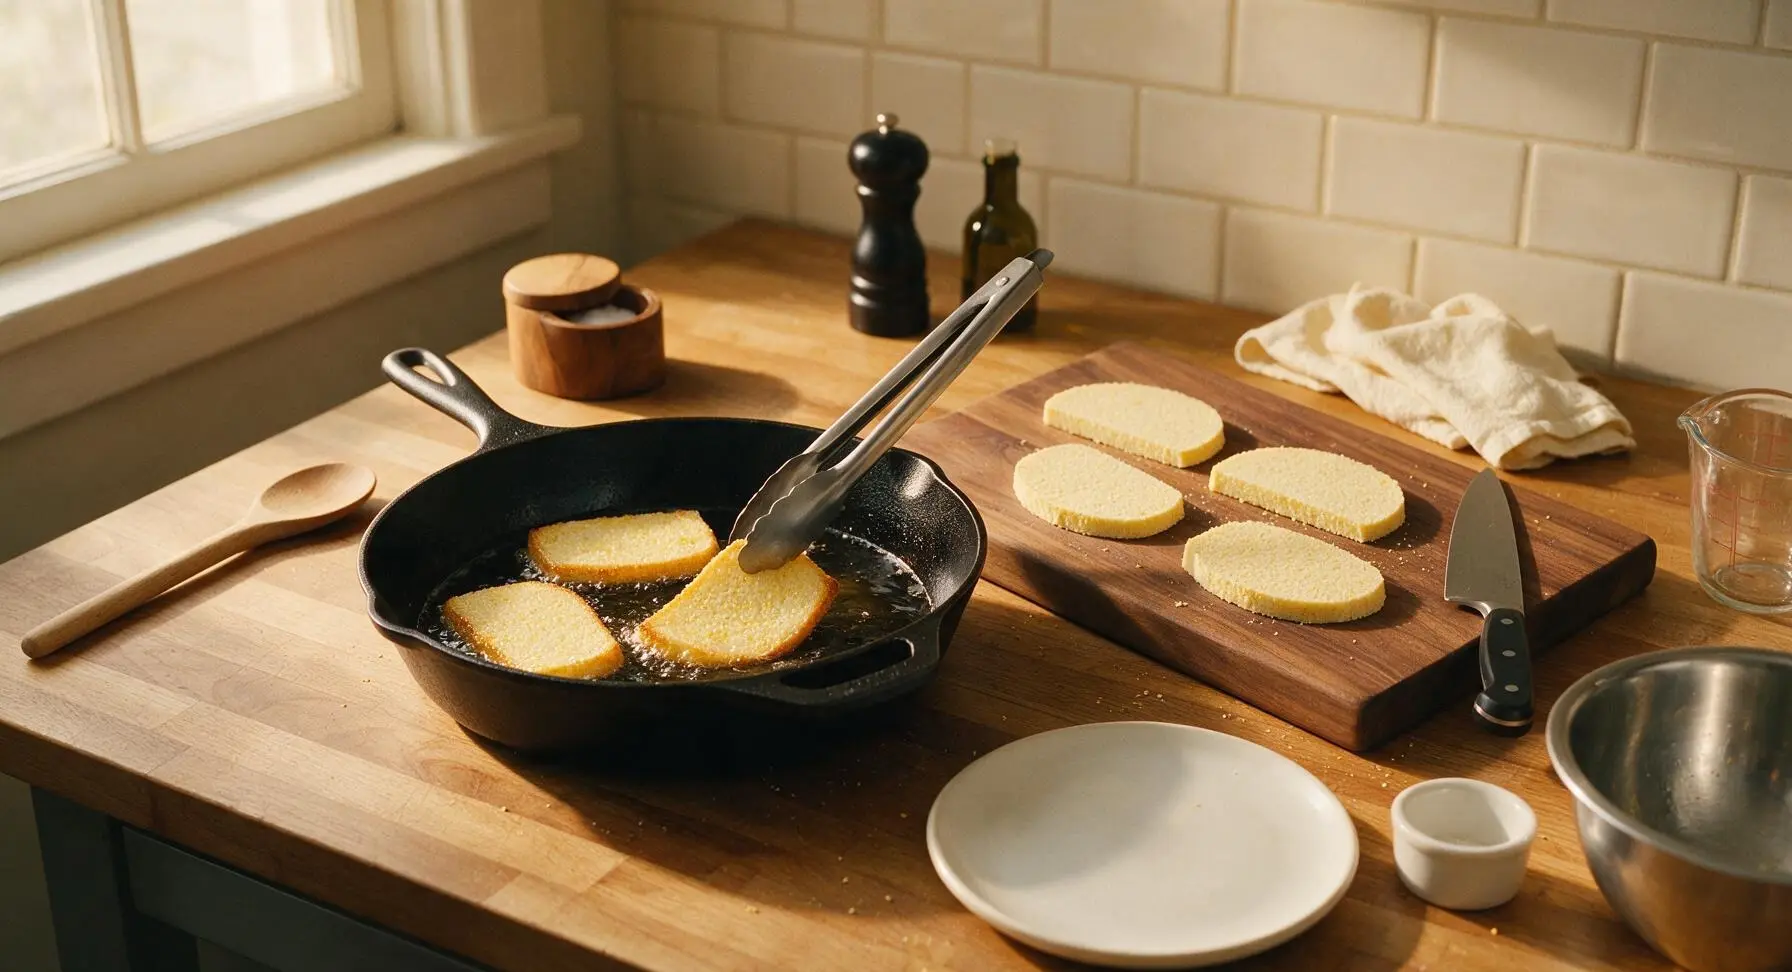
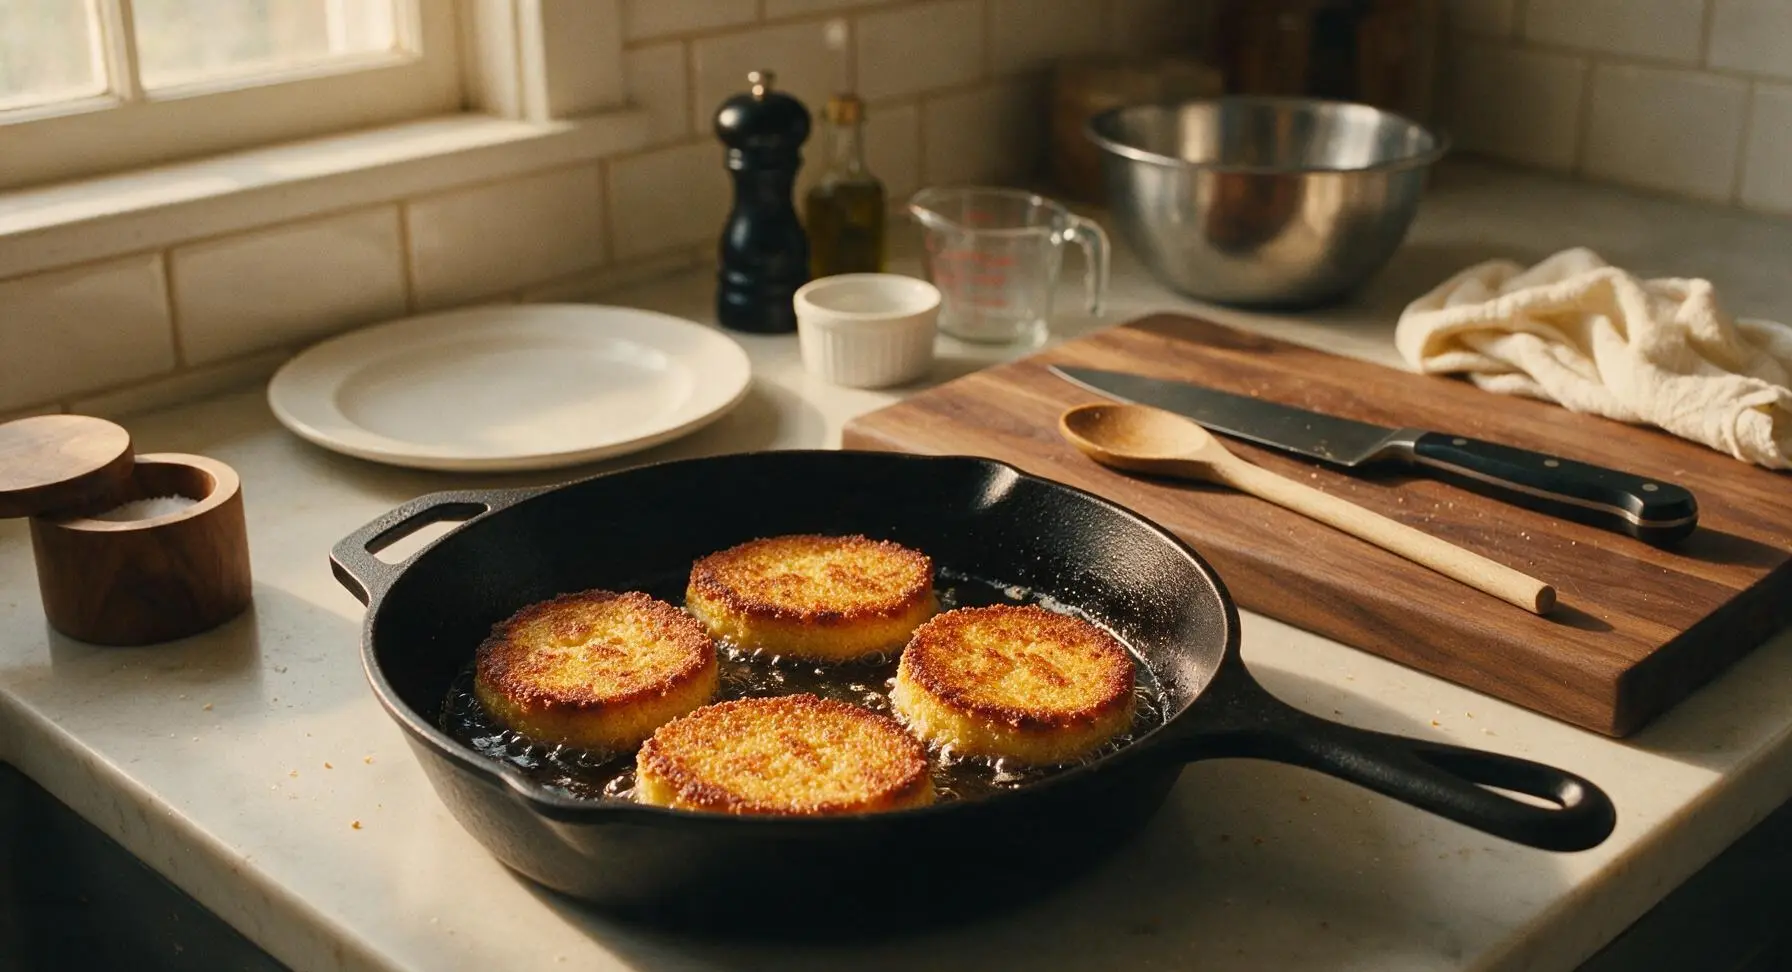
Use the tongs to carefully place 4 cornmeal slices in the hot skillet, working in batches to avoid overcrowding the pan (overcrowding drops the oil temperature and causes steaming instead of frying). Fry for 4-5 minutes on the first side, until the bottom is deep golden brown and crispy around the edges, then flip with the tongs and fry the second side for another 3-4 minutes until matching golden crispness.
Drain Fried Slices
As each batch finishes frying, use the tongs to transfer the crispy slices to the chrome wire cooling rack set over the rimmed aluminum baking sheet to drain excess oil. Let slices rest for 2 minutes before serving; this allows the crust to stay crisp instead of getting soggy from trapped steam if stacked immediately.
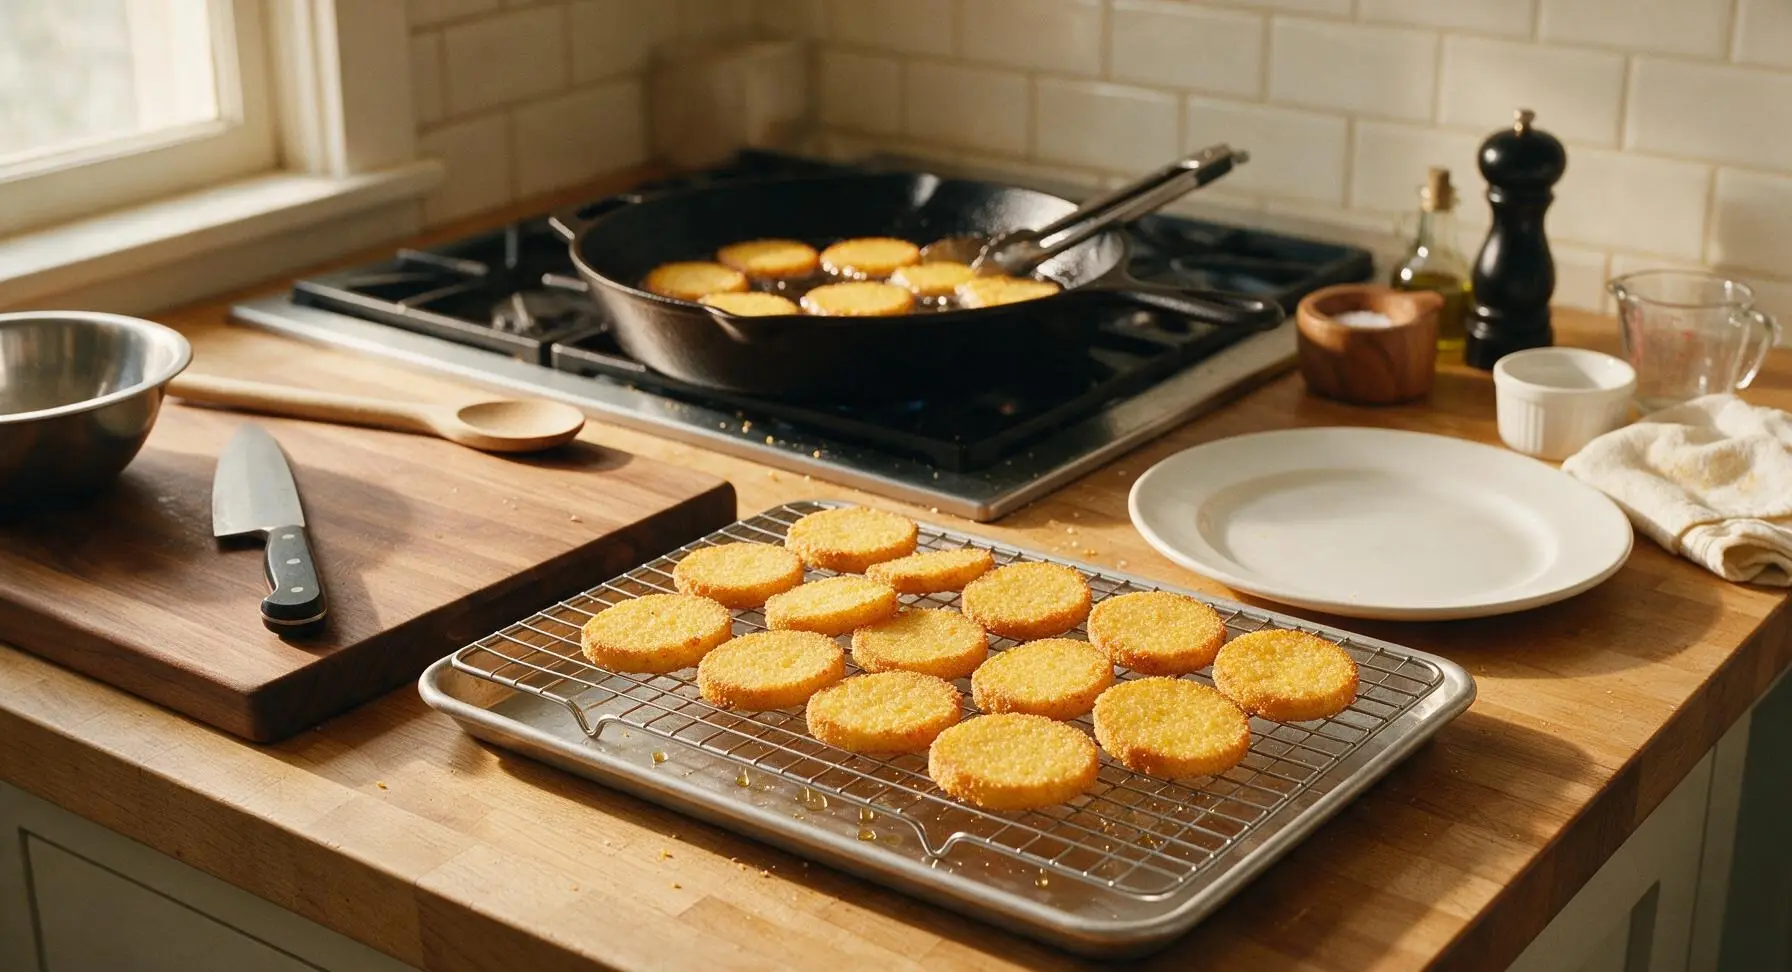
Plate and Serve Warm
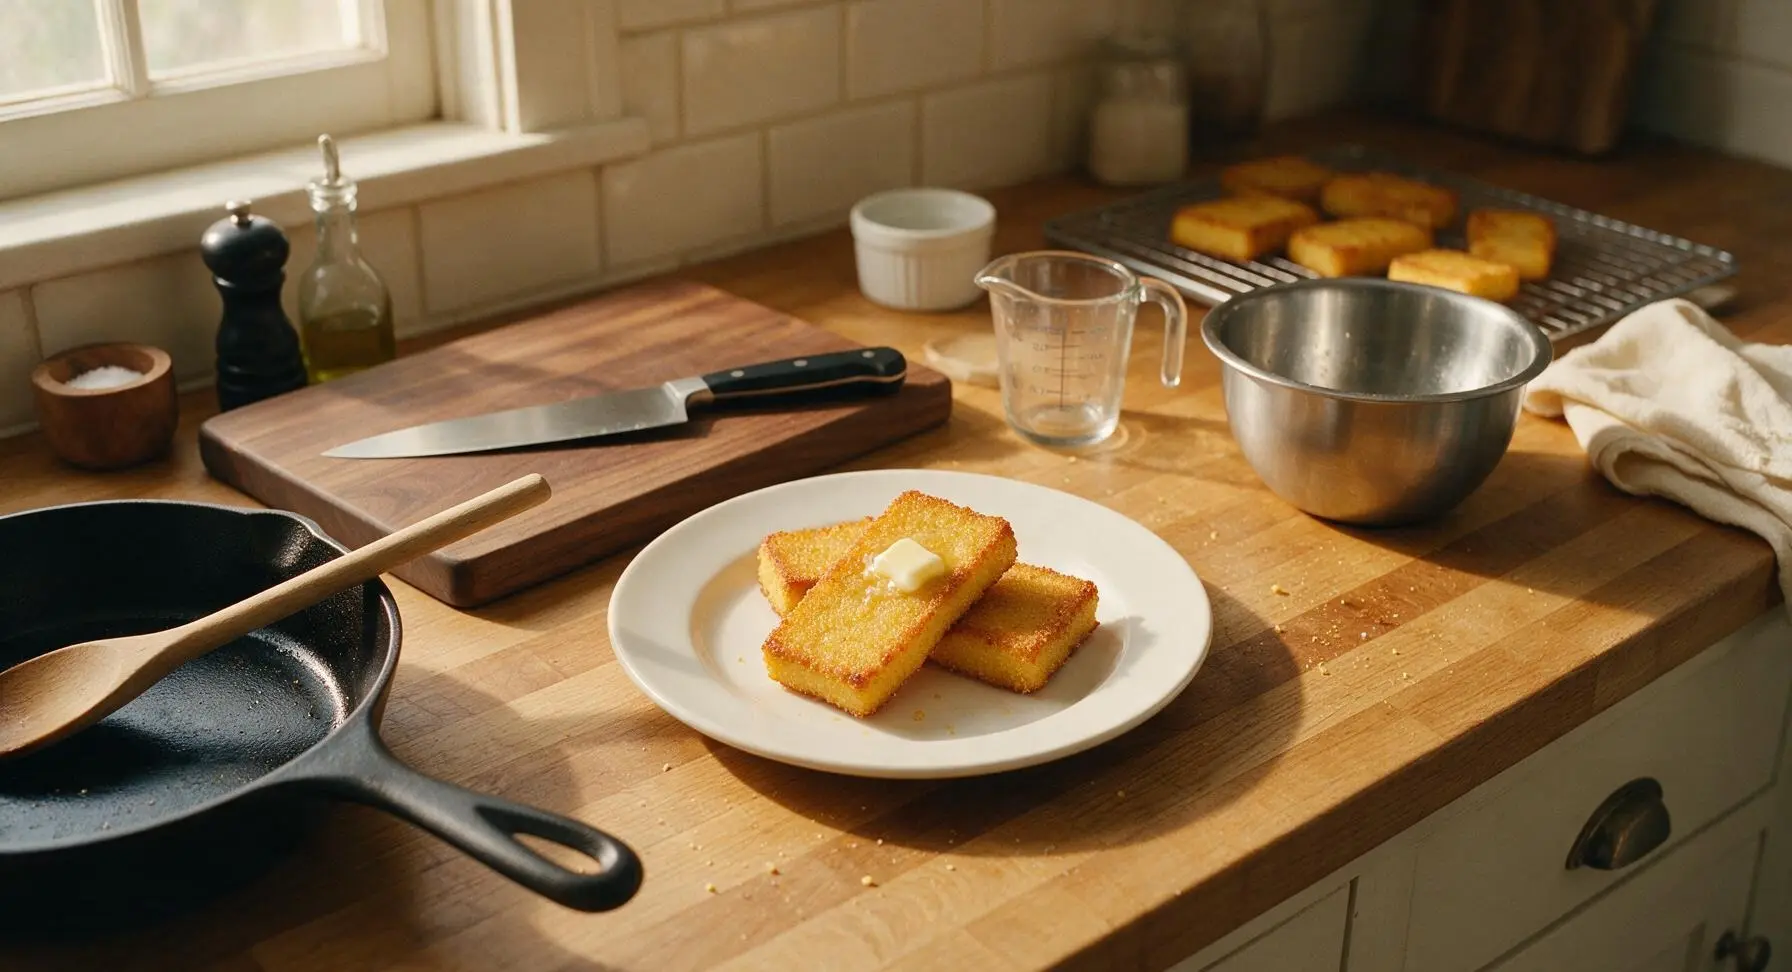
Arrange 2-3 fried slices per person on the cream white ceramic dinner plate. Serve hot, either sweet with a drizzle of maple syrup and an extra pat of butter, or savory alongside sausage gravy, fried eggs, or crispy bacon for a full Southern meal.
Tips
2.Drain fried slices on a wire rack instead of paper towels: placing hot fried slices directly on paper towels traps steam against the crust, making it turn soft and soggy within minutes, while the elevated rack allows air circulation to keep slices crisp from first bite to last.
3.Make a double batch of the cornmeal base and keep it stored in the loaf pan in the refrigerator for up to 5 days: you can slice and fry individual portions in 10 minutes for quick, hearty breakfasts or side dishes all week long.






OMG this tastes exactly like the cornmeal mush my great grandma used to make at Sunday suppers! I was so worried I’d mess up the chill step but it was so easy, even I didn’t mess it up. Crispy on the outside, soft and creamy inside, drizzled with a little maple syrup? *Chef’s kiss* My whole family went back for seconds.
Made this for our neighborhood potluck last weekend and folks were hovering over the platter asking for the recipe! I added a little pinch of cayenne to the cornmeal mix for a tiny kick and it went so hard. Only note: don’t skip the chilling time, I tried to rush a batch once and it totally fell apart in the skillet.
Game changer for weekday breakfasts! I make a big batch on Sunday, slice it up, and keep it in the fridge for quick fry-ups all week. Way cheaper and tastier than those frozen hash brown patties I used to buy. My toddler even gobbles it up with a little applesauce on top!
I was looking for a cheap, filling side to bring on car camping trips and this hit so hard. I fried it up in a cast iron over the camp stove on our last trip and it was the perfect warm, hearty side to go with our scrambled eggs and sausage. No fancy ingredients, super hard to mess up. Only knock is I wish the chill time was shorter, but I get why it’s necessary. 10/10 would make again, just gotta plan ahead.
Wait, I grew up eating polenta and thought this would be the exact same thing, but no — that crispy fried exterior with the creamy center? It’s next level. I served it with shrimp and grits-style sauce for dinner last night and my roommate said it’s the best thing I’ve cooked all month. SO good.
Help! I tried making this last night and my slices kept sticking to the pan and turning mushy when I tried to fry them. Did I do something wrong? I only chilled it for 2 hours because I was in a rush, oops.
I added a half cup of shredded sharp cheddar to the cornmeal while it was cooking on the stove before chilling, and oh my GOD. Crispy cheesy edges, creamy cheesy center? Served with a dollop of sour cream and it’s comfort food heaven. Even my super picky teen asked for seconds.
Made this for brunch with my girls yesterday and everyone raved! Served it with crispy bacon, fresh fruit, and mimosas, it was the perfect easy brunch spread. Will absolutely be making this on repeat all summer.
I remember my mom making this when I was a kid and serving it with maple syrup for breakfast, I haven’t had it in probably 30 years. This recipe was exactly how I remembered it! The ratios were perfect, no lumps, fried up golden brown every time. Total nostalgia trip.
Wait, is this naturally gluten free? I have celiac and have been craving something crispy and carby that doesn’t require fancy GF flour blends. This looks right up my alley!
Bro I’m a broke college kid and this cost me like $2 total to make, feeds me for 4 days. I thought I was gonna burn it first try but it’s so easy even I didn’t mess it up. I put hot sauce on mine and it slaps.
I was worried this would be too heavy but it’s actually pretty light if you pan fry it with a little olive oil instead of bacon grease! I served it alongside roasted veggies and grilled chicken for dinner and it was the perfect balanced meal. Will definitely make again, might add some garlic powder next time for extra flavor.
Don’t let anyone tell you this isn’t real southern food! I’ve been making this for 40 years and this recipe is spot on. The key is cooking the cornmeal slow until it’s thick before you pour it into the loaf pan to chill, no lumps allowed. Folks who say it’s bland just aren’t seasoning their cornmeal right — a little salt and pepper goes a long way!
I brought this to our church potluck last Sunday and it was the first empty dish on the table! I cut the slices into little bite-sized squares, fried them up, and put out a little bowl of hot honey for dipping. People were hunting me down to ask for the recipe before service even ended.