
southern style fried chicken

title 1
southern style fried chicken
⏱️ cook time 35 minutes
🍽️ servings 4
⚡ Difficulty medium

intro

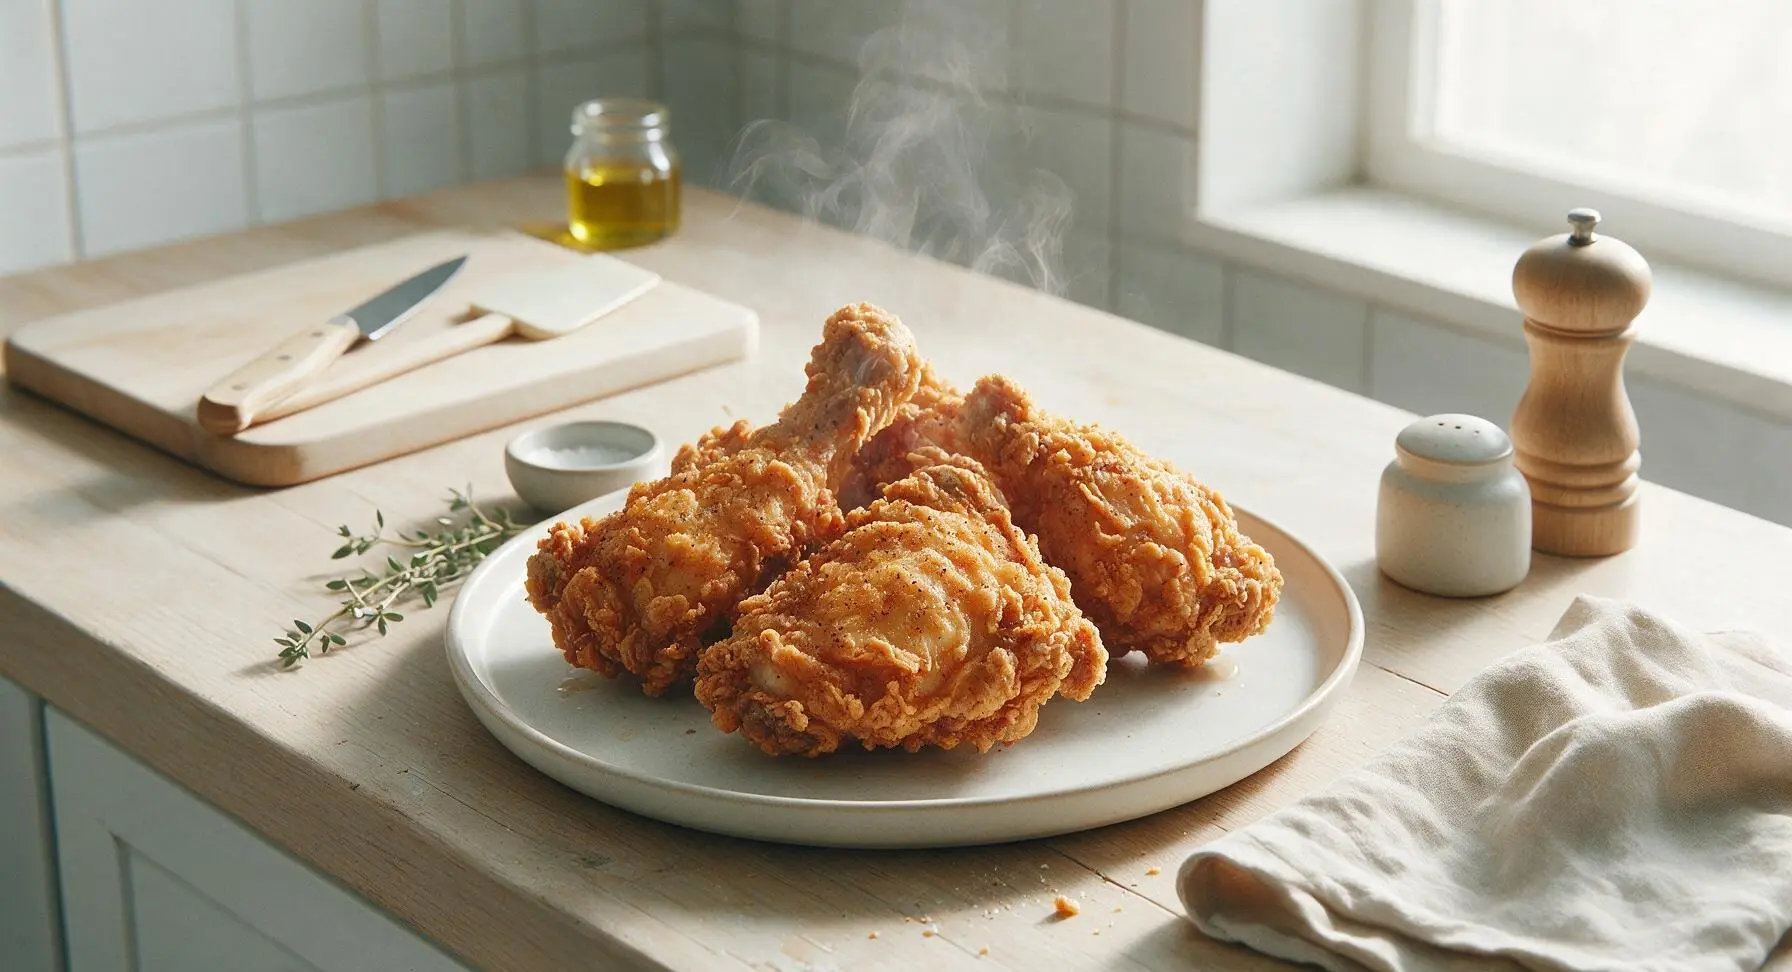
Crispy, craggy golden crust giving way to juicy, brined chicken, seasoned with classic Southern spices—this iconic recipe delivers crunch and deep flavor in every bite.

Ingredients
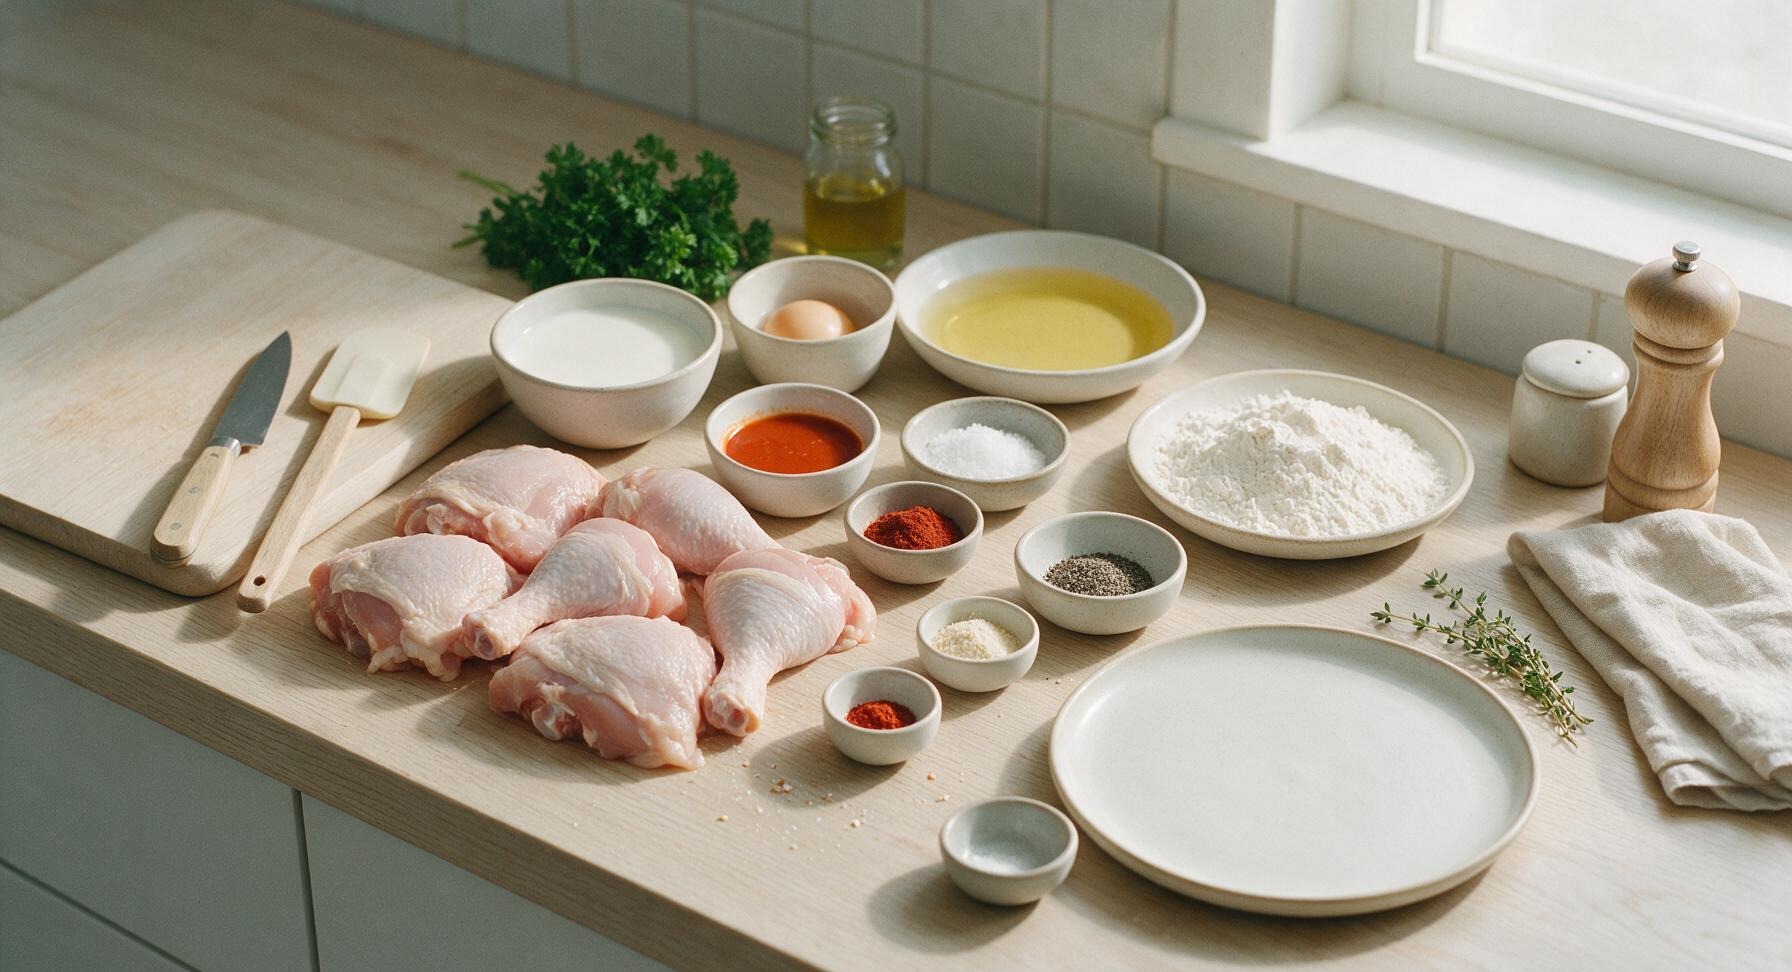
Bone-in, skin-on chicken pieces (mix of thighs, drumsticks, breast halves) 1.2kg (2.5 lbs, 6 pieces total)
Full-fat buttermilk 2 cups (480ml)
Large egg 1
Cayenne hot sauce 2 tbsp
All-purpose flour 2 cups (240g)
Kosher salt 1 tbsp plus 1 tsp
Freshly ground black pepper 1 tbsp
Smoked paprika 2 tsp
Garlic powder 1 tsp
Onion powder 1 tsp
Cayenne pepper 1/2 tsp
Neutral frying oil (peanut or canola) 4 cups (1L)
Fresh curly parsley 1 small bunch (for garnish)

Steps

1

Brine the Chicken Pieces

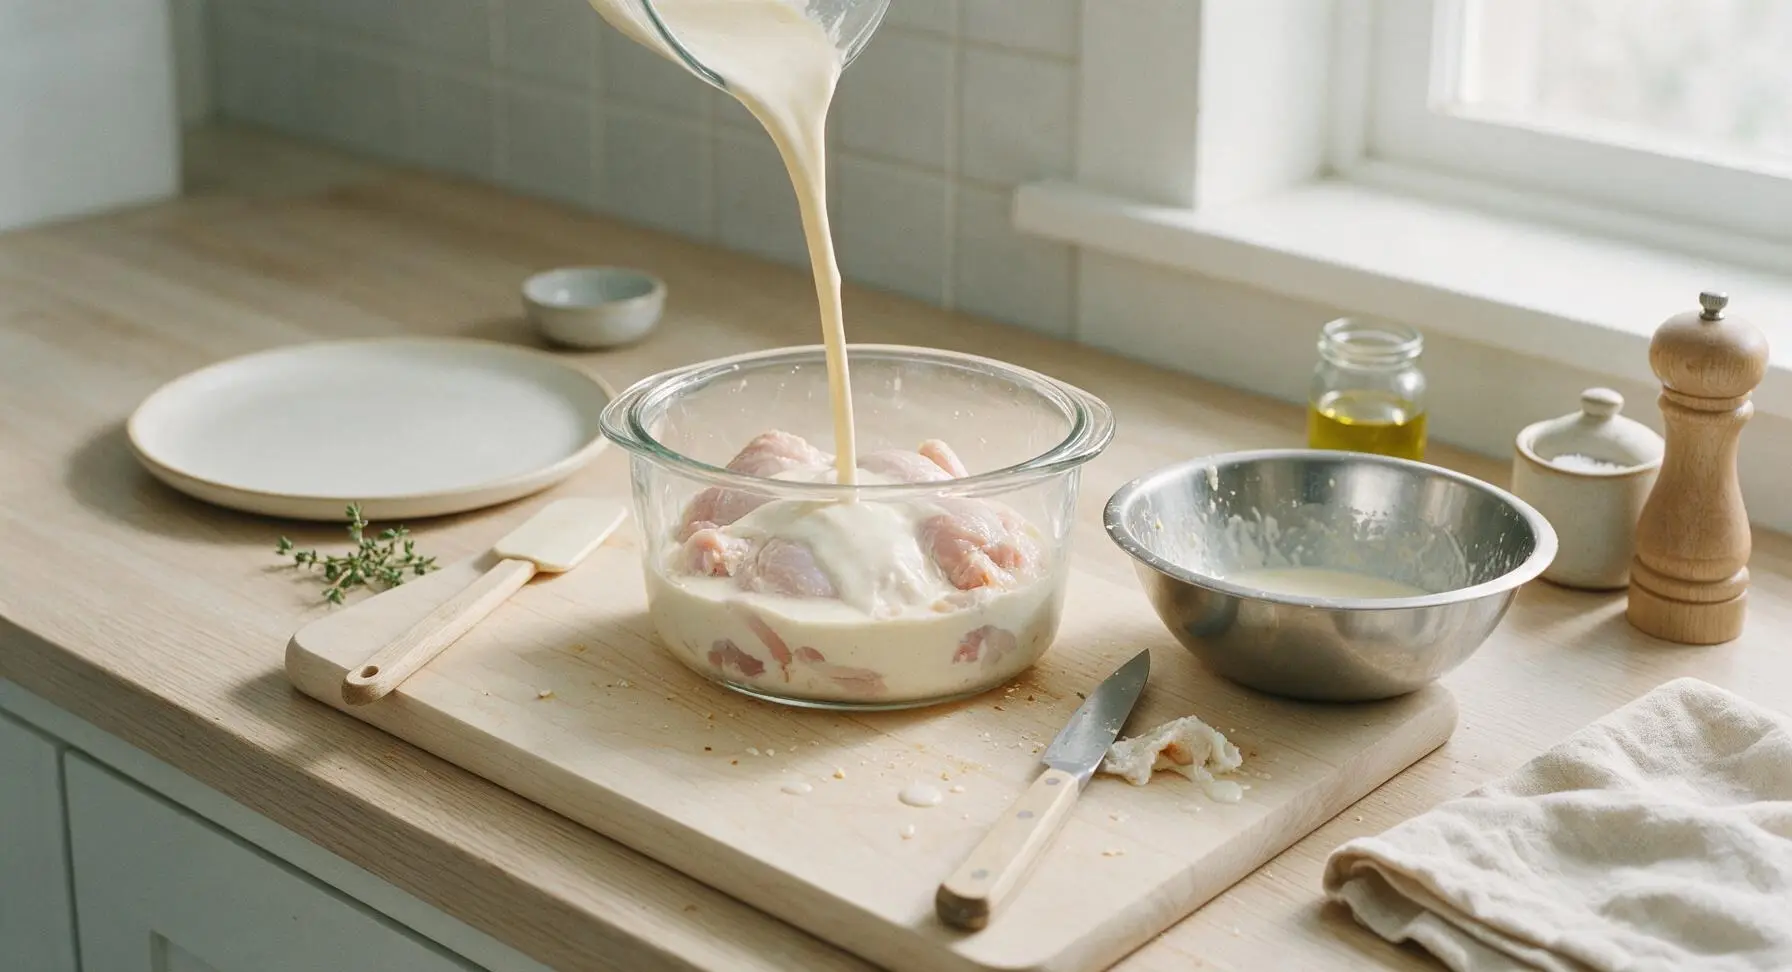
Pat the chicken pieces dry with paper towels, then place them in the clear glass brining container. Whisk together buttermilk, egg, hot sauce, and 1 tsp kosher salt until smooth, then pour the brine over the chicken to fully submerge all pieces. Seal the container and refrigerate for 8-12 hours (minimum 4 hours for rushed prep) to tenderize meat and lock in juiciness.
Step 1
step1:Brine the Chicken Pieces
2

Mix Seasoned Flour Breading

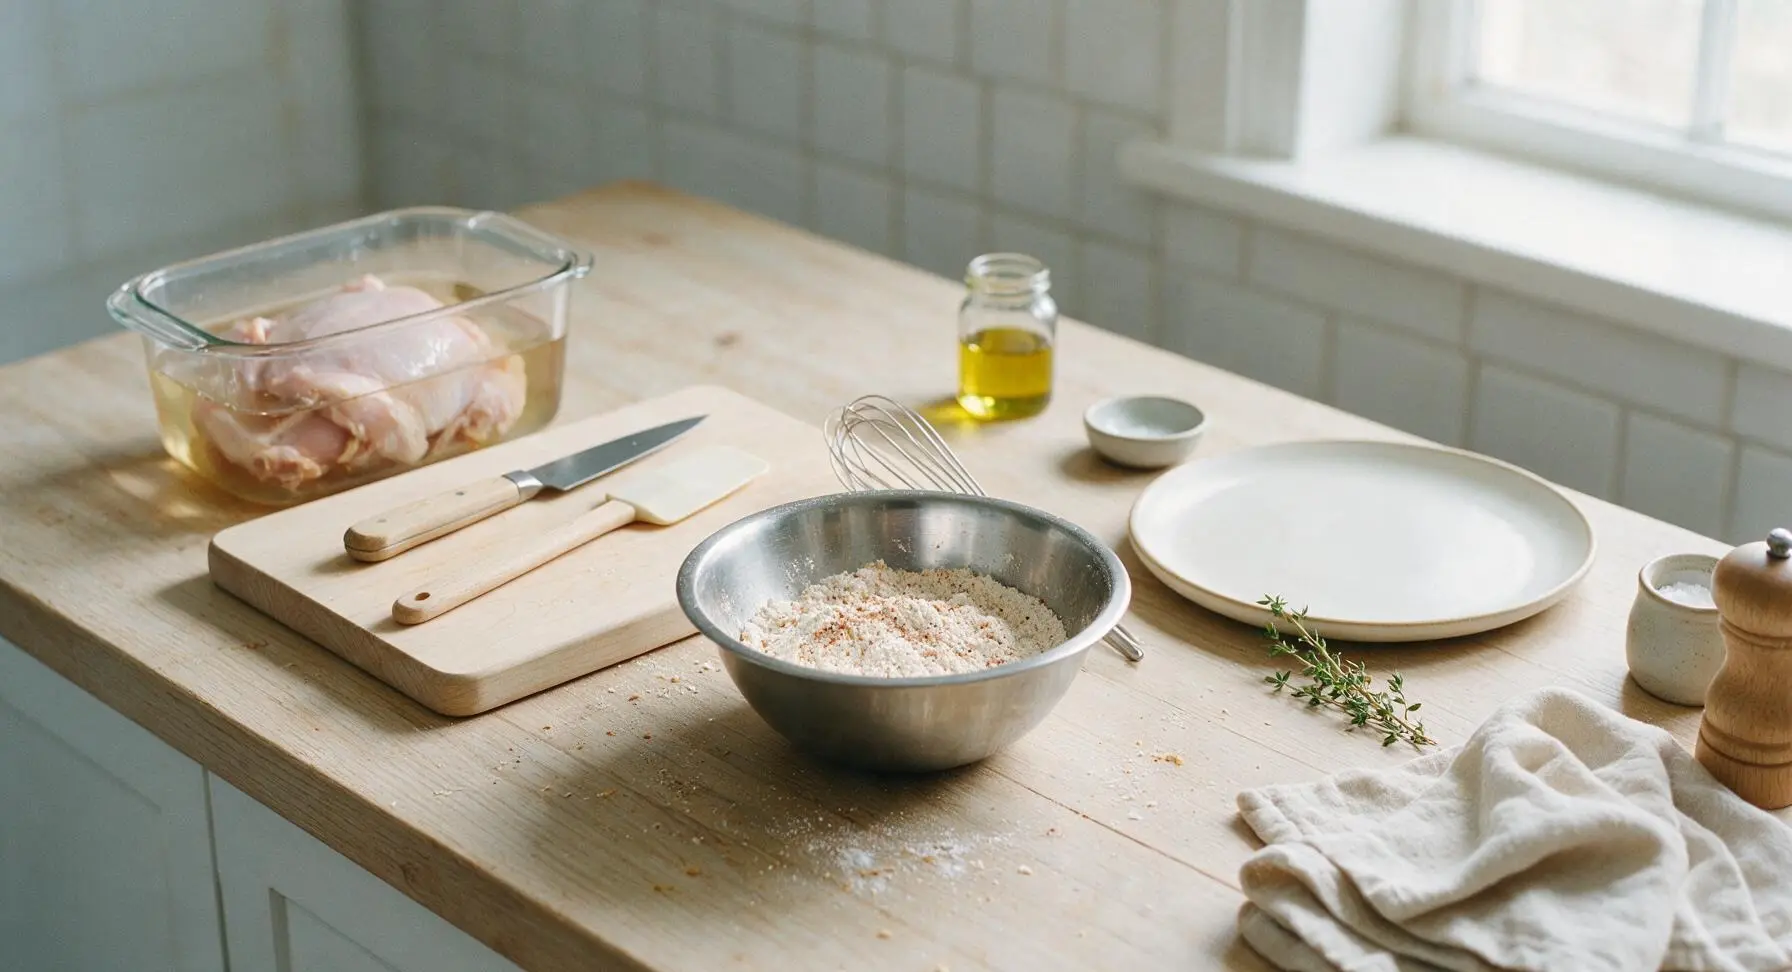
Remove brined chicken from the refrigerator 30 minutes before frying to bring it to room temperature, which prevents uneven cooking. In the stainless steel mixing bowl, combine all-purpose flour, remaining 1 tbsp kosher salt, black pepper, smoked paprika, garlic powder, onion powder, and cayenne pepper. Whisk thoroughly for 30 seconds to evenly distribute all spices through the flour.
Step 2
step2:Mix Seasoned Flour Breading
3

Heat Oil in Skillet

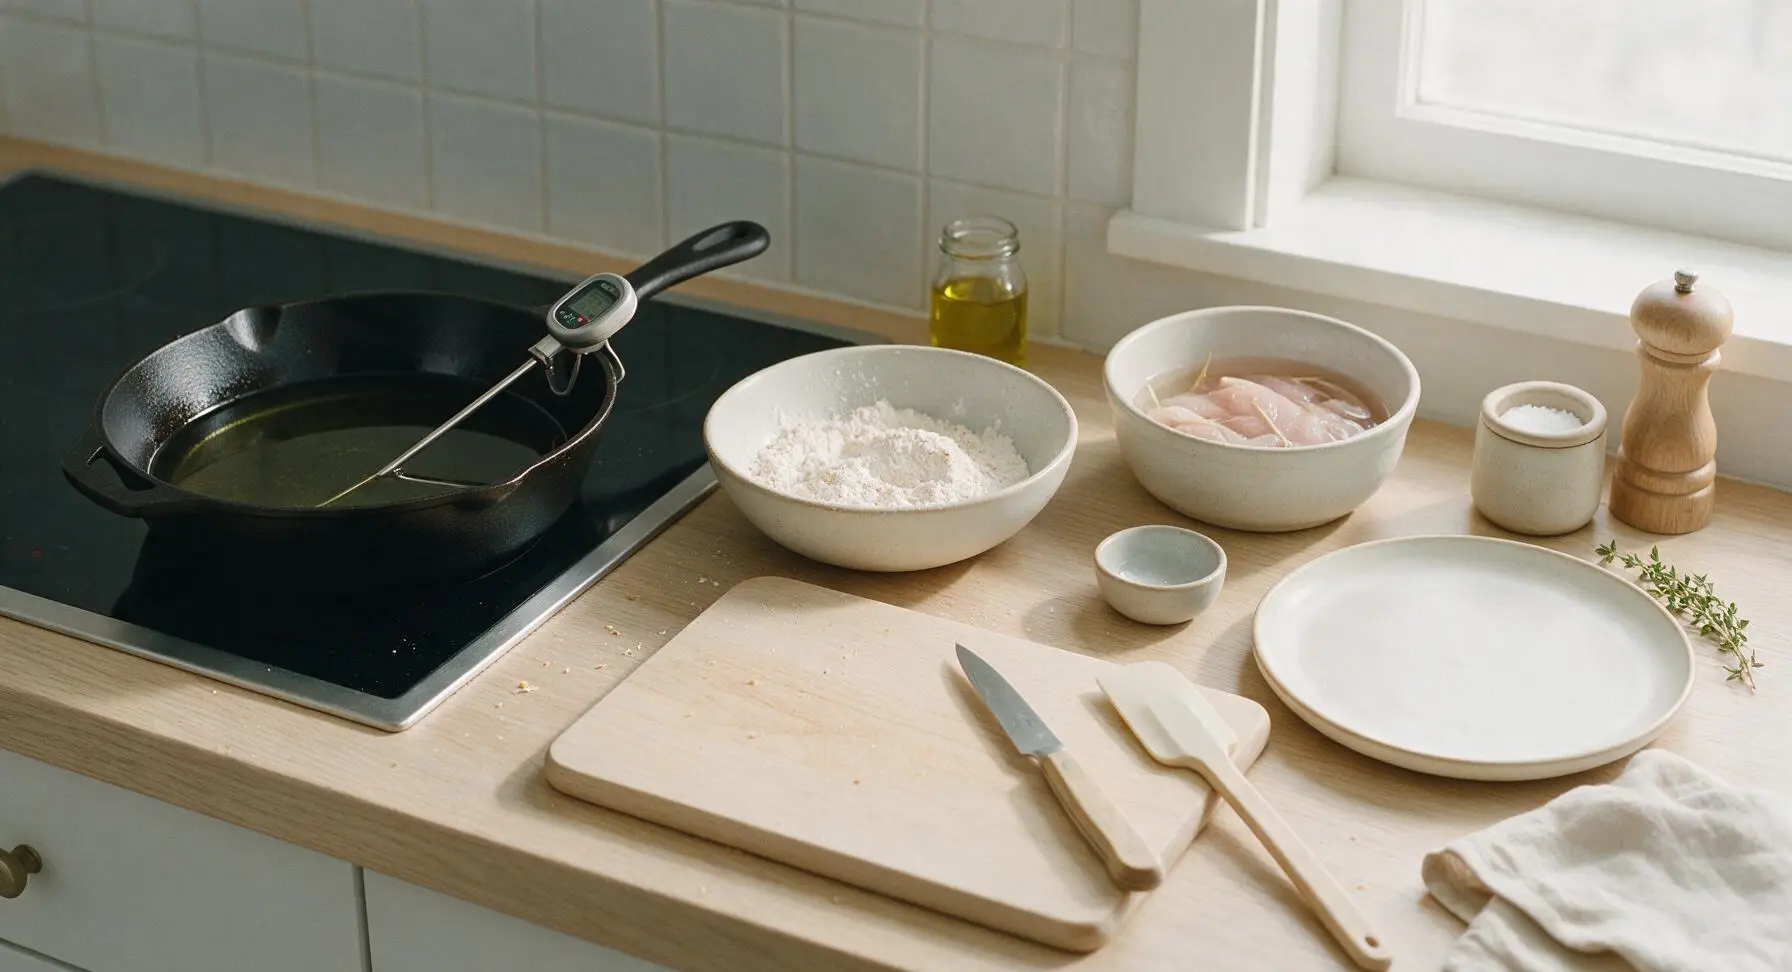
Place the cast iron skillet on the left-section stovetop burner. Pour in neutral oil until it reaches 1 inch depth up the skillet sides. Heat oil over medium heat until it reaches a steady 350°F (175°C), verified with the digital instant-read thermometer. Do not let oil smoke; adjust heat as needed to hold consistent temperature.
Step 3
step3:Heat Oil in Skillet
4

Coat Chicken in Flour

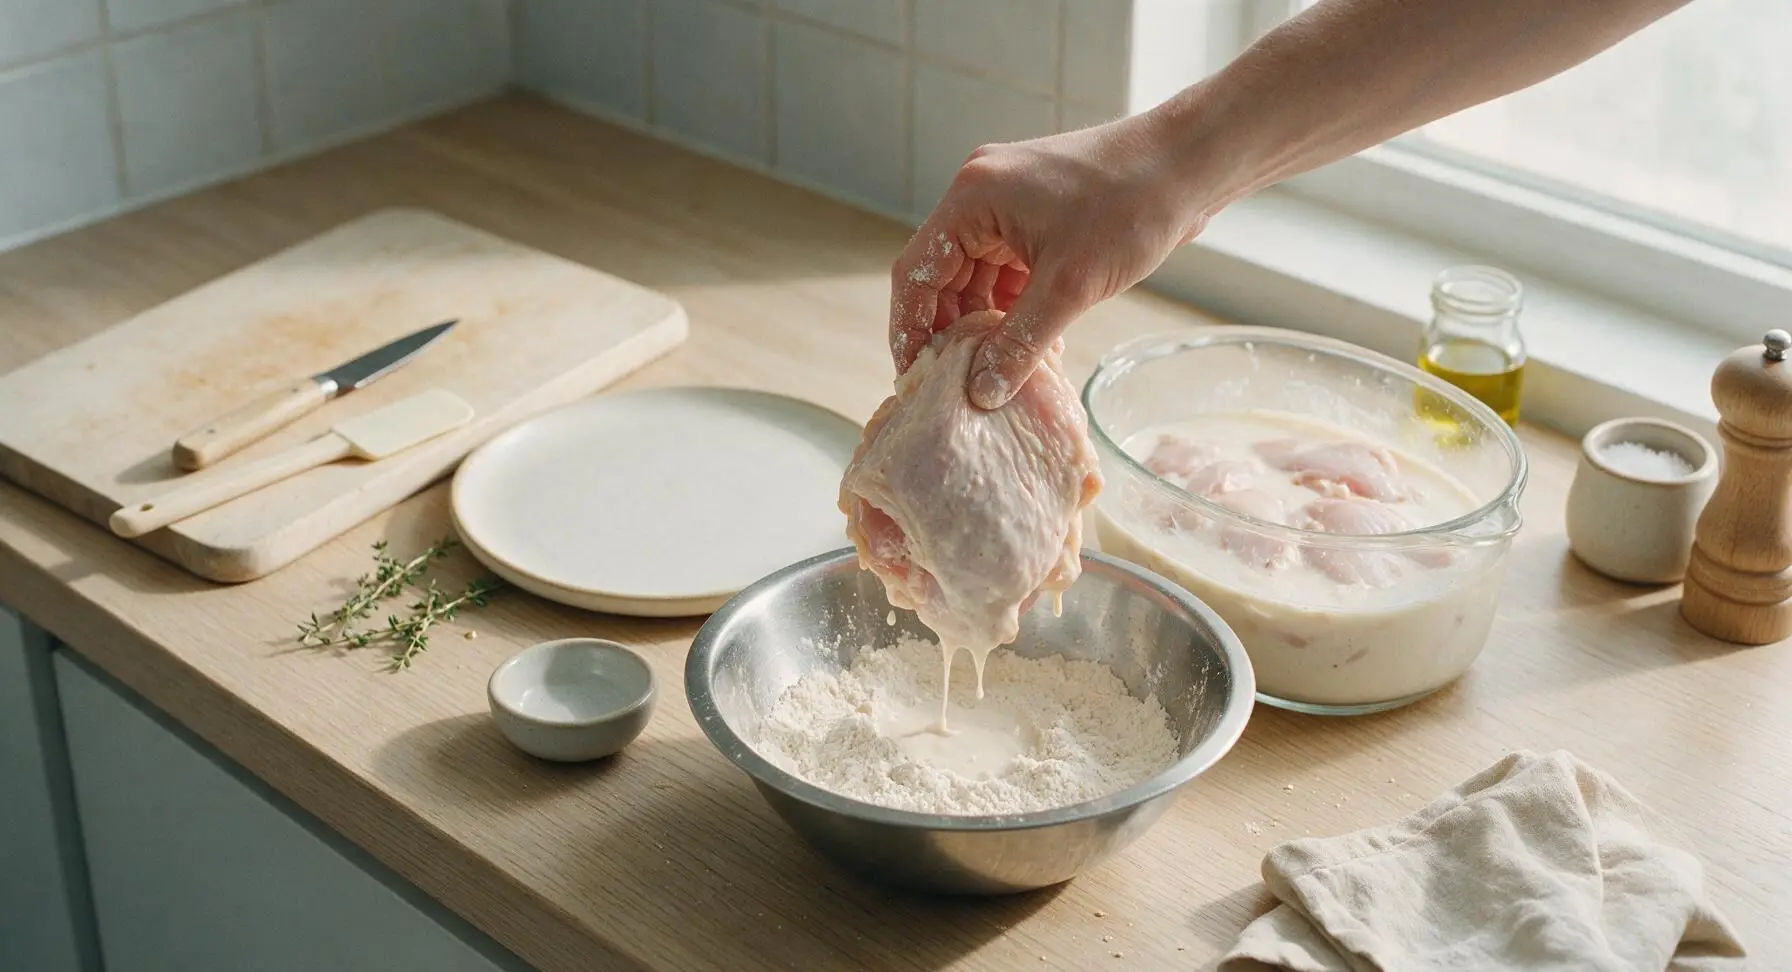
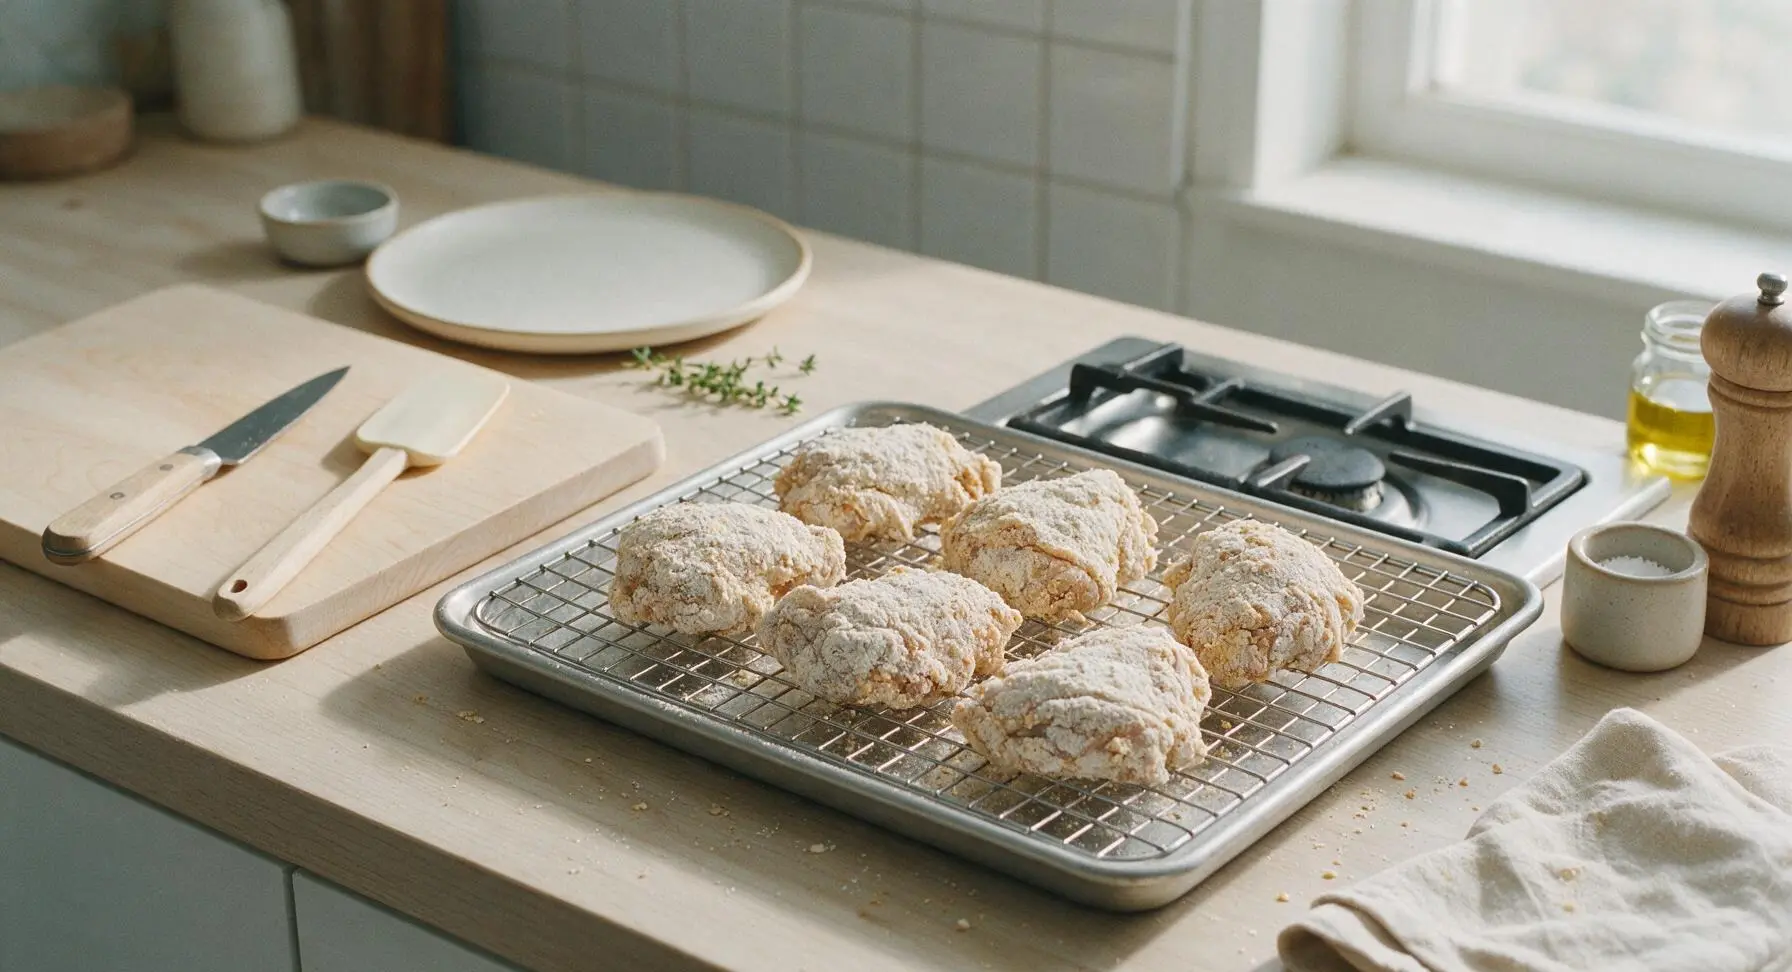
Working one piece at a time, lift chicken from the buttermilk brine, letting excess brine drip off for 2 seconds. Drop the piece into seasoned flour, pressing firmly to coat every surface, including under skin edges, to create a thick, craggy coating. Place coated pieces on the chrome wire rack set over the aluminum baking sheet for 10 minutes before frying; this rest helps coating adhere so it does not fall off during cooking.
Step 4
step4:Coat Chicken in Flour
Step 4
step4:Coat Chicken in Flour
5

Fry First Chicken Batch

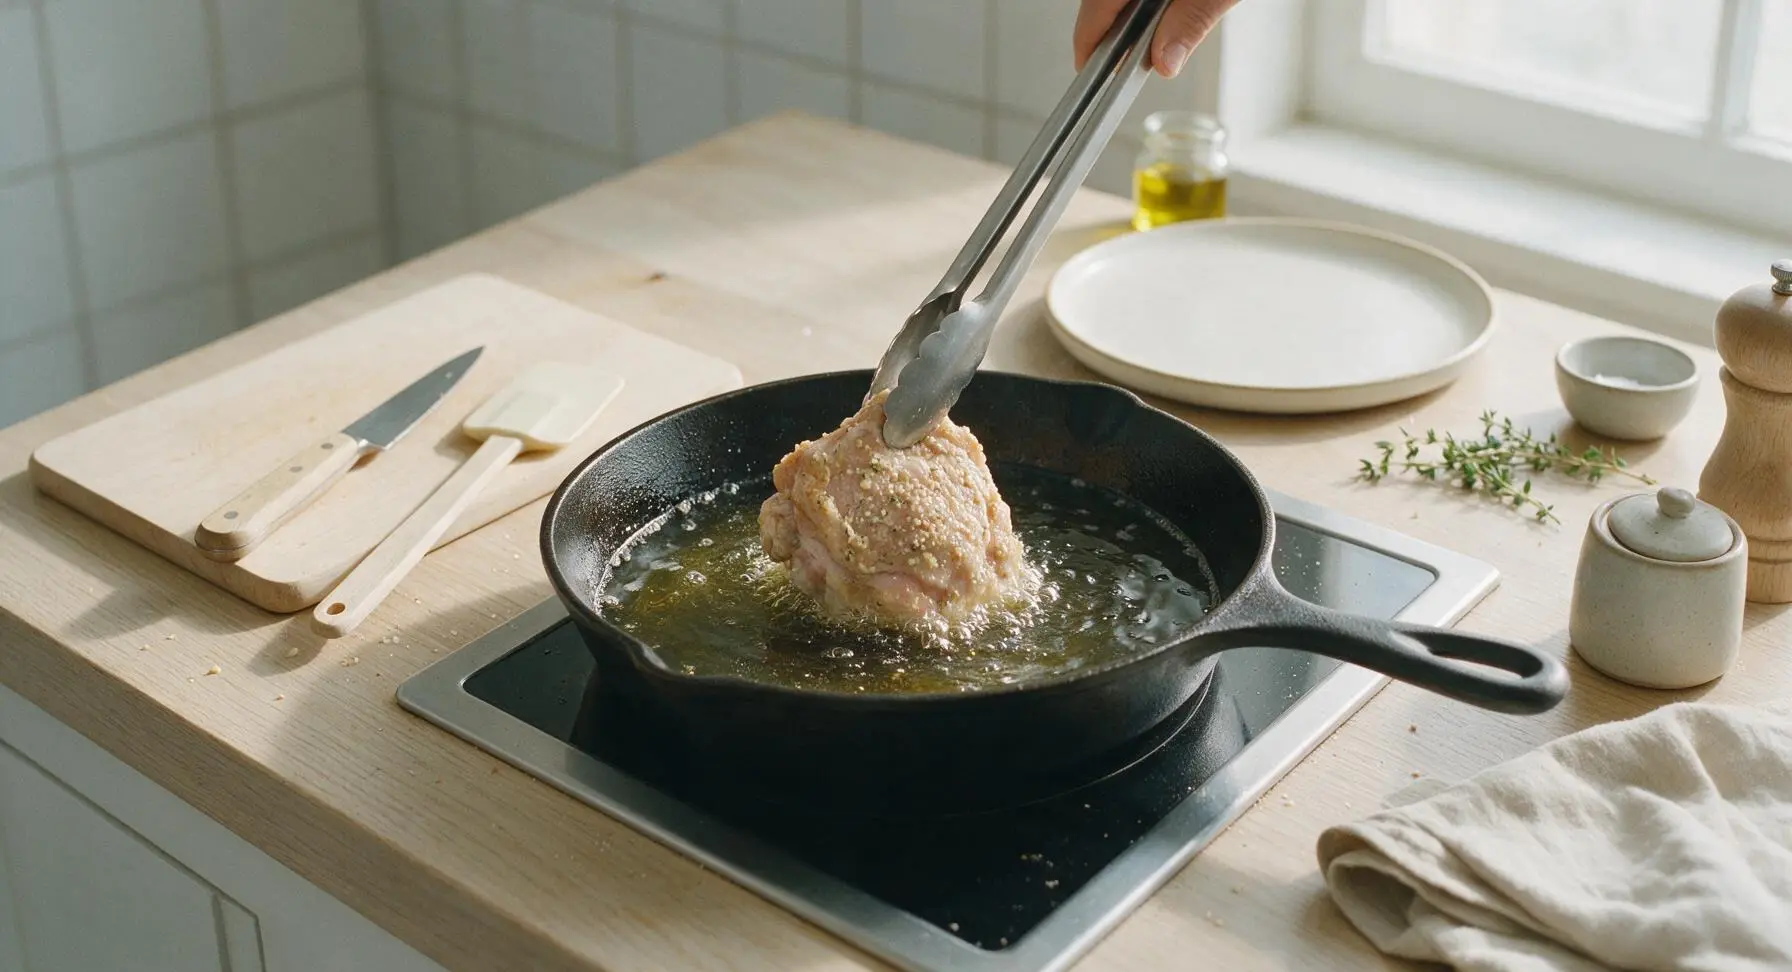
Using the stainless steel tongs, carefully lower 3 chicken pieces into the hot 350°F oil, placing them skin-side down away from your body to avoid oil splatters. Do not overcrowd the pan, as this drops oil temperature and causes soggy crust. Fry for 7 minutes, then use tongs to flip each piece, frying for an additional 6-8 minutes on the second side.
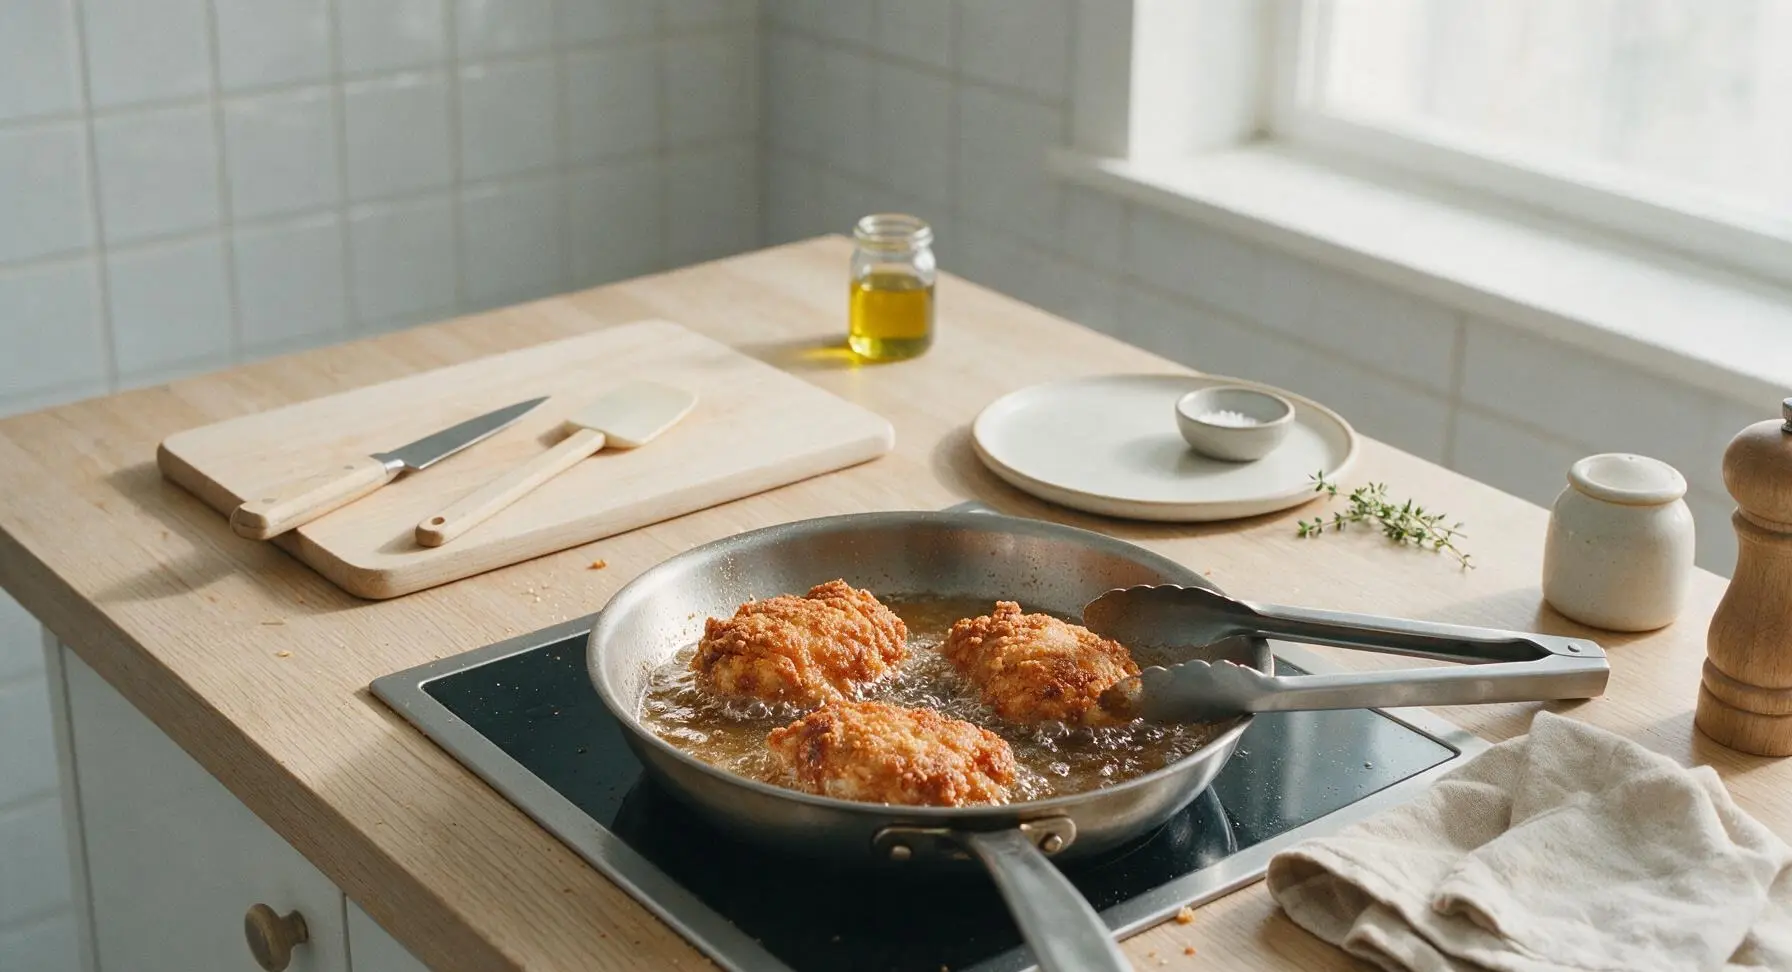
Step 5
step5:Fry First Chicken Batch
Step 5
step5:Fry First Chicken Batch
6

Verify Chicken Doneness

After 13-15 minutes of total frying time for the first batch, use the digital instant-read thermometer to check the thickest part of each piece, avoiding contact with bone. Chicken is done when internal temperature reaches 165°F (74°C), and the crust is a deep, rich golden brown with no pale floury spots.
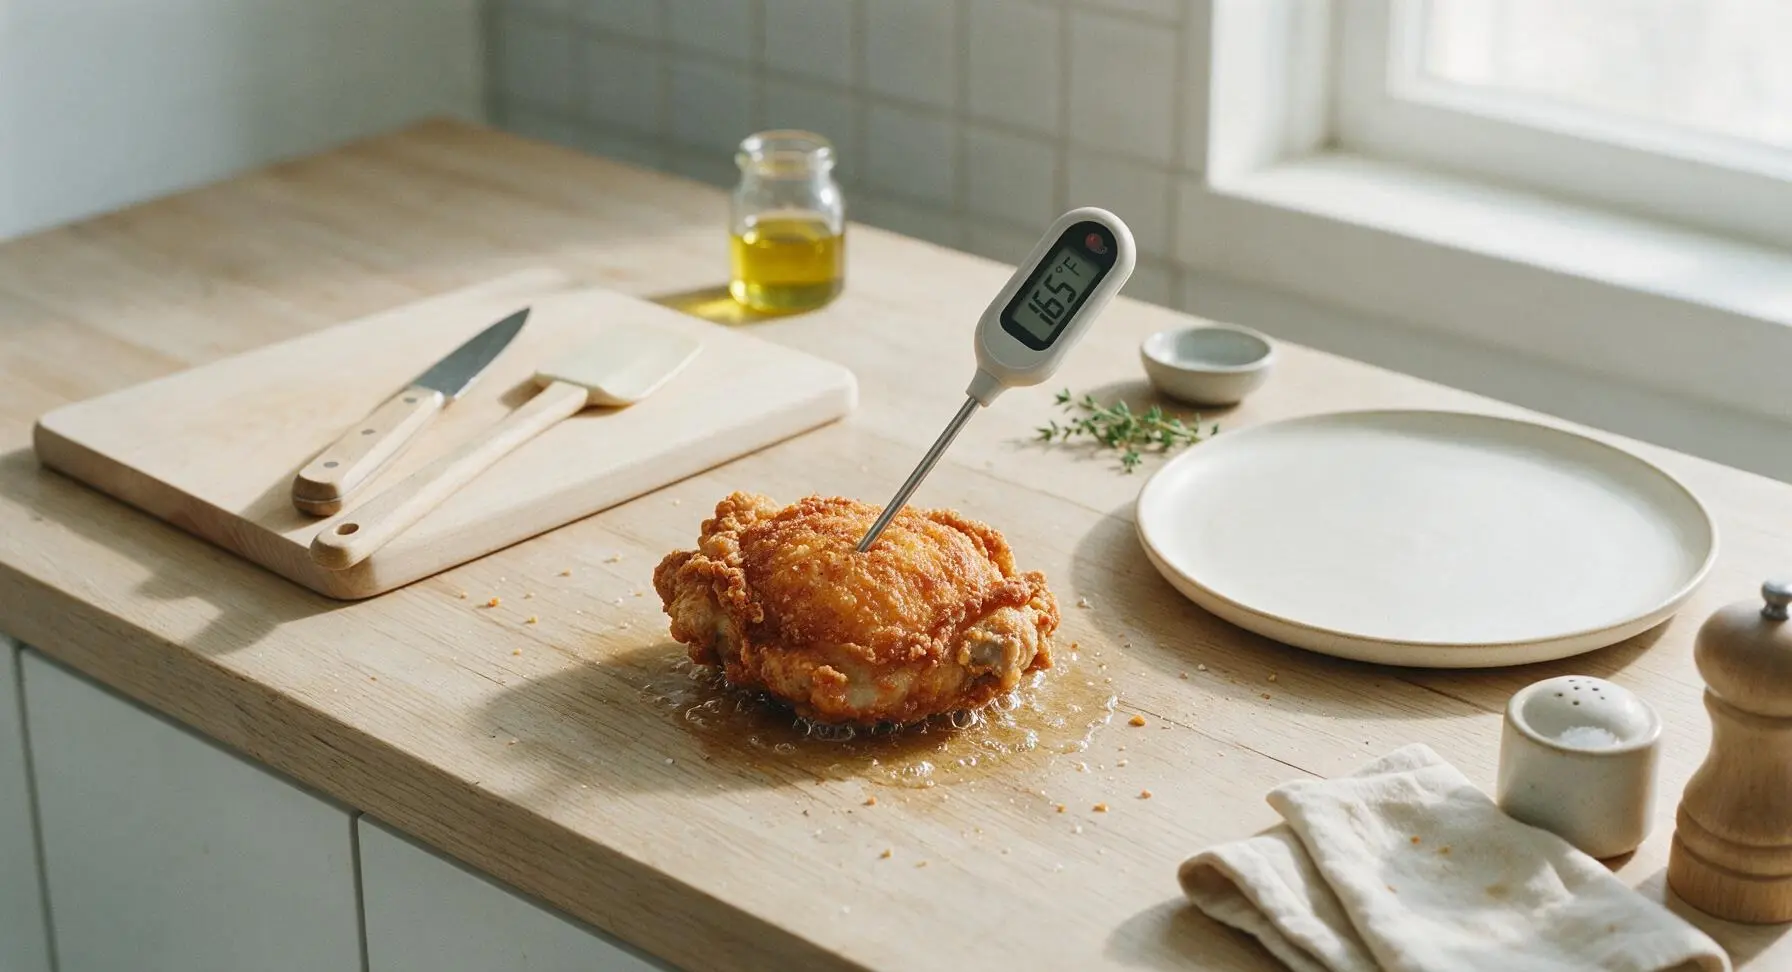
Step 6
step6:Verify Chicken Doneness
7

Drain Cooked Chicken

Use tongs to lift cooked chicken pieces from the oil, holding them over the skillet for 5 seconds to let excess oil drip off. Transfer pieces back to the clean chrome wire rack set over the aluminum baking sheet (do not place chicken on paper towels, as this makes crust soggy). Lightly sprinkle hot chicken with a pinch of extra kosher salt immediately after removing from oil. Repeat frying process with remaining 3 chicken pieces, bringing oil back to 350°F between batches.
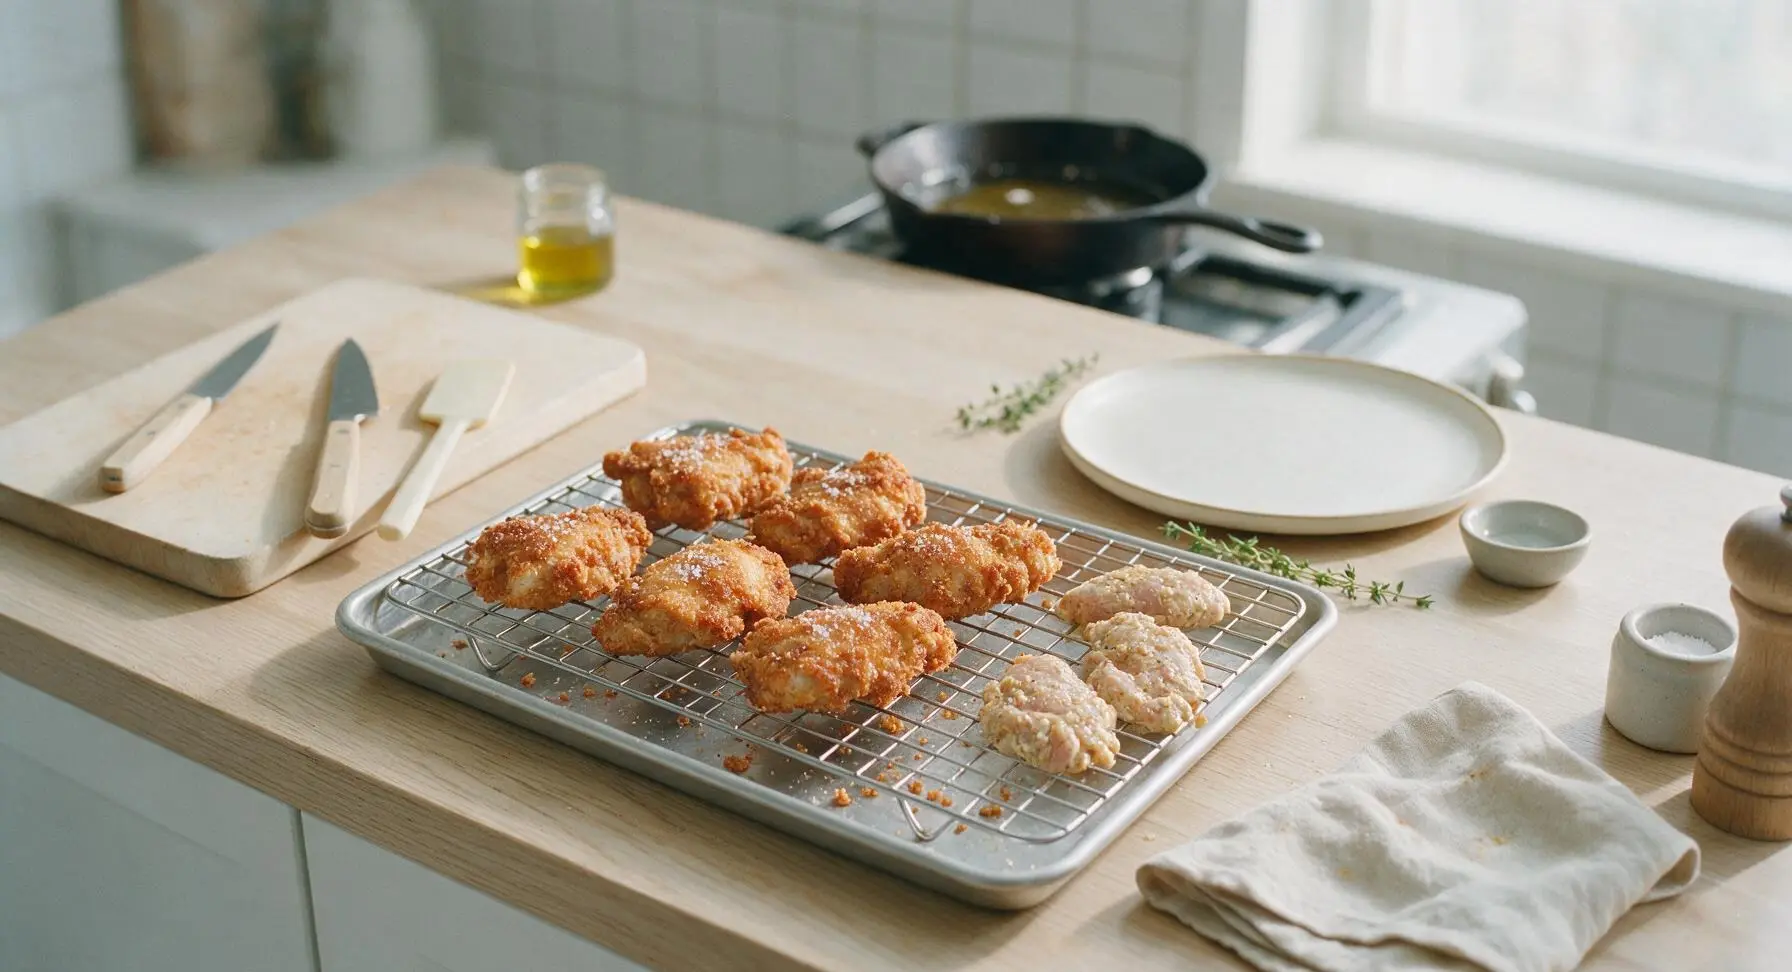
Step 7
step7:Drain Cooked Chicken
8

Plate and Garnish Chicken

Once all chicken is fried and rested for 5 minutes (to let juices redistribute), transfer pieces to the matte cream ceramic dinner plate, piling them loosely. Tuck a few sprigs of fresh curly parsley between pieces for garnish. Serve hot, with hot sauce on the side if desired.
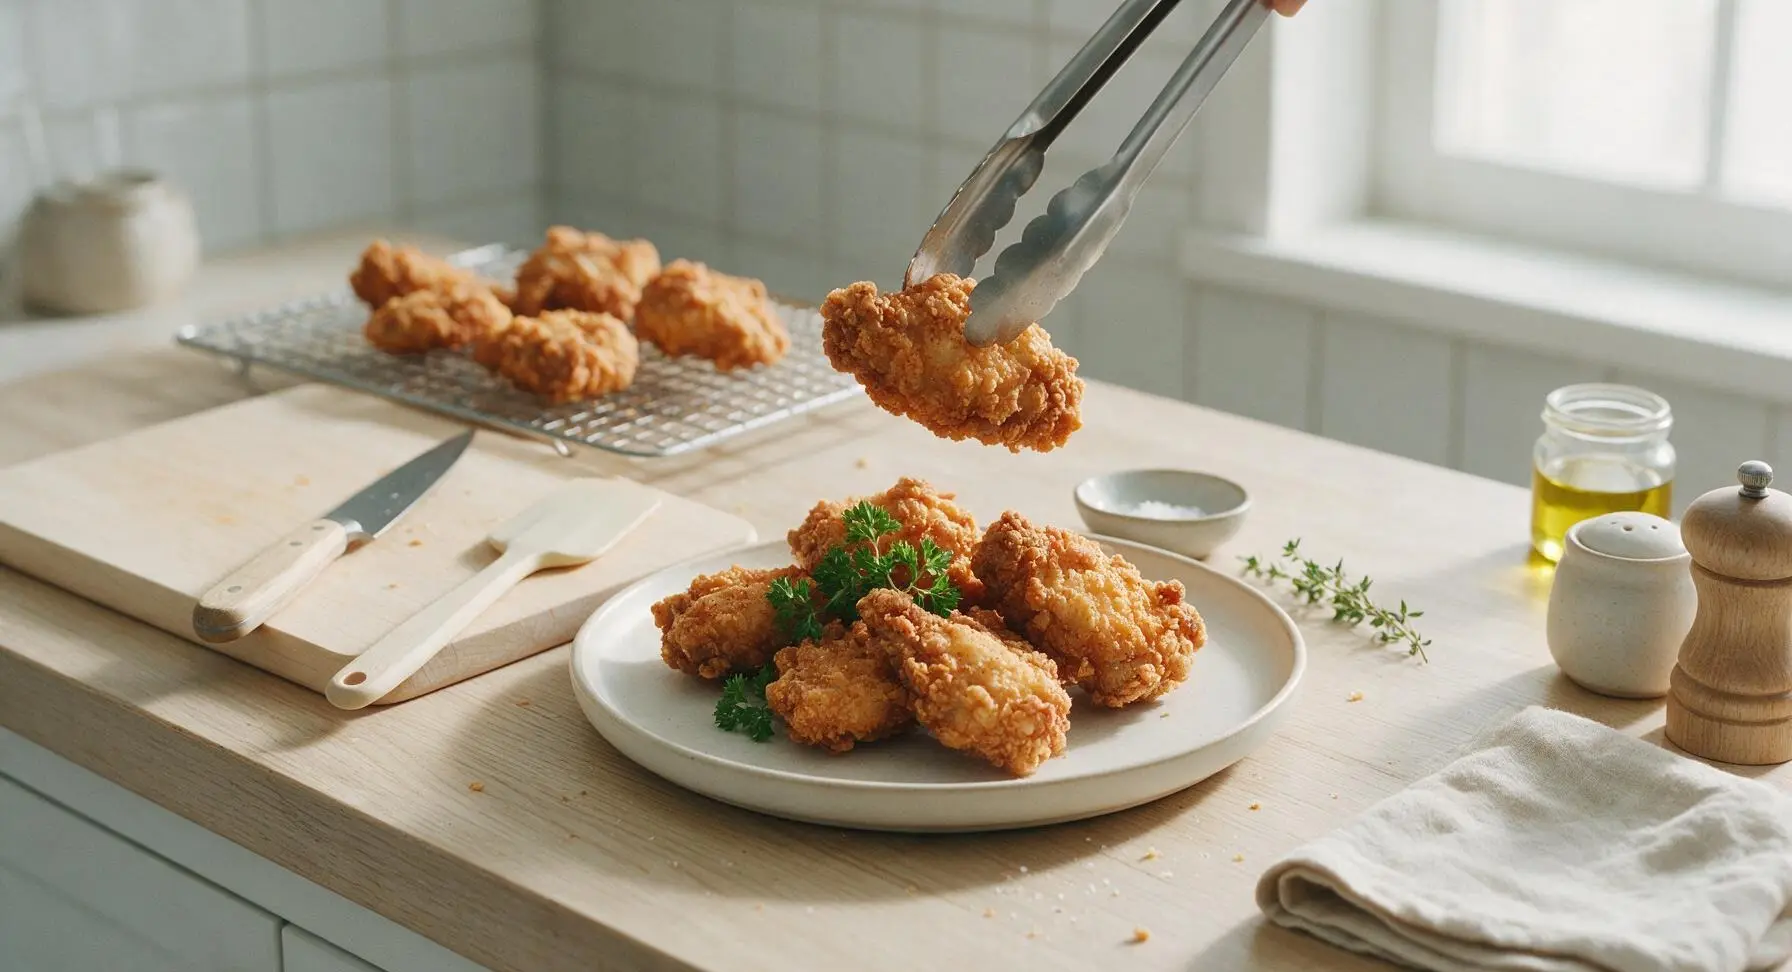
Step 8
step8:Plate and Garnish Chicken

Tips

1.Let coated chicken rest on a wire rack for 10 minutes before frying: this pause lets the buttermilk and flour bond into a sticky, shaggy layer that creates a craggy, crisp crust that will not slide off the chicken during frying, a common mistake with quick-breaded fried chicken.
2.Bring brined chicken to room temperature for 30 minutes before frying: cold chicken drops oil temperature dramatically and cooks unevenly, leading to burnt crust and undercooked meat near the bone.
3.Drain fried chicken on a raised wire rack instead of paper towels: paper towels trap steam against the hot crust, turning it soggy within minutes, while air circulation under the rack keeps every side crisp until serving.
4.Hold oil temperature steady at 350°F (175°C) throughout frying: oil that is too cold makes chicken greasy and heavy, while oil above 375°F burns the outer crust before the interior cooks to a safe temperature. Check oil temperature with a thermometer between every batch.


✨ You May Also Like

Main Course
🍜 United Kingdom

A showstopping classic of tender seared beef, savory mushroom duxelles, and crisp prosciutto wrapped in flaky golden puff pastry, baked to juicy perfection.

⏱️ 2 hours 1Main Course ★ 4.7
Main Course
🍜 India

Tender charred marinated chicken simmered in a rich, spiced creamy tomato sauce, this iconic Anglo-Indian curry pairs perfectly with basmati rice or warm naan.

⏱️ 50 minuteMain Course ★ 4.6
Main Course
🍜 Thailand

Classic tangy, sweet, and savory Thai stir-fried rice noodles with shrimp, tofu, and crunchy garnishes, balancing all five core Thai flavor profiles.

⏱️ 30 minuteMain Course ★ 4.5
Main Course
🍜 United Kingdom

Crispy golden beer-battered cod and fluffy double-fried chips, served with tangy tartar sauce and malt vinegar: the timeless, beloved British pub comfort classic.

⏱️ 45 minuteMain Course ★ 4.7
Main Course
🍜 Mexico

Smoky, chile-marinated pork tacos with caramelized pineapple, fresh cilantro, and lime: a beloved classic Mexican street food perfect for casual summer gatherings.

⏱️ 1 hour 45Main Course ★ 4.8
Main Course
🍜 United States

Crunchy Fritos corn chips layered with savory beef chili and melted cheddar, topped with cool, zesty fixings for a beloved, cozy Tex-Mex comfort food.

⏱️ 35 minuteMain Course ★ 4.8

southern style fried chicken:Frequently Asked Questions

1.How long should I soak chicken in the buttermilk mixture to get the juiciest, most flavorful results? ▾
For perfectly tender, well-seasoned meat, soak your bone-in, skin-on chicken pieces in the buttermilk, egg, and hot sauce brine for a minimum of 4 hours, and up to 24 hours covered in the fridge. Don’t cut this step shorter than 2 hours—the lactic acid in buttermilk gently tenderizes meat without making it mushy, and helps the flour crust stick tight for that signature craggy crunch.
2.Why does my fried chicken crust turn out soggy instead of crispy and craggy? ▾
Soggy crust usually comes from three common missteps: overcrowding the pan (which drops oil temperature), skipping the rest time after dredging, or frying at the wrong temp. Let coated chicken rest 15–20 minutes after tossing in flour so the coating adheres, maintain 325–350°F oil, and don’t pack the flour tight—loose, rough flour bits create that classic crispy, craggy texture.
3.Can I use boneless, skinless chicken for this recipe if I don’t have bone-in, skin-on cuts? ▾
You absolutely can, but adjust your process to avoid dry, bland results. Boneless cuts cook 30–40% faster than bone-in pieces, so cut buttermilk soak time to 2–4 hours max to prevent mushy meat, and add an extra pinch of salt and spice to your flour dredge to make up for the flavor lost from removing skin and bone.
4.What oil works best for frying, and how do I check the right temperature without a thermometer? ▾
Use neutral, high-smoke-point oils like peanut, canola, or traditional vegetable shortening for authentic, non-greasy flavor and reliable crisping. If you don’t have a fry thermometer, drop a small pinch of your flour dredge into the oil: it should sizzle immediately and turn light golden in 3–4 seconds. If it burns fast or sinks without bubbling, adjust your heat accordingly.
5.My chicken looks perfectly golden on the outside but is still raw near the bone—how do I fix this? ▾
This issue almost always stems from frying at too high a temperature, which browns the crust fast before the meat cooks through. Stick to a steady 325–350°F, give thicker breast pieces 2–3 extra minutes of cook time, and pull chicken when the thickest part hits 165°F on an instant-read thermometer. Rest it on a wire rack (not paper towels) for 5 minutes to keep crust crisp as juices settle.

Comments (6)

2 days ago

OMG y'all this fried chicken recipe is a GAME CHANGER! I made it for our Sunday family dinner last night and even my super picky 7 year old asked for seconds. The crust was perfectly crispy, not too greasy, and the seasoning had just the right amount of kick. Took the leftovers to my church potluck today and half the ladies asked for the recipe! SO good.

yesterday

Same! I brought this to our neighborhood block party last weekend and people were raving, I even had a guy offer to pay me for the recipe lmao. Did you use buttermilk like the recipe says or a substitute?

2 hours ago

This makes our day to hear! So glad it was a hit with your kiddo and the potluck crowd. The buttermilk soak is non-negotiable for that classic tang and tender meat, if you ask us!

5 minutes ago

Tried this for meal prep this week and it held up way better than I thought it would! I was worried the crust would get soggy in the fridge, but reheating it in the oven for 10 minutes made it crispy again. Only thing I added was a little extra paprika because I love that smoky flavor. Will absolutely be making this again.

1 week ago

Okay, full transparency: this was my first time ever making fried chicken and I was SO nervous I’d mess it up. The instructions were super easy to follow though! Cook time was spot on at 35 minutes, no raw chicken in the middle, no burnt crust. My husband said it tastes just like his grandma’s, which is the highest compliment I could ever get. Crying happy tears over here lol

5 days ago

Congratulations on nailing your first batch of fried chicken! There’s no better compliment than comparing it to a grandma’s recipe — that’s the ultimate win. So happy our easy to follow steps helped you pull it off!

3 days ago

Pretty solid fried chicken recipe! I will say I wish the seasoning was a little bolder, so next time I’m gonna add a bit more cayenne and garlic powder. Crunch was perfect though, and the chicken was juicy even with me cutting the brine time short because I was in a rush. Good base recipe to tweak to your own tastes.

2 hours ago

Y’all I cannot believe how quick this was to make on a weeknight! I thought good fried chicken took hours of prep, but 35 minutes cook time? Unbeatable. My kids loved it, my husband loved it, even my toddler who only eats chicken nuggets devoured a whole thigh. 10/10 will be in our regular dinner rotation.

30 minutes ago

Wait how do you get it done that fast? I feel like my oil takes forever to get to temp! Any tips?

yesterday

Made this for my fantasy football draft watch party this weekend and it was the first platter to get cleared. Everyone kept asking if I ordered it from that fancy southern spot downtown, little did they know I made it in my tiny apartment kitchen for a fraction of the cost. Only note: make more than you think you need, people will go back for thirds.

2 hours ago

Oh that’s such a good call! I was trying to figure out what to make for our game day next weekend, this is perfect. Did you use a cast iron skillet or a regular deep fryer?

30 minutes ago

Love that it was a hit at your watch party! Pro tip: you can use either a cast iron skillet or deep fryer, just make sure you keep your oil temp steady at 350F for the crispiest results. And yes, always make extra — we’ve learned that the hard way too!



