
Soy Glazed Turkey Leg
intro
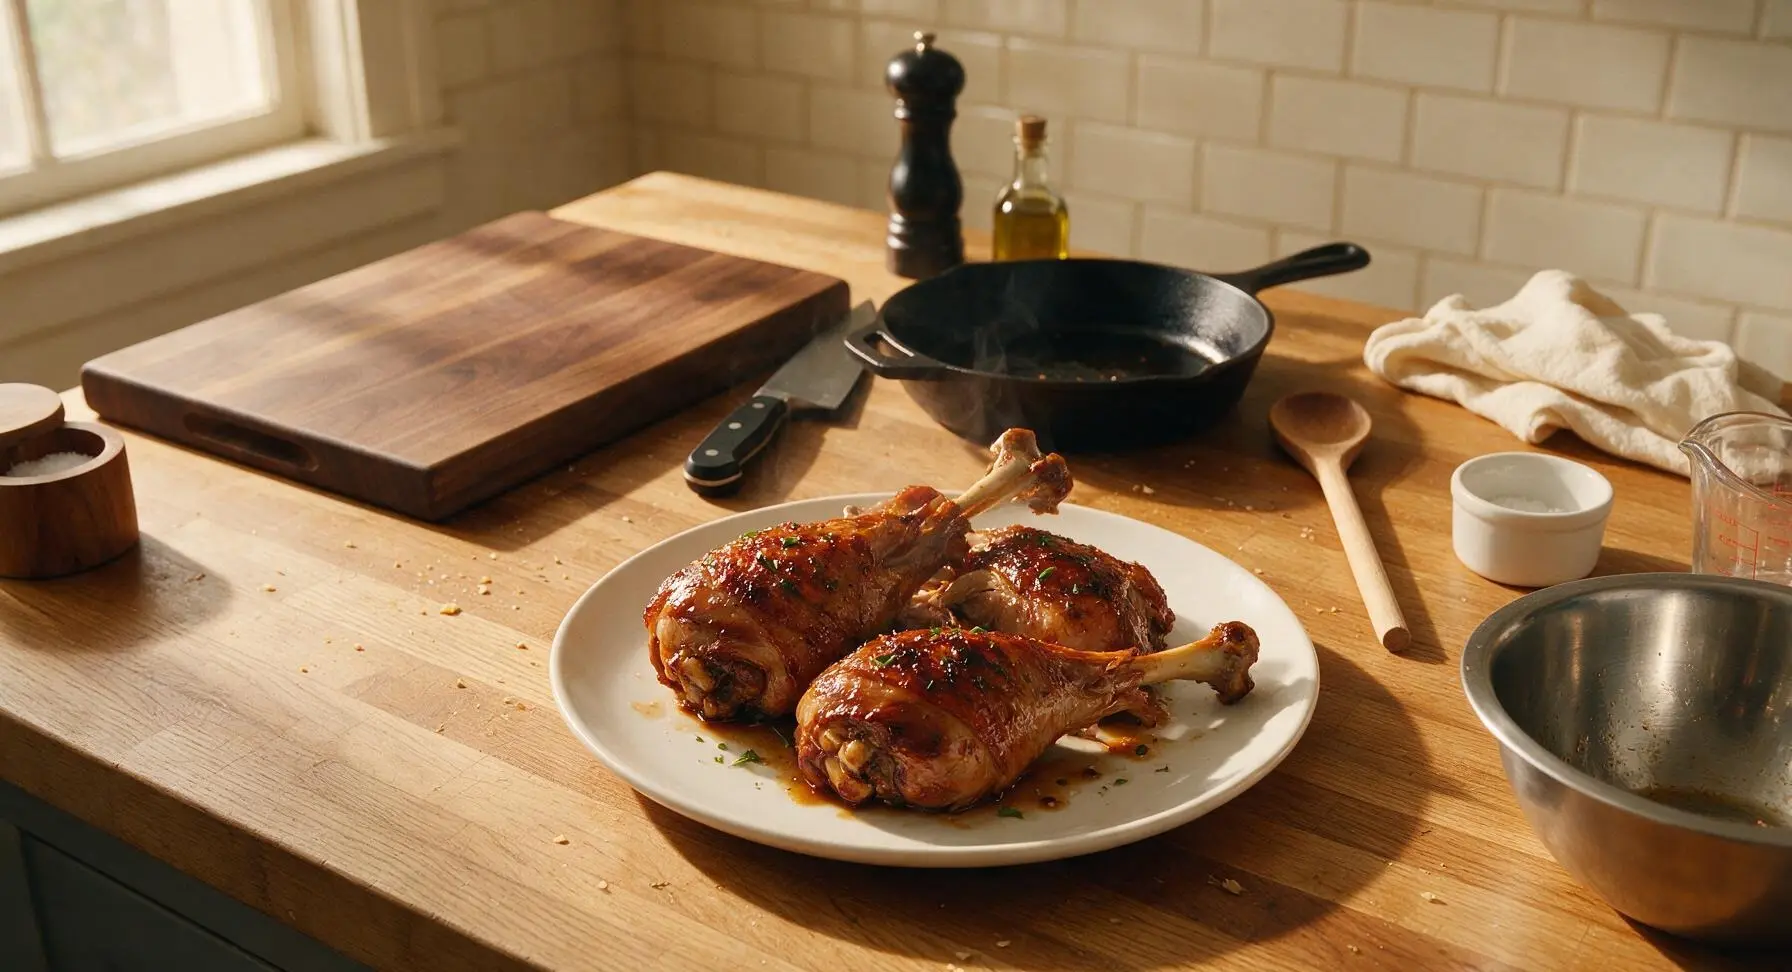
Juicy, fall-off-the-bone turkey legs coated in a glossy, umami-packed soy-mirin glaze, with crisp caramelized skin and balanced sweet-savory flavor—an irresistible twist on classic holiday turkey.
Ingredients
Steps
Prep and Season Turkey
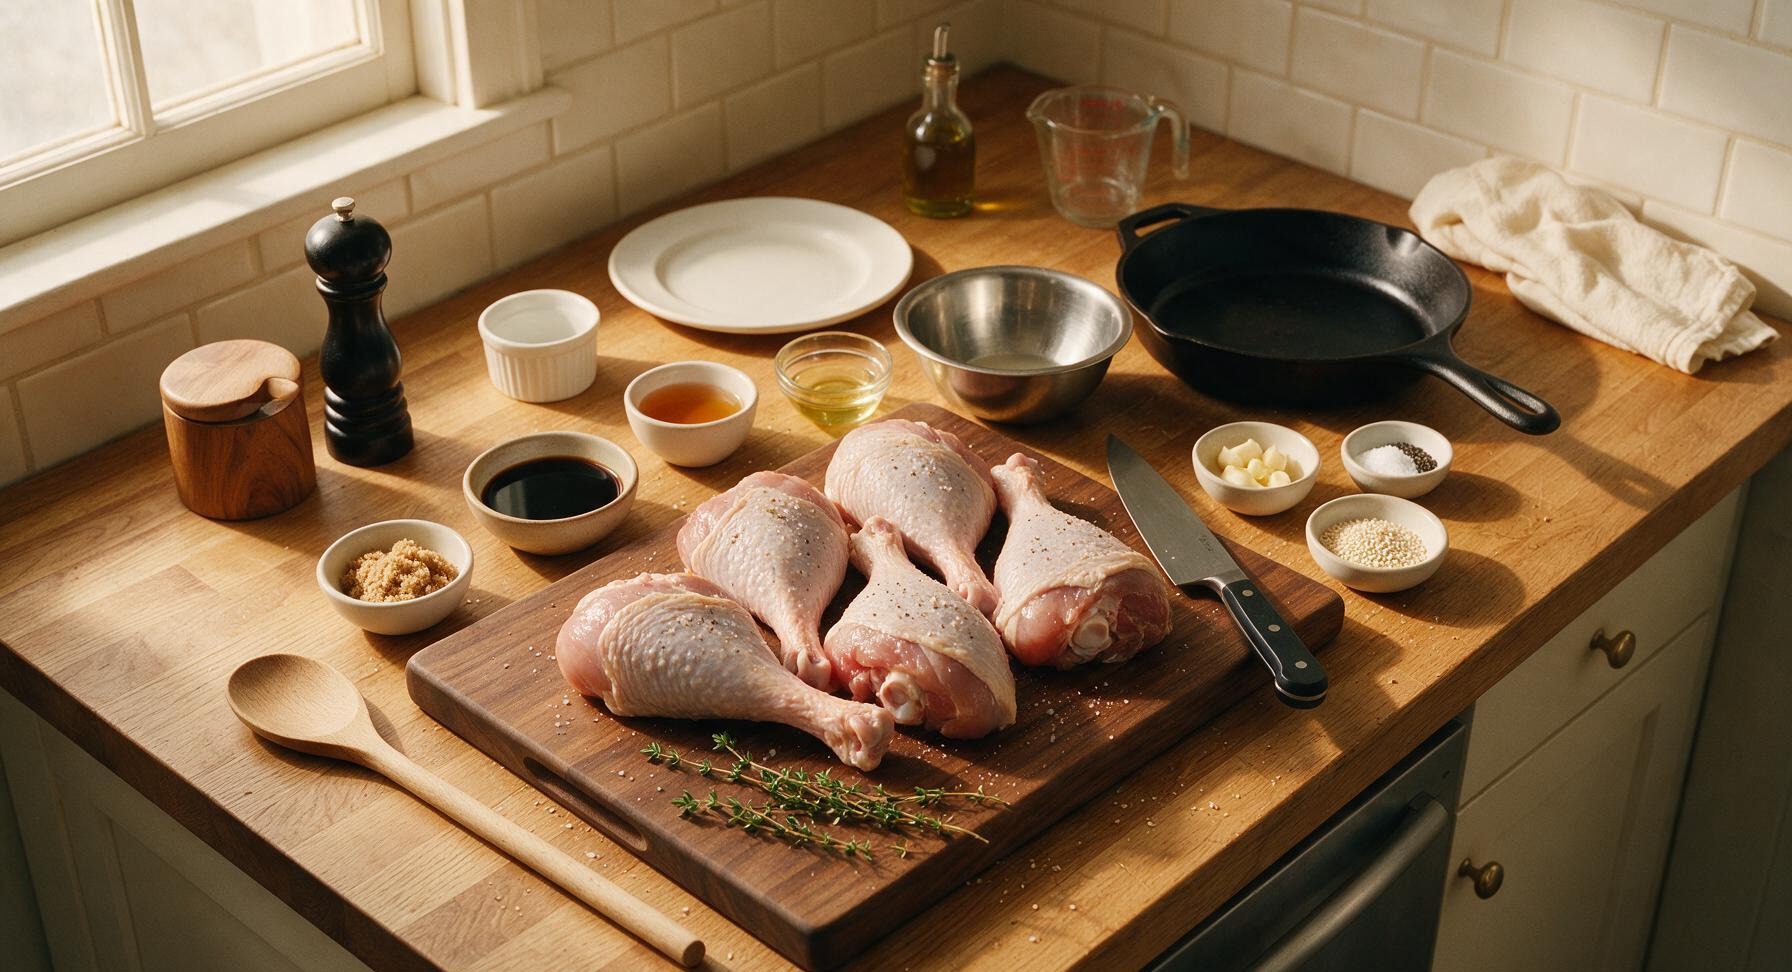
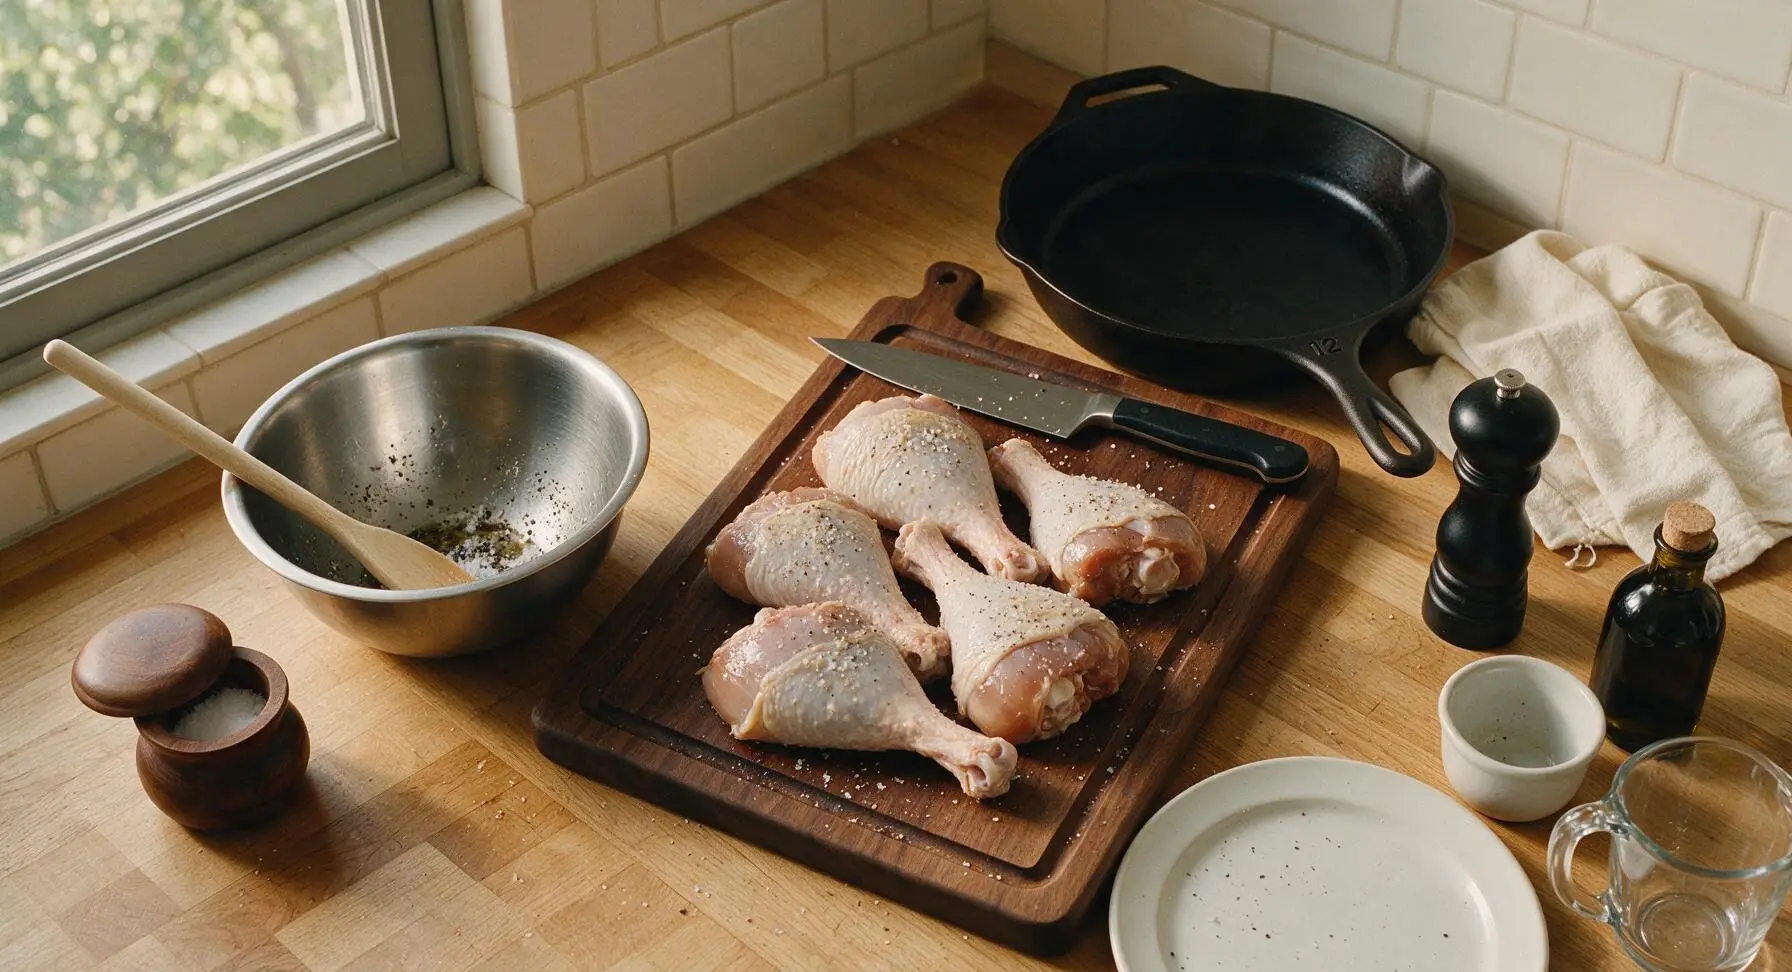
Arrange the 4 bone-in, skin-on turkey legs on the acacia wood cutting board. Pat all surfaces (especially the skin) completely dry with paper towels to remove residual packaging moisture—this guarantees crisp, not rubbery, skin. Combine 1.5 tsp kosher salt and 1 tsp freshly ground black pepper in the medium stainless steel mixing bowl, then rub the seasoning evenly over every side of the turkey legs, working it into crevices around the bone and under loose skin edges. Let the seasoned legs rest at room temperature for 15 minutes to allow salt to penetrate the meat.
Sear Turkey Legs
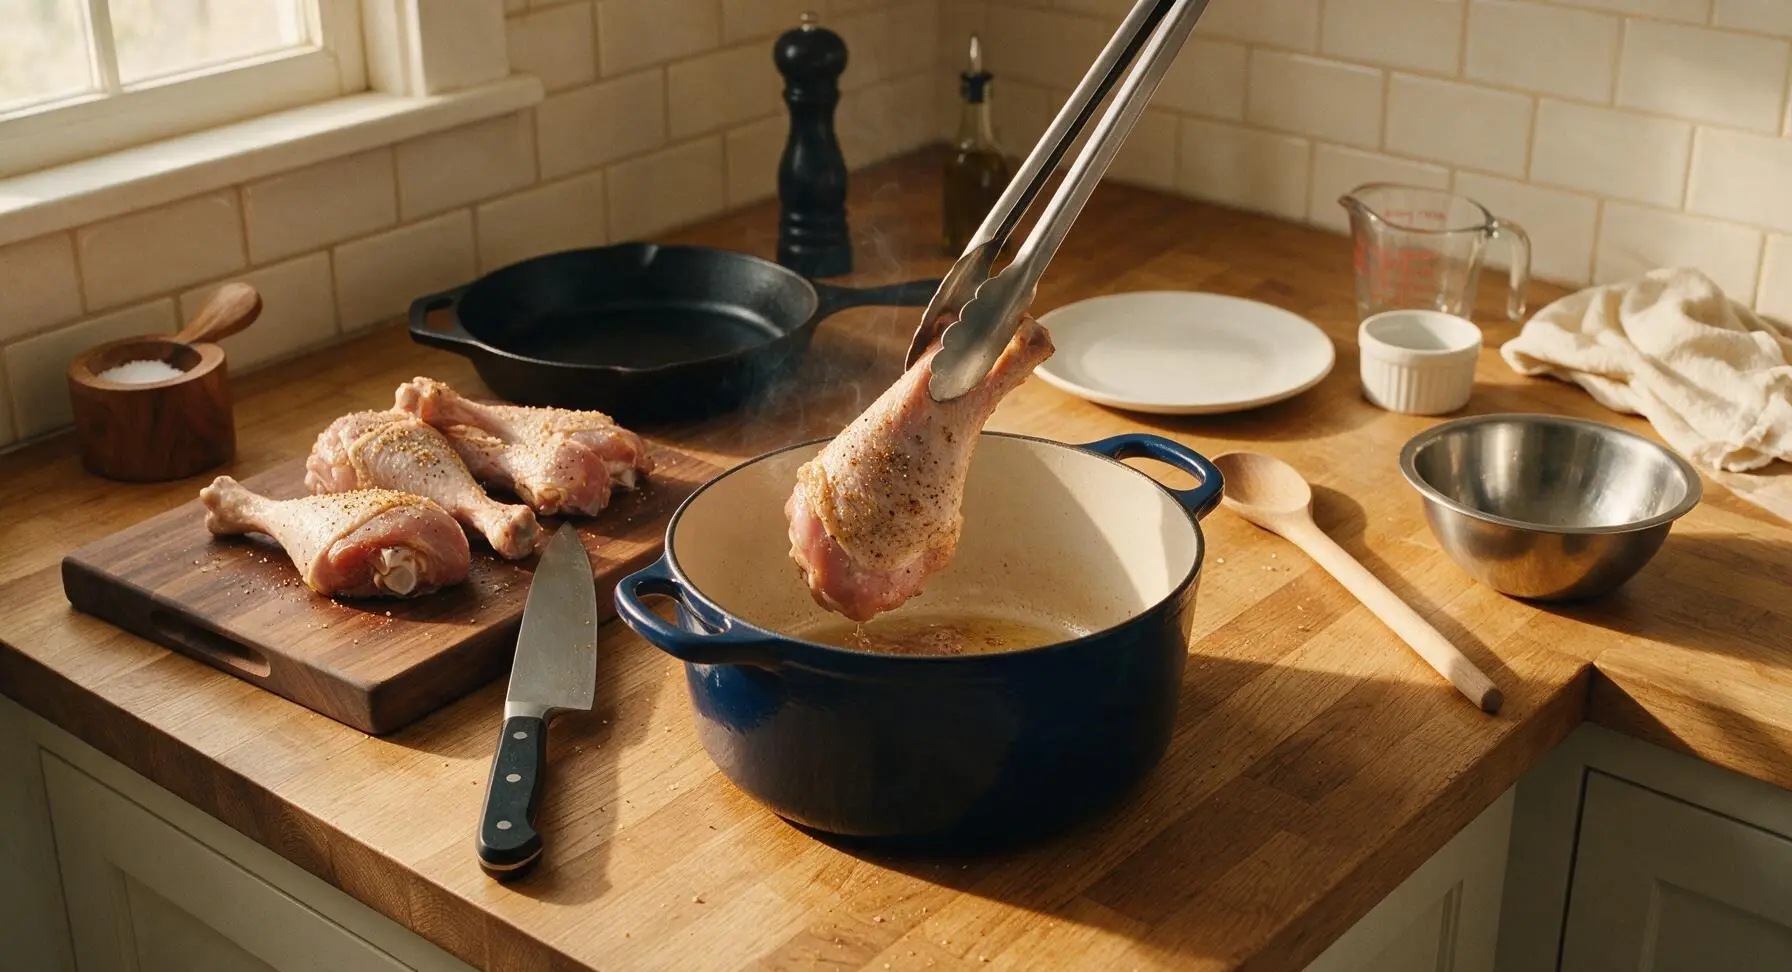
Place the navy enamel Dutch oven at the center of the counter over medium-high heat. Once hot, arrange the turkey legs skin-side down in a single layer, working in two batches if needed to avoid overcrowding (crowding causes steaming instead of searing). Sear for 6-7 minutes per side, using the stainless steel tongs to flip legs carefully to avoid tearing skin, until all surfaces are deep golden brown and crisp, and skin releases easily from the pot bottom.
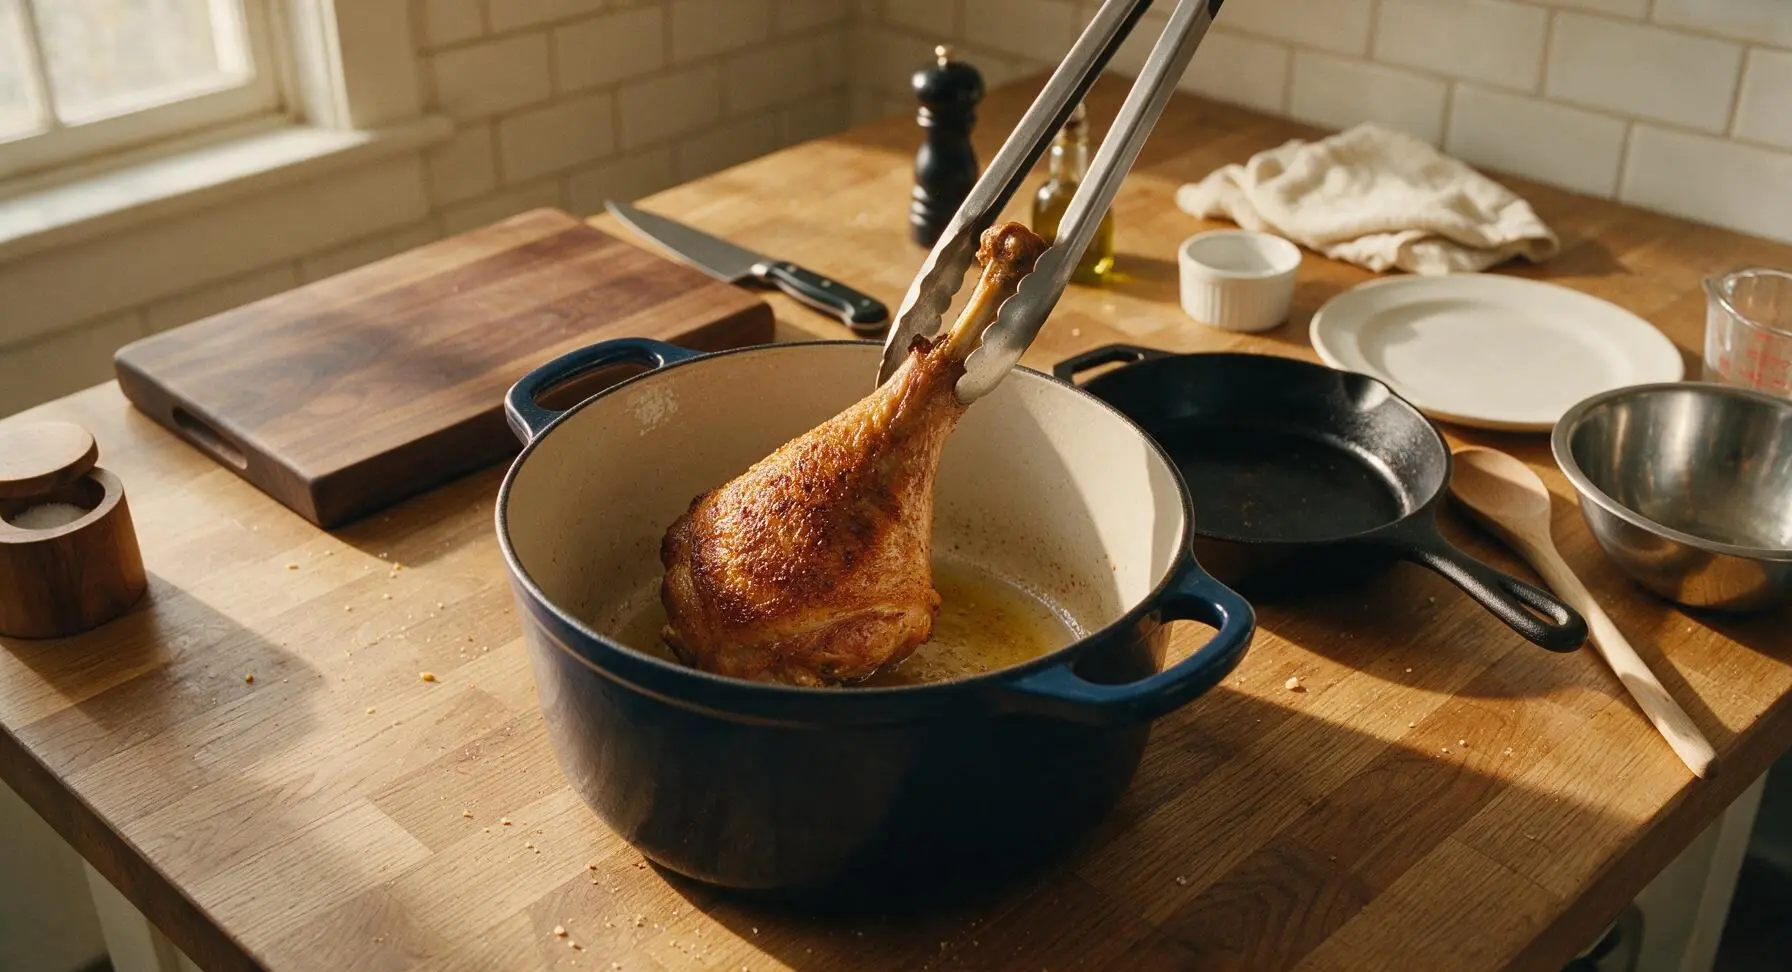
Braise Until Tender
Return all seared turkey legs to the Dutch oven. Add 2 thyme sprigs, half the grated ginger (1 tbsp), and half the minced garlic (2 cloves) to the pot. Pour 120ml (1/2 cup) of water into the pot, so liquid comes 1cm up the sides of the legs—do not submerge the crispy skin. Bring liquid to a gentle simmer, cover the pot with its lid, reduce heat to medium-low, and braise for 1 hour. Check doneness with the instant-read thermometer: meat should reach 82C (180F) at the thickest part, away from bone, and pull easily from the bone when prodded.
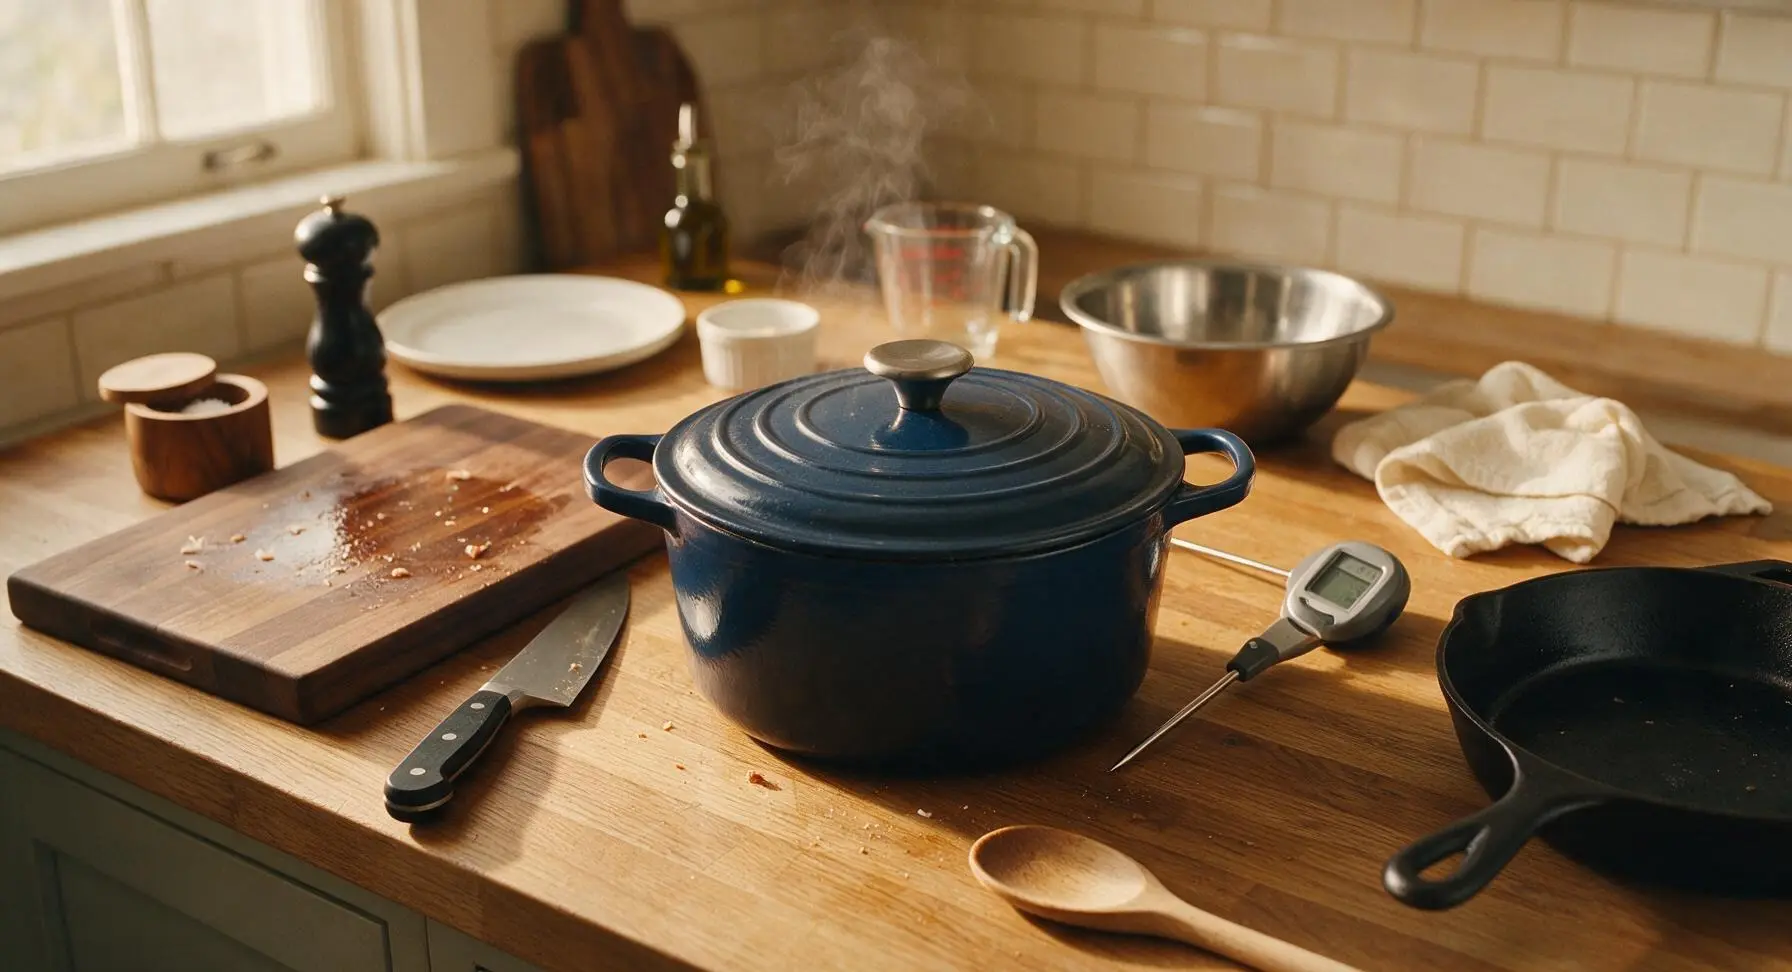
Simmer Soy Glaze
While the turkey braises, set the small stainless steel saucepan to the right of the Dutch oven over medium heat. Combine 120ml low-sodium soy sauce, 60ml mirin, 3 tbsp packed light brown sugar, 2 tbsp rice vinegar, remaining 1 tbsp grated ginger, remaining 2 minced garlic cloves, and 2 remaining thyme sprigs in the pan. Stir gently with the beech wood spoon as the mixture comes to a simmer, then cook for 8-10 minutes, until glaze is reduced by half, coats the back of the spoon thickly, and has a syrupy consistency. Remove from heat, discard the thyme sprigs, and stir in 1 tsp toasted sesame oil.
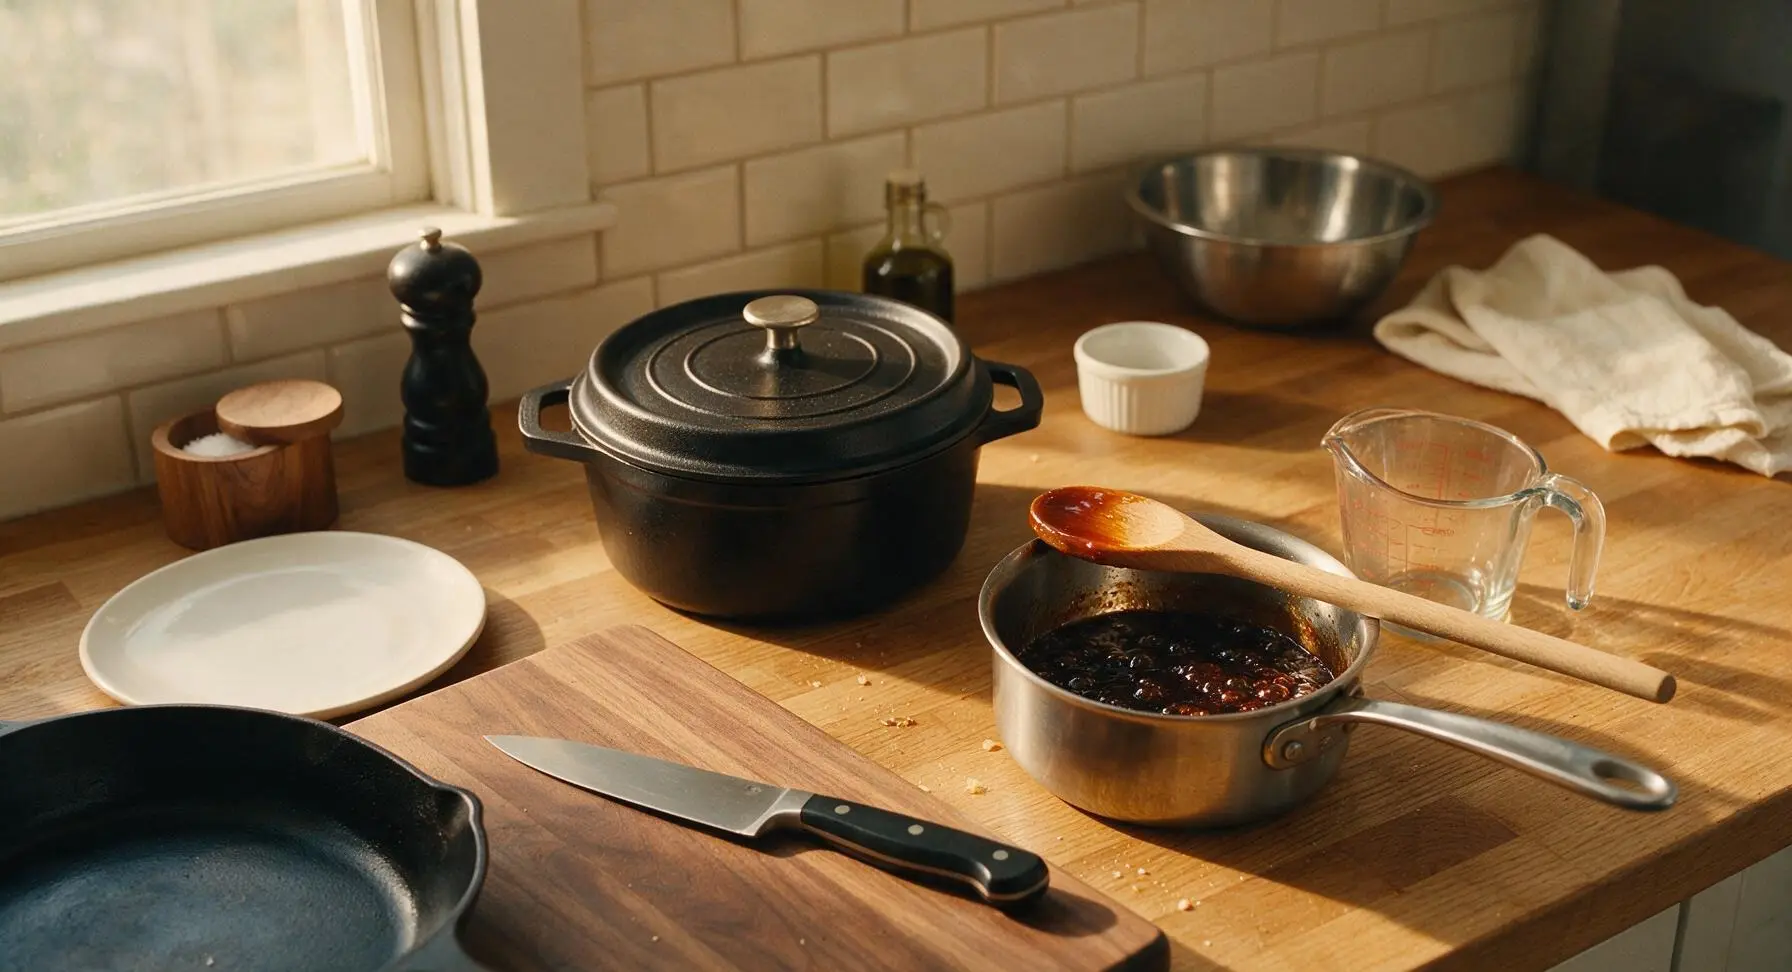
Glaze Turkey Legs
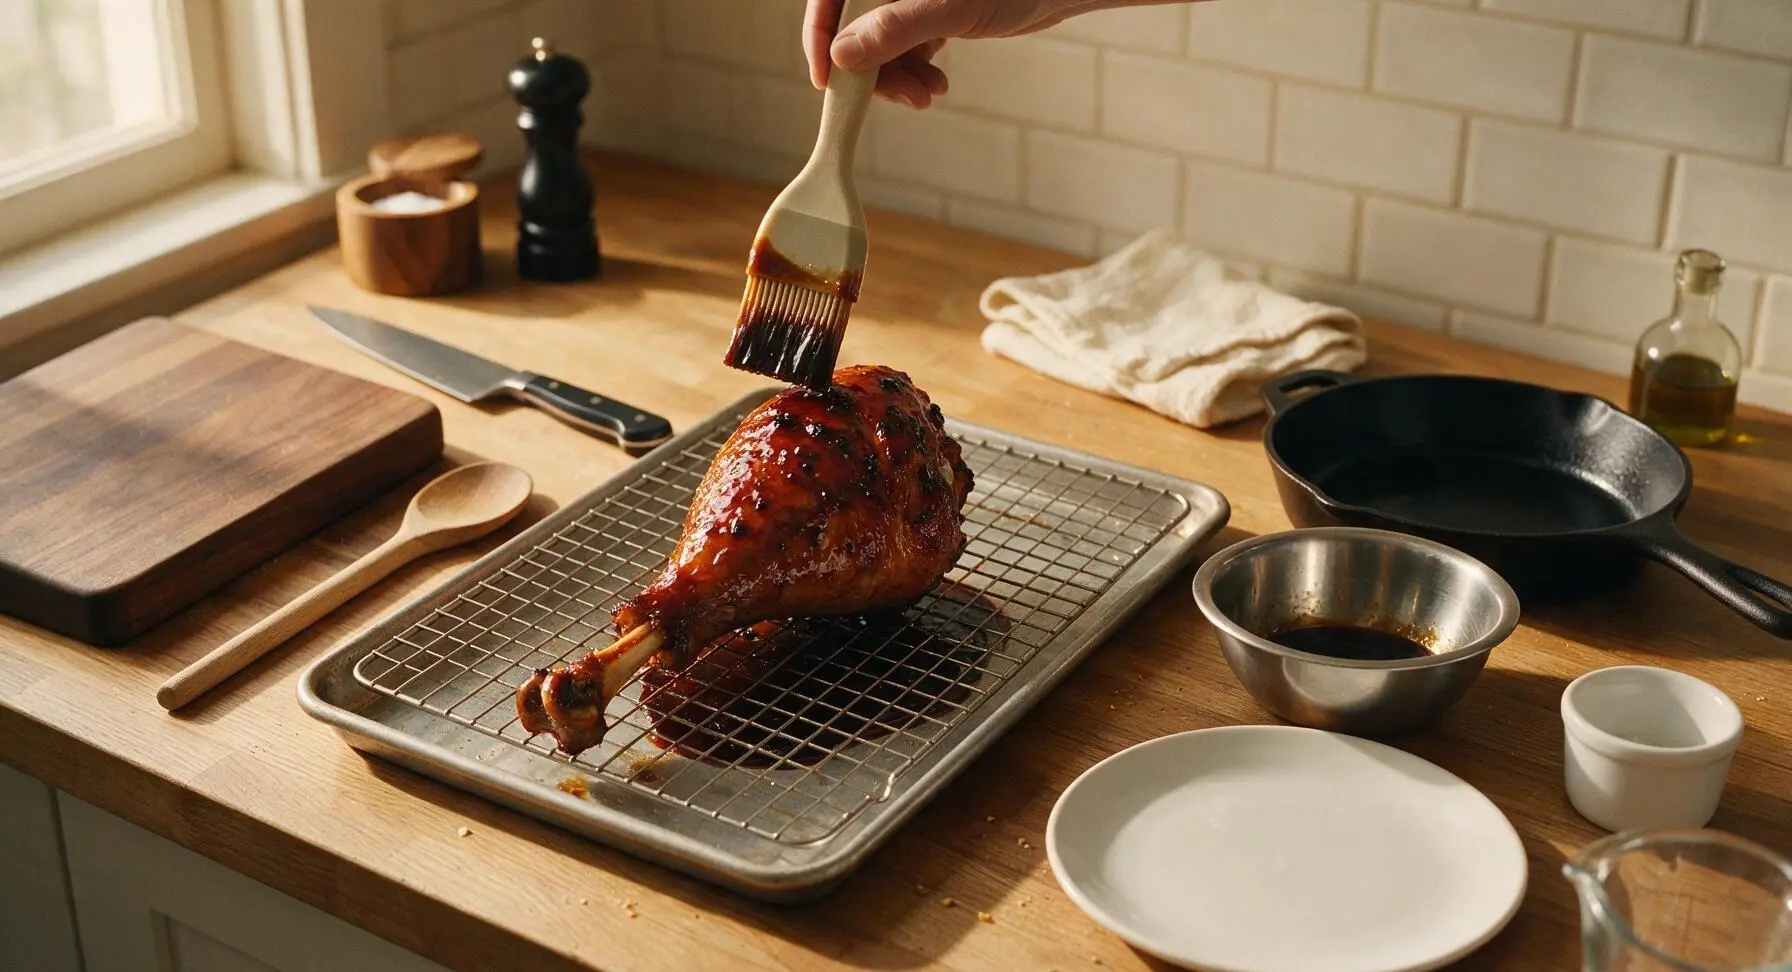
Once turkey is fully braised, use tongs to transfer legs from the Dutch oven to the wire cooling rack, set on top of the rimmed aluminum baking sheet to catch drips. Generously brush every surface of the warm turkey legs with half the soy glaze using the silicone basting brush, making sure to coat crevices and the exposed bone end. Place the rack of glazed legs under a high broiler for 3-4 minutes, watching constantly, until glaze bubbles and caramelizes to a deep mahogany with tiny charred edges (the sugar in the glaze burns quickly, so do not walk away). Remove from broiler and brush with a second coat of glaze.
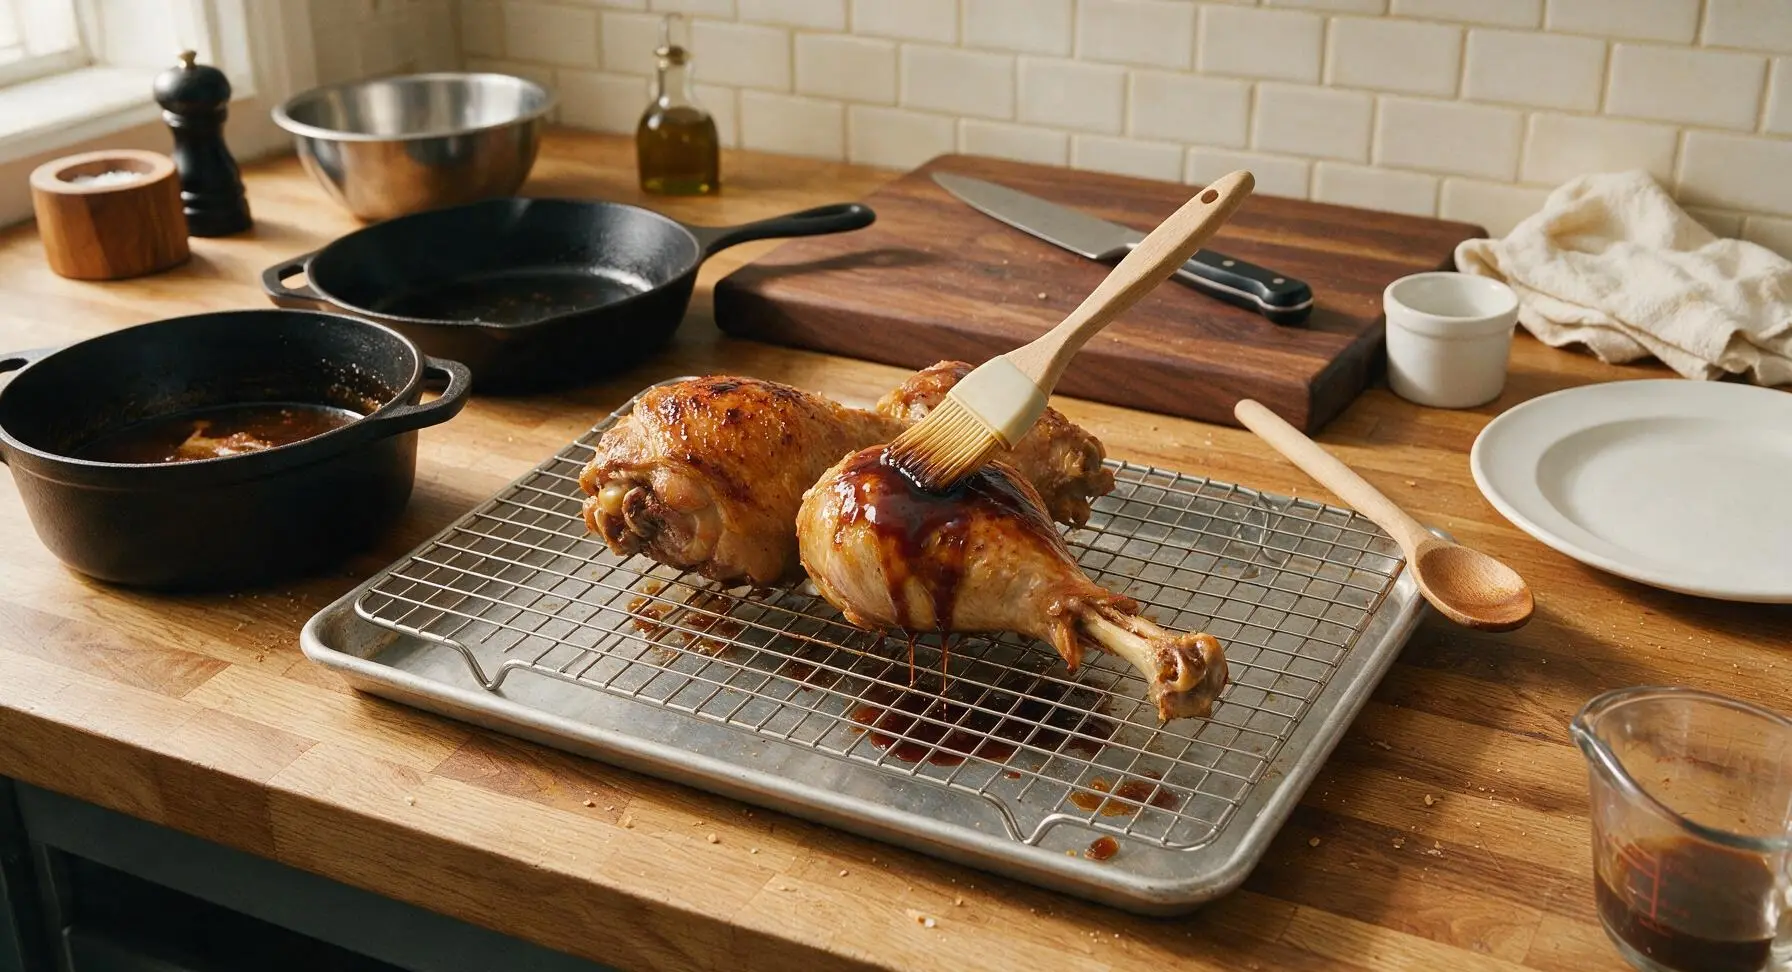
Rest Glazed Turkey
Once glazed, leave the turkey legs on the cooling rack, tented loosely with a sheet of crumpled aluminum foil, to rest for 8 minutes. Resting allows meat juices to redistribute (preventing dry meat when cut) and lets the glaze set to a sticky, non-dripping finish. Do not wrap the foil tightly, as trapped steam will make the crisp skin soggy.
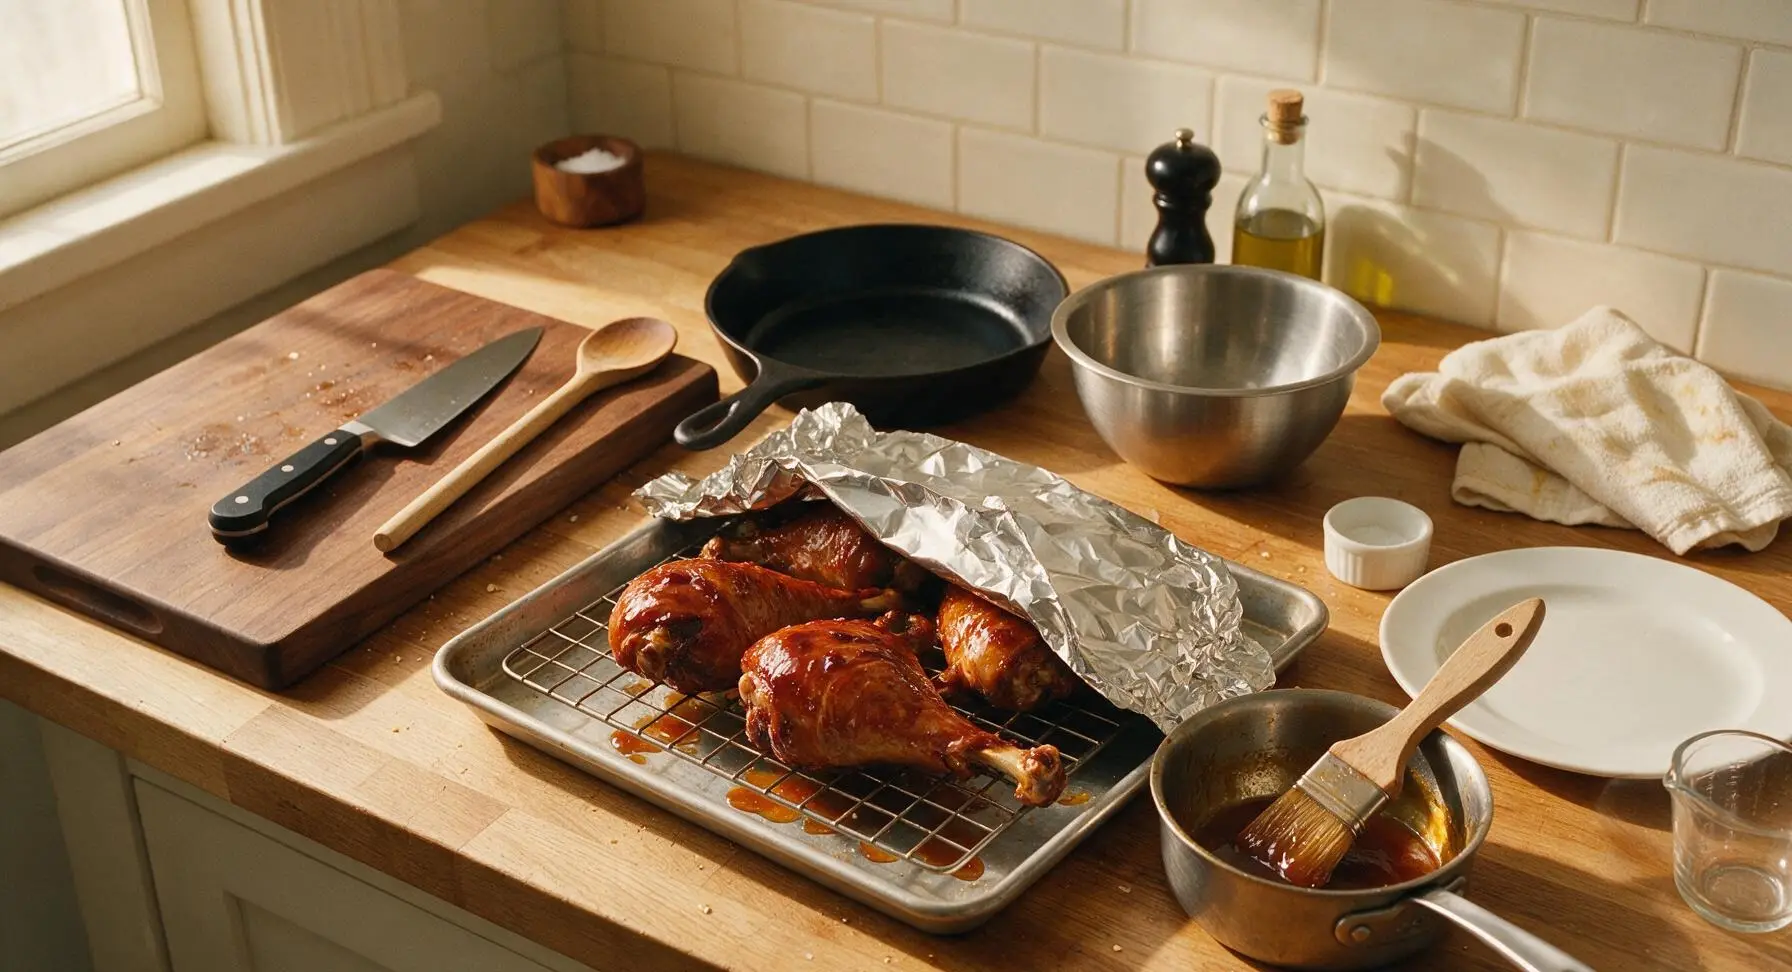
Plate and Serve
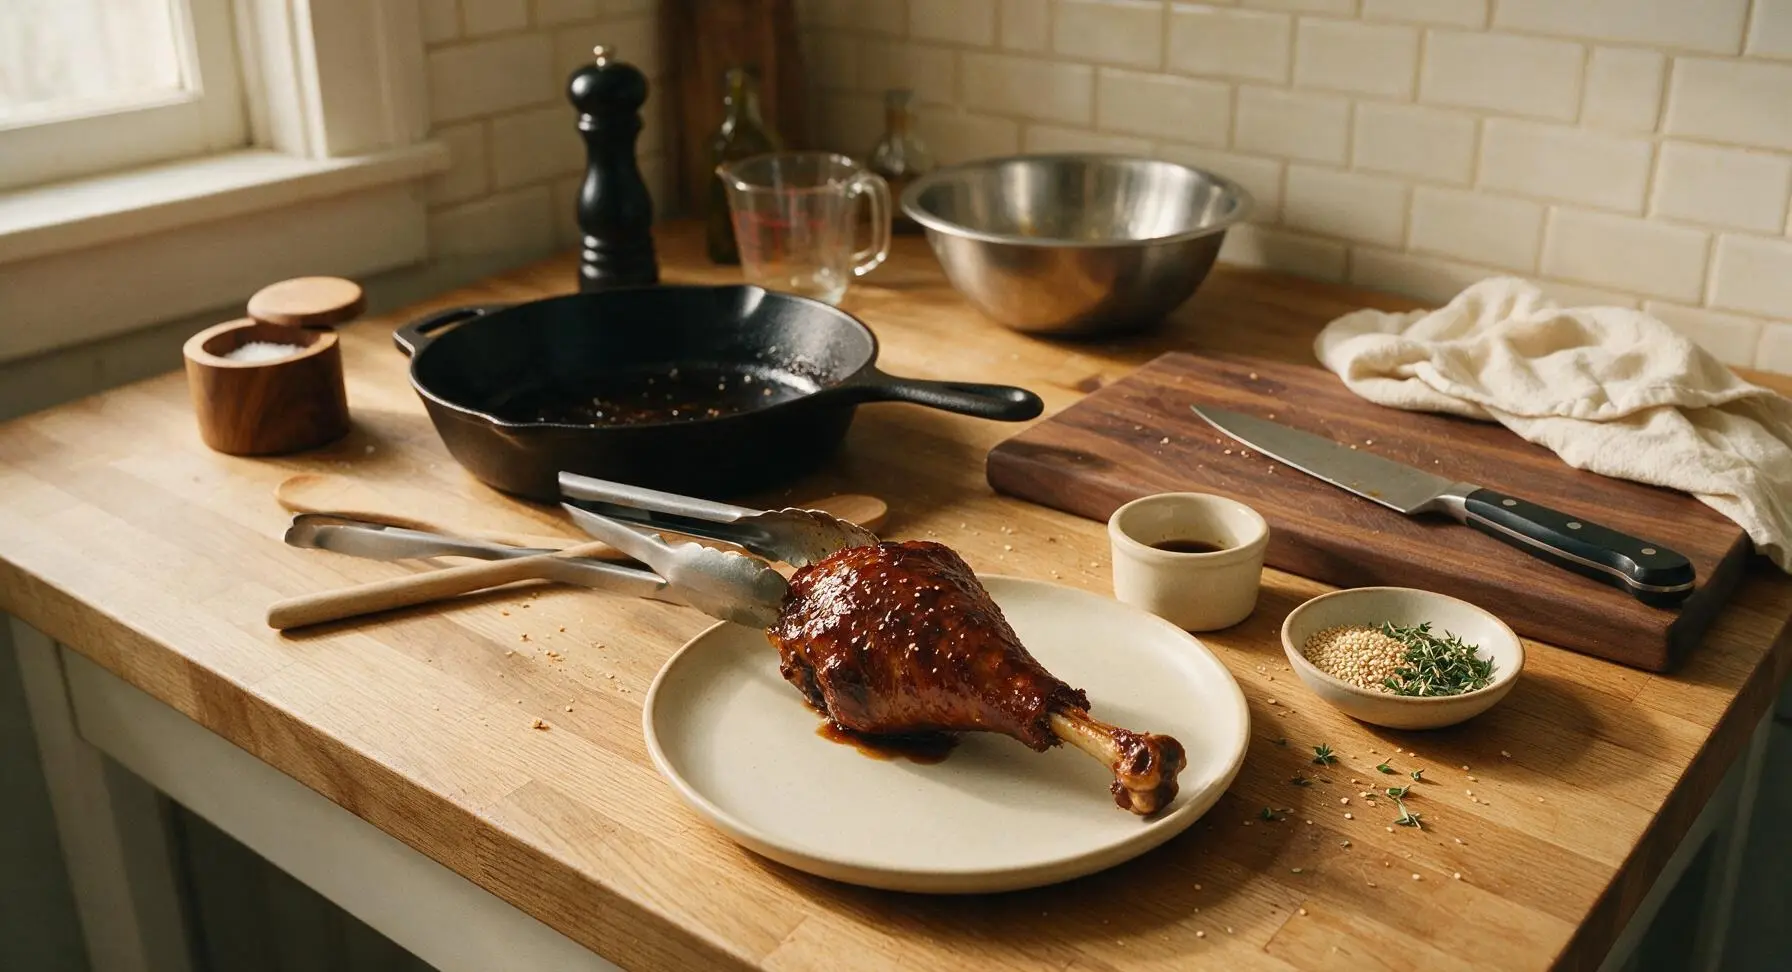
Arrange the rested turkey legs on the matte cream ceramic dinner plate, positioning them slightly overlapping to show off the glossy glaze. Drizzle 1 tbsp of warm remaining glaze over the legs, sprinkle with 1 tsp toasted white sesame seeds and a few picked fresh thyme leaves for garnish. Pour extra glaze into the small cream ramekin to serve on the side for dipping.
Tips
2.Watch the glaze closely during broiling: the brown sugar and mirin in the glaze caramelize in seconds, and can turn from perfect mahogany to bitter black in under 60 seconds if left unattended.
3.For extra depth of flavor, reserve 2 tbsp of the rendered turkey fat from the Dutch oven after searing, and stir it into the finished soy glaze for an extra rich, meaty umami kick.






Okay this is a total game changer for my weekly meal prep! I was so sick of dry chicken breast every week so I swapped in these turkey legs, followed the glaze exactly, and they held up perfectly all week in the fridge. Cook time was spot on too, no guesswork. Only thing I added was a pinch of red pepper flakes for a tiny kick, chef’s kiss.
Made this on a cast iron over the camp stove last weekend when we were camping near Aspen and it SLAPPED. I was worried the glaze would burn too easy over open flame but I just adjusted the heat a little and it came out perfectly caramelized. Way better than the sad hot dogs we usually make on trips.
Wait, quick question before I make this for my Friendsgiving next week – can I use low-sodium soy sauce instead of regular? I have a couple guests coming who are watching their salt intake and I don’t want to mess up the glaze balance!
Y’all OMG, I was a little intimidated because I’ve only ever made whole roasted turkey for Thanksgiving, never just legs with a glaze. This was so much easier than I thought! The skin got so crispy and the glaze had that perfect umami bite. My husband said it’s better than the Thanksgiving turkey I make every year, oops 😂
SO good. I didn’t have quite enough soy sauce so I subbed a little tamari and it still came out great. Served it with roasted broccoli and rice and my whole family cleaned their plates – my kids loved it so much they asked for it again this weekend! Will definitely add this to our regular weeknight rotation, even with the 90 minute cook time it’s totally hands off for most of it.
I was pretty sure this would be too sweet for my taste, but I gave it a shot anyway. Honestly? It’s perfectly balanced. Not too sweet, not too salty, the depth from the garlic and ginger in the glaze is unreal. Only con is my apartment smelled like soy and garlic for two days after, worth it though.
Help! I’m making this right now and my glaze is looking really thin, did I do something wrong? I followed all the measurements exactly, it’s just not thickening up like the photos show.
Made this for our office potluck today and people were asking me for the recipe before they even finished their first bite! I doubled the recipe to make 8 legs and every single one was gone in 10 minutes. The only change I made was adding a little sesame seed garnish on top for crunch, 10/10.
This is solid, but I cranked up the flavor by adding a tablespoon of gochujang to the glaze and oh my GOD it was life changing. If you like a little heat with your sweet and savory, do not sleep on that addition. The turkey was fall-off-the-bone tender even with my little tweak.
As a college student with barely any cooking skills and a tiny dorm oven, I was shocked this turned out as good as it did! I thought medium difficulty meant I would mess it up for sure, but the steps were super straightforward. Cheaper than getting takeout and way more satisfying tbh.
Is there a gluten free swap for the regular soy sauce? I have celiac so I can’t have regular soy, but this recipe looks too good to pass up!
I’ve made this recipe three times now and it gets better every single time. Last time I served it with mashed potatoes and roasted green beans, and my mother in law asked for the recipe to take home to her book club. That’s the highest possible praise if you ask me, haha. So happy I found this!
Made this for my at home date night last night and my boyfriend thought I ordered it from that fancy Asian fusion spot downtown! I paired it with jasmine rice and roasted bok choy, and we ate the entire thing while watching our favorite show. 10/10 romantic dinner win.
Wait how do the leftovers hold up? I’m only cooking for myself so I’ll have a ton left over, and I hate when turkey gets all dry and rubbery after a day in the fridge.