
soy sauce chicken
intro
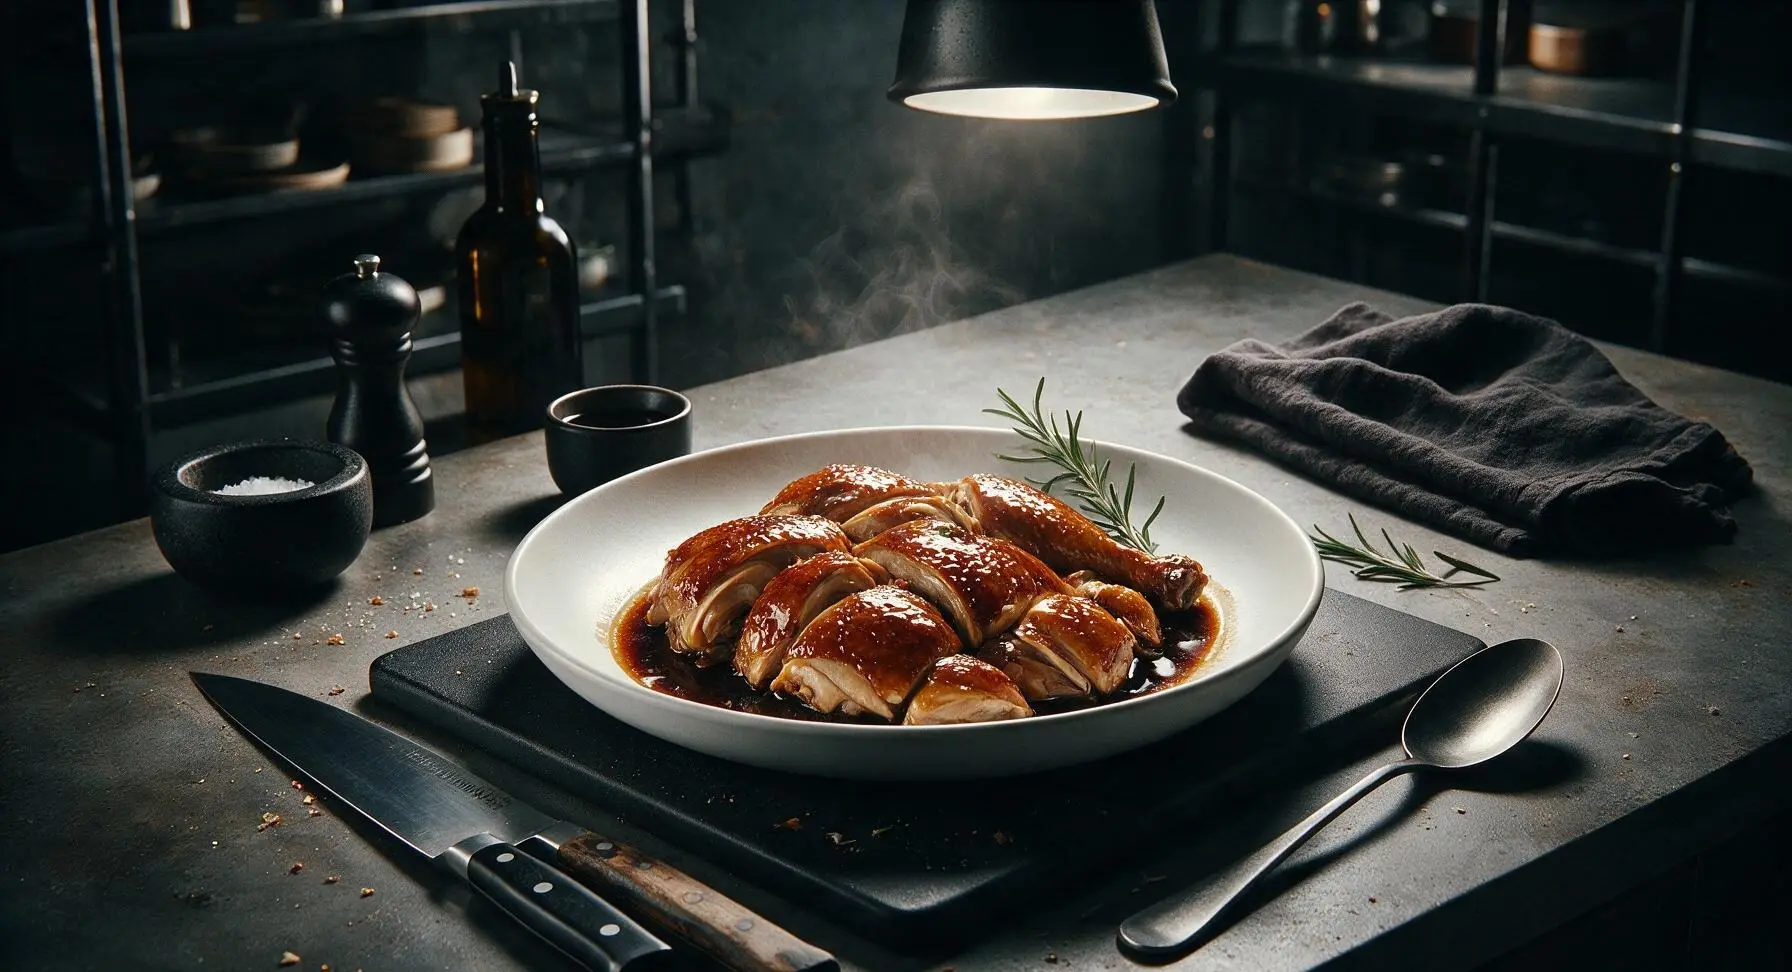
Tender, juicy chicken coated in glossy, umami-rich soy braising liquid, with deep amber skin and warm aromatic notes— a beloved Cantonese classic perfect for sharing.
Ingredients
Steps
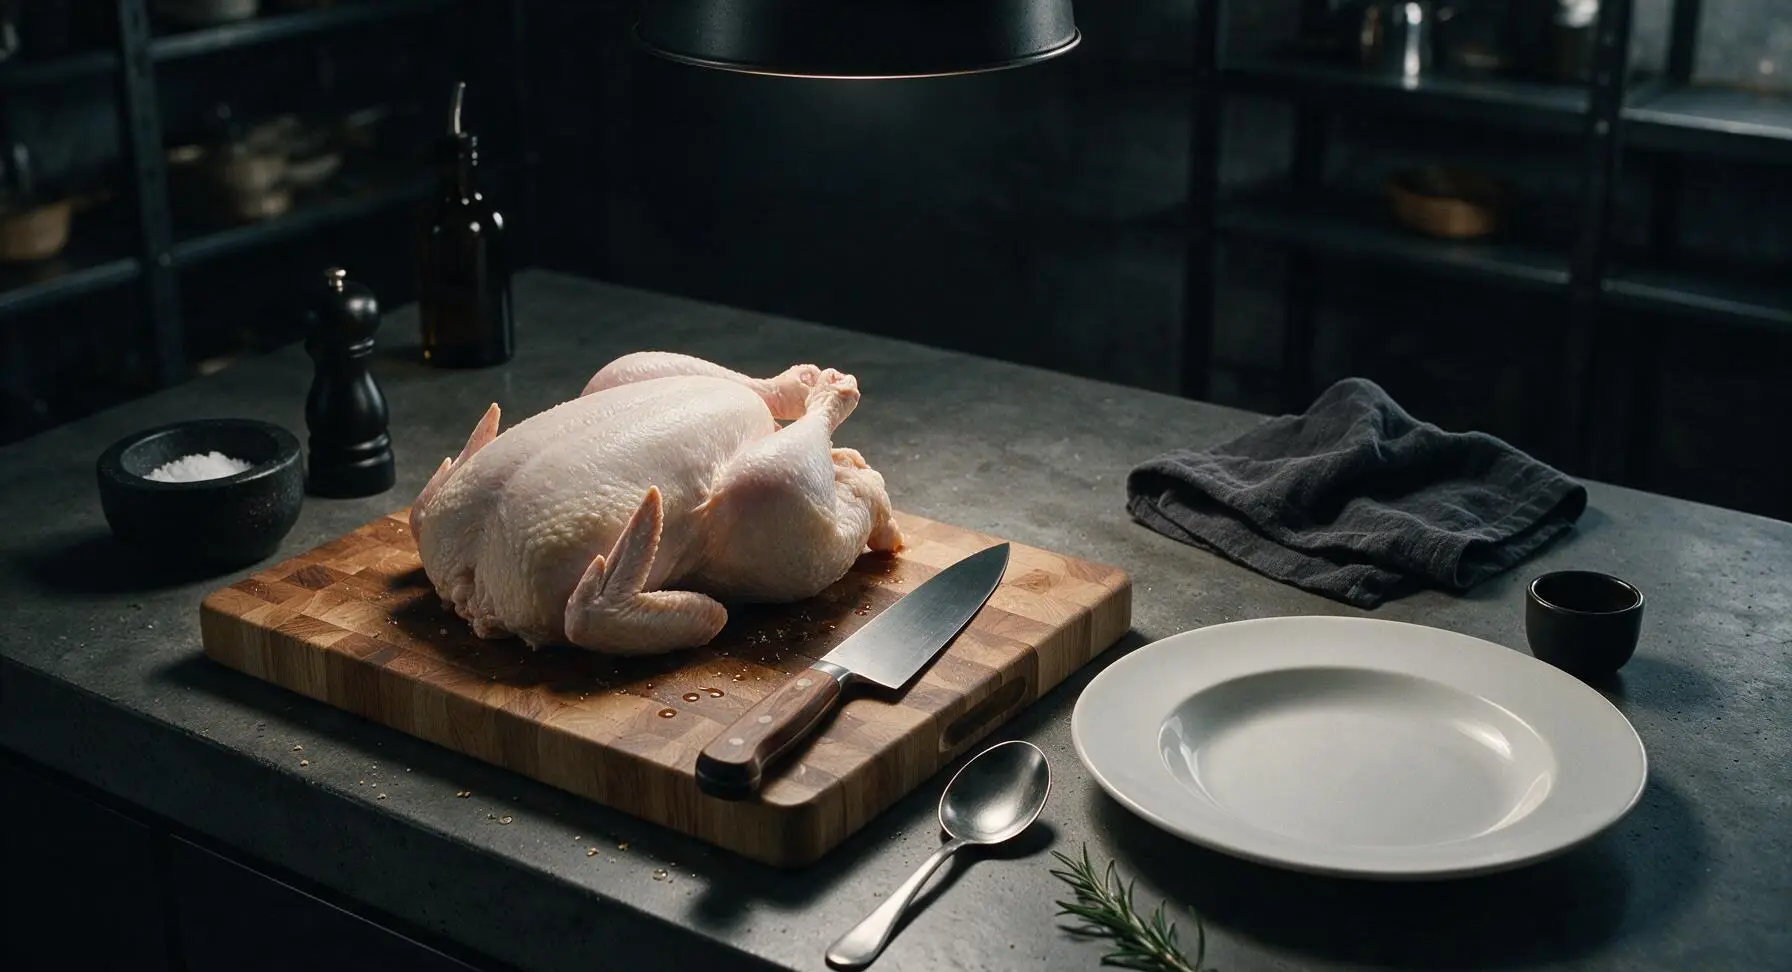
Prep and Pat Chicken Dry
Remove the 1.2kg whole chicken from packaging, trim any excess loose fat from the cavity, and rinse thoroughly under cold running water. Pat the entire outer skin and inner cavity completely dry with paper towels, until the skin feels dry and smooth to the touch. Tuck the wing tips behind the chicken’s back to prevent them from burning or sticking during braising.
Toast Aromatics in Dutch Oven
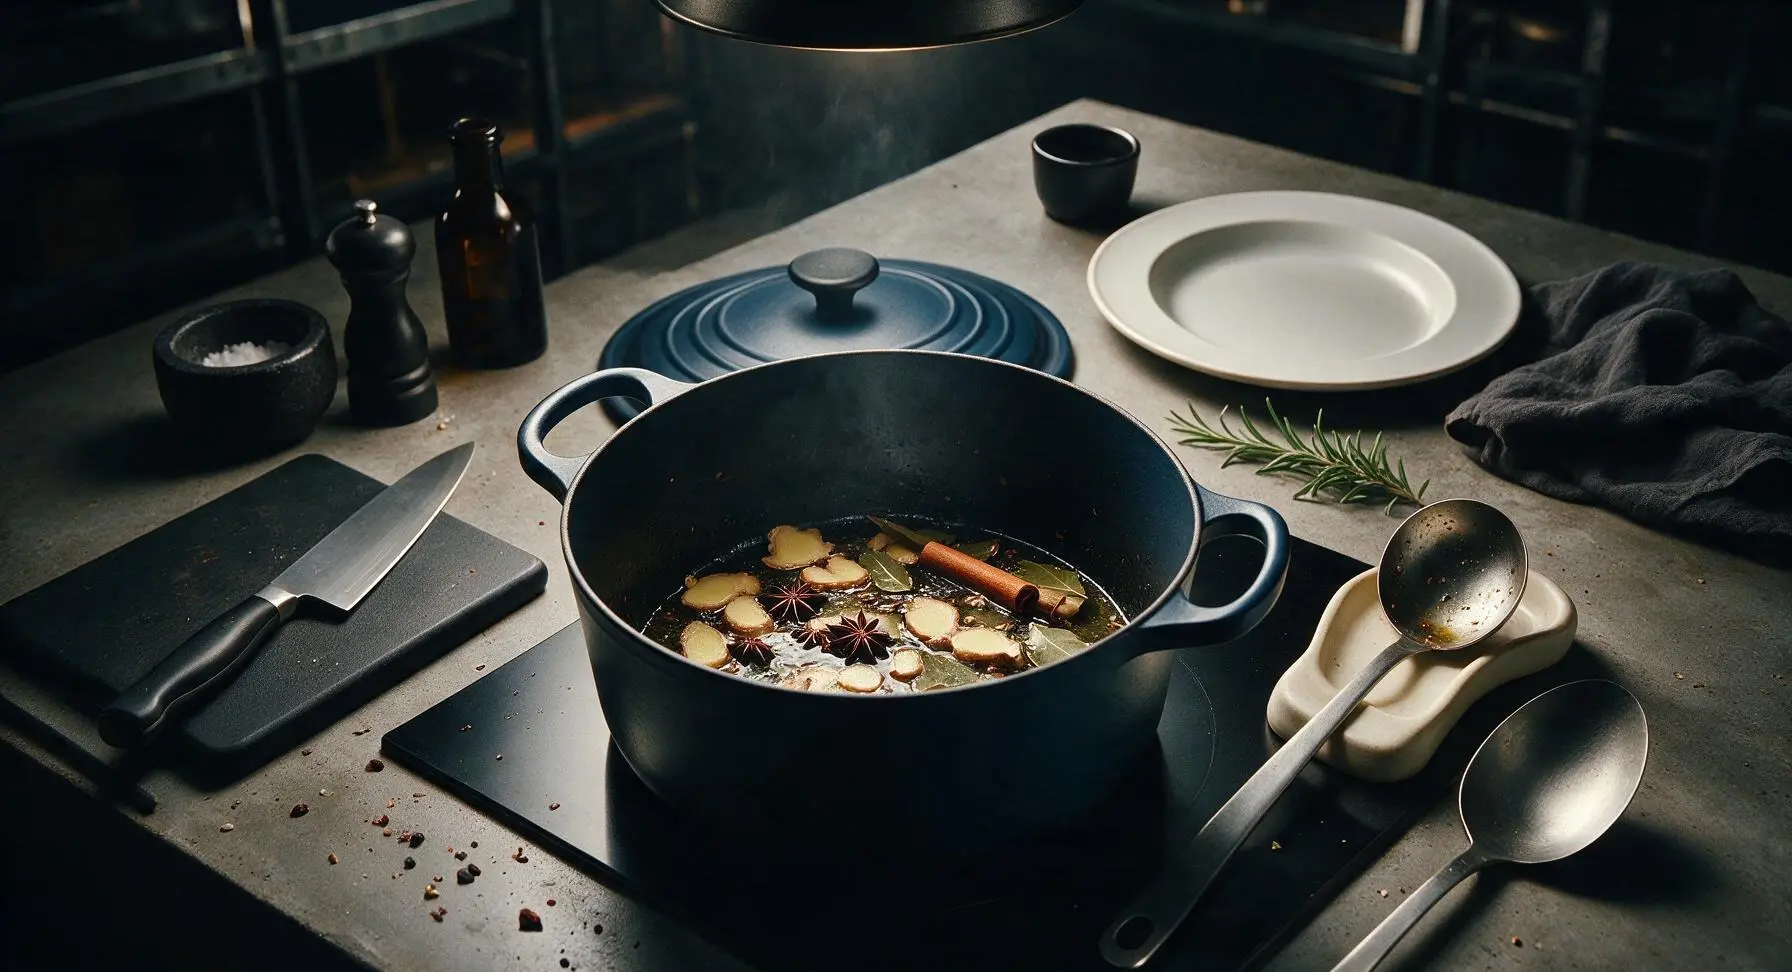
Heat 1 tablespoon of neutral canola oil in the 5L matte navy enameled Dutch oven set to medium heat (160C/320F) on the induction cooktop. Add the thick-sliced ginger, tied scallion bundle, star anise, cinnamon stick, and bay leaf. Toast for 1-2 minutes, stirring occasionally with the stainless steel ladle, until a warm, spicy aroma rises from the pot — do not let the spices turn dark brown or burn, as this will make the braise bitter.
Combine Braising Liquid
Pour 120ml light soy sauce, 3 tbsp dark soy sauce, 60ml Shaoxing rice wine, 30g rock sugar, and 750ml boiling water into the Dutch oven with the toasted aromatics. Stir gently with the ladle to help the rock sugar dissolve, then bring the liquid to a gentle rolling simmer (approximately 95C/203F). The liquid will turn a deep, transparent amber color once the soy sauces are fully incorporated.
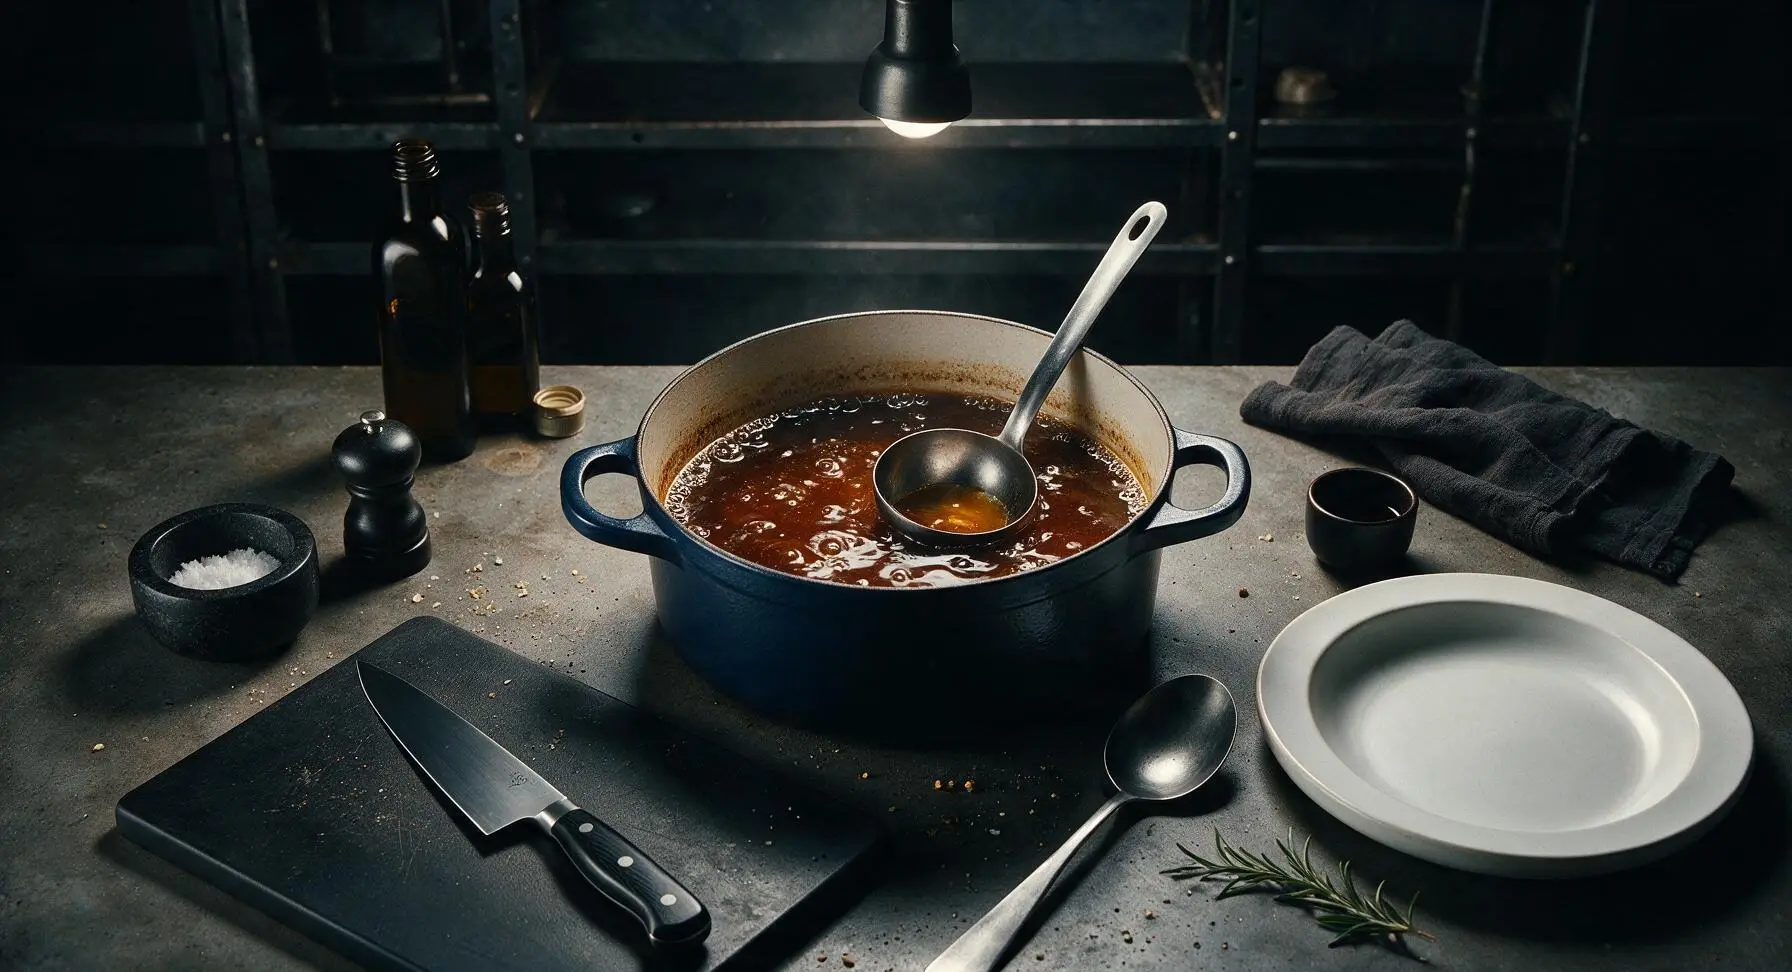
Braise and Baste Chicken
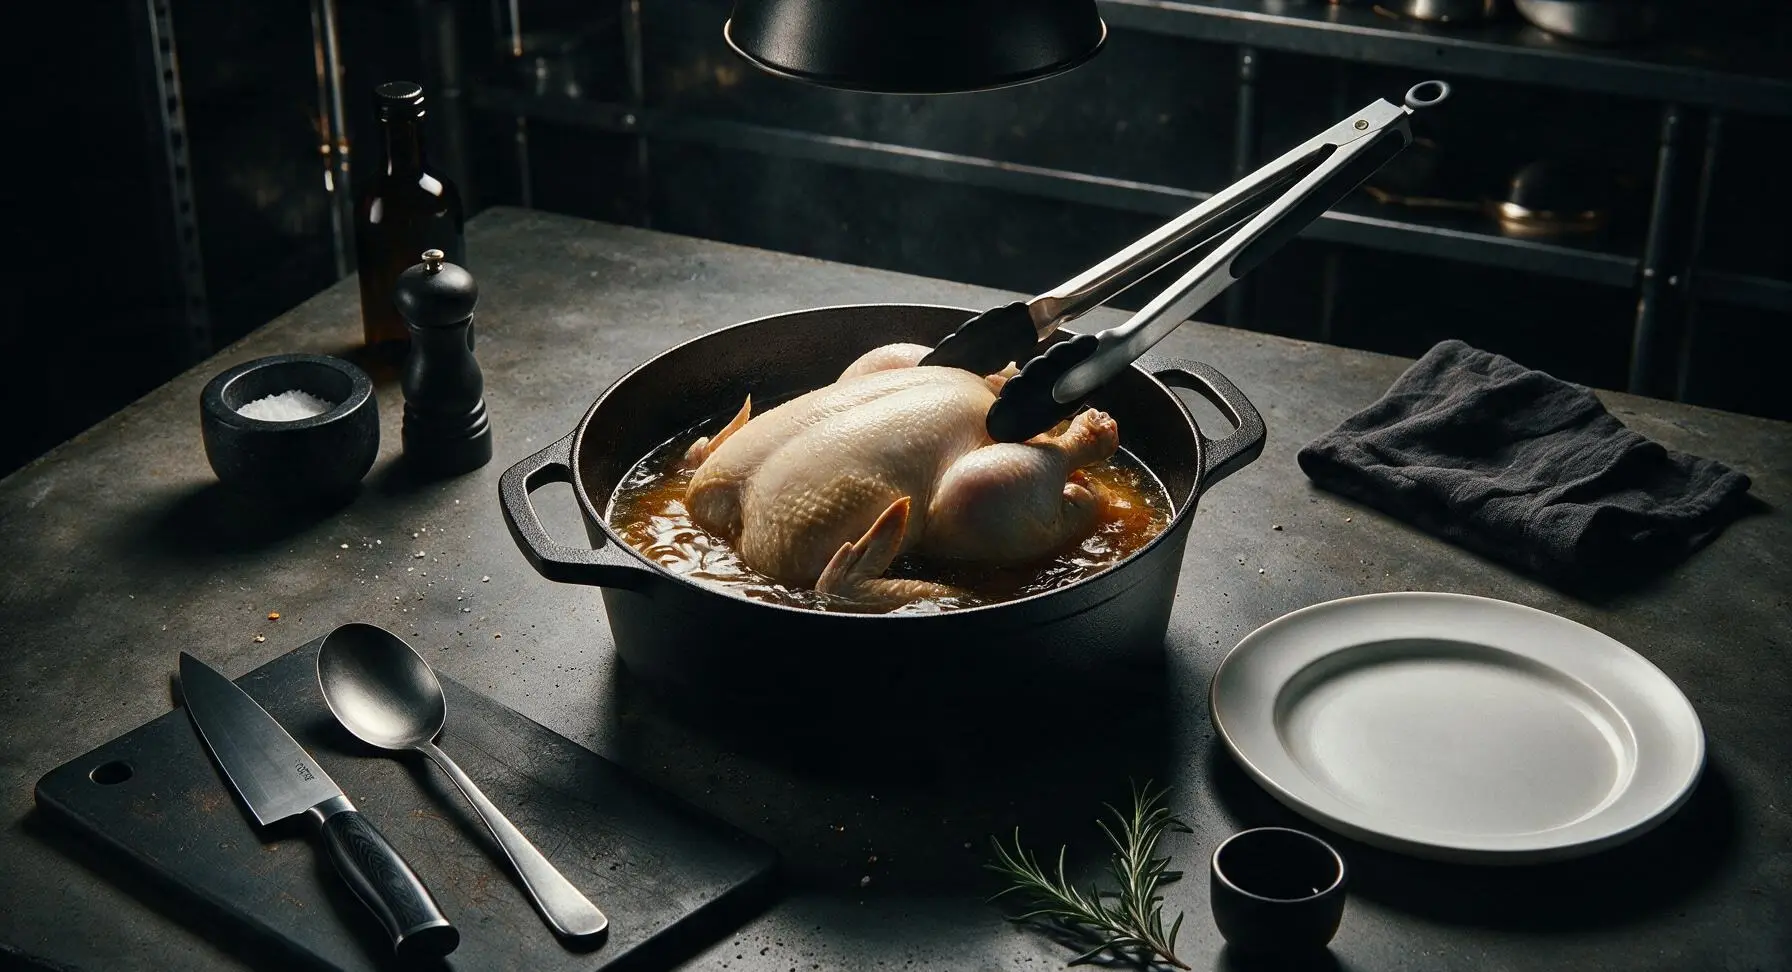
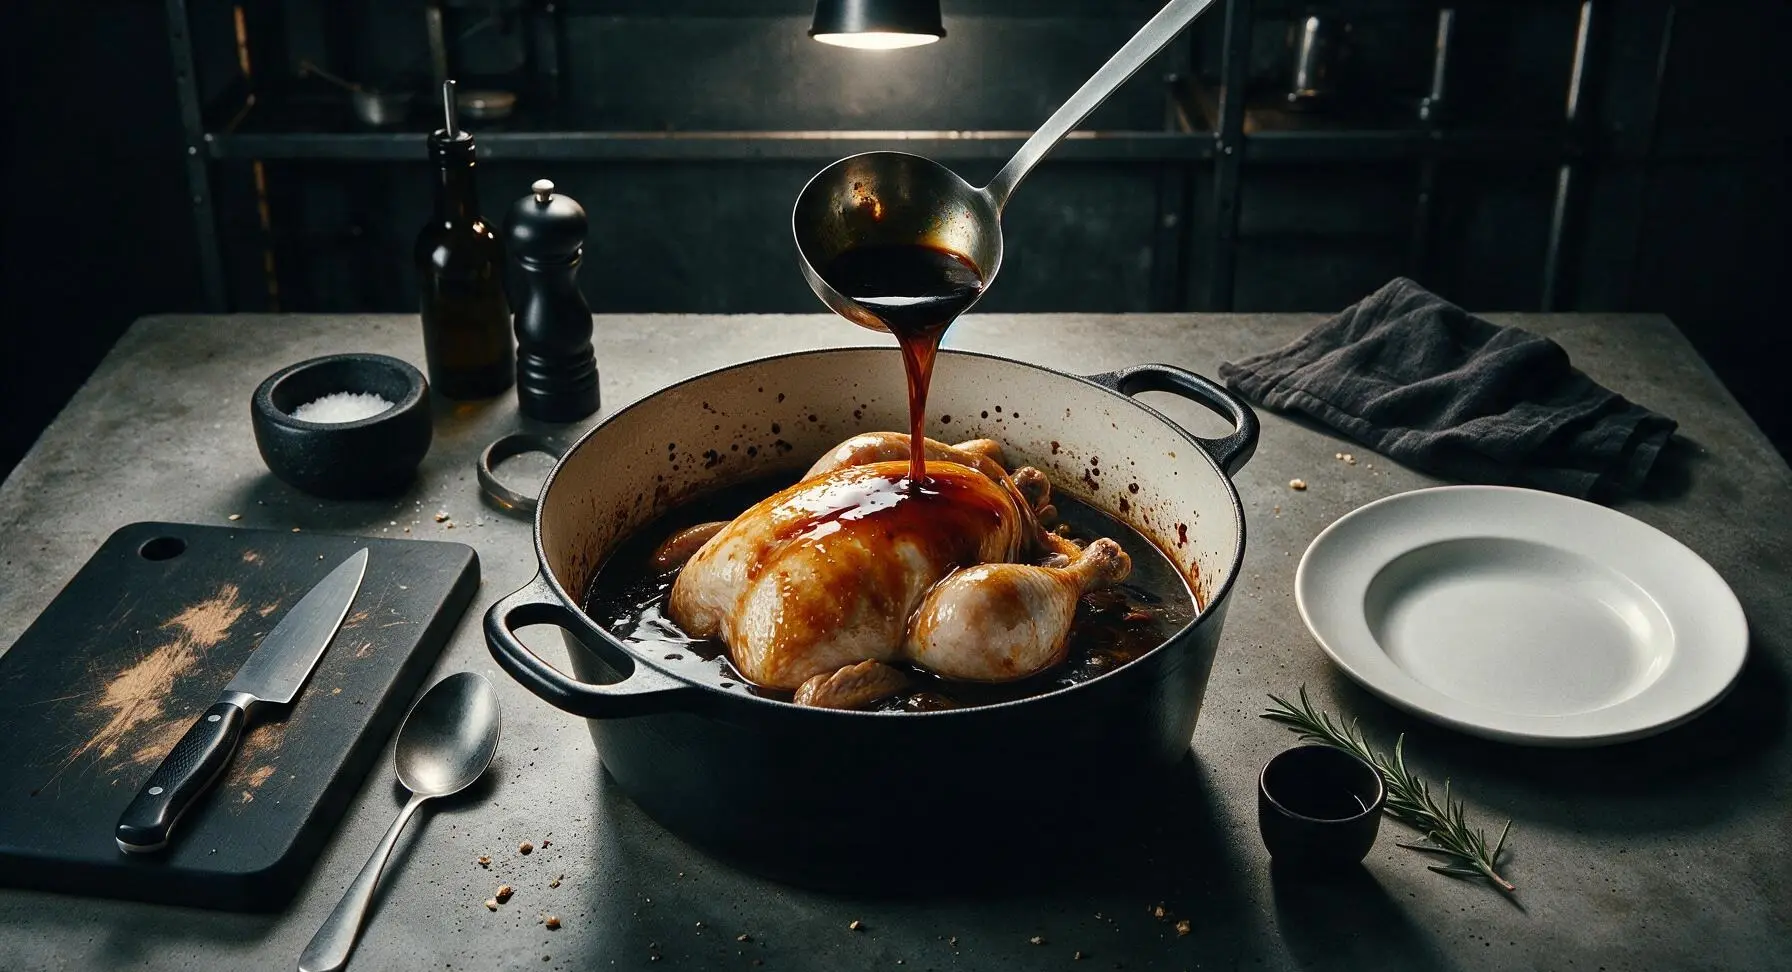
Carefully lower the whole dried chicken into the simmering braising liquid, breast-side up. Use the ladle to scoop braising liquid over the top of the chicken repeatedly for 2 full minutes to set an even skin color. Reduce heat to low to maintain a gentle, quiet simmer (around 85C/185F), cover the pot, and cook for 25 minutes total. Use the silicone-tipped metal tongs to flip the chicken breast-side down at the 12-minute mark, and baste with liquid every 8 minutes to ensure even, glossy coloring across the skin.
Verify Internal Temperature
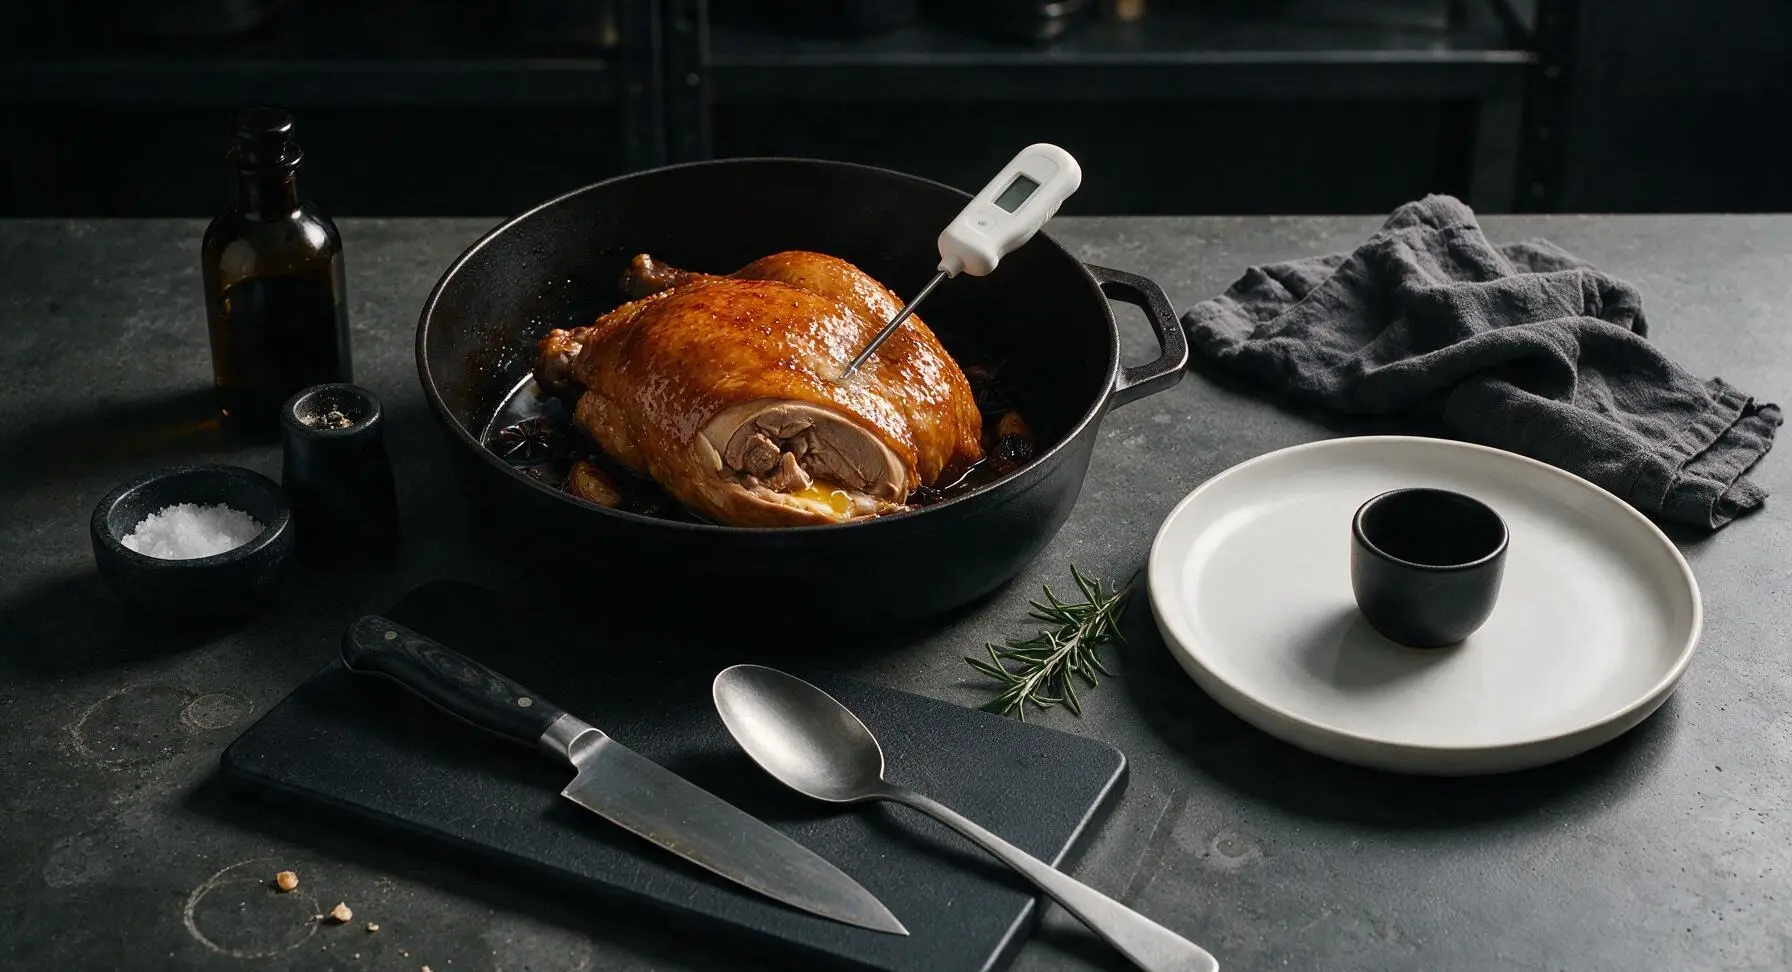
After 25 minutes of covered braising, insert the digital instant-read meat thermometer into the thickest part of the chicken thigh, taking care not to touch the bone. The chicken is done when the thermometer reads 74C/165F. If the temperature is lower, cover the pot and cook for 5 additional minutes before checking again. Remember the chicken will rise 2-3C in temperature during resting, so do not overcook it at this stage.
Rest Chicken, Reduce Sauce
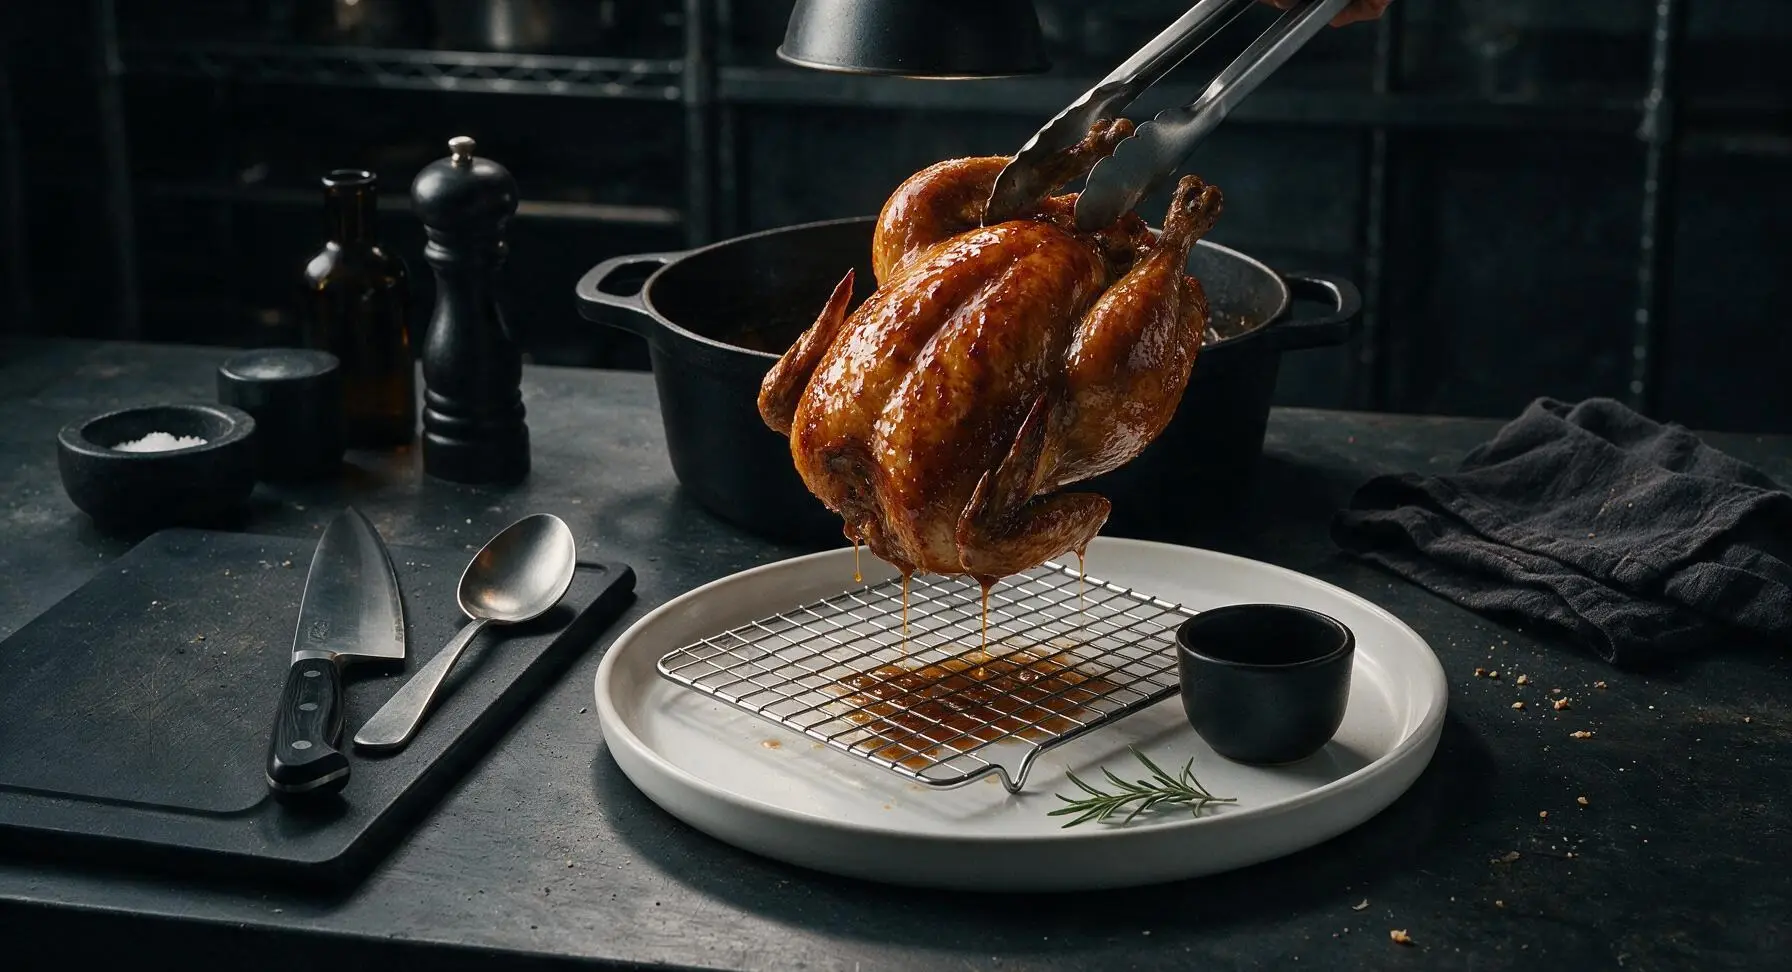
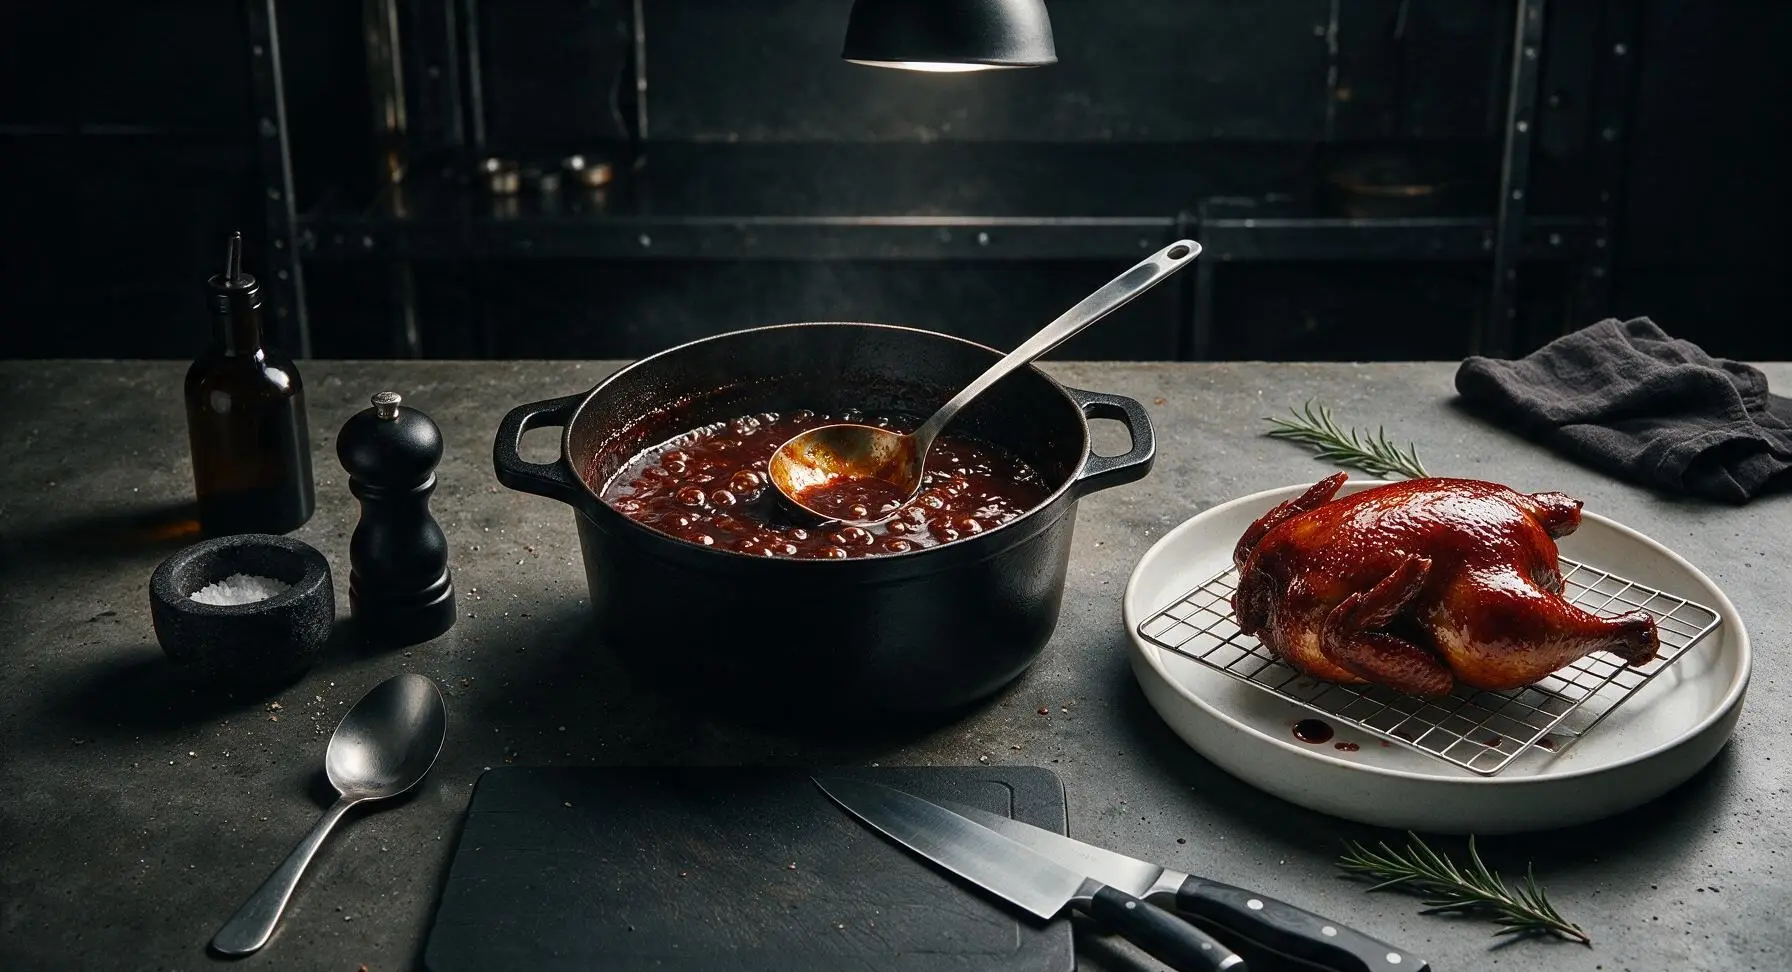
Use the metal tongs to carefully lift the cooked chicken out of the braising liquid, and set it on the chrome wire cooling rack positioned to the right of the Dutch oven, with the warm white serving platter underneath to catch drips. Let the chicken rest uncovered for 10 minutes to allow juices to redistribute and the skin to firm up. While the chicken rests, turn the heat up to medium, and simmer the braising liquid for 8-10 minutes until it is reduced by one third, thick enough to coat the back of the ladle.
Carve and Arrange Chicken
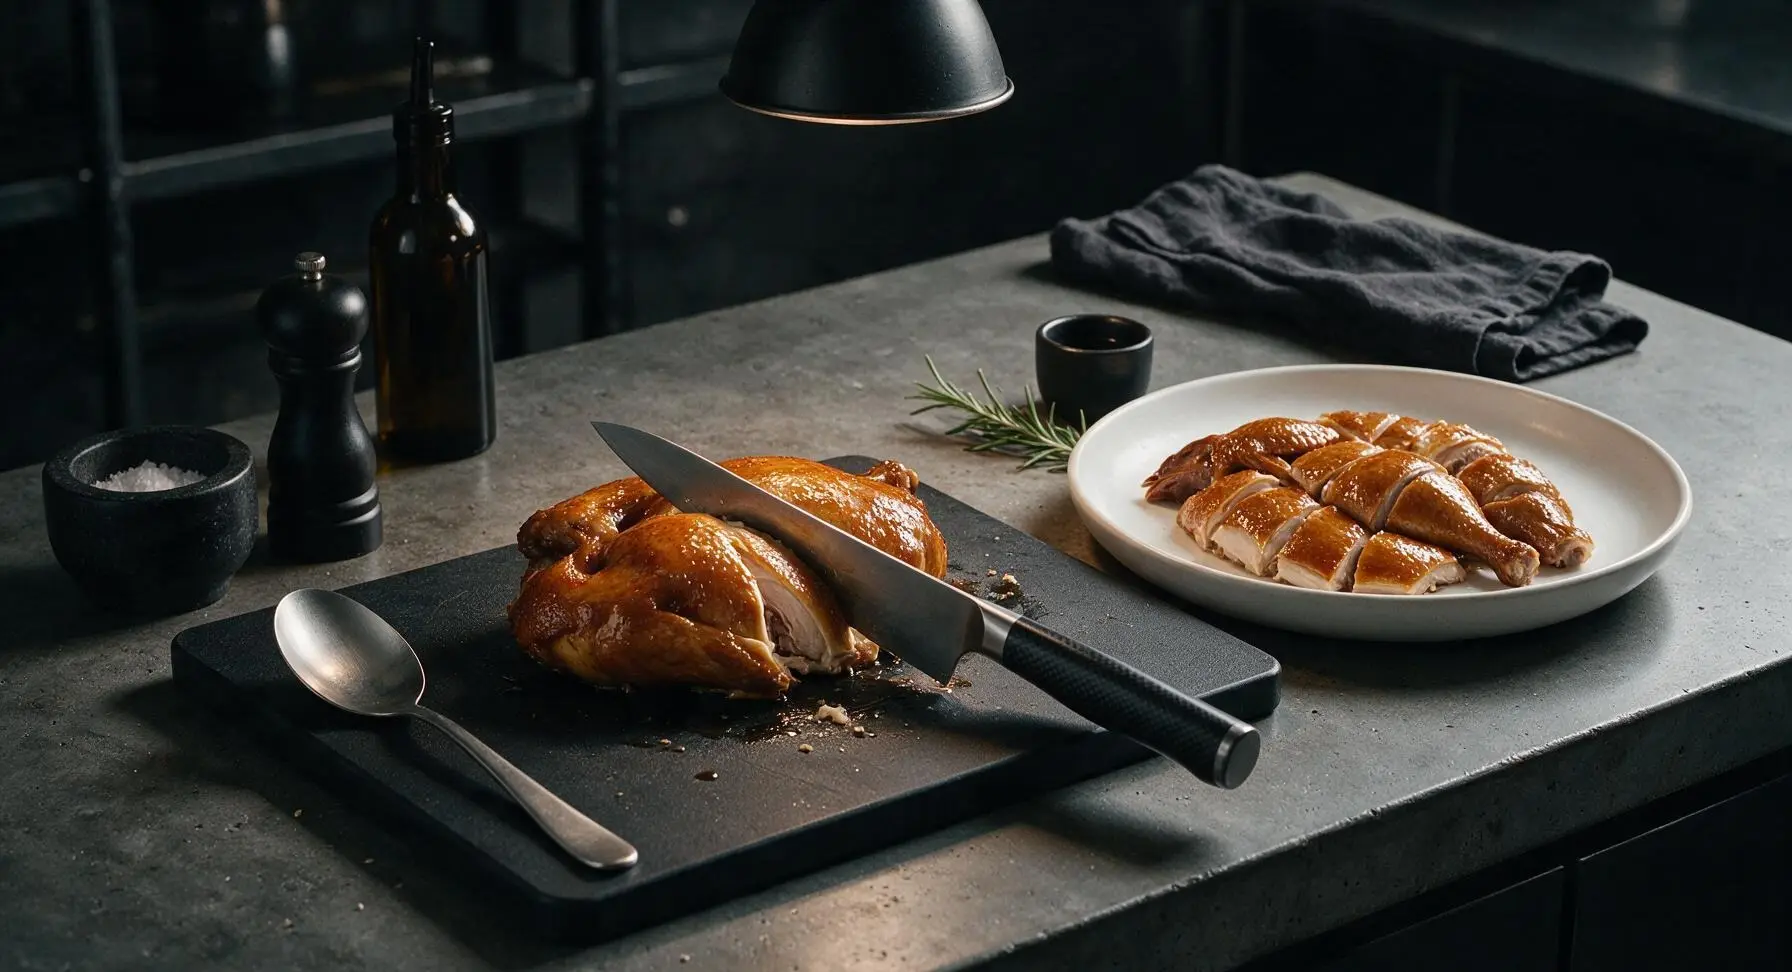
Transfer the rested chicken to the maple end-grain cutting board. Use the 8-inch chef knife to carve the chicken into even, bite-sized pieces: separate the drumsticks and thighs from the body, slice the breast into 2cm thick slices, and chop the wings into two sections. Arrange the carved pieces neatly on the white serving platter, reconstructing the shape of the whole chicken for a traditional presentation.
Garnish and Serve
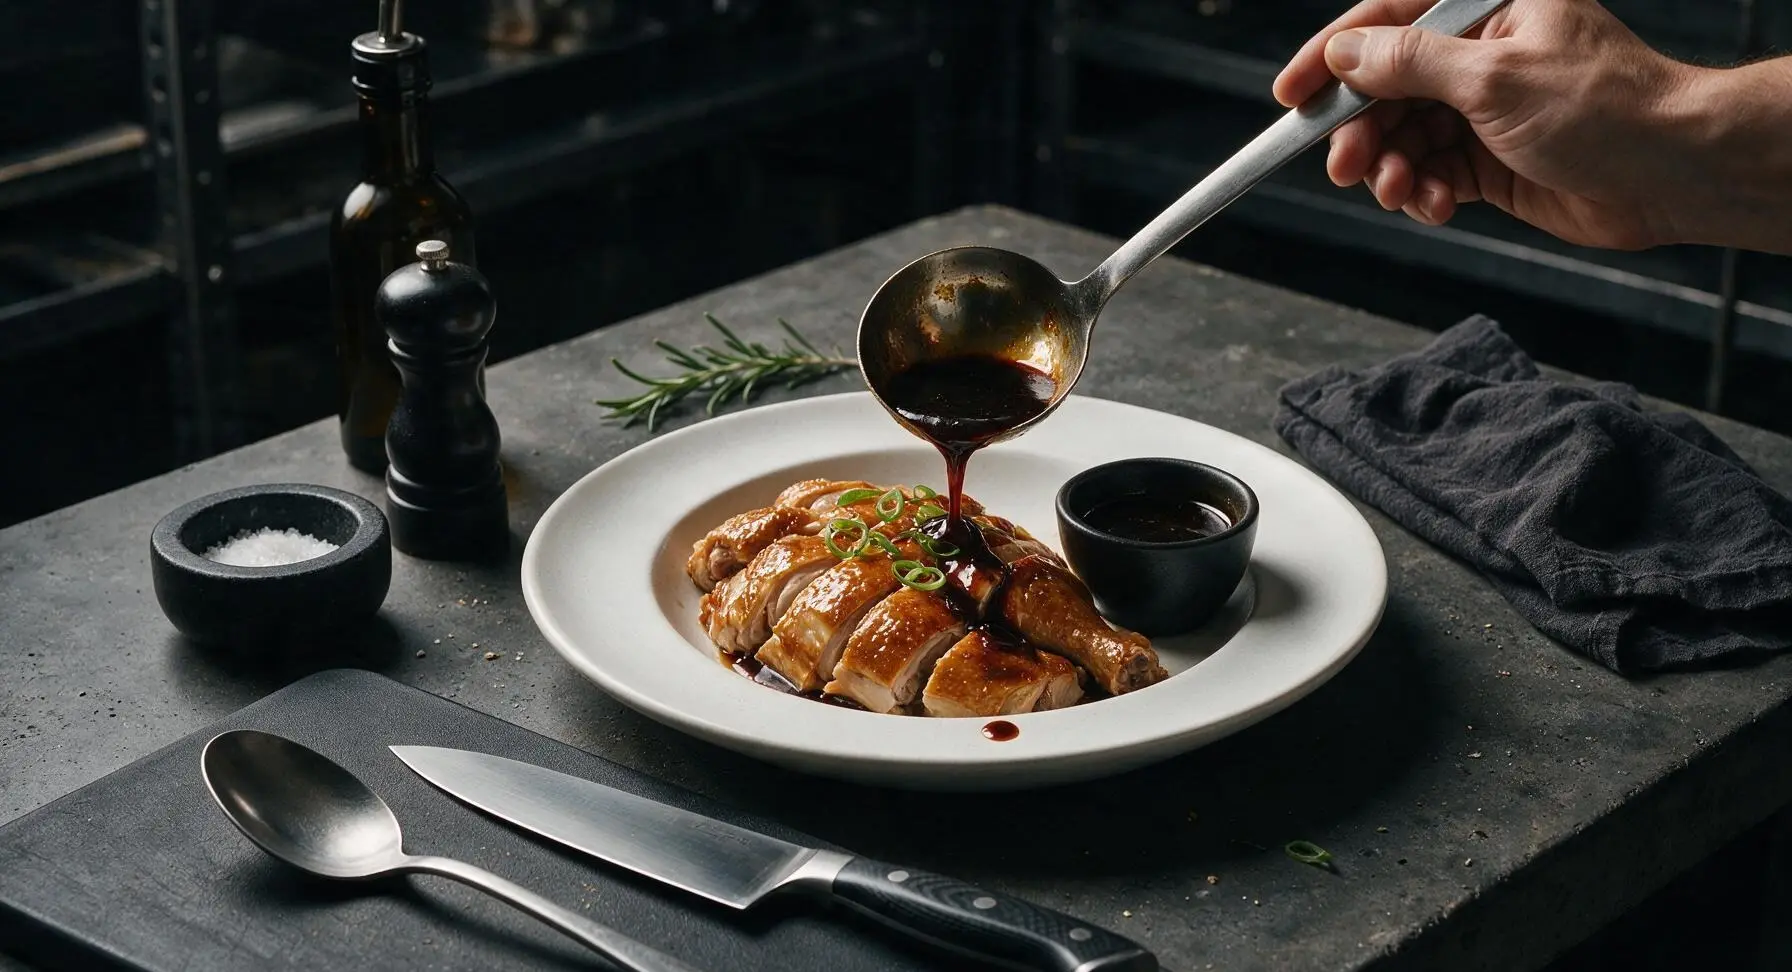
Use the stainless steel ladle to drizzle 3-4 tablespoons of the thickened, reduced braising sauce evenly over the plated chicken pieces. Scatter 1 tbsp of thinly sliced scallion greens across the top for a bright, fresh color contrast. Serve immediately, with extra reduced sauce portioned into the small white dipping dishes for tableside dipping.
Tips
2.Pat the chicken completely dry with paper towels before adding it to the braising liquid: dry skin absorbs soy sauce pigment evenly, creating a uniform glossy amber finish, while damp skin will result in splotchy, pale patches that won’t hold the glaze.
3.Keep the braising liquid at a very gentle, low simmer (no rolling boil) during cooking: a hard, turbulent boil will tear the delicate chicken skin and tighten the meat proteins, leading to tough, dry breast meat. Aim for small, infrequent bubbles breaking the liquid surface.






OMG this soy sauce chicken was a total game changer for our Sunday family dinner! The skin was perfectly glossy and the meat was so juicy, even my super picky 7 year old asked for seconds. I served it with jasmine rice and steamed bok choy, zero leftovers. 10/10 would make again.
First time making Cantonese soy sauce chicken and mine turned out a little saltier than I expected? Did I use the wrong kind of soy sauce? I grabbed regular light soy sauce from the grocery store, not the low sodium kind. Flavor was still great though, just a touch too salty for my taste.
Made this for my partner’s birthday dinner since he’s obsessed with Cantonese food and he said it’s better than his grandma’s? (Don’t tell his grandma lol) The aromatics from the ginger and star anise are insane, the whole house smelled amazing for hours after cooking.
Took this to my office potluck last week and people were hounding me for the recipe all afternoon! The only tweak I made was adding a tiny splash of sesame oil at the end, and it came out so fragrant. Cook time was pretty spot on too, didn’t take nearly as long as I thought a medium-difficulty recipe would.
My kids loved it! I was worried the soy flavor would be too strong for them but they ate every bite, even asked if we can have it for their birthday dinner next month. The glossy skin looks so fancy too, I felt like a real pro serving it.
Quick question—can I use chicken thighs instead of a whole chicken for this recipe? I’m not a huge fan of white meat and I always have thighs in the freezer. Would that change the cook time much?
SO good! I do meal prep every Sunday and this held up perfectly all week for lunch. The soy sauce braising liquid is chef’s kiss, I even saved the extra to toss with noodles the next day. Way better than the takeout soy sauce chicken I usually order from the place down the street.
Tried making this last night and the chicken came out super tender, but I couldn’t get that nice deep brown glossy skin like the photo? I basted it like the recipe said, but it was still pretty pale. Any tips?
Meal prep win! I made a double batch on Sunday and ate it for lunch all week, even my roommate stole a piece and said it’s the best thing I’ve ever cooked. Only thing is I wish I made more of the sauce to put on everything, seriously that stuff is liquid gold.
Wow, this is spot on to the soy sauce chicken I get at my favorite dim sum spot in Chinatown! I was worried it would be too complicated for a weeknight meal but 45 minutes is totally doable even after work. Will be adding this to our regular rotation.