1.Can I use boneless, skinless chicken instead of bone-in, skin-on thighs for this recipe?
▾
You absolutely can, but you’ll miss that signature shatteringly crisp skin! Boneless, skinless thighs cook faster—3 to 4 minutes per side over medium heat—so watch closely to avoid drying them out. Pat them completely dry before searing, and you’ll still get great garlicky, buttery flavor, just with a slightly different texture.
2.Why isn’t my chicken skin getting crispy when I cook it on the stovetop?
▾
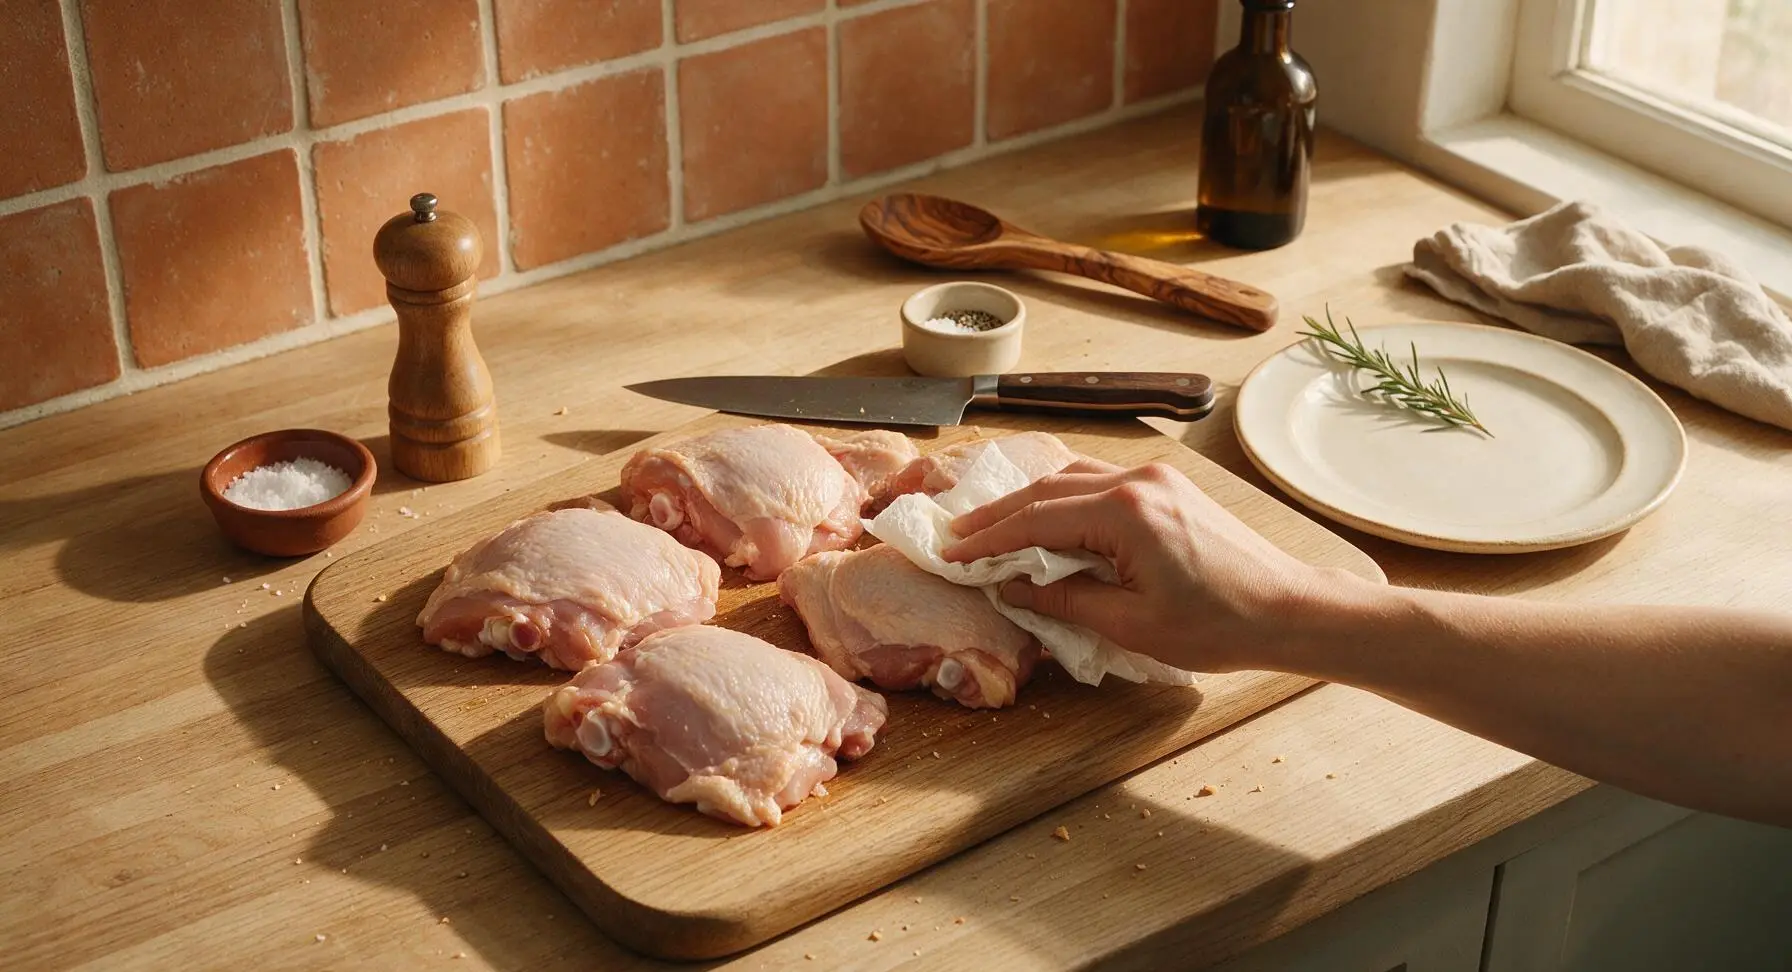
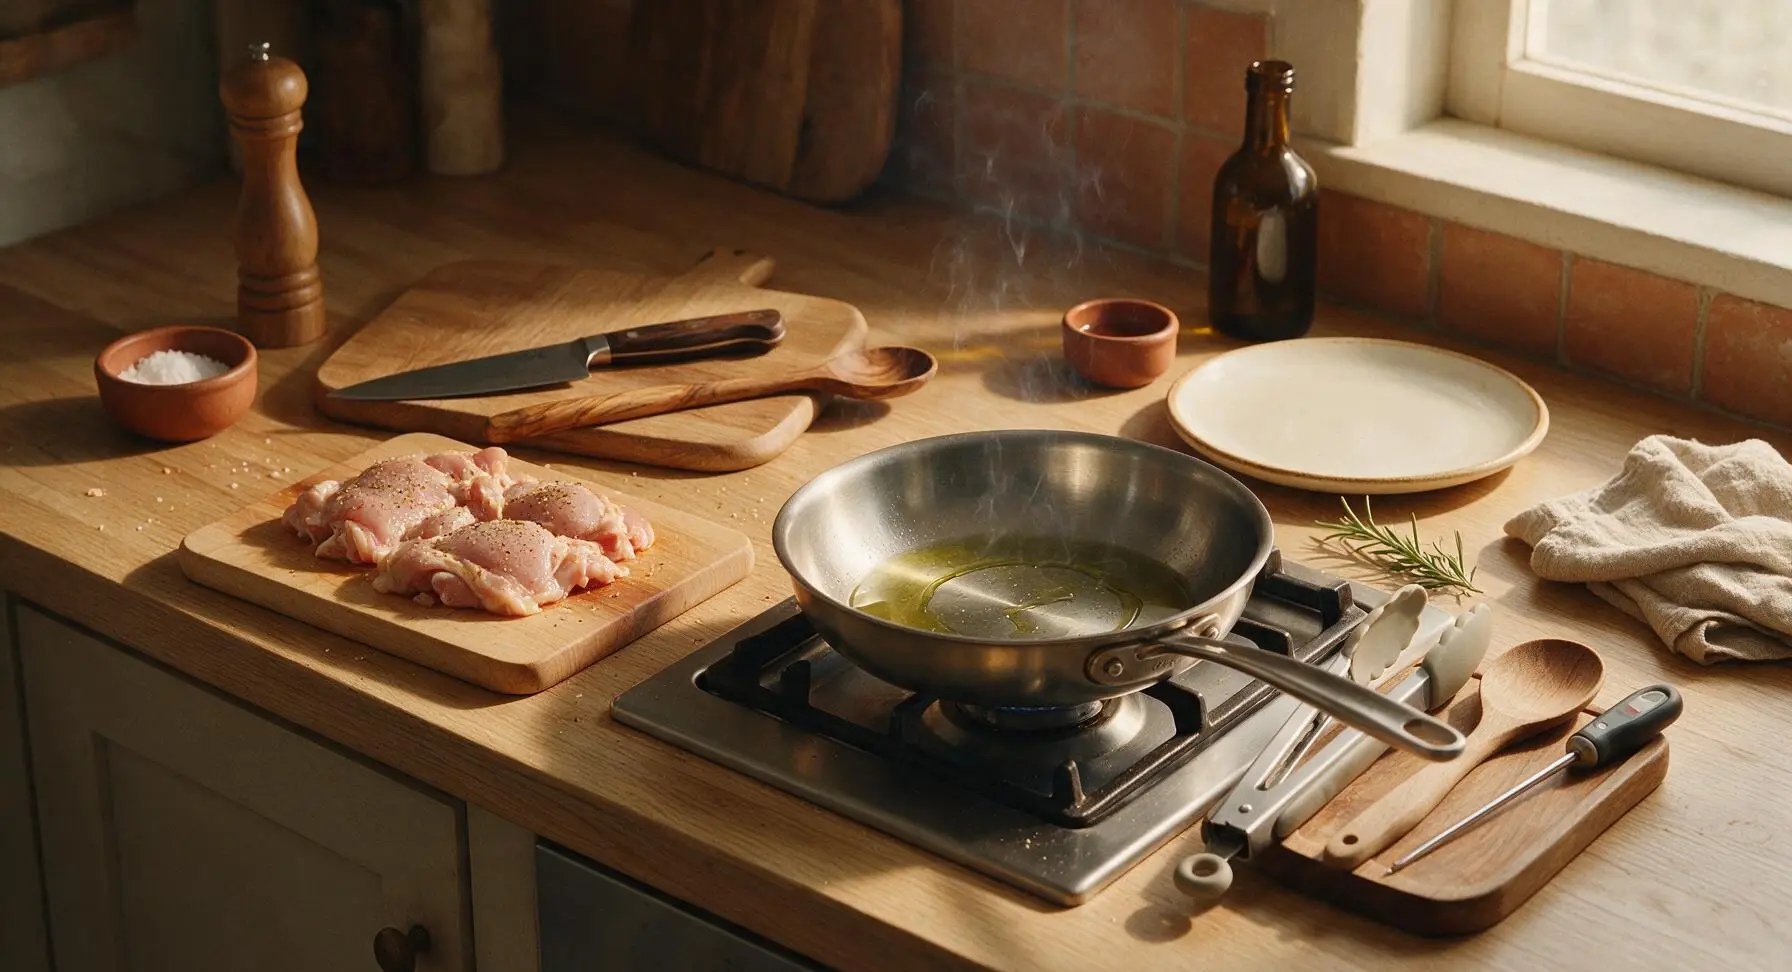
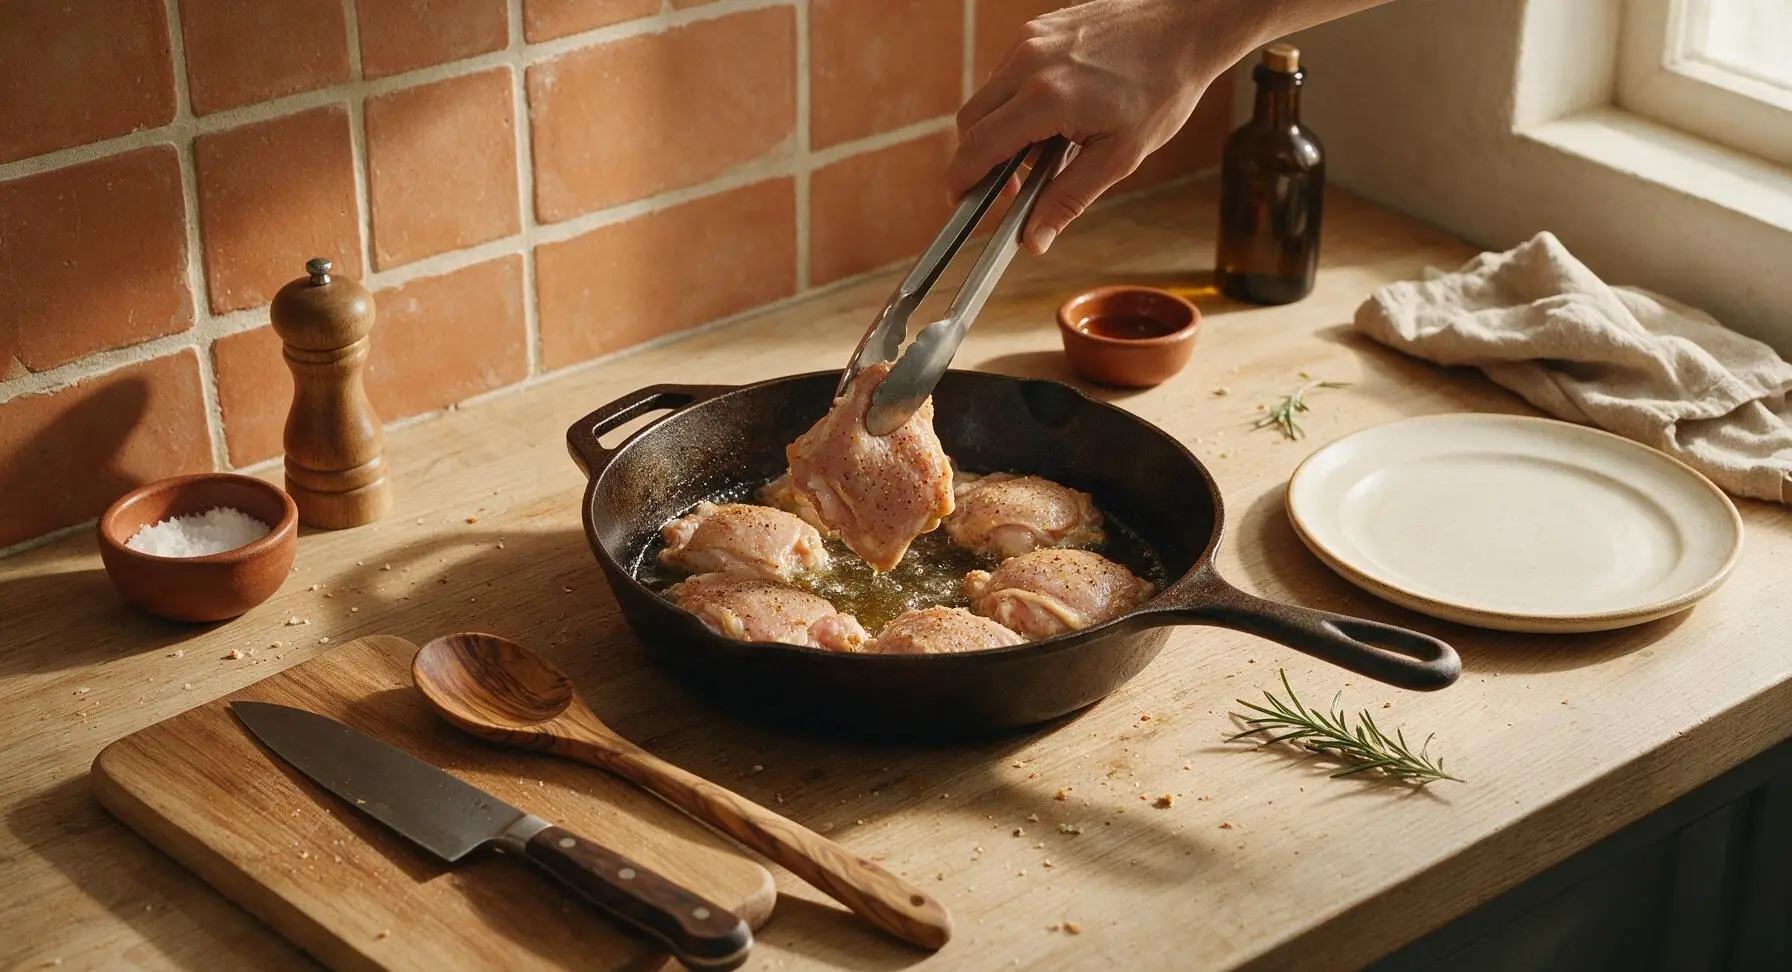
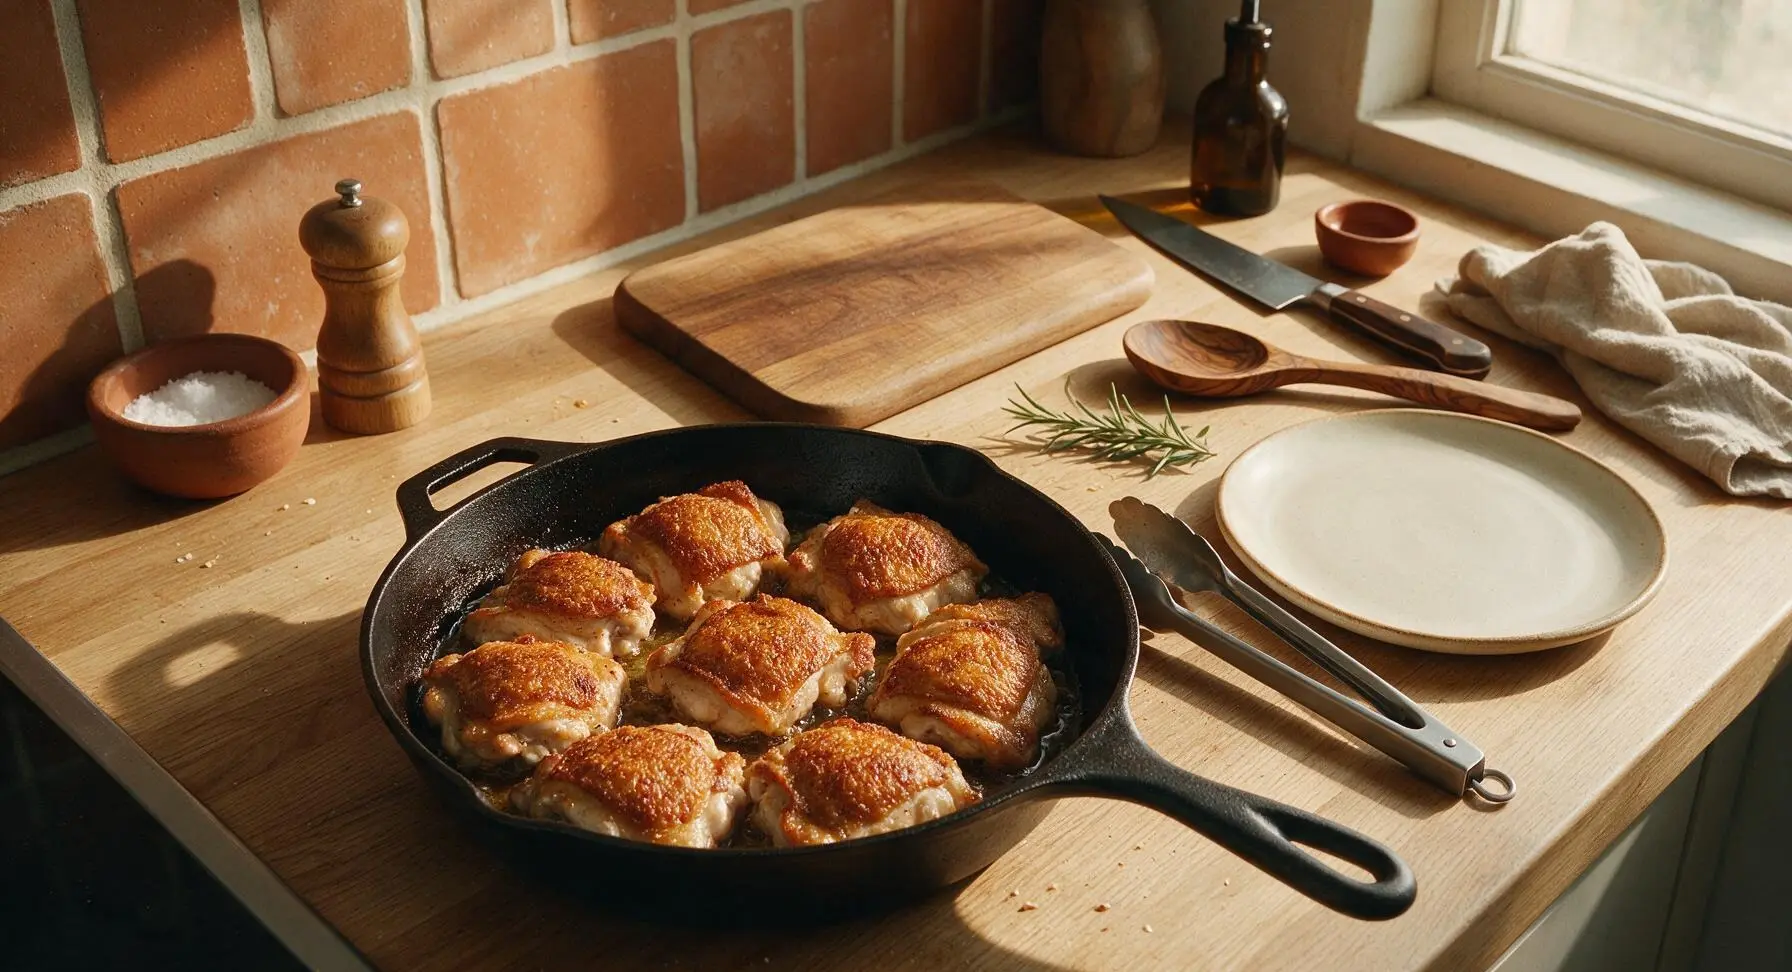
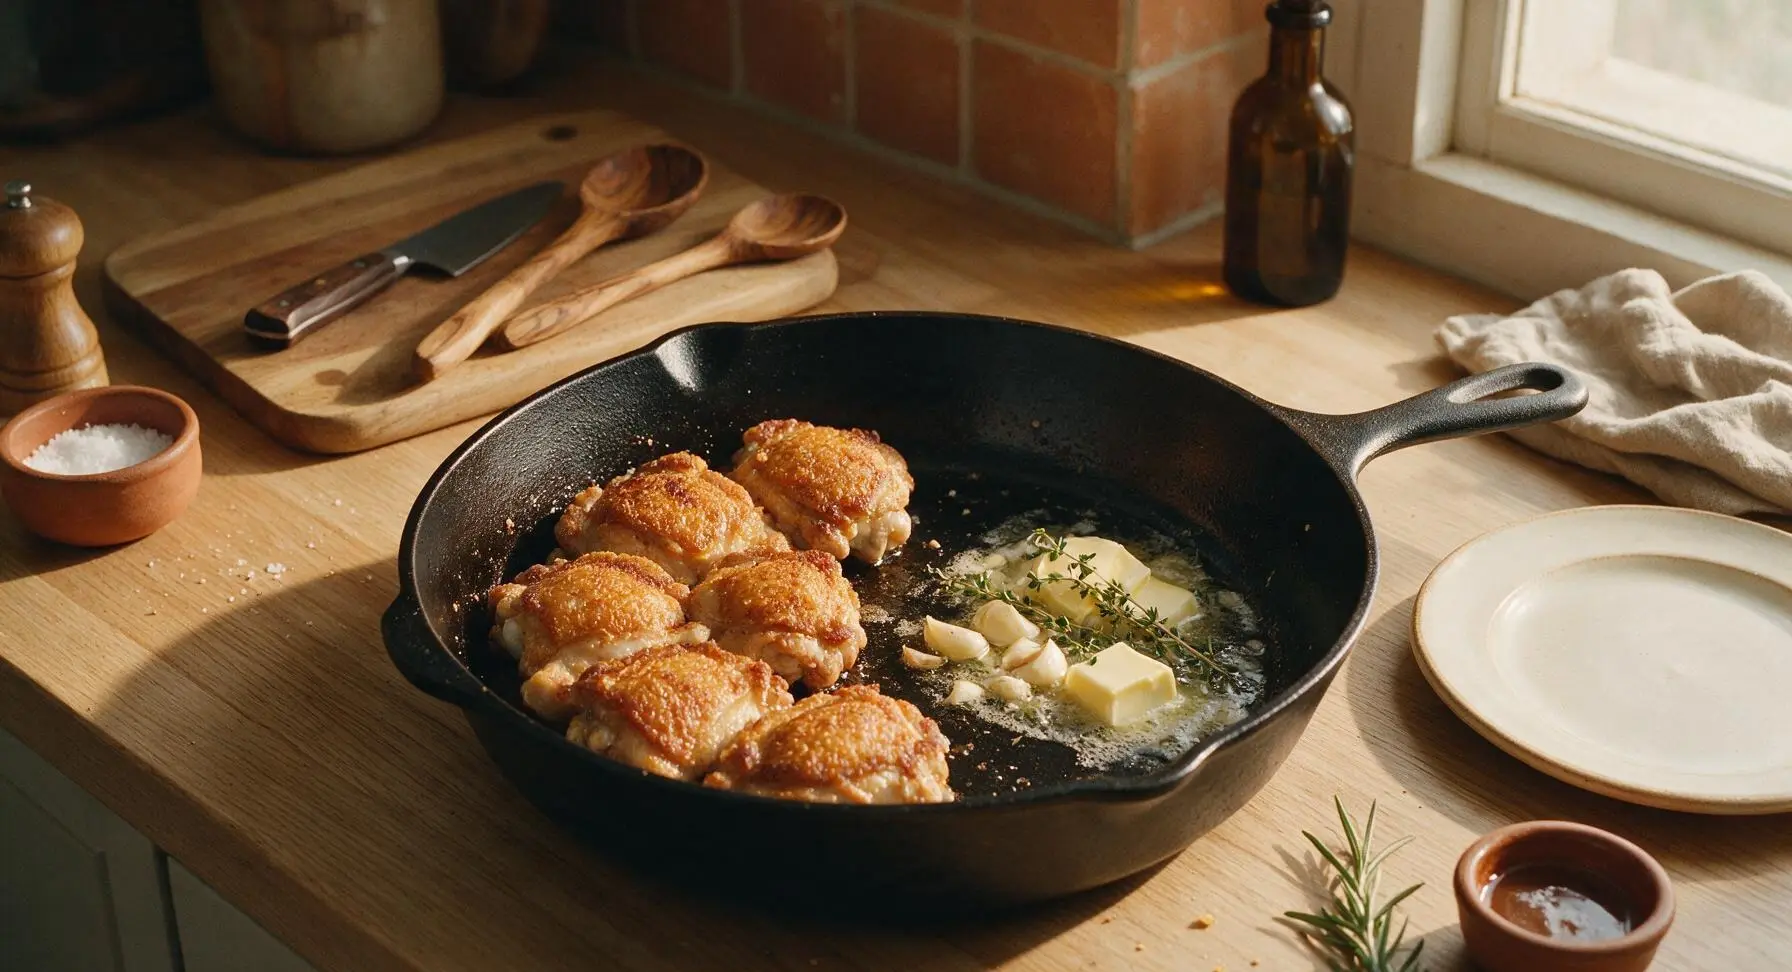
The number one culprit is excess moisture on the skin! Always pat chicken completely dry with paper towels right before seasoning, and don’t overcrowd the pan—give each thigh at least an inch of space. Start skin-side down in a preheated (not smoking) pan, and resist flipping for the first 12 to 14 minutes to let fat render fully.
3.How long does this stovetop crispy garlic chicken actually take to make from start to finish?
▾
Total time clocks in right around 30 to 35 minutes, as promised! You’ll spend 5 minutes prepping and seasoning the chicken, 20 to 24 minutes searing and cooking the chicken through, then 2 to 3 minutes making the quick garlic-thyme pan sauce to drizzle over top. No oven preheating or long marination required, so it’s ideal for busy weeknights.
4.Can I use chicken breasts instead of thighs for this recipe?
▾
You can, but I recommend sticking to bone-in, skin-on chicken breasts for the closest result. They’ll need a slightly longer cook time (16 to 18 minutes skin-side down first) to reach a safe internal temp without burning the skin. Be extra careful not to overcook them, as breast meat dries out much faster than juicy thigh meat.
5.How do I keep the garlic from burning when I make the pan sauce?
▾
Burnt garlic tastes sharply bitter, so this is a key step! After you take the cooked chicken out of the pan, turn the heat down to medium-low before adding sliced or minced garlic. It only needs 30 to 45 seconds to turn fragrant and pale golden—if it hits dark brown, it’s gone too far, and you’ll want to restart that step with a little extra butter.
6.What internal temperature should I cook the chicken thighs to for juicy results?
▾
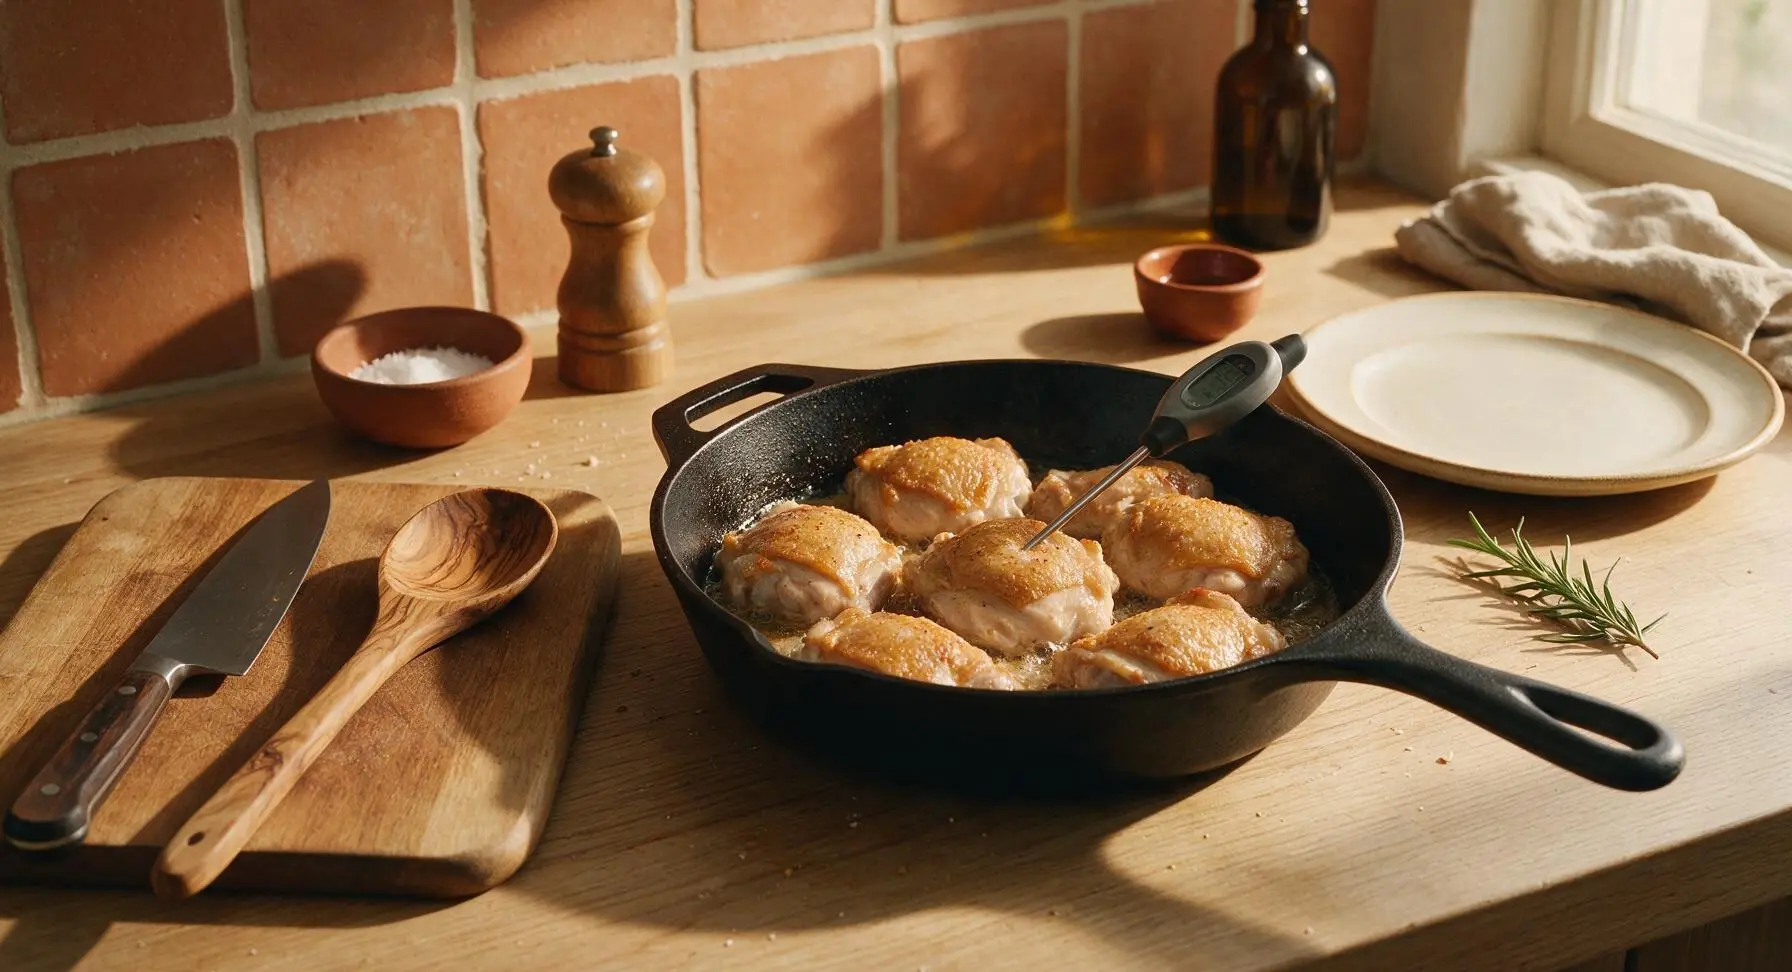
Aim for an internal temp of 175°F in the thickest part of the thigh, not touching the bone, for perfectly juicy dark meat. Don’t panic if that sounds higher than the 165°F safety guideline—dark meat has connective tissue that breaks down beautifully at that temp, giving you tender, not rubbery, chicken. Let it rest 5 minutes before serving, too.
7.Do I need to marinate the chicken first to get it flavorful?
▾
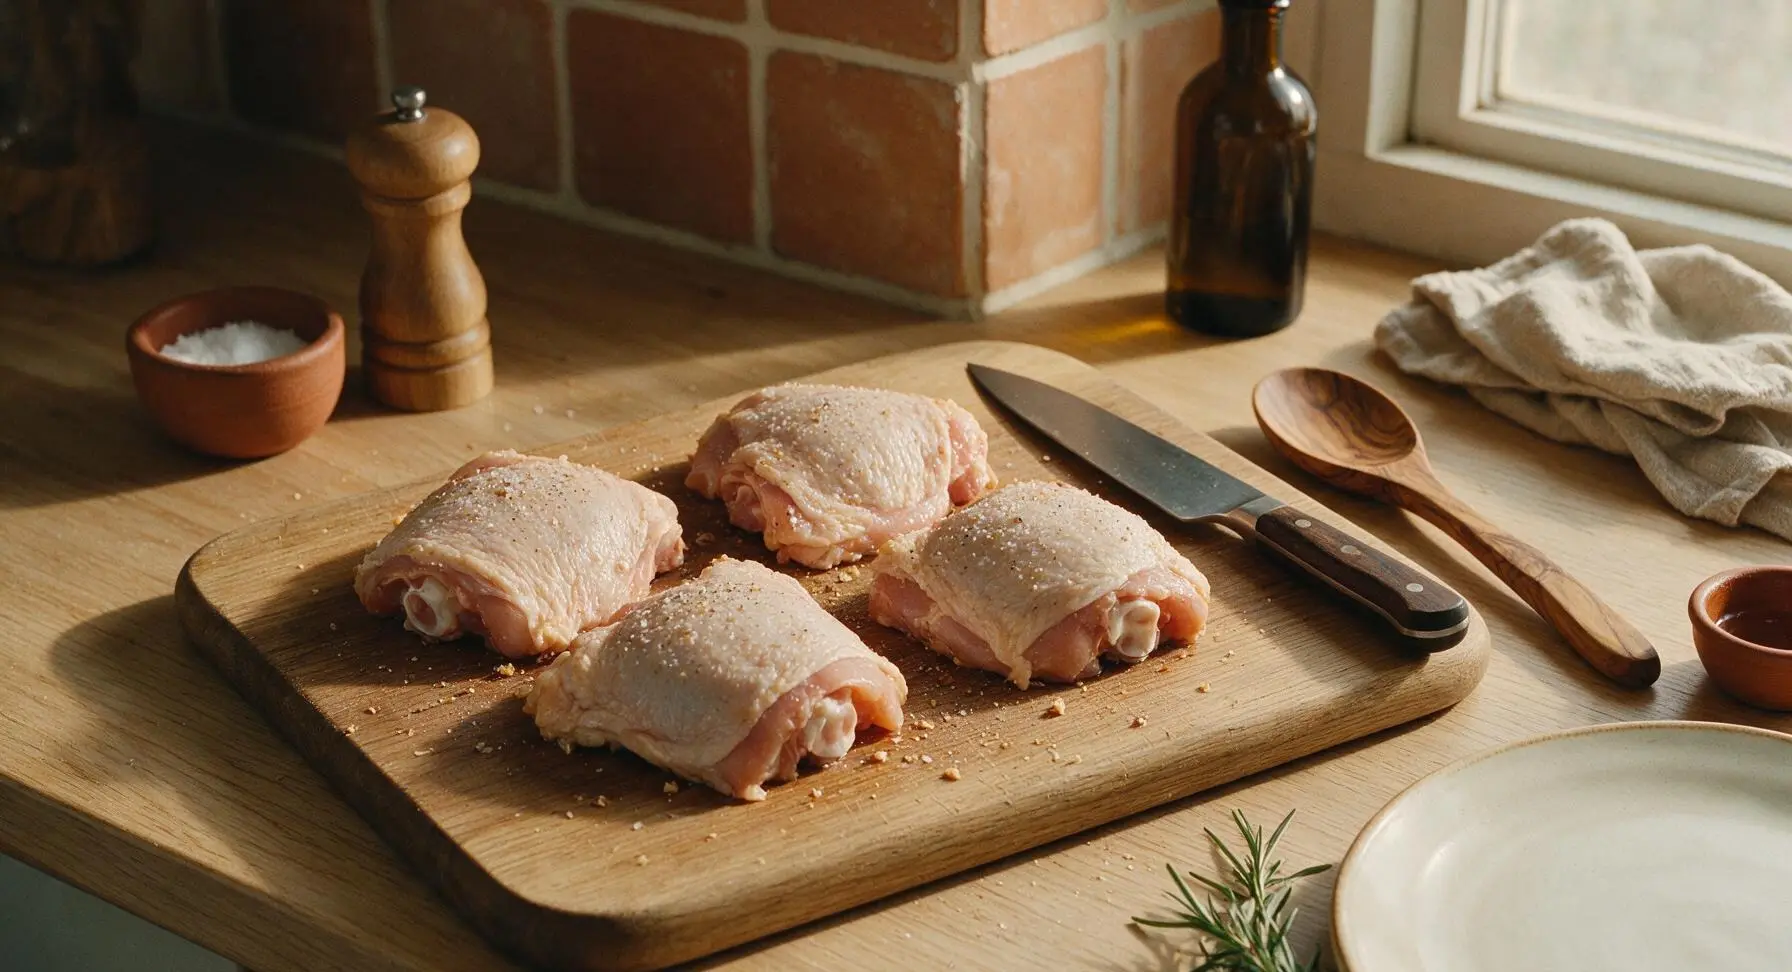
Nope, no long marination is required here! The kosher salt, black pepper, rendered chicken fat, garlic, thyme, and buttery pan sauce pack in tons of flavor on their own. For an extra boost, you can salt the chicken 1 to 2 hours ahead (or overnight, covered in the fridge) to let seasoning penetrate deeper and help skin crisp even better.
8.My pan is smoking a lot while I sear the chicken—what am I doing wrong?
▾
That means your heat is too high! You only need medium heat to get crispy skin and render chicken fat properly, not high heat. If your olive oil starts smoking before you add the chicken, turn the burner down a notch and let the pan cool for a minute before proceeding. High heat burns the skin before the chicken cooks through, and makes your pan sauce taste bitter and off.
9.Can I add other herbs besides thyme to this recipe?
▾
Absolutely! Thyme pairs beautifully with garlic and butter, but you can swap in or add fresh rosemary, sage, oregano, or even a pinch of chopped tarragon for a different flavor profile. If you only have dried herbs, use 1/3 the amount of fresh, since dried herbs are more concentrated, and add them with the garlic to avoid burning.
10.Why do I need to use kosher salt instead of table salt for seasoning the chicken?
▾
Kosher salt has larger, coarser grains that make it much easier to season evenly across the chicken skin, without accidentally over-salting. If you only have table salt, cut the called-for amount in half—table salt is much denser and saltier per volume, so using the same measurement as kosher salt will make your chicken way too salty.
11.Can I make this recipe in a nonstick skillet, or do I need a cast iron pan?
▾
You don’t need a special pan! A heavy-bottomed stainless steel skillet or cast iron pan will give you the best crispy skin and golden pan drippings (called fond) for sauce, but a good quality nonstick skillet works too. Just note nonstick pans don’t develop fond as well, so your pan sauce will be a little less rich and flavorful.
12.How do I prevent the chicken from sticking to the pan while searing?
▾
The biggest trick is to leave the chicken undisturbed skin-side down for the first 12 minutes! If you try to flip it too early, the skin will stick and tear. Make sure your pan is fully preheated before adding oil and chicken, too—when the oil shimmers (but doesn’t smoke), it’s ready. Chicken will release naturally once skin is fully crisped.
13.What should I serve with stovetop crispy garlic chicken?
▾
This dish pairs beautifully with quick, simple sides that soak up that delicious buttery pan sauce! Try roasted or mashed potatoes, buttered egg noodles, steamed green beans, roasted broccoli, a crisp side salad, or crusty bread to wipe the pan clean. It also works great over rice or cauliflower rice for a lighter, lower-carb weeknight meal.
14.Can I use garlic powder instead of fresh garlic for the pan sauce?
▾
Fresh garlic gives the best bright, aromatic flavor for that sauce, but garlic powder works in a pinch. Add 1/4 teaspoon of garlic powder when you add the butter and thyme, instead of adding it early like you would fresh garlic, because garlic powder burns very quickly and turns bitter if left on high heat too long. Skip garlic salt here to avoid over-salting.
15.How do I store leftovers, and how long will they keep?
▾
Let leftover chicken cool completely, then store it in an airtight container in the fridge for up to 4 days. To reheat and bring back some crispness to the skin, warm it skin-side up in a skillet over medium-low heat for 5 to 7 minutes, until heated through. Microwaving will make the skin soggy, so I don’t recommend that method if you can avoid it.
16.My chicken cooked on the outside but is still raw near the bone—what went wrong?
▾
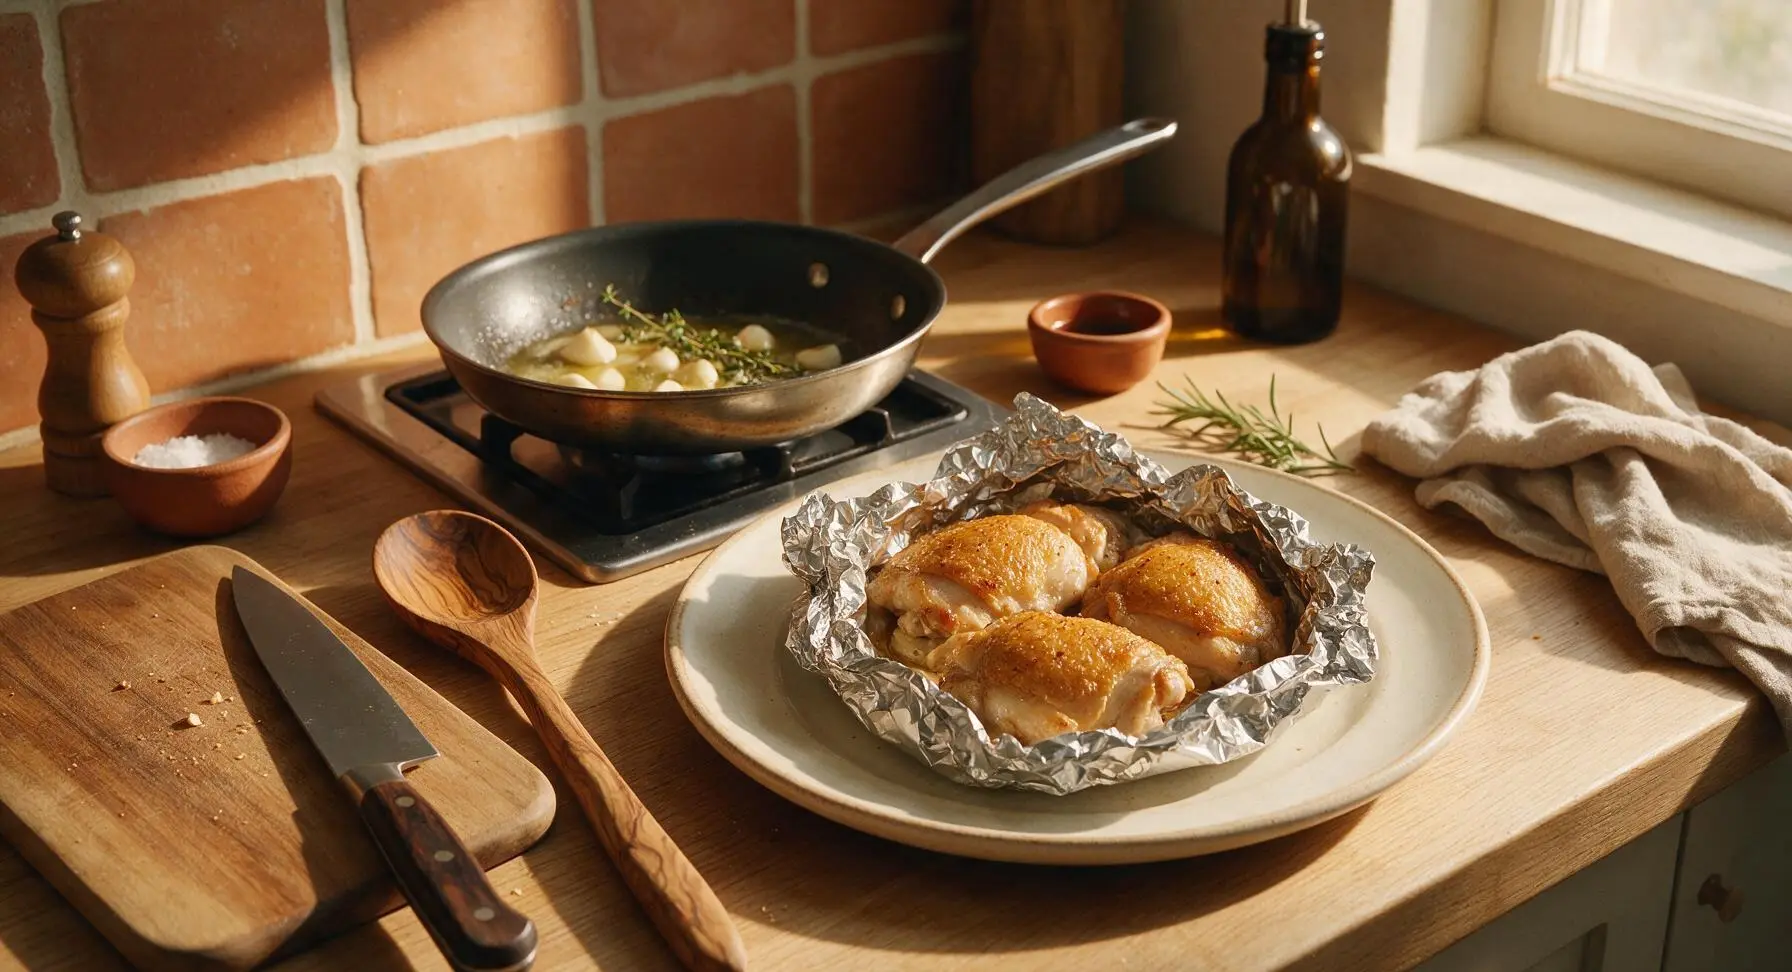
That usually means your heat was too high, which crisped the skin and cooked the outer layer too fast before the interior could come up to temp. Turn the heat down to medium-low after the initial skin-side sear, and you can cover the pan loosely with a lid for the last 5 minutes to help heat circulate without making skin soggy.
17.Do I need to remove excess chicken fat from the pan before making the sauce?
▾
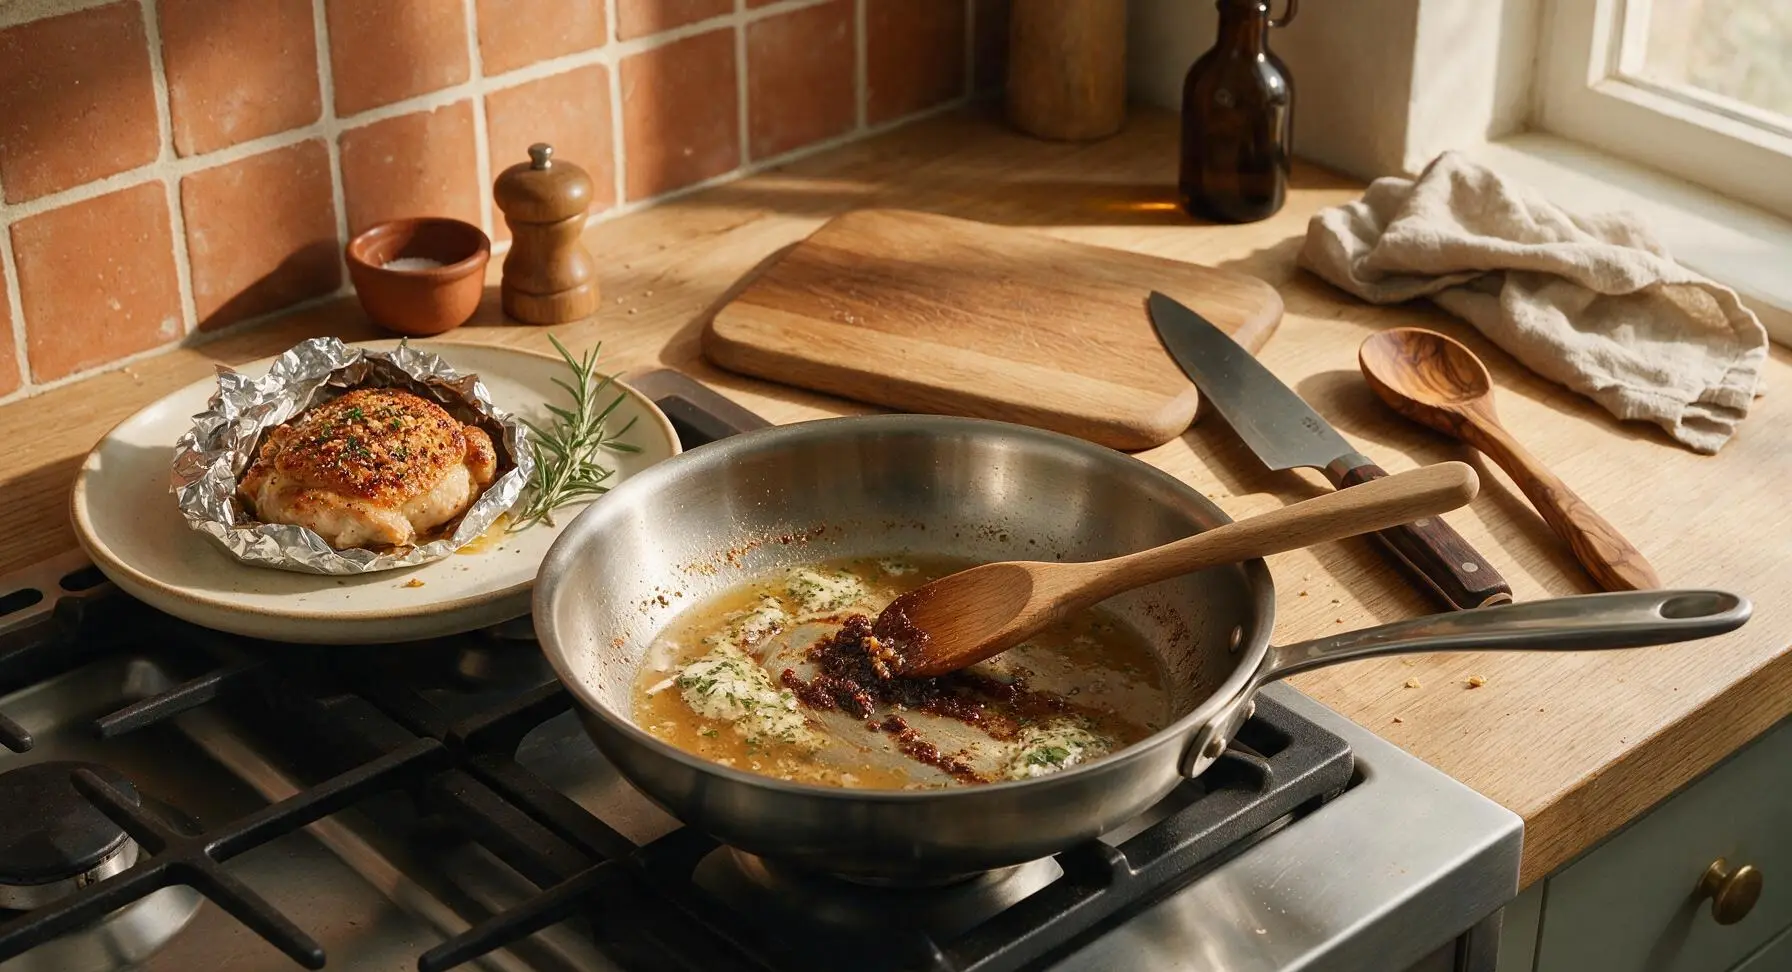
You only need to pour off excess fat if you have more than about 2 tablespoons left in the pan after cooking the chicken. That small amount of rendered chicken fat is packed with rich, savory flavor, and it mixes beautifully with butter, garlic, and thyme to make a delicious sauce. Any more than that will make the sauce feel overly greasy.
18.Can I make this recipe gluten-free?
▾
This recipe is naturally gluten-free as written! There’s no flour, breading, or gluten-containing ingredients in the base recipe, so it works great for gluten-free diets as long as you use standard, trusted brands of kosher salt, pepper, olive oil, and butter. Double-check labels if you’re cooking for someone with a severe gluten allergy, just to be safe.
19.How much butter should I use for the pan sauce, and do I add it all at once?
▾
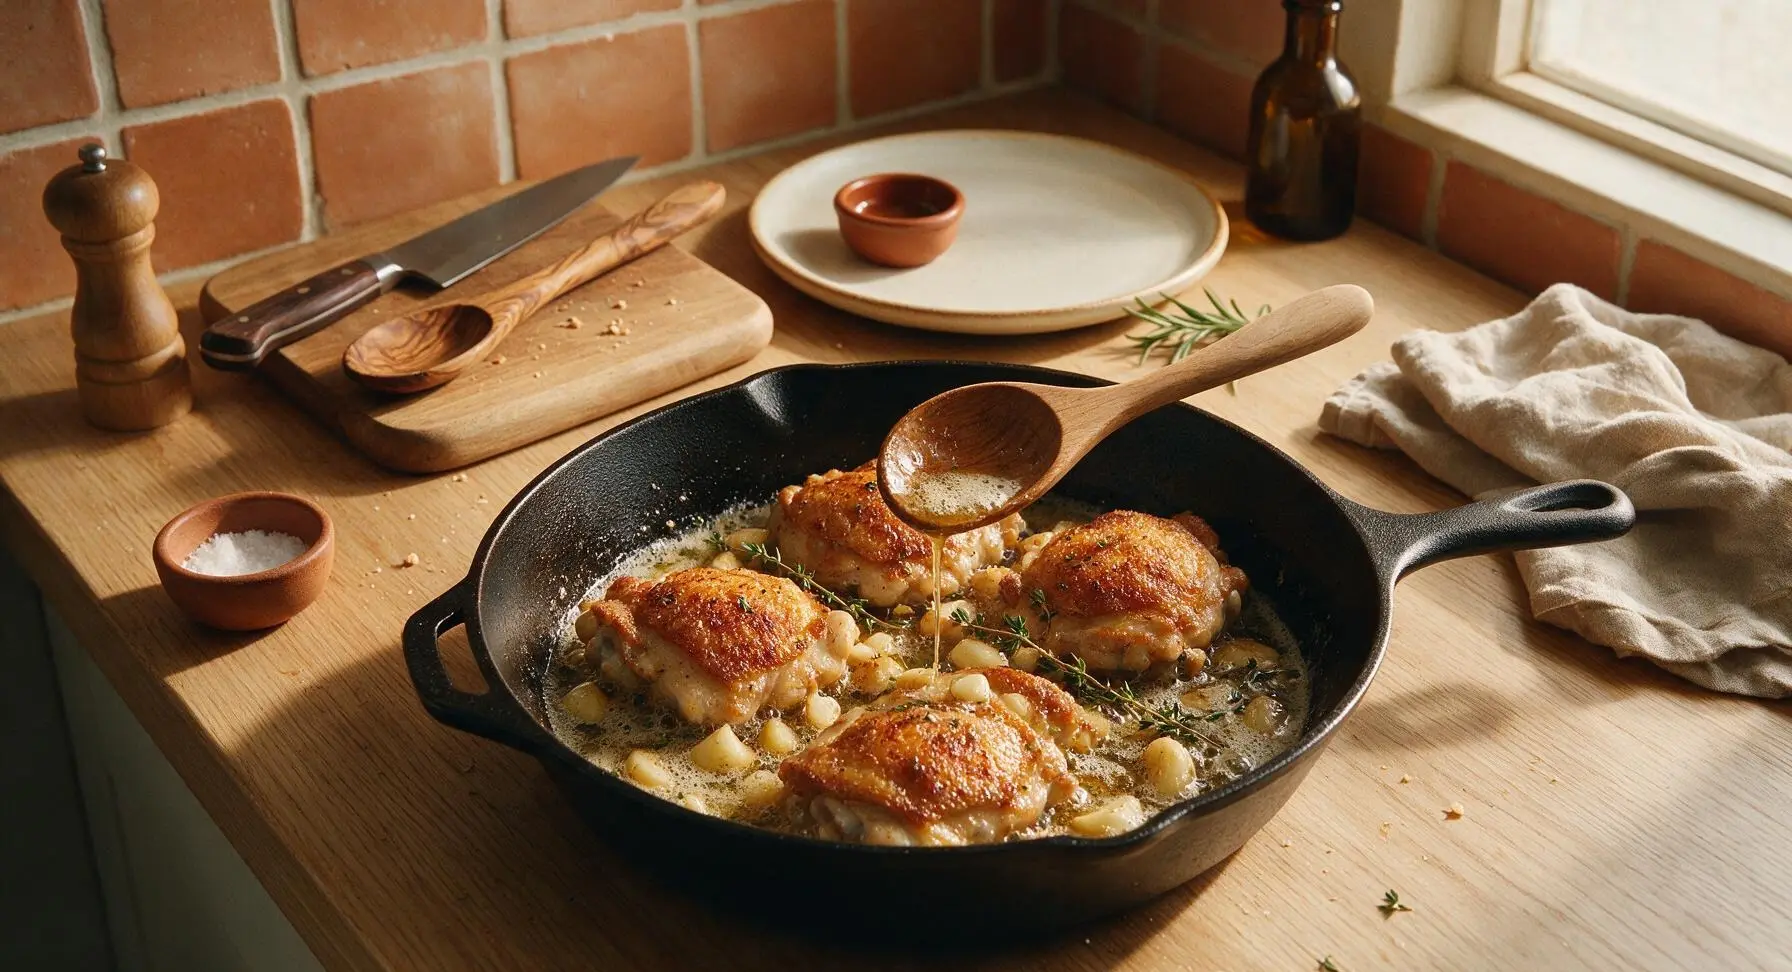
Use 2 to 3 tablespoons of unsalted butter for the sauce, added right after you cook the garlic for 30 seconds. Add it one tablespoon at a time, swirling the pan as it melts, to create a smooth, emulsified sauce that lightly coats the back of a spoon, instead of a separated, greasy sauce. Toss in a sprig of fresh thyme as the butter melts for extra aroma.
20.Can I meal prep this chicken ahead of time for quick weeknight meals?
▾
You can absolutely prep components ahead for faster cooking! Season the chicken thighs 1 to 2 days ahead, store them covered on a wire rack in the fridge, and they’ll be ready to sear after a quick pat dry. I don’t recommend cooking the chicken fully ahead, though, as the skin will lose its signature crisp texture even when reheated carefully.

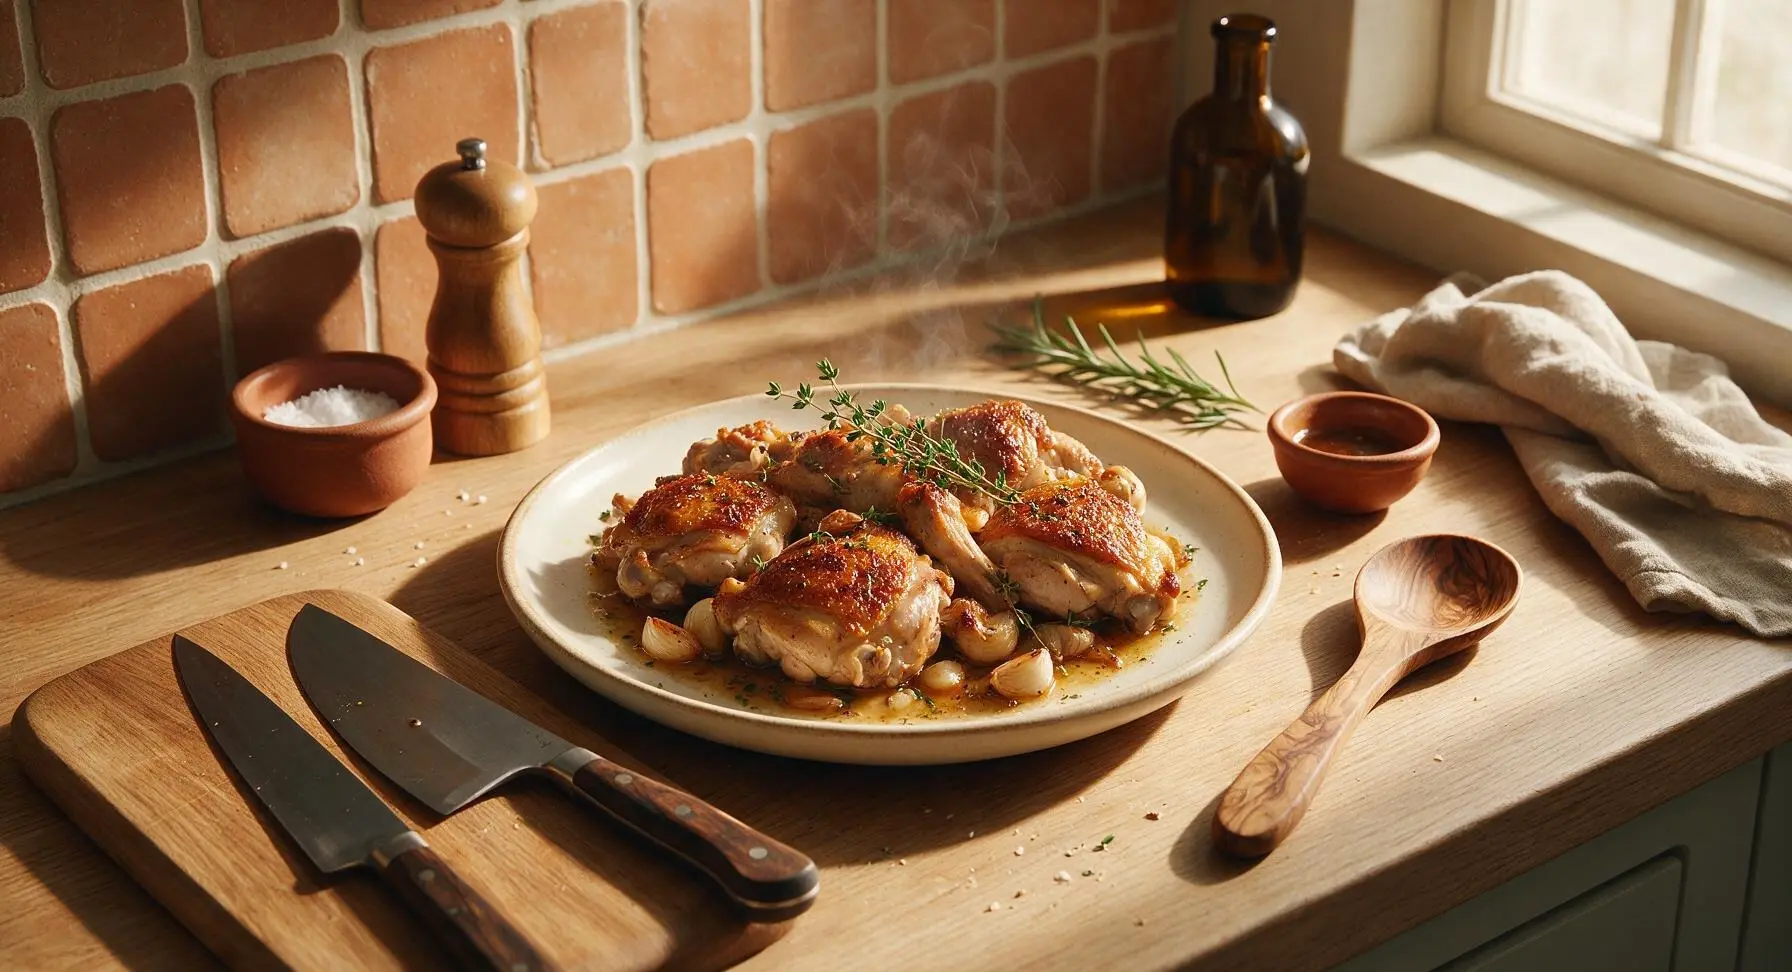
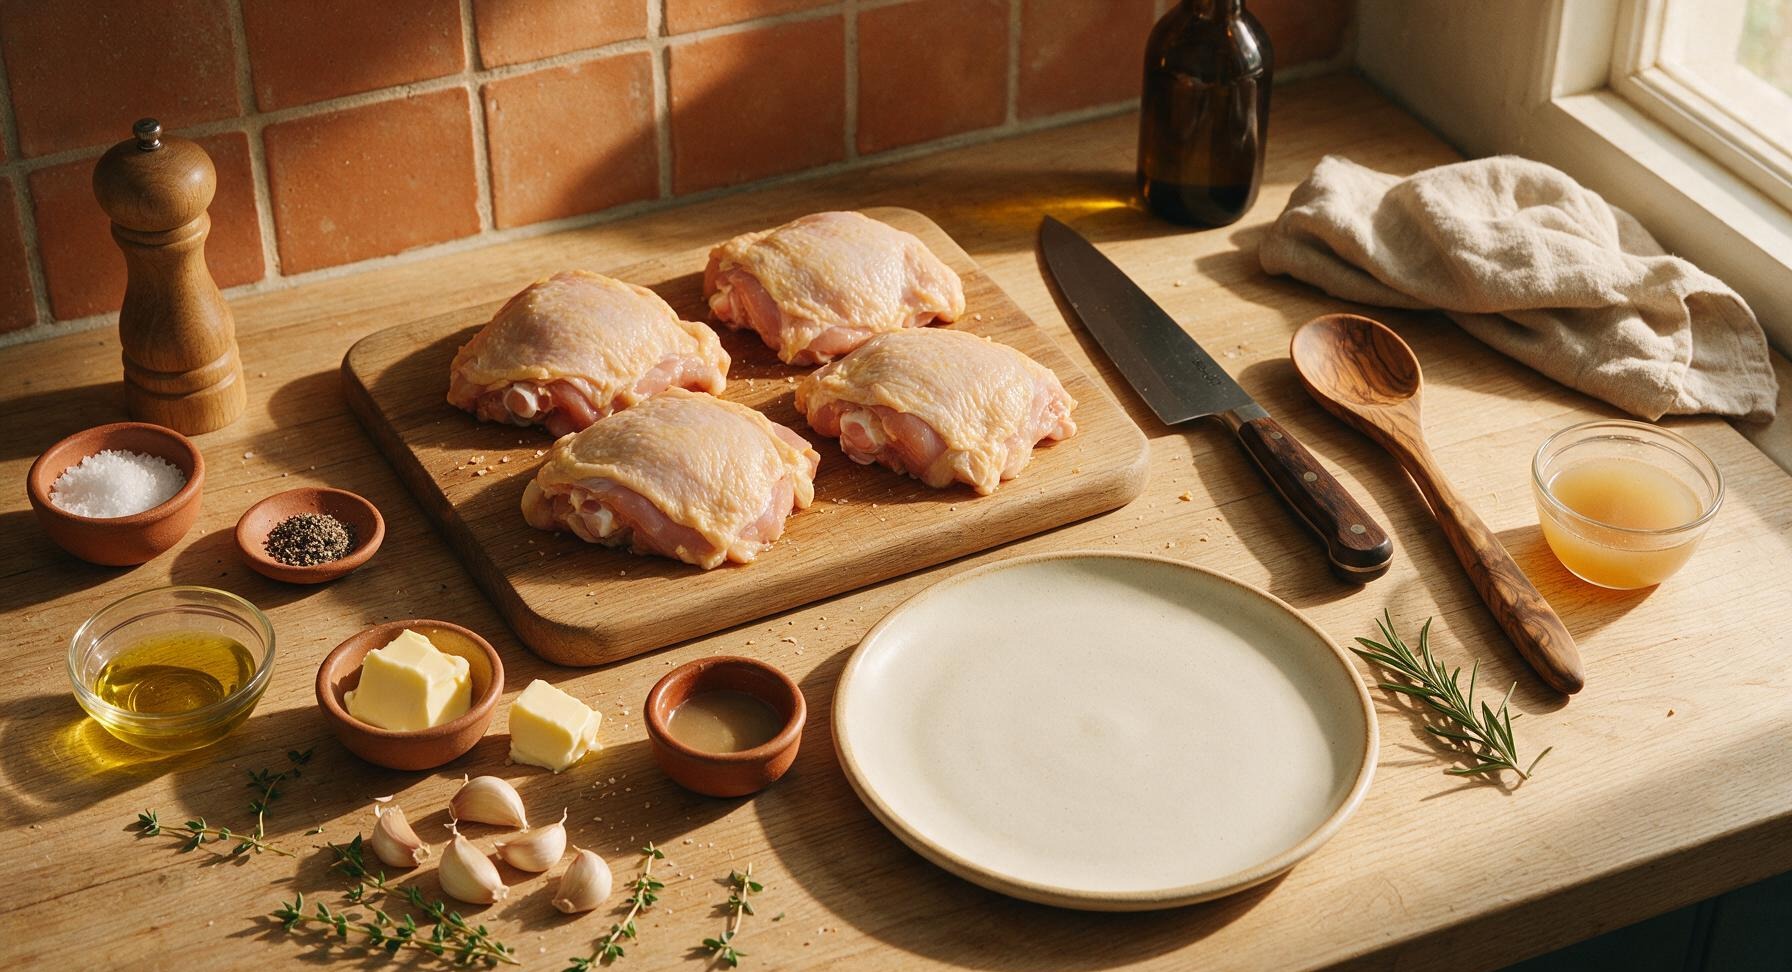
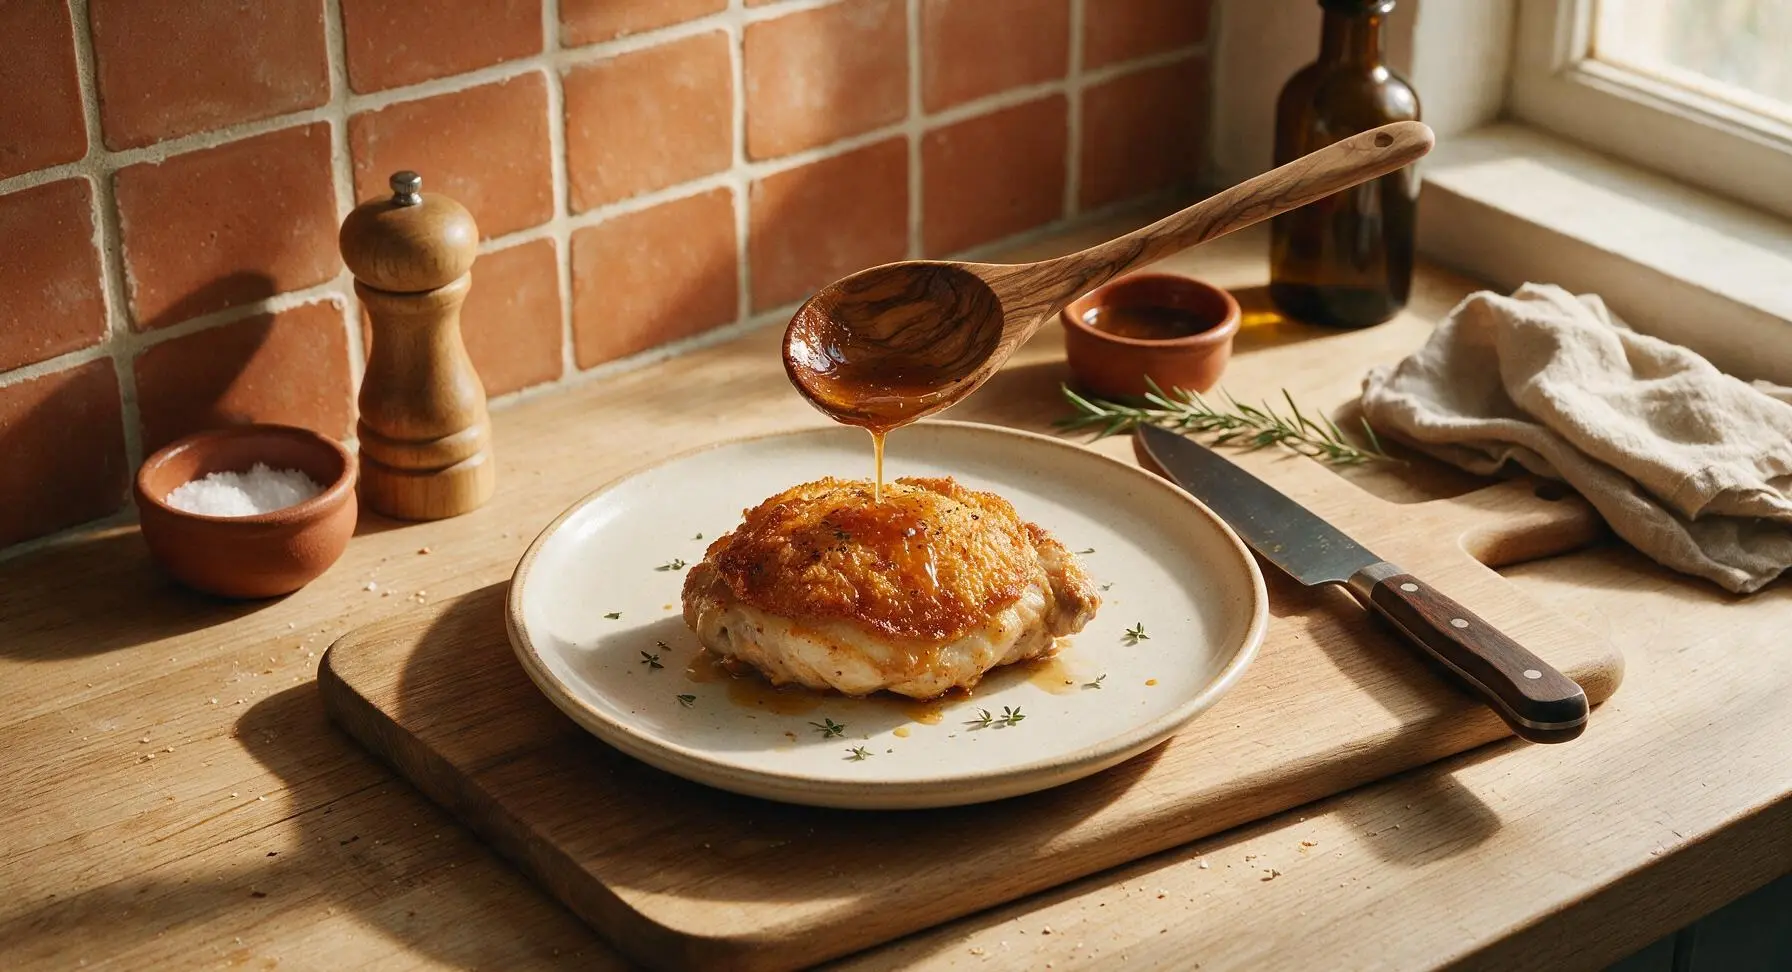






OMG this stovetop crispy garlic chicken is a total game changer! I threw it together after work last night in literally 25 minutes like the recipe said, no fancy equipment needed. My 8 and 10 year old begged for seconds, even the picky one who turns his nose up at anything with garlic normally. 10/10 will be adding this to our weekly dinner rotation!
Made this for my potluck this past weekend and people were hovering over the platter asking who brought the chicken! The skin stays so crispy even when it sits out for a bit, which I was worried about with stovetop recipes. So garlicky, so juicy, zero dry bites. Will absolutely make again.
Perfect easy recipe for meal prep! I made a big batch on Sunday, portioned it out with roasted broccoli and rice, and it held up amazing all week for lunches. The crust didn’t get soggy at all when I reheated it in a pan for a couple minutes, which is always my biggest pet peeve with crispy chicken recipes.
Quick question – can I use boneless skinless thighs instead of bone-in for this? I only have boneless in the freezer right now and really don’t want to run to the grocery store in the rain tonight.
This was solid! The garlic flavor was amazing, but I burned the first batch because I had my heat too high. Turned it down to medium for the second round and it came out great, just wish the recipe noted what heat level to keep the burner on more clearly.
SO good. I served this with garlic mashed potatoes and roasted green beans for my husband’s birthday dinner and he said it’s better than the garlic chicken we get at our favorite local diner. I don’t think I’ve ever gotten that big of a compliment on my cooking before lmao
As someone who can barely boil water without messing it up, I was shocked how easy this turned out! No weird ingredients, just stuff I already had in my pantry, and the chicken came out crispy on the first try. My roommate thought I ordered takeout lmao
I didn’t have regular paprika so I used smoked paprika in the seasoning and OH MY GOD it added such a good depth of flavor. Highly recommend that swap if you have it on hand!
Made this for date night last week and my date was obsessed. Only reason it’s not 5 stars is I felt like it needed a little acid at the end, so I squeezed a bit of fresh lemon over the top and it balanced everything out perfectly. Will make again for sure.
Wait has anyone tried making this with chicken breast instead of thighs? I’m not a dark meat girlie but the recipe sounds so good I want to give it a shot.
Took this to our neighborhood block party last weekend and the platter was empty in 10 minutes. I lost count of how many people asked me for the recipe! So easy to make a big batch too, I just doubled all the ingredients and used two pans on the stove.
25 minute cook time is NOT a lie. I walked in the door from the gym at 6:15, had dinner on the table by 6:40, and it tasted like I spent hours cooking. The garlic doesn’t get bitter at all if you add it at the right time like the recipe says, which is usually my problem with garlic chicken recipes. Obsessed.
I added the garlic too early on my first go and it burned a little, oops! Second batch I waited until the last 2 minutes like the recipe said and it was perfect, that garlic flavor is so bright and fragrant. Definitely don’t rush that step!
My teen son who only eats chicken nuggets and pizza ate three pieces of this for dinner last night. THREE. I almost fell out of my chair. I didn’t even have to nag him to try a bite, he smelled it cooking and wandered into the kitchen asking for a plate before it was even done.
Made this last night with honey garlic roasted carrots and quinoa, and my girlfriend said it’s restaurant quality. The crispy crust doesn’t slide off the chicken like it does with so many other pan-fried chicken recipes, which is such a nice change.
As someone who’s gluten free, I’m always looking for crispy chicken recipes that don’t require a million weird gluten free flour blends. This gets perfectly crispy with just the chicken skin and proper pan heat, no breading needed! It’s become a weekly staple for me since I found the recipe last month.
Just finished making this for dinner and wow, the garlic butter sauce that coats the chicken is insane. I mopped up every last bit off my plate with a piece of crusty bread. 10/10, no notes, will be making this at least once a week from now on.