
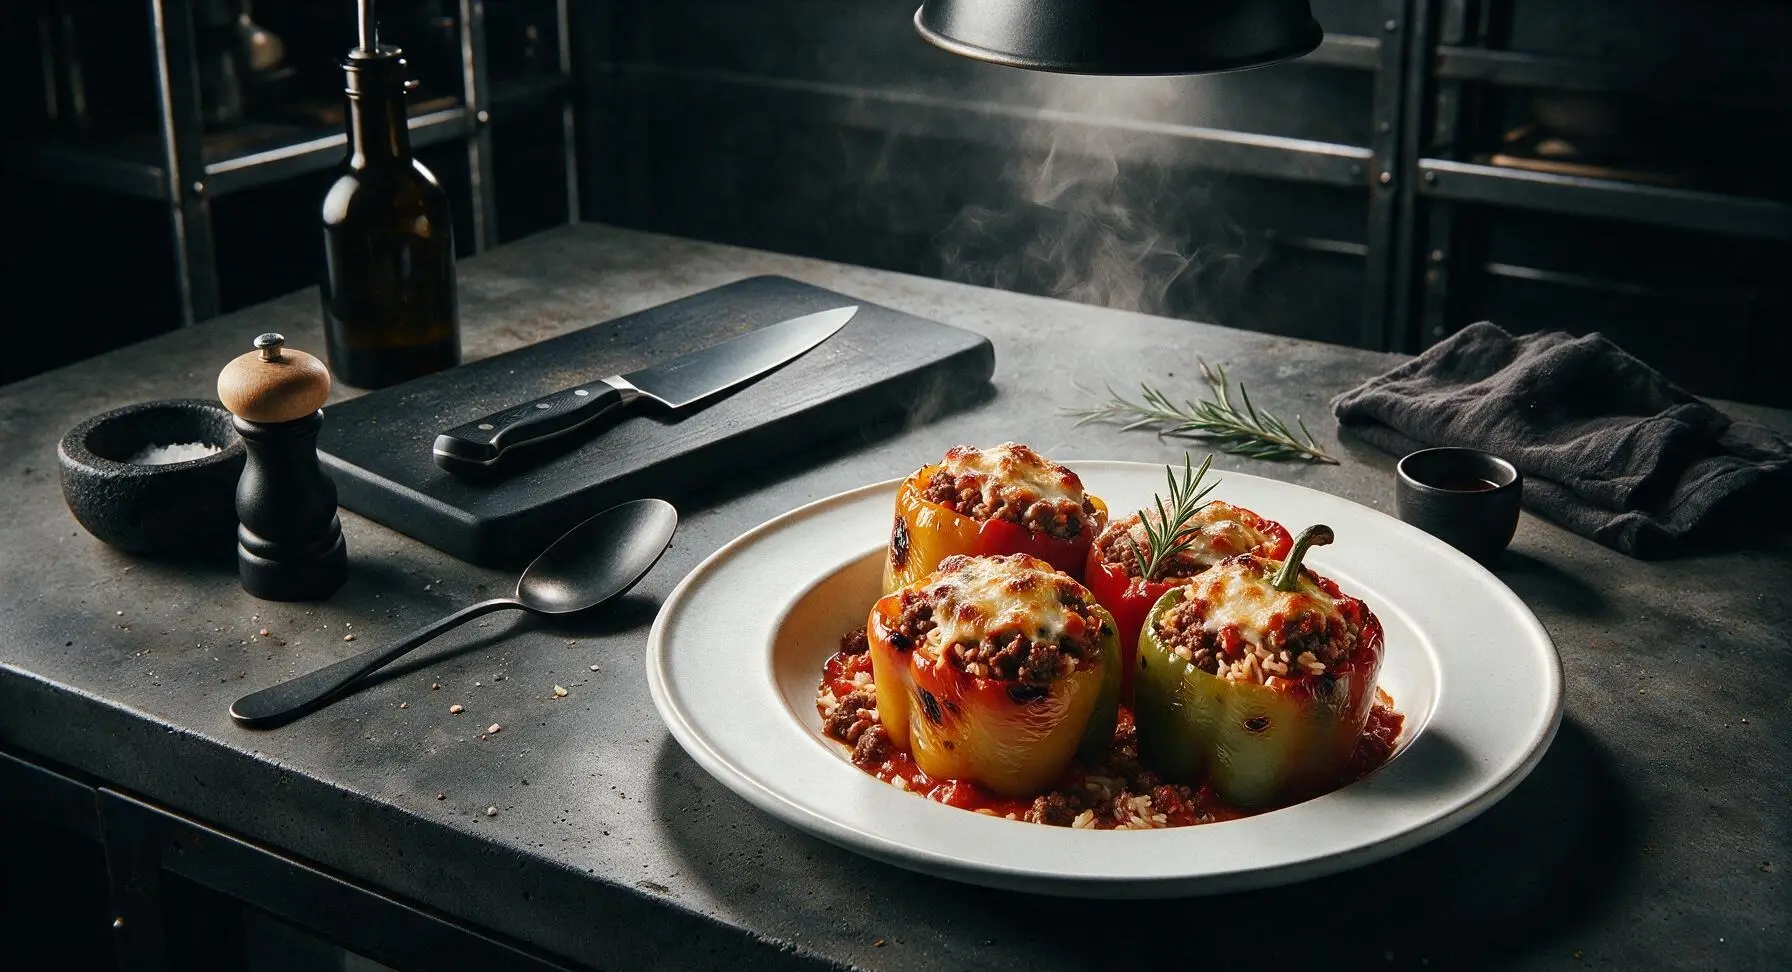
stuffed peppers with ground beef and rice

title 1
stuffed peppers with ground beef and rice
⏱️ cook time 45 minutes
🍽️ servings 4
⚡ Difficulty easy

intro

Tender roasted bell peppers stuffed with savory ground beef, fluffy rice, and tangy tomato sauce, topped with bubbly melted cheese for a cozy, satisfying classic family meal.

Ingredients
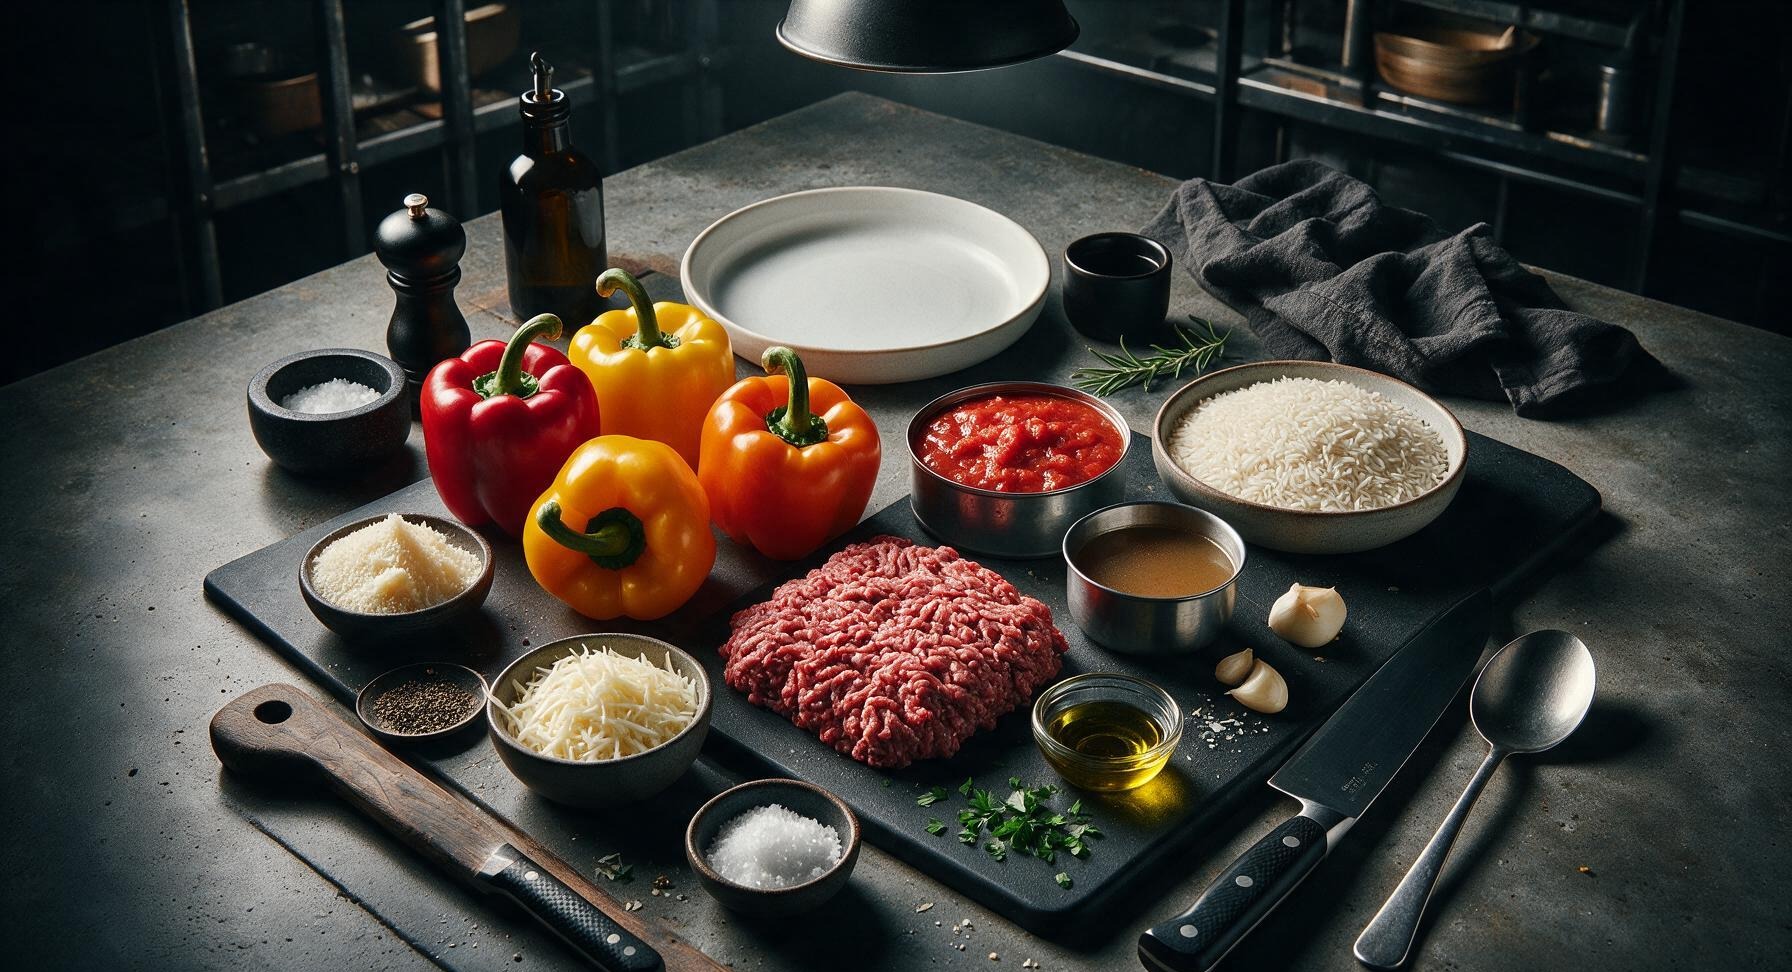
Mixed bell peppers (red, yellow, orange) 4 medium (900g total)
Lean ground beef (90/10) 225g
Long-grain white rice 1 cup (185g, uncooked)
Yellow onion 1 small (150g, finely diced)
Garlic cloves 2 (6g total, minced)
Crushed tomatoes 400g can
Low-sodium beef broth 1/2 cup (120ml)
Shredded low-moisture mozzarella 1/2 cup (55g)
Grated parmesan cheese 2 tbsp (10g)
Extra-virgin olive oil 1 tbsp (15ml)
Kosher salt 1 tsp (5g)
Freshly ground black pepper 1/2 tsp
Dried oregano 1 tsp
Fresh flat-leaf parsley 1 tbsp (4g, chopped for garnish)

Steps

1

Par-Cook the Rice

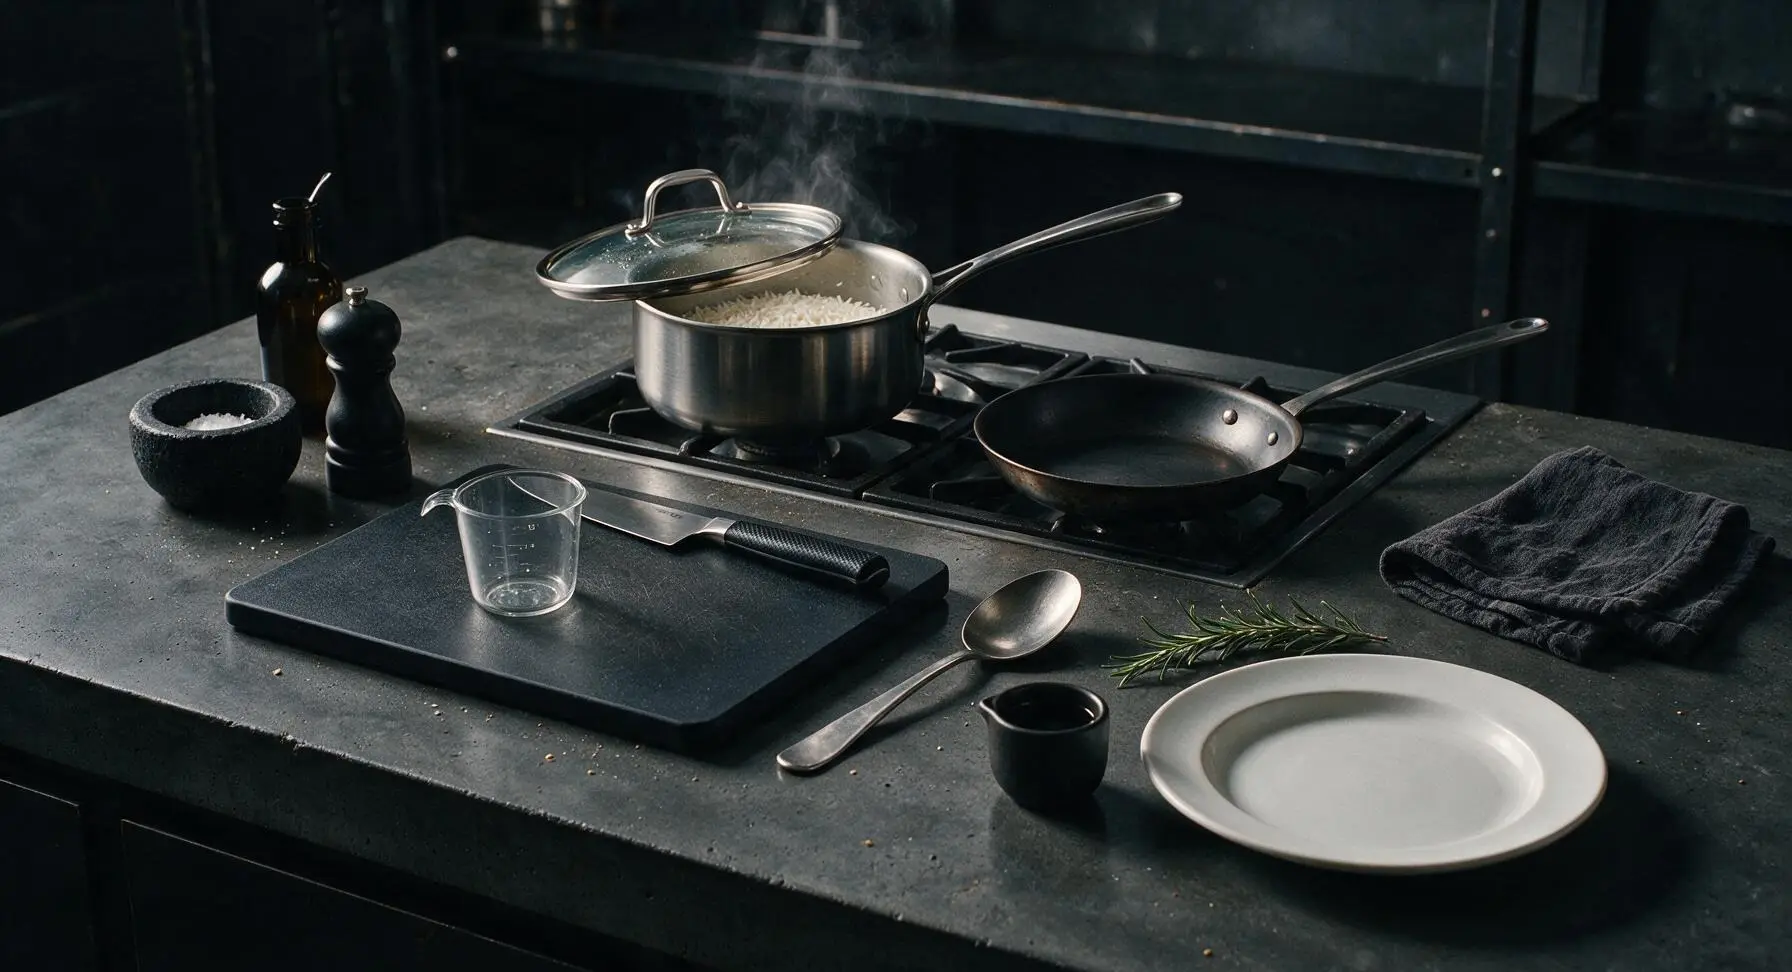
Rinse 1 cup (185g) long-grain white rice under cold running water until the water runs completely clear, about 1 minute. Add rinsed rice to the 3-quart stainless steel saucepan with 2 cups (480ml) cold water, bring to a rolling boil over medium-high heat. Once boiling, reduce heat to the lowest setting, cover tightly with the glass lid, and cook for 12 minutes. The rice will be tender but slightly firm at the center (it will finish cooking fully in the oven, so avoid overcooking it now). Remove from heat, fluff lightly with a fork, and set aside, yielding approximately 3 cups par-cooked rice.
Step 1
step1:Par-Cook the Rice
2

Prep Bell Peppers

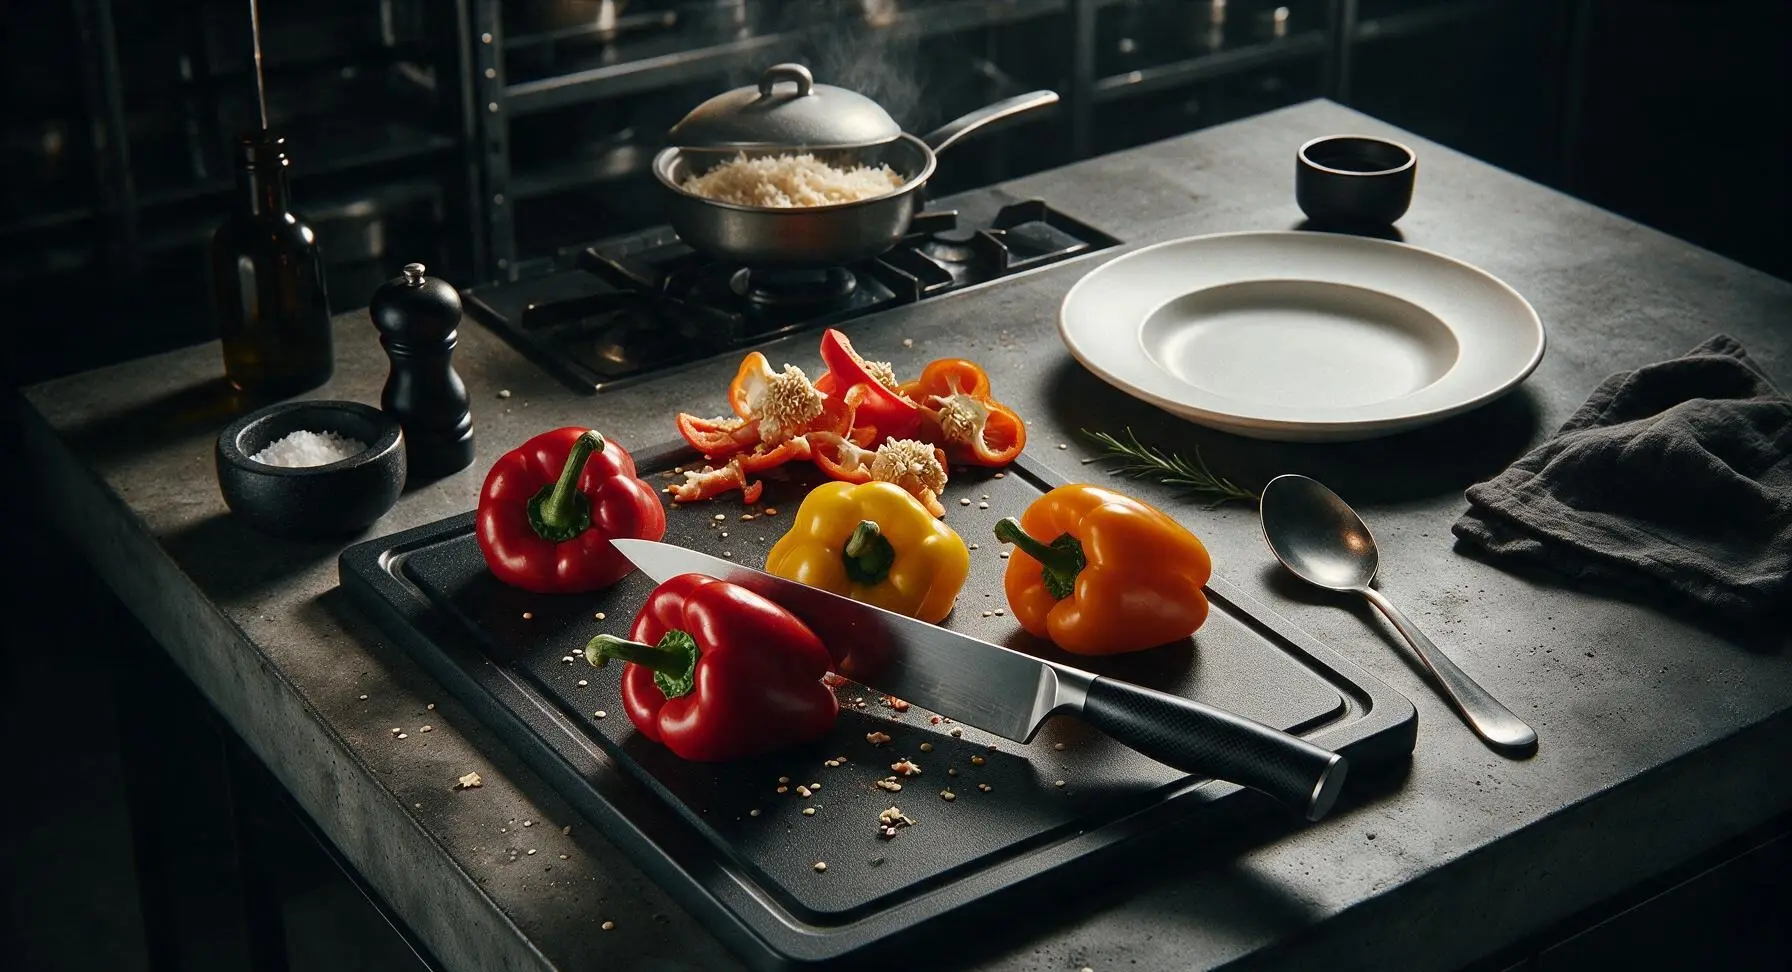
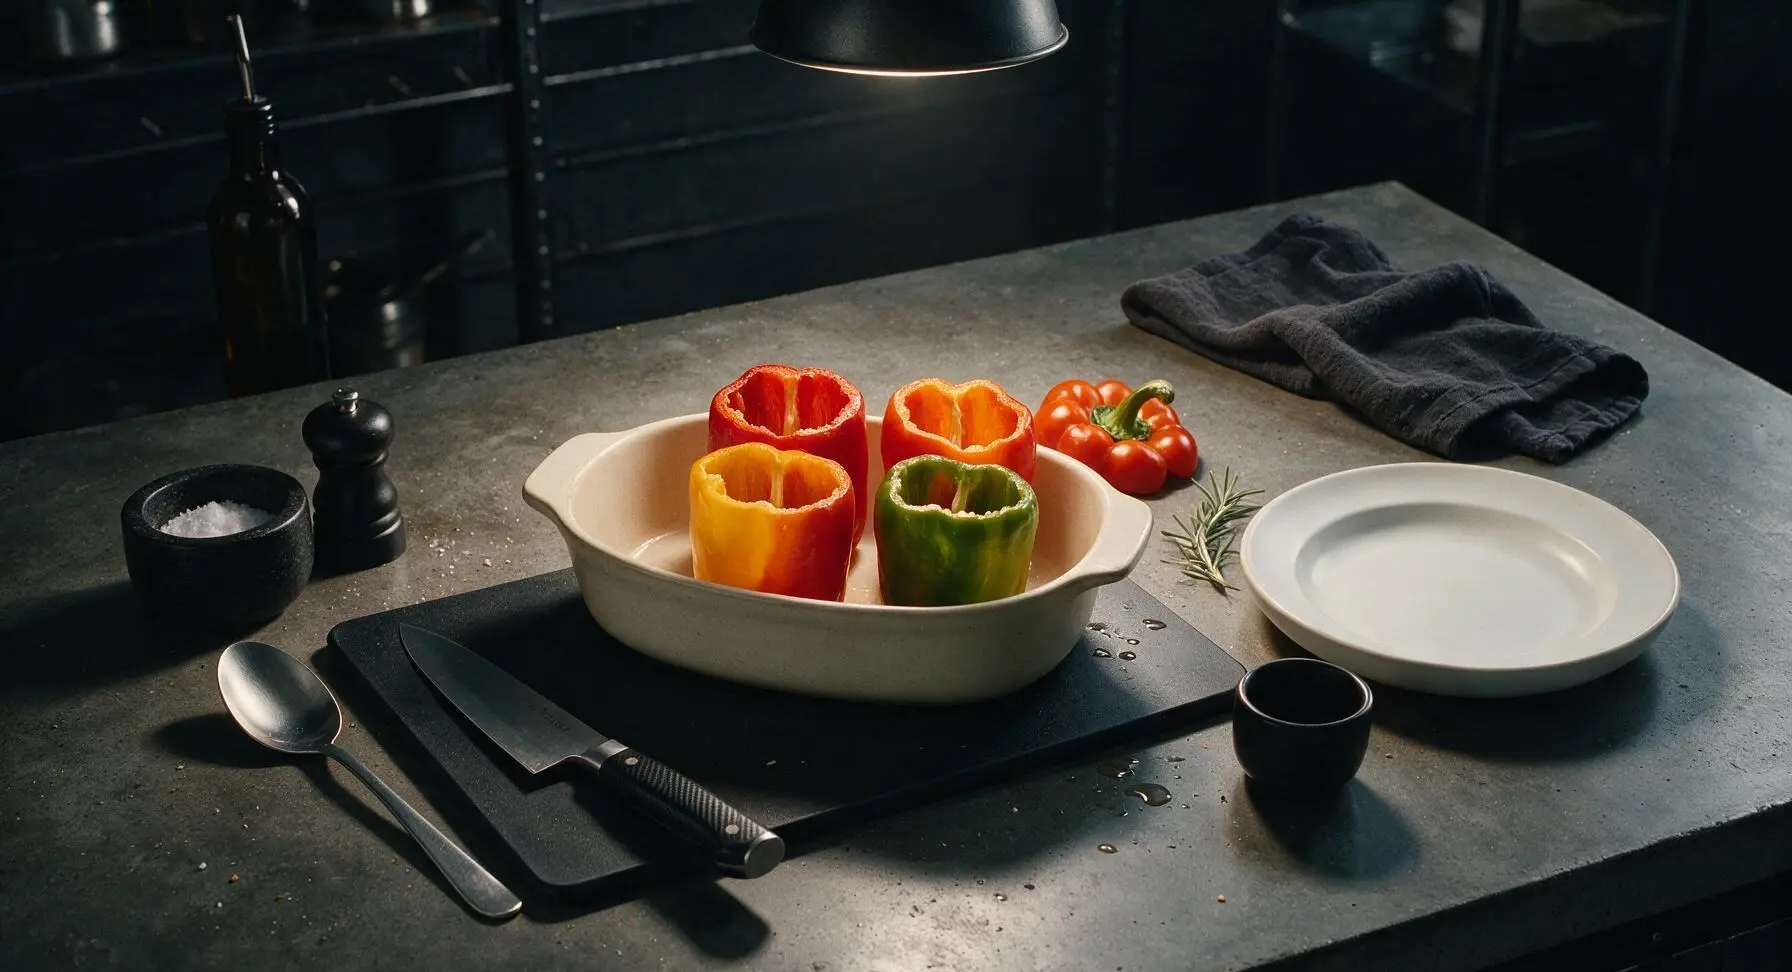
Place the four bell peppers on the birch cutting board. Slice 1/2 inch off the top of each pepper, reserving the tops for later if desired. Use a small spoon to scoop out all seeds and white pithy inner membranes, taking care not to tear the outer pepper walls. Trim a paper-thin slice off the bottom of any wobbly peppers so they stand perfectly upright. Bring a small pot of salted water to a boil, blanch peppers for 3 minutes, then immediately plunge into an ice water bath to stop cooking. Pat peppers completely dry inside and out with paper towels to prevent watery filling.
Step 2
step2:Prep Bell Peppers
Step 2
step2:Prep Bell Peppers
3

Brown Beef and Aromatics

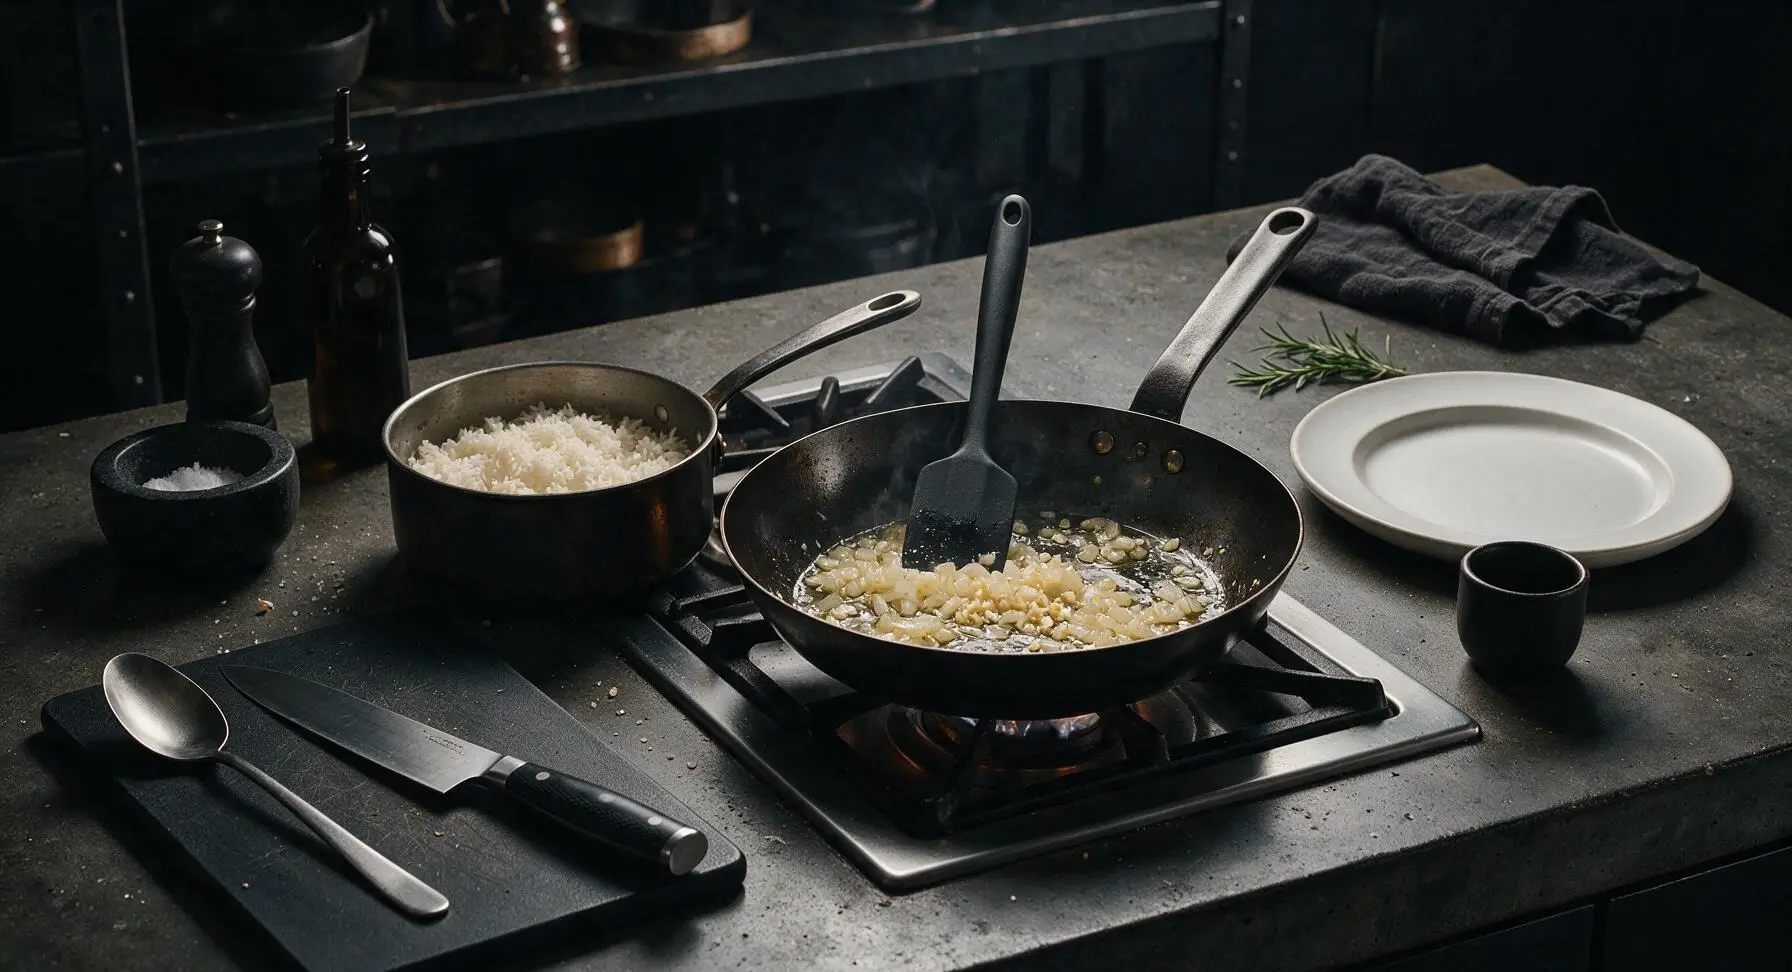
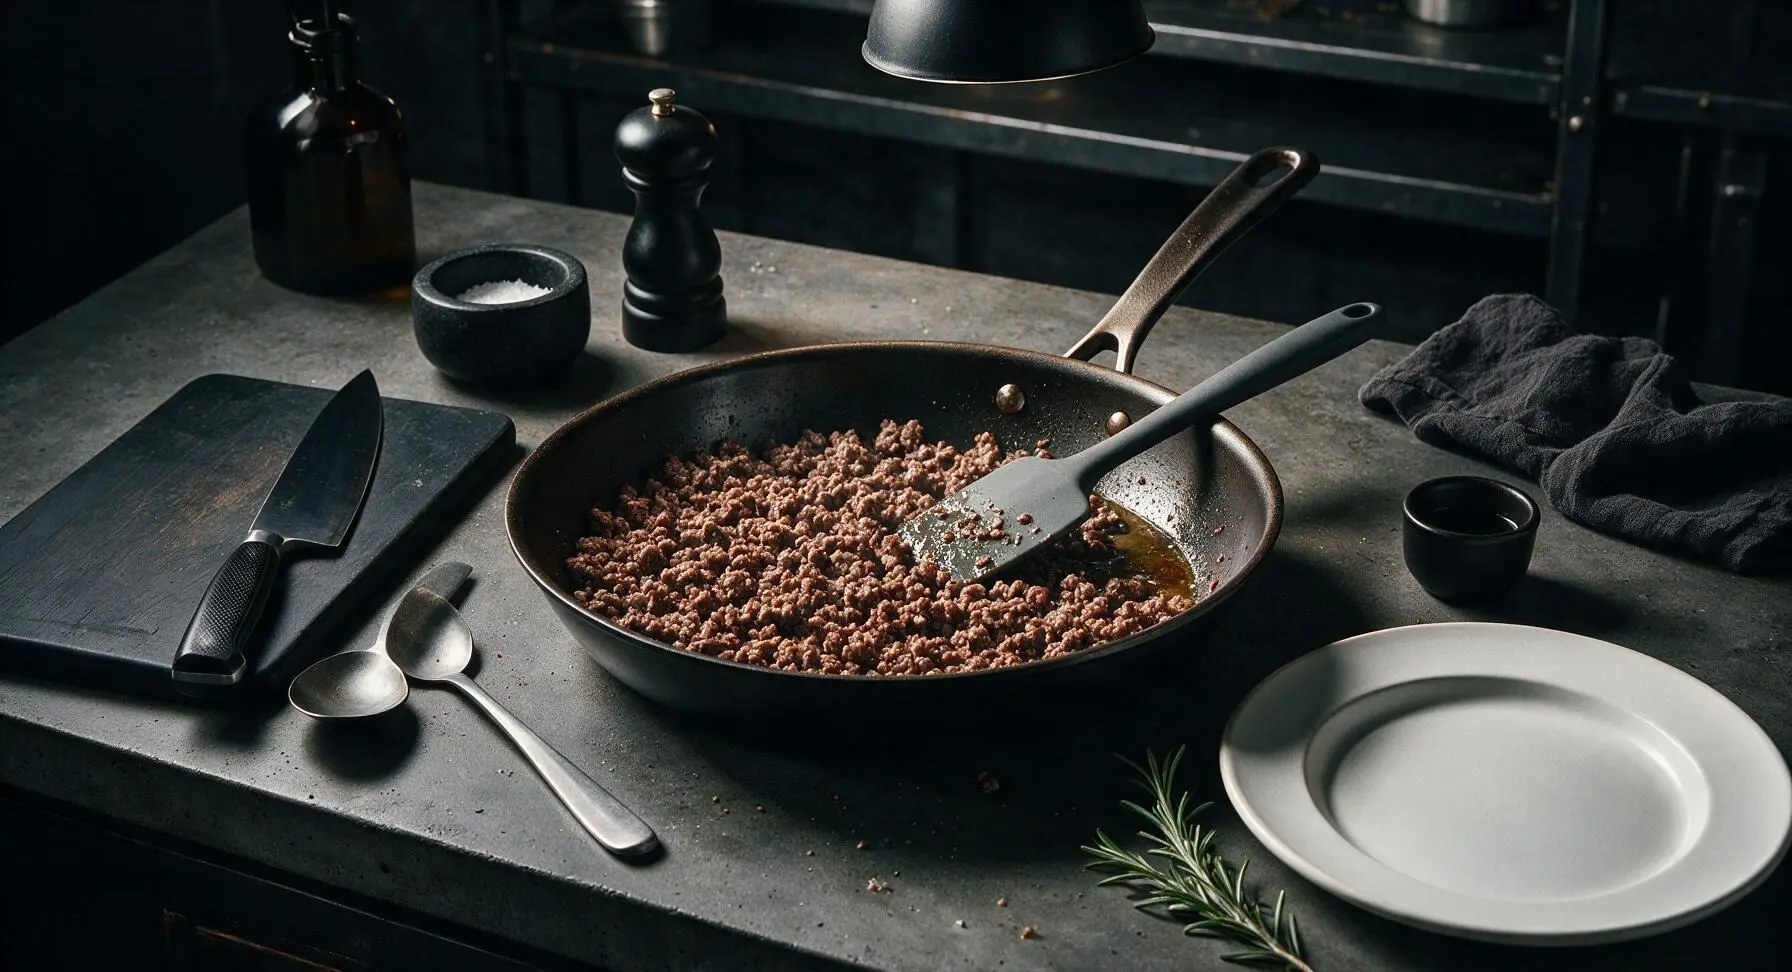
Heat 1 tablespoon (15ml) olive oil in the 10-inch carbon steel skillet over medium heat. Add the finely diced yellow onion, sauté for 3 minutes until soft and translucent, then add minced garlic and cook for 30 seconds until fragrant, taking care not to burn the garlic. Add 225g lean ground beef to the skillet, break it apart into small crumbles with the silicone spatula, and cook for 5-6 minutes until no pink remains. Tilt the skillet and spoon out any excess rendered grease, discarding it.
Step 3
step3:Brown Beef and Aromatics
Step 3
step3:Brown Beef and Aromatics
4

Mix Savory Filling

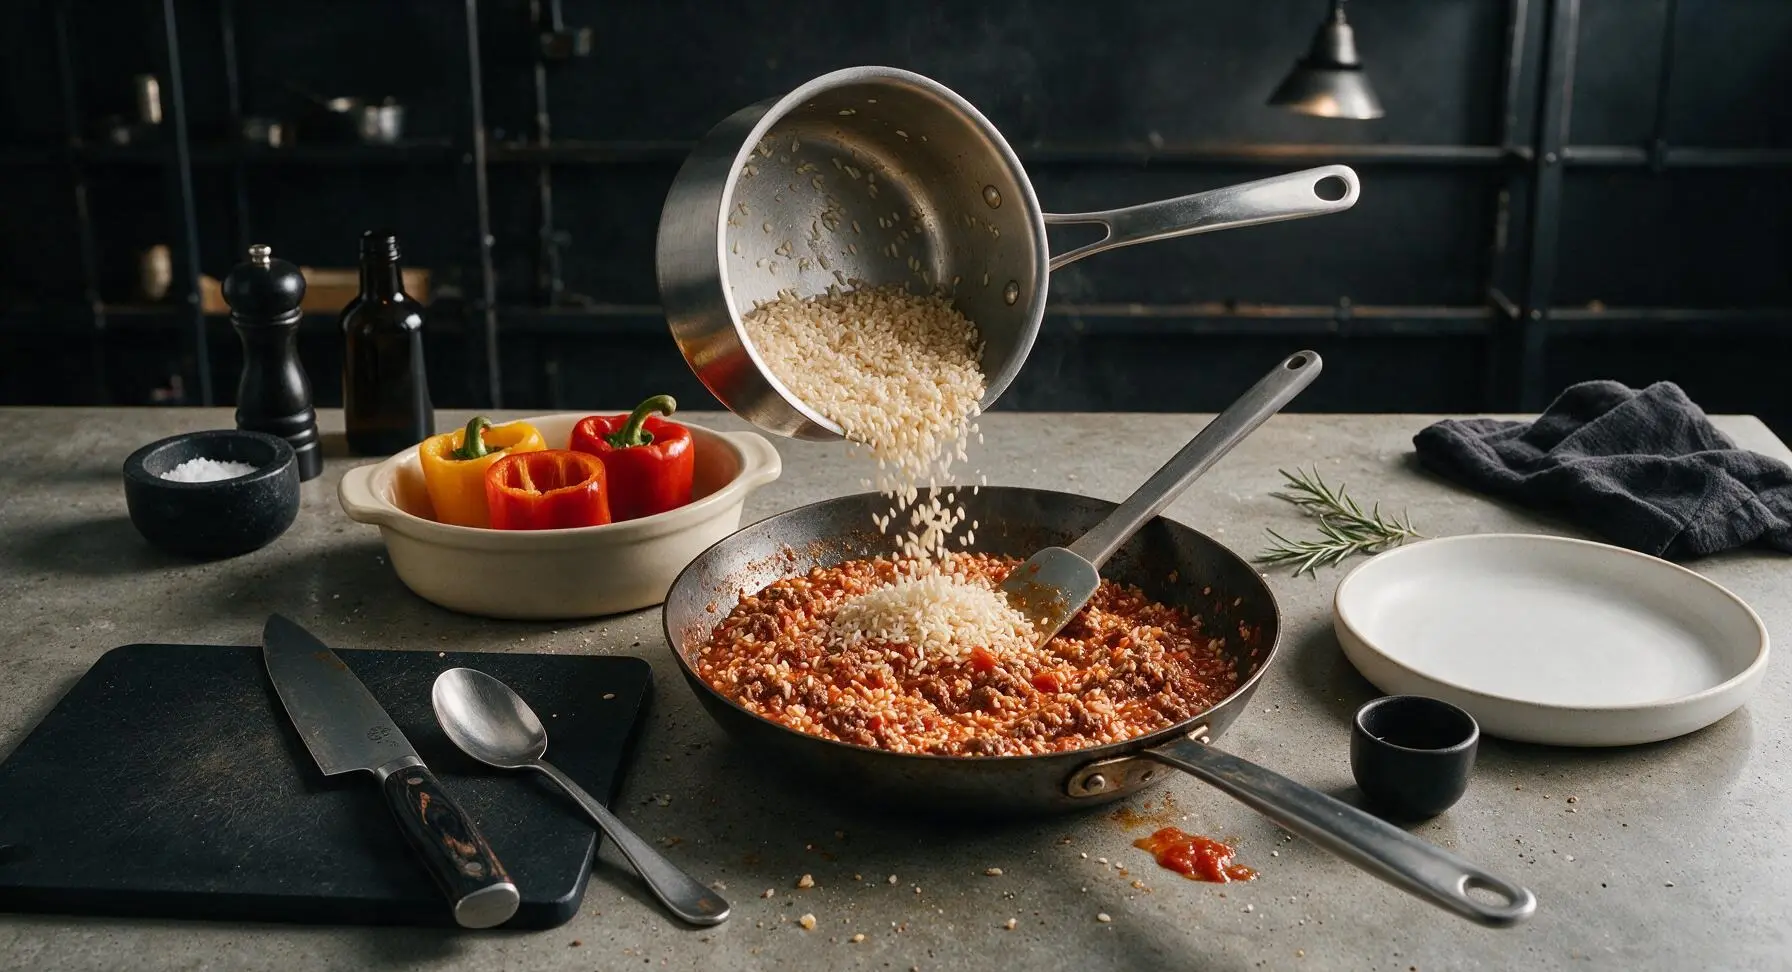
Reduce stovetop heat to low. Add 3/4 of the crushed tomatoes (300g), all 1/2 cup (120ml) beef broth, 1 tsp kosher salt, 1/2 tsp freshly ground black pepper, and 1 tsp dried oregano to the skillet with the browned beef. Stir in the full batch of par-cooked rice, mixing with the silicone spatula until all ingredients are evenly coated in sauce. Simmer for 2 minutes to let flavors meld, then remove the skillet from heat.
Step 4
step4:Mix Savory Filling
5

Stuff Bell Peppers

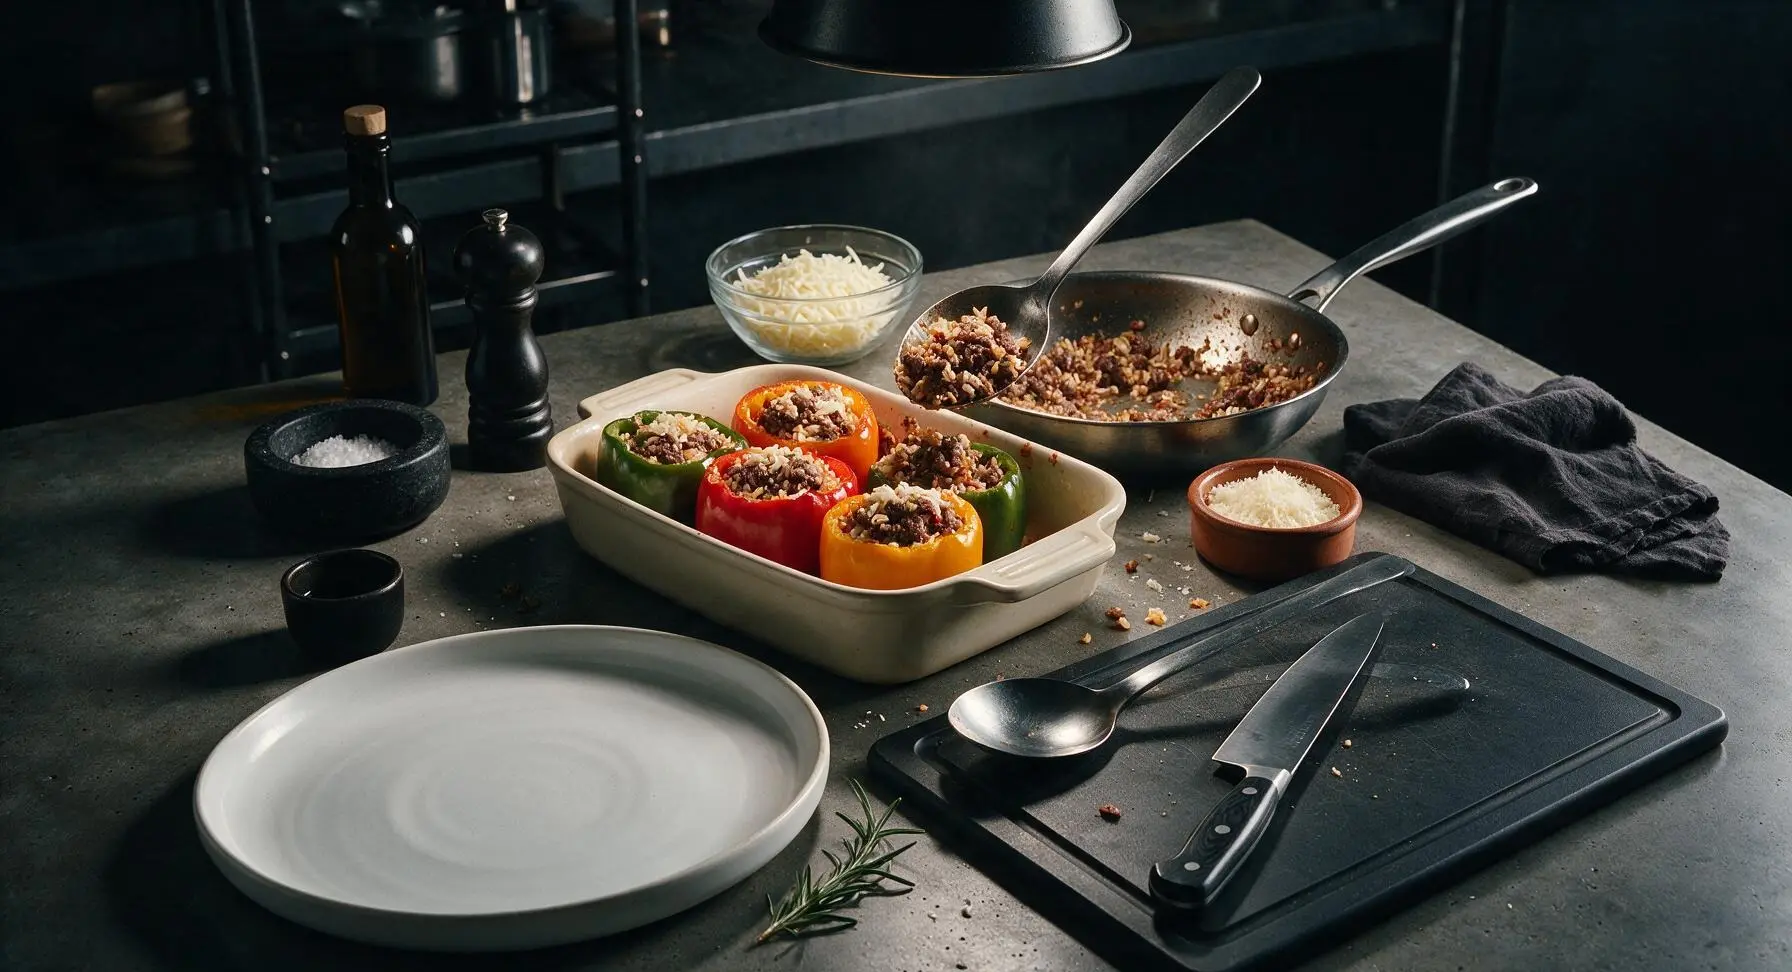
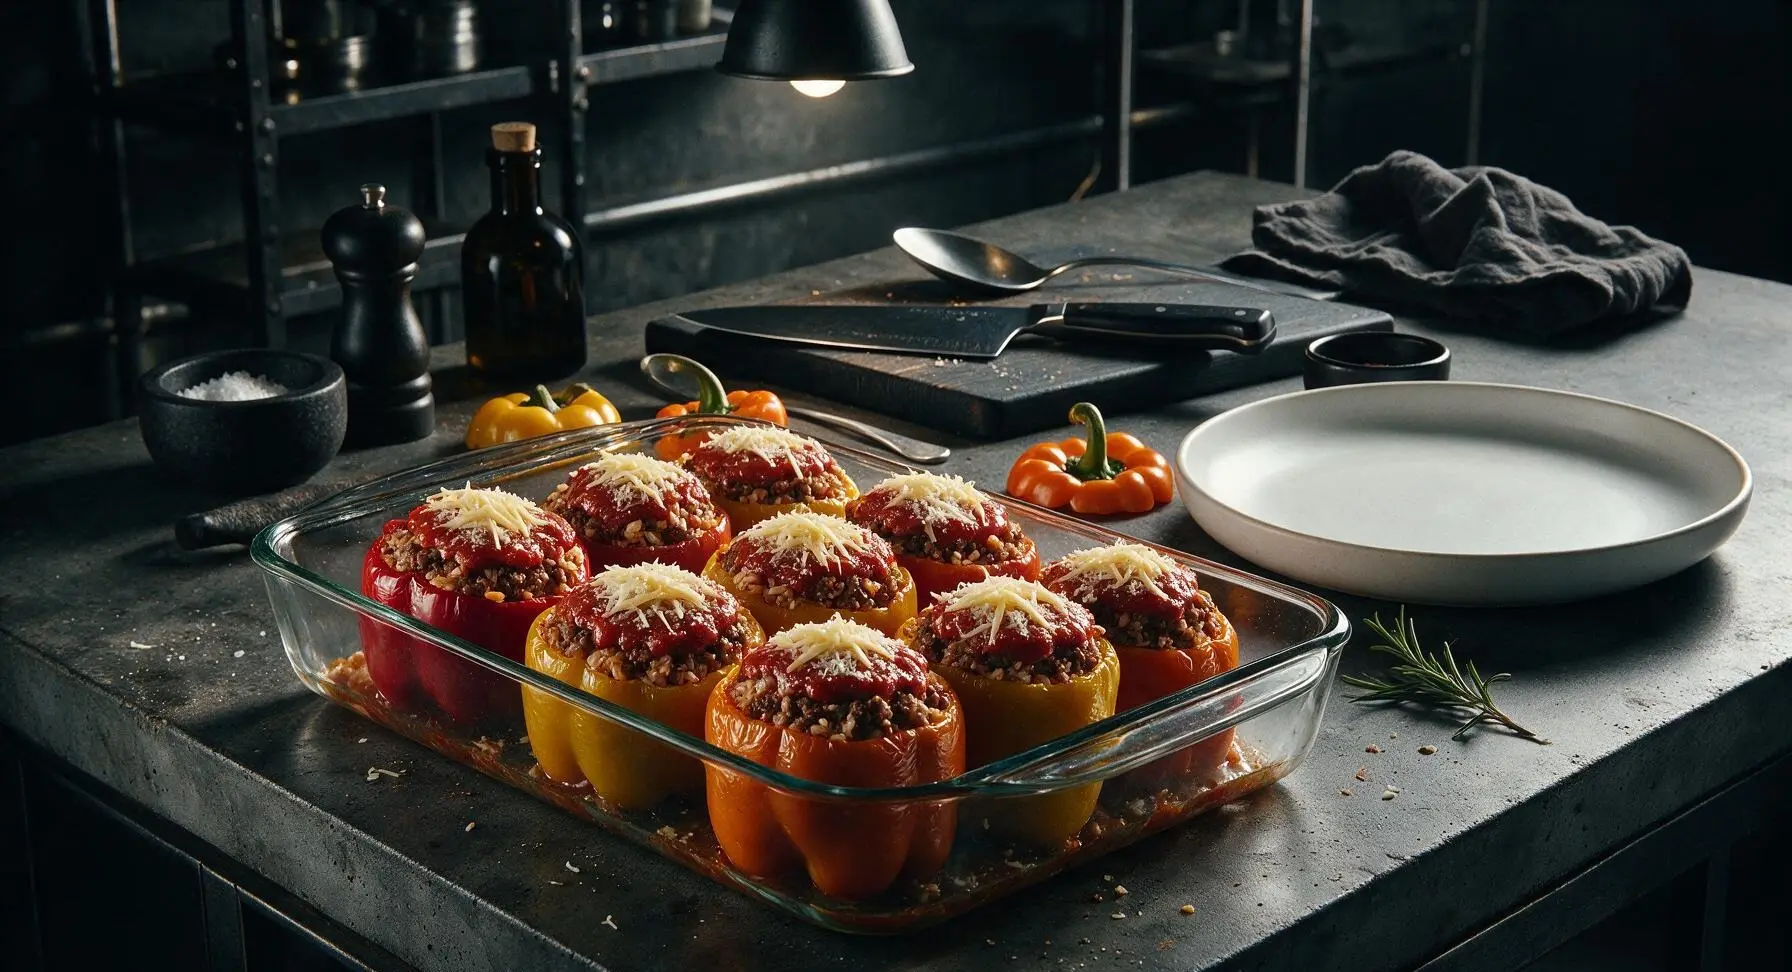
Spoon the beef and rice filling into each dried, blanched bell pepper, pressing gently with the back of the spoon to pack the filling firmly, mounding it slightly 1cm above the pepper rim. Top each stuffed pepper with an equal spoonful of the remaining crushed tomatoes, then sprinkle evenly with the 1/2 cup shredded mozzarella and 2 tbsp grated parmesan cheese. Rest the reserved pepper tops loosely on each pepper if desired.
Step 5
step5:Stuff Bell Peppers
Step 5
step5:Stuff Bell Peppers
6

Bake Until Tender

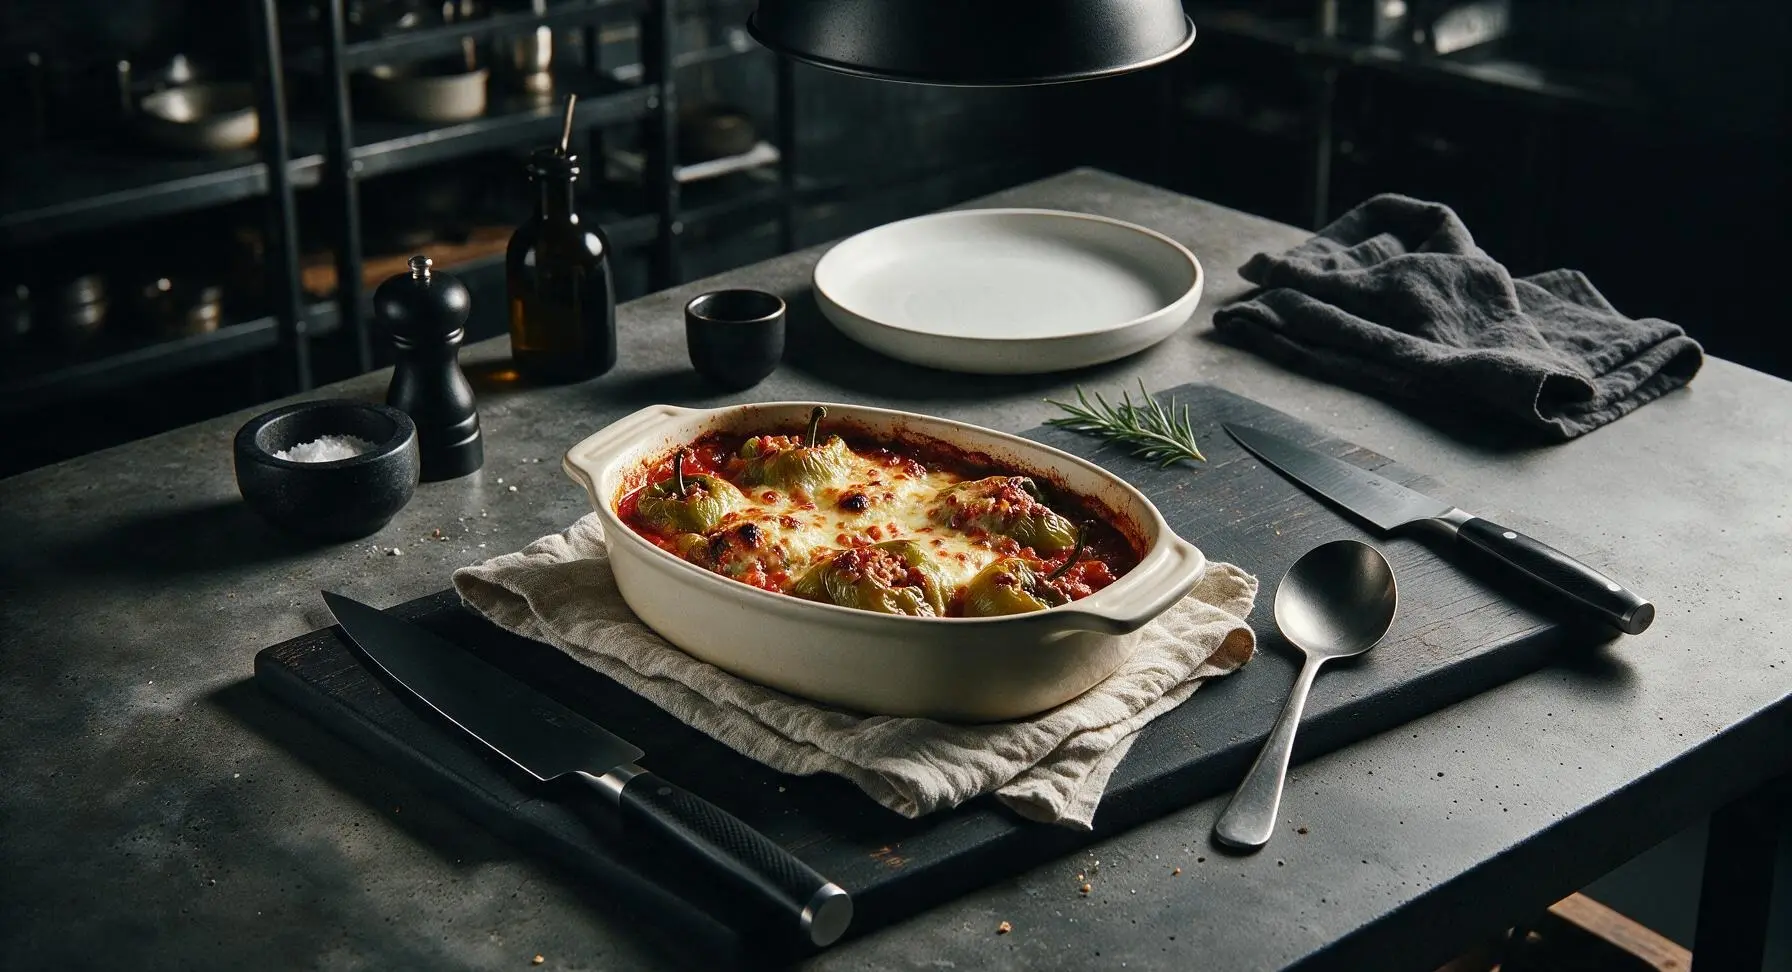
Cover the baking dish tightly with aluminum foil, place in a preheated 190C (375F) oven, and bake for 30 minutes. Remove the foil cover, then bake for an additional 10-12 minutes until the cheese is bubbly and spotted golden brown, the pepper skins are slightly wrinkled, and the internal temperature of the filling reaches 74C (165F). Remove the dish from the oven and let rest for 5 minutes before serving.
Step 6
step6:Bake Until Tender
7

Plate and Garnish

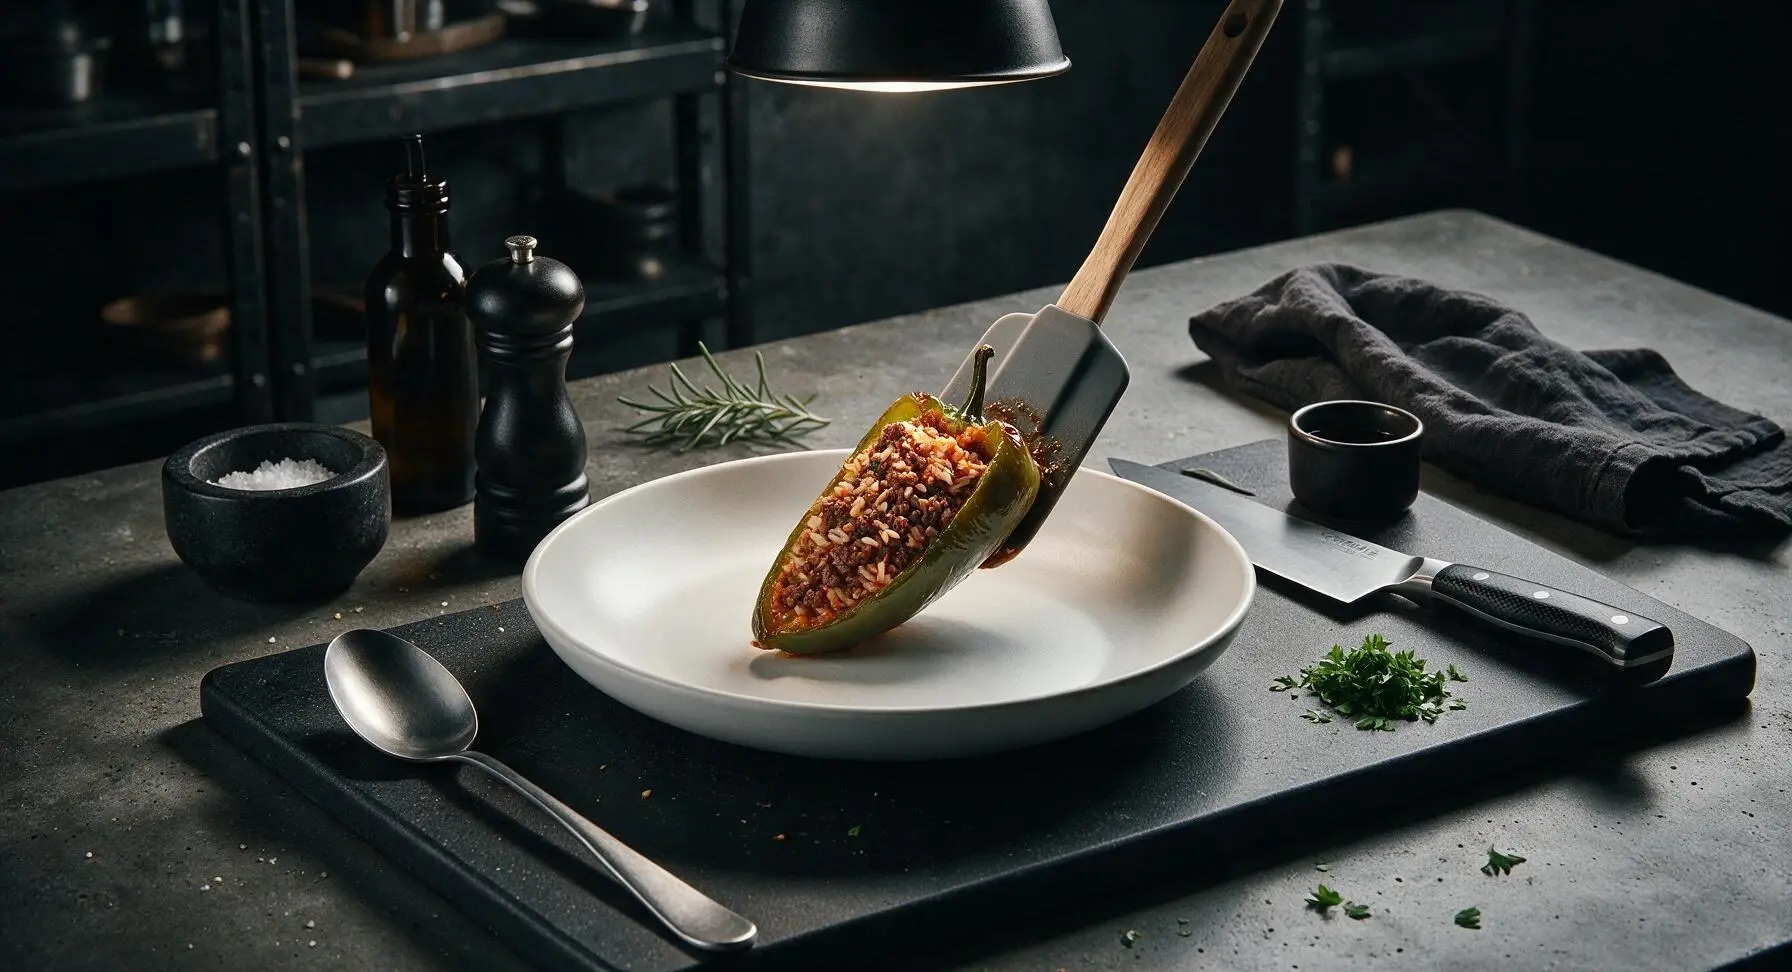
Use the silicone spatula to carefully lift one stuffed pepper from the baking dish, transferring it to the cream white stoneware dinner plate. Spoon 1 tablespoon of the remaining tomato sauce from the baking dish around the base of the pepper, then sprinkle with chopped fresh flat-leaf parsley, and serve warm.
Step 7
step7:Plate and Garnish

Tips

1.Blanching peppers for 3 minutes before stuffing prevents tough, crunchy pepper walls and cuts down on required baking time; always pat blanched peppers completely dry inside and out to avoid watery, diluted filling.
2.Use 90/10 lean ground beef for the best balance of flavor and texture; if using a higher-fat blend, drain all rendered grease after browning to prevent greasy filling and soggy rice.
3.For easy make-ahead meals, assemble stuffed peppers (hold the cheese topping) and store covered in the refrigerator for up to 2 days; add the cheese right before baking to ensure a perfectly melted, golden top instead of dried, rubbery cheese.


✨ You May Also Like

Main Course
🍜 United Kingdom

A showstopping classic of tender seared beef, savory mushroom duxelles, and crisp prosciutto wrapped in flaky golden puff pastry, baked to juicy perfection.

⏱️ 2 hours 1Main Course ★ 4.7
Main Course
🍜 India

Tender charred marinated chicken simmered in a rich, spiced creamy tomato sauce, this iconic Anglo-Indian curry pairs perfectly with basmati rice or warm naan.

⏱️ 50 minuteMain Course ★ 4.6
Main Course
🍜 Thailand

Classic tangy, sweet, and savory Thai stir-fried rice noodles with shrimp, tofu, and crunchy garnishes, balancing all five core Thai flavor profiles.

⏱️ 30 minuteMain Course ★ 4.5
Main Course
🍜 United Kingdom

Crispy golden beer-battered cod and fluffy double-fried chips, served with tangy tartar sauce and malt vinegar: the timeless, beloved British pub comfort classic.

⏱️ 45 minuteMain Course ★ 4.7
Main Course
🍜 Mexico

Smoky, chile-marinated pork tacos with caramelized pineapple, fresh cilantro, and lime: a beloved classic Mexican street food perfect for casual summer gatherings.

⏱️ 1 hour 45Main Course ★ 4.8
Main Course
🍜 United States

Crunchy Fritos corn chips layered with savory beef chili and melted cheddar, topped with cool, zesty fixings for a beloved, cozy Tex-Mex comfort food.

⏱️ 35 minuteMain Course ★ 4.8

stuffed peppers with ground beef and rice:Frequently Asked Questions

1.Can I use leftover pre-cooked rice for this recipe instead of cooking fresh rice? ▾
Leftover chilled rice is actually ideal for this recipe, because it’s drier than freshly cooked rice and won’t turn your filling mushy. Use 1.5 cups of day-old long-grain white rice, fluff it with a fork before mixing into the filling, and cut back 2 tablespoons of tomato sauce to keep the texture firm, not soggy.
2.How do I keep my bell peppers from getting too mushy while they roast? ▾
Par-boil your cored, seeded peppers for 3 minutes in heavily salted boiling water first, then shock them in an ice bath to stop the cooking process, and pat them fully dry before stuffing. This ensures they stay perfectly tender-crisp and hold their shape, instead of turning soft and mushy during the final bake.
3.Can I use a different fat ratio of ground beef if I don’t have 90/10 lean? ▾
Absolutely, though 90/10 beef is formulated to balance juiciness without greasy filling. If using fattier 80/20 beef, brown it fully and drain off all excess rendered fat before mixing in other ingredients. If using extra-lean 93/7 beef, add a tablespoon of olive oil to your onion sauté to keep the filling rich.
4.Do I have to add cheese on top, and what cheeses melt best for this dish? ▾
Cheese is totally optional, but it adds that classic bubbly, savory finish most people love. For the best melt and mild, tangy flavor, use shredded low-moisture mozzarella, or a 50/50 mix of mozzarella and sharp cheddar. Add it during the last 10 minutes of baking so it doesn’t burn or turn rubbery.
5.Can I prep these stuffed peppers ahead of time for busy weeknights? ▾
Definitely! Assemble fully stuffed, cheese-free peppers in a lidded baking dish and refrigerate for up to 2 days, or wrap tightly and freeze for up to 3 months. When ready to bake, add 10-15 minutes to the cook time if baking straight from the fridge, or thaw frozen peppers overnight in the fridge first.
6.Why does my stuffed pepper filling sometimes turn out dry instead of juicy? ▾
Dry filling usually happens if you skimp on tomato sauce, overcook your rice before stuffing, or skip covering the baking dish for the first part of cooking. Mix ¾ cup of tomato sauce right into the beef and rice filling, and tent the dish with foil for the first 25 minutes of baking to lock in steam.
7.Can I use green bell peppers instead of the red, yellow, and orange ones called for? ▾
You absolutely can, just note that green bell peppers have a sharper, slightly bitter, less sweet flavor than their fully ripe colorful counterparts. If using green peppers, add a tiny pinch of sugar to your tomato sauce to balance the bitterness, and par-boil them for an extra minute to soften their tougher skin.
8.How do I prep the peppers so they stand upright and don’t tip over while baking? ▾
Start by slicing a paper-thin, even layer off the bottom of each pepper (don’t cut all the way through the flesh!) to create a flat, stable base. Slice the top ½ inch off each pepper, pull out the core and bitter white inner ribs, and shake out all loose seeds before par-boiling.
9.What side dishes pair best with these stuffed peppers for a full family meal? ▾
These hearty, balanced peppers pair perfectly with light, fresh sides to cut through their rich, savory filling. Opt for a crisp green salad with bright vinaigrette, buttery garlic bread, roasted broccoli, or tangy coleslaw. You won’t need heavy sides, since the peppers already pack protein, starch, and veggies in one dish.
10.How should I store leftover stuffed peppers, and how long will they stay fresh? ▾
Let leftover baked peppers cool fully to room temperature within 2 hours of cooking, then wrap each individually or transfer them to an airtight container to store in the fridge for up to 4 days. Reheat in a 350°F oven for 15-20 minutes (or 2-3 minutes per pepper in the microwave) until warmed all the way through.

Comments (3)

2 hours ago

OMG these stuffed peppers were a total game changer for our weeknight family dinner! My super picky 7 year old asked for seconds, which literally never happens. I swapped white rice for brown rice because that’s what I had in the pantry, and it still turned out SO good. The 45 minute cook time was totally accurate too, no weird last minute rushes to get food on the table after my commute home.

30 minutes ago

Wait swapping brown rice is such a good call! I’ve been trying to sneak more whole grains into my husband’s diet without him noticing (he swears anything “healthy” tastes like cardboard lmao). Definitely stealing that hack when I make these for my Sunday meal prep this week!

5 minutes ago

So glad your family loved the recipe! Swapping brown rice works perfectly here — you can even toss in a little extra diced tomato or a splash of beef broth if you prefer your pepper filling extra juicy. Love that you made it work with what you had on hand, that’s what easy weeknight cooking is all about!

3 days ago

Made these for our neighborhood block party potluck last weekend and they were gone in 10 minutes flat! Only reason I’m not giving 5 stars is I accidentally added way too much smoked paprika on my first batch, oops, made them a touch spicier than I planned for the kids at the party. The recipe is super easy to follow even for someone like me who burns toast half the time, no joke. Will absolutely make again, just measuring the paprika more carefully next time!

2 days ago

So happy they were a hit at the potluck! A little extra paprika never hurts in my book, but if you end up with a too-spicy batch next time, a dollop of sour cream or a sprinkle of extra melted cheese on top cuts the heat perfectly. Thanks for giving the recipe a try, and hope the next batch is perfect for you!

1 week ago

As someone who’s literally just learning to cook in my first off-campus apartment, this recipe was perfect! It said easy difficulty and they weren’t lying — no fancy ingredients, no complicated steps, and the end result tasted like something I’d pay $18 for at the casual dinner spot down the street. I added a handful of shredded cheddar on top the last 10 minutes of baking like the recipe suggested, and chef’s kiss. I made a batch on Sunday, portioned them out, and ate them for lunch all week — they reheated like an absolute dream. 10/10 will be in my regular meal rotation.



