
stuffed shells ricotta

title 1
stuffed shells ricotta
⏱️ cook time 45 minutes
🍽️ servings 6
⚡ Difficulty easy

intro

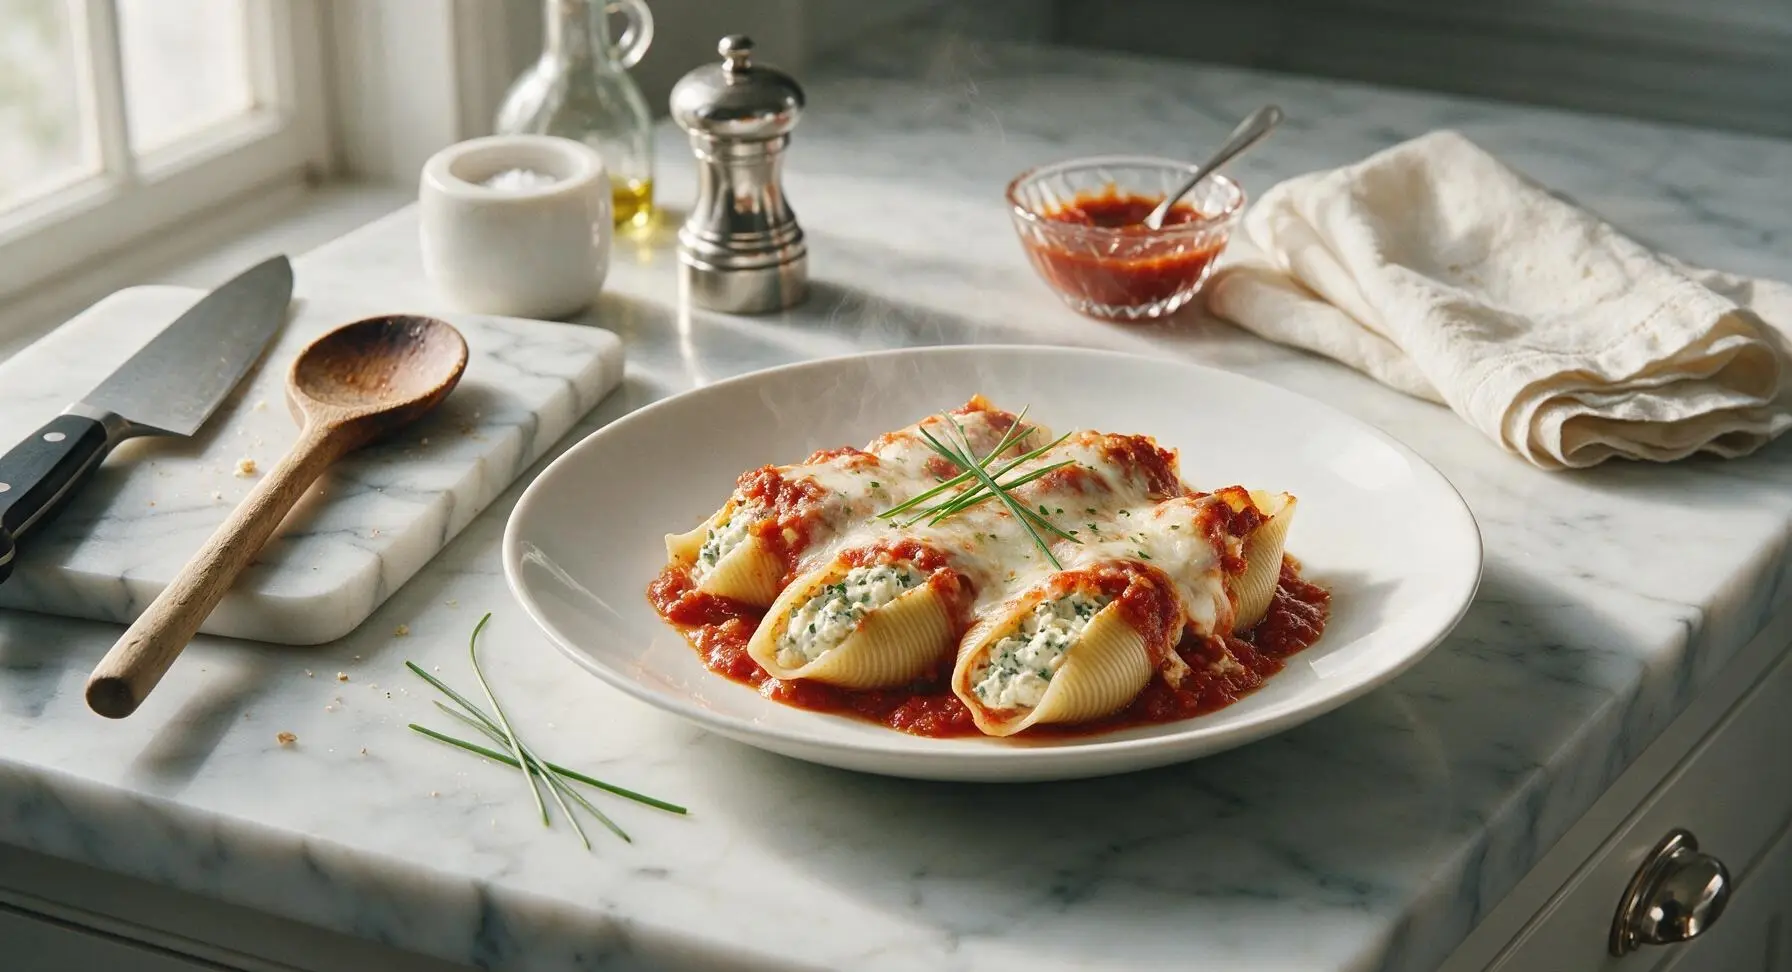
Tender jumbo pasta shells stuffed with creamy herby ricotta, smothered in tangy marinara and melted mozzarella, baked to bubbly golden perfection for cozy, crowd-pleasing comfort.

Ingredients
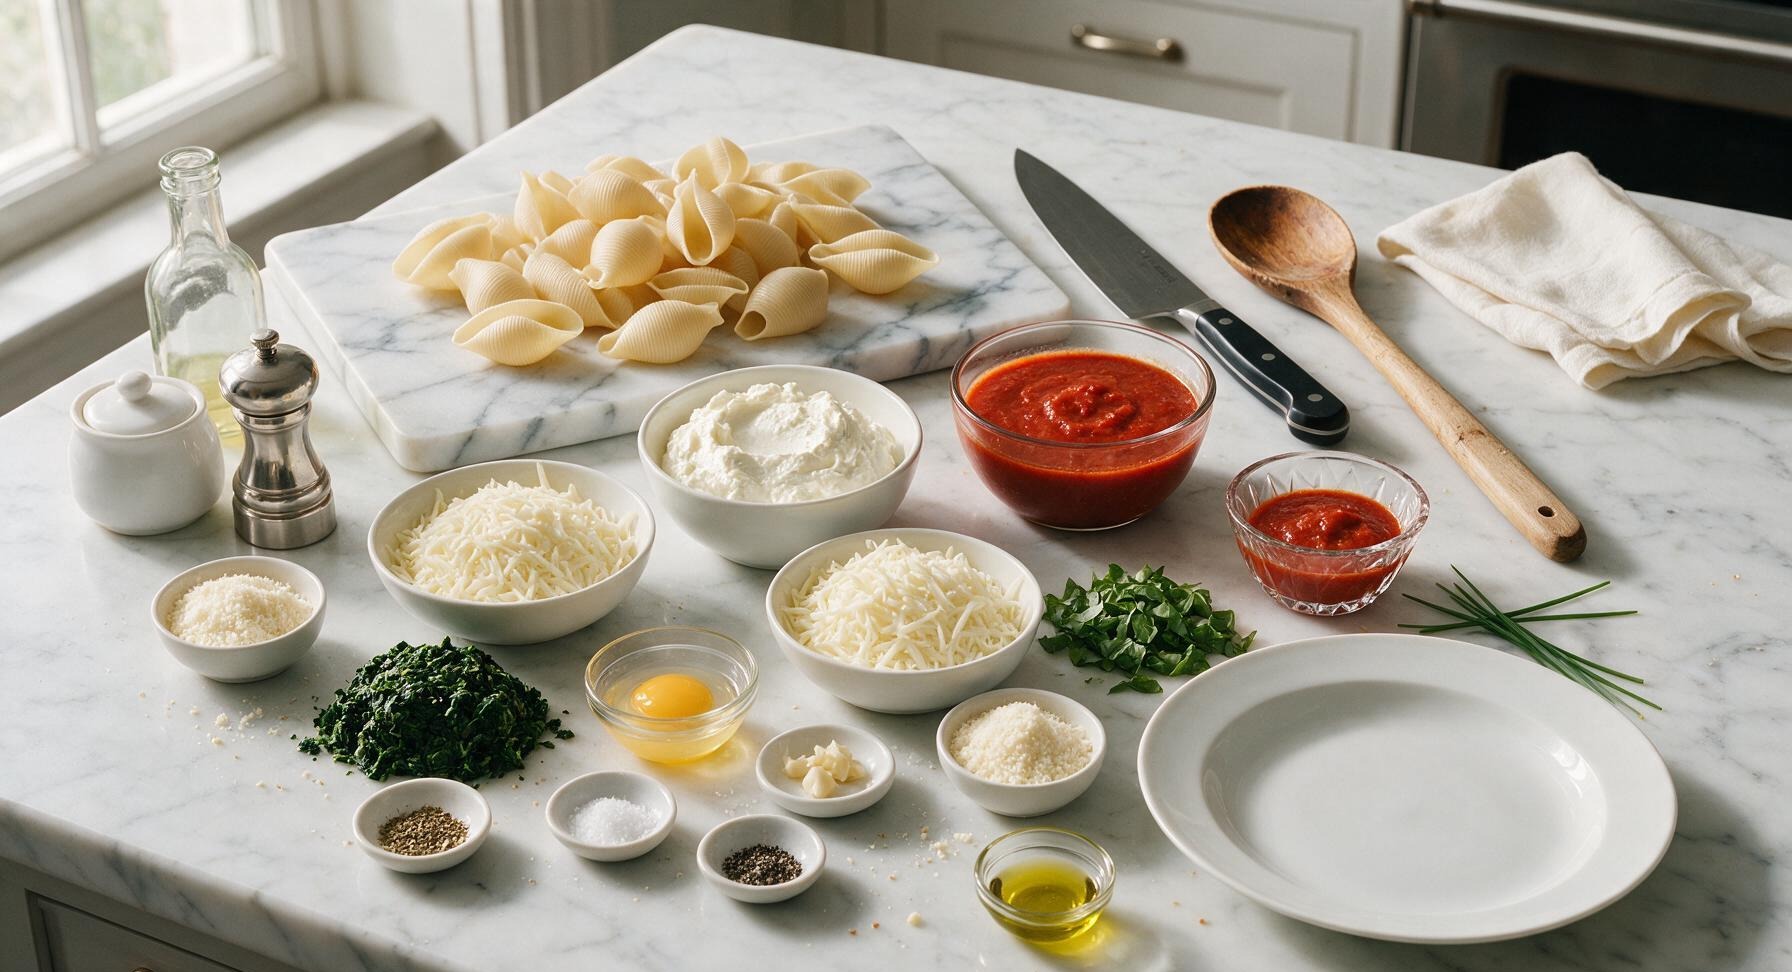
Jumbo pasta shells 12 oz (approx 24 shells)
Whole milk ricotta cheese 15 oz
Low-moisture mozzarella cheese 2 cups, shredded, divided
Marinara sauce 24 oz (3 cups), divided
Grated parmesan cheese 1/2 cup, divided
Fresh spinach 1 cup, chopped and squeezed dry
Large egg 1, lightly beaten
Garlic cloves 2, minced
Dried oregano 1 tsp
Kosher salt 1 tsp, divided
Freshly ground black pepper 1/2 tsp
Fresh basil 1/4 cup, torn, for garnish
Olive oil 1 tbsp, for greasing dish

Steps

1

Cook Jumbo Shells

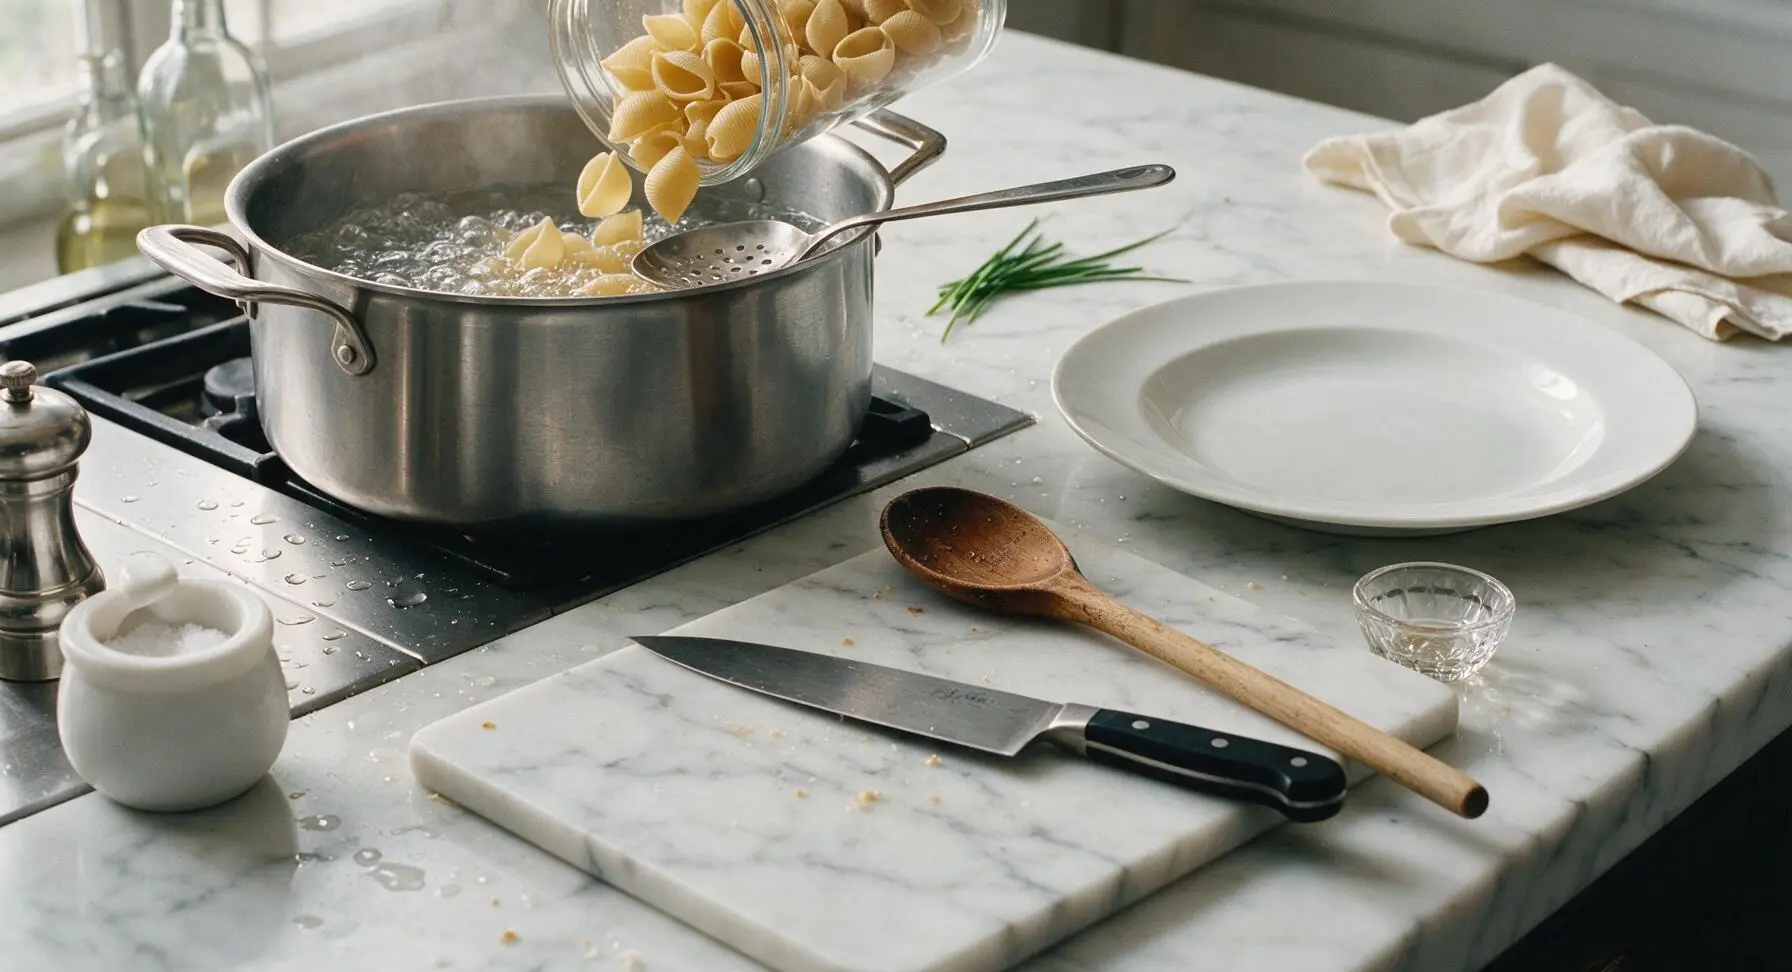
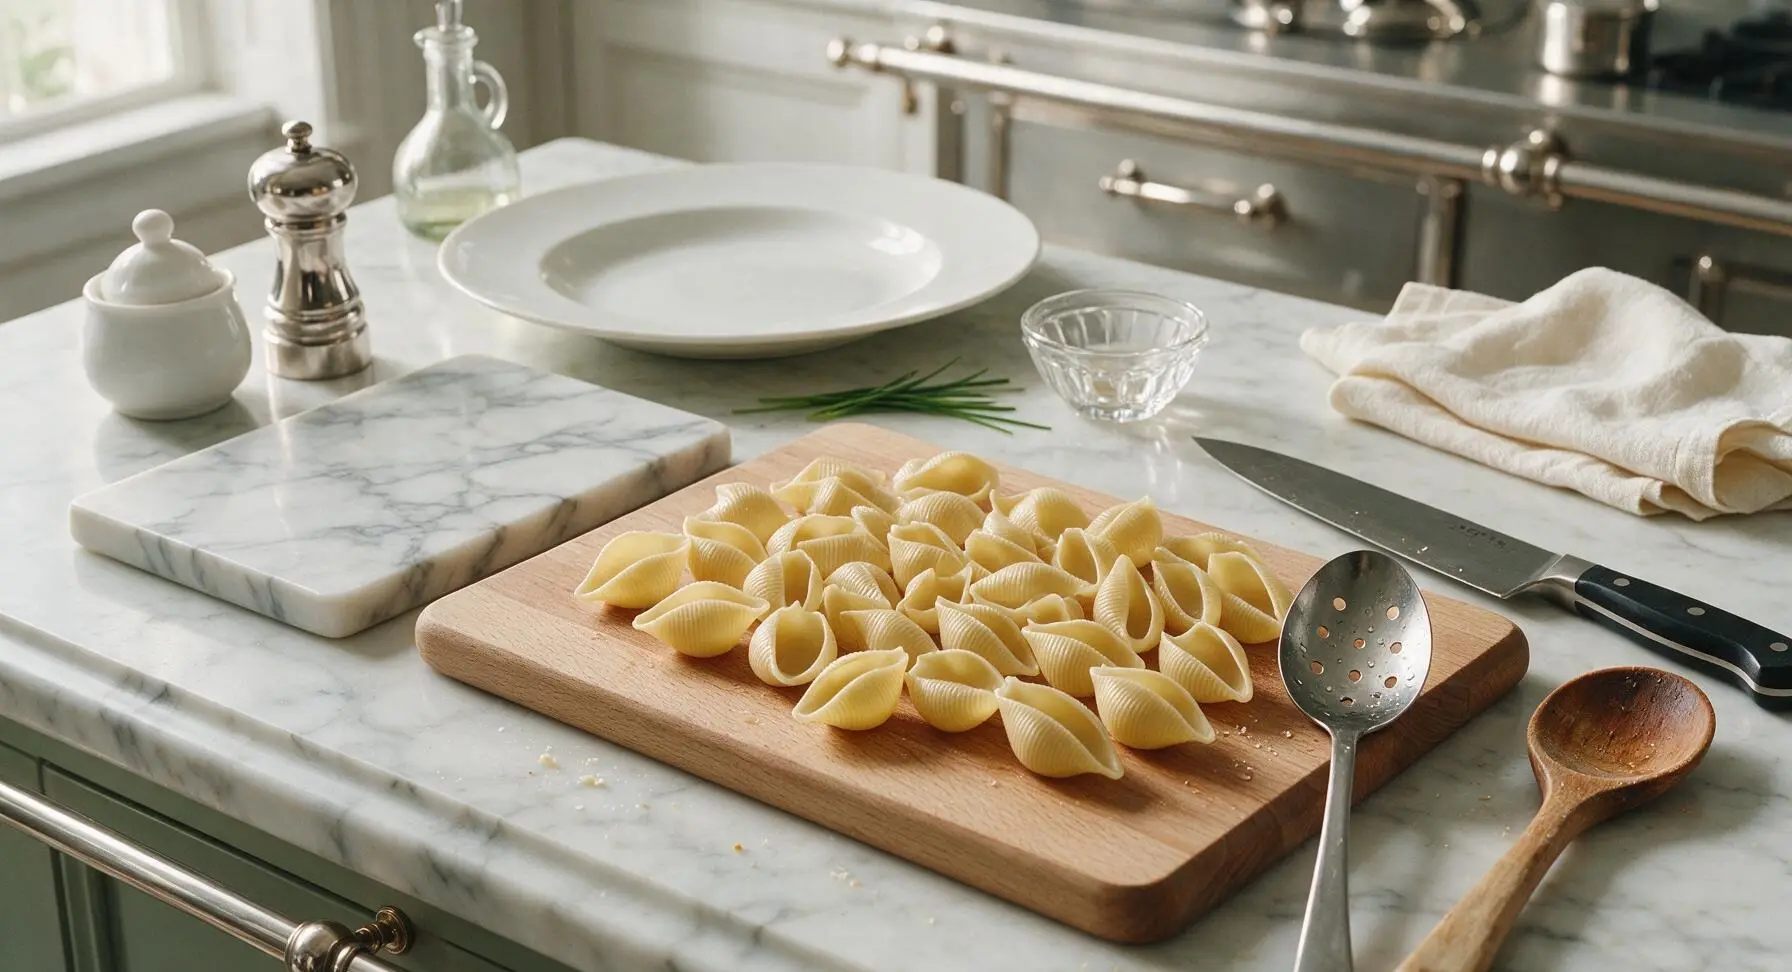
Fill the 6-quart brushed stainless steel stock pot with 4 quarts of cold water, bring to a rolling boil over high heat, then add 1/2 teaspoon of kosher salt. Add 12 ounces of jumbo pasta shells, stir gently with the slotted stainless steel spoon to prevent shells from sticking to the pot bottom. Cook for 8 minutes (2 minutes less than package directions) until very al dente—shells should be firm enough to hold their shape without tearing when handled, as they will finish cooking in the oven. Drain shells and rinse briefly with cool water to stop the cooking process, then spread in a single layer on the beech wood cutting board to cool, preventing clumping.
Step 1
step1:Cook Jumbo Shells
Step 1
step1:Cook Jumbo Shells
2

Prep Baking Dish

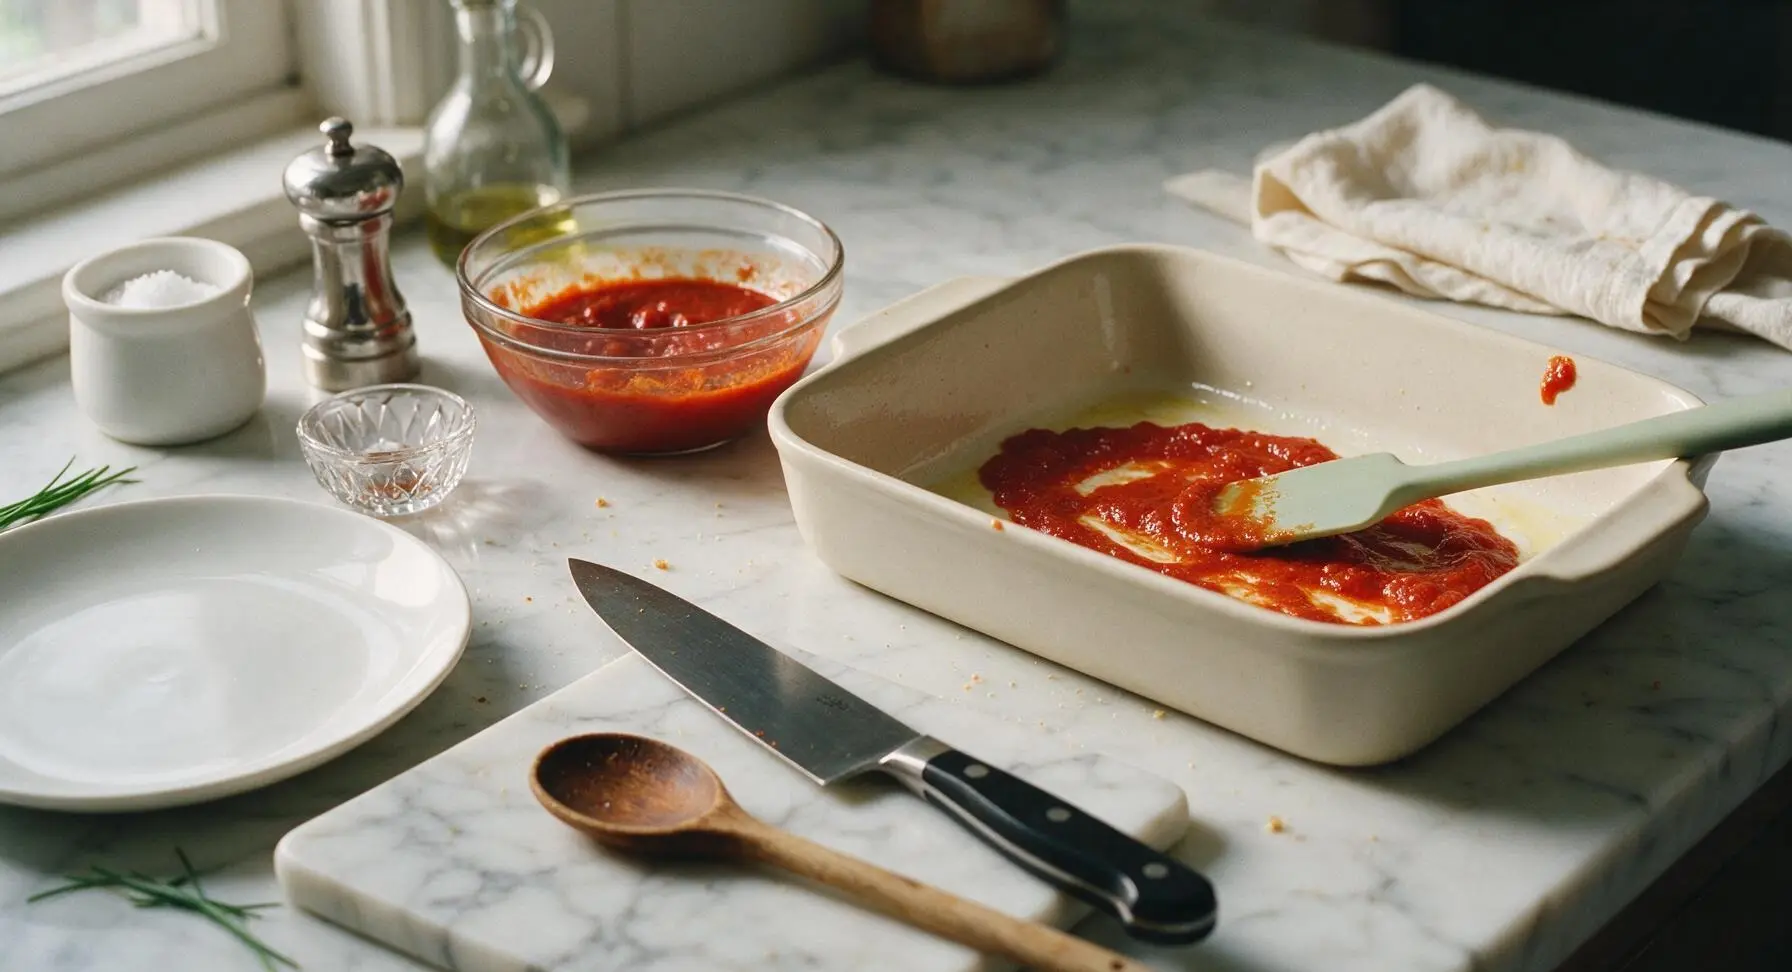
Preheat oven to 375°F (190°C). Use the pale sage green silicone spatula to spread 1 tablespoon of olive oil across the bottom and lower sides of the 9x13 inch matte cream ceramic baking dish to prevent sticking. Pour 1 cup of marinara sauce into the oiled dish, spreading it in an even, thin layer across the entire bottom surface.
Step 2
step2:Prep Baking Dish
3

Mix Ricotta Filling

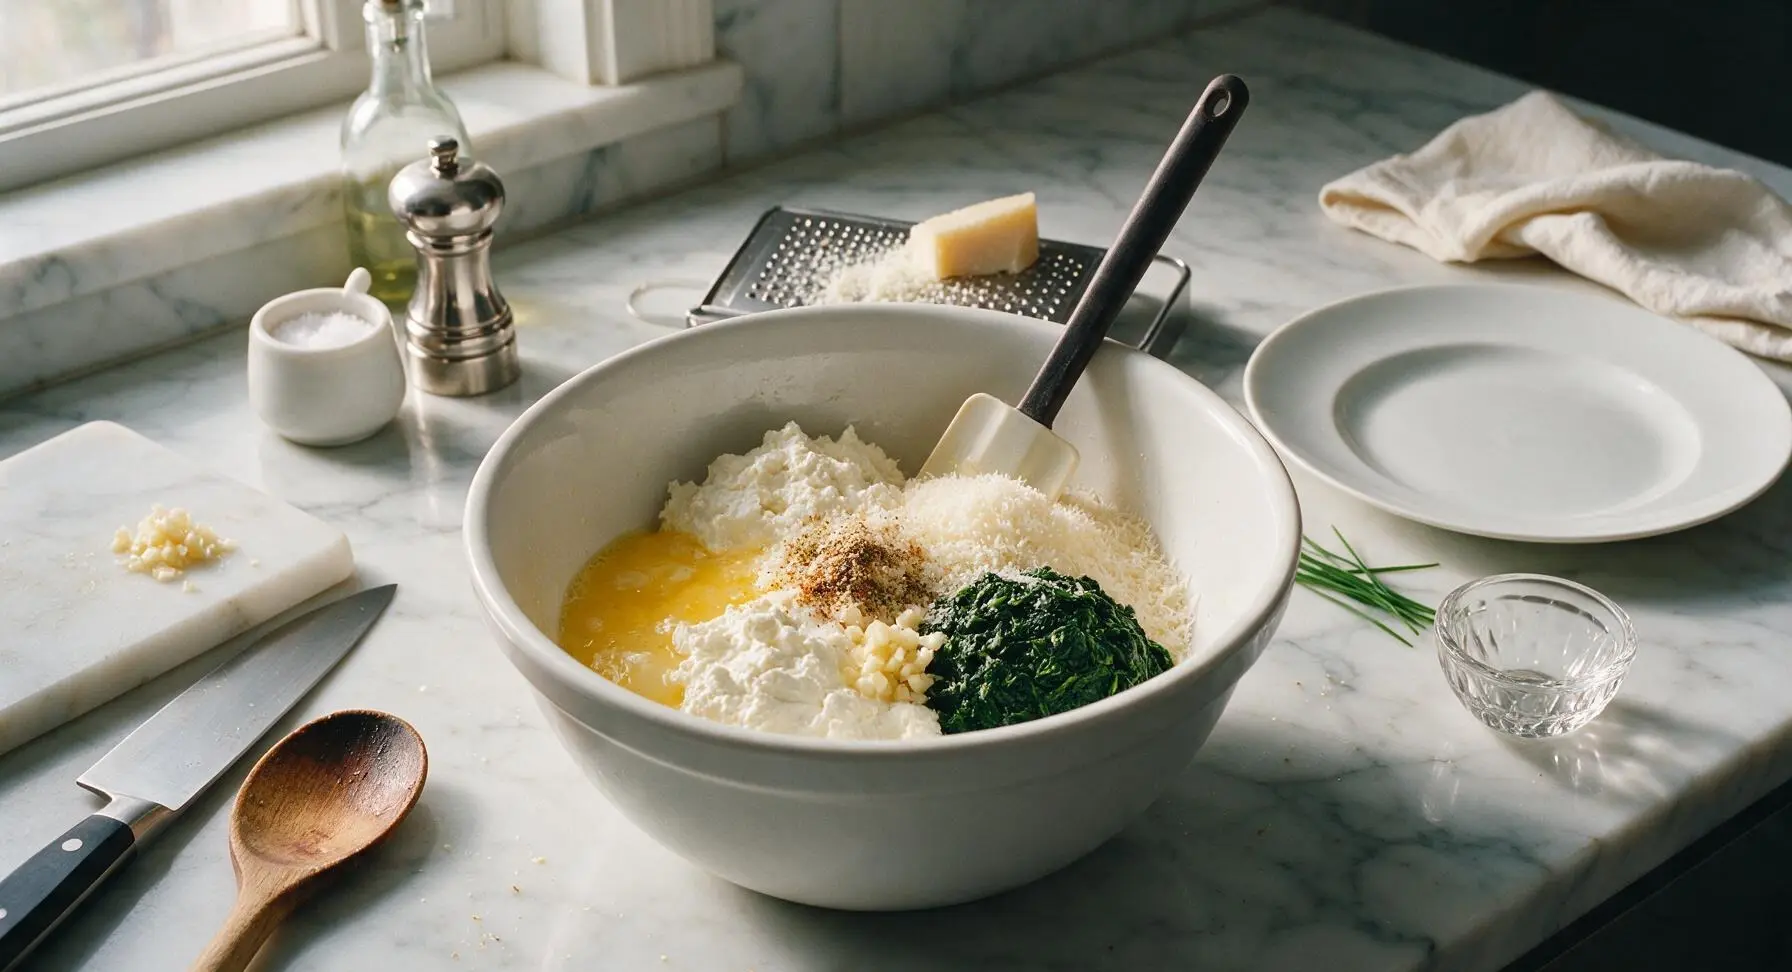
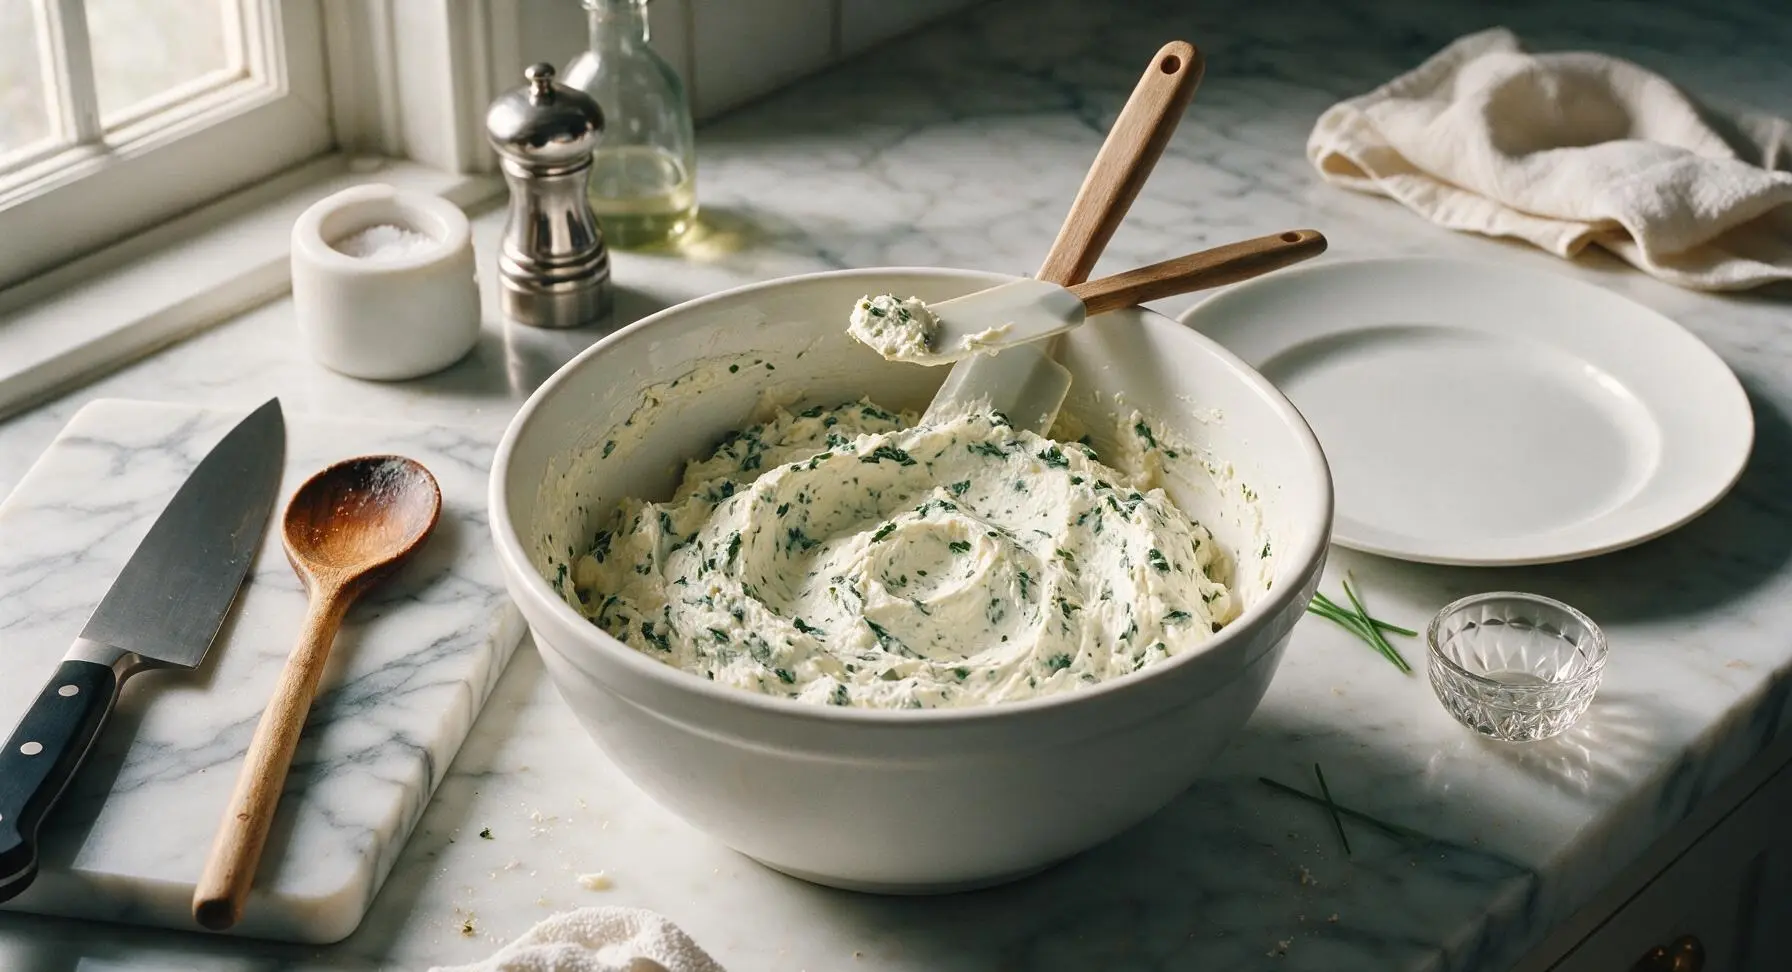
In the 3-quart matte white ceramic mixing bowl, combine 15 ounces of whole milk ricotta, 1 lightly beaten large egg, 1/4 cup of grated parmesan cheese, 1 cup of tightly squeezed, finely chopped fresh spinach, 2 cloves of minced garlic (chopped with the chef’s knife on the cutting board), 1 teaspoon of dried oregano, remaining 1/2 teaspoon of kosher salt, and 1/2 teaspoon of freshly ground black pepper. Stir thoroughly with the silicone spatula until all ingredients are fully incorporated, with no streaks of unblended egg visible, forming a thick, creamy filling with even flecks of green spinach and oregano.
Step 3
step3:Mix Ricotta Filling
Step 3
step3:Mix Ricotta Filling
4

Stuff Pasta Shells

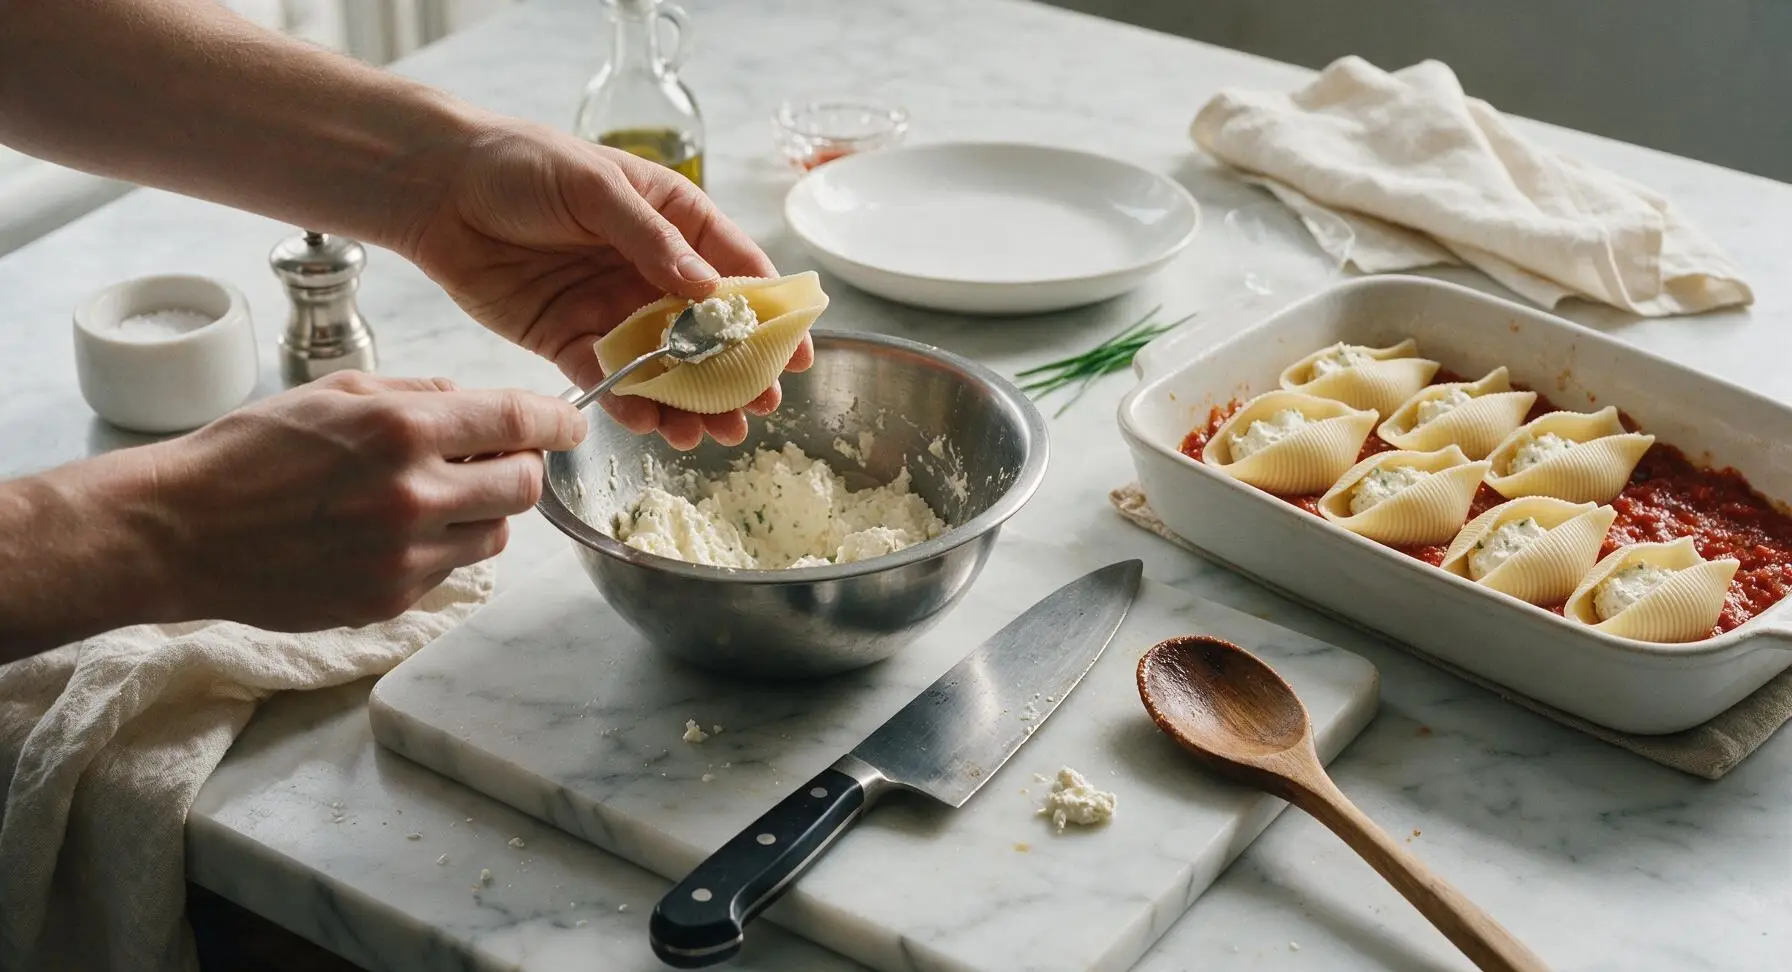
Working one cooled shell at a time, use the small stainless steel teaspoon to scoop 1 heaping tablespoon of ricotta filling into each shell cavity. Take care not to overstuff shells, as excess filling will bubble out during baking and make a mess. Arrange stuffed shells in a tight single layer, open side facing up, in the marinara-lined baking dish; you should fit approximately 22-24 shells in the dish.
Step 4
step4:Stuff Pasta Shells
5

Top with Sauce and Cheese

Spoon the remaining 2 cups of marinara sauce evenly over the top of the arranged stuffed shells, covering most of the pasta surface to prevent shells from drying out and crisping in the oven. Sprinkle 1 1/2 cups of shredded mozzarella and the remaining 1/4 cup of grated parmesan evenly over the sauce, leaving small gaps so bright red sauce peeks through the cheese layer.
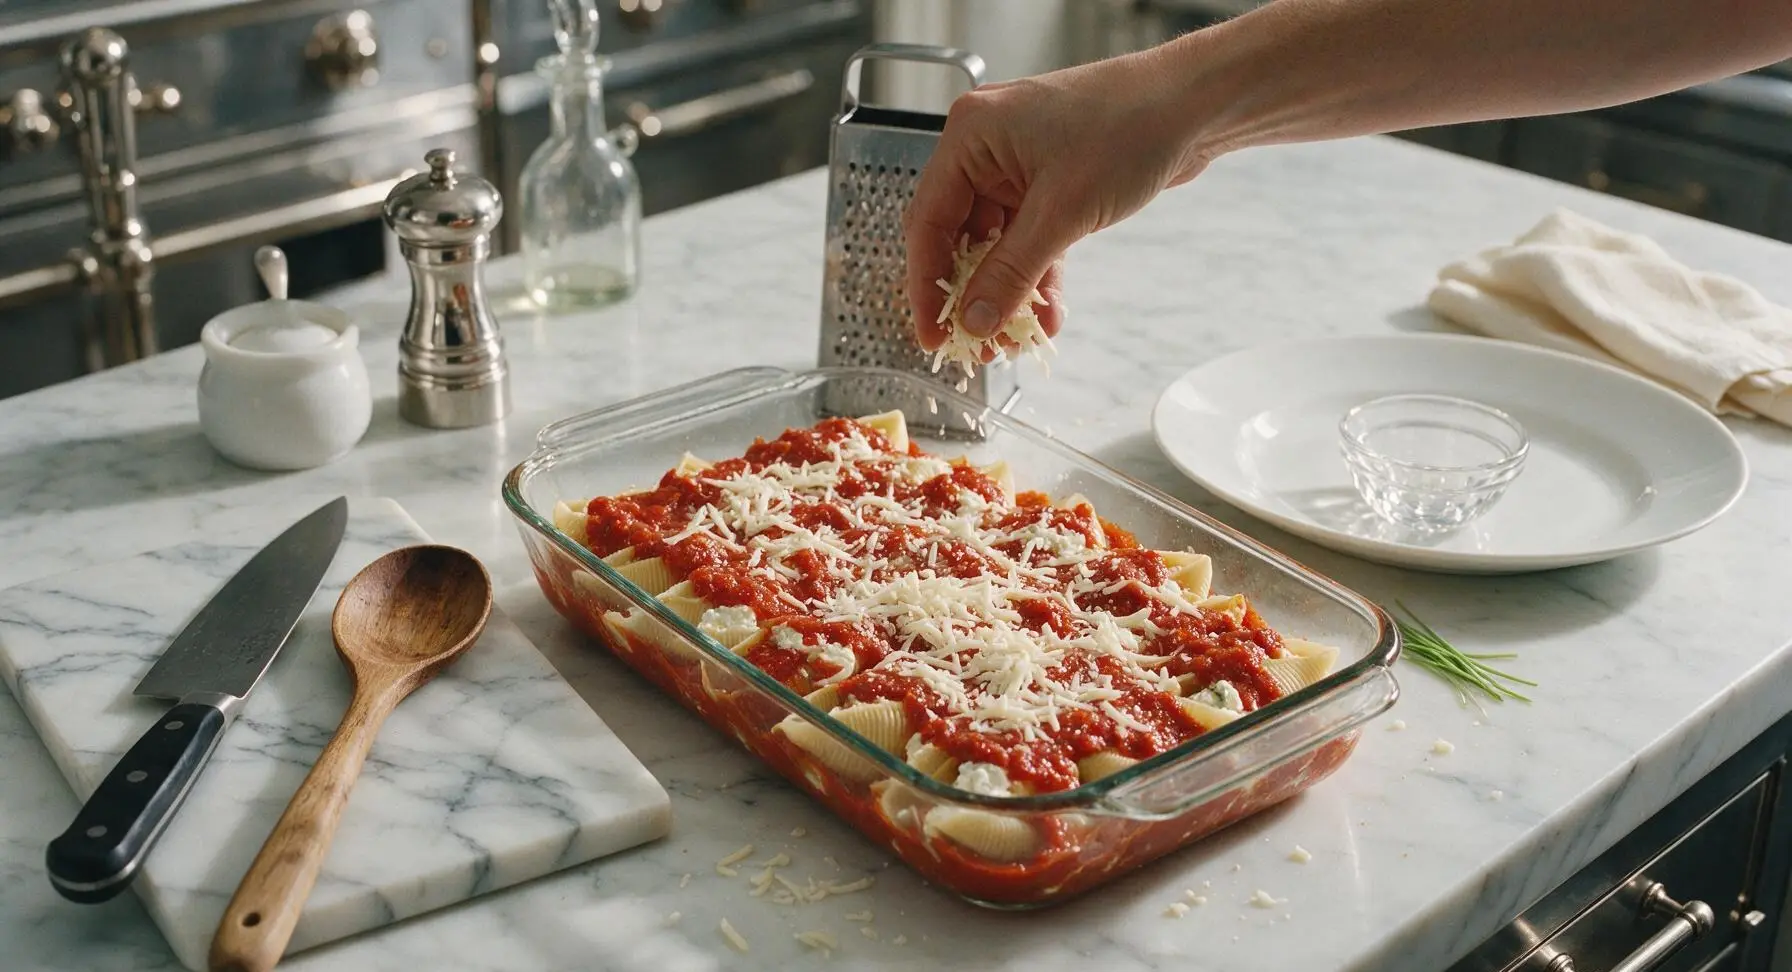
Step 5
step5:Top with Sauce and Cheese
6

Bake to Bubbly Finish

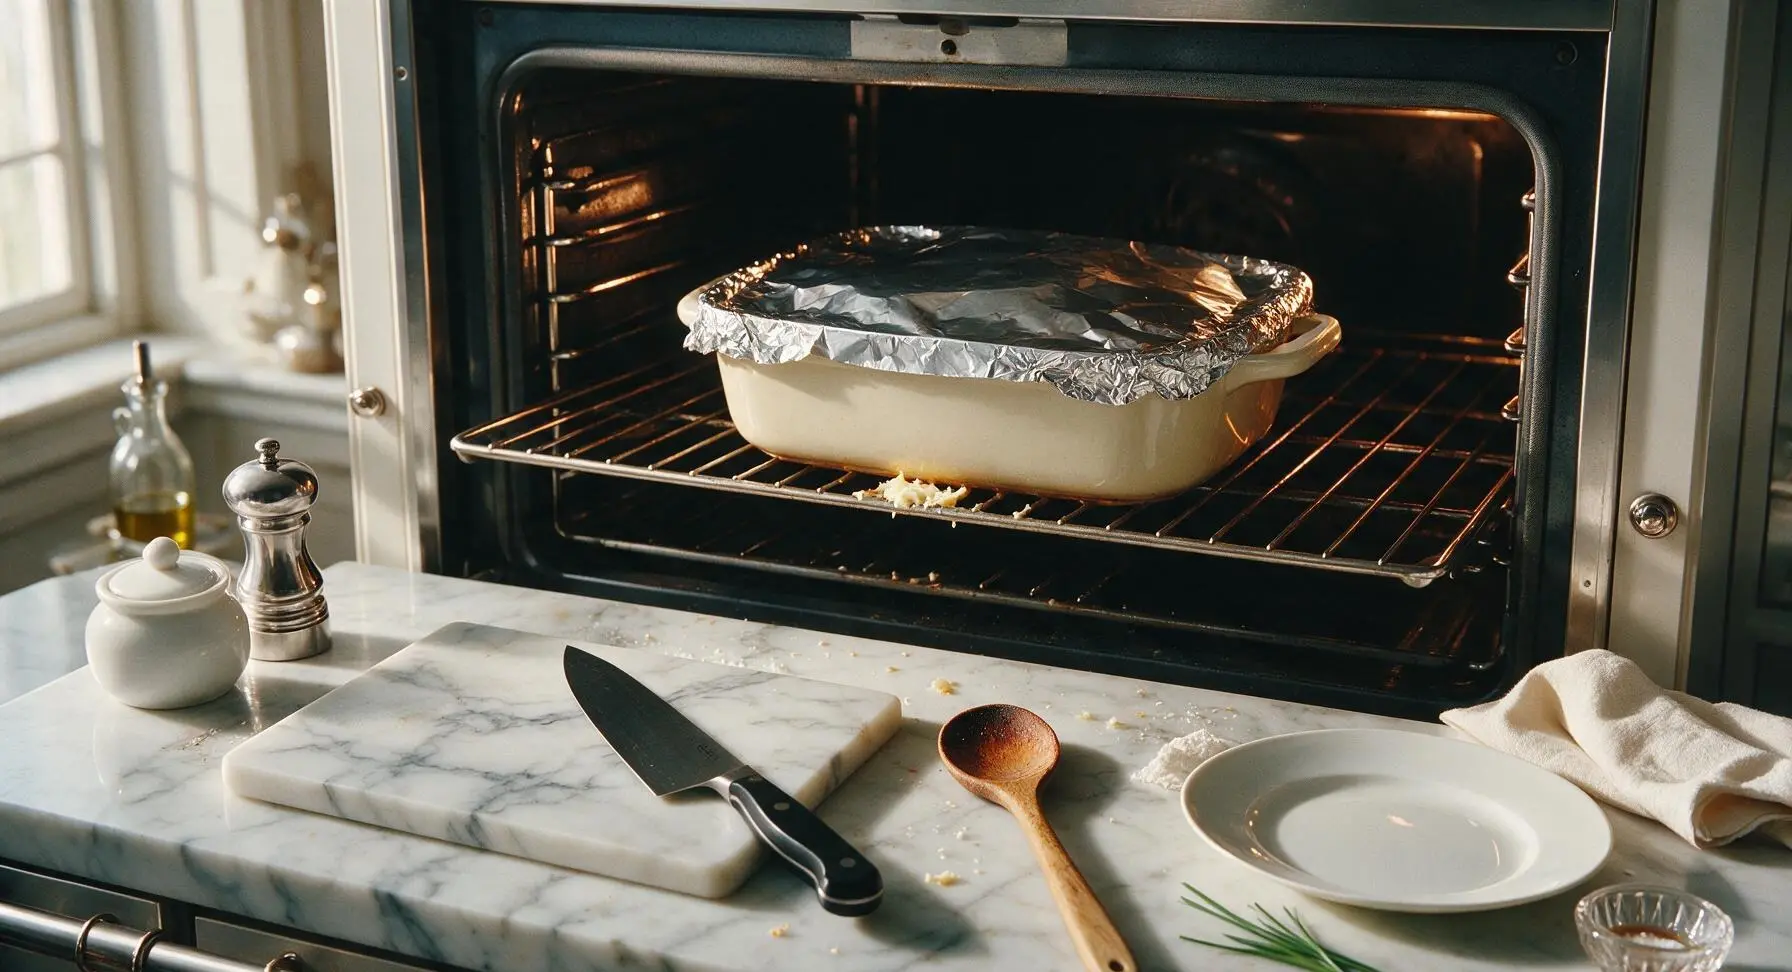
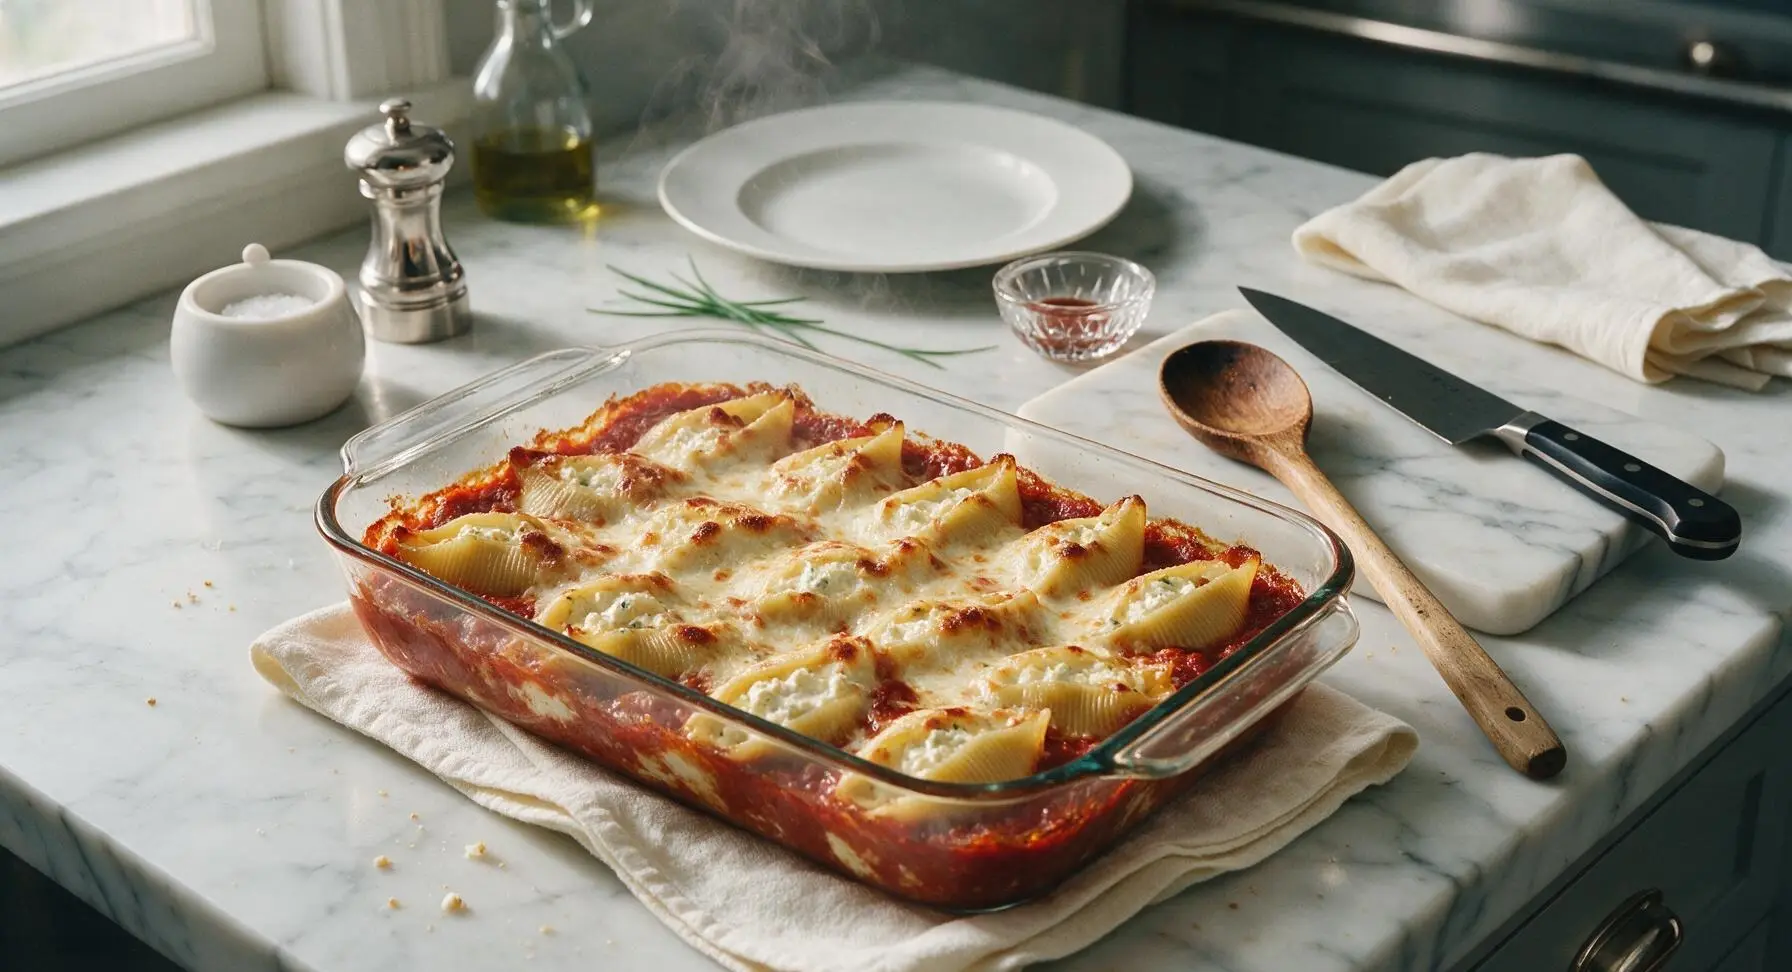
Cover the baking dish tightly with a sheet of aluminum foil, crimping the edges to seal in steam. Place the dish on the middle rack of the preheated 375°F (190°C) oven. Bake for 25 minutes covered, then carefully remove the foil and bake for an additional 15-20 minutes, until the cheese is fully melted, sauce is actively bubbling around the dish edges, and the top cheese has light golden brown spots. Remove the dish from the oven and let rest for 10 minutes on the counter before serving, to allow the hot ricotta filling to set.
Step 6
step6:Bake to Bubbly Finish
Step 6
step6:Bake to Bubbly Finish

Tips

1.Squeeze all excess moisture out of the cooked spinach before adding it to the ricotta filling—watery spinach will thin the filling and lead to soggy, waterlogged shells instead of a rich, creamy texture.
2.Cook pasta shells 2 minutes shorter than the package’s al dente direction: shells will absorb sauce and continue to cook as they bake, and overcooked shells will tear easily during stuffing and turn mushy in the oven.
3.Resist the urge to serve immediately after baking: letting the shells rest for 10 full minutes allows the hot ricotta filling to set, so it won’t run out when you scoop servings, leading to cleaner, more cohesive portions.


✨ You May Also Like

Main Course
🍜 United Kingdom

A showstopping classic of tender seared beef, savory mushroom duxelles, and crisp prosciutto wrapped in flaky golden puff pastry, baked to juicy perfection.

⏱️ 2 hours 1Main Course ★ 4.7
Main Course
🍜 India

Tender charred marinated chicken simmered in a rich, spiced creamy tomato sauce, this iconic Anglo-Indian curry pairs perfectly with basmati rice or warm naan.

⏱️ 50 minuteMain Course ★ 4.6
Main Course
🍜 Thailand

Classic tangy, sweet, and savory Thai stir-fried rice noodles with shrimp, tofu, and crunchy garnishes, balancing all five core Thai flavor profiles.

⏱️ 30 minuteMain Course ★ 4.5
Main Course
🍜 United Kingdom

Crispy golden beer-battered cod and fluffy double-fried chips, served with tangy tartar sauce and malt vinegar: the timeless, beloved British pub comfort classic.

⏱️ 45 minuteMain Course ★ 4.7
Main Course
🍜 Mexico

Smoky, chile-marinated pork tacos with caramelized pineapple, fresh cilantro, and lime: a beloved classic Mexican street food perfect for casual summer gatherings.

⏱️ 1 hour 45Main Course ★ 4.8
Main Course
🍜 United States

Crunchy Fritos corn chips layered with savory beef chili and melted cheddar, topped with cool, zesty fixings for a beloved, cozy Tex-Mex comfort food.

⏱️ 35 minuteMain Course ★ 4.8

stuffed shells ricotta:Frequently Asked Questions

1.How do I prevent jumbo pasta shells from breaking when I boil them? ▾
Use a very large stockpot of heavily salted, rapidly boiling water so shells have room to move without sticking. Stir gently immediately after adding them to the pot, then cook 2 minutes less than the package’s al dente direction—they’ll finish cooking fully in the oven. Drain and rinse briefly with cool water to make them easy to handle without tearing.
2.Do I really need to drain ricotta before making the stuffing? ▾
Yes, absolutely—excess moisture in ricotta leads to soggy, watery stuffed shells. Spoon whole milk ricotta into a fine-mesh sieve lined with cheesecloth or paper towels set over a bowl, and let it drain for 30 minutes in the fridge before mixing. For extra thick filling, gently press the ricotta with a spoon to squeeze out extra whey.
3.Can I make the ricotta filling ahead of time? ▾
Definitely! Mix up your herby ricotta, parmesan, and seasoning filling up to 2 days in advance, and store it in a tightly sealed airtight container in the fridge. Don’t prep and stuff the shells more than a few hours ahead, though, as the pasta will absorb moisture from the filling and get mushy before baking.
4.Why does my ricotta filling turn out grainy sometimes? ▾
Grainy filling almost always comes from using low-fat ricotta, skipping the draining step, or overmixing the filling. Stick with smooth, whole milk ricotta, drain it well first, and fold in your parmesan, seasonings, and small handful of shredded mozzarella gently instead of stirring aggressively to keep the texture creamy and smooth.
5.How much filling should I put in each jumbo shell? ▾
Aim for roughly 2 tablespoons of ricotta filling per shell—you want it full enough to feel hearty, but not so overstuffed that the filling oozes out the sides while baking. Gently pry the cooked shell open, spoon the filling into the cavity, and set it seam-side up in the baking dish to keep filling contained.
6.Do I need to cover the shells with foil while baking? ▾
Yes, for the first 20 minutes of baking, cover the dish tightly with aluminum foil to trap steam and heat the filling all the way through without drying out the pasta edges or burning the top cheese. Remove the foil for the last 10 to 12 minutes of baking to let the mozzarella bubble and turn golden on top.
7.Is store-bought marinara acceptable for this recipe, or do I need homemade? ▾
Of course store-bought works! Pick a high-quality, low-sugar jarred marinara with bright, tangy flavor to match the classic profile. If your sauce is extra watery, simmer it on the stovetop for 10 minutes first to thicken it up so it doesn’t make your baked shells soggy. Spoon a thin layer on the dish bottom first to prevent sticking.
8.What cheeses work best mixed into the ricotta filling? ▾
Stick with the classic combo for the best texture and flavor: finely grated parmesan for nutty, salty depth, plus a small amount of shredded low-moisture mozzarella for subtle stretch. Skip fresh mozzarella in the filling, as it releases too much water and will make your stuffing runny instead of rich and creamy.
9.Can I freeze unbaked stuffed shells for quick future meals? ▾
Absolutely, this recipe freezes beautifully. Assemble the shells in a freezer-safe baking dish, top with marinara and cheese, wrap tightly in two layers of plastic wrap and a layer of foil, and freeze for up to 3 months. Bake directly from frozen, covered, for 50 to 60 minutes at 375°F, then uncover to brown the cheese for the last 15 minutes.
10.How do I reheat leftover stuffed shells without them getting rubbery? ▾
The best way to reheat leftovers is in the oven: place individual portions in an oven-safe dish, add a spoonful of extra marinara on top to lock in moisture, cover with foil, and bake at 350°F for 15 to 20 minutes until heated through. Avoid the microwave if you can, as it tends to make pasta rubbery and cheese separate.
11.Why do my stuffed shells turn out watery after baking? ▾
Watery shells usually come down to three common culprits: under-drained ricotta, using too-thin marinara that hasn’t been thickened, or adding fresh, high-moisture mozzarella instead of low-moisture mozzarella. Make sure to drain your ricotta well, thicken watery sauce, and stick to low-moisture mozzarella for perfectly set, non-soggy results.
12.Can I add meat or veggies to the classic ricotta filling? ▾
Absolutely, this base recipe is super customizable! For heartier shells, mix in cooled, crumbled Italian sausage or browned ground beef drained of excess fat. For veggie add-ins, use sautéed, well-drained spinach, roasted garlic, or finely diced bell peppers—just make sure any add-ins are fully drained to avoid watery filling.
13.How many servings does a standard batch of stuffed shells make? ▾
A standard batch using a 12-ounce box of jumbo shells (roughly 35 to 40 shells) makes 6 to 8 generous servings, perfect for a family dinner or casual potluck. If you’re serving a crowd, you can easily double the recipe in a 9x13 inch baking dish, just add 10 to 15 minutes of covered bake time to ensure even heating.

Comments (10)

2 days ago

OMG these stuffed shells were a total game changer for our weeknight family dinner! I was worried it’d take forever but it was so easy, done in 45 minutes flat, and my three kids devoured them without complaining (win!!!). I added a little extra mozzarella on top because duh, cheese makes everything better. SO good, will be making this on repeat.

1 day ago

So happy to hear these were a hit with your kids, Mia! Extra mozzarella is always a fantastic call, I do the same when I make them for my family too 😊

1 week ago

Took these to my neighborhood potluck last weekend and people were coming back for thirds! Pro tip: mix a tiny bit of cooked, crumbled Italian sausage into the ricotta filling if you want a little extra heartiness. No one even guessed this was such an easy recipe, they thought I spent hours in the kitchen.

5 days ago

Wait the Italian sausage addition sounds chef’s kiss! Did you use sweet or spicy sausage? I’m making these for my partner’s birthday dinner next week and need to know!

4 days ago

I used sweet Italian sausage, but my buddy who tried it said spicy would be amazing too if you like a little kick! Either way you can’t go wrong, the base recipe is rock solid.

yesterday

Made this last night for date night and my boyfriend literally asked if we can have it every Sunday from now on. The ricotta filling is so creamy, not watery at all which I feel like is always a risk with stuffed shells. Super straightforward recipe, no weird fancy ingredients, 10/10.

3 days ago

Great base recipe! I gave it 4 stars only because I wish there was a little note about salting the ricotta to taste, I undersalted my first batch and it was a little bland. Once I added a pinch more salt and some garlic powder it was perfect, will absolutely make again.

2 days ago

Thanks so much for the helpful feedback, Maggie! That’s such a great note about seasoning the ricotta to taste — I just added that tip to the recipe card to help other folks avoid bland filling! So glad you enjoyed it once you adjusted the seasoning.

2 weeks ago

Perfect easy meal prep win! I made a pan on Sunday, portioned it out into containers, and it reheated like a dream all week for work lunches. Way better than the sad takeout I usually buy, and it only took 45 minutes to throw together on my meal prep day. Can’t beat that.

1 week ago

Wait how did you store it? Did you freeze the portions or just keep them in the fridge? I need easy meal prep ideas for my work week too!

6 days ago

Great question! These shells stay great in the fridge for up to 4 days, or you can freeze assembled (unbaked) pans for up to 3 months for super quick dinners later. I recommend letting them thaw overnight in the fridge before baking if you go the freezer route!

5 days ago

I’ve tried so many stuffed shell recipes over the years and this is hands down the best one. The filling is the perfect ratio of ricotta to parmesan, it doesn’t get all runny when it bakes, and it’s easy enough that my teen can help me make it for our big family Sunday dinners. Obsessed.

3 days ago

Agreed! The ratio is spot on, I’ve had recipes where it’s 90% ricotta and zero flavor, but this one is perfectly balanced. My teen helped me make it last week too, it’s such a great recipe to cook with kids!

30 minutes ago

As a college student with basically zero cooking skills, I was so nervous to make this for my roommates, but it was so easy!! We had all the ingredients from the regular grocery store, it didn’t require any fancy tools, and it came out looking like something from a restaurant. My roommates are already begging me to make it again next weekend. 10/10 for beginner cooks fr.

2 hours ago

I’ve been making stuffed shells for my grandkids for 40 years, and I have to say this recipe is right up there with my old family version! It’s simple, doesn’t overcomplicate things, and lets the creamy ricotta shine. I added a little fresh parsley from my garden to the filling and it was just perfect.

1 hour ago

That means the world coming from someone who’s been making these for decades, Ruthie! Adding fresh parsley from the garden sounds like the perfect little touch, I’m sure your grandkids loved every bite.

5 minutes ago

Wait, quick question! Can I make the filling a day ahead and stuff the shells the next day? I’m hosting a dinner party tomorrow and want to get as much prep done tonight as possible so I’m not running around like a crazy person when guests arrive. The recipe looks incredible, can’t wait to try it!

2 minutes ago

I did that last month when I hosted book club! I made the filling the night before, kept it in an airtight container in the fridge, then stuffed the shells and baked them the next day, worked perfectly! No weird texture issues at all.

1 minute ago

Penny is exactly right! You can make the ricotta filling up to 24 hours ahead and store it covered in the fridge until you’re ready to stuff and bake. It’s a great time saver for dinner parties — hope your guests love the shells!

just now

SO good. I used low-fat ricotta because that’s what I had in the fridge, and it still came out super creamy and rich, I couldn’t even tell it was lower fat. Served it with a quick side salad and some garlic bread, and it made the perfect cozy Sunday night dinner. Will be adding this to my regular rotation for sure.



