
stuffed waffle ideas
intro
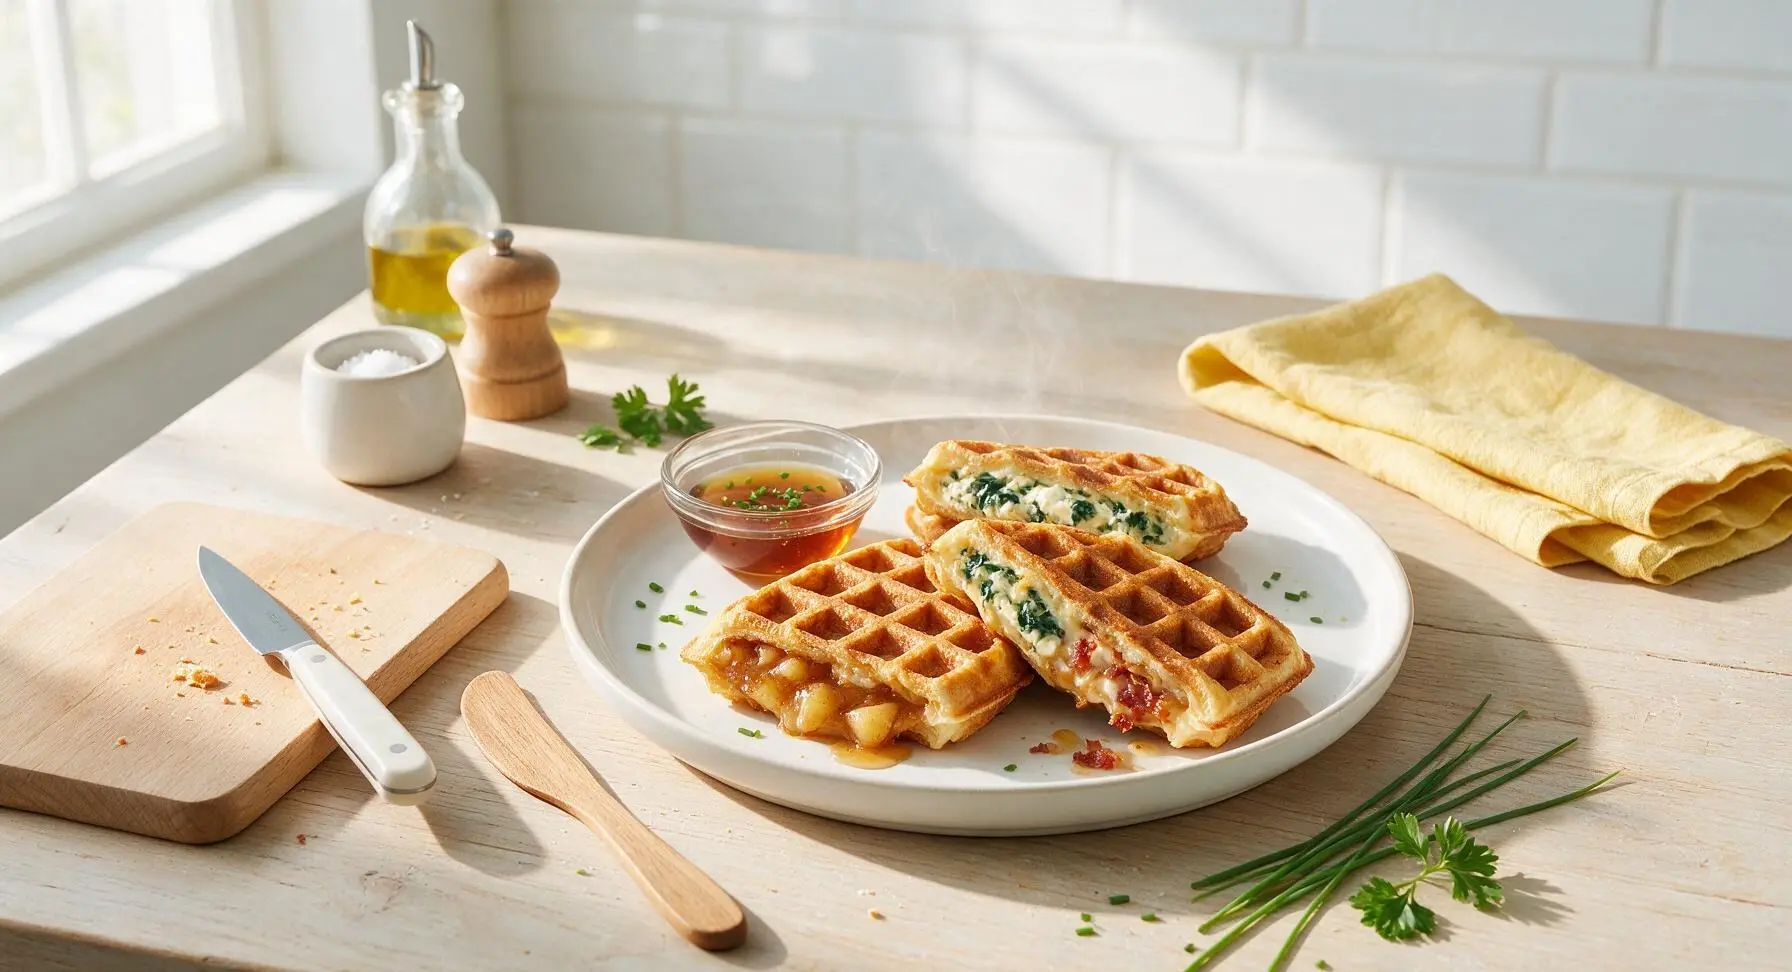
Crisp, golden waffles oozing with sweet or savory fillings, these customizable stuffed waffles are a cozy, crowd-pleasing meal perfect for lazy autumn family gatherings.
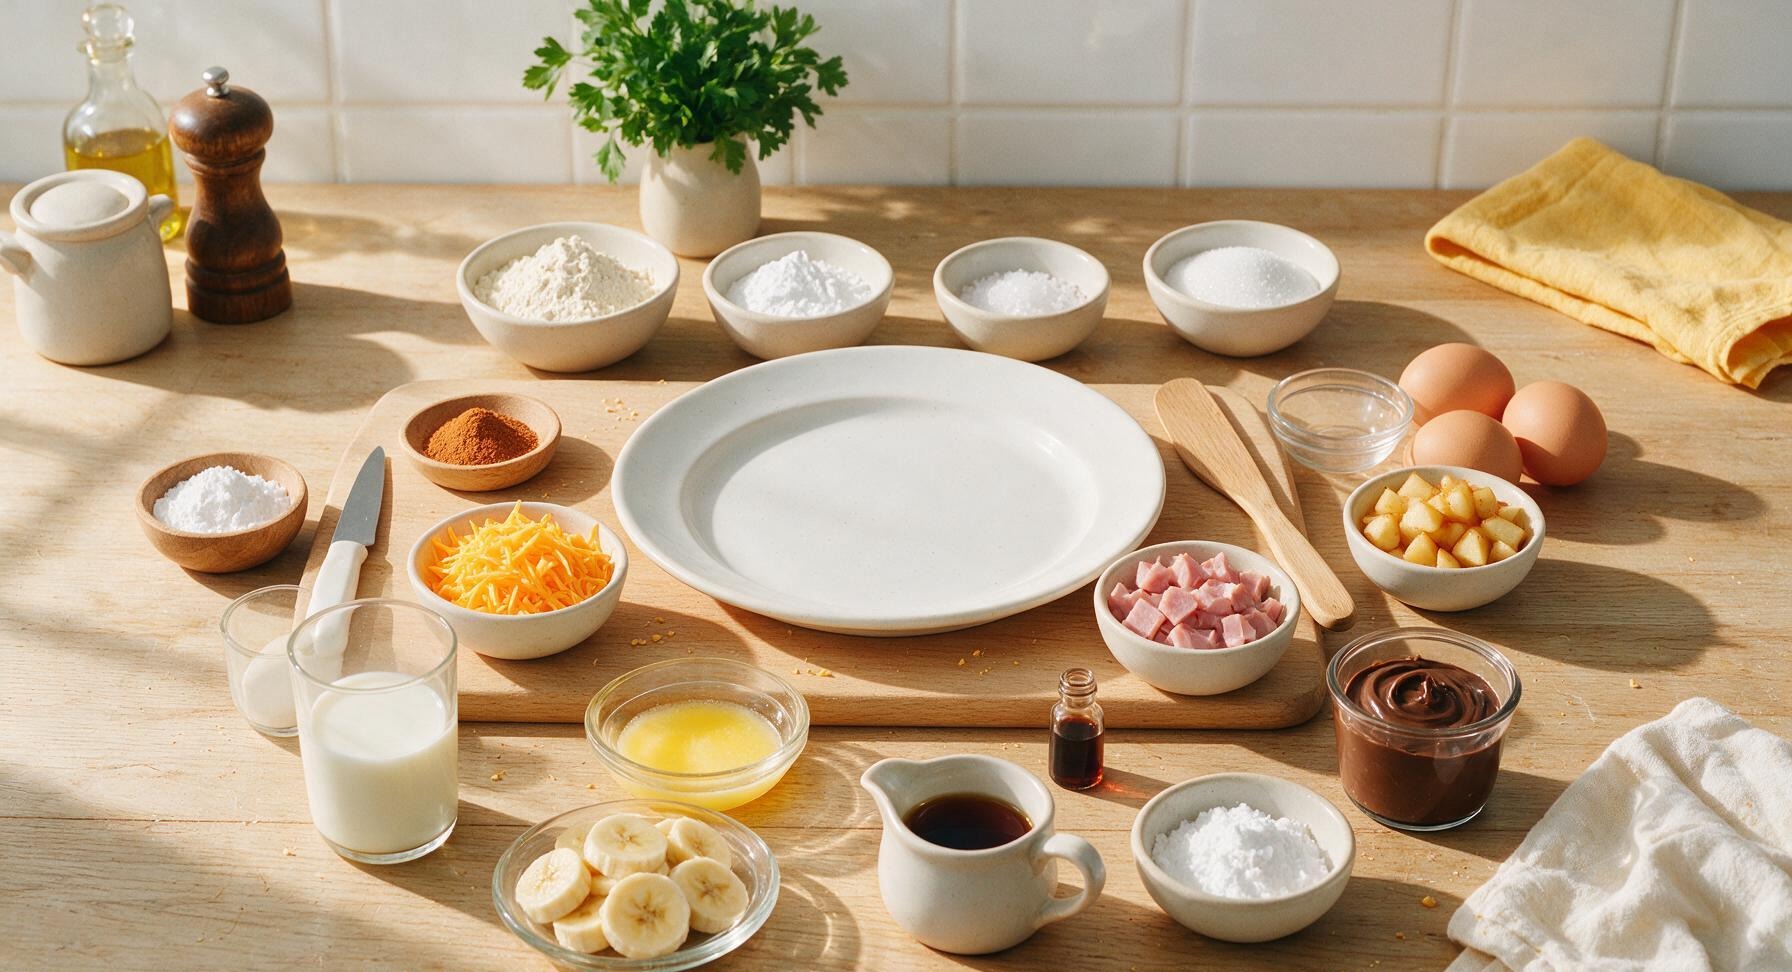
Ingredients
Steps
Mix Waffle Batter
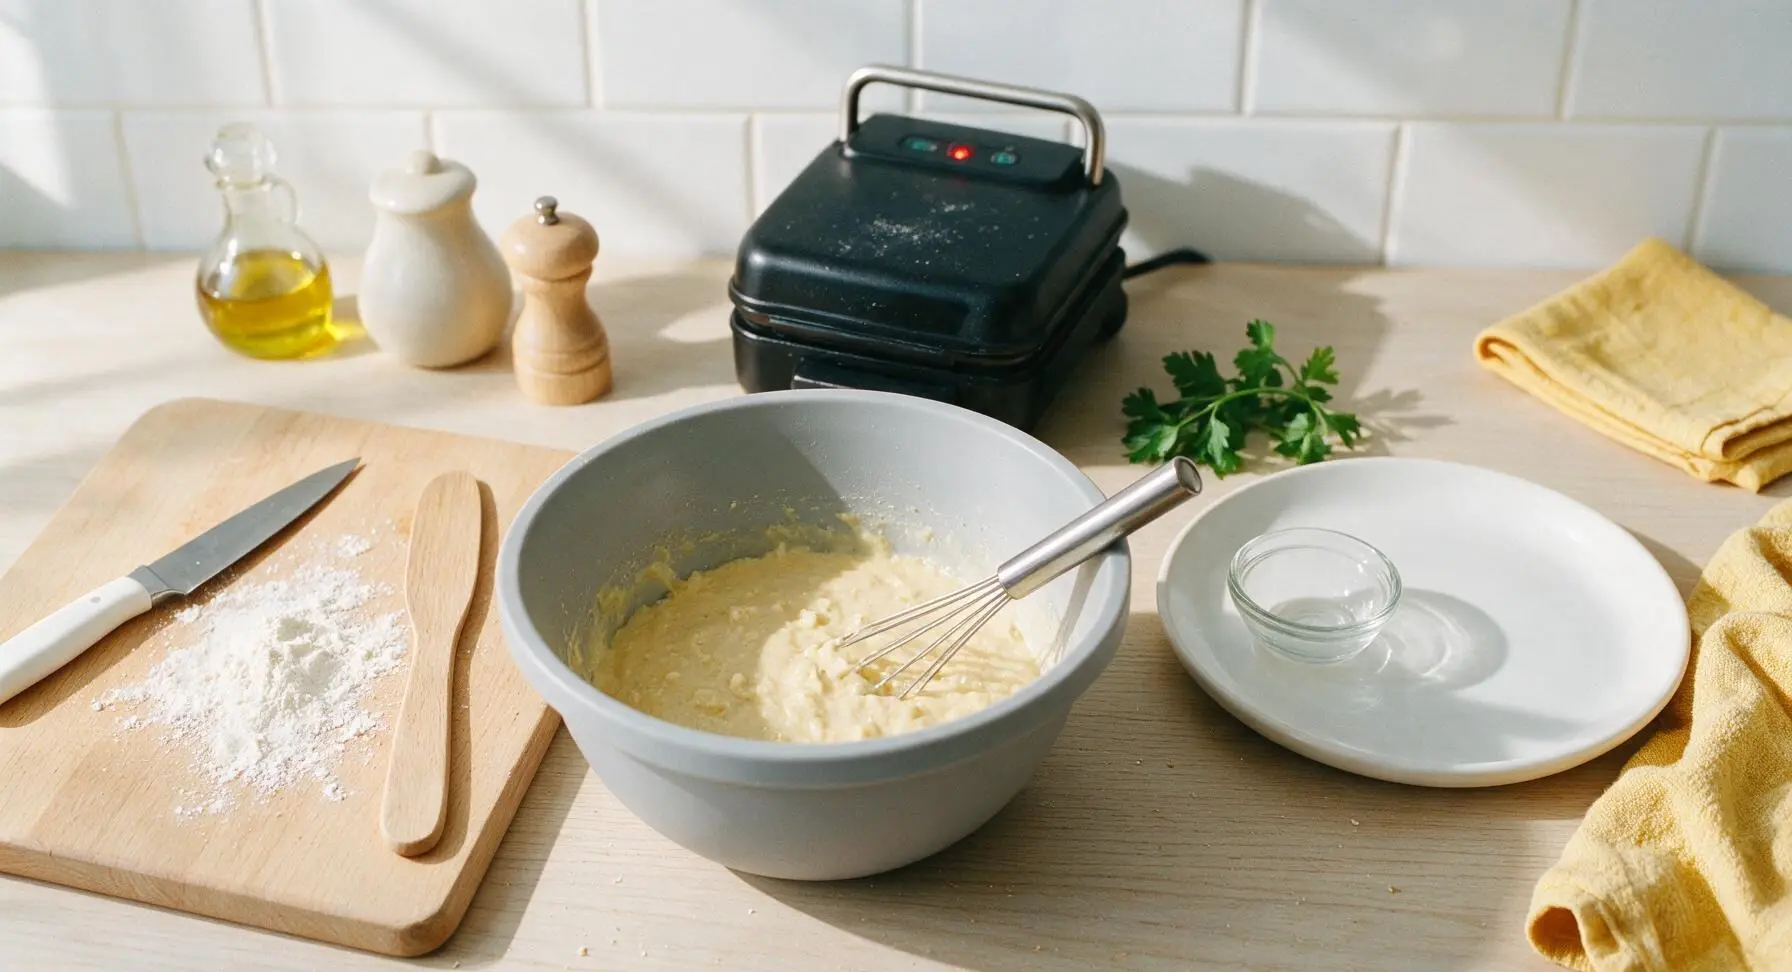
In the medium light grey silicone mixing bowl, whisk together the all-purpose flour, baking powder, kosher salt, and granulated sugar until evenly combined. In one of the small clear glass prep bowls, whisk the two large eggs, then stir in whole milk, cooled melted butter, and vanilla extract. Pour the wet ingredient mixture into the dry ingredients, whisk with the stainless steel whisk just until combined—small lumps are normal and desirable, as overmixing develops gluten and creates tough, dense waffles. Let the batter rest for 5 minutes while the waffle maker preheats to medium-high (375°F / 190°C).
Add Base Batter Layer
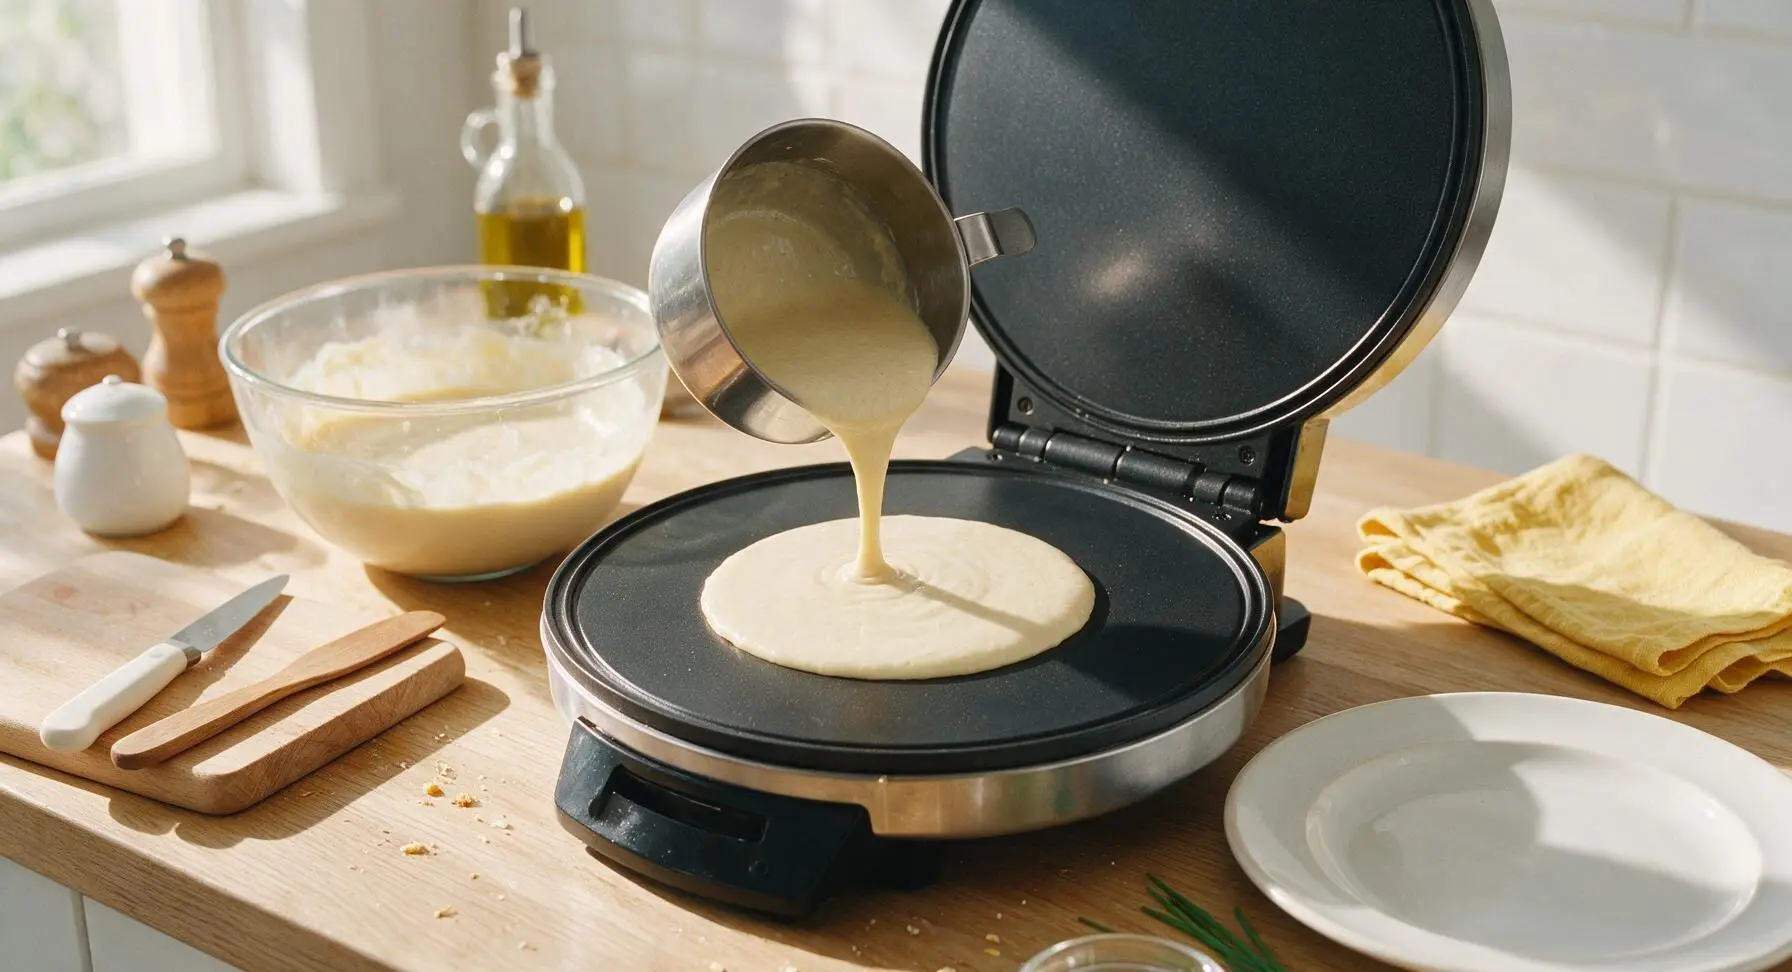
Once the waffle maker is fully preheated (indicator light turns green, or a drop of water sizzles and evaporates in 2 seconds when dropped on the plate), use the 1/3 cup stainless steel measuring cup to pour a thin, even layer of batter across the center of the bottom non-stick waffle plate. Spread the batter gently with the edge of the measuring cup to leave a 1/2-inch border around the plate edges—this gap prevents batter from squeezing out and burning when you add fillings and close the lid.
Add Stuffed Fillings
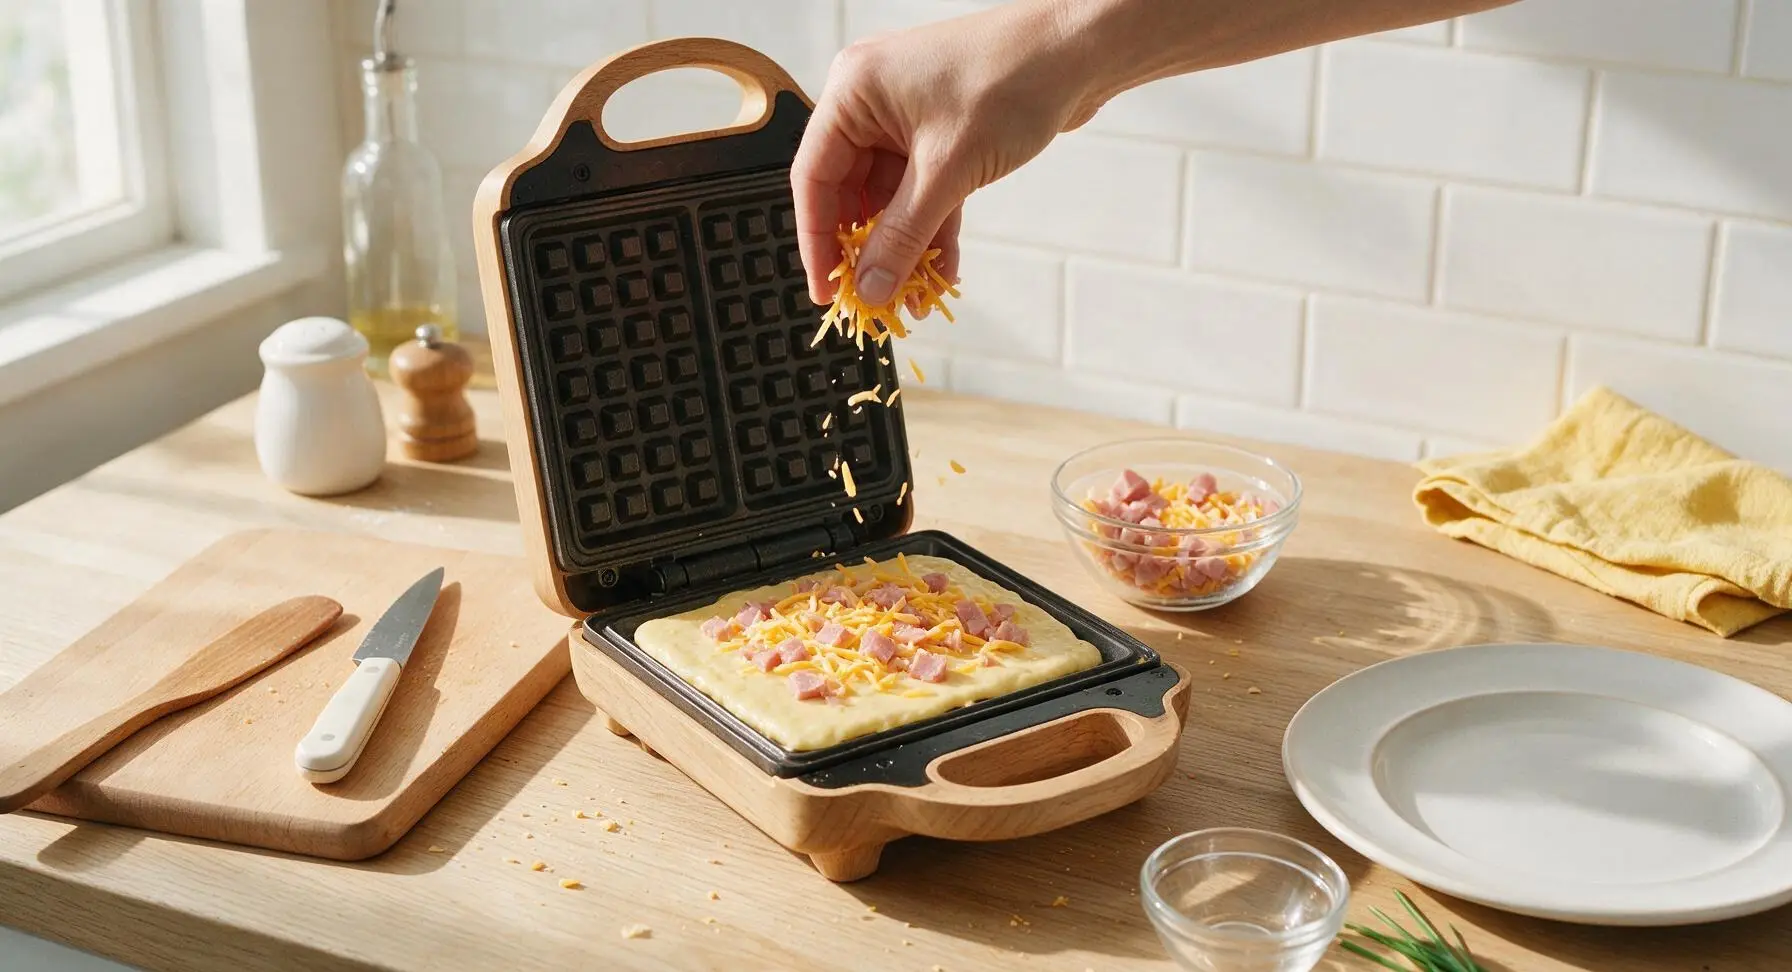
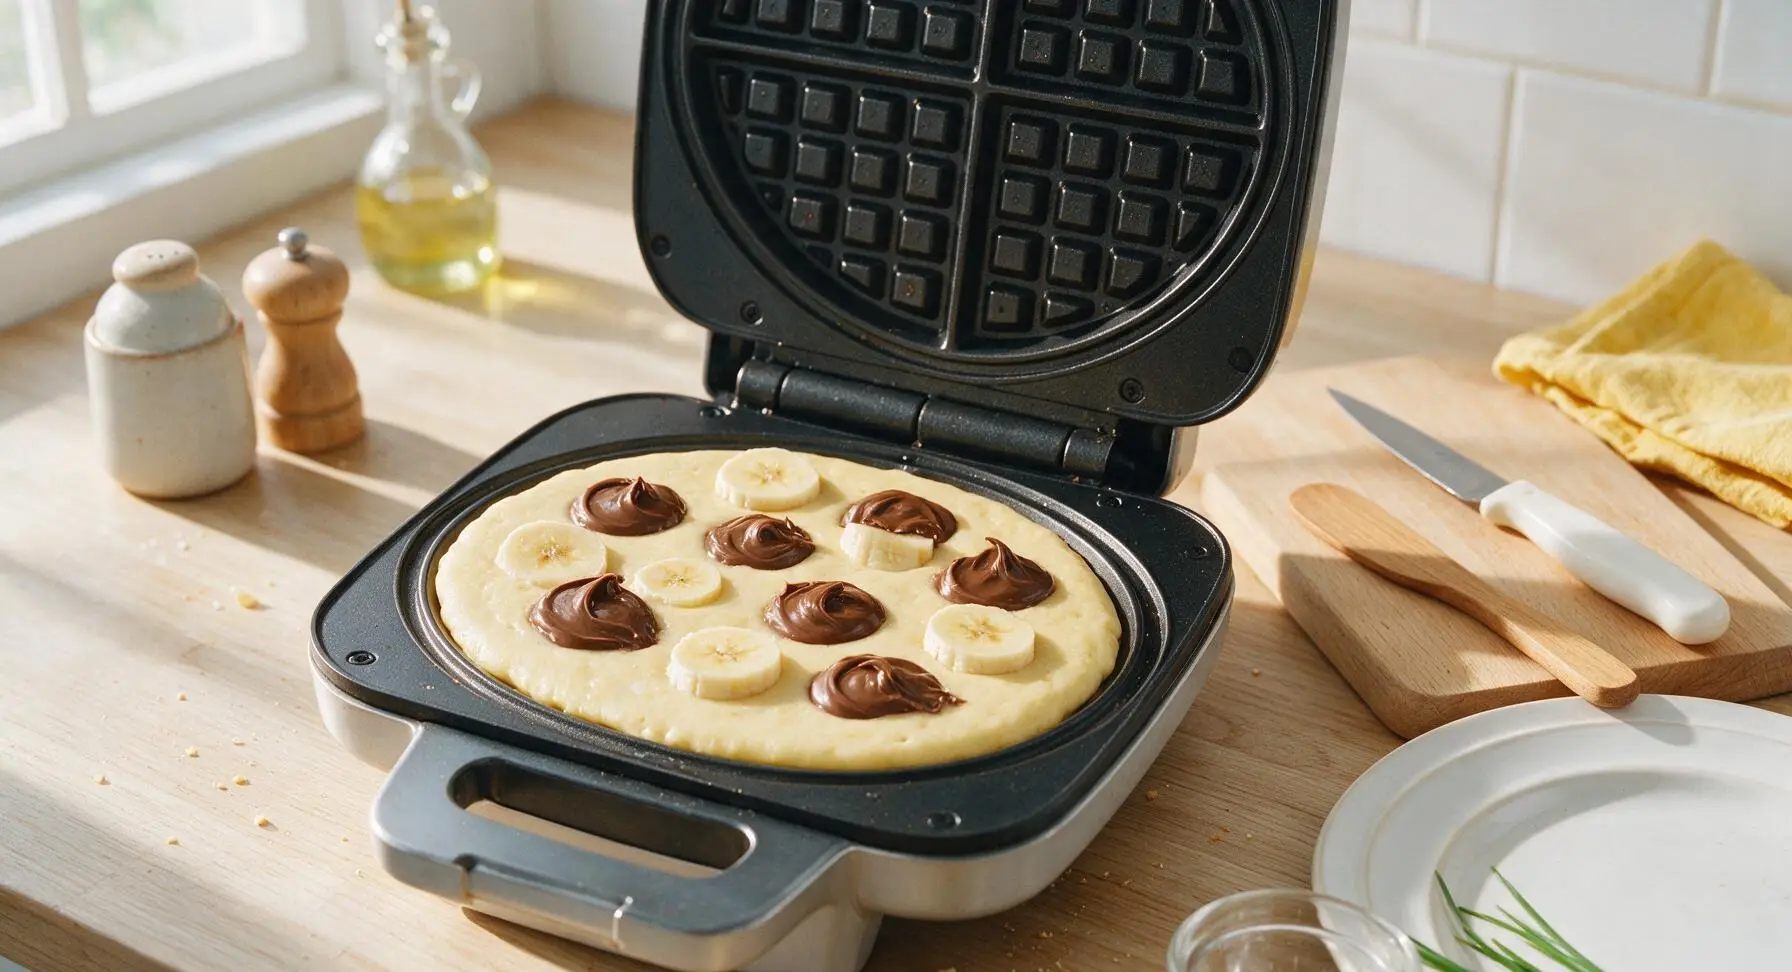
Spoon 2 tablespoons of your chosen filling in an even layer directly on top of the base batter layer, keeping all filling 1/2 inch away from the batter edges to prevent oozing and burning. For savory ham & cheddar: layer 1 tablespoon diced ham and 2 tablespoons shredded sharp cheddar. For cinnamon apple: spread 2 tablespoons cinnamon-tossed sautéed diced apple. For Nutella banana: dot 1.5 tablespoons Nutella and 3-4 thin banana slices across the batter. Never overstuff waffles, as excess filling will leak out, burn, and make waffles hard to remove cleanly.
Seal with Top Batter
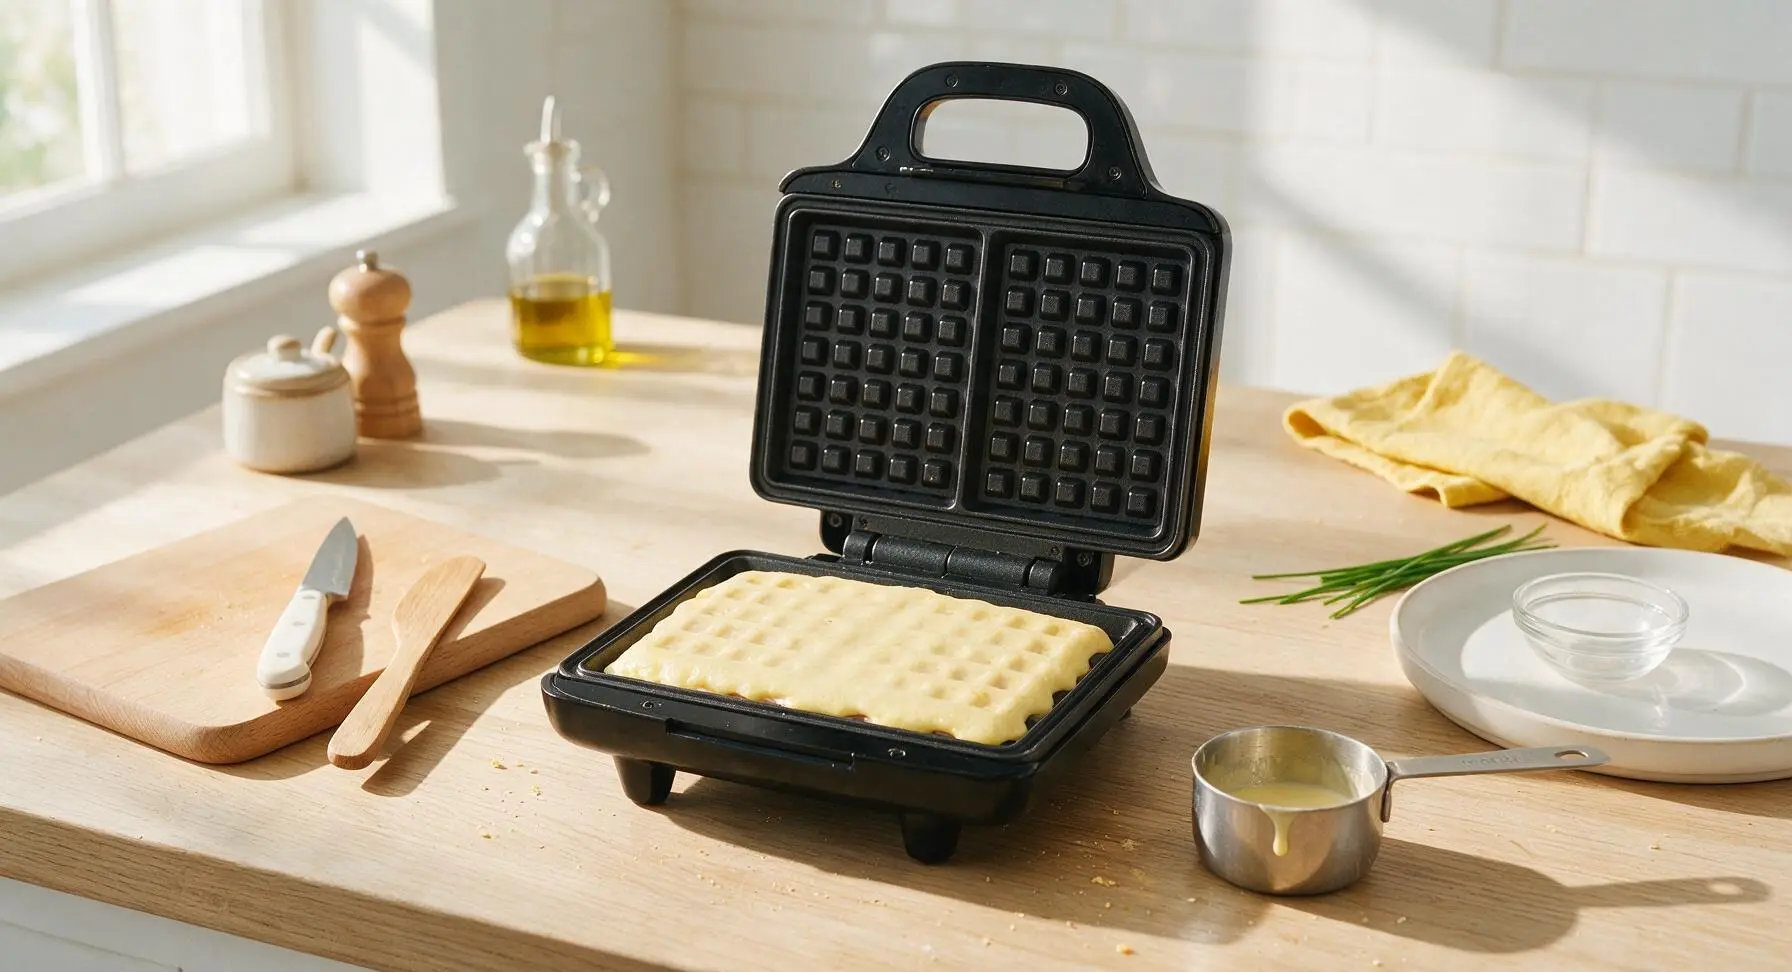
Use the 1/3 cup measuring cup to pour a second thin, even layer of batter directly over the filling, fully covering every bit of filling so none is exposed. This top batter layer creates a tight seal that locks the filling inside the waffle as it cooks, preventing messy leaks and ensuring every bite has a crisp outer shell and soft, oozing center.
Cook Until Golden Crisp
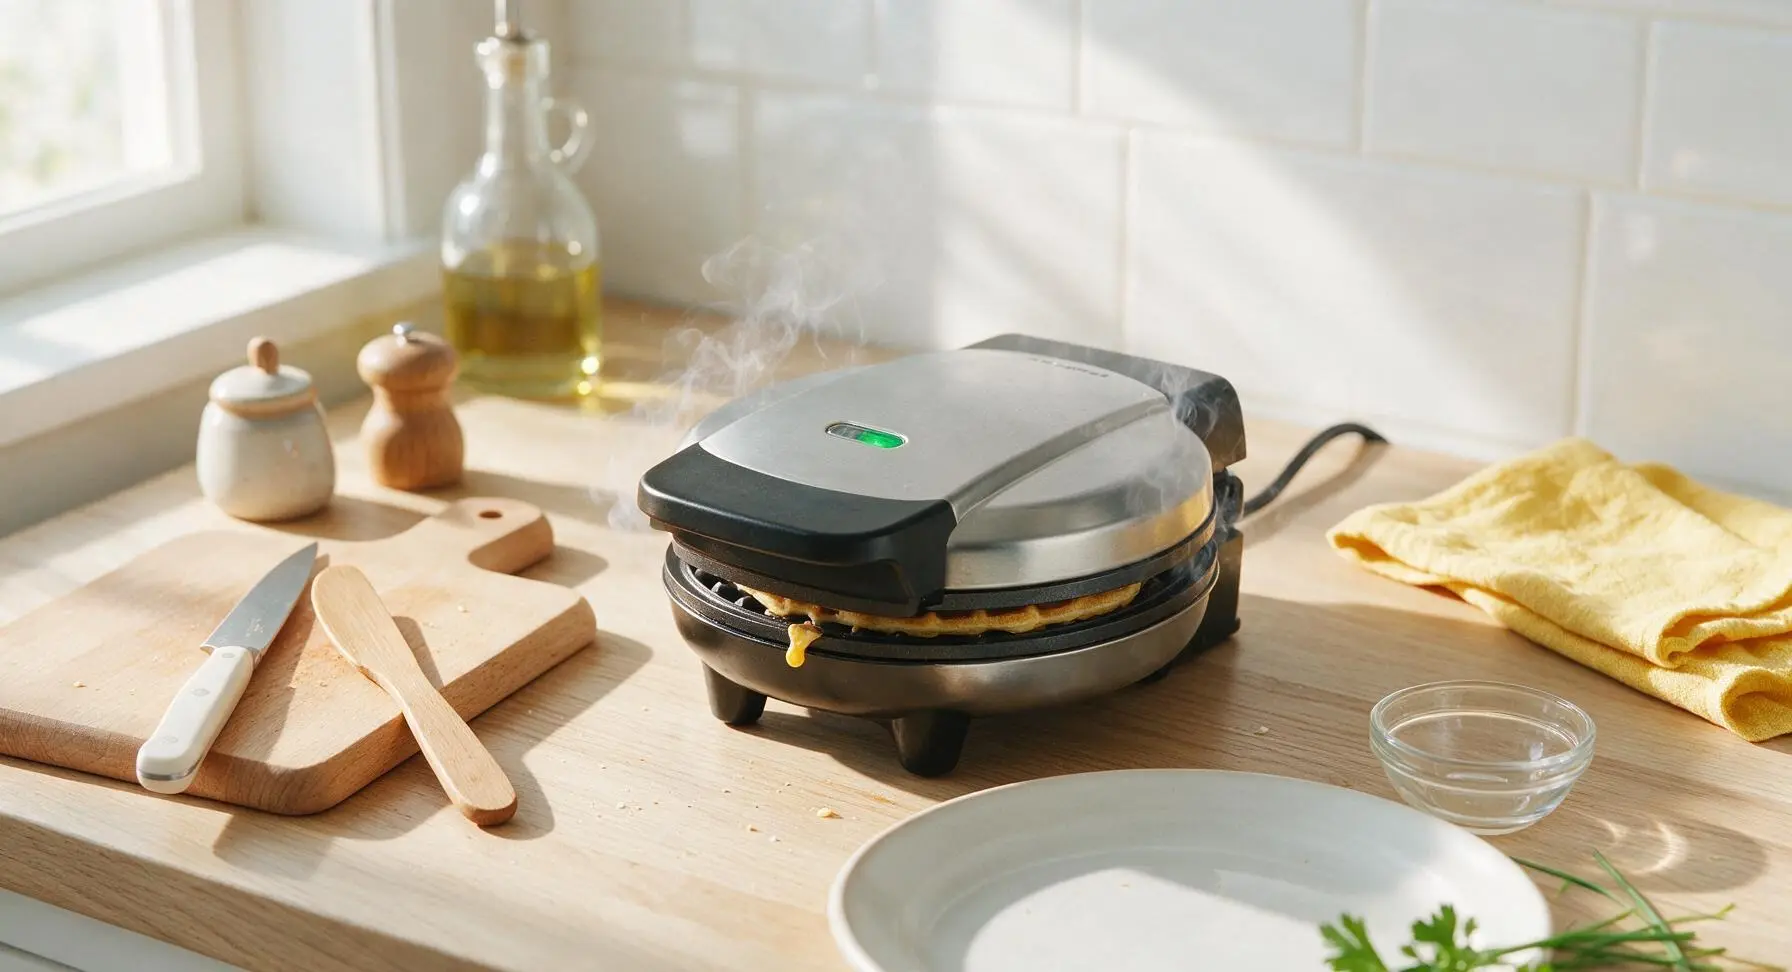
Close the waffle maker lid, latch it gently (do not press down hard on the lid, as this will squeeze batter and filling out the sides). Cook for 3 to 4 minutes per waffle, until the waffle is deep golden brown, crisp on the outside, and no thick white steam escapes from the edges of the waffle maker. Resist the urge to open the lid early, as this will tear the uncooked waffle and cause filling to leak out before the seal sets.
Rest Cooked Waffles
Once cooked, open the waffle maker lid fully, use the offset stainless steel spatula to gently lift the waffle out of the plates, taking care not to tear the crisp outer grid shell. Transfer cooked waffles to the chrome wire cooling rack to rest for 1 minute, so air can circulate under the waffles and keep the exterior crisp instead of soggy. Repeat the layering and cooking process with remaining batter and fillings until all 8 waffles are cooked.
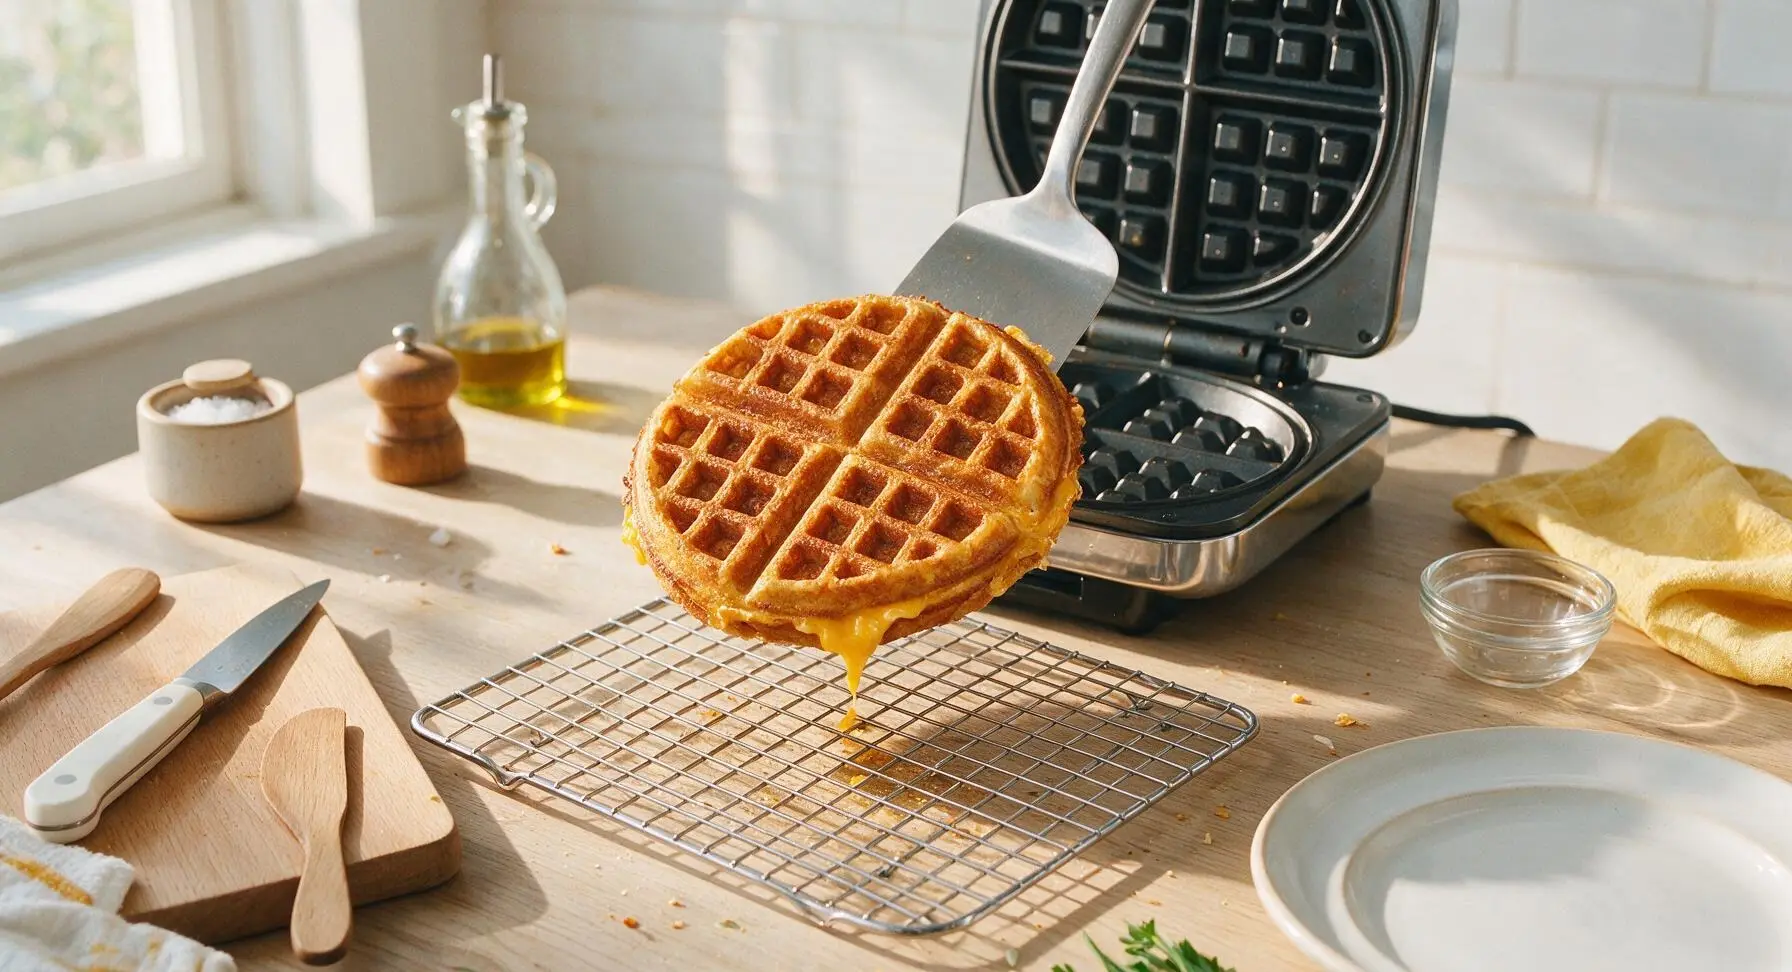
Plate and Serve
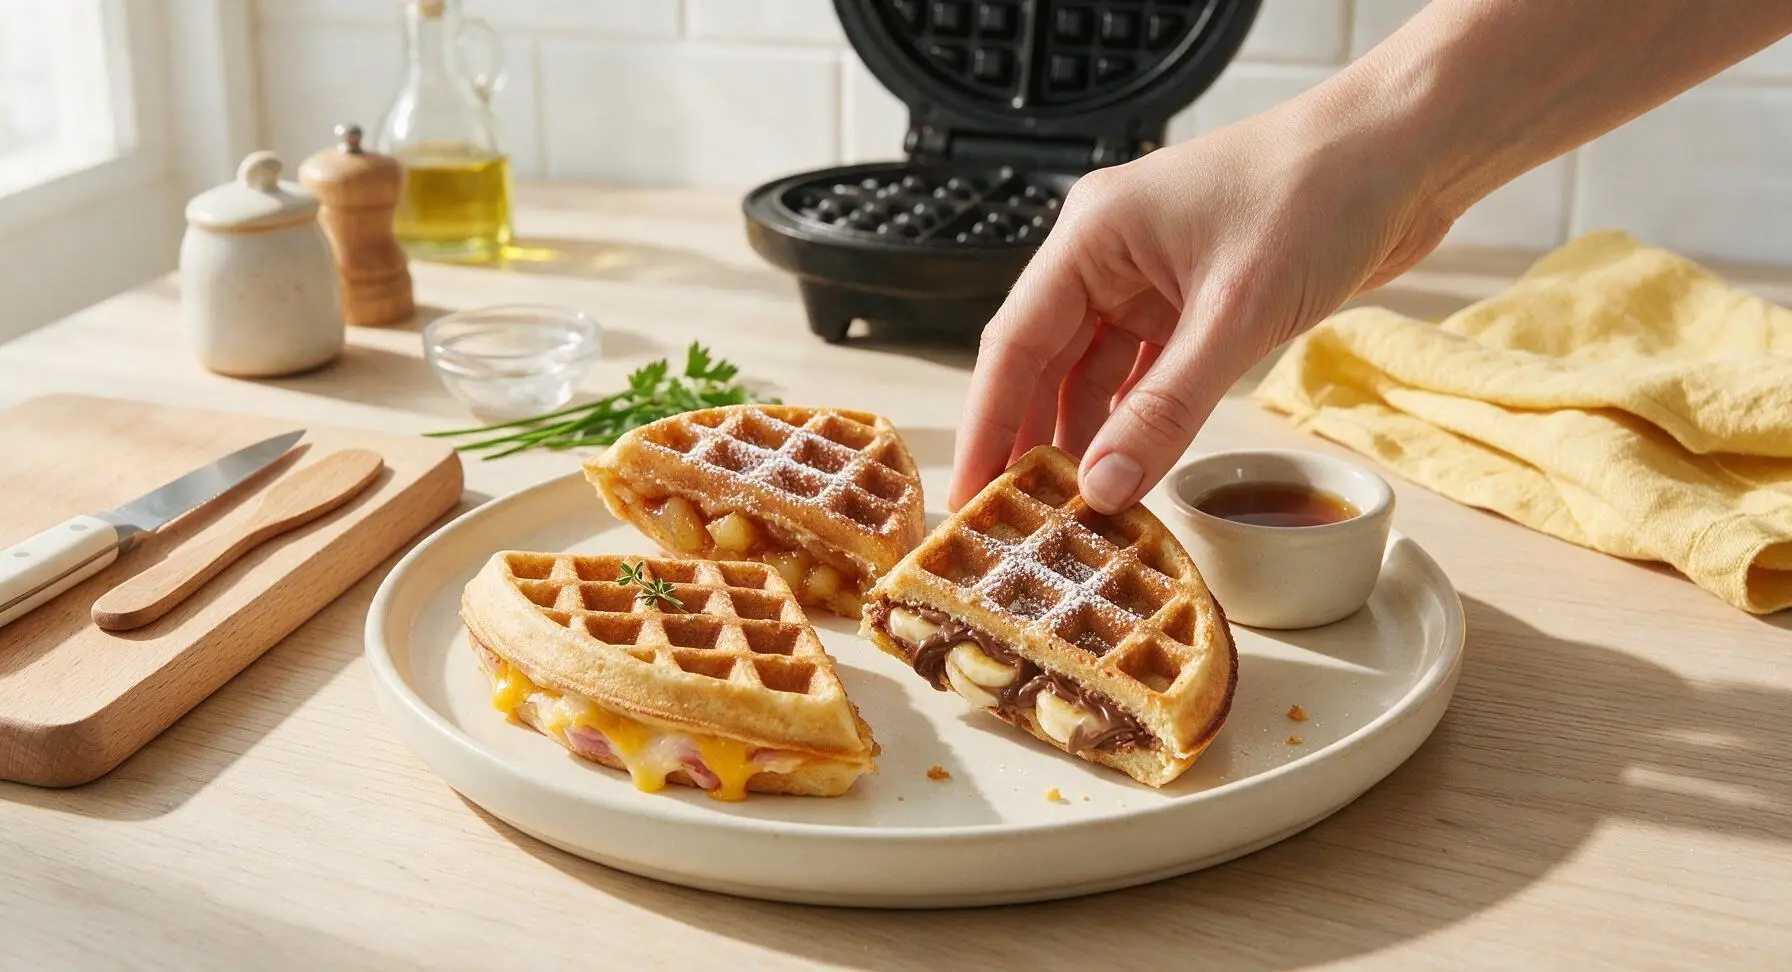
Cut waffles in half diagonally to showcase the oozing stuffed center. Arrange three waffle halves (one of each flavor) on the matte cream ceramic dinner plate: dust the sweet cinnamon apple and Nutella banana waffles with a light sprinkle of powdered sugar, garnish the savory ham & cheddar waffle with a tiny sprig of fresh thyme, and set the small matte cream ramekin of maple syrup alongside for drizzling or dipping. Serve immediately while waffles are warm, crisp, and the fillings are fully melted.
Tips
2.Let the batter rest 5 minutes before cooking: this short rest allows baking powder to activate and flour to fully absorb liquid, resulting in lighter, fluffier waffles with a shatteringly crisp exterior, instead of dense, tough waffles from overmixed or unrelaxed batter.
3.Rest cooked waffles on a wire rack instead of stacking them on a plate: stacking or placing waffles directly on a flat plate traps condensation that softens the crisp outer shell in 30 seconds, while rack air circulation keeps waffles crunchy for 5-10 minutes while you finish cooking batches.






Wait a second, why did I never think to stuff waffles before?? I tried the pizza variation for a quick weeknight dinner last night and it was SO good. My roommate kept stealing bites off my plate! Crispy outside, gooey cheese and pepperoni inside, no messy leaks in my waffle iron either. The 25 minute cook time is no joke, I had dinner on the table faster than takeout! 10/10 will be making these every week for meal prep.
OMG my kids begged for seconds when I made the cinnamon roll stuffed waffles for breakfast before school! I was worried the filling would ooze out and make a huge mess on my waffle maker, but the layering tip worked perfectly. Super easy recipe even for someone who burns toast half the time, lmao. Already told all my mom friends about this one for our next playdate potluck.
Took these camping last weekend (pre-made the batter at home and brought my portable waffle iron) and did the s'mores variation. Absolute hit around the campfire! Only reason I’m not giving 5 stars is I wish the recipe had a gluten-free batter swap note, but I subbed my usual GF flour mix and it still turned out great texture-wise.
I brought a platter of both the savory spinach feta and sweet blueberry cream cheese variations to my neighborhood block party and people were asking me for the recipe before I even set the platter down! They stay crispy for ages after cooking, so they’re perfect for serving at a party where people are grazing for a couple hours. Game. Changer.
Bro I made these in my dorm waffle maker between study sessions and the buffalo chicken stuffed version??? Insane. Used canned shredded chicken and a little hot sauce and ranch for the filling, tasted like bar food but 10x easier. Total cost for like 4 waffles was under 6 bucks, can’t beat that.
I was skeptical stuffed waffles could actually get crispy, but these delivered! The savory bacon cheddar version is my new go-to hangover food, no cap. I added a little drizzle of maple syrup on top for that sweet-salty vibe and it was chef’s kiss. So easy to throw together even when my brain is barely working after a night out, and the total time was right around 25 minutes like the recipe said.
Just pulled the first batch of the fried chicken stuffed waffles (meta, right?) out of the iron and WOW. Crispy, juicy, the little bit of hot honey I drizzled inside is *chef's kiss*. Way easier than making separate waffles and fried chicken, honestly. 10/10.
Great base recipe! I made the spinach and feta savory version for my weekly meal prep and they held up really well in the fridge for 4 days. Only small note: I wish the cook time note specified waffle iron wattage? Mine runs super hot so they were done in about 3 minutes instead of 5, almost burned the first batch.
Finally a stuffed waffle recipe that works with our dairy-free cheese and oat milk! I was worried the texture would be off, but they got perfectly crispy just like the recipe said, and my son with dairy allergies didn’t feel left out of waffle night for once. Quick question though — can I freeze these after cooking for quick breakfasts on school mornings?