
stuffed waffle maker

intro
Crisp, golden flaky biscuit waffles oozing with melted cheddar and savory ham, ready in 22 minutes with minimal cleanup—an endlessly customizable, satisfying cozy treat.
Ingredients
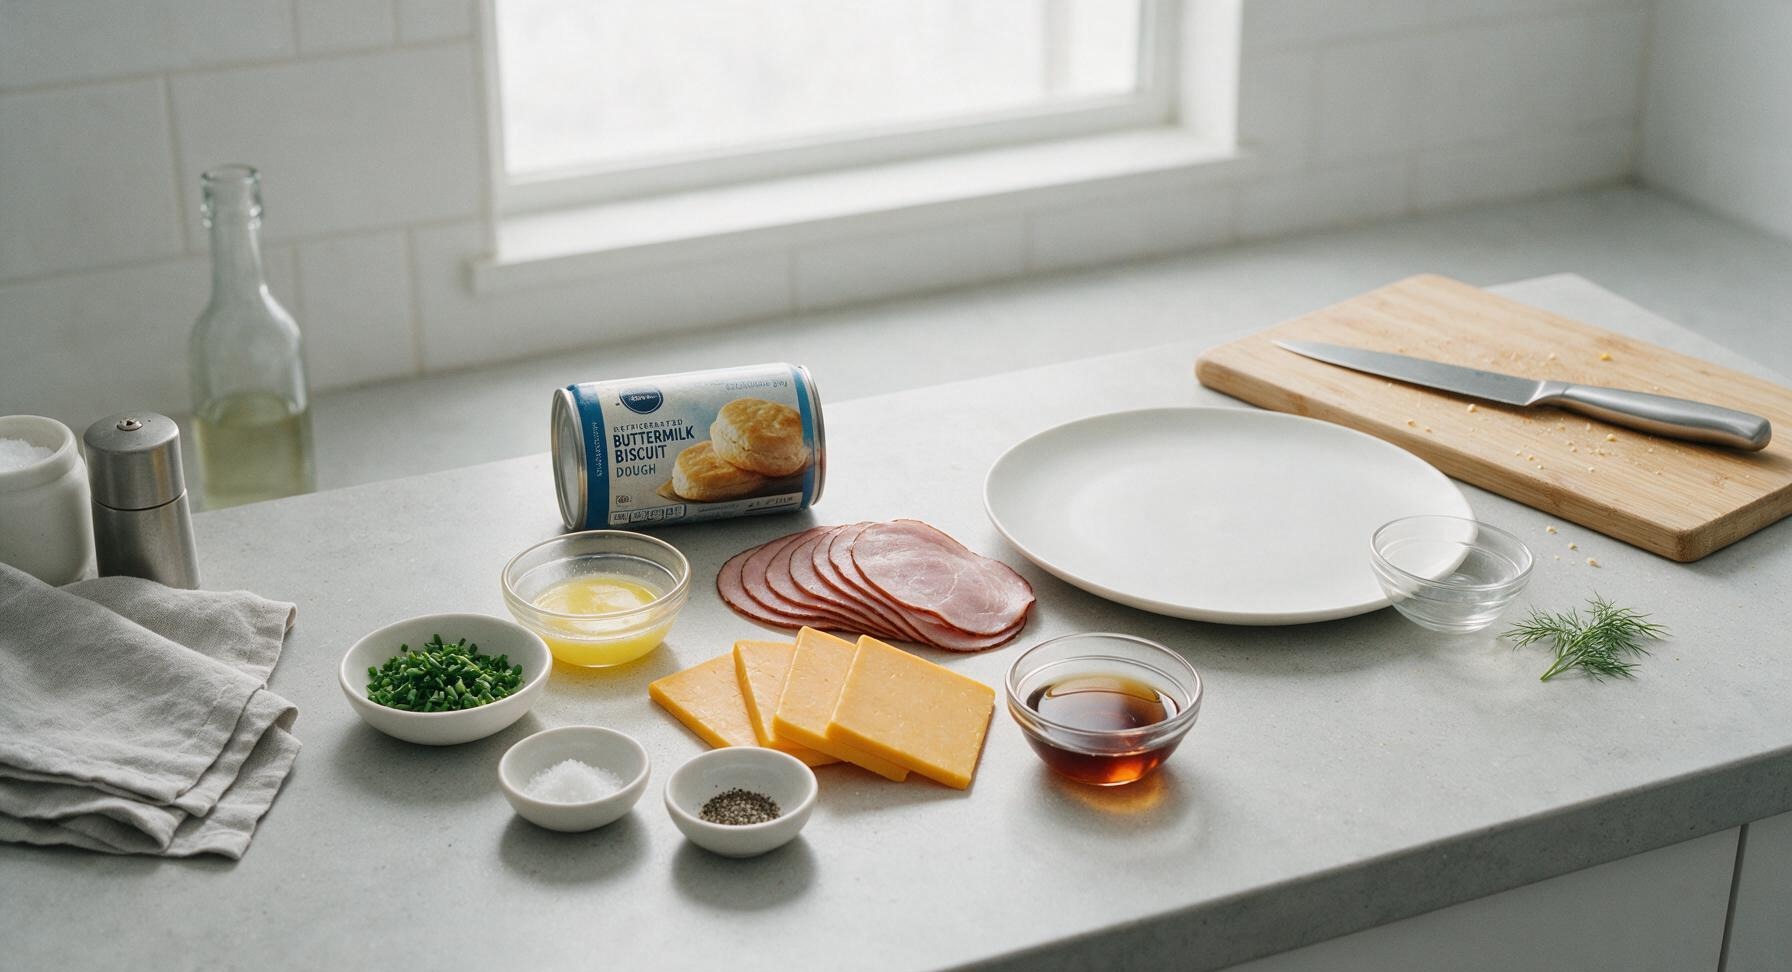
Steps
Preheat and Butter Waffle Maker
Plug in the matte black waffle maker, close the lid, and preheat to the medium-high setting (375°F/190°C) for 3 minutes, until the built-in indicator light shows it is fully hot. Use the sky blue silicone pastry brush to lightly coat both top and bottom cooking plates with 1 tbsp of the melted unsalted butter, taking care not to touch the hot surfaces with your fingers. A faint, gentle butter sizzle will confirm the surface is ready for dough.

Flatten Biscuit Rounds
Open the can of refrigerated buttermilk biscuit dough, separate all 8 biscuit rounds onto the clean counter space between the bamboo bowl and the serving plate. Using the palm of your clean hand, press each biscuit round into a flat 4-inch wide circle, roughly 1/4-inch thick. Make edges slightly thinner than the center to create a tight seal when stuffed, then sprinkle all flattened rounds lightly with 1/4 tsp kosher salt and 1/8 tsp freshly ground black pepper.

Layer Ham and Cheese
Set 4 of the flattened dough circles closest to the waffle maker to use as bases. Place 2 folded slices of deli black forest ham on each base round, leaving a strict 1/2-inch border of bare dough around the entire edge. Top the ham with one thick slice of sharp cheddar cheese, centered fully on the dough so it does not hang over the border. Overhanging filling will leak out and burn during cooking.

Seal Stuffed Dough Rounds
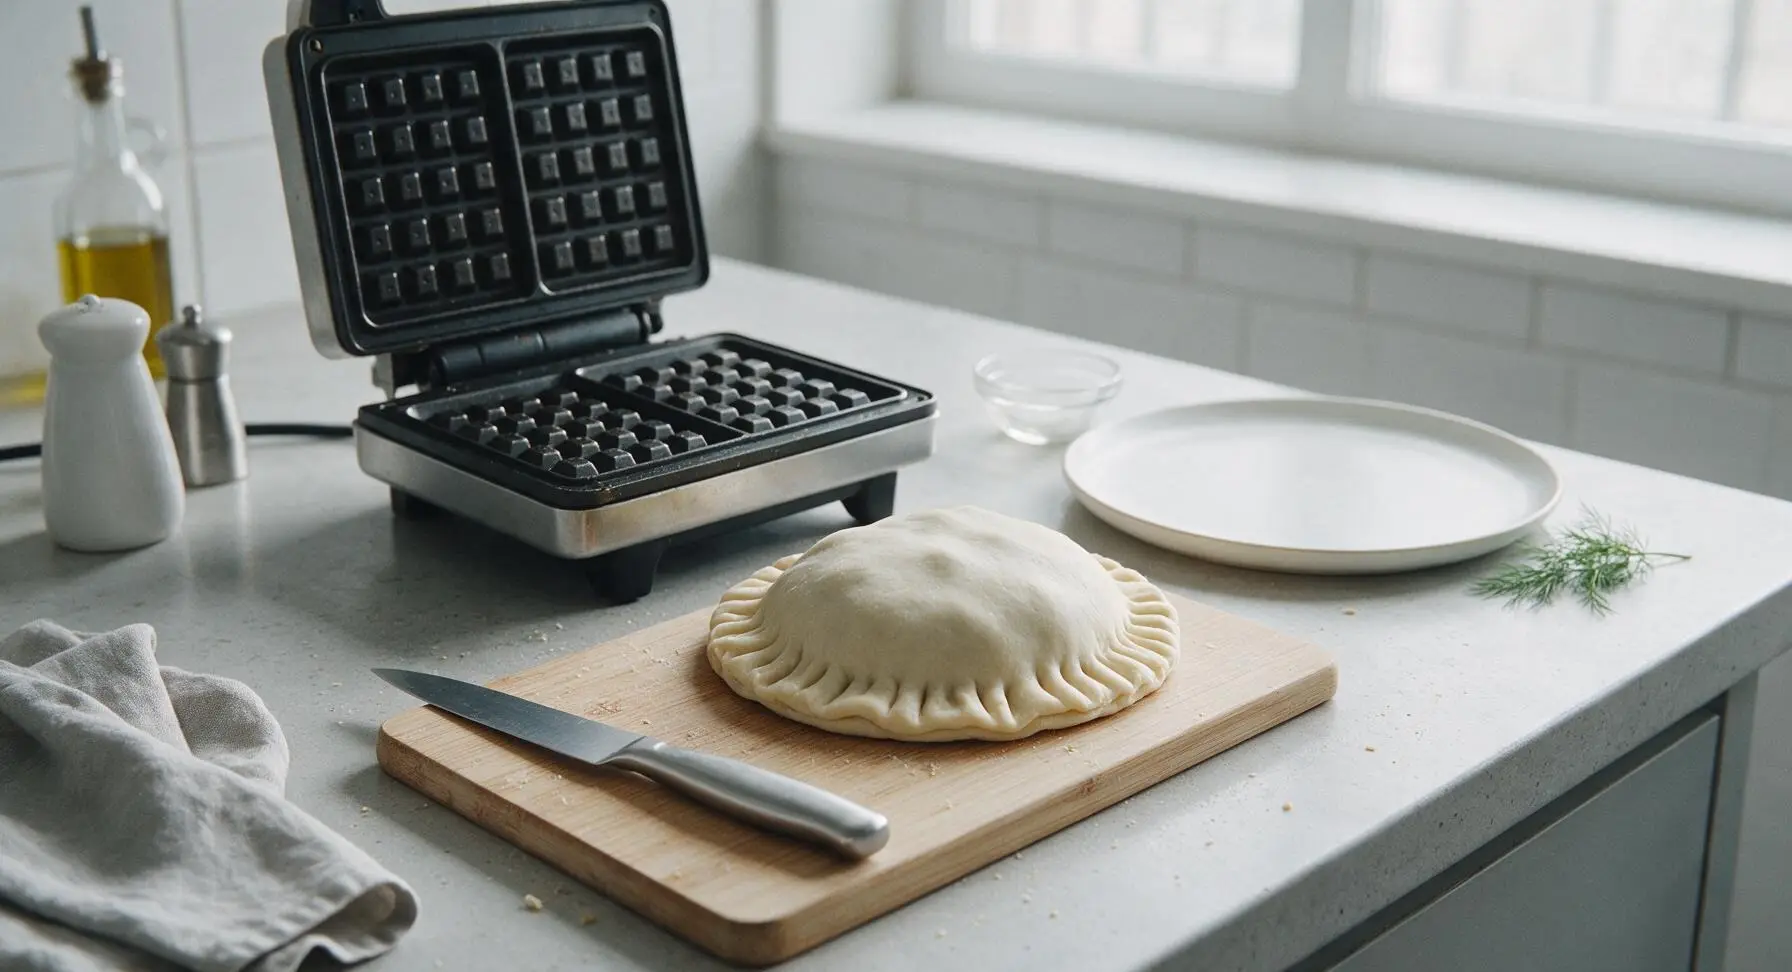
Take the remaining 4 flattened dough circles and place one directly over each ham-and-cheese topped base, aligning edges perfectly. Press the edges firmly together with your fingertips all the way around the 1/2-inch border, crimping gently in small pleats to create a tight, ravioli-like seal so no melted cheese leaks out during cooking. Each sealed stuffed round should be roughly 4.5 inches wide, with filling fully enclosed and no visible gaps in the dough edge.

Cook Waffles Until Golden
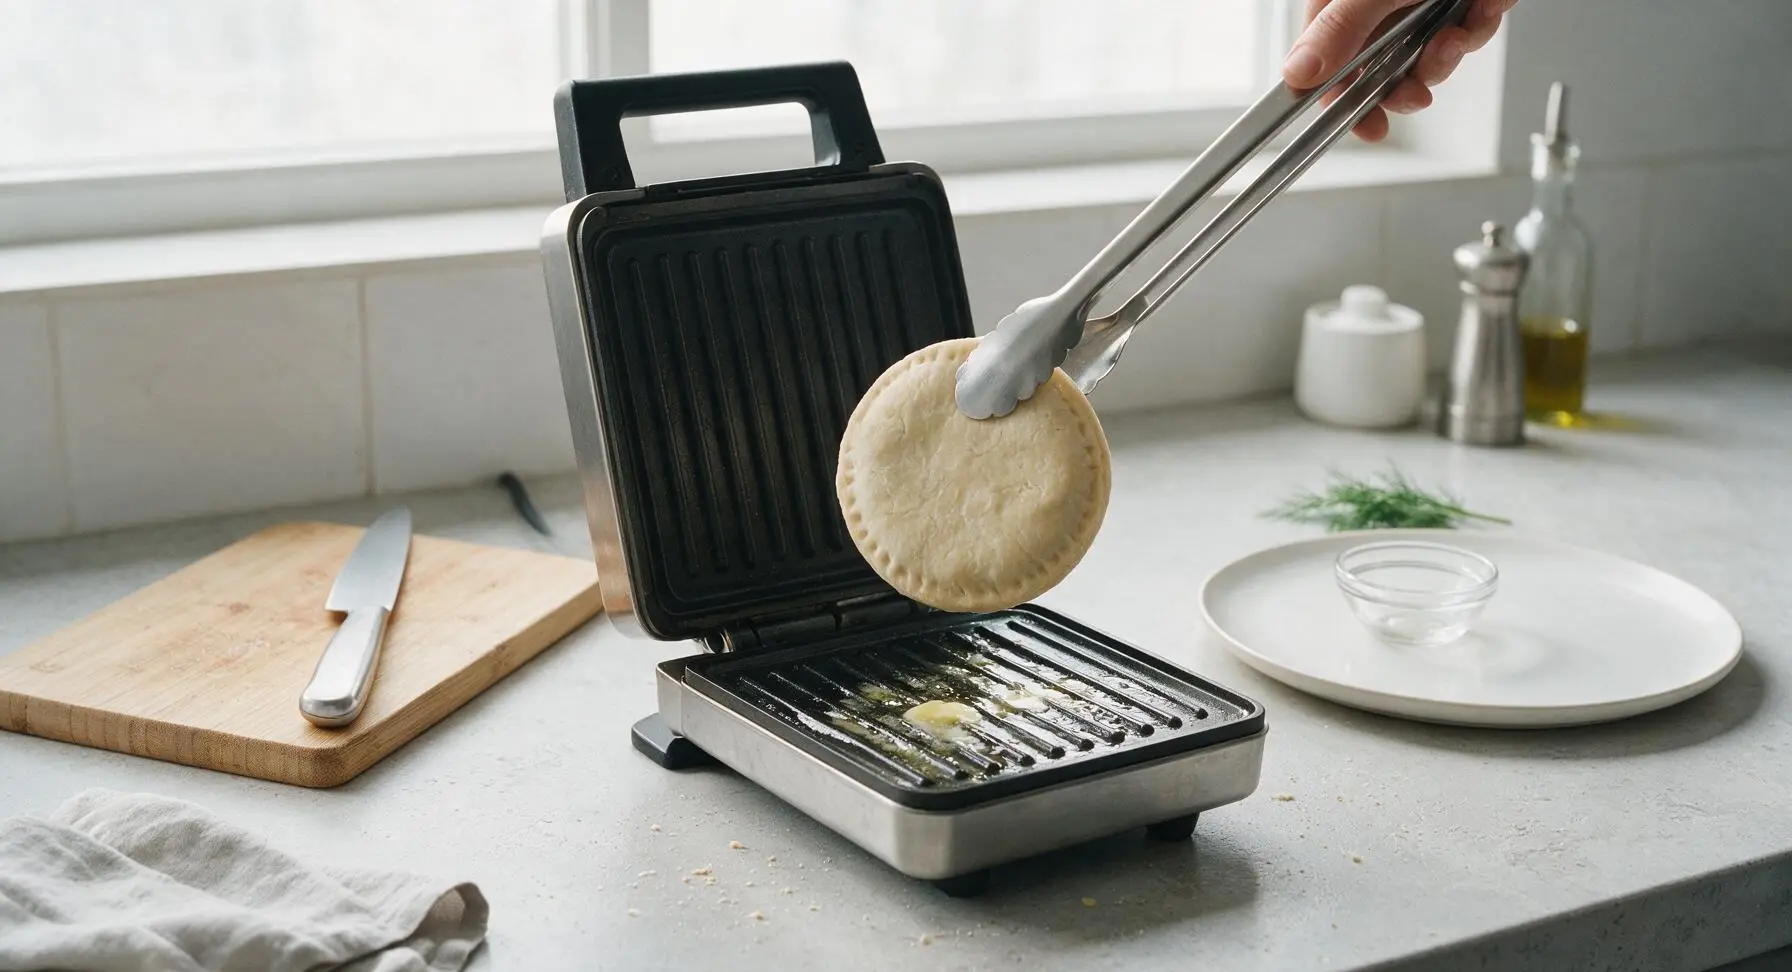
Use the stainless steel tongs to lift one sealed dough round and place it directly in the center of the preheated, buttered waffle maker lower plate. Close the lid gently, do not press down hard (this will squeeze filling out). Cook for 3 to 3.5 minutes, until the waffle is deep golden brown, crisp to the touch, and no raw dough is visible at the edges. Faint sizzling and a toasted biscuit aroma will signal the waffle is nearly done.

Rest Cooked Waffles
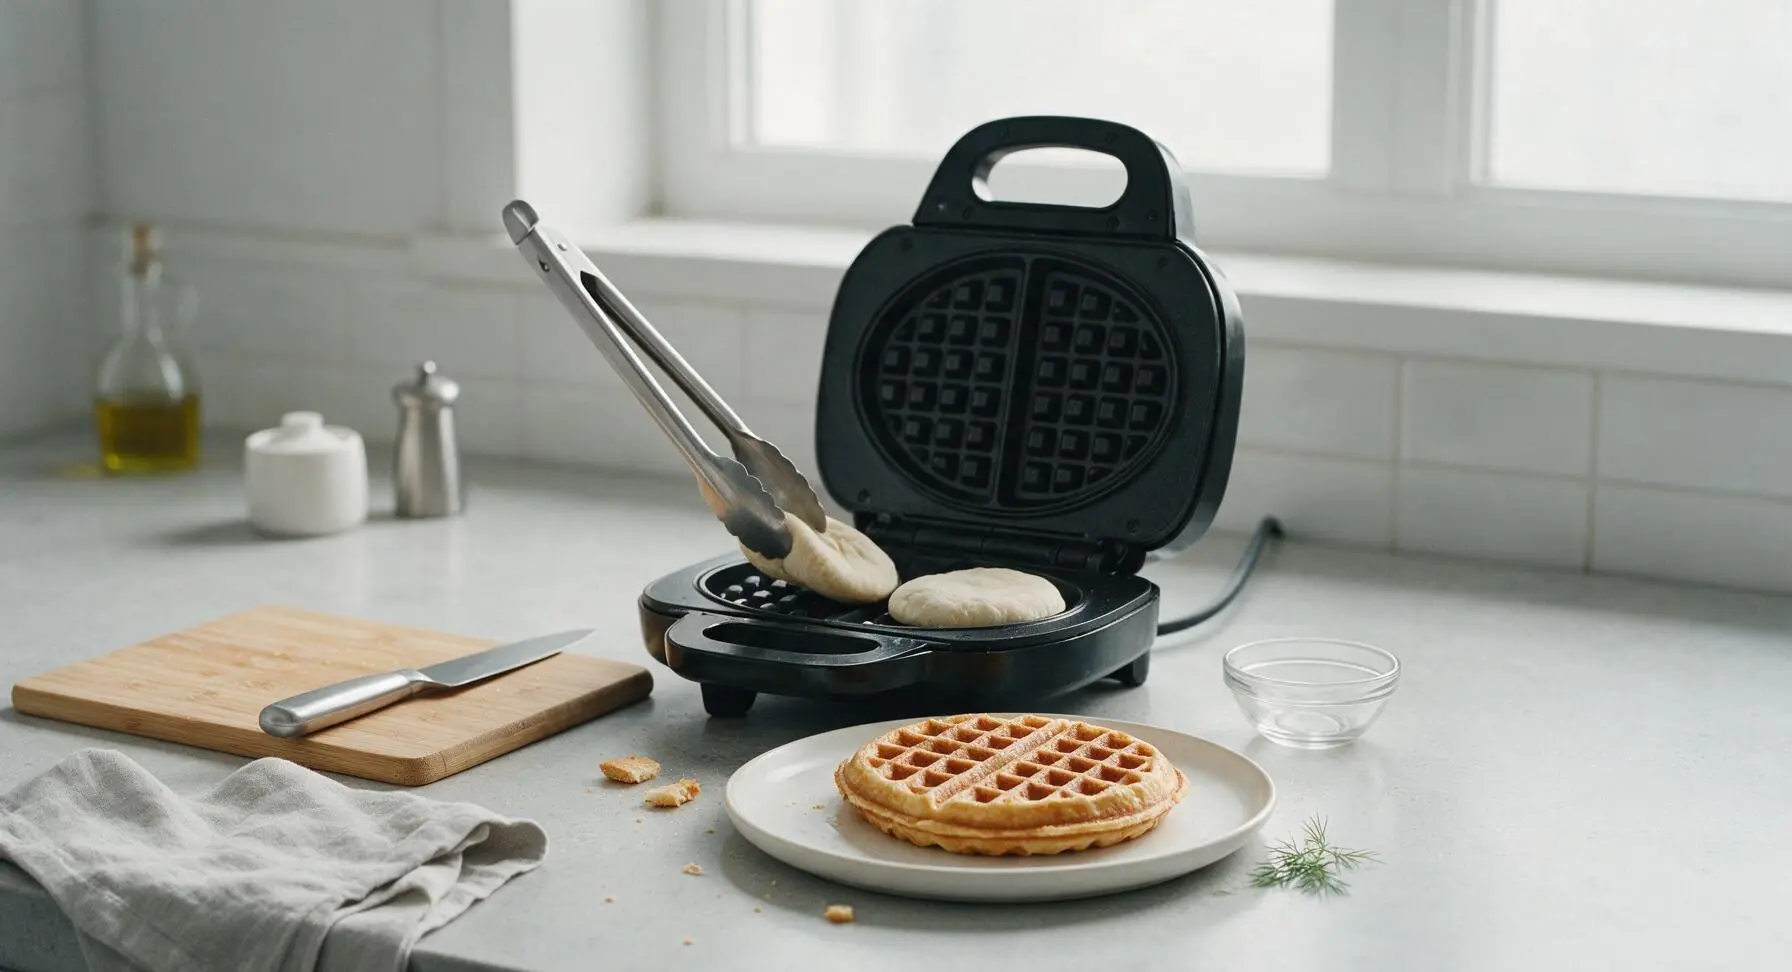
Use the stainless steel tongs to lift the finished cooked waffle from the waffle maker, transferring it to the warm white stoneware serving plate positioned in front of the appliance. Repeat the cooking process with the remaining 3 sealed dough rounds, brushing the plates with a tiny extra amount of melted butter between batches if waffles start to stick. Let cooked waffles rest for 1 minute before serving to let the cheese filling set slightly, so it does not run out immediately when cut.
Garnish and Serve
Once all 4 waffles are cooked and rested, arrange them for serving, stacking two waffles for the featured serving and placing one per person for individual portions. Drizzle waffles lightly with pure maple syrup, then sprinkle the top with finely chopped fresh chives. Add a light crack of extra black pepper if desired, and serve immediately while warm and crisp.

Tips
2.Maintain a full 1/2-inch bare dough border around the filling when assembling: if cheese or ham touches the dough edge, it will prevent a tight seal and leak out during cooking, creating a hard-to-clean mess on your waffle plates.
3.Let cooked waffles rest for 1 full minute before cutting or biting into them: the trapped cheese reaches over 200°F right out of the waffle maker, and resting lets it thicken slightly so it oozes slowly instead of running off the plate or burning your mouth.






OMG these stuffed ham and cheese waffles are a total game changer for our busy school mornings! I threw them together in 10 minutes flat, cook time was exactly 12 minutes like the recipe said, and my kids devoured them before I even got my own plate. Used sharp cheddar and deli black forest ham, oozed so perfectly out the sides. 10/10 will be adding this to our weekly meal prep rotation!
Made these for our weekend camping potluck (we brought our portable waffle maker!) and people were begging for the recipe. The ham gets a little crispy in the waffle iron and the cheese gets all melty, what’s not to love? Only note is I added a sprinkle of everything bagel seasoning to the batter and it slapped. Super easy even for a guy who burns toast half the time.
SO good! I was worried the cheese would leak all over my waffle maker and make a huge mess, but if you don’t overstuff them it’s totally fine. I swapped the ham for turkey since that’s what I had in the fridge, and it was still chef’s kiss. Cook time was spot on, no burnt edges at all.
Tried these for my Sunday brunch with friends and everyone was raving! I served them with a little side of maple syrup for dipping and the sweet-savory combo is unreal. Who knew ham and cheese in a waffle could hit this hard? Only downside is I didn’t make enough, everyone went back for seconds.
Absolute home run for meal prep! I made a big batch on Sunday, popped them in the fridge, and toasted them up for quick lunches all week. They hold up way better than I thought they would, no soggy waffles at all. Used Swiss cheese and smoked ham, 10/10. So easy too, I’m not much of a cook and these came out perfect first try.
These were pretty good! I added a dash of paprika and garlic powder to the waffle batter to give it a little extra kick, and it paired so well with the ham and cheese. Super quick to throw together after work when I don’t feel like making a whole big dinner. Will make again for sure, maybe add some diced jalapeños next time for a little heat.
Perfect recipe for my tiny dorm waffle maker! I was sick of plain frozen waffles for breakfast, and this uses super basic ingredients I can pick up at the campus grocery store. Deli ham, sliced American cheese, basic waffle mix — that’s it! Took no time at all and tastes way better than the dining hall breakfast sandwiches. 10/10 for broke college students.