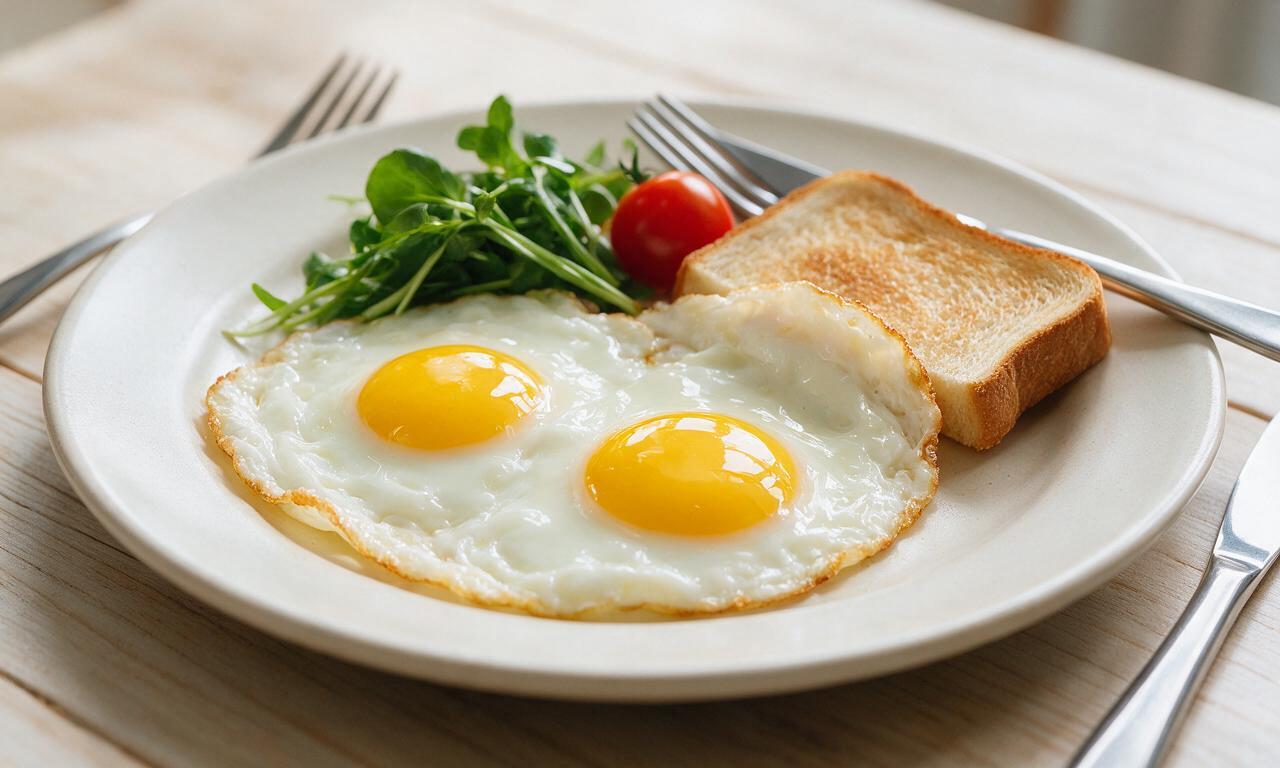
Sunny Side Up

Sunny Side Up
⏱️ cook time 6 minutes
🍽️ servings 2
⚡ Difficulty easy

intro

Crisp, tender-edged sunny side up eggs with runny golden yolks, a fast, protein-packed staple perfect for pairing with toast, hash browns, or fresh spring vegetable sides.

Ingredients

Large eggs 4 (200g total, 50g per egg, shelled)
Unsalted butter 1 tablespoon (14g)
Fine sea salt 1/4 teaspoon (1.5g)
Freshly ground black pepper 1/8 teaspoon (0.3g)

Steps

1

Preheat the skillet

Place a 20cm (8-inch) non-stick skillet on the stovetop over low heat (setting 3 out of 10 on most electric ranges) for 2 full minutes, until the pan surface is evenly warm but not smoking, to avoid hot spots that can burn eggs.
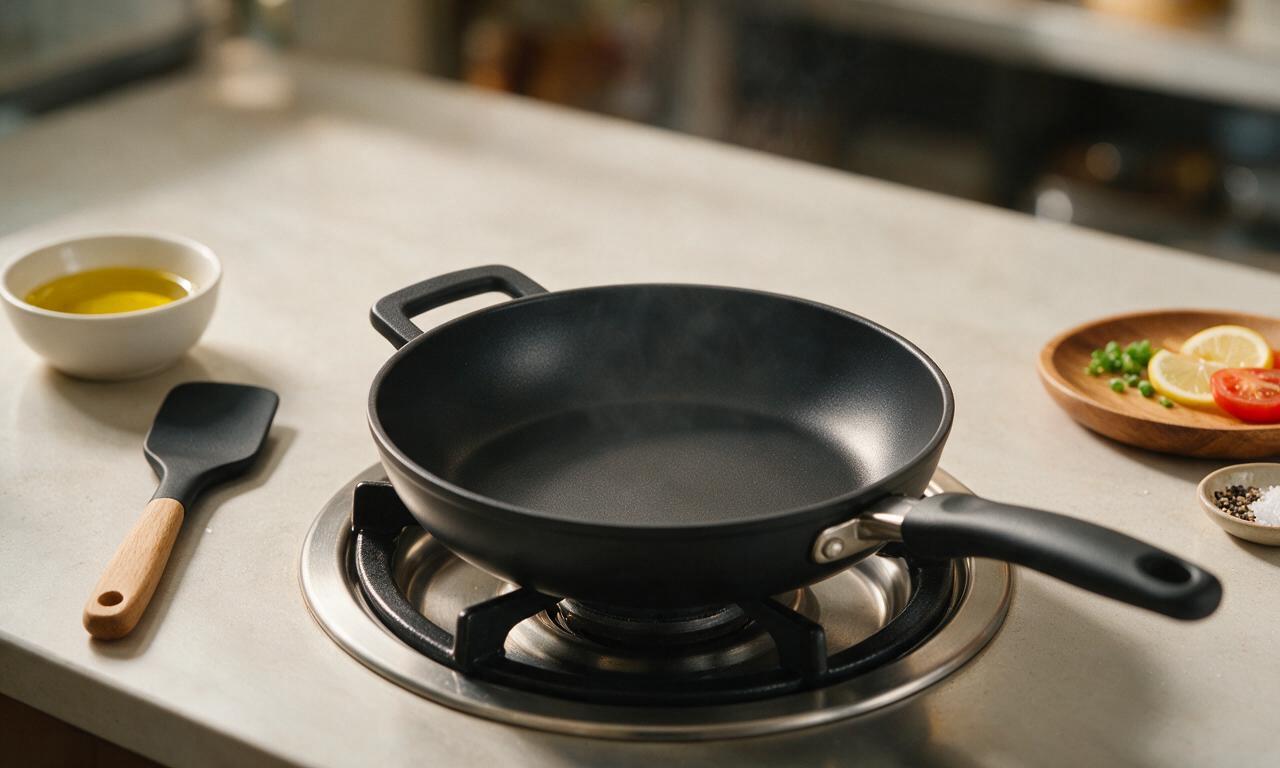
Step 1
step1:Preheat the skillet
2

Melt the butter

Add 1 tablespoon (14g) of unsalted butter to the preheated pan, tilting the pan gently as it melts over 30 seconds to coat the entire cooking surface evenly. Do not let the butter brown or sizzle aggressively, as this indicates the pan is too hot.
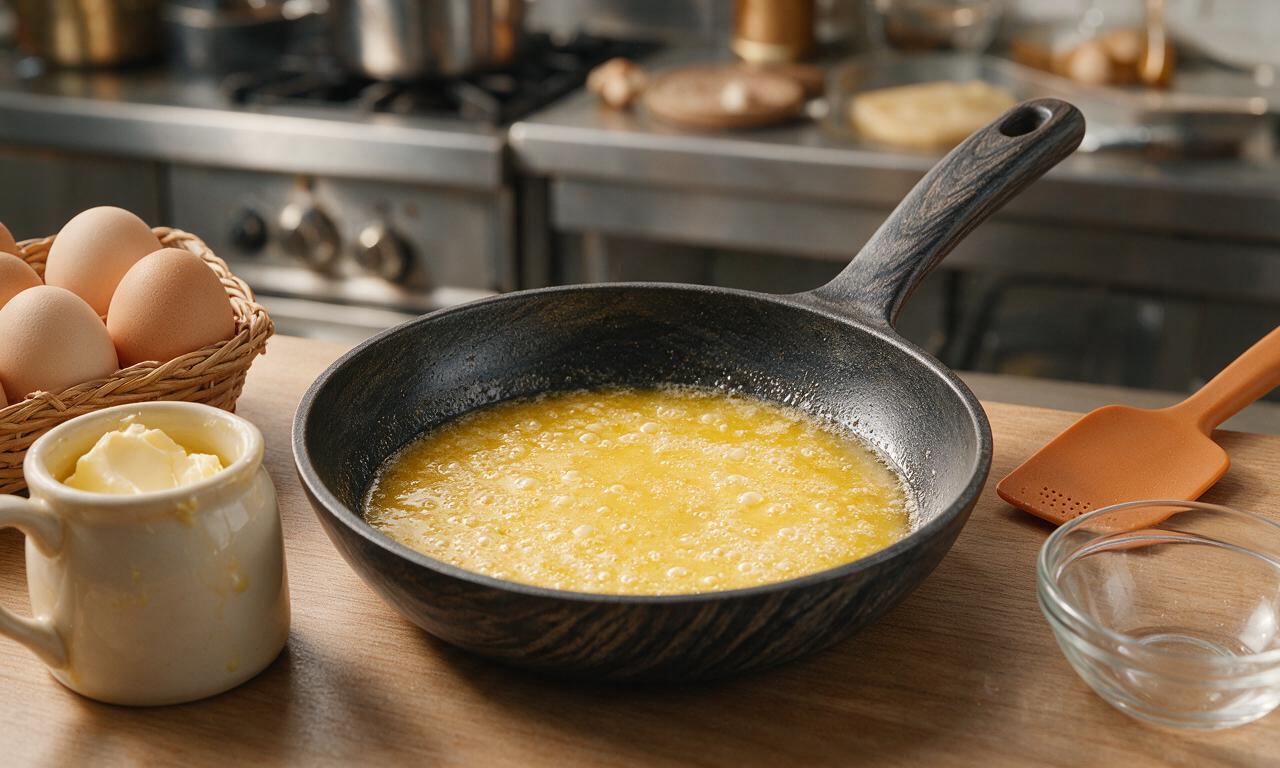
Step 2
step2:Melt the butter
3

Add eggs carefully

Crack 4 cold large eggs (straight from the refrigerator, 50g each) one at a time into the pan, holding each egg 5cm (2 inches) above the pan surface when cracking to prevent yolk breakage, spacing them 2-3cm apart so the whites do not overlap excessively.
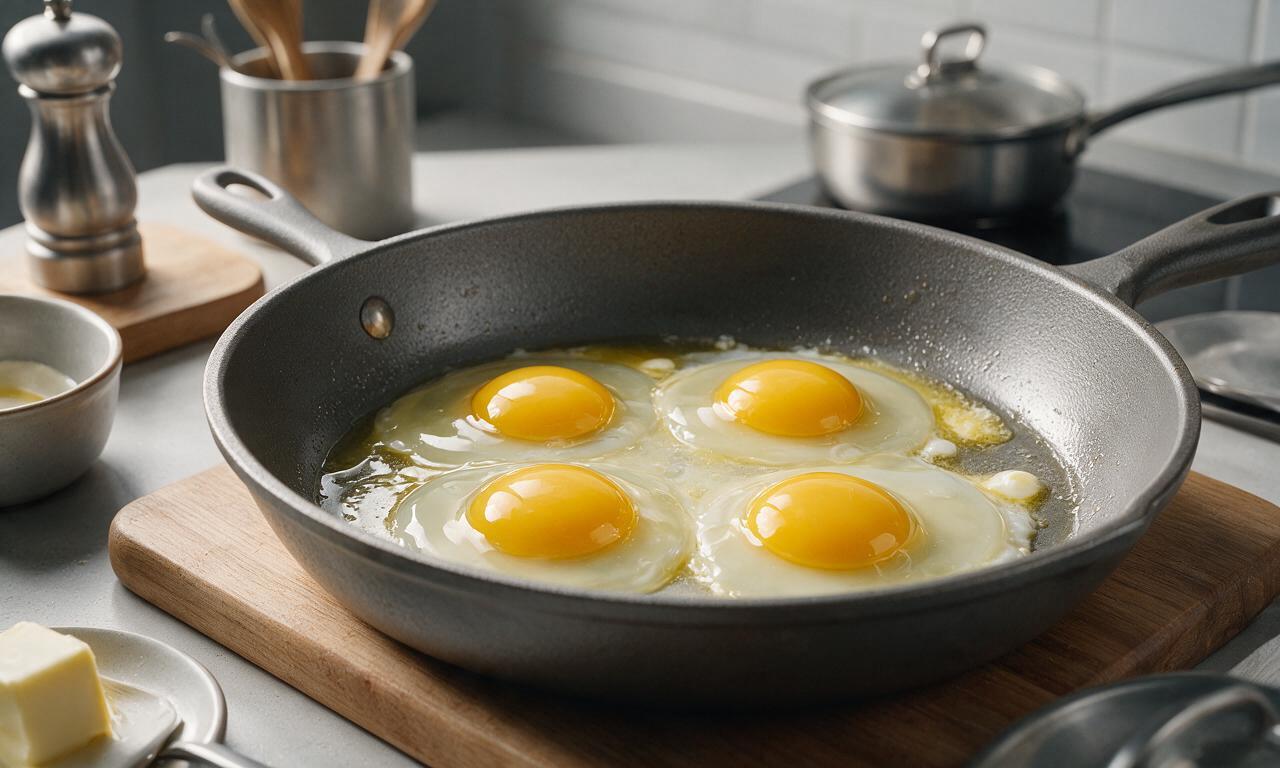
Step 3
step3:Add eggs carefully
4

Cook to set whites

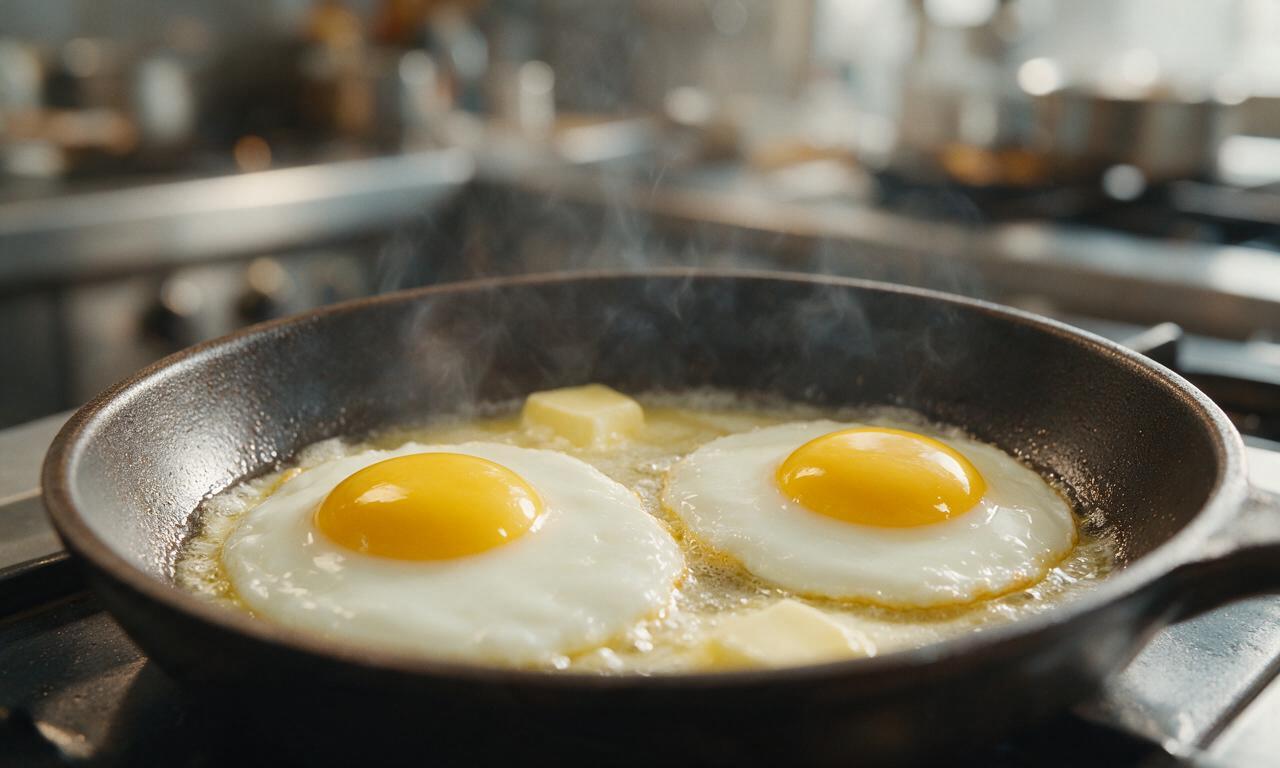
Maintain consistent low heat (no higher than setting 3) and cook the eggs uncovered for 3 minutes, until the egg whites are fully opaque and set all the way through (including the thin layer covering the top of the yolks), the very edges of the whites turn pale golden and crisp, and the yolks remain bright, plump, and liquid.
Step 4
step4:Cook to set whites
5

Check for doneness

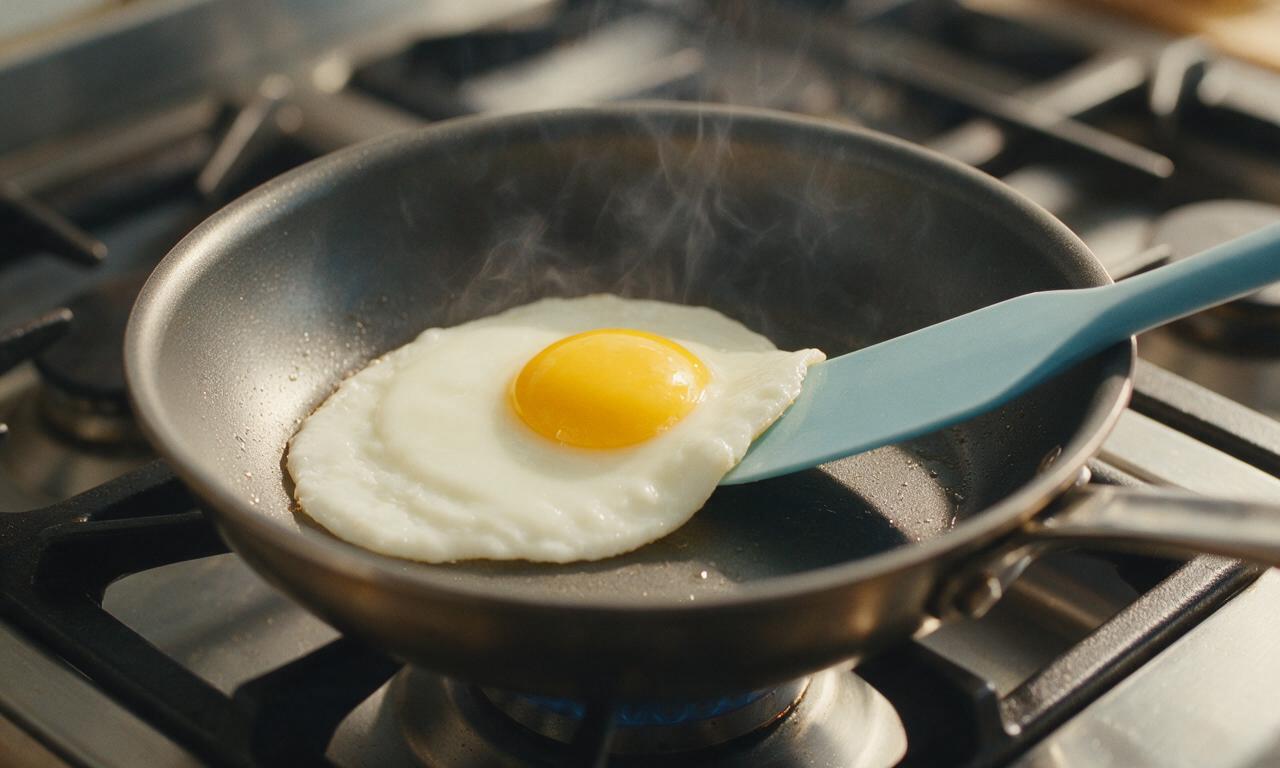
After 3 minutes of cooking, lightly nudge the edge of the egg whites with a thin silicone spatula to check doneness. If clear, runny raw white remains visible, cook for 30 additional seconds, checking every 10 seconds to avoid overcooking and hardening the yolks. Eggs are ready when whites are fully firm and yolks wiggle softly when the pan is gently jiggled.
Step 5
step5:Check for doneness
6

Season and serve

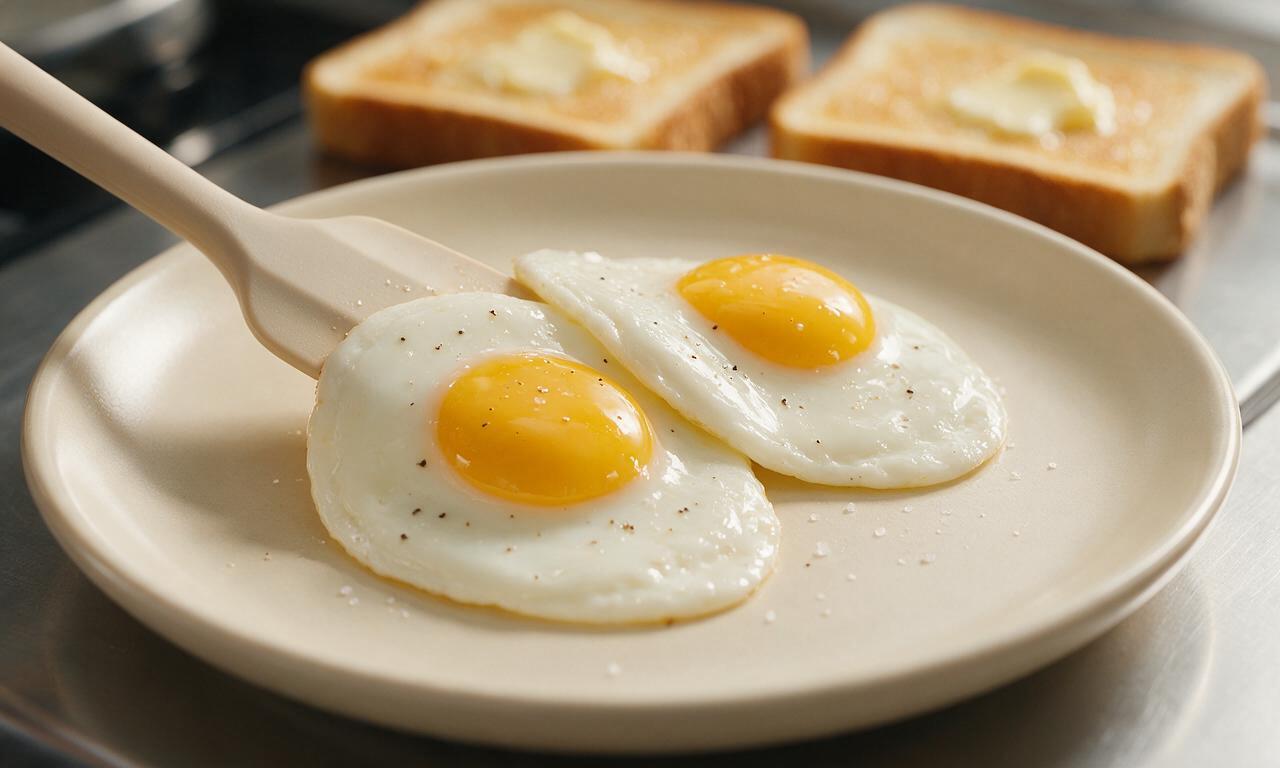
Sprinkle the cooked eggs evenly across their surfaces with 1/4 teaspoon (1.5g) fine sea salt and 1/8 teaspoon (0.3g) freshly ground black pepper, then slide the spatula under each egg to lift them gently from the pan, transferring 2 eggs per serving to pre-warmed plates to serve immediately.
Step 6
step6:Season and serve

Tips

1.Use cold eggs straight from the refrigerator: room-temperature eggs have looser, thinner whites that spread excessively across the pan, leading to uneven, ragged edges.
2.Never turn the heat above low for sunny side up eggs: high heat will burn the bottom egg whites to a dark crisp before the top layer of white sets, resulting in rubbery, tough eggs with hard, solid yolks.
3.If you consistently struggle with unset white on top of the yolks, place a tight-fitting glass lid on the pan for the final 45 seconds of cooking to trap gentle steam that sets the top white without requiring you to flip the egg.
✨ You May Also Like

Breakfast
🍜 United States

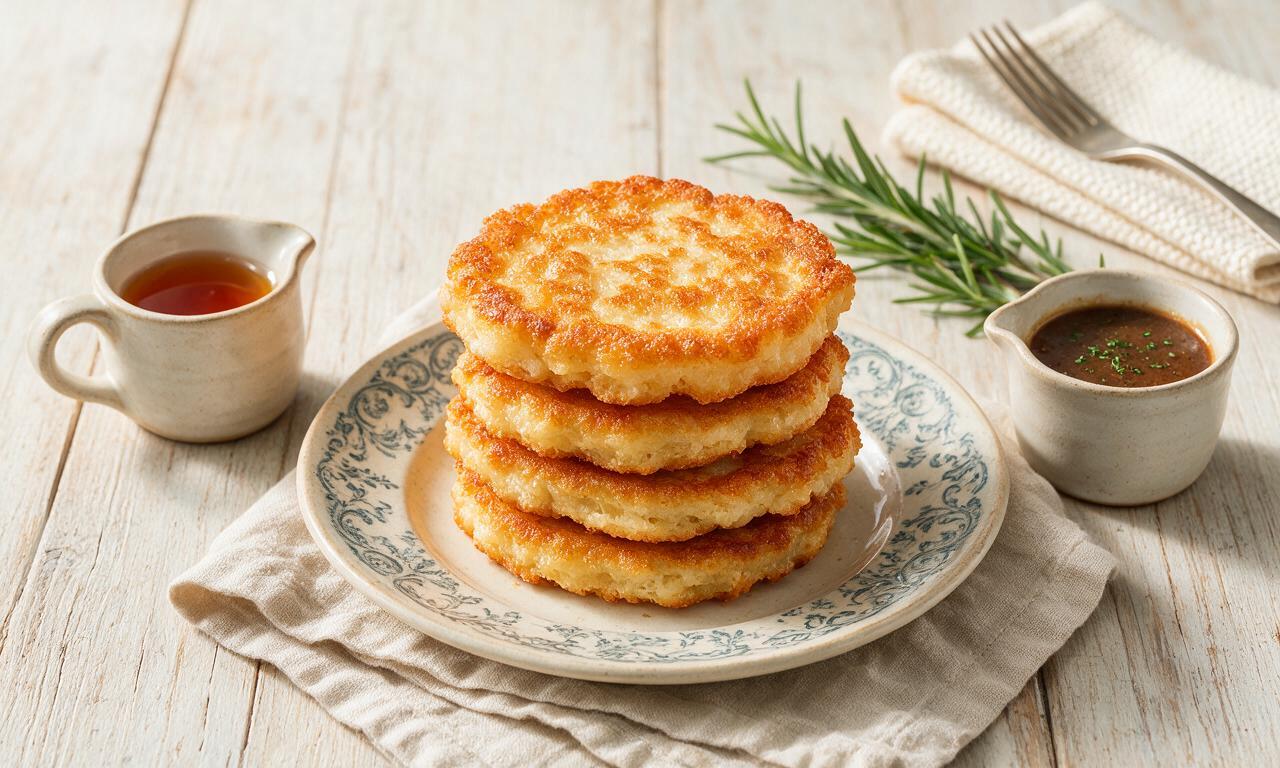
Crisp-edged, fluffy lard griddle cakes are a nostalgic homestyle staple, with rich savoriness from rendered lard, perfect topped with maple syrup or savory gravy.

⏱️ 25 minuteBreakfast ★ 4.9
Breakfast
🍜 United States

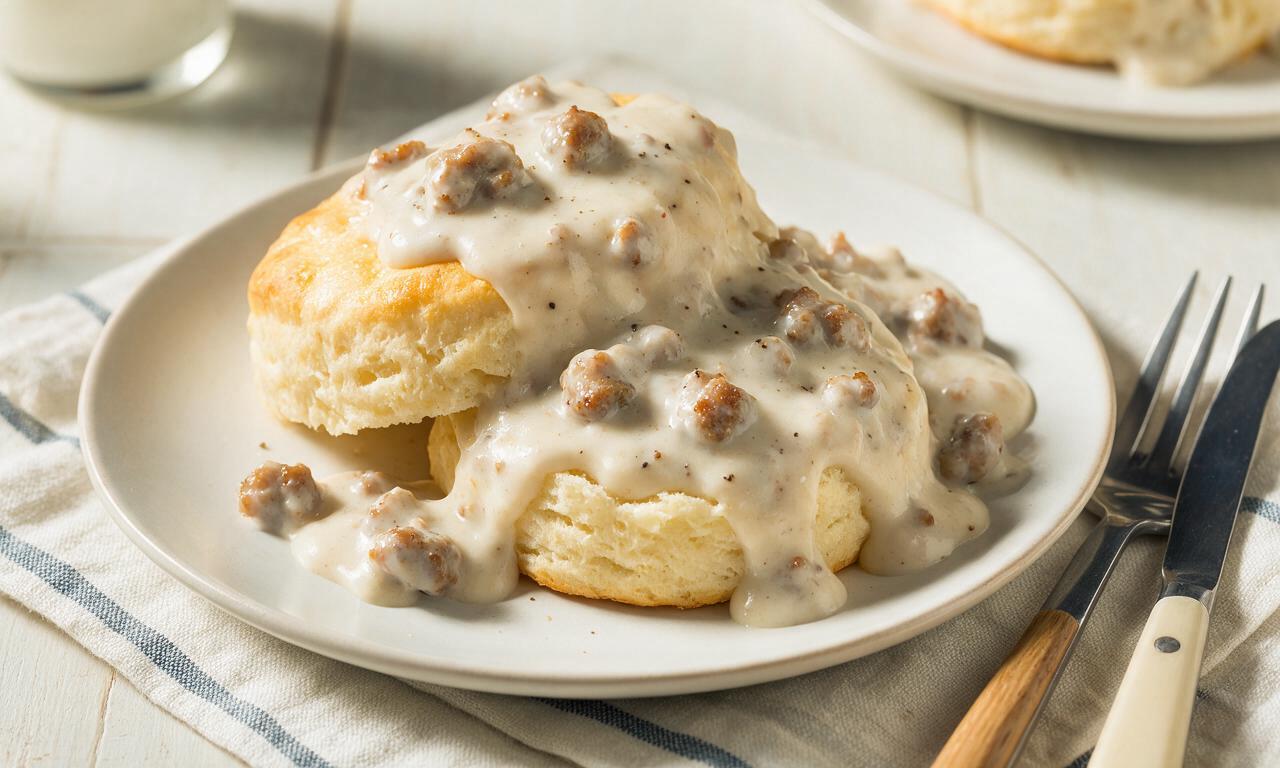
Flaky, buttery homemade buttermilk biscuits smothered in creamy, peppery pork sausage gravy: a beloved, hearty Southern American comfort food classic.

⏱️ 35 minuteBreakfast ★ 5
Breakfast
🍜 United States

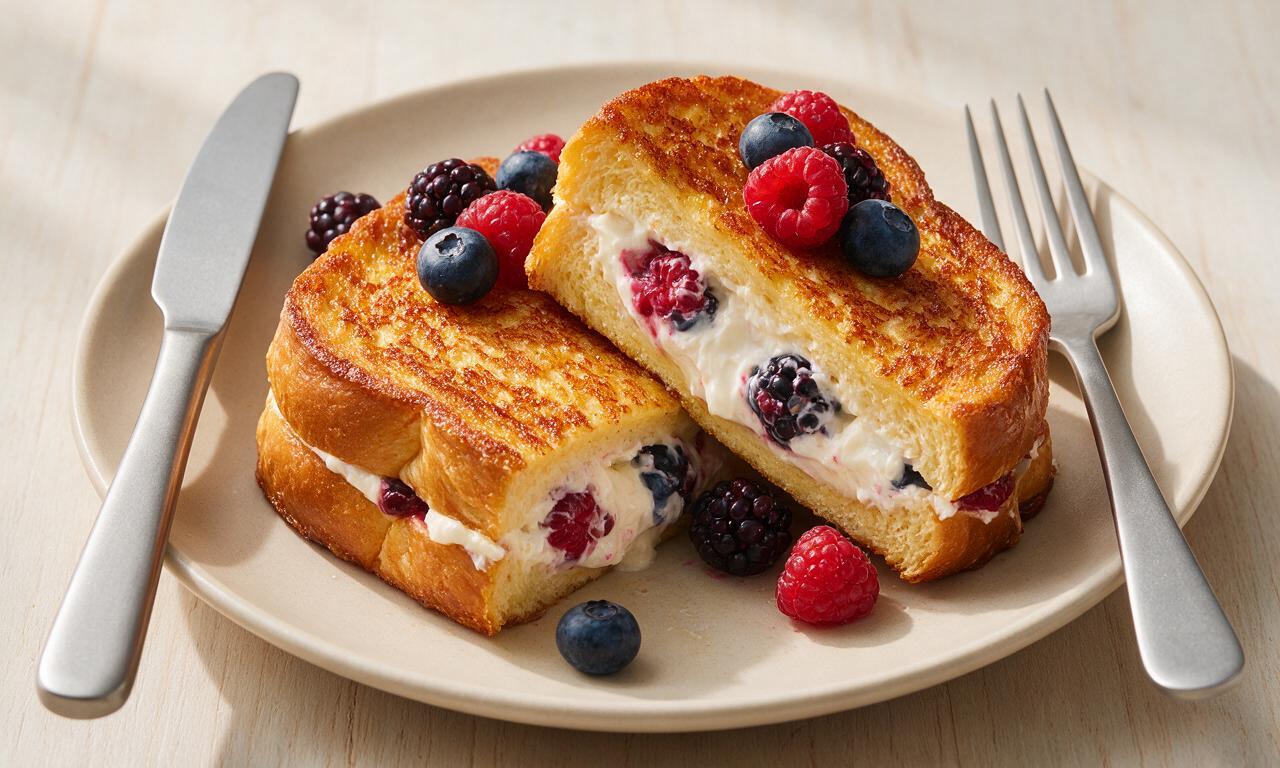
Golden, custardy brioche stuffed with sweet cream cheese and fresh berries, pan-fried to crisp perfection. An indulgent, cozy breakfast perfect for slow weekend mornings.

⏱️ 30 minuteBreakfast ★ 4.7
Breakfast
🍜 United States

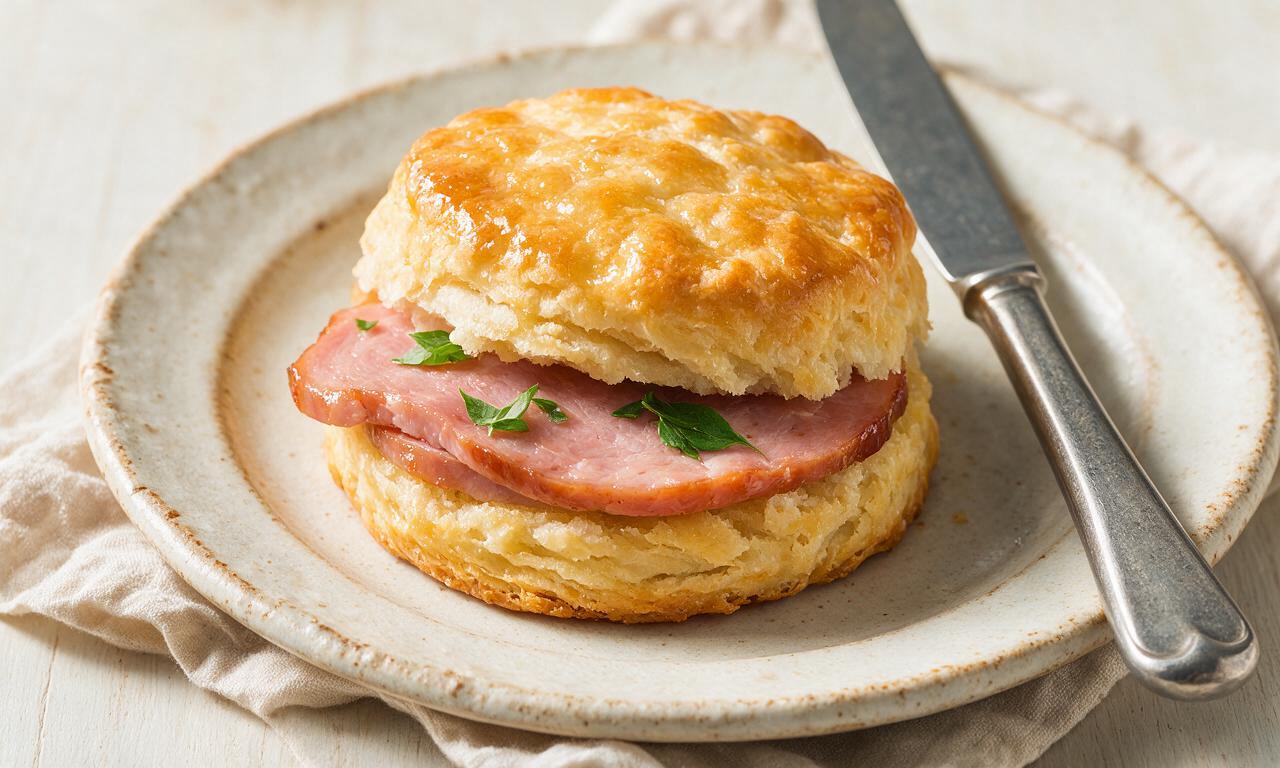
Flaky, buttery Southern-style biscuits stuffed with savory salty country ham, a portable, satisfying classic perfect for casual on-the-go meals.

⏱️ 25 minuteBreakfast ★ 4.8
Breakfast
🍜 United States

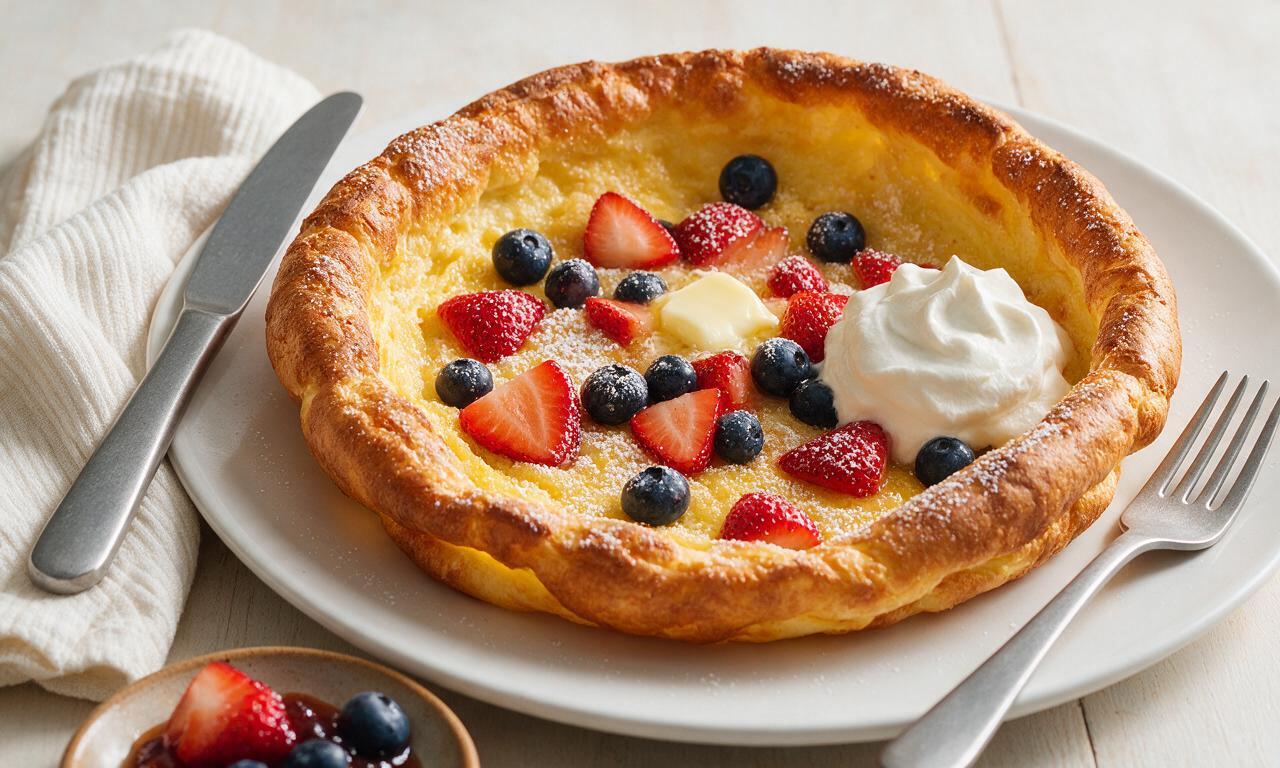
Iconic puffy baked pancake popularized in Seattle, with crisp golden edges and soft custardy center, served warm with classic sweet toppings.

⏱️ 35 minuteBreakfast ★ 4.6
Breakfast
🍜 United States

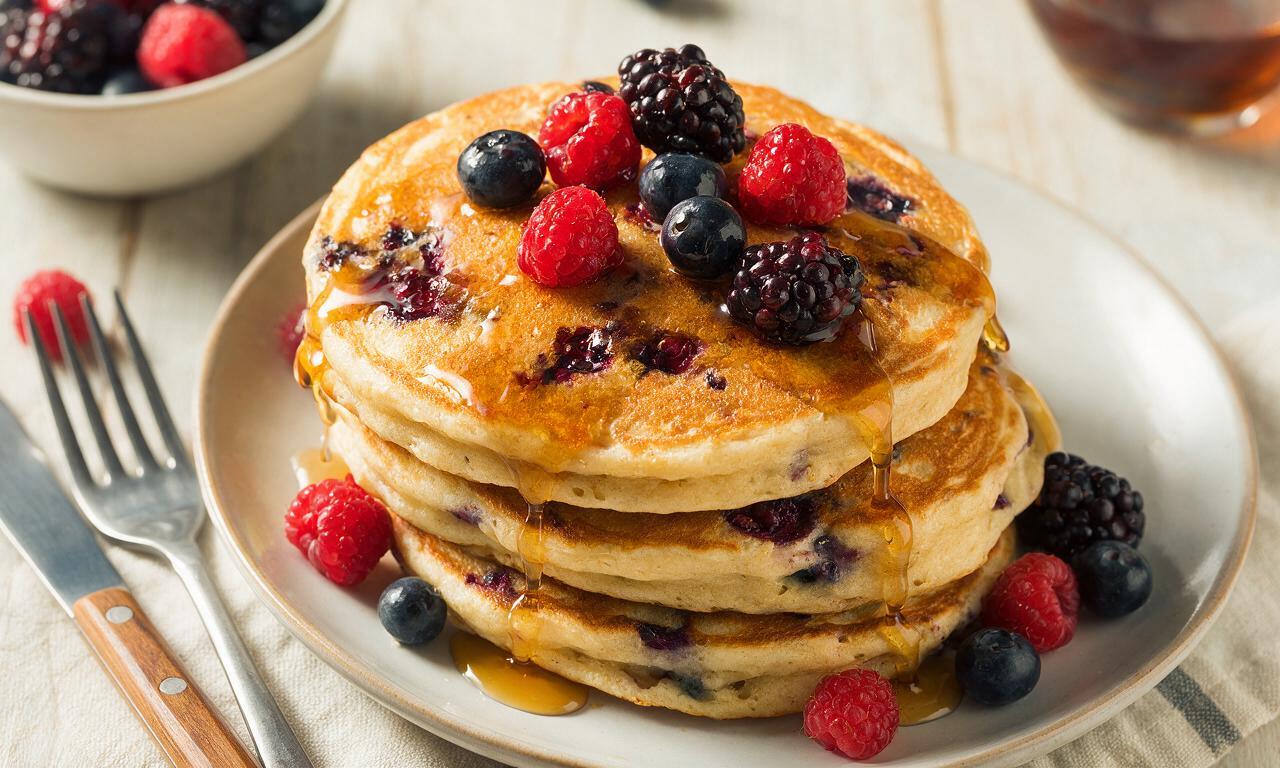
Fluffy, golden pancakes studded with juicy peak-summer mixed berries, drizzled with maple syrup for a bright, comforting, crowd-pleasing family breakfast.

⏱️ 25 minuteBreakfast ★ 4.8

Sunny Side Up:Frequently Asked Questions

1.How do I get fully set egg whites without turning the yolk hard and solid?
Stick to medium-low heat, melt your unsalted butter until it foams but doesn’t brown, then slide your cracked eggs in gently. Cook uncovered for 2 to 2.5 minutes, then pop a lid on the pan for the last 30 seconds if you see wispy, unset white on top. No flipping required—this sets the thin top layer of white without cooking the golden yolk through.
2.Why do my egg edges always turn tough and burnt instead of light and crisp-tender?
This almost always traces back to too-high pan heat. Skip medium-high or high settings entirely, and stick to medium-low so your butter melts gently without smoking before eggs go in. If you hear a loud, aggressive sizzle the second an egg hits the pan, turn the heat down immediately—high heat seizes egg proteins fast into bitter, tough edges before the center sets.
3.What’s the best way to crack eggs to avoid broken yolks or stray shell bits in the pan?
Skip cracking eggs on the sharp edge of your pan or bowl, which pushes shell shards inward and often punctures yolks. Instead, tap the wide middle of the egg firmly on a flat countertop to make a clean, even crack, then pry the shell halves apart gently right above the pan, low to the surface, so the egg slides out softly.
4.When should I add salt and pepper to keep the eggs from getting watery or tough?
Add a light pinch of fine sea salt the second you slide eggs into the melted butter—contrary to common old myths, salting at this stage doesn’t make eggs watery, it seasons the whites evenly as they set. Wait to sprinkle on freshly ground black pepper until right as you pull the pan off heat, so the pepper doesn’t burn and turn bitter.
5.What kind of pan works best for making two perfect sunny side up eggs?
An 8-inch nonstick skillet or well-seasoned carbon steel pan is ideal for a two-egg batch. It gives eggs just enough room to spread slightly without edges running too thin, and the slick, nonstick surface means you won’t tear delicate whites or leave bits stuck to the pan when you slide eggs onto your plate. Skip oversized 12-inch pans, which spread butter too thin for even cooking.
6.Can I use cooking oil instead of unsalted butter, or will that ruin the texture?
You can absolutely swap in a neutral oil like avocado or canola if you don’t have butter on hand, though you’ll miss the rich, nutty, toasty edge butter lends to the crisp egg edges. If you swap, use the same 1 teaspoon per egg measurement, keep heat medium-low, and watch for smoke—oil has a higher smoke point, making it easy to overheat and end up with tough eggs.
7.What are the best sides to pair with these sunny side up eggs for a satisfying meal?
These eggs are incredibly versatile, but my go-to pairings are crusty sourdough toast to sop up every drop of runny golden yolk, crispy shredded hash browns for a hearty weekend brunch, or lightly sautéed asparagus and snap peas for a lighter, fresh spring meal. The runny yolk acts like a rich, free sauce for any side you pick.

Comments (17)

2 hours ago

OMG these came out PERFECT first try! I’ve always messed up sunny side up eggs by getting the whites too rubbery or breaking the yolk, but the low heat trick here is a total game changer. SO good paired with sourdough toast and a little hot sauce. 10/10 will make every weekend now!

1 hour ago

So glad the low heat tip worked for you! A tiny splash of water at the end helps set the top whites without flipping if you ever want extra insurance for no runny clear bits 😊

3 days ago

Made these for my whole crew before our early morning fishing trip last weekend. Cooked 8 eggs back to back in 6 minutes a batch, no breaks, perfectly runny yolks every time. Even my teen who only eats scrambled eggs asked for seconds! Will be adding this to our regular camp breakfast rotation.

5 minutes ago

Wait, do you really not flip these at all? I’ve always flipped my sunny side up for like 10 seconds because I’m paranoid about raw egg whites, but every time that breaks the yolk. Hoping this works for me tomorrow morning for my roommate’s birthday brunch!

3 minutes ago

Girl I used to do the same flip trick forever! Tried this method last week, just cover the pan for the last minute and the whites set all the way through no flip needed. No more broken yolks I promise!

1 minute ago

Great question! No flipping required – just keep the heat on low, and if you’re worried about unset top whites, add 1 tsp of water to the pan and cover for 60 seconds right before you take them off. The steam cooks the top perfectly without ruining the runny yolk!

1 week ago

Game changer for meal prep! I make a batch of these on Sunday to put on breakfast sandwiches, avocado toast, and even rice bowls all week. 6 minutes total cook time is so fast I don’t even have to wake up extra early during the work week. 10/10 no notes.

5 days ago

Wait how do you reheat these without making the yolk hard? I tried meal prepping eggs once and they turned so rubbery in the microwave!

2 weeks ago

My 3 year old is OBSESSED with these! He calls them ‘dippy eggs’ and loves dipping his toast soldiers in the yolk. I’ve tried so many methods that either burnt the bottom or left the whites slimy, but this works every single time. Thank you for making breakfast less stressful!

1 week ago

My kids call them dippy eggs too! We do the toast soldier thing every Saturday, I’ll have to try this method so I stop messing up half the batch 😂

1 week ago

That makes our day! Nothing beats stress-free breakfast with little ones. If you want extra fun, you can use a cookie cutter to shape the toast soldiers into stars or dinosaurs for extra kid points!

yesterday

Followed the recipe exactly, topped mine with everything bagel seasoning, red pepper flakes, and a little crumbled feta. Unreal. I ate three eggs in one sitting no shame. So easy even someone who burns toast can pull this off.

30 minutes ago

6 minute cook time is no joke! I made these this morning before running to catch the subway, and I didn’t even have to skip my coffee. The yolk was perfectly runny, no burnt edges, just pure egg perfection. Way better than the sad cafeteria eggs I usually grab on my way to work.

20 minutes ago

Love that this fits into your busy morning routine! Pro tip: warm your plate for 10 seconds in the microwave before plating, so the eggs don’t get cold instantly while you’re rushing out the door.

2 days ago

Wait, has anyone tried making these with olive oil instead of butter? I have a dairy sensitivity so I can’t do butter, but I don’t want the oil to get too hot and burn the eggs. Any tips?

2 days ago

I make these with extra virgin olive oil all the time! Just keep the heat super low like the recipe says, it works great – gives the eggs a little nutty flavor too, no burning at all.

1 day ago

Great question! Olive oil works perfectly, just make sure you’re using a light olive oil if you don’t want a strong olive flavor, and keep the heat on low as noted. You can also use avocado oil for a more neutral taste if you prefer!

3 days ago

As a college student with only a tiny dorm hot plate and zero cooking skills, I was shocked these turned out first try. No fancy equipment needed, just a pan, some butter, and eggs. Saved me from spending $12 on a breakfast sandwich at the campus café today. Win win.

1 week ago

Made these for our monthly potluck brunch last weekend, and everyone was asking for the recipe! I set up a little topping bar with hot sauce, salsa, cheese, and herbs so people could dress their eggs however they wanted. So much easier than making a big fancy casserole, and everyone raved.

5 days ago

The topping bar idea is genius! I’m hosting brunch next month and was stressing about what to make, this is so much simpler than the quiche I was planning.

5 days ago

These are my new go-to post-workout breakfast! High protein, quick to make, and the runny yolk tastes so indulgent even though it’s super simple. I pair mine with sautéed spinach and turkey bacon for a balanced meal that keeps me full for hours.

3 days ago

Same! I used to make hard boiled eggs for post workout because they were easy, but these are way more satisfying. Worth the 6 minutes of cook time for sure.

2 days ago

Love that this fits your fitness routine! For an extra protein boost, you can add a sprinkle of cottage cheese on the side or a slice of whole grain toast to keep you fueled even longer.

2 weeks ago

I’ve been cooking eggs for 40+ years and I’ll admit, this method is better than my old go-to. I always used medium heat which left the edges a little crispy, but the low and slow here gives perfectly tender whites all the way across. Even old dogs can learn new tricks I guess!

2 weeks ago

That means the world coming from a fellow cooking veteran! Low and slow really is the secret to keeping those whites silky without any crispy burnt edges. So glad you gave it a try!

yesterday

Made these for breakfast for dinner last night with some hash browns and crispy bacon. Felt like I was eating at a diner but in my sweatpants, zero wait staff tipping required. 10/10 will be having brinner way more often now thanks to this easy recipe.

just now

Help! I tried this twice and my eggs keep sticking to my stainless steel pan? I used butter like the recipe said, but half the white is stuck to the bottom every time. What am I doing wrong?

just now

Make sure your pan is preheated a little before you add the butter! If the pan is too cold when you add the eggs, they’ll stick every time. Wait till the butter is melted and foamy a little before cracking the eggs in, works for me on stainless steel.

just now

Sorry to hear the eggs are sticking! For stainless steel pans, make sure the pan is properly preheated (water droplets should dance and skitter across the surface when you flick them on) before adding butter, and don’t try to move the eggs for the first 2 minutes of cooking – they’ll release on their own once the whites set! If you still have trouble, a quick spritz of nonstick spray never hurts.

2 hours ago

There is literally nothing better than a perfectly runny sunny side up egg oozing all over a piece of crispy sourdough. This recipe nails the exact cook time so I don’t have to stand over the pan guessing if they’re done. I will never go back to my old guesswork method again.

1 hour ago

Right?! I used to stand there poking the whites every 10 seconds like a maniac. This 6 minute timer method is foolproof, I set it and walk away to make my coffee now.

30 minutes ago

Took someone’s advice from the comments and added a little chili crisp on top of these. Oh. My. Goodness. The crispy garlic and chili oil with the runny yolk? Life changing. Don’t walk, run to try this combo.

5 days ago

Used fresh eggs from my backyard chickens for this, and they turned out so beautiful! The bright orange yolks were perfect, no pale sad grocery store egg color here. The gentle cook time really lets the fresh egg flavor shine instead of burning it like my old high heat method.

3 days ago

Fresh backyard eggs make everything better! Those bright orange yolks are unbeatable for sunny side up, so glad this recipe let that fresh flavor come through instead of masking it with burnt edges.