
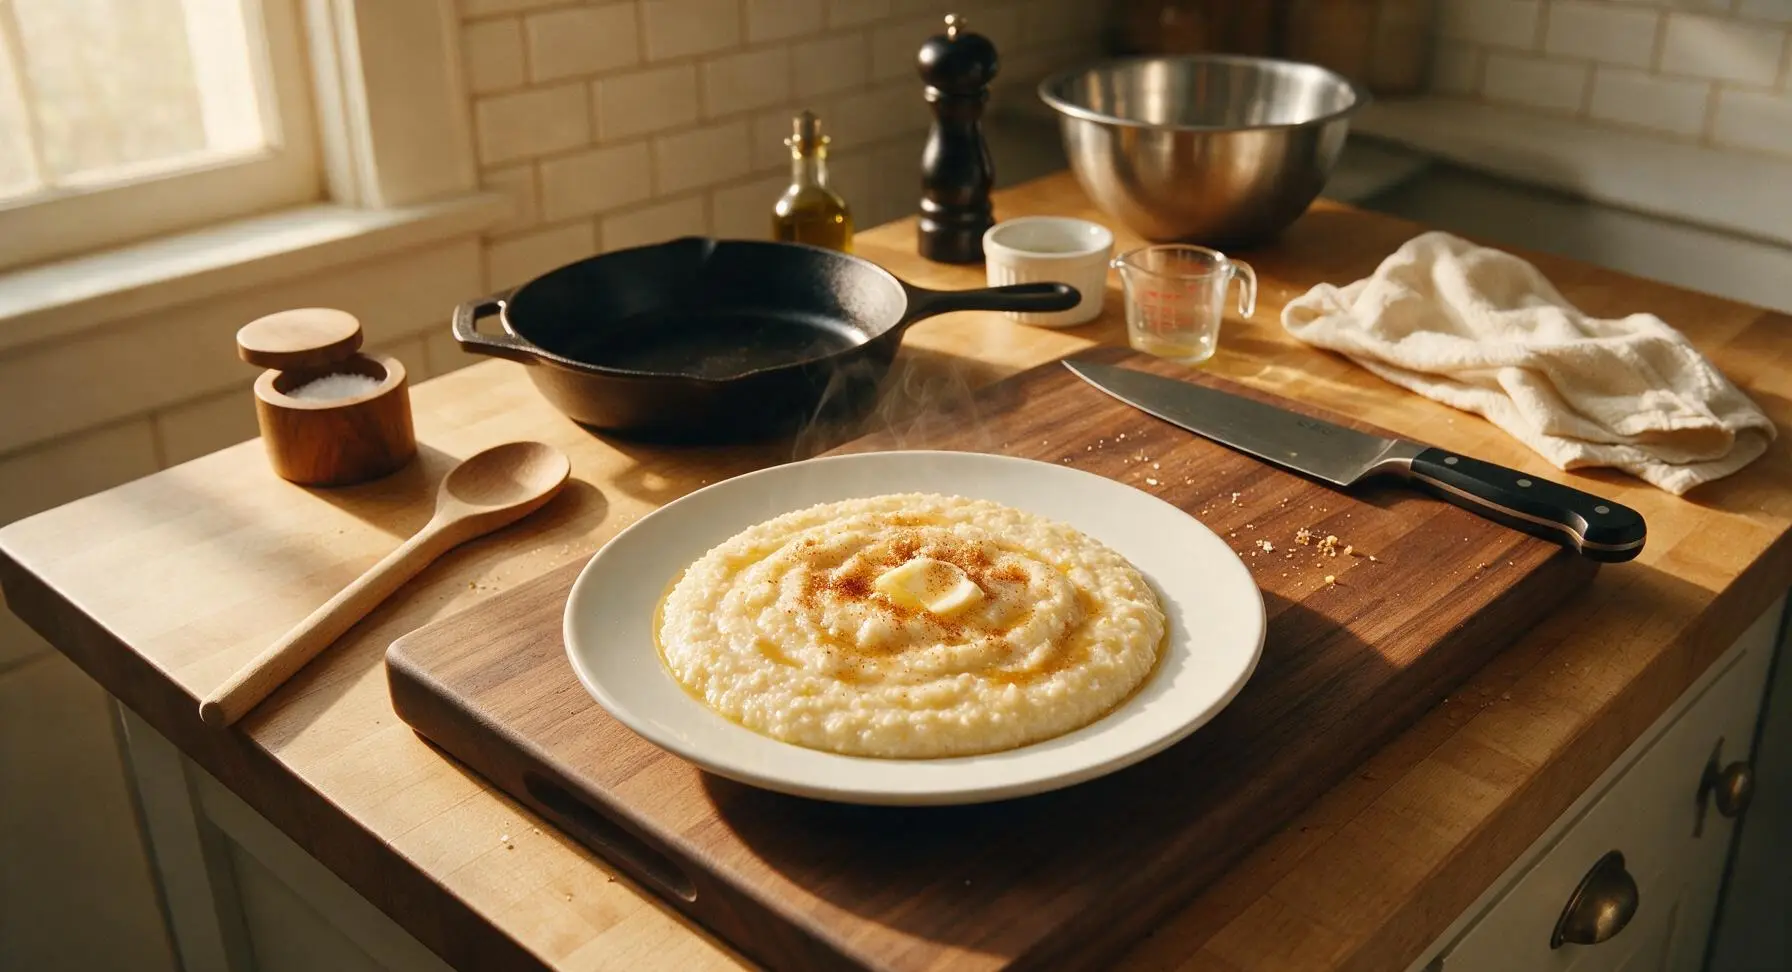
Sweet Grits

title 1
Sweet Grits
⏱️ cook time 20 minutes
🍽️ servings 4
⚡ Difficulty easy

intro

Velvety, creamy stone-ground grits lightly sweetened with honey and brown sugar, spiced with cinnamon, and finished with butter for a cozy, nostalgic comfort food.

Ingredients
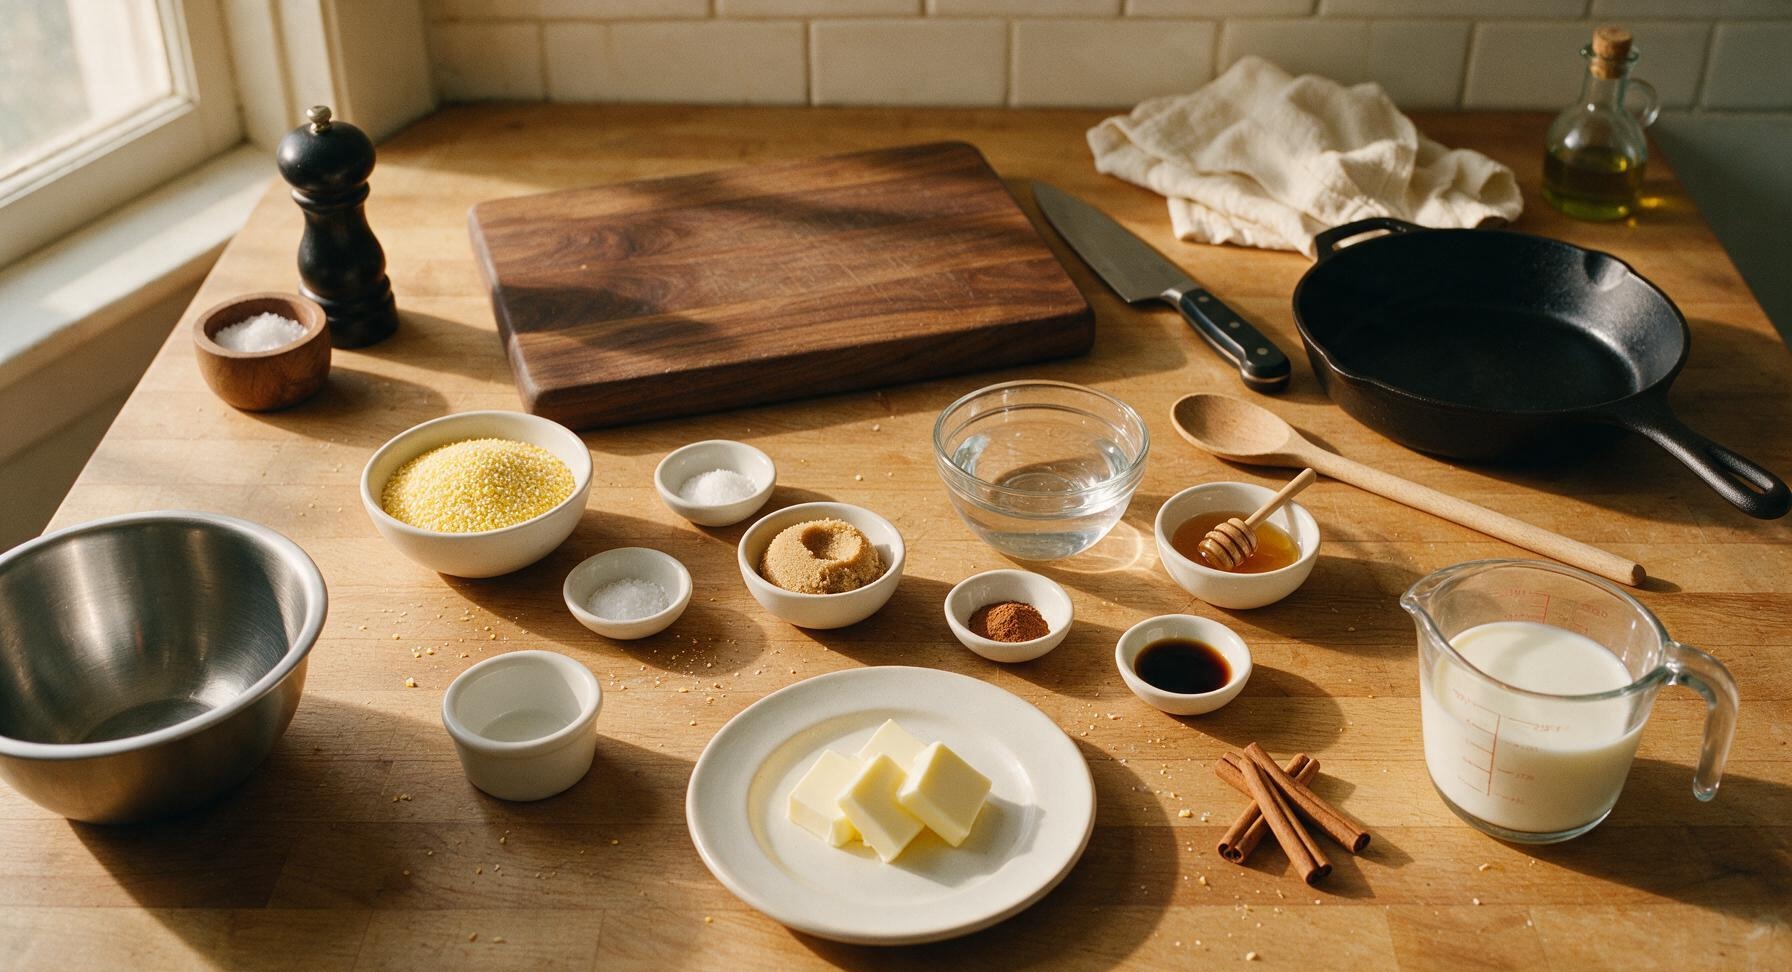
Stone-ground yellow grits 1 cup
Whole milk 2 cups, plus extra for thinning
Cold water 2 cups
Unsalted butter 3 tablespoons, divided
Raw wildflower honey 2 tablespoons, plus extra for garnish
Light brown sugar 1 tablespoon
Fine sea salt 1/4 teaspoon, plus extra to taste
Ground cinnamon 1/2 teaspoon, plus extra for garnish
Pure vanilla extract 1/2 teaspoon
Cinnamon sticks (optional, for garnish) 4 small

Steps

1

Heat Cooking Liquids

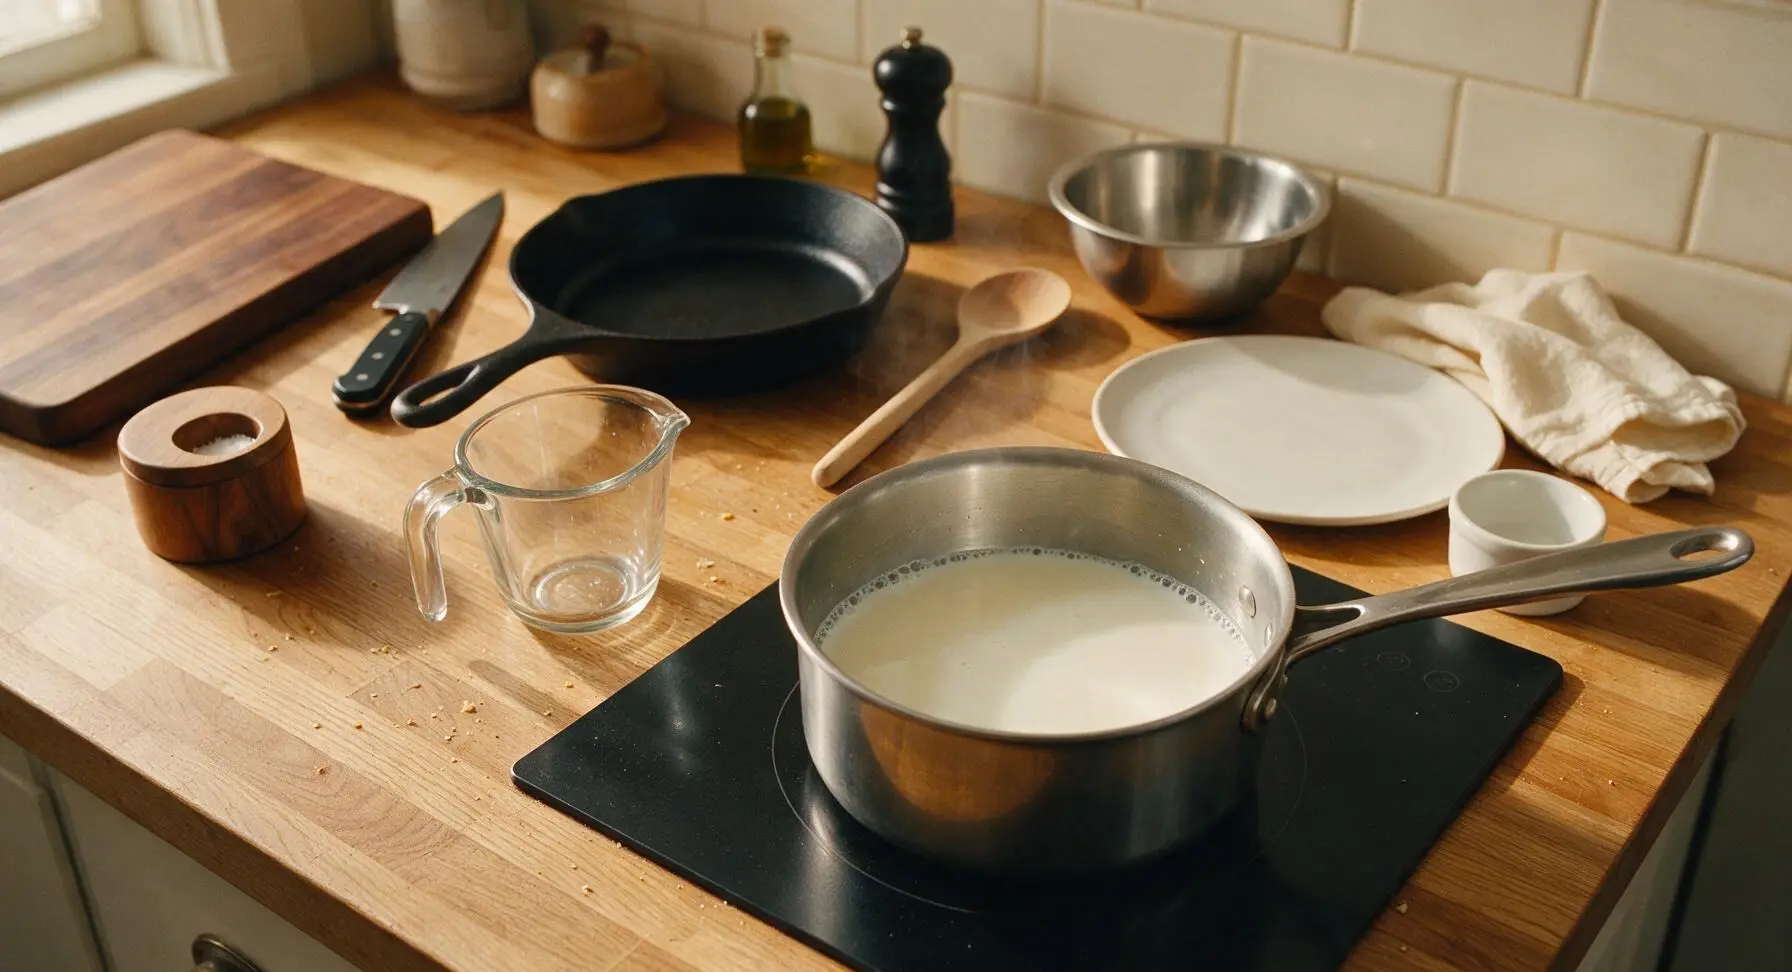
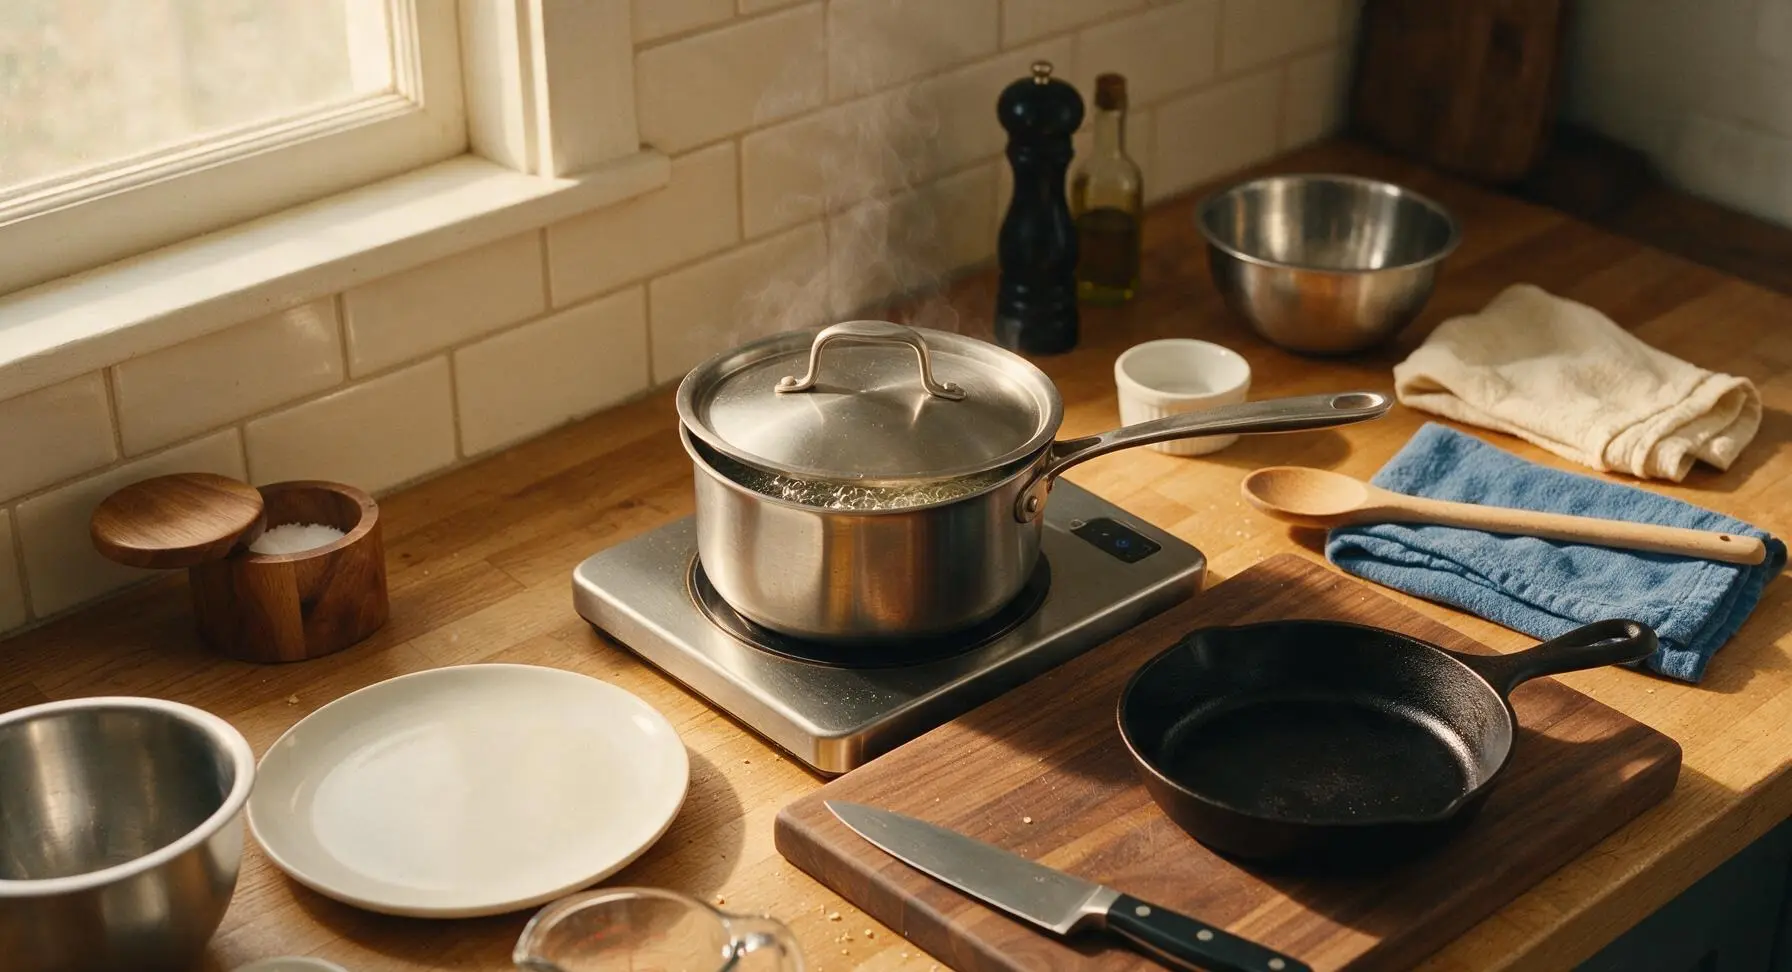
Using the clear glass liquid measuring cup, measure 2 cups whole milk and 2 cups cold water. Pour into the 2-quart stainless steel saucepan, set over medium-low heat. Bring the liquid to a gentle, slow simmer (around 190°F / 88°C) – do not let it boil rapidly, as this can scald the milk. You will see tiny bubbles forming around the edge of the pan and light steam rising when it is ready, about 4-5 minutes.
Step 1
step1:Heat Cooking Liquids
2

Add Grits to Liquid

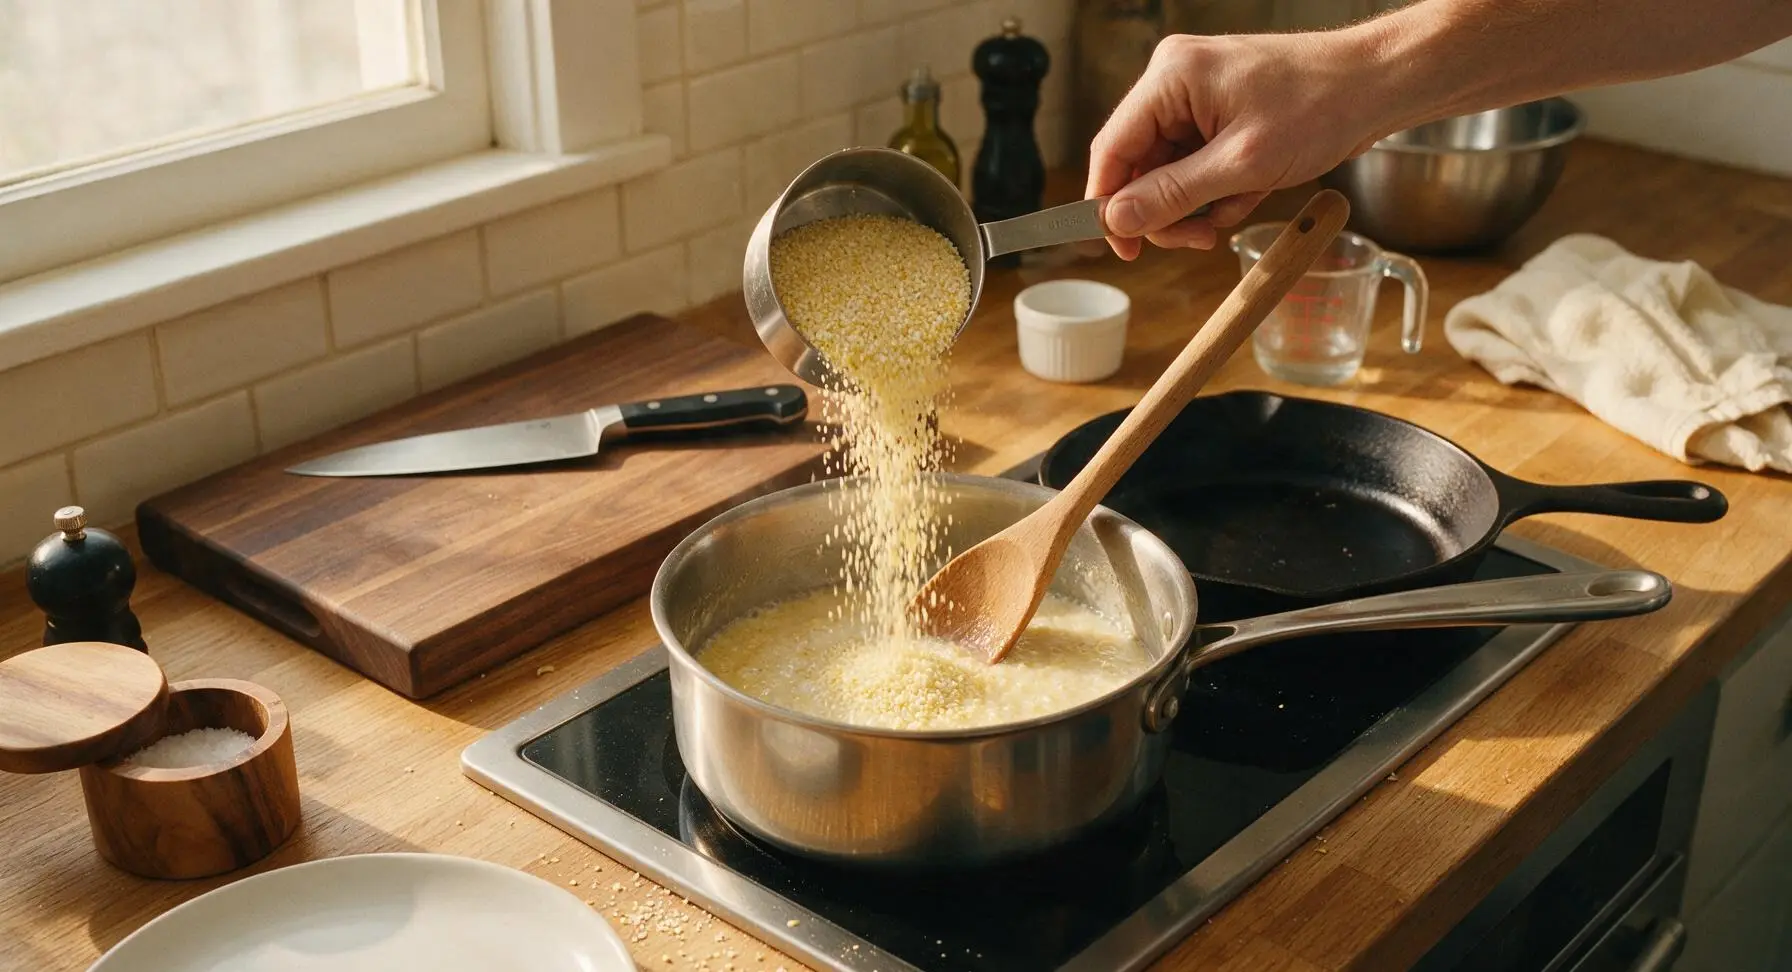
Once the liquid reaches a gentle 190°F simmer (no rapid boiling), slowly pour in 1 cup of stone-ground yellow grits while stirring constantly with the long-handled beech wood spoon to prevent dry lumps from forming. Stir in 1/4 teaspoon fine sea salt immediately after adding the grits, making sure to scrape the very bottom of the pan where grits tend to settle first.
Step 2
step2:Add Grits to Liquid
3

Simmer Grits Slowly

Reduce heat to the lowest induction setting to maintain a lazy, slow bubble (approximately 200°F). Partially cover the saucepan with its matching stainless steel lid, leaving a 1-inch gap to let steam escape and prevent sticky boilovers. Cook for 15 minutes total, removing the lid to stir thoroughly with the beech wood spoon every 3 minutes, scraping the bottom and sides of the pan to prevent sticking or burning. The grits are done when they are completely tender, with no gritty, crunchy texture when tasted, and thick enough to lightly coat the back of a spoon.
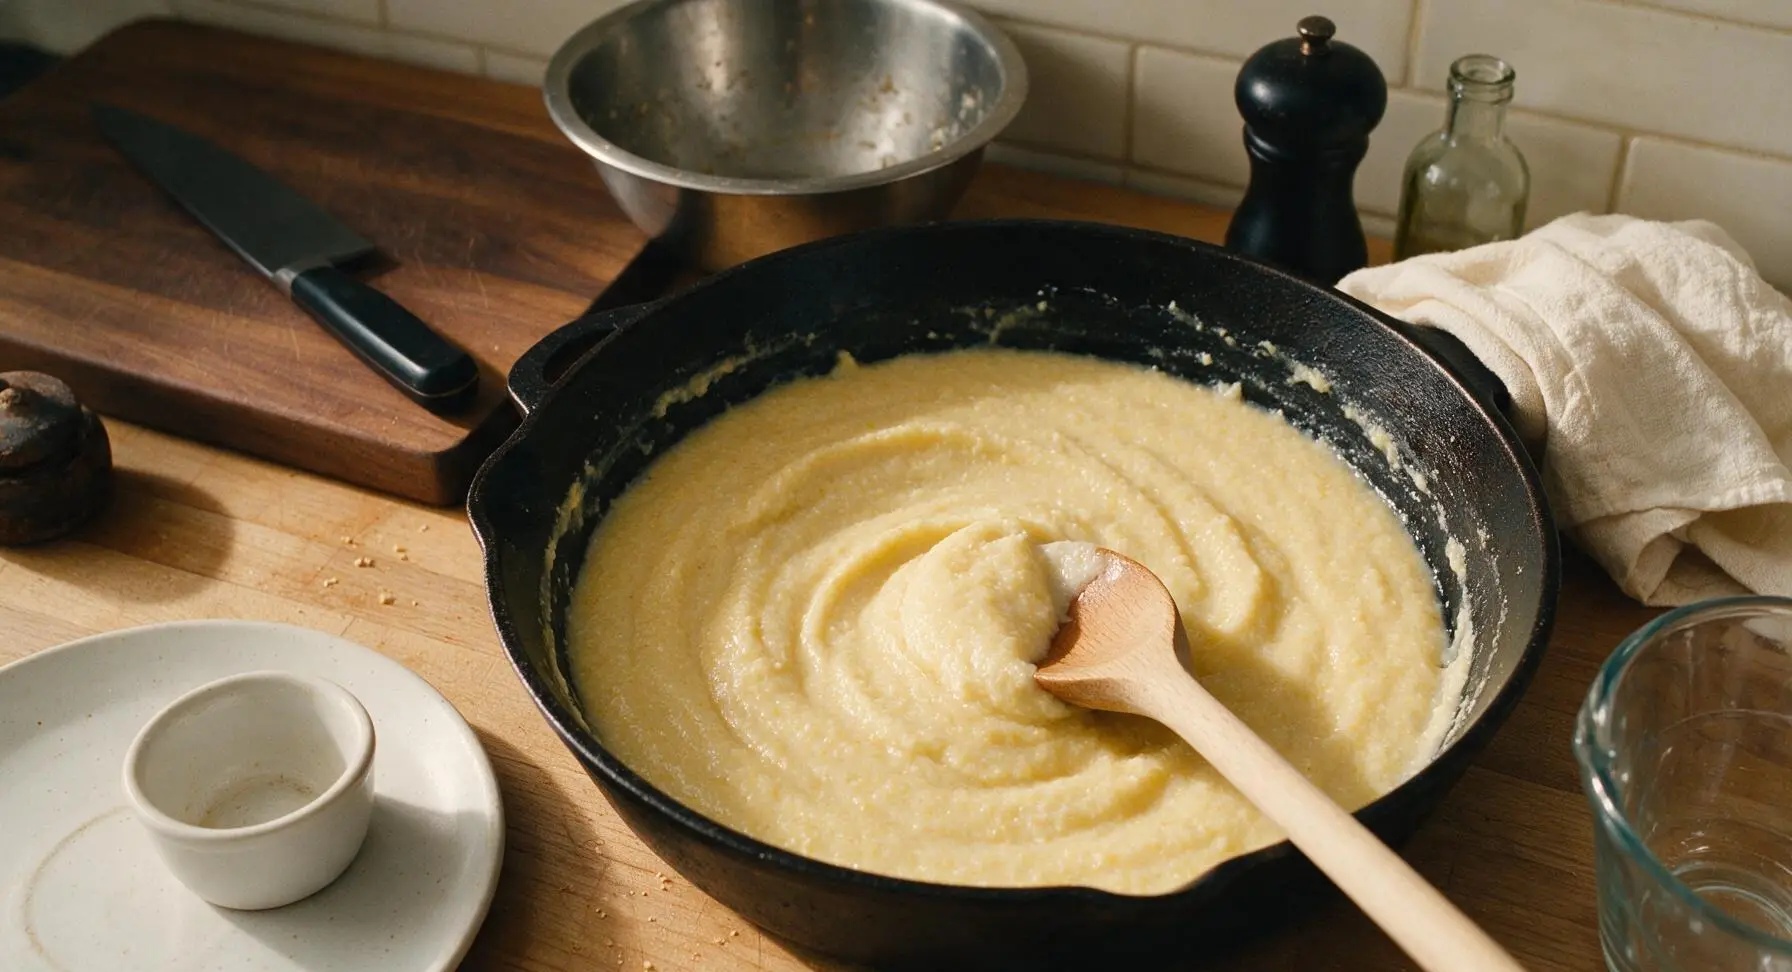
Step 3
step3:Simmer Grits Slowly
Step 3
step3:Simmer Grits Slowly
4

Stir in Flavorings

Once grits are fully tender, pull the saucepan off the induction burner to the cool section of the counter. Add 2 tablespoons of unsalted butter, 1 tablespoon light brown sugar, 2 tablespoons raw honey, 1/2 teaspoon ground cinnamon, and 1/2 teaspoon pure vanilla extract. Stir vigorously with the beech wood spoon for 1 full minute until the butter is fully melted, all sweeteners are dissolved, and the mixture is completely smooth with no unblended streaks of cinnamon or pools of melted butter.
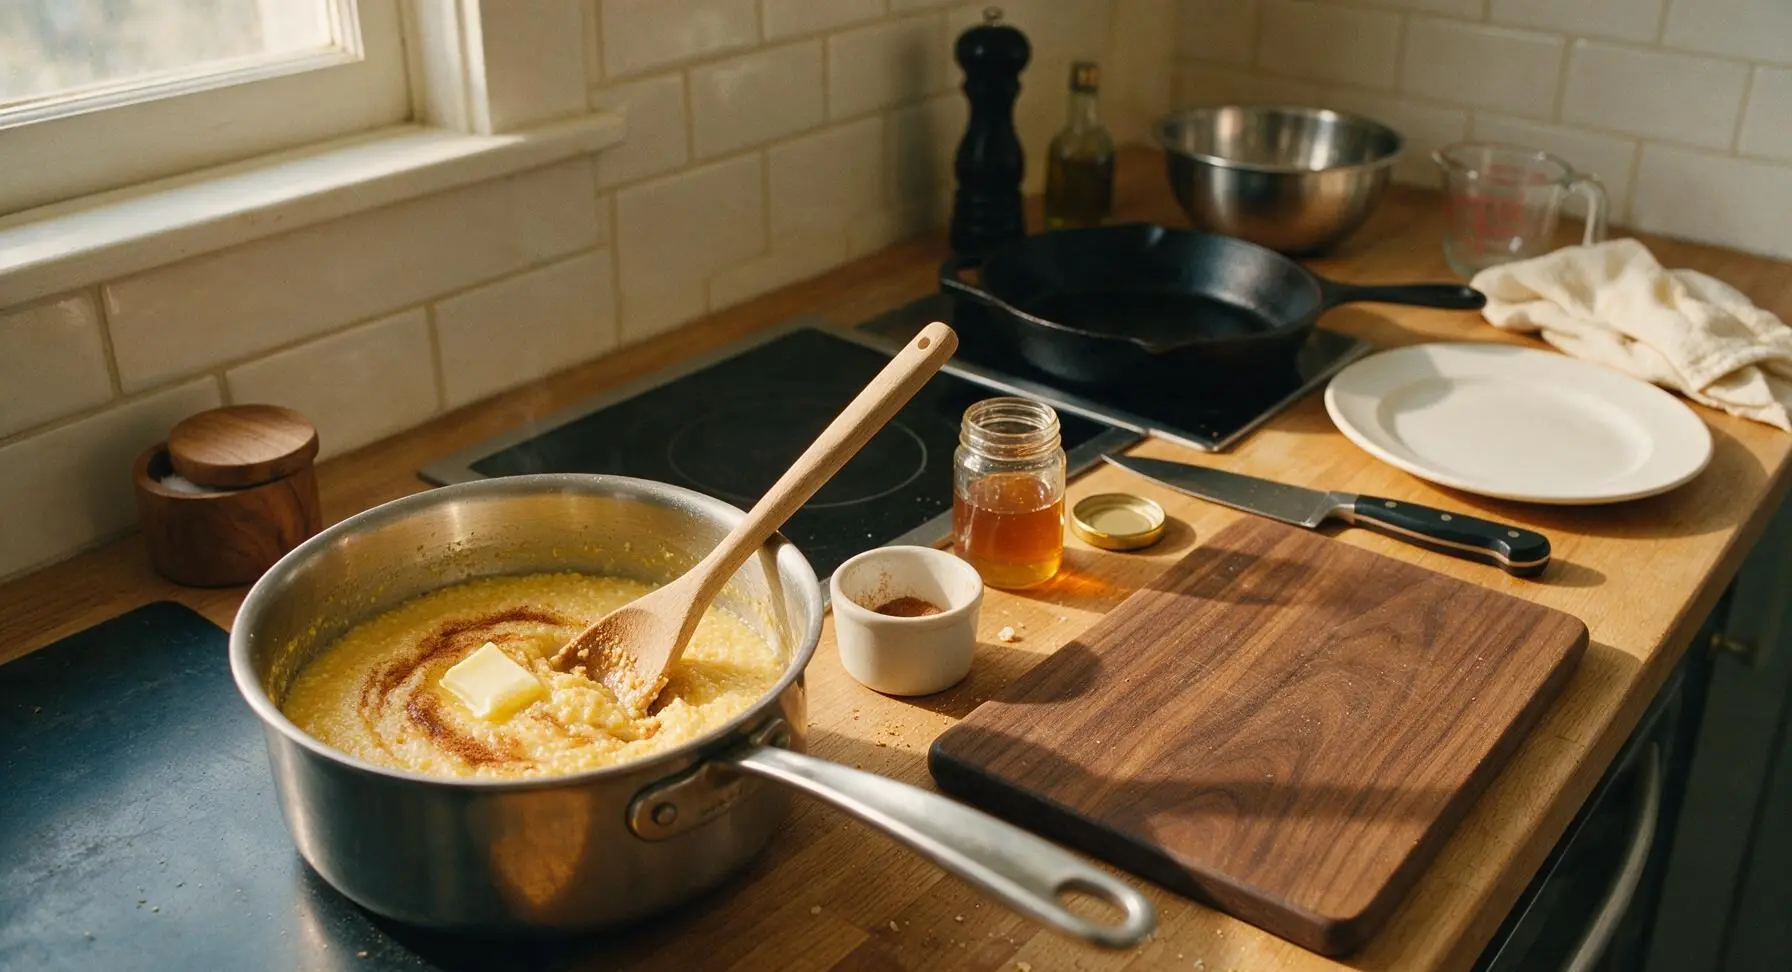
Step 4
step4:Stir in Flavorings
5

Adjust Consistency

Check the grits texture: they should be thick but slowly pourable, similar to soft vanilla custard. If too thick, stir in 1-2 tablespoons of warm extra milk to thin to your preferred consistency. If too thin, let rest uncovered for 2 minutes to thicken further. Taste and add a tiny extra pinch of salt if needed to balance sweetness – the salt will amplify honey and cinnamon flavors without making the grits taste salty.
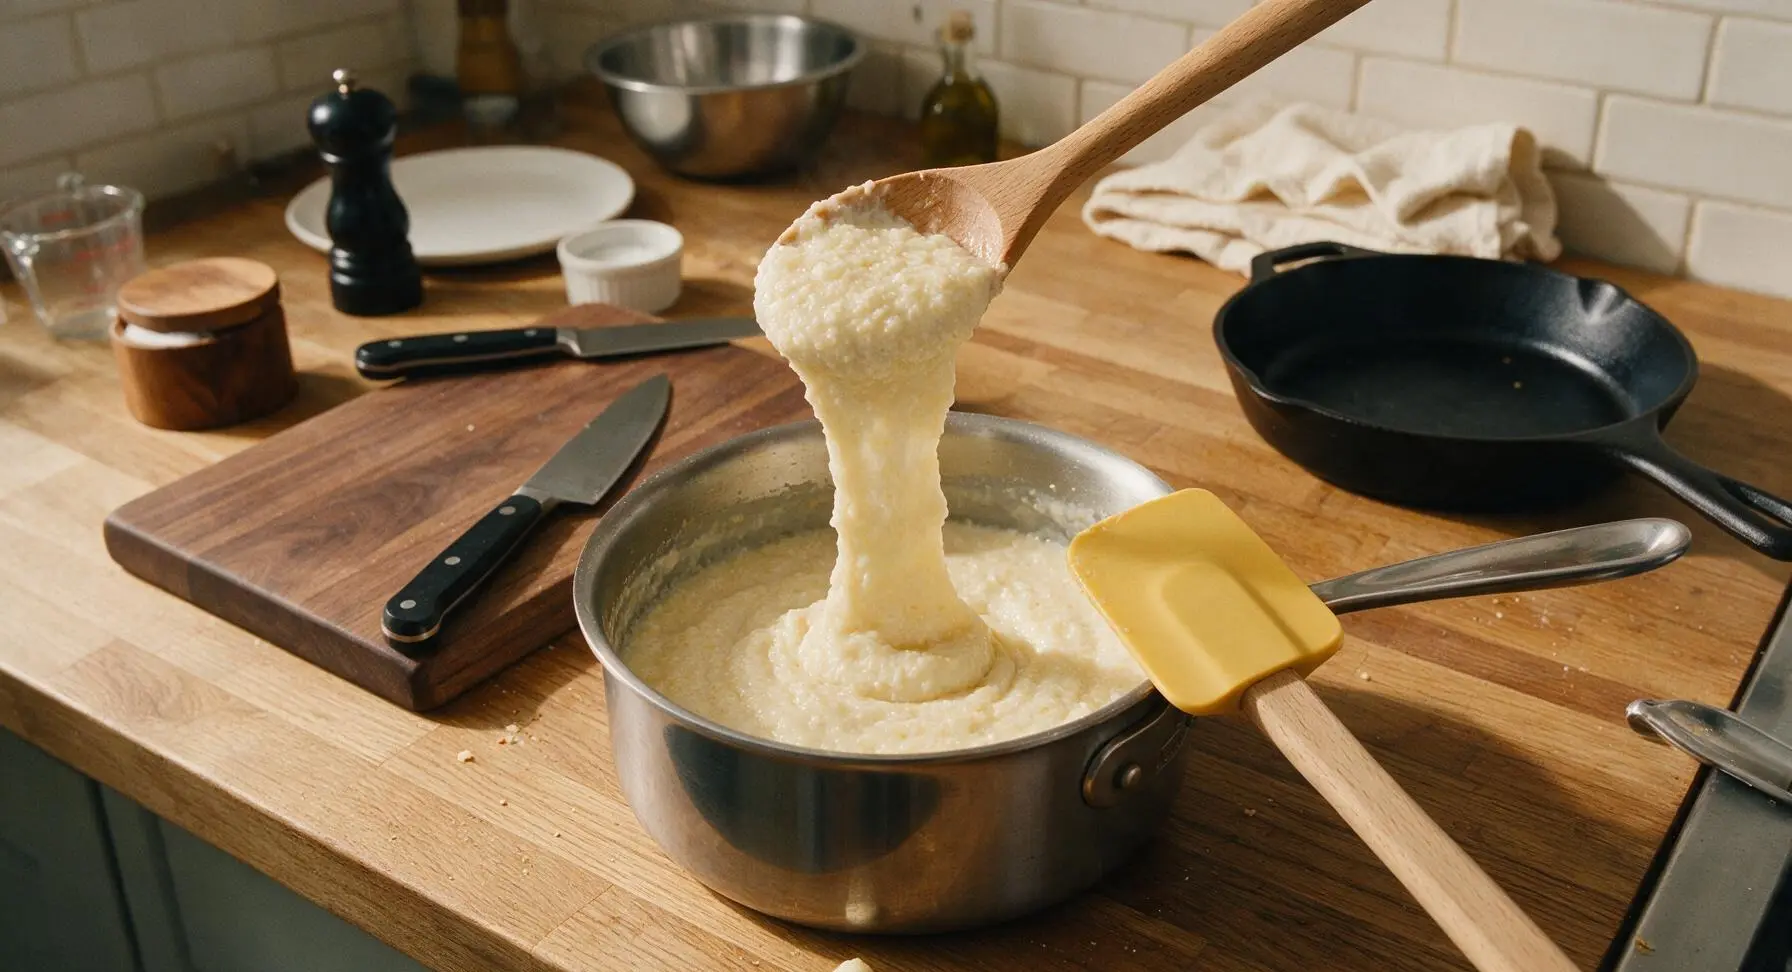
Step 5
step5:Adjust Consistency
6

Plate and Garnish

Use the butter yellow silicone spatula to scrape all grits from the pan, dividing the warm mixture evenly between the four cream ceramic shallow serving bowls. Top each bowl with a small 1/4 tablespoon pat of the remaining butter, a light drizzle of extra honey, and a faint dusting of ground cinnamon. Tuck one small cinnamon stick into the side of each bowl for garnish if desired. Serve immediately, as grits will thicken and stiffen as they cool.
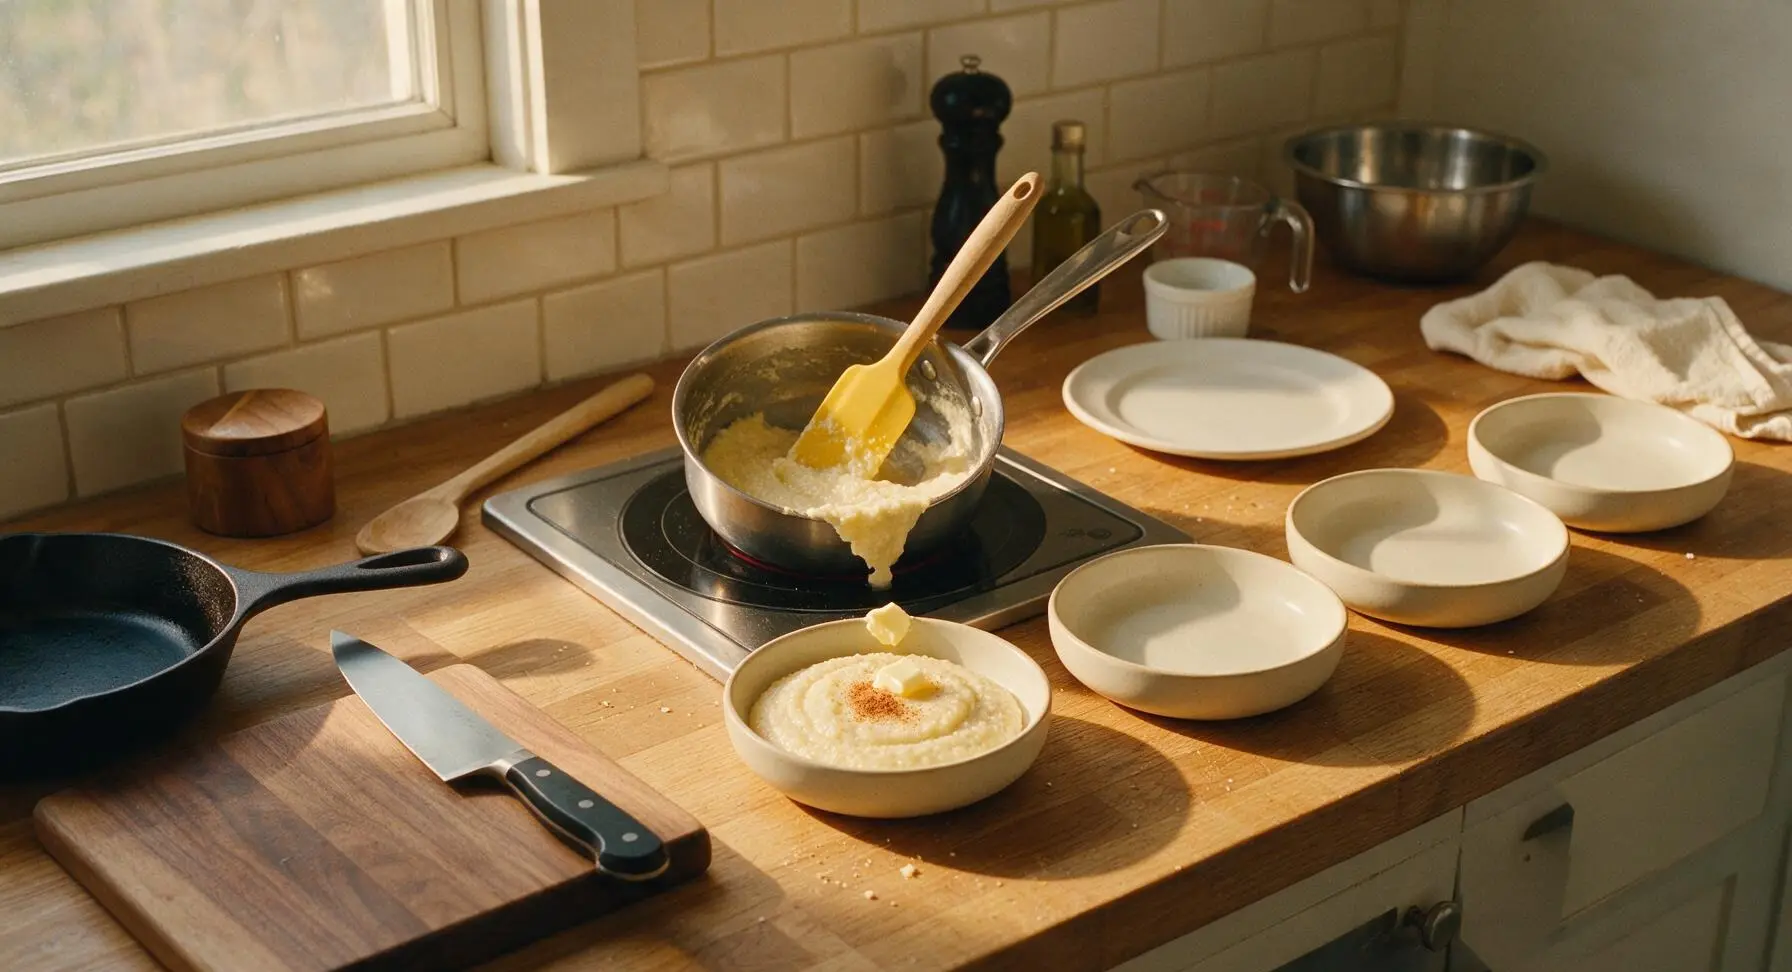
Step 6
step6:Plate and Garnish

Tips

1.Choose stone-ground grits over instant or quick-cooking varieties for the best flavor and texture: stone-ground grits retain more of the corn bran and germ for a nutty, sweet corn taste and velvety texture, while instant grits are over-processed and often turn gluey or mushy. If using quick grits, reduce cook time to 5 minutes to avoid overcooking.
2.Never cook grits over high heat: rapid boiling causes milk to scald and grit granules to stick and burn on the pan bottom, creating bitter, lumpy bits that ruin the smooth finish. A low, slow simmer lets the grits absorb liquid evenly for a perfectly creamy consistency.
3.Always add a small pinch of salt to sweet grits: salt suppresses bitter notes from the corn and cinnamon, amplifies the honey and vanilla sweetness, and keeps the dish from tasting flat or cloying. You should not be able to taste the salt itself, just notice brighter, more balanced flavor.


✨ You May Also Like

Breakfast
🍜 United States

Crisp-edged, fluffy lard griddle cakes are a nostalgic homestyle staple, with rich savoriness from rendered lard, perfect topped with maple syrup or savory gravy.

⏱️ 25 minuteBreakfast ★ 4.8
Breakfast
🍜 United States

Flaky, buttery homemade buttermilk biscuits smothered in creamy, peppery pork sausage gravy: a beloved, hearty Southern American comfort food classic.

⏱️ 35 minuteBreakfast ★ 4.8
Breakfast
🍜 United States

Golden, custardy brioche stuffed with sweet cream cheese and fresh berries, pan-fried to crisp perfection. An indulgent, cozy breakfast perfect for slow weekend mornings.

⏱️ 30 minuteBreakfast ★ 4.7
Breakfast
🍜 United States

Flaky, buttery Southern-style biscuits stuffed with savory salty country ham, a portable, satisfying classic perfect for casual on-the-go meals.

⏱️ 25 minuteBreakfast ★ 4.8
Breakfast
🍜 United States

Iconic puffy baked pancake popularized in Seattle, with crisp golden edges and soft custardy center, served warm with classic sweet toppings.

⏱️ 35 minuteBreakfast ★ 4.6
Breakfast
🍜 United States

Fluffy, golden pancakes studded with juicy peak-summer mixed berries, drizzled with maple syrup for a bright, comforting, crowd-pleasing family breakfast.

⏱️ 25 minuteBreakfast ★ 4.7

Sweet Grits:Frequently Asked Questions

1.Why do you recommend stone-ground yellow grits instead of quick or instant grits for this recipe? ▾
Stone-ground grits are milled slowly from whole dried corn kernels, so they retain a nutty, bright sweet corn flavor and tender, hearty texture that makes the final dish feel cozy and nostalgic. Quick or instant grits are over-processed, cook up mushy or gluey, and lack that deep, fresh corn taste that makes these grits feel truly special.
2.How do I keep my creamy sweet grits from developing lumps as they cook? ▾
The foolproof method is to whisk your grits into the cold mix of water and milk first, before turning on the heat, to evenly coat every granule. Bring the mix to a gentle simmer (not a rolling boil) over medium heat, stirring regularly, then turn heat to low and stir every 2 to 3 minutes for perfectly smooth results.
3.Can I swap the whole milk for lower-fat milk or a non-dairy alternative? ▾
Whole milk creates that luxe, velvety mouthfeel that makes these grits feel like classic comfort food, but you can swap it if needed. If using 2% or skim milk, add an extra tablespoon of unsalted butter to boost richness. For non-dairy, unsweetened plain oat milk works best, as it has a creamy texture and mild flavor that won’t overpower the corn and honey.
4.How do I reheat leftover grits without them turning thick and gummy? ▾
Grits thicken significantly as they chill in the fridge, so don’t reheat them straight from the container as-is. Scoop your portion into a small pot, stir in 1 to 2 tablespoons of extra milk per serving, and warm over low heat, whisking occasionally, until they’re silky and heated through—they’ll taste just as good as the day you made them.
5.Can I adjust the sweetness level if I don’t want very sweet grits? ▾
Definitely! The raw wildflower honey and brown sugar amounts in this recipe are calibrated for a light, balanced sweetness that lets the corn and warm cinnamon flavor shine, not a cloying, dessert-like sweetness. You can cut the sweeteners by half for a mellow profile, or add an extra drizzle of honey at the end if you prefer a sweeter treat.
6.Why does the recipe specify cold water, instead of hot tap or boiling water? ▾
Starting your grits with cold water mixed with milk lets the starch granules in stone-ground grits heat up and release slowly and evenly, rather than seizing up on the outside when hit with boiling liquid. That seizing is what causes grainy, undercooked centers and unexpected lumps, so this small step makes a huge difference in final texture.

Comments (4)

2 days ago

OMG these creamy sweet grits are a total game changer! I made them for Sunday brunch last weekend and my whole family went crazy for them—even my super picky 7 year old asked for seconds! The 20 minute cook time was way faster than I expected too, which makes them perfect for rushed school mornings when I don’t have a ton of time to make breakfast.

yesterday

Wait did you add any extra toppings? I’m making these for a work potluck this weekend and thinking fresh strawberries and a drizzle of maple syrup would slap!

2 hours ago

So happy these were a hit with your family, Mia! And Jake, those strawberry and maple topping ideas are chef’s kiss—if you want a little extra crunch, toss on some toasted pecans too, it pairs perfectly with the creamy sweet base.

30 minutes ago

SO good! I was so nervous about making grits for the first time because I’ve only ever had them at restaurants and figured they’d be super tricky to get right, but this recipe was genuinely so easy. They came out perfectly silky and creamy, just sweet enough without being cloying, exactly what I was craving for a lazy weekend breakfast.

5 minutes ago

Thrilled your first homemade grits attempt went so smoothly, Lila! The trick to lump-free grits is pouring them slowly into boiling liquid while whisking nonstop at the start—sounds like you totally nailed it!

1 week ago

Solid base recipe! I do weekly meal prep every Sunday and these hold up really well in the fridge for 3-4 days, no weird grainy texture when you reheat them. I just add a tiny splash of oat milk when I warm them up in the microwave and they’re good as new. The only swap I made was cooking the butter until it was nutty and brown before stirring it in, *chef’s kiss* level upgrade.

5 days ago

Oh that brown butter swap sounds absolutely insane! I’m definitely trying that next time I batch make these for the week—thanks for the pro tip!

just now

Made these for my grandkids when they came to visit last week and they cleaned their bowls! It tasted exactly like the sweet grits my own mom used to make for us when we were growing up, so it felt like such a nice nostalgic treat. It was so easy to throw together too, even when I was chasing my toddler grandson around the kitchen mid-cook, ha.



