
Sweet & Smoky Burnt Ends
intro
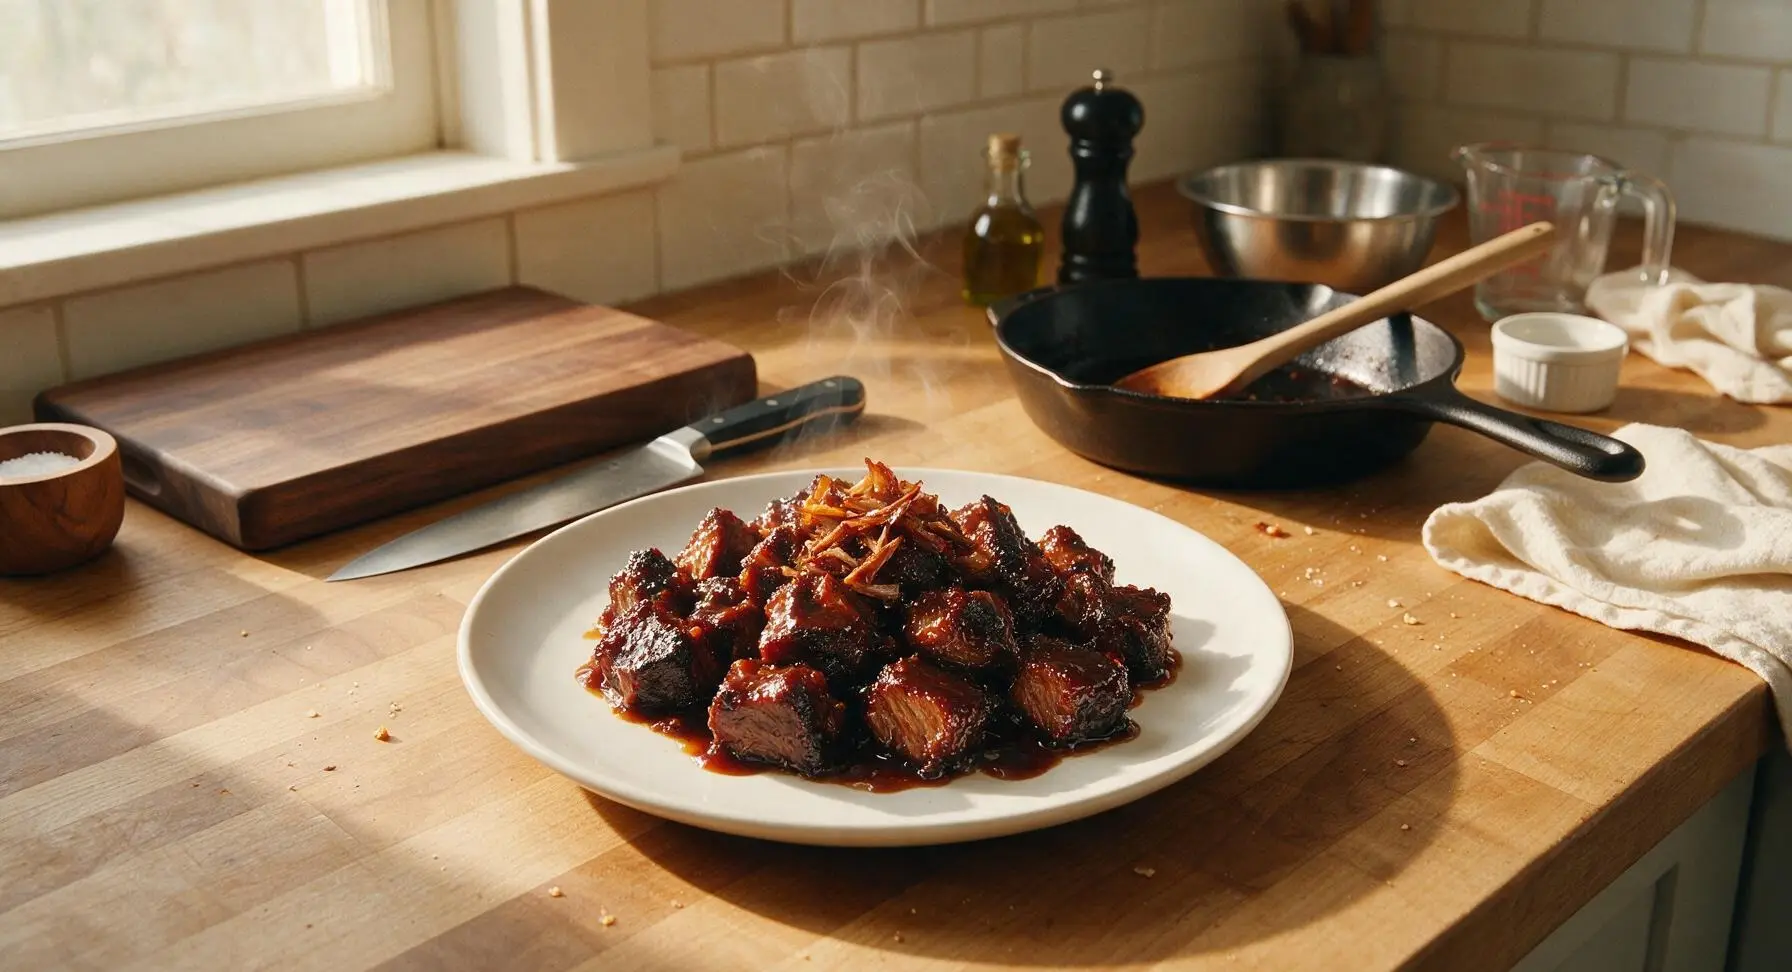
Sticky, caramelized smoked brisket cubes with a crispy bark and juicy, melt-in-your-mouth center, coated in sweet-smoky BBQ sauce—this iconic bite is the ultimate cookout crowd-pleaser.
Ingredients
Steps
Trim Brisket Point
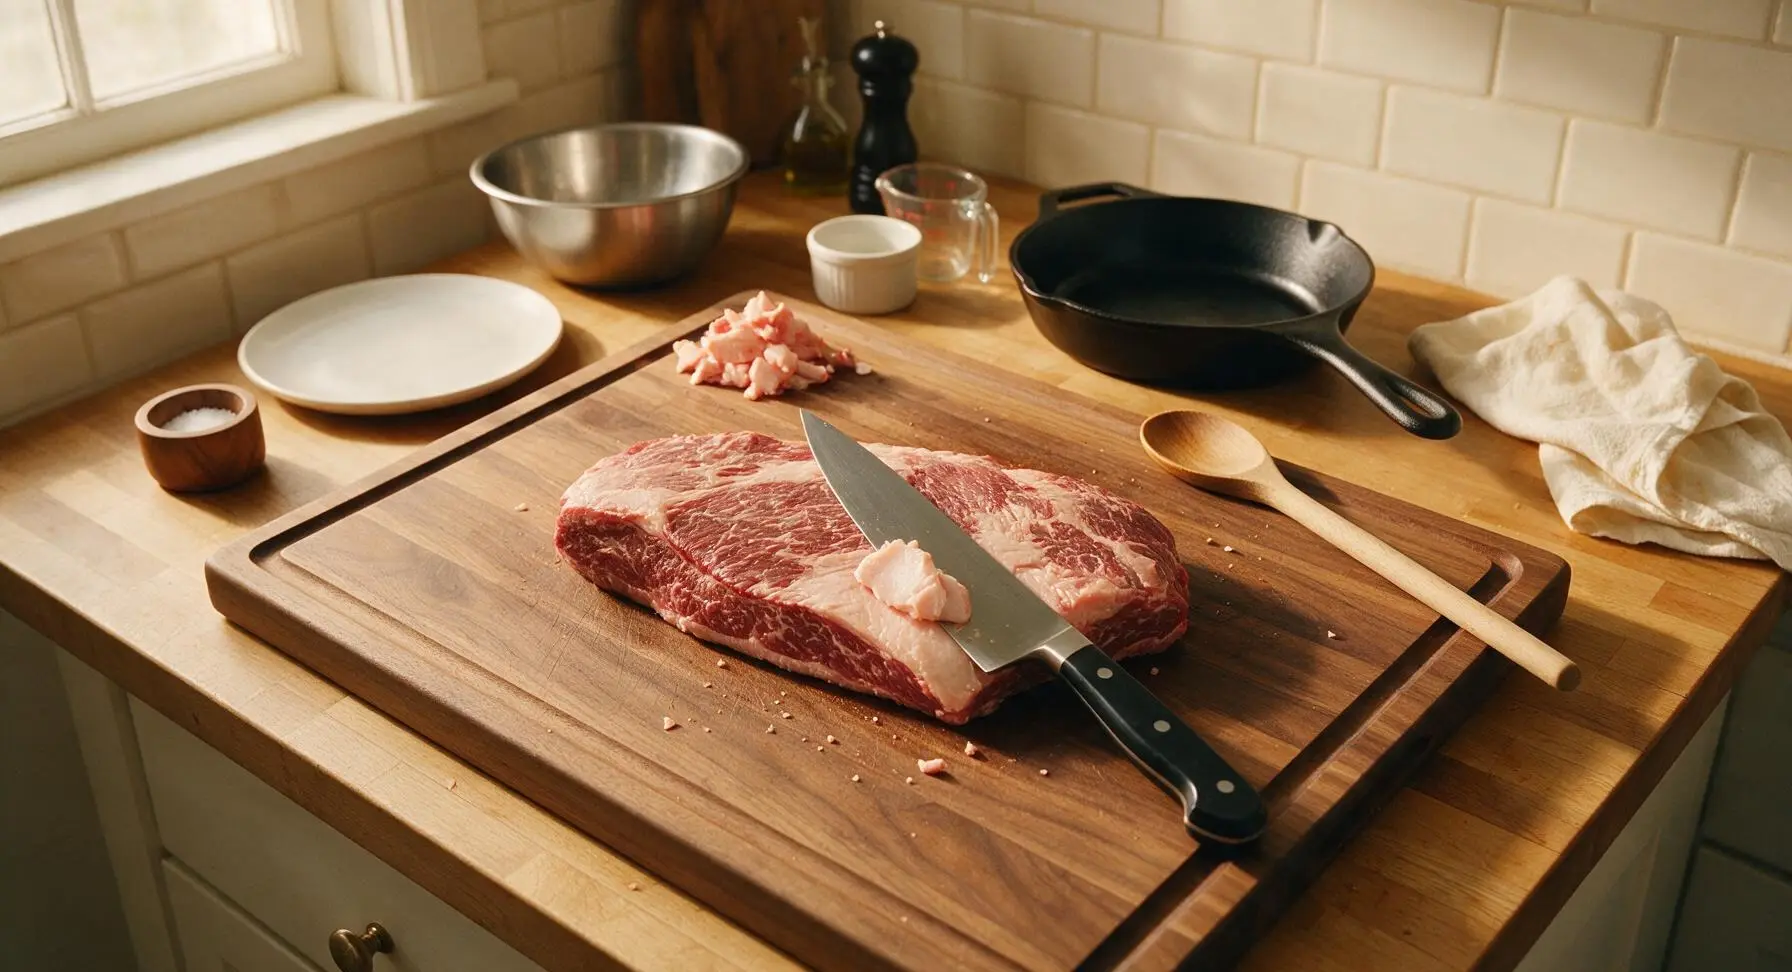
Place the 1.5kg beef brisket point on the acacia wood cutting board. Use the 8-inch chef knife to trim excess hard fat and silver skin from all surfaces, leaving a uniform 1/4-inch thick fat cap on one side. Pat the entire surface completely dry with a corner of the cream linen towel. The meat should feel firm, with no loose fatty flaps hanging off the edges.
Apply Dry Rub
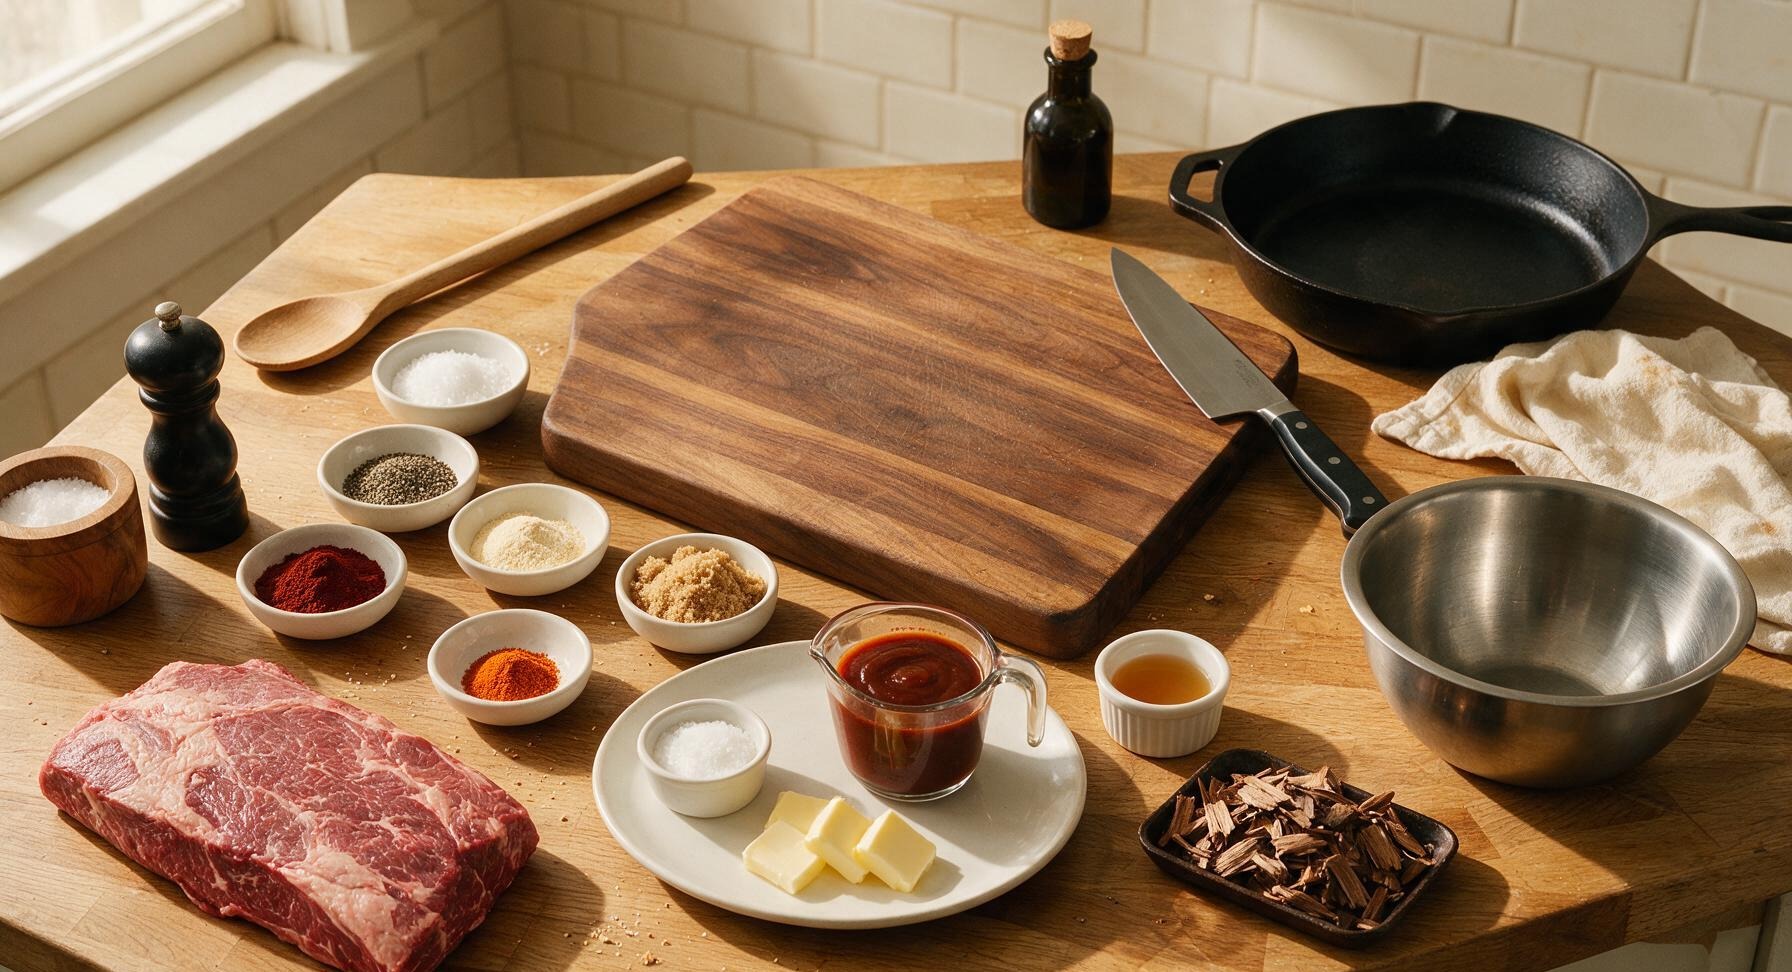
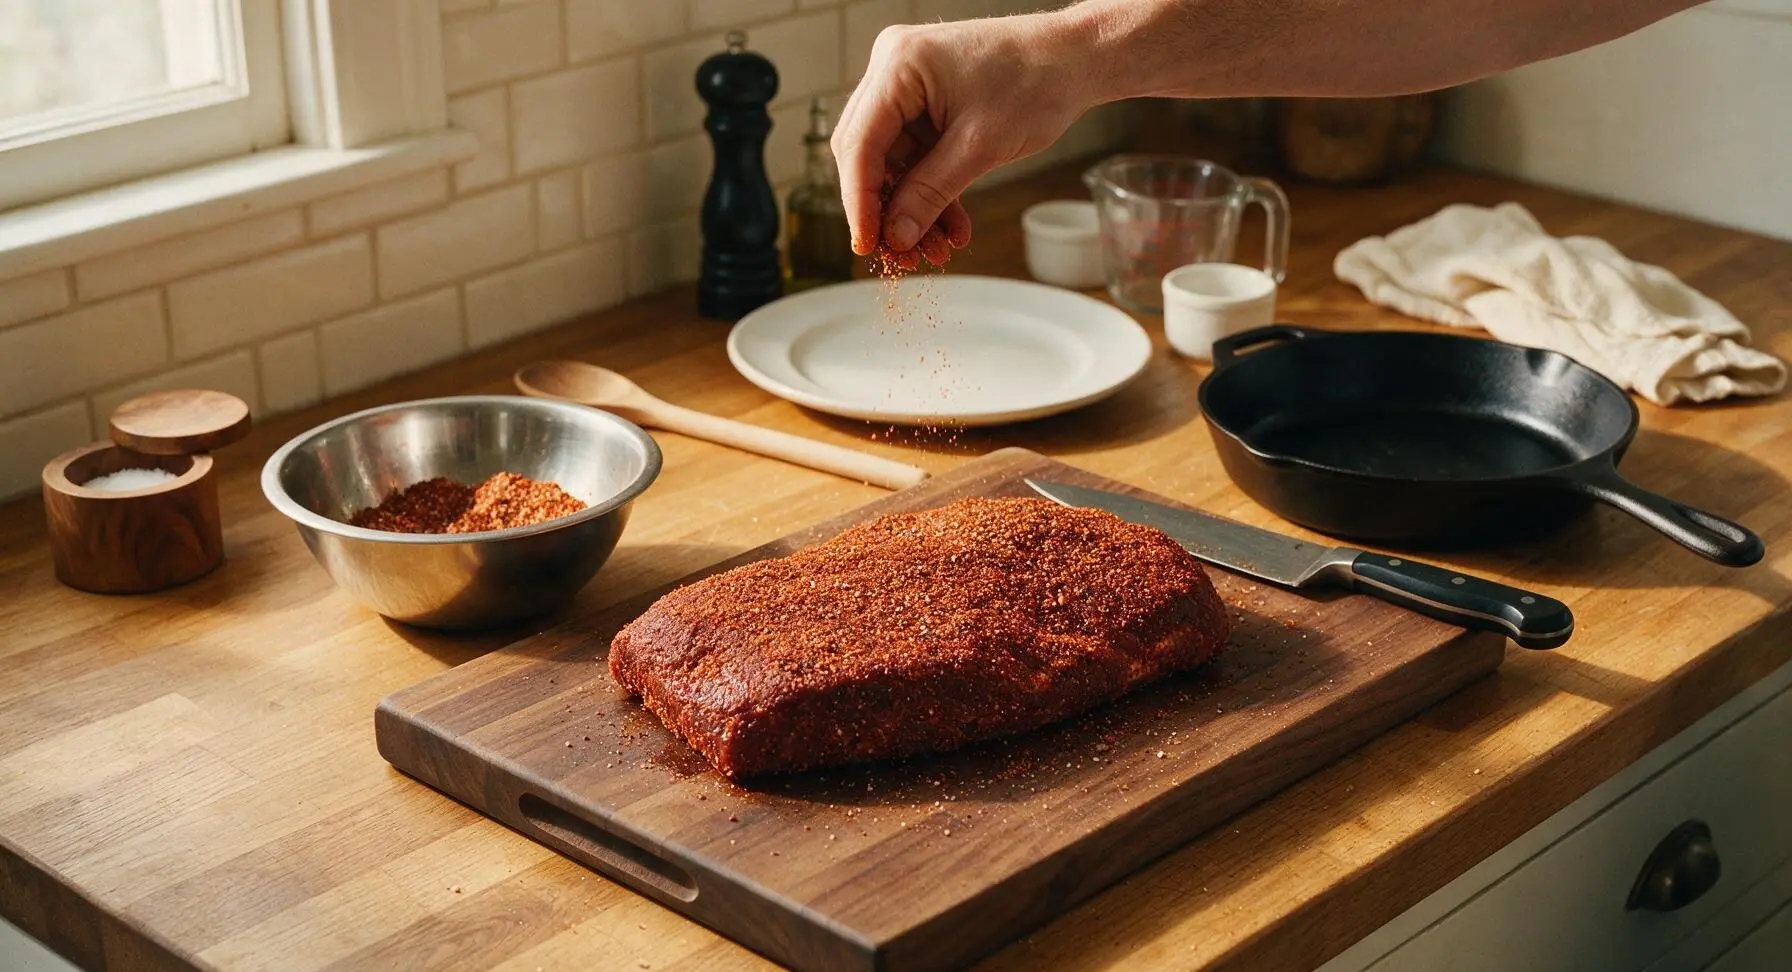
In the medium stainless steel mixing bowl, combine 2 tbsp kosher salt, 2 tbsp coarse black pepper, 1 tbsp smoked paprika, 1 tsp garlic powder, 1 tsp onion powder, 1/4 tsp cayenne pepper, and 1 tbsp light brown sugar, stirring until fully blended with no clumps. Sprinkle the rub evenly over every surface of the dried brisket, pressing gently to help the spices adhere. The entire brisket should be coated in a uniform, dark reddish-brown layer of seasoning, with no bare meat patches visible.
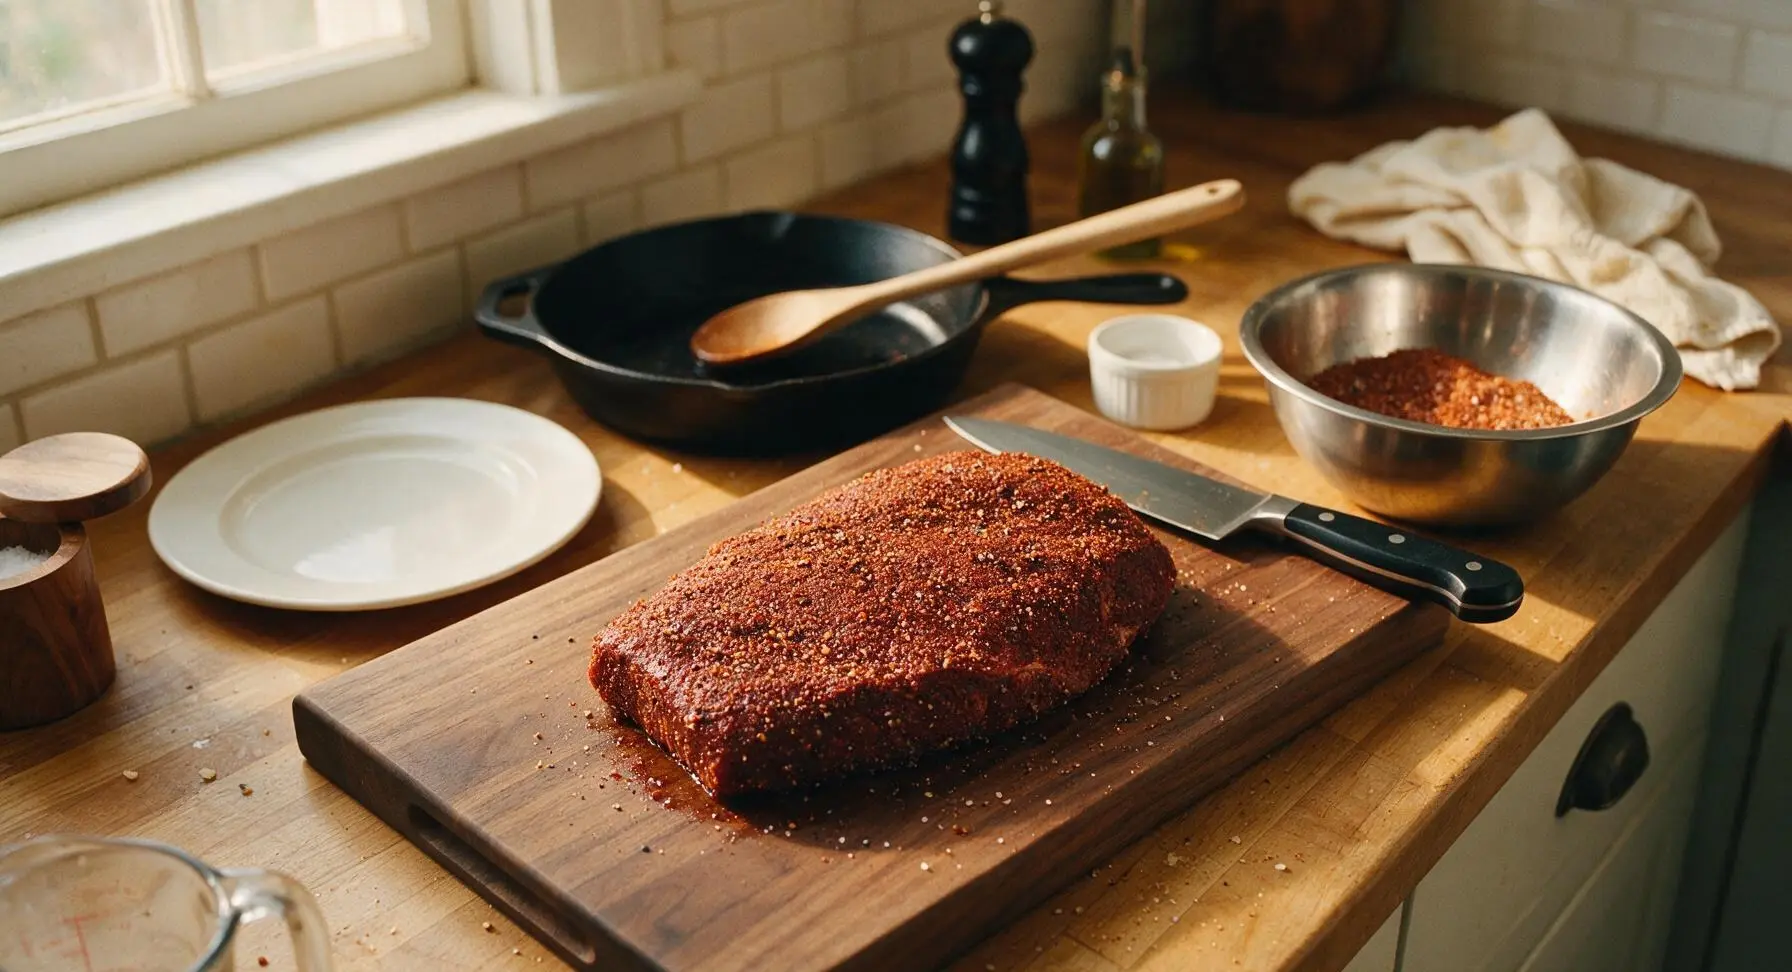
Smoke Brisket Slowly
Preheat your smoker to 250°F (120°C), add drained soaked hickory wood chips to the smoker box. Place the seasoned brisket fat-side up on the smoker grates, close the lid, and smoke for 3 hours, maintaining a consistent temperature within 10 degrees of the target. Use the digital meat thermometer to check for an internal temperature of 165°F (74°C) at the thickest point; the exterior will have a dark, matte mahogany bark when this stage is complete.
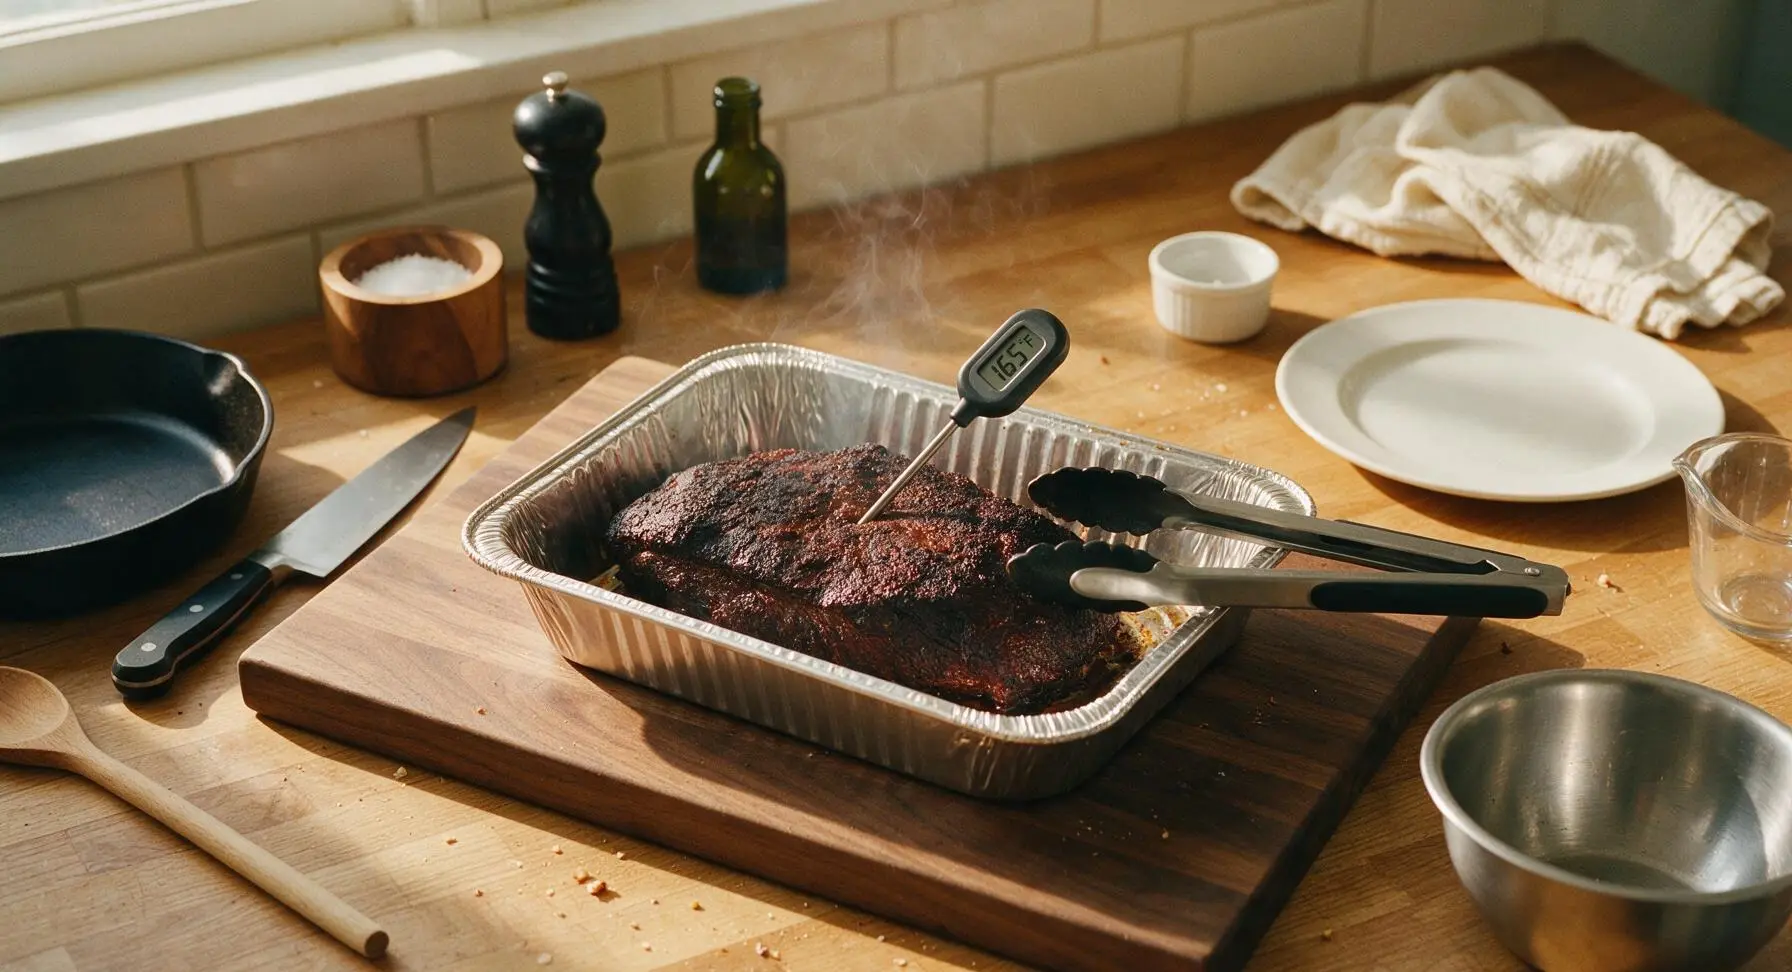
Wrap Brisket Tight
Remove the thermometer from the brisket. Add the 4 tbsp of butter pats, 1 tbsp apple cider vinegar, and remaining 2 tbsp light brown sugar to the foil pan around the base of the brisket. Tear two large sheets of heavy-duty aluminum foil, wrap the pan and brisket completely airtight, crimping the edges tightly to trap all steam. Return the wrapped brisket to the smoker, and cook for an additional 1.5 hours until the internal temperature reaches 203°F (95°C), and the meat feels probe-tender with zero resistance when the thermometer is inserted.
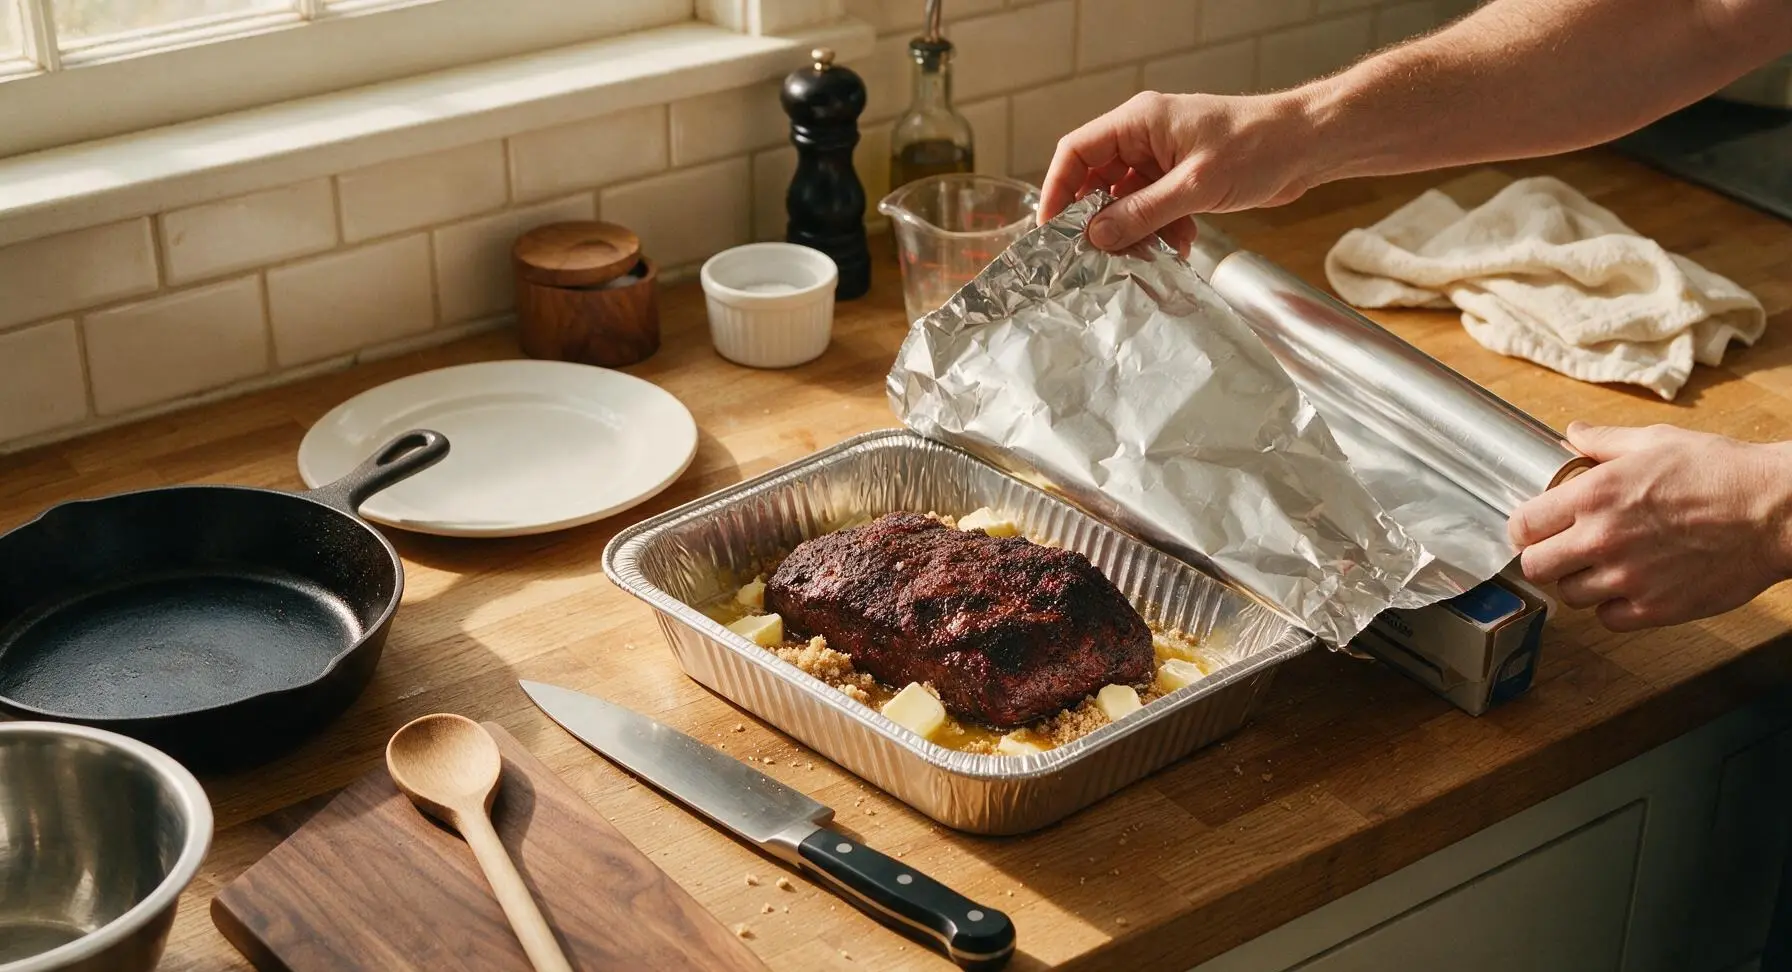
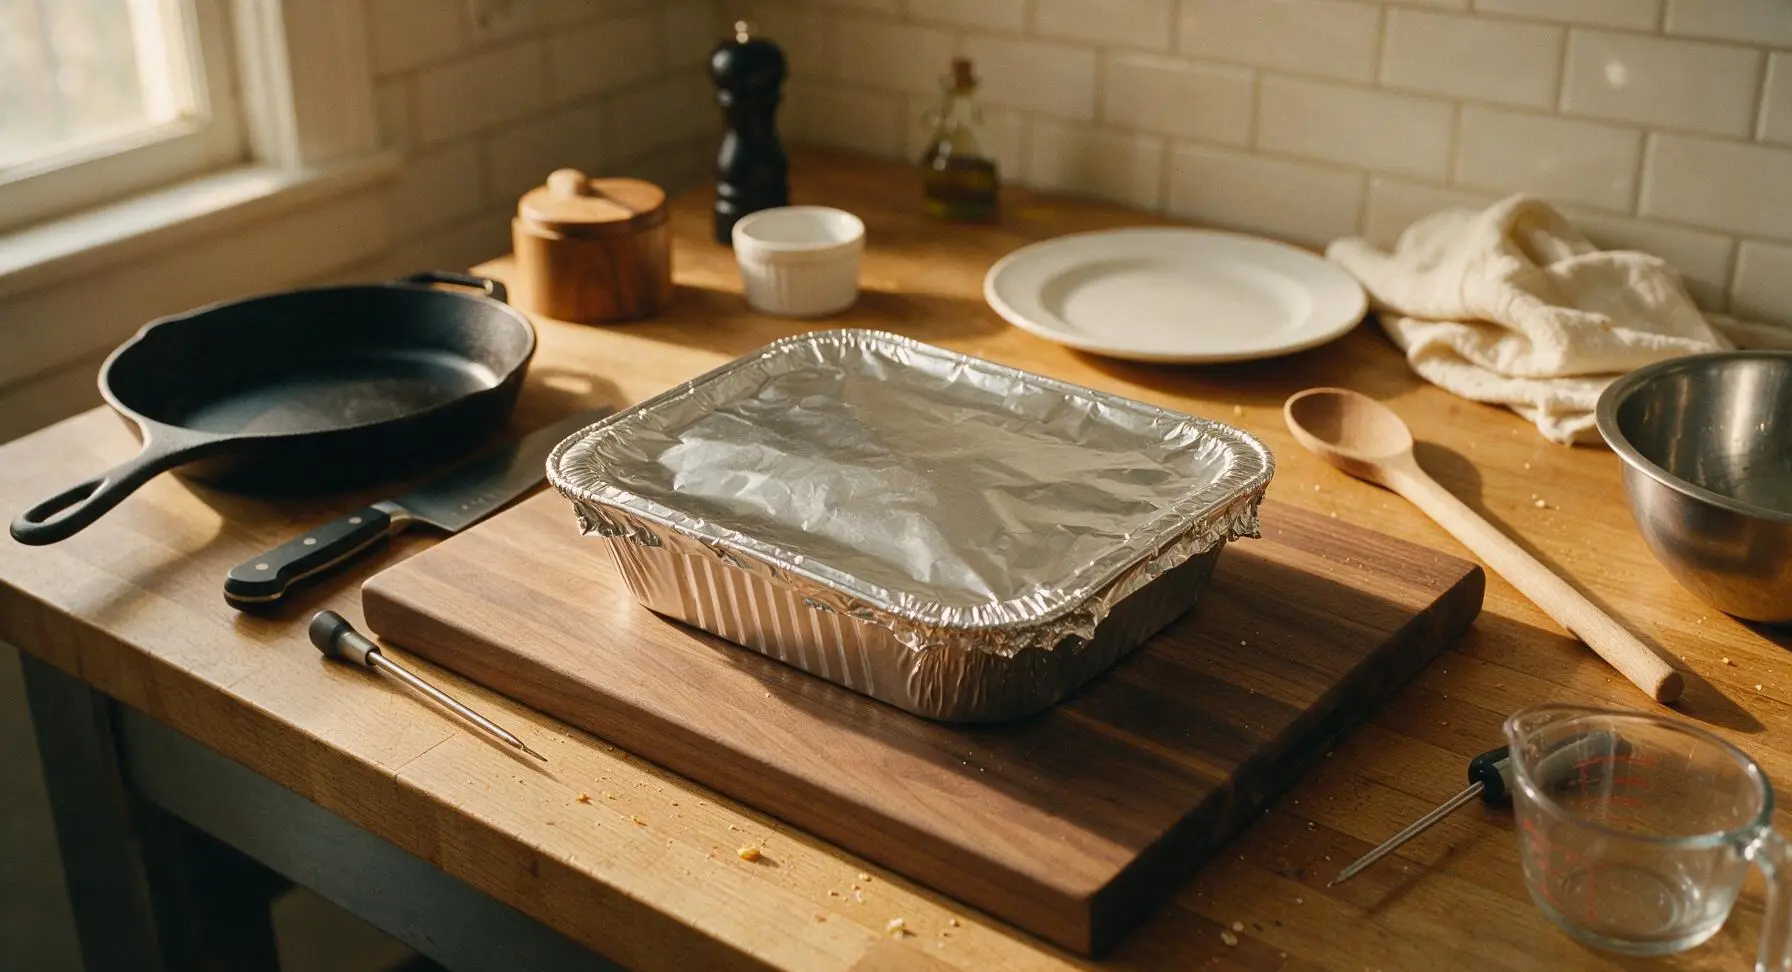
Cube Cooked Brisket
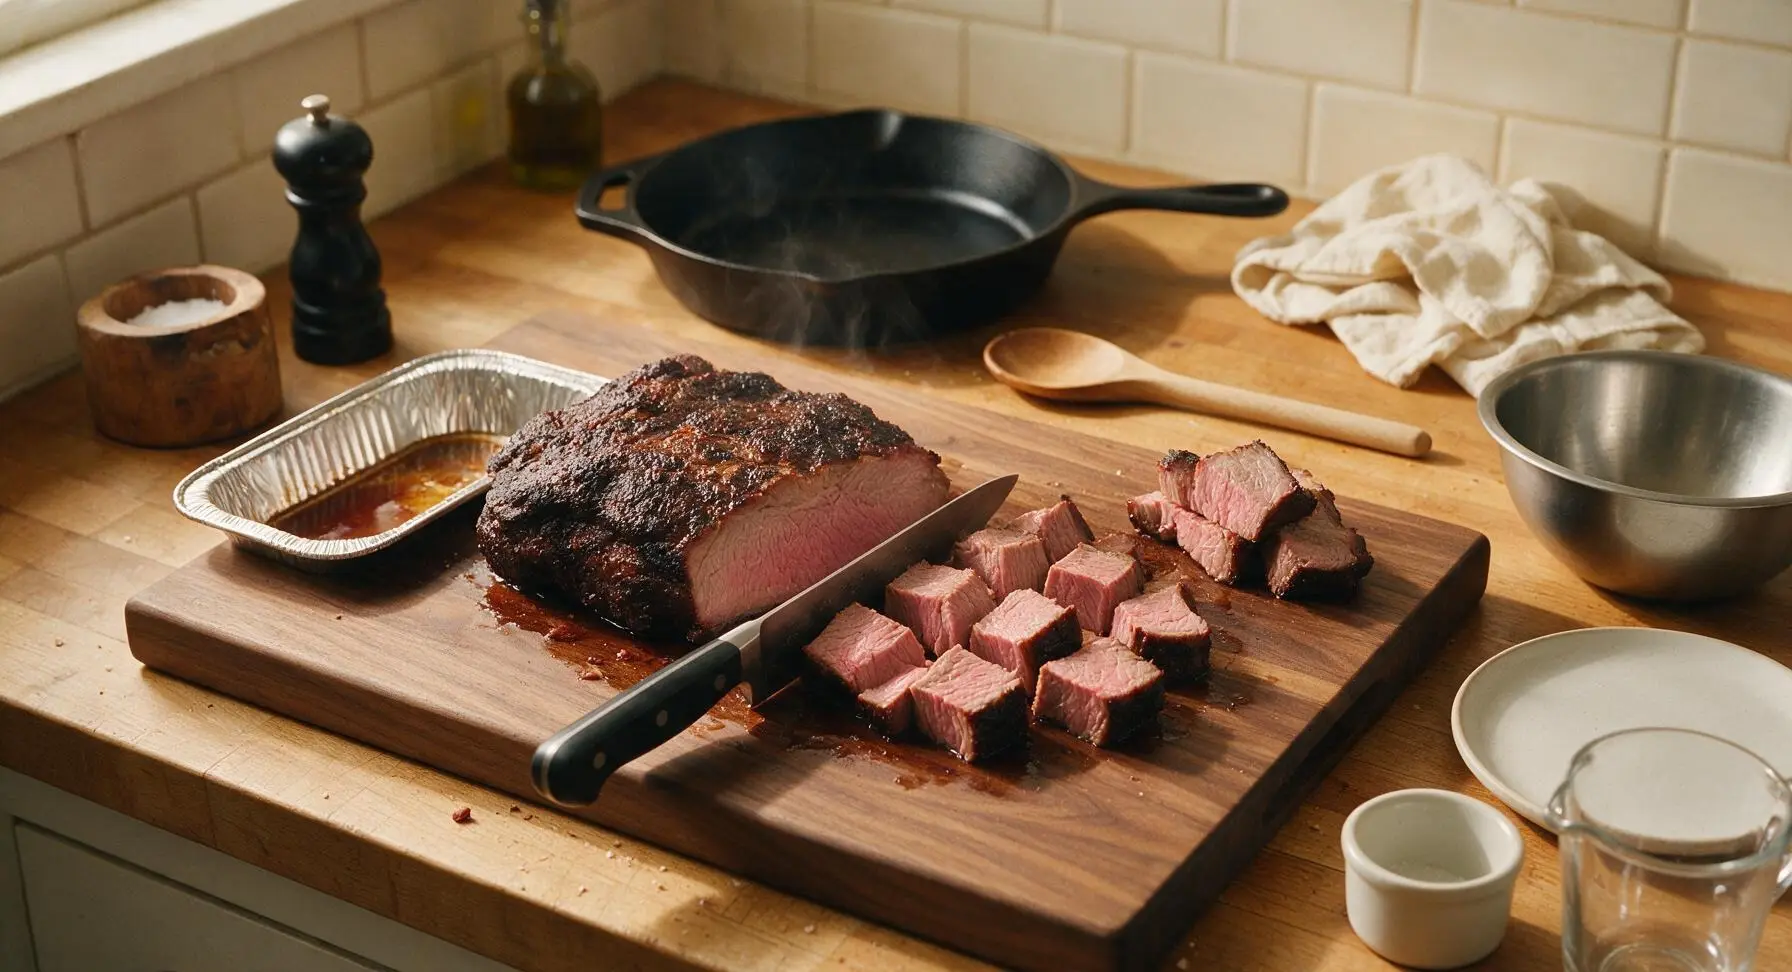
Remove the wrapped brisket from the smoker, carefully unwrap the foil (tilt the pan away from your face to avoid hot steam burns), and transfer the brisket back to the acacia cutting board. Let it rest for 15 minutes to allow juices to redistribute, then use the chef knife to cut the brisket into uniform 1.5-inch cubes. The cubes should hold their shape, with a dark bark exterior and soft, juicy pale pink interior visible on cut faces. Reserve all collected juices and melted butter from the foil pan for saucing.
Toss in BBQ Sauce
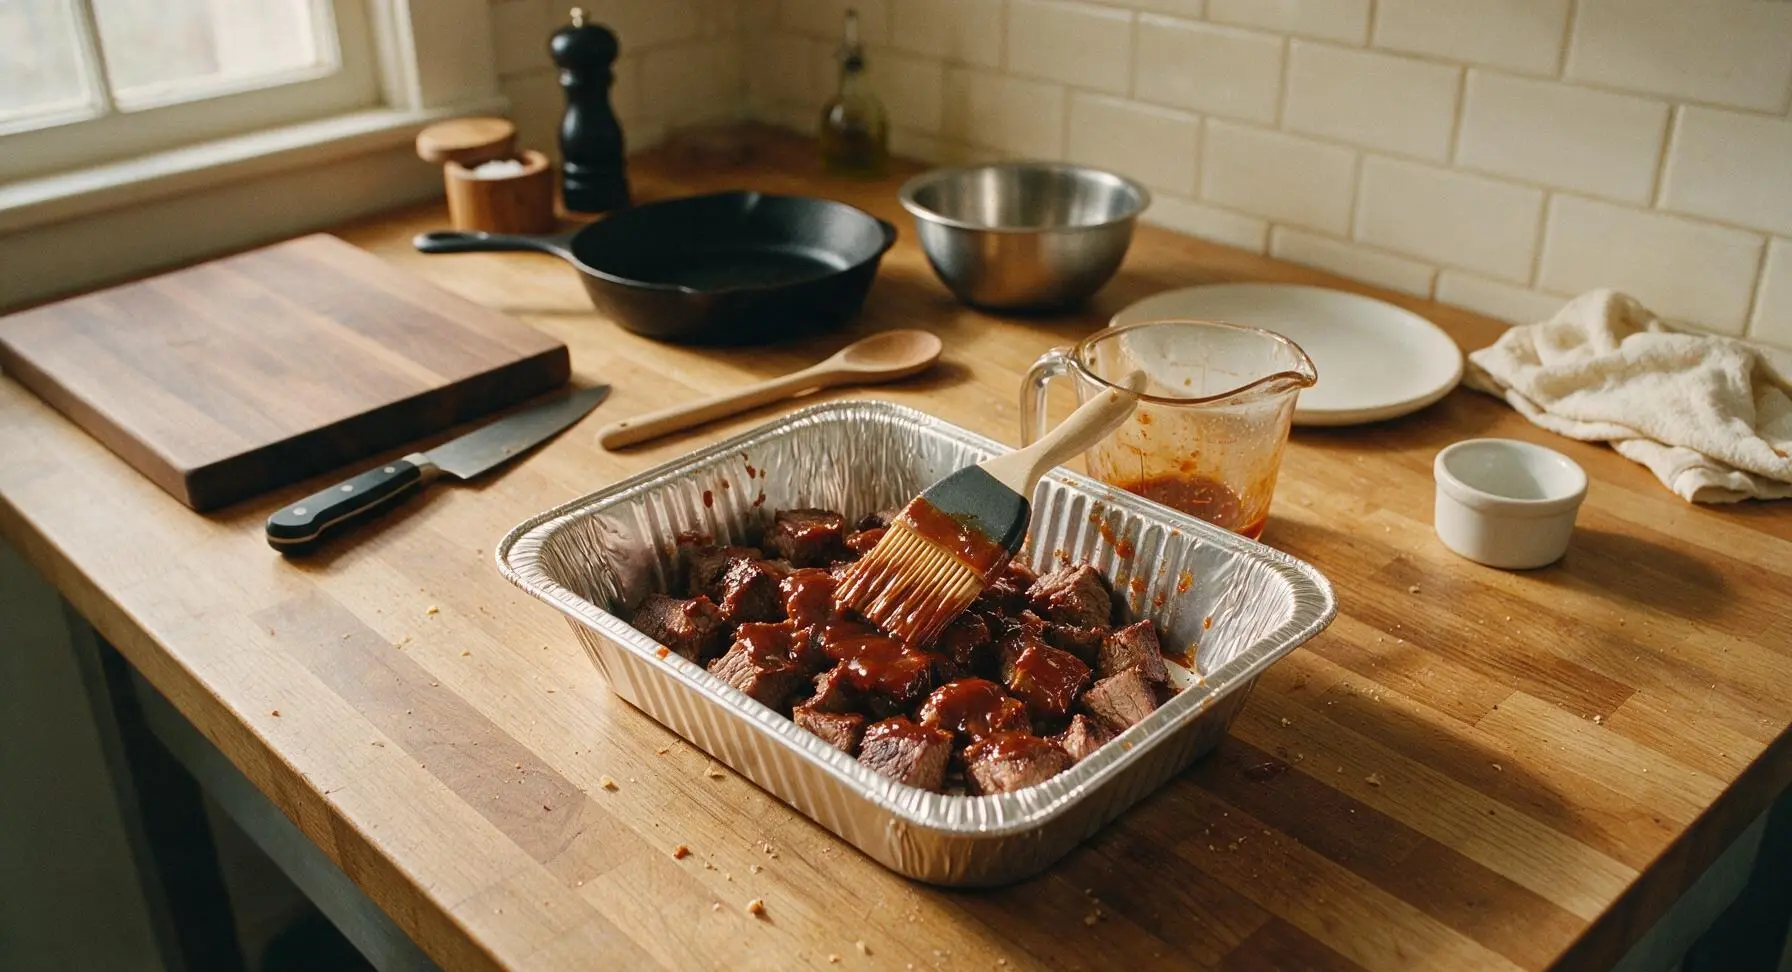
Return the cubed brisket to the aluminum foil pan. Pour 1 cup of sweet hickory BBQ sauce over the cubes, add the reserved pan juices, and use the long-handled basting brush to toss the cubes until every piece is evenly coated in glossy sauce. Leave the pan uncovered for the final cooking stage.
Caramelize Sauce Coating
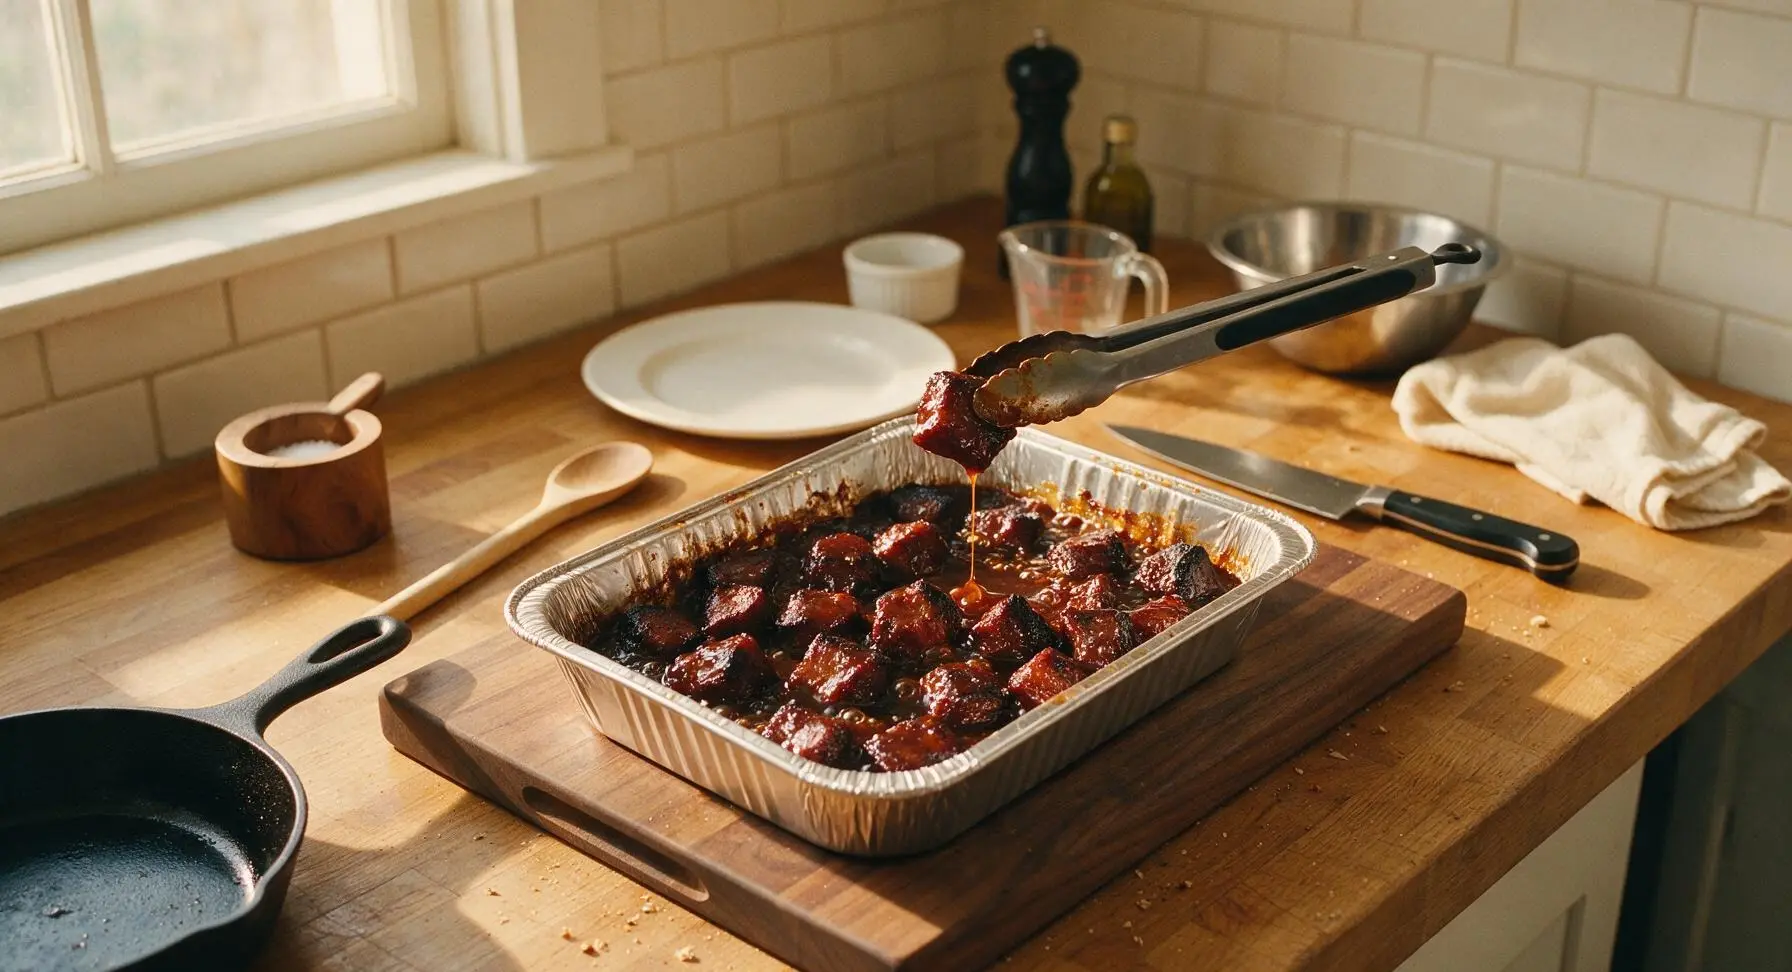
Return the uncovered pan of sauced cubes to the smoker (still set to 250°F/120°C) and cook for 25-30 minutes, until the sauce is bubbly, sticky, and caramelized around cube edges, with dark, slightly charred spots forming on the cube corners. Remove from heat immediately once the sauce reaches this stage, as the high sugar content will burn quickly with extended cooking.
Tips
2.Crimp foil edges tightly when wrapping: a tight seal traps steam from the butter, sugar, and vinegar to braise the brisket, breaking down tough connective tissue without softening the crispy outer bark too much.
3.Check burnt ends at the 20 minute mark during the final caramelization stage: the sugar in BBQ sauce and brown sugar can burn in as little as 5 minutes at 250°F, leading to bitter, unpleasant char instead of sweet, sticky caramelization.






OMG these burnt ends were a total game changer for our weekend cookout! I was nervous they’d be too much work for a medium difficulty recipe, but the steps were super straightforward. My husband and kids devoured half the tray before our guests even showed up, SO good. The sweet and smoky balance is perfect, not too sticky or overpowering. Will absolutely be making these for every potluck this summer!
Wait, 5 hours cook time? I was hoping these would work for weekly meal prep but that feels like a huge time commitment for a Sunday cook. Do they freeze well if I make a big batch? I’d hate to put all that work in for them to go bad before we eat them all.
Brought these to our neighborhood block party last weekend and people were asking me for the recipe left and right! I added a tiny extra pinch of cayenne for a little heat kick and it paired so nicely with the sweet glaze. Only tiny note: I found my first batch got a little crispier than I liked on the edges because my oven runs hot, so I’d recommend checking them 10 minutes earlier than the recipe says if you know your oven is temperamental.
This was my first ever attempt at burnt ends and I was so stressed I’d mess them up for my dad’s Father’s Day dinner! They came out perfectly—dad said they were better than the ones he gets at his favorite BBQ joint downtown. I almost cried when he said that, fr. 10/10, will be making these again for every family gathering from now on.
So happy this recipe doesn’t call for any weird fillers or gluten-containing sauces! I swapped the regular soy sauce for tamari like I do for all my BBQ recipes and it worked like an absolute charm. These are so flavorful I didn’t even miss the usual sides, I ate like 6 straight off the tray. 10/10, would recommend to anyone avoiding gluten!
Taste was incredible but I will say the cook time felt way longer than advertised for me? I had to leave mine in almost an extra 45 minutes to get that perfect tender pull-apart texture, even with my smoker calibrated correctly. Still, the end result was so worth it—my roommates and I demolished the whole batch in one sitting. Just make sure you block off extra time if you’re making these for a scheduled event so you don’t run behind!