1.What makes this Creamy Baked Taco Hotdish different from a standard taco casserole?
▾
Great question! Classic Midwestern hotdishes prioritize a rich, creamy binder to hold all ingredients into a cohesive, scoopable bite, rather than the looser, layered structure of many taco casseroles. This version is built for potlucks and easy weeknights, with zero fussy assembly, and that signature cozy, stick-to-your-ribs texture hotdish is famous for.
2.Can I use leaner ground beef than the 80/20 blend called for?
▾
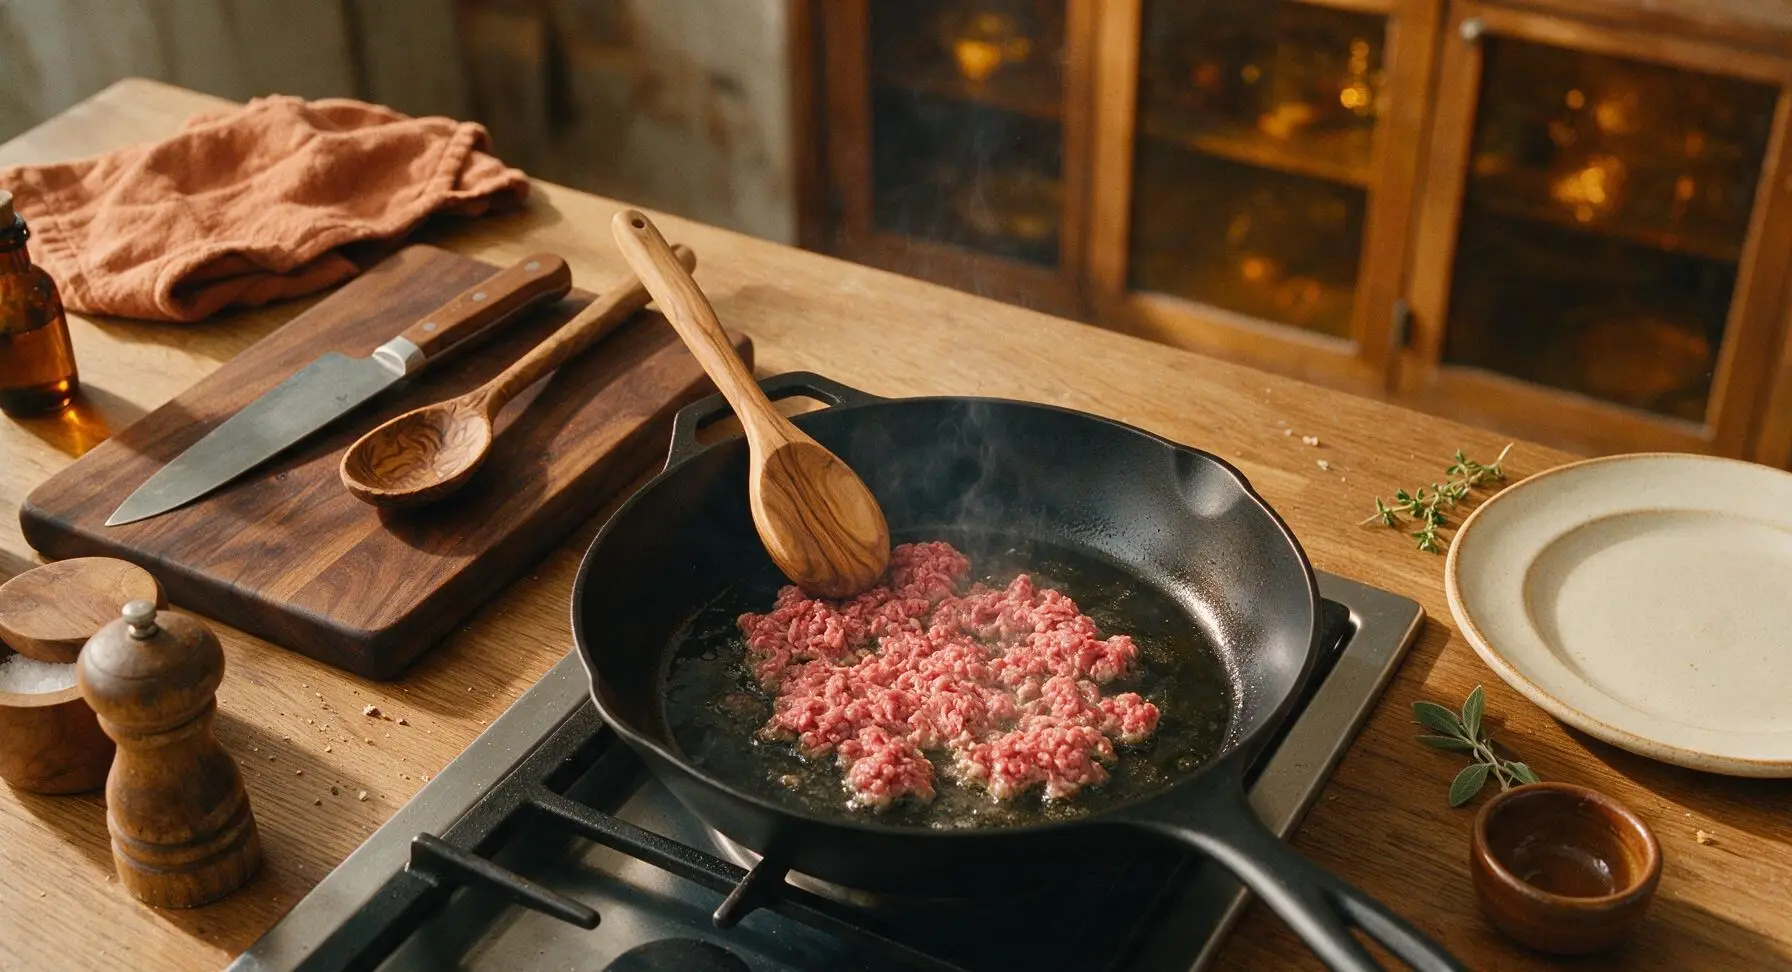
You can, but I don’t recommend going leaner than 90/10 if you want that rich, savory depth. The 20% fat in 80/20 beef adds moisture and flavor so the dish doesn’t dry out during baking, preventing a crumbly, bland filling. If you do use leaner beef, stir in an extra tablespoon of olive oil when browning to make up for lost fat.
3.Do I have to use store-bought taco seasoning, or can I make my own?
▾
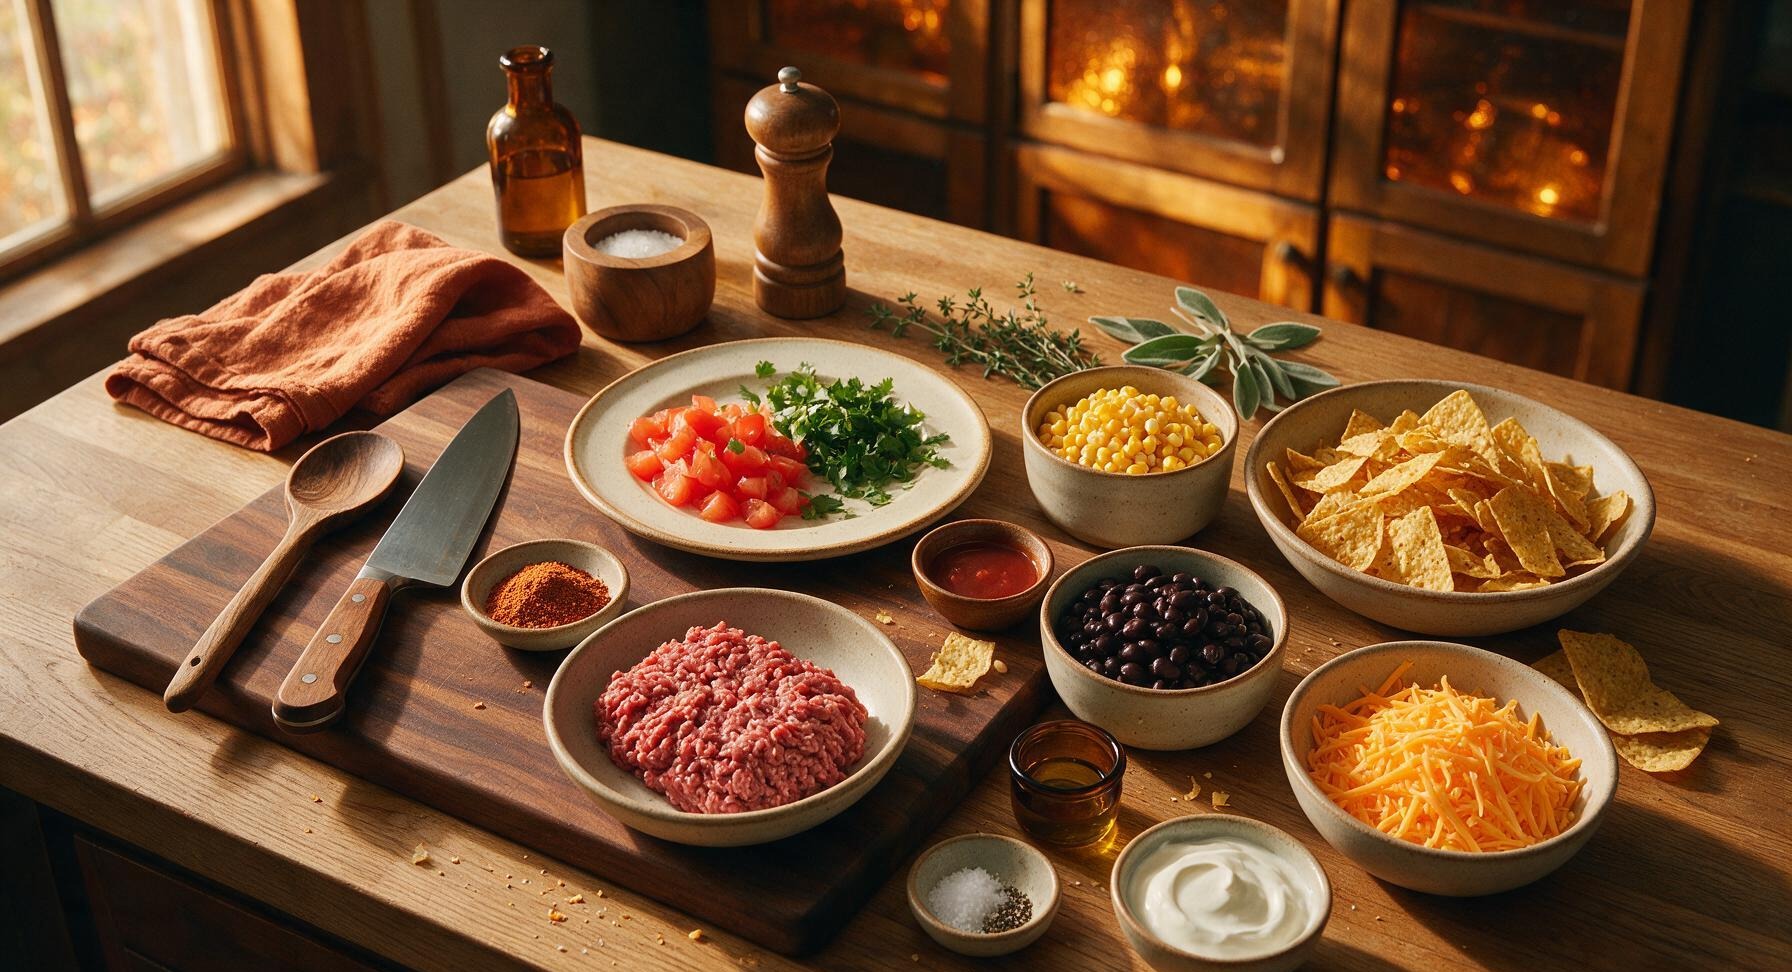
Homemade taco seasoning works beautifully here! Mix 1 tablespoon chili powder, 1 teaspoon each of cumin, garlic powder, onion powder, and paprika, plus 1/4 teaspoon each of oregano, salt, and black pepper for a batch equal to one standard store-bought packet. It skips unnecessary fillers, and you can adjust heat with a pinch of cayenne if you like extra zing.
4.Will the yellow corn tortilla chips get too soggy during baking?
▾
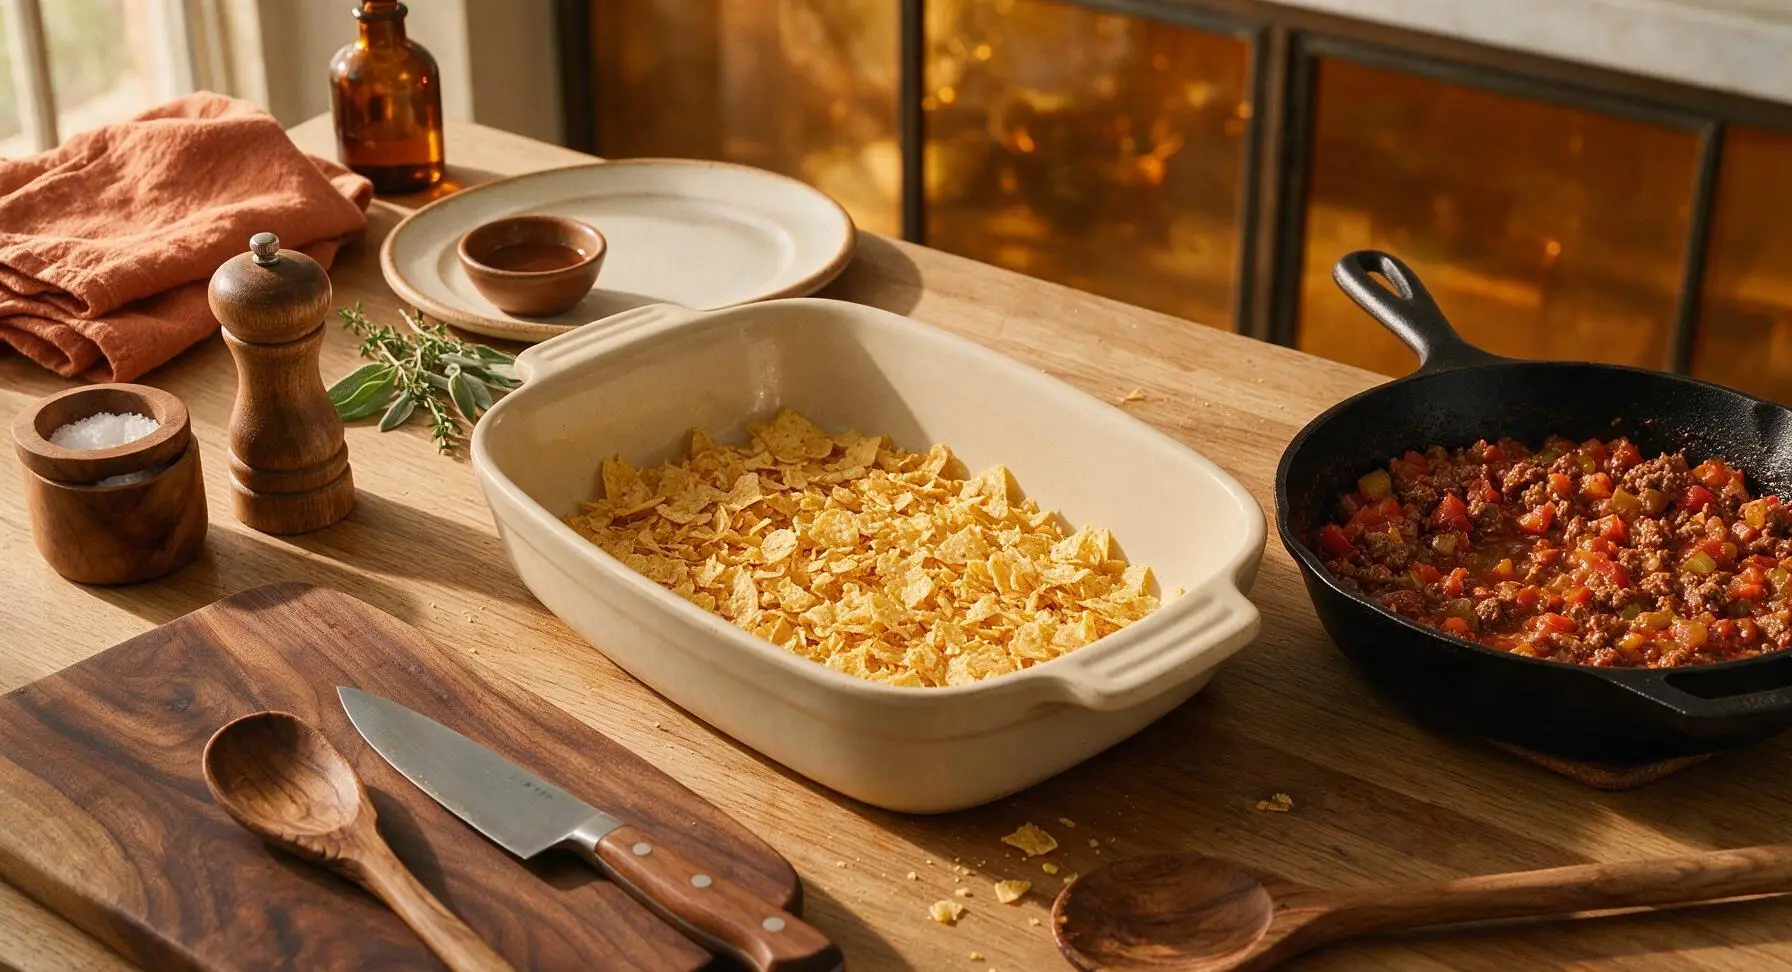
Not if you layer them correctly! Place half the chips in the bottom of the dish, top with the beef and creamy filling, then reserve the other half of the chips to sprinkle on during the last 10 minutes of baking. That gives you a mix of soft, flavor-soaked chips in the middle and crispy, crunchy chips on top, no sad mushy texture.
5.Can I substitute pinto beans for the black beans in the recipe?
▾
Absolutely! Pinto beans are a classic taco pairing, and they work just as well here—just make sure you drain and rinse them first to cut down on excess starchy liquid that can make the hotdish watery. You can also use a mix of black and pinto beans, or skip beans entirely if you’re cooking for folks who don’t love them.
6.What gives this hotdish its signature creamy texture?
▾
The creamy base comes from a simple mix of condensed cream of mushroom soup (a beloved Midwestern hotdish staple) and full-fat sour cream, stirred right into the seasoned ground beef before layering. It melts into a rich, velvety sauce that coats every bite of beef, corn, and beans without overpowering the bright taco flavor.
7.Can I make this hotdish ahead of time for a potluck?
▾
You sure can! Assemble the entire dish except the final top layer of chips, cover it tightly, and store it in the fridge for up to 24 hours before baking. When you’re ready to cook, add 5 to 7 minutes to the bake time since it’ll be cold going into the oven, and top with reserved chips during the last 10 minutes for perfect crunch.
8.What kind of cheese works best for the top of this hotdish?
▾
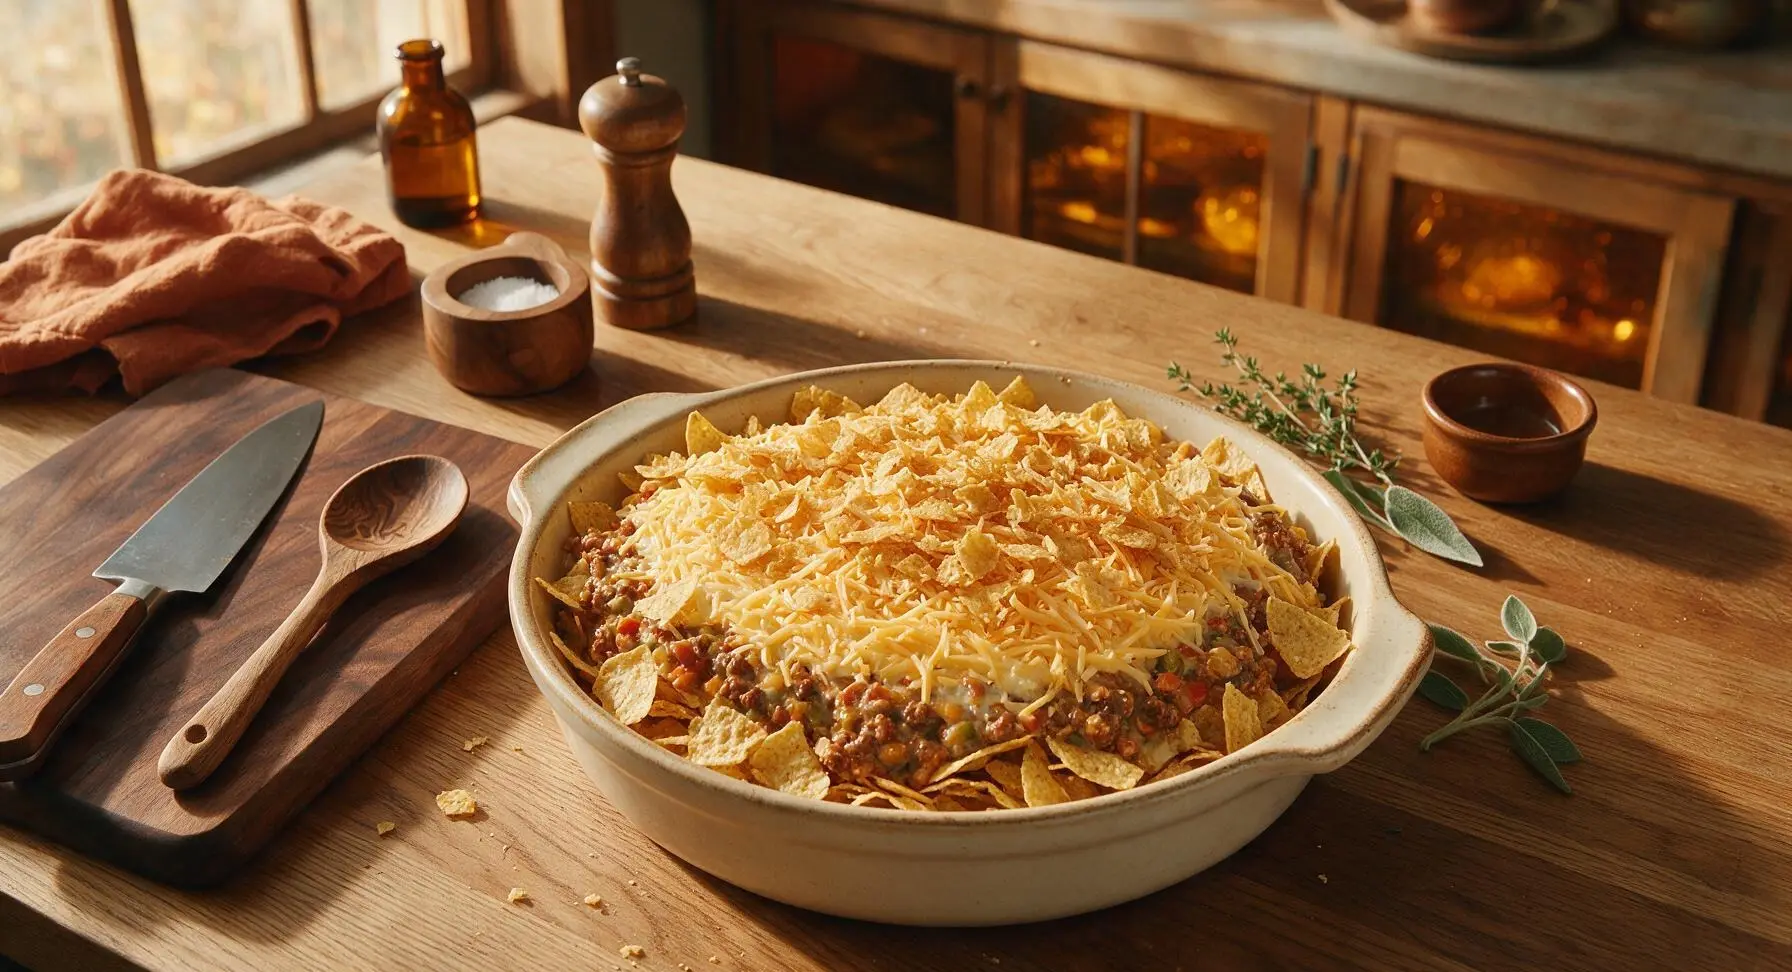
I recommend a shredded Mexican cheese blend, or a 50/50 mix of sharp cheddar and Monterey Jack, for the best melt and flavor. Pre-shredded cheese works fine here, but block cheese shredded at home gives a smoother, less rubbery melt, since pre-shredded options are coated in anti-caking agents that change texture as they bake.
9.My family dislikes canned corn—can I use frozen sweet corn instead?
▾
Frozen sweet corn is actually my top pick for this recipe! It has a brighter, sweeter, fresher flavor than canned corn, and you don’t have to drain off starchy canned brine. No need to thaw it first—just toss it straight into the beef filling, and it will cook perfectly through during the bake with no extra steps.
10.How do I keep the hotdish from getting watery as it bakes?
▾
The #1 culprit for watery hotdish is undrained canned ingredients! Always fully drain and rinse your black beans, and drain excess grease from browned ground beef before mixing in the creamy base. If adding juicy mix-ins like diced tomatoes, let them drain 10 minutes in a sieve first to cut down on excess liquid.
11.What fresh toppings do you recommend serving with this?
▾
Stick to bright, zesty toppings to cut through the rich, creamy bake! My go-tos are diced fresh tomato, sliced pickled jalapeños, chopped cilantro, a dollop of sour cream, a squeeze of fresh lime, diced avocado, and sliced black olives. Set toppings out on the side so everyone can customize their serving to taste.
12.Can I add extra veggies to this hotdish to make it more filling?
▾
Definitely! Diced bell pepper, sautéed onion, diced green chiles, or fire-roasted corn all work beautifully here. Sauté firmer veggies like bell pepper and onion right along with the ground beef as it browns, so they soften fully. Avoid super watery veggies like zucchini unless you salt and drain them first to prevent a runny finished dish.
13.How long do leftovers stay good in the fridge?
▾
Stored in an airtight container, leftovers will stay fresh for 3 to 4 days in the refrigerator. Reheat individual portions in the microwave for 1 to 2 minutes, or reheat the whole pan in a 350°F oven for 15 to 20 minutes until warmed through. Add a handful of fresh crushed chips on top when reheating to bring back crunch.
14.Can I freeze this hotdish for later quick meals?
▾
Yes, this freezes wonderfully! Assemble the unbaked hotdish (hold the top layer of chips) in a freezer-safe aluminum pan, wrap tightly in two layers of plastic wrap and foil, and freeze for up to 3 months. Thaw in the fridge overnight before baking, add 10 minutes to total bake time, and top with chips and cheese at the end.
15.Is there a way to make this without condensed canned soup?
▾
If you want to skip canned condensed soup, make a quick homemade cream sauce: Melt 2 tablespoons butter, whisk in 2 tablespoons flour, cook for 1 minute, then whisk in 1 cup whole milk and simmer until thickened. Season with a pinch of garlic powder and salt, then use it in place of condensed soup for the same creamy texture.
16.Do I need to crush the tortilla chips before adding them to layers?
▾
You don’t want to turn them into fine crumbs, but breaking them into 1 to 2 inch pieces works best. Tiny crumbs will get mushy too fast, and whole chips are too big to get evenly coated in the creamy filling. For the top layer, leave a few larger chips intact for extra visual appeal and big, satisfying crunch.
17.What size baking dish works best for this recipe?
▾
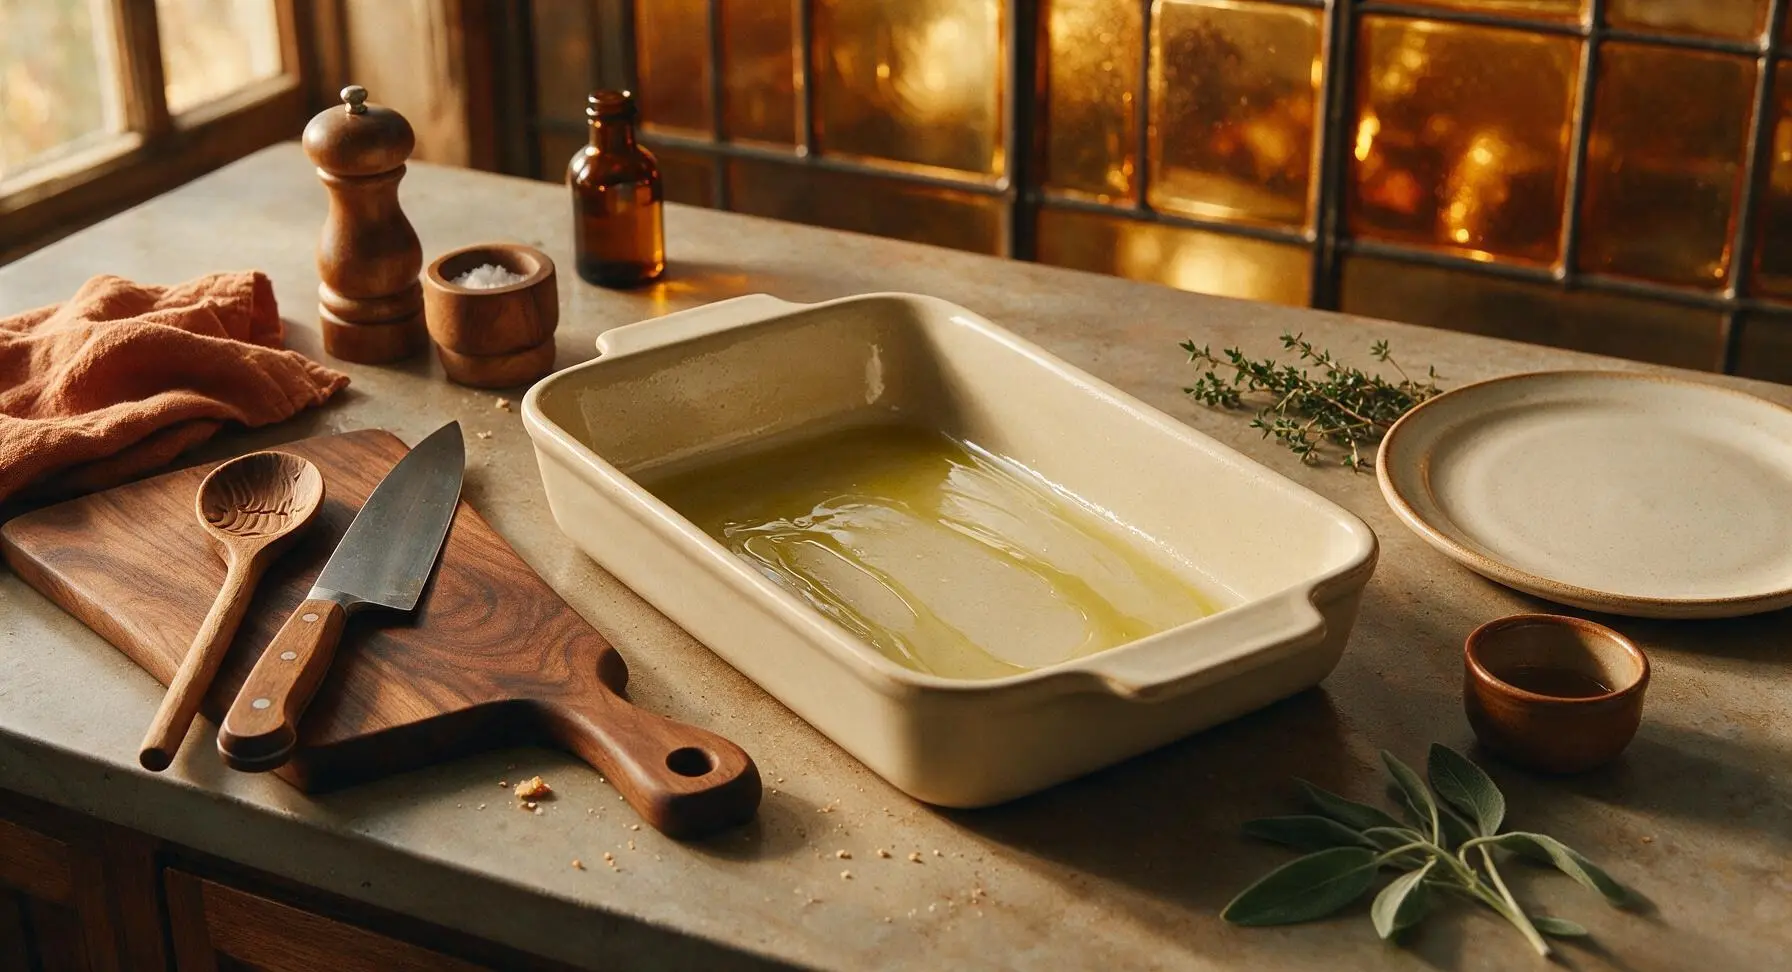
A standard 9x13 inch glass or ceramic baking dish is perfect for this recipe—it gives you enough room for all the layers without filling bubbling over the edges as it bakes. If you only have smaller dishes, split the recipe between two 8x8 inch pans, baking one now and freezing the other, cutting bake time by 5 minutes for the smaller pans.
18.Can I make this with ground turkey instead of ground beef?
▾
You can! Opt for 93/7 ground turkey for the best texture, and add an extra teaspoon of taco seasoning plus a tablespoon of olive oil when browning to make up for the lower fat content, since turkey is milder and less rich than beef. It makes for a slightly lighter swap that still has that classic cozy taco flavor.
19.Why did my cheese on top turn rubbery instead of melty and gooey?
▾
That usually happens if you add the cheese too early, or bake the dish at too high a temperature. Stick to a 375°F bake temperature, and add shredded cheese during the last 15 minutes of cooking so it has just enough time to melt. If you like a browned, bubbly top, broil for 1 minute at the end, watching closely to avoid burning.
20.Is this recipe spicy enough for kids, or can I adjust the heat level?
▾
As written, the recipe is very mild, perfect for kids and folks who don’t love spicy food. If you want to dial up the heat, add diced pickled jalapeño to the beef filling, a pinch of cayenne to the taco seasoning, or serve hot sauce on the side so everyone can adjust their serving to their preferred spice level.

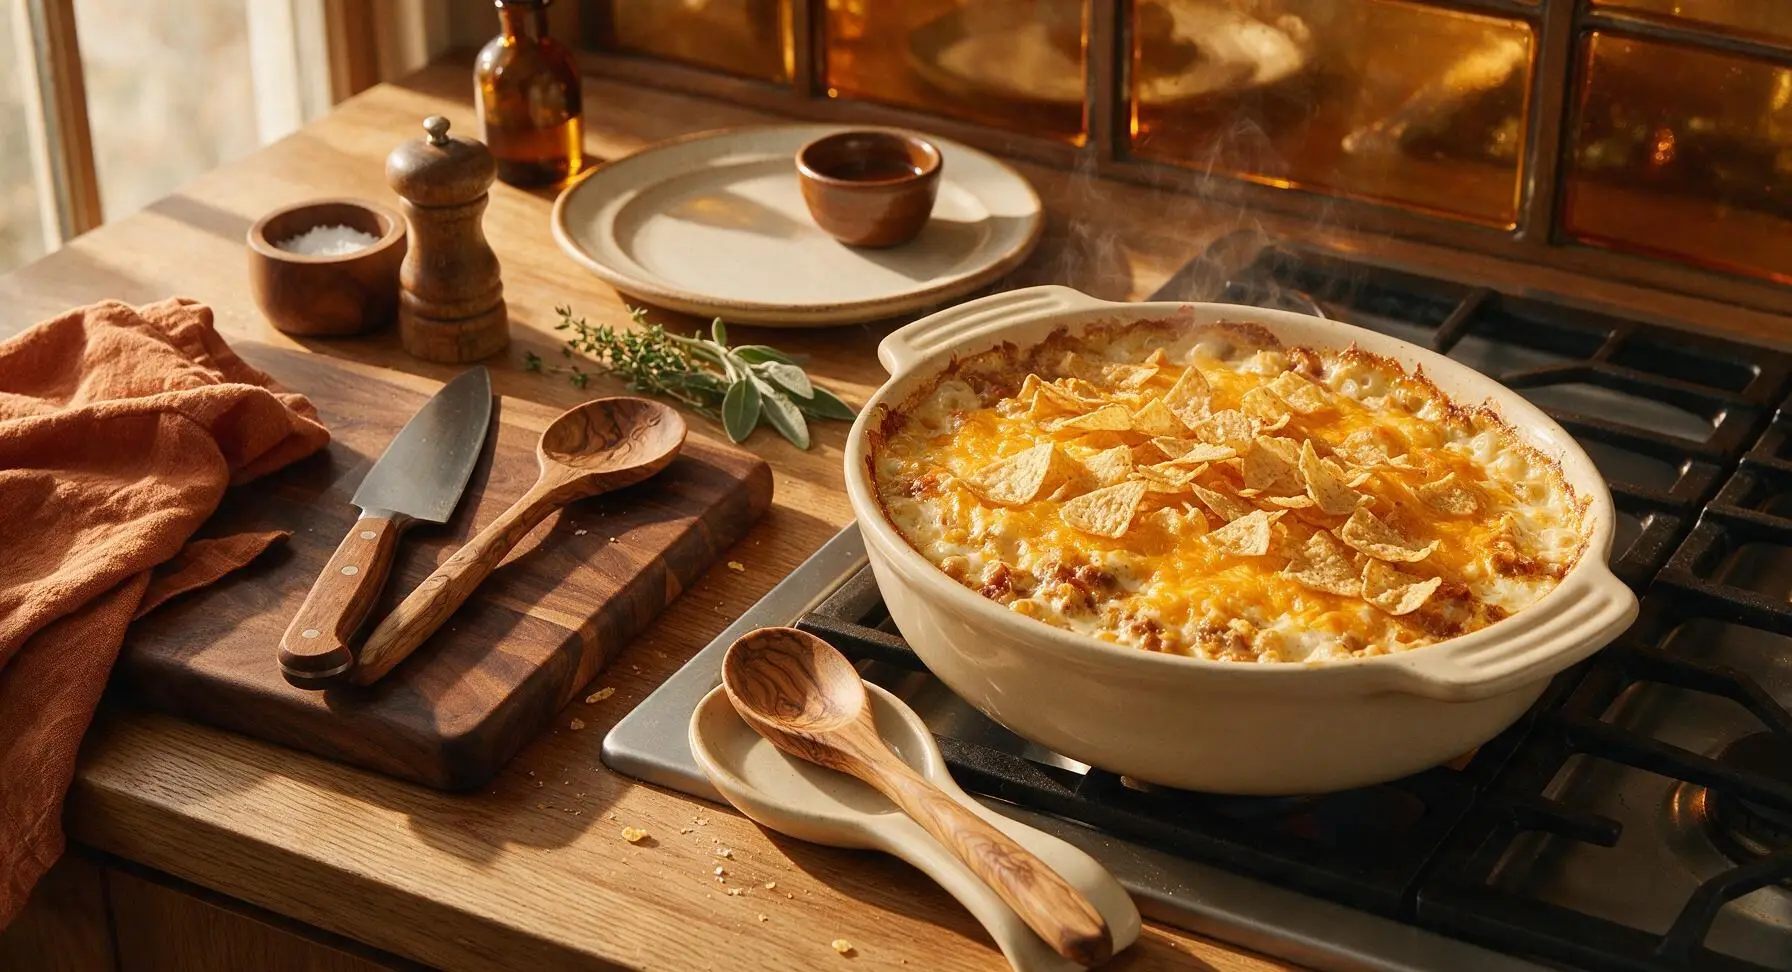
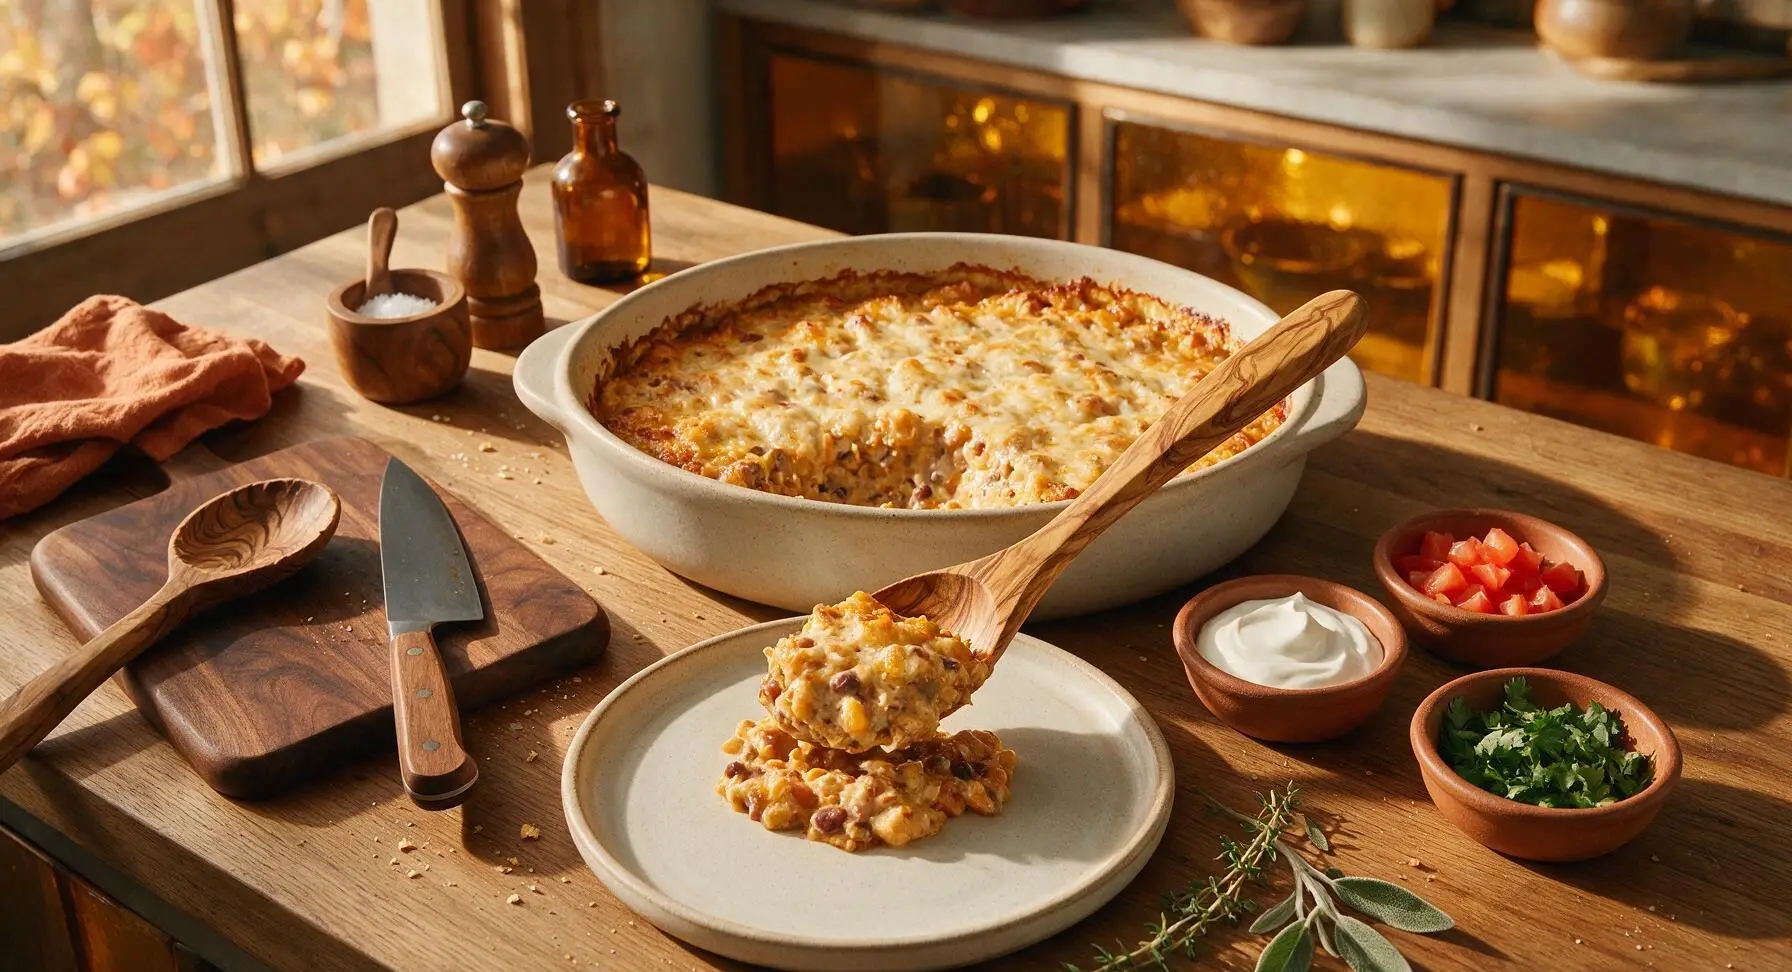






OMG this was such a game changer for our crazy weeknight dinner rotation! I threw this together in 10 minutes before taking my oldest to soccer practice, popped it in the oven, and it was ready by the time we got home. My kids devoured it and asked for seconds, even my picky 7 year old who hates anything ‘creamy’ usually. SO good, will be making this every other week for sure!
Made this for our neighborhood Taco Tuesday potluck last week and people were begging me for the recipe! It was so easy to scale up for a crowd, and the creamy taco flavor hits different than regular crunchy tacos. I added a handful of crushed Doritos on top for extra crunch and it was chef’s kiss. 10/10, no notes.
Meal prepped this on Sunday for the work week and it held up perfectly all 5 days in the fridge! Didn’t get soggy at all, the cream sauce stayed rich and the taco flavor was still on point even after reheating in the office microwave. Way better than spending $12 on takeout every lunch.
Wait this is so easy even I can’t mess it up lmao. I only had a tiny dorm oven and a bag of generic taco seasoning, and it still came out amazing? My roommates all thought I ordered takeout until I told them I baked it myself. Absolute keeper for when we’re sick of ramen.
I’ve been making taco hotdish for my grandkids for 40 years, and this creamy version is my new go-to! I swapped the sour cream for plain Greek yogurt to cut a little of the richness, and added a can of diced green chiles for a tiny kick. The grandkids didn’t even notice the swap, they just kept asking for more. Wonderful recipe, thank you for sharing!
This was solid, but I wish it had a little more heat out of the gate. I ended up dousing my serving in hot sauce, which was great, but next time I’ll add a diced jalapeño into the meat mixture while it’s browning. Cook time was spot on though, super fast for a weeknight.
I was skeptical about how creamy this would be without making a fancy roux, but y’all weren’t lying about how easy it is. Just mixed the cream of mushroom soup with a little taco seasoning and sour cream, dumped it with the meat and pasta, baked it, and it was perfect. No fancy skills required, which is exactly what I need after a 10 hour work day.
Made this last night for family dinner and I can’t believe how few dishes it made! One skillet to brown the beef, one baking dish, no extra pots for boiling pasta because you can just toss the dry pasta right in with the sauce and let it bake? Game. Changer. My husband said it’s better than the taco hotdish his mom used to make, so that’s the highest possible praise.
I tossed in a whole bag of frozen mixed bell peppers and onions with the meat to sneak in some extra veggies, and you couldn’t even tell they were frozen! The cream sauce coated everything so well, and it added a nice little pop of color to the dish. Great base recipe to customize however you want.
Cost breakdown for anyone curious: I already had taco seasoning and sour cream at home, grabbed a pound of ground beef, a can of cream of chicken, a bag of shredded cheese, and pasta for under $12 total. That fed me and my roommate for two full dinners, so like $3 a serving? Way cheaper than takeout tacos, and tastes just as good if not better.
I swapped the regular pasta for gluten free rotini and used gluten free taco seasoning, and this came out perfect! I was worried the GF pasta would get mushy while baking, but it held its texture really well, and none of my gluten-eating dinner guests even noticed it was GF. Finally a hotdish recipe I don’t have to modify to death!
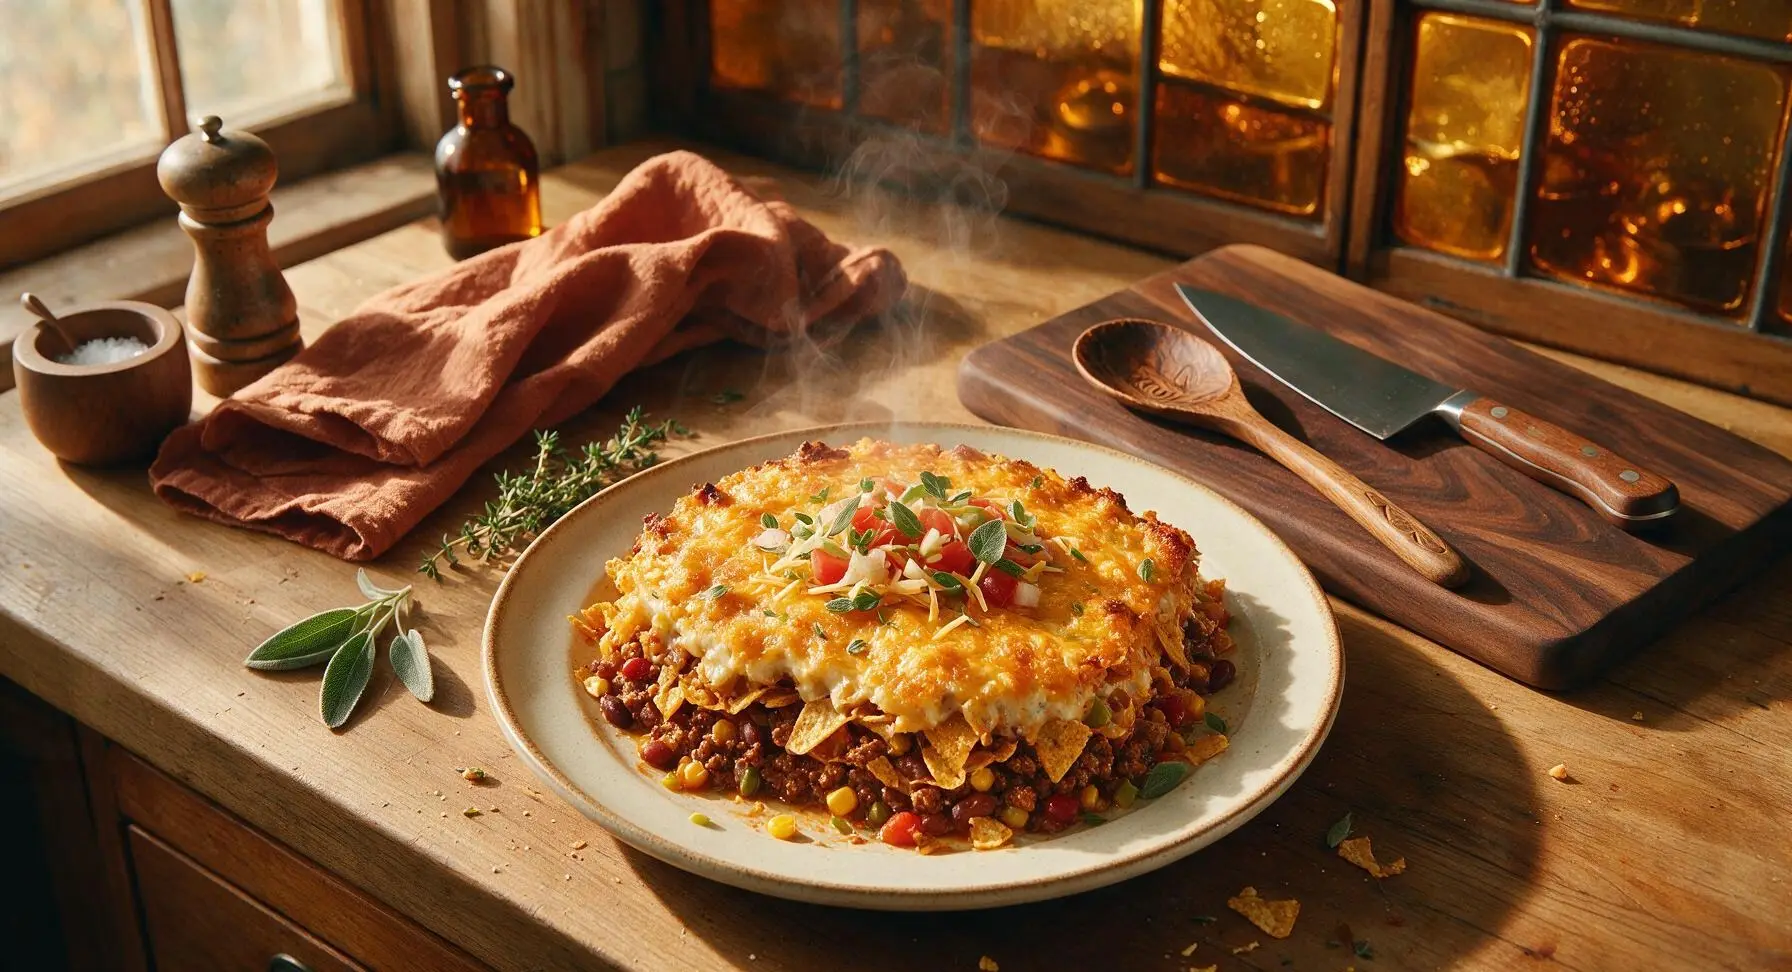
This hit the spot on a cold rainy day when I was craving something cozy and filling. It’s like a warm hug in a baking dish – creamy, savory, perfectly taco-spiced, with that gooey melted cheese on top that gets all crispy around the edges? *Chef’s kiss* I ate way too much of it straight out of the dish when it came out of the oven, no regrets.
Quick question – can I freeze this after baking? I make a bunch of freezer meals before my busy work travel weeks, and this looks like it would be perfect to pull out and reheat on nights I don’t have time to cook. Would the cream sauce separate when thawed?
Brought this to my church potluck on Sunday and it was the first empty dish on the table! I topped it with shredded lettuce, diced tomatoes, and a dollop of sour cream after baking so people could add their own taco toppings if they wanted, and everyone went crazy for it. A lady from my bible study asked me for the recipe before she even finished her first bite.
I added a whole diced jalapeño and a teaspoon of cayenne to the meat mix, and topped it with pepper jack cheese instead of cheddar, and this had the perfect level of heat for me. It was still creamy and rich, but the spice cut through the richness so it didn’t feel heavy at all. Will be making this on repeat all fall.
Wait I made this tonight after seeing someone comment about the no-boil pasta, and they were NOT lying! It was so easy, I didn’t even have to pull out my big pasta pot. I drizzled a little ranch on top of my serving (don’t judge) and it was chef’s kiss. My only complaint is that I didn’t make a double batch, because my roommate ate half the pan before I could even put leftovers away.