
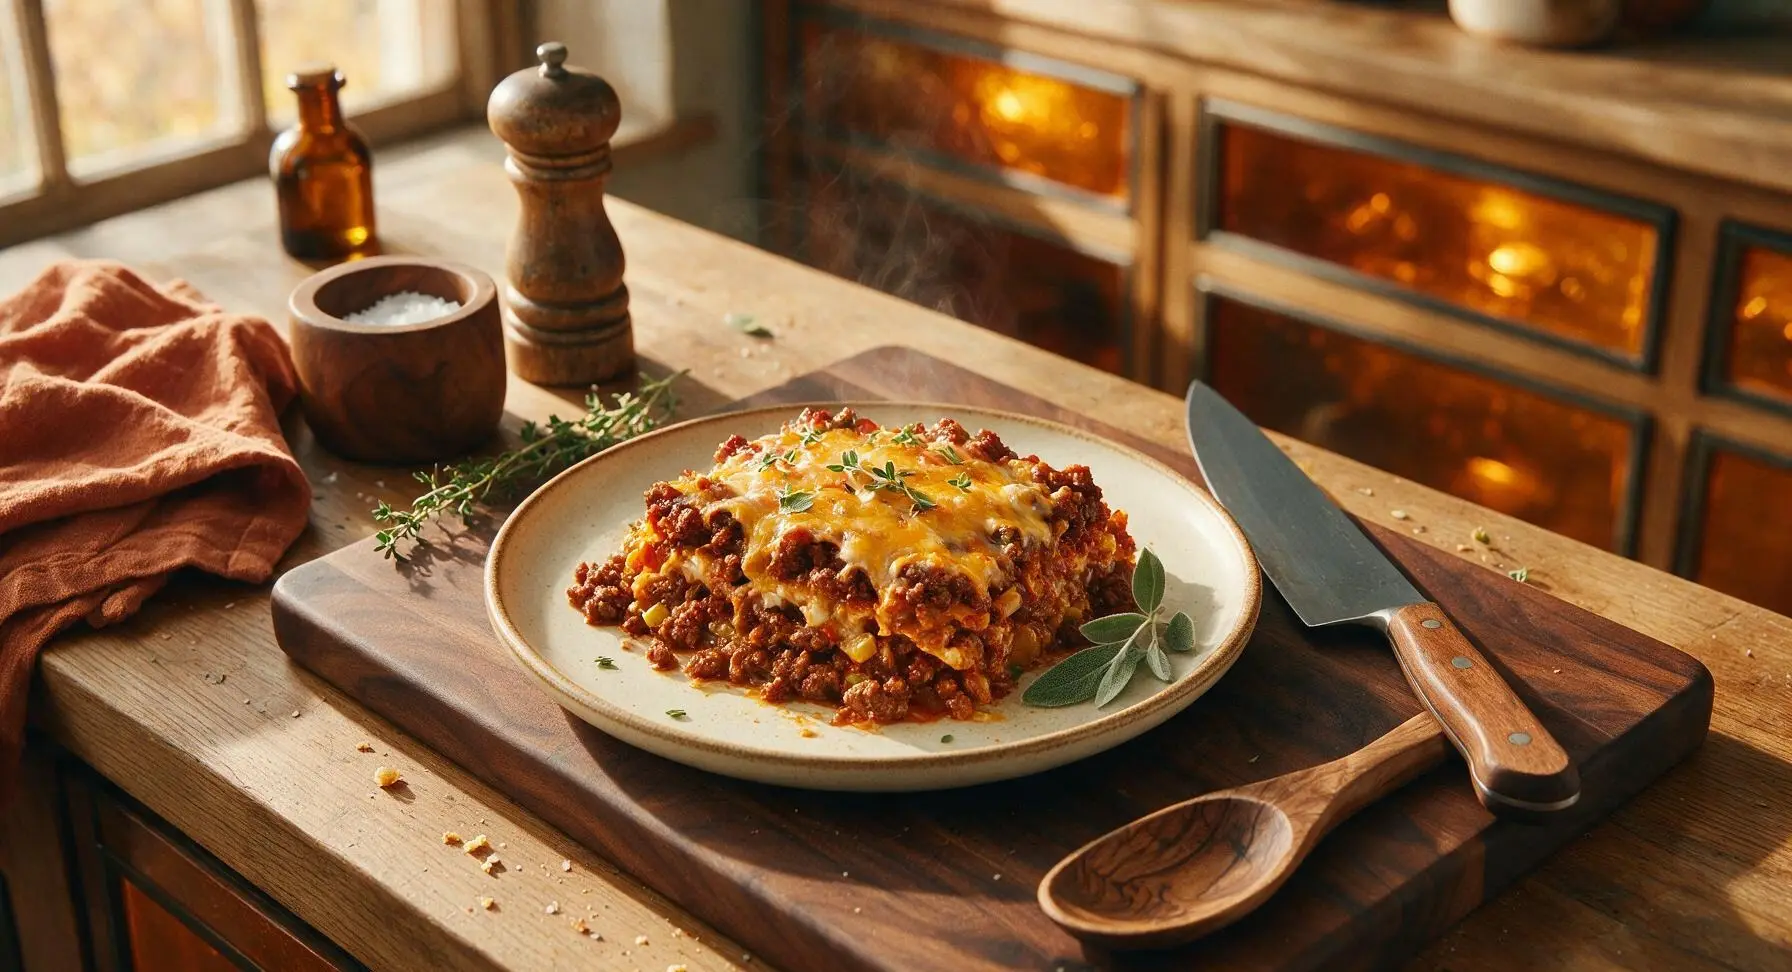
taco meat casserole

title 1
taco meat casserole
⏱️ cook time 30 minutes
🍽️ servings 6
⚡ Difficulty easy

intro

Cheesy, boldly spiced taco meat casserole layers all your favorite taco fillings into one easy, bake-and-serve dish, delivering cozy Tex-Mex flavor with minimal weeknight cleanup.

Ingredients
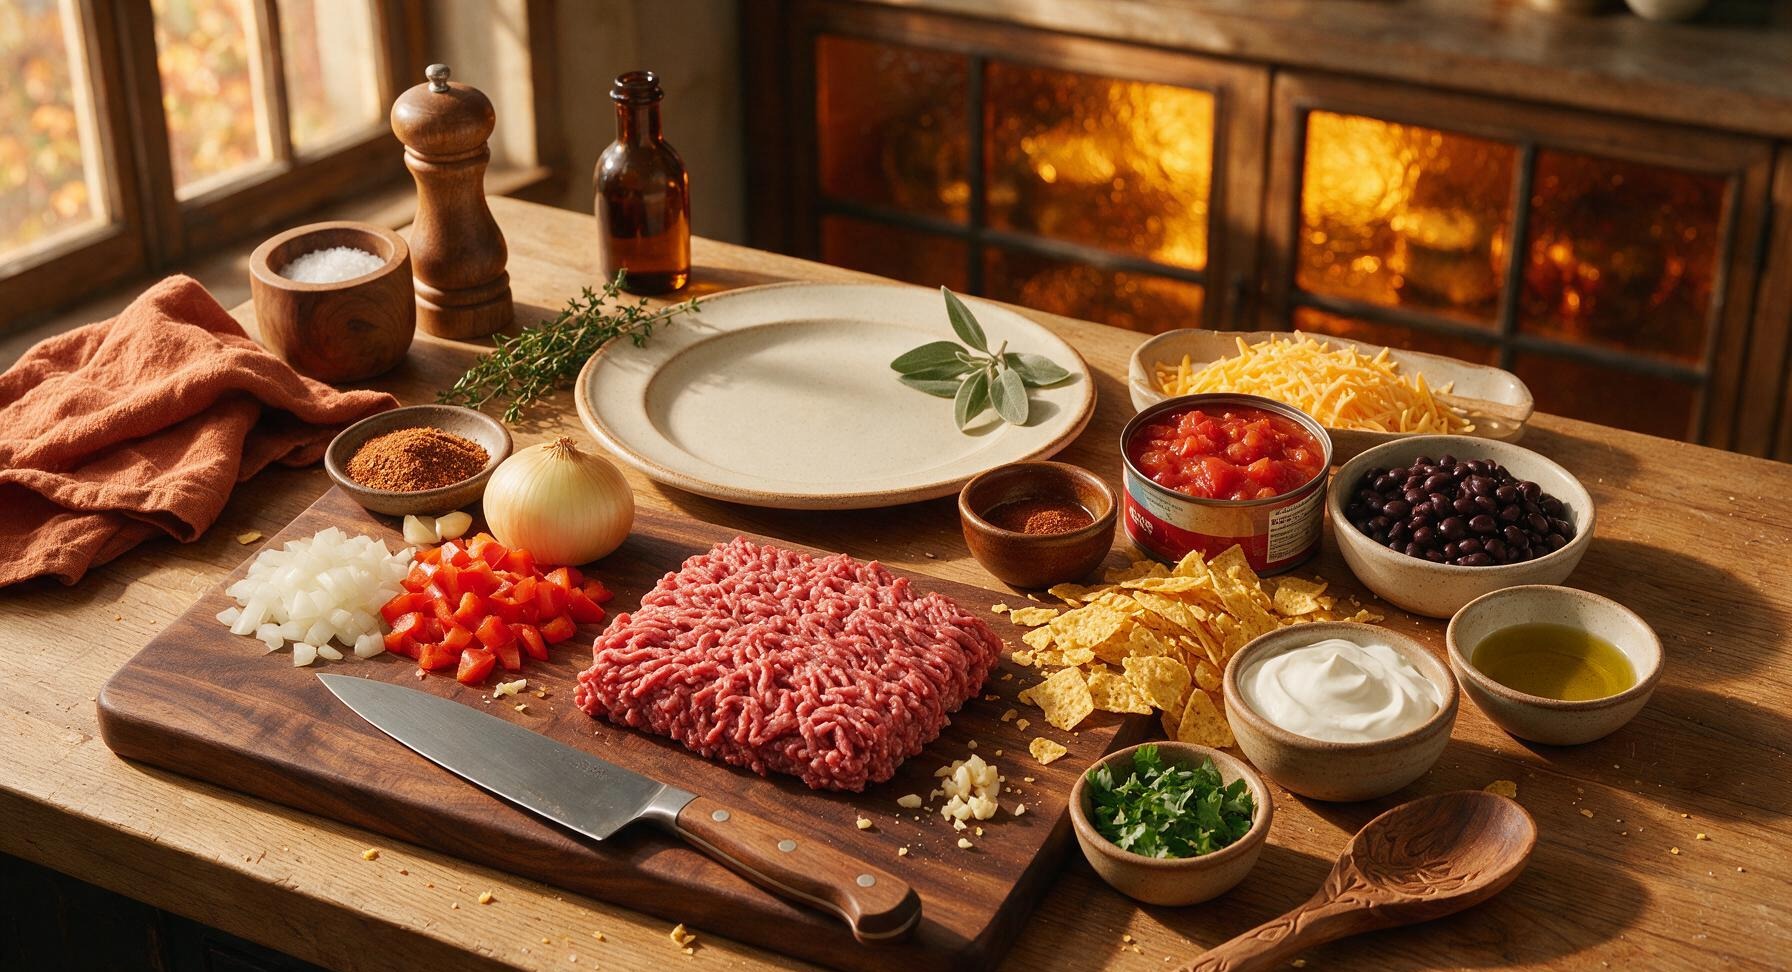
Lean ground beef (90/10) 500g
Yellow onion 1 medium (150g, diced)
Red bell pepper 1 medium (120g, seeded and diced)
Garlic cloves 3 (10g, minced)
Low-sodium taco seasoning 2 tablespoons
Canned fire-roasted diced tomatoes 400g can, undrained
Canned black beans 400g can, rinsed and drained
Crushed yellow corn tortilla chips 150g
Shredded sharp cheddar cheese 200g
Extra-virgin olive oil 1 tablespoon
Sour cream 100g, for serving
Fresh cilantro 10g, chopped for garnish

Steps

1

Preheat Oven, Prep Dish

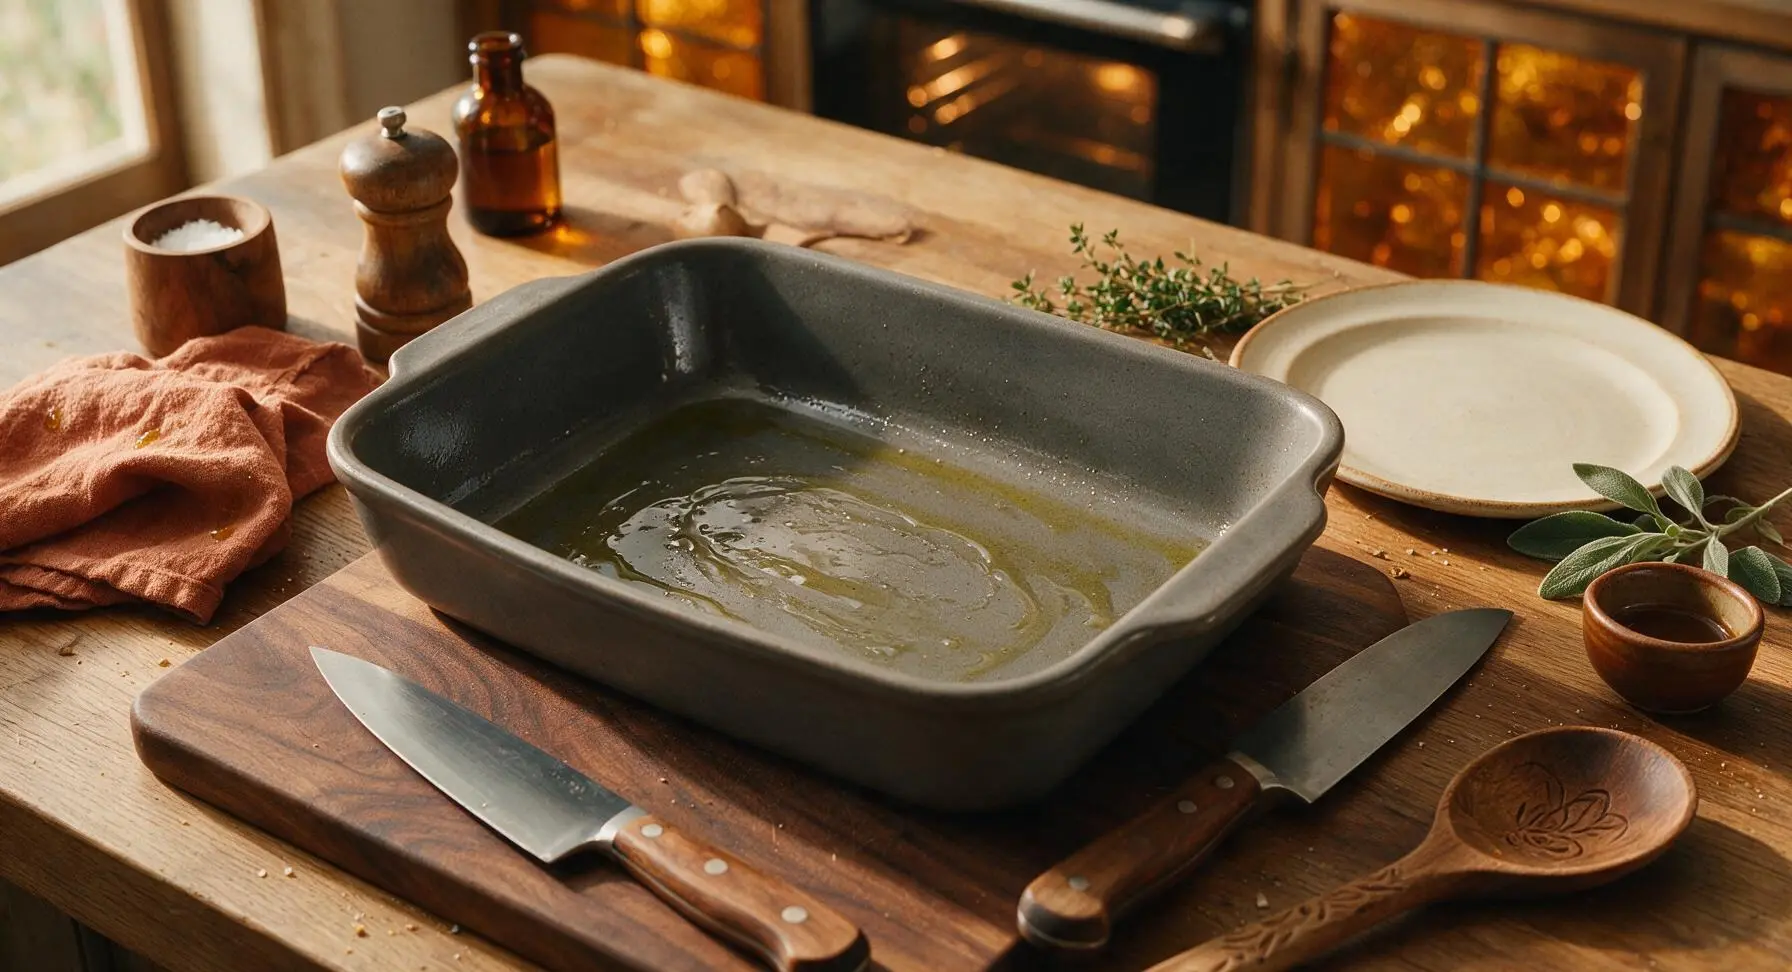
Adjust your oven rack to the middle position, then preheat oven to 190°C (375°F). Drizzle ¼ teaspoon of olive oil on the interior of the 10x14 inch matte dark gray ceramic baking dish, use a corner of the terracotta linen towel to wipe the oil into a thin, even coat across the bottom and sides to prevent sticking. Set the prepped dish on the rear of the counter until needed.
Step 1
step1:Preheat Oven, Prep Dish
2

Chop Veggies, Shred Cheese

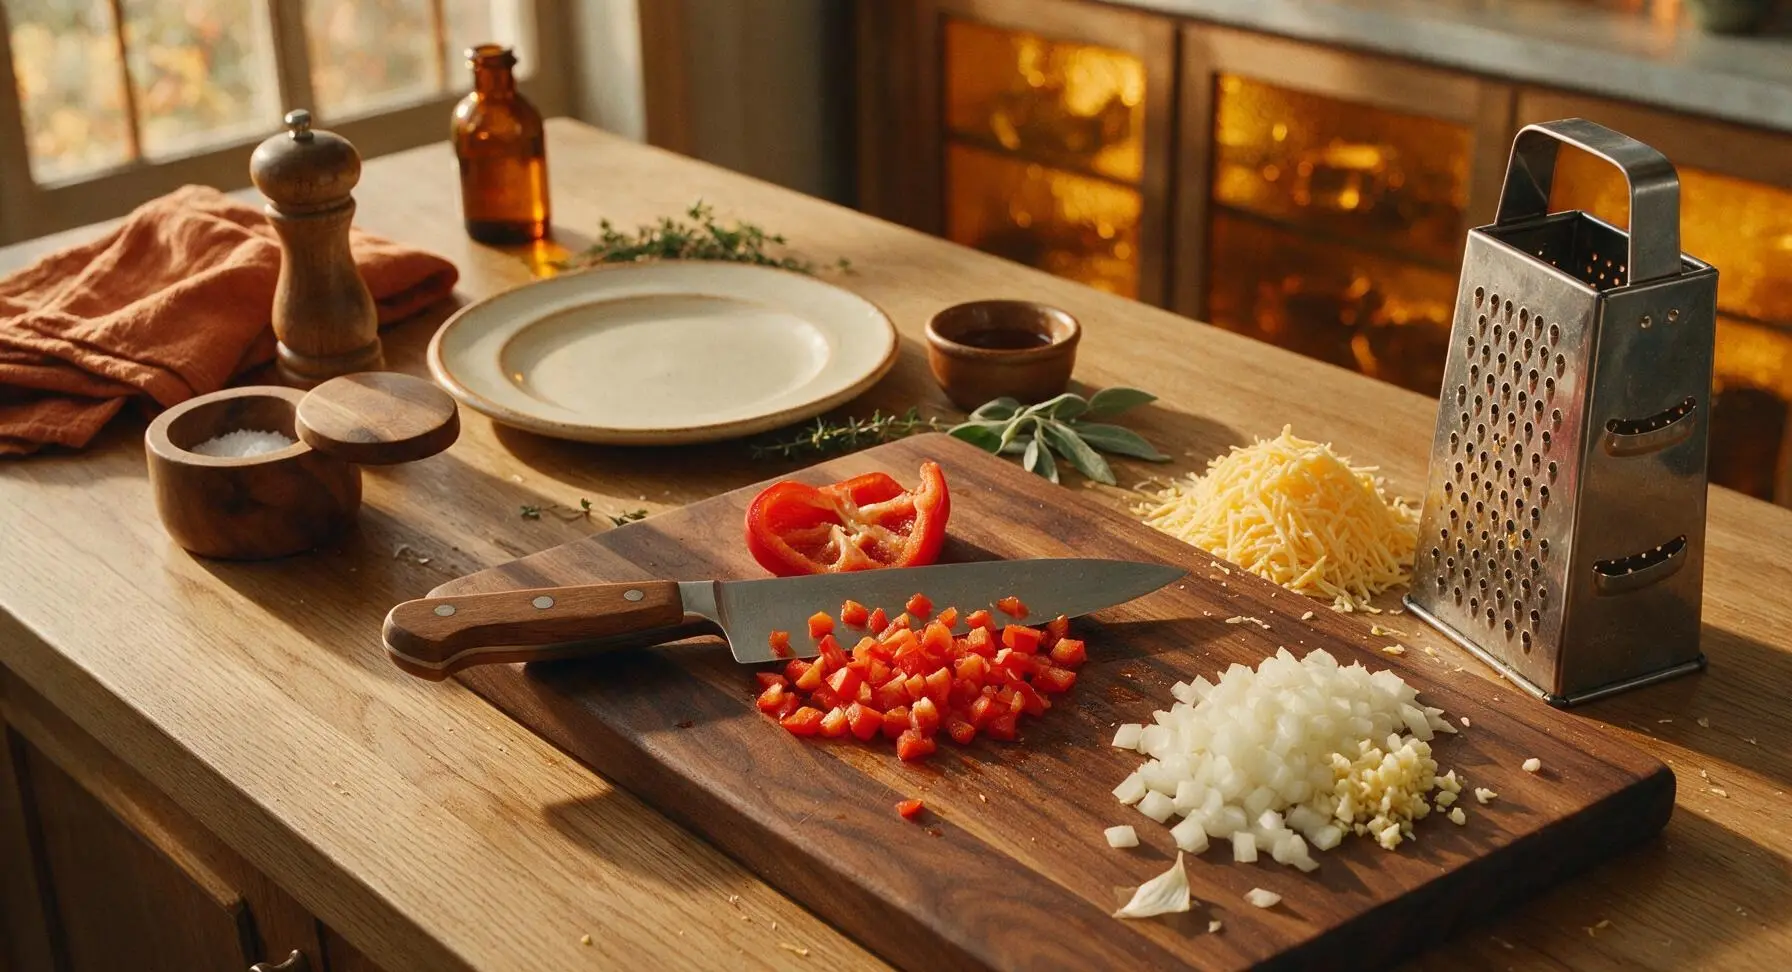
Place the dark walnut cutting board in the central work zone, moving the greased baking dish to the rear counter. Use the 8-inch chef knife to dice the yellow onion and seeded red bell pepper into uniform 1cm (½ inch) pieces, then mince the 3 garlic cloves finely. Set the chopped veggies in a small pile on the right edge of the cutting board. Place the stainless steel box grater on the board, shred the block of sharp cheddar into loose, fluffy shreds, and set aside in a separate pile next to the veggies. This prep takes 6-7 minutes; even veggie pieces ensure consistent cooking texture.
Step 2
step2:Chop Veggies, Shred Cheese
3

Brown Beef and Aromatics

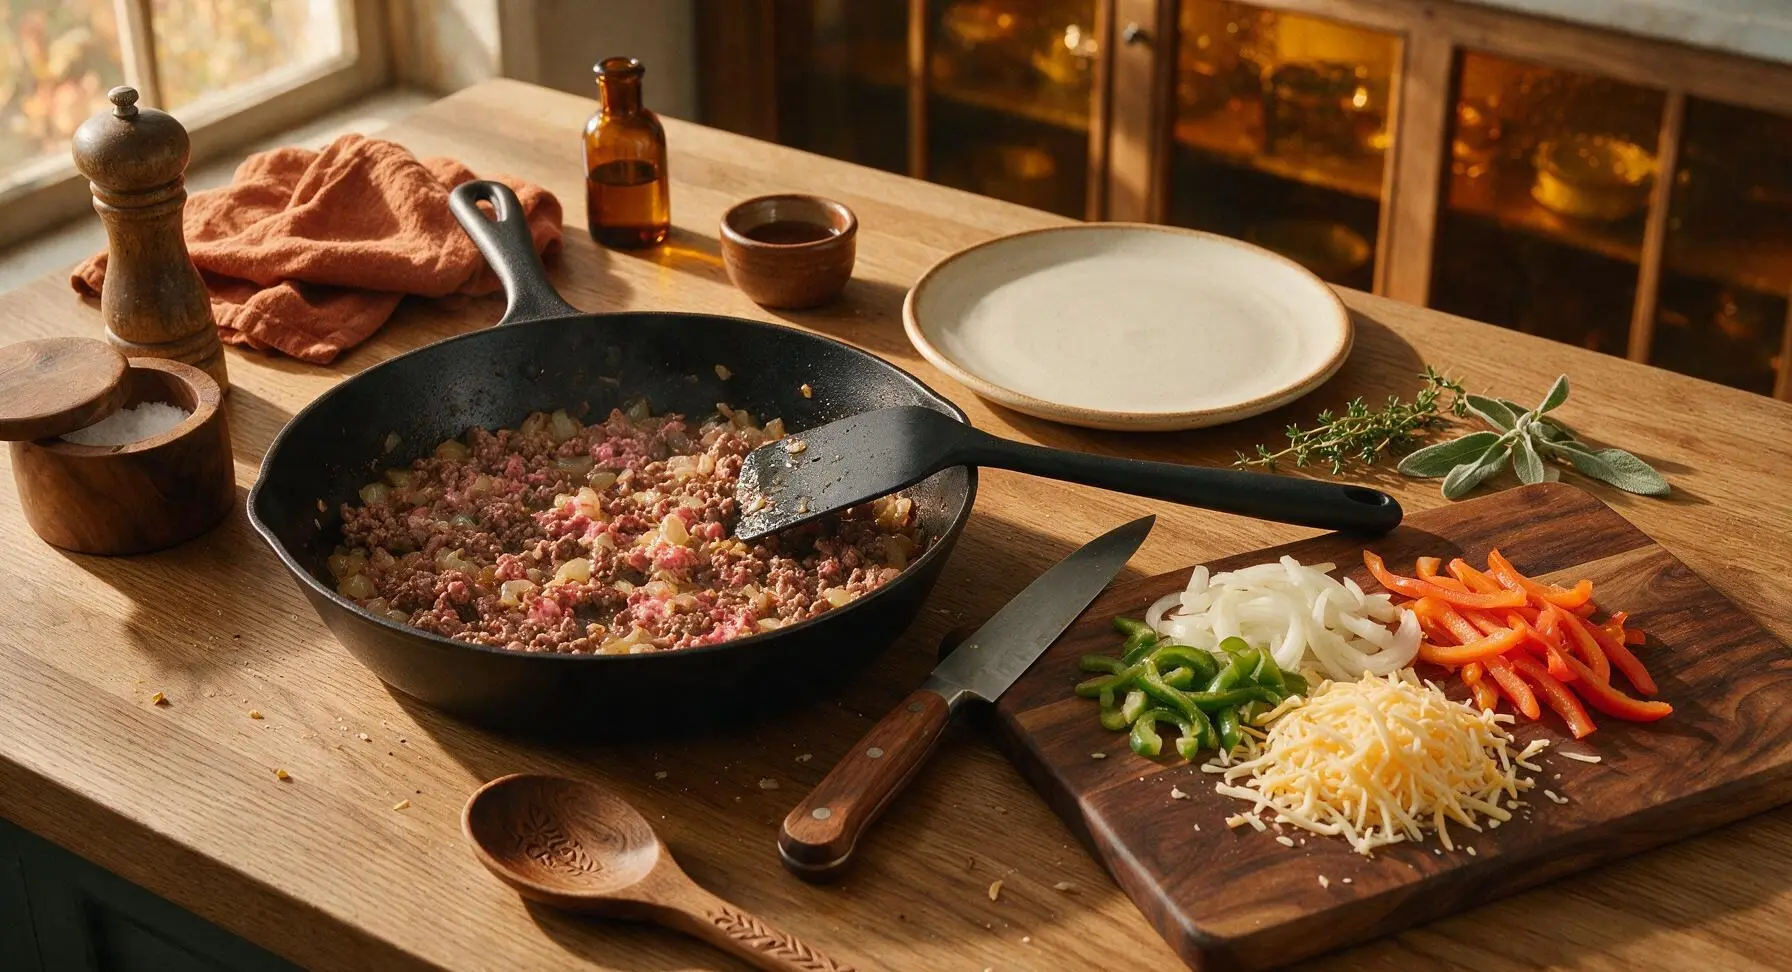
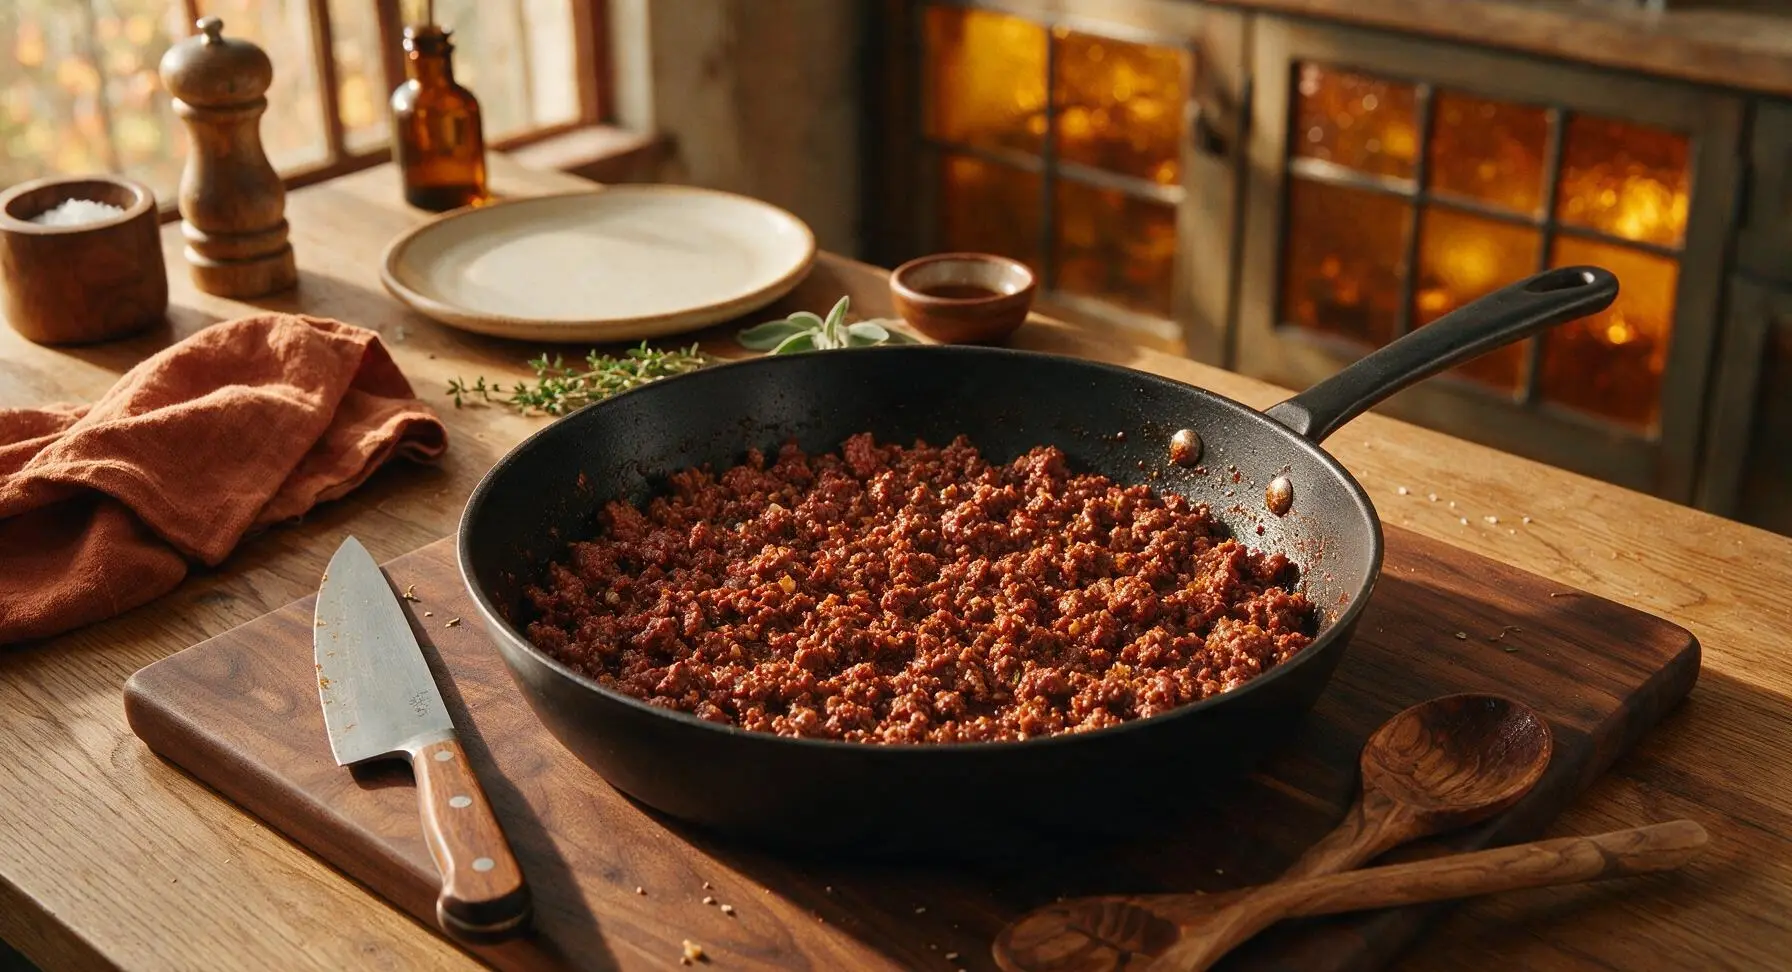
Place the 12-inch matte black carbon steel skillet over medium stovetop heat, add the remaining 1 tablespoon of olive oil. Once the oil shimmers (about 60 seconds, no smoking), add the diced onion and bell pepper, sauté for 3 minutes until soft and slightly translucent. Add the 500g ground beef, use the black silicone spatula to break the meat into fine crumbles as it cooks, for 5-6 minutes until no pink patches remain. Stir in the minced garlic and 2 tablespoons taco seasoning, cook for 30 seconds until the spice fragrance is clearly noticeable. Tilt the skillet slightly to check for excess grease, drain off any more than 1 tablespoon of rendered fat.
Step 3
step3:Brown Beef and Aromatics
Step 3
step3:Brown Beef and Aromatics
4

Add Beans and Tomatoes

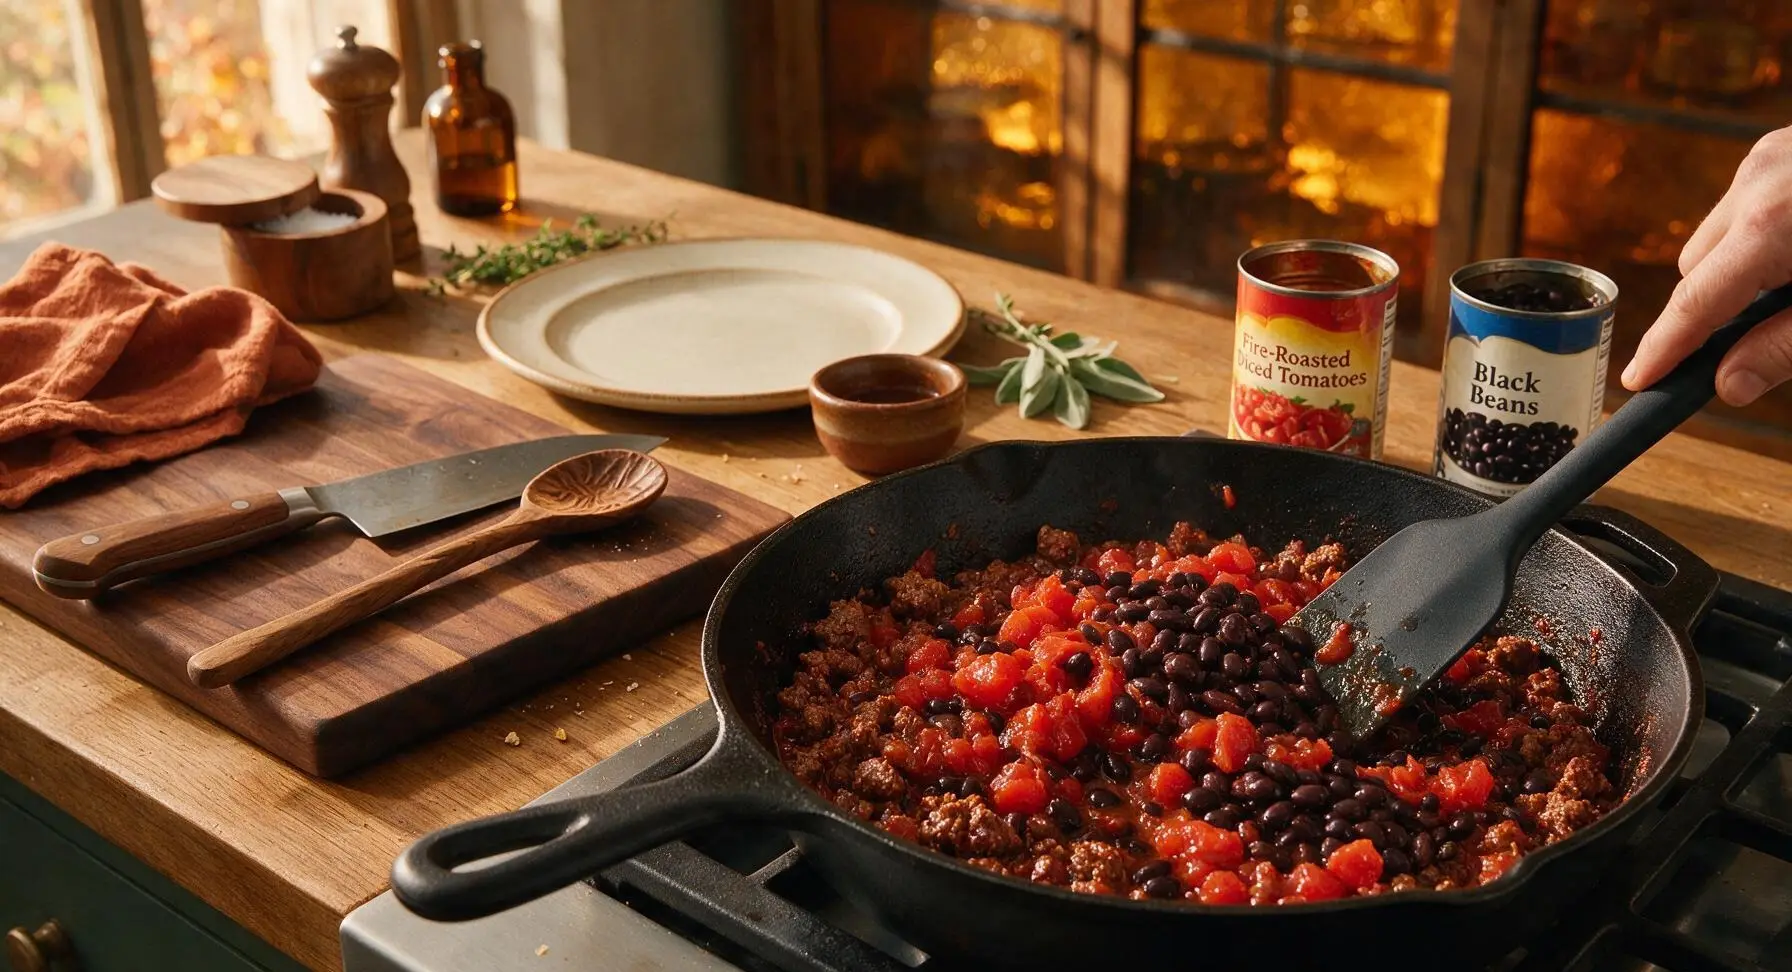
Use the matte black can opener to open the can of fire-roasted diced tomatoes (do not drain) and the can of black beans (drain and rinse beans under cool water first). Stir both cans of ingredients into the browned beef mixture in the skillet, bring to a gentle low simmer, then cook for 3 minutes, stirring occasionally, until the liquid reduces slightly to a thick, saucy consistency that coats the meat crumbles (no watery, runny liquid pooling in the pan). Turn off stovetop heat.
Step 4
step4:Add Beans and Tomatoes
5

Layer Casserole Evenly

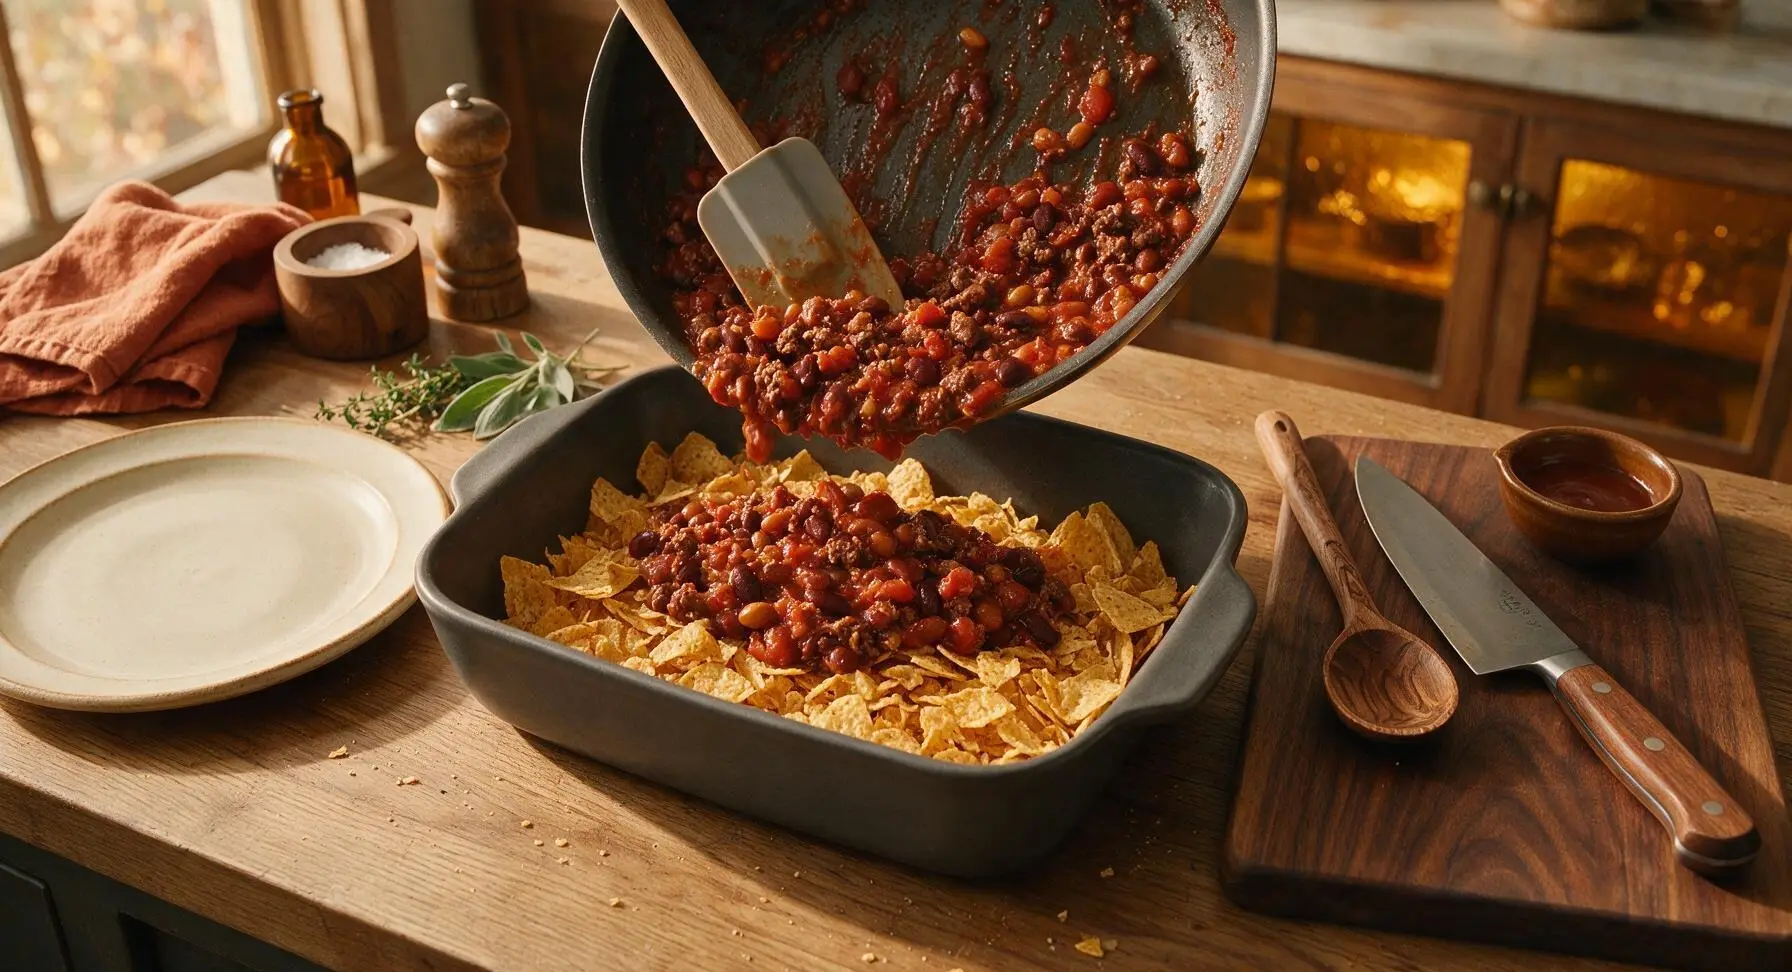
Retrieve the prepped dark gray baking dish from the rear of the counter. Assemble layers in order, spreading each evenly with the silicone spatula: first, spread 100g (⅔) of the crushed tortilla chips across the dish bottom, pressing lightly to compact into a firm base. Next, pour all of the beef, bean, and tomato mixture over the chip base, spreading into a flat, even layer. Top the beef mixture with 150g (¾) of the shredded cheddar cheese, then sprinkle the remaining 50g of crushed tortilla chips over the cheese for a crispy top crust.
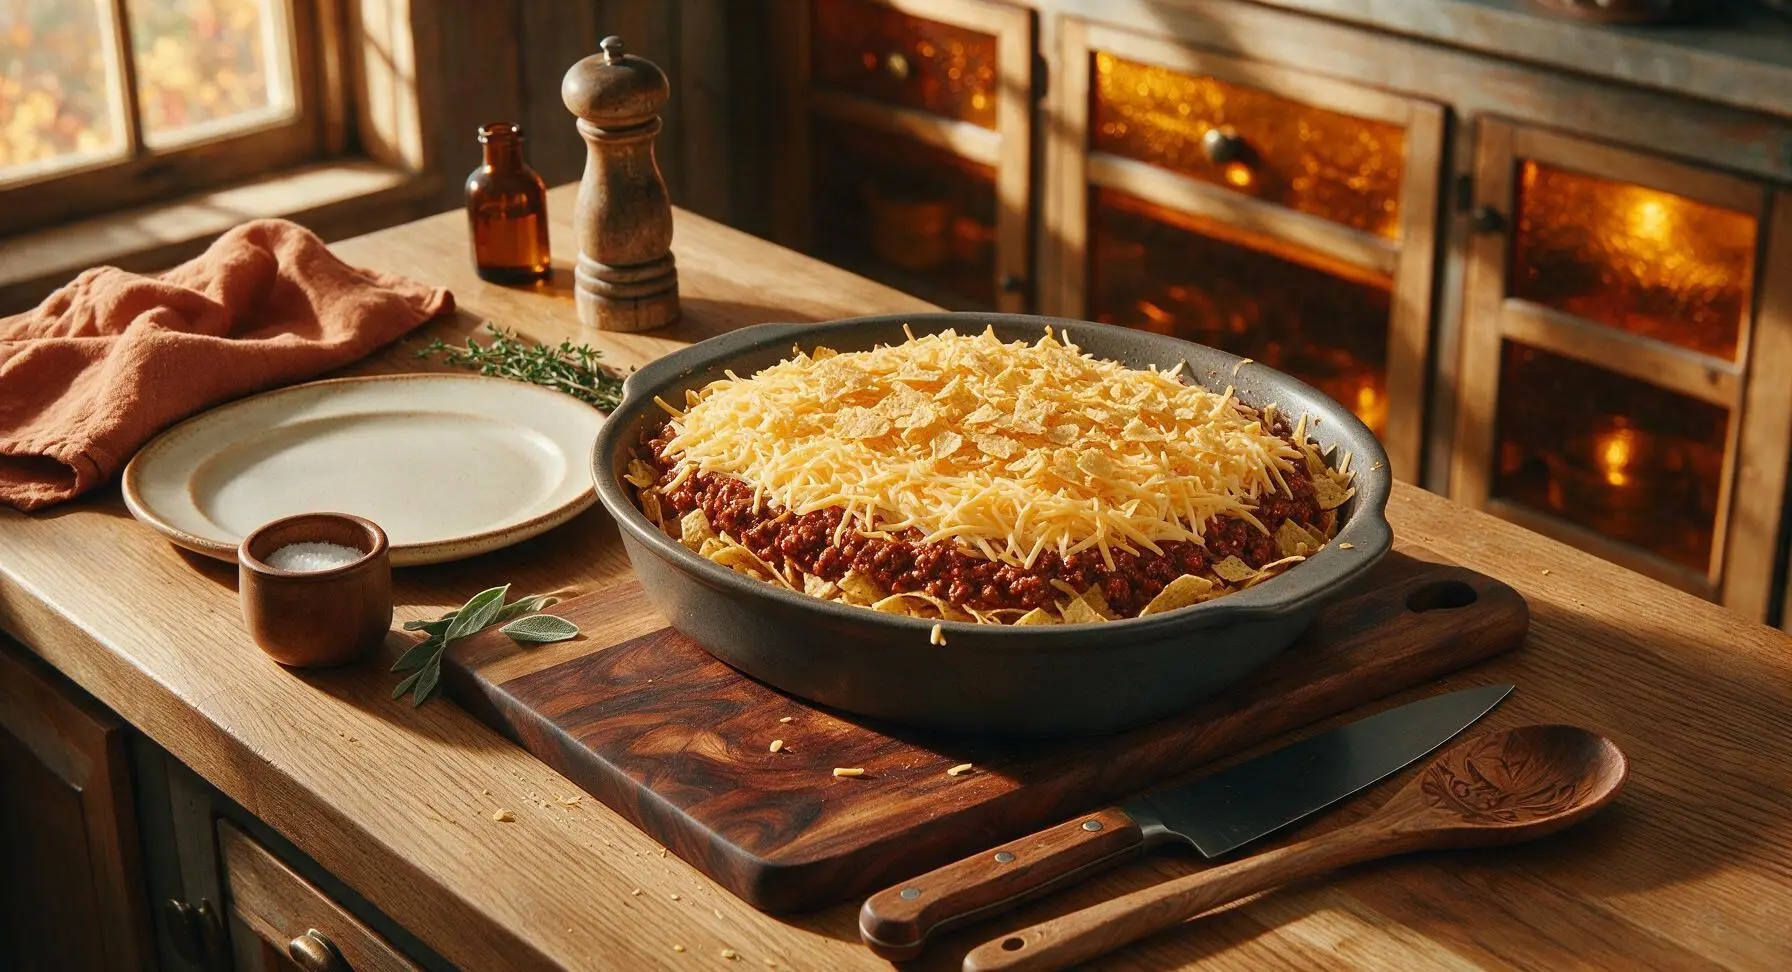
Step 5
step5:Layer Casserole Evenly
Step 5
step5:Layer Casserole Evenly
6

Bake Until Golden Bubbly

Carefully transfer the assembled baking dish to the preheated oven’s middle rack, bake for 20 minutes at 190°C (375°F). The casserole is fully cooked when the cheese is completely melted, bubbling vigorously around the dish edges, and the top tortilla crumbs are toasted to a light golden brown. Remove the dish from the oven, set on the counter to rest for 5 minutes—this rest time allows layers to set so slices hold their shape instead of falling apart when served.
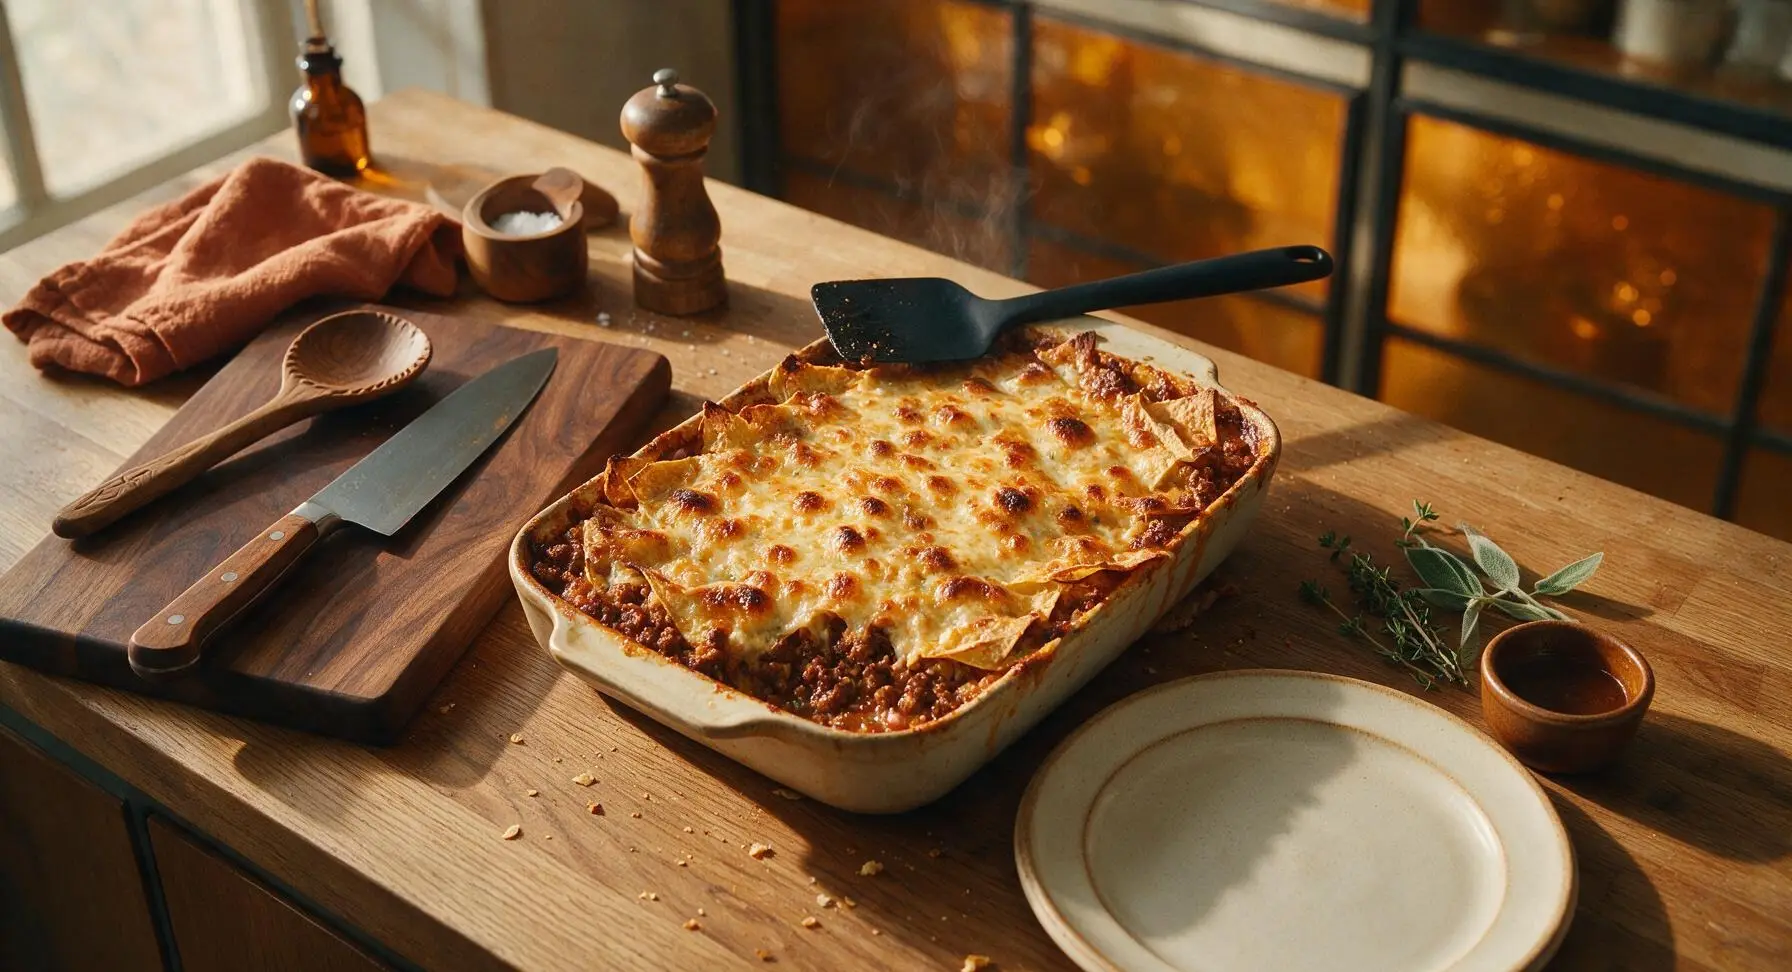
Step 6
step6:Bake Until Golden Bubbly
7

Plate and Add Garnish

Run the edge of the silicone spatula around the inside of the baking dish to loosen the casserole, then cut into 6 equal square portions. Lift one clean portion onto the matte off-white ceramic dinner plate, top with a 1-tablespoon dollop of sour cream, a light sprinkle of fresh chopped cilantro, and any extra diced tomato if desired. Serve immediately while warm and bubbly.
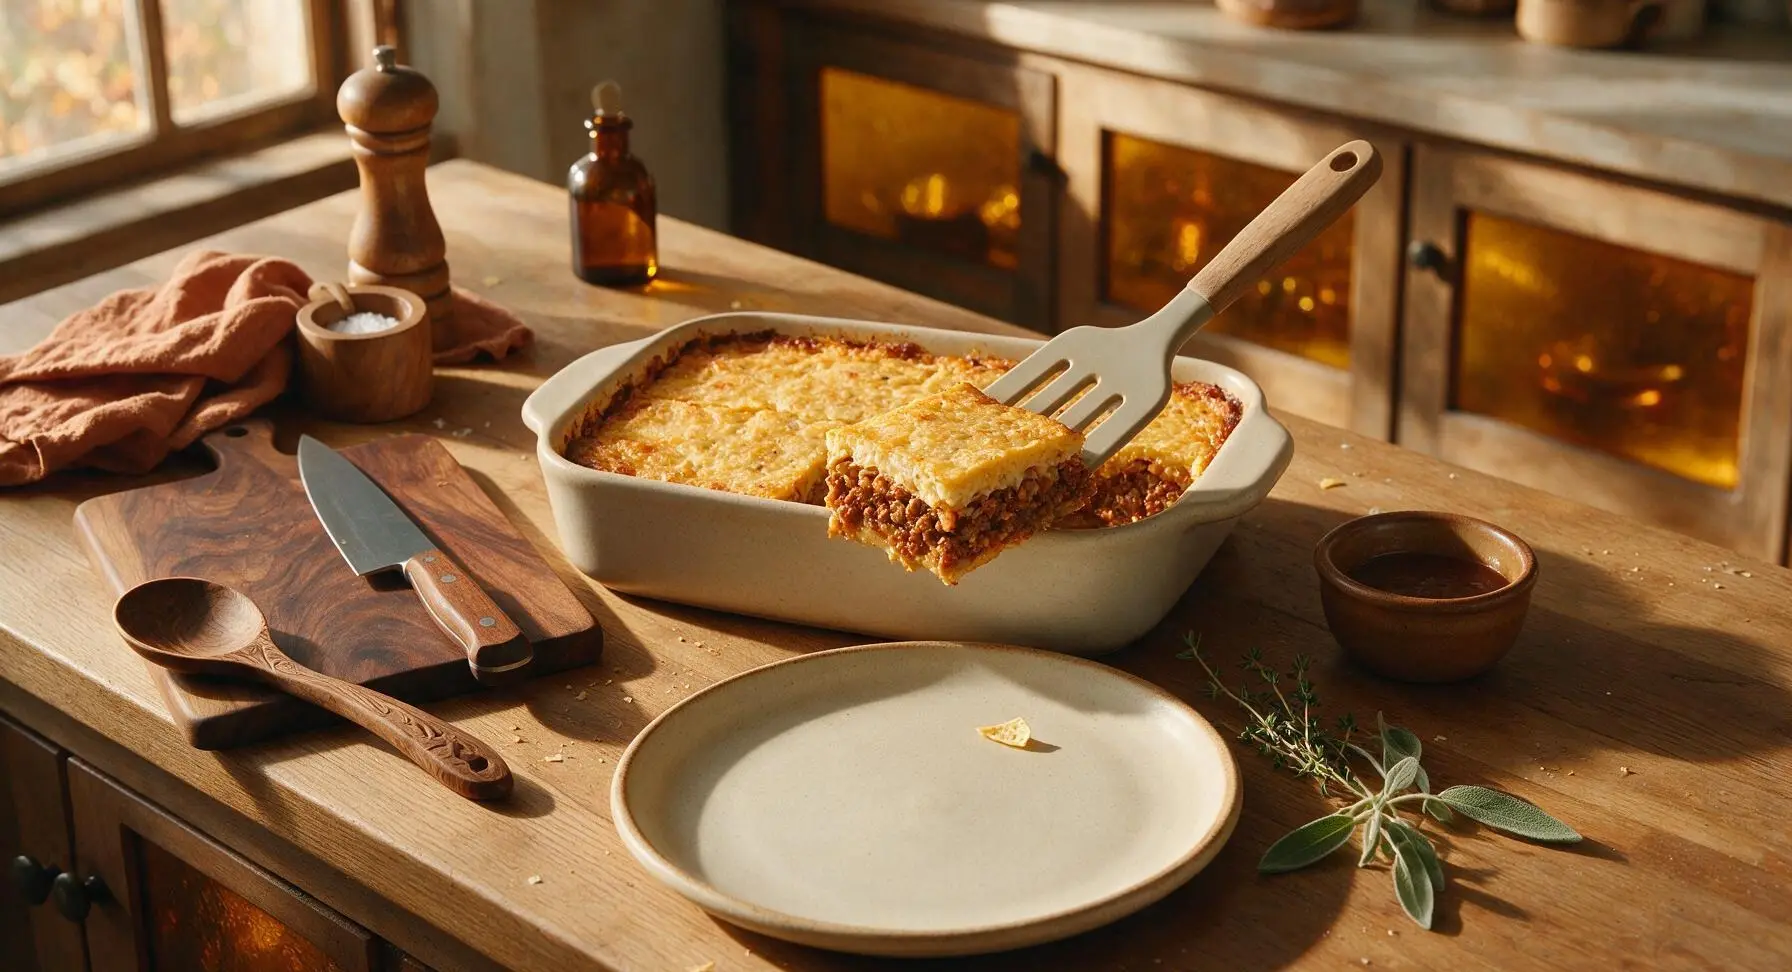
Step 7
step7:Plate and Add Garnish

Tips

1.Don’t skip draining and rinsing canned black beans: this removes starchy, salty canning liquid that would make the casserole watery, and cuts added sodium by roughly 30% for a brighter, less processed flavor.
2.Let the baked casserole rest for the full 5 minutes before slicing: the hot filling is very loose straight from the oven, and the short rest allows melted cheese and bean starches to set, so slices lift cleanly instead of oozing apart on the plate.
3.For an extra crispy, non-soggy top crust, reserve 2 tablespoons of shredded cheddar to sprinkle over the tortilla chip topping during the last 5 minutes of baking: the melted cheese binds the chip crumbs so they stay crisp instead of absorbing moisture from the filling.


✨ You May Also Like

Main Course
🍜 United Kingdom

A showstopping classic of tender seared beef, savory mushroom duxelles, and crisp prosciutto wrapped in flaky golden puff pastry, baked to juicy perfection.

⏱️ 2 hours 1Main Course ★ 4.7
Main Course
🍜 India

Tender charred marinated chicken simmered in a rich, spiced creamy tomato sauce, this iconic Anglo-Indian curry pairs perfectly with basmati rice or warm naan.

⏱️ 50 minuteMain Course ★ 4.6
Main Course
🍜 Thailand

Classic tangy, sweet, and savory Thai stir-fried rice noodles with shrimp, tofu, and crunchy garnishes, balancing all five core Thai flavor profiles.

⏱️ 30 minuteMain Course ★ 4.5
Main Course
🍜 United Kingdom

Crispy golden beer-battered cod and fluffy double-fried chips, served with tangy tartar sauce and malt vinegar: the timeless, beloved British pub comfort classic.

⏱️ 45 minuteMain Course ★ 4.7
Main Course
🍜 Mexico

Smoky, chile-marinated pork tacos with caramelized pineapple, fresh cilantro, and lime: a beloved classic Mexican street food perfect for casual summer gatherings.

⏱️ 1 hour 45Main Course ★ 4.8
Main Course
🍜 United States

Crunchy Fritos corn chips layered with savory beef chili and melted cheddar, topped with cool, zesty fixings for a beloved, cozy Tex-Mex comfort food.

⏱️ 35 minuteMain Course ★ 4.8

taco meat casserole:Frequently Asked Questions

1.Can I prep this Easy Taco Meat Casserole ahead of time for busy weeknights? ▾
Absolutely! You can fully assemble the unbaked casserole, cover it tightly with plastic wrap and foil, and store it in the fridge for up to 2 days, or freeze it for up to 3 months. If baking from chilled, add 10–12 minutes to the total bake time, and thaw frozen casseroles completely in the fridge first for even, consistent cooking.
2.What type of cheese gives the best gooey, classic Tex-Mex melt for this casserole? ▾
For that perfect stretchy, savory melt, I recommend a pre-shredded or fresh-shredded Mexican cheese blend made with Monterey Jack, mild cheddar, and a touch of asadero. If you shred your own from a block, you’ll get an even smoother melt—pre-shredded cheese has anti-caking agents that can prevent that ideal ooey-gooey texture.
3.Can I swap the 90/10 lean ground beef for a different protein? ▾
Definitely! Ground turkey, ground chicken, or even plant-based meat crumbles work as a perfect 1:1 swap for the 90/10 ground beef. If you use a fattier grind like 80/20 beef, be sure to drain off all excess rendered fat after browning so your casserole doesn’t end up soggy and greasy at the bottom.
4.How do I keep my taco casserole from turning out soggy? ▾
Great question! The two biggest culprits of soggy casserole are excess grease from cooked meat and unbuffered wet ingredients. After browning your beef, drain all excess fat, and if you use tortilla or chip layers, toast them lightly first to create a crisp barrier that holds up to moisture during baking without getting mushy.
5.Do I have to use low-sodium taco seasoning, or can I use regular store-bought? ▾
You can absolutely use regular taco seasoning if that’s what you already have in your pantry! I call for low-sodium to give you full control over the dish’s salt level, as many standard store-bought seasonings are very high in sodium. If using regular, skip adding extra salt to the veggie and meat mix, and taste as you go to avoid over-seasoning.
6.What are the best easy toppings to serve with this casserole? ▾
My go-to fresh toppings let everyone customize their serving to taste! Set out small bowls of diced ripe tomato, sliced avocado, a dollop of sour cream or plain Greek yogurt, chopped cilantro, pickled jalapeños for a little heat, fresh lime wedges, and crushed tortilla chips for extra crunch to add right before eating.
7.How long do leftovers keep, and what’s the best way to reheat them? ▾
Leftovers will stay fresh stored in an airtight container in the fridge for up to 4 days, or frozen for up to 3 months. For the best texture, reheat individual portions in a 350°F oven for 10–12 minutes covered with foil, or pop them in the microwave for 1–2 minutes, adding a light sprinkle of extra cheese to refresh that gooey top.
8.Can I add extra veggies to the casserole to bulk it up? ▾
Totally! This recipe is super flexible for adding extra produce to make it more filling and nutrient-dense. Great mix-ins include frozen corn, drained and rinsed black beans, diced roasted zucchini, or a handful of chopped spinach stirred into the cooked beef mix. Just pat canned or cooked veggies dry first to avoid adding excess moisture.

Comments (8)

3 days ago

OMG this was such a game changer for our busy weeknight family dinner! I threw this together in 10 minutes, popped it in the oven, and my kids loved it — all three of my boys went back for seconds. Even my super picky 7 year old asked if we can have this every taco Tuesday from now on. SO good, will be making this on repeat for meal prep too!

2 days ago

Same! My picky eater devoured this too, I added a little extra shredded cheddar on top the last 5 minutes of baking and it was chef’s kiss

yesterday

So happy to hear the whole family loved it! Extra cheese is always a great call — pro tip, you can also toss in some diced bell peppers if you want to sneak in extra veggies for the kids, no one will even notice!

5 days ago

Super easy to make, perfect for my Sunday meal prep! I portioned this out into 5 containers for work lunches, and it reheats like a dream. Only thing I will note is I added an extra tablespoon of taco seasoning because the base was a little mild for my taste, plus a can of black beans for extra fiber. Would definitely make again.

3 days ago

Love the black bean addition! So glad this works well for your meal prep routine — it holds up great in the fridge for up to 4 days, so it’s perfect for grab-and-go work lunches. Thanks for the tip about extra taco seasoning, folks who love bolder flavor can definitely ramp that up!

2 weeks ago

Brought this to my neighborhood potluck last weekend and people were literally asking me for the recipe before they even finished their first serving! It’s so hearty, flavorful, and impossible to mess up. 10/10, will be bringing this to every gathering from now on.

1 week ago

Wait this is so easy even I, someone who burns toast 50% of the time, pulled this off without a single issue! It only took me 30 minutes total, used cheap ground beef I had on sale, and my roommates are convinced I’m a professional cook now lmao.

3 days ago

LMAO same! I made this last week in my tiny dorm oven and it came out perfect, I topped mine with a dollop of sour cream and some crushed tortilla chips for extra crunch.

2 days ago

That makes us so happy to hear! This recipe is perfect for beginner cooks because it’s totally forgiving — the tortilla chip crunch topping idea is genius, we’ll have to try that next time we make it!

1 week ago

So glad I found this! I swapped the regular flour tortillas for corn tortilla strips to make it gluten free, and it turned out absolutely amazing. Tastes just like the taco casserole my abuela used to make, but way less work.

5 days ago

Thanks for the corn tortilla swap tip! My kid has a wheat allergy and I’ve been searching for easy weeknight meals that work for him, can’t wait to try this this weekend!

yesterday

Made this last night for the family right after my kid’s soccer practice, and I can’t believe how fast it came together. I used ground turkey instead of beef to cut down on fat, and nobody even noticed the difference. 10/10, this is gonna be in our regular weeknight rotation for sure.

2 hours ago

Ground turkey is such a great swap! We love that it’s just as flavorful with a lighter feel, and it’s perfect for those busy post-soccer practice nights when you don’t have time for a fussy, complicated meal.

2 days ago

This was SO good! I added a can of diced green chiles and a dash of hot sauce to the meat mixture to give it a little kick, and it was chef’s kiss. Next time I’m gonna add some pickled jalapeños on top for extra heat, can’t wait.

yesterday

The green chile addition sounds incredible! I added a handful of sweet corn to mine last time I made it and it added such a nice sweet contrast to the savory taco meat, highly recommend!

30 minutes ago

We love hearing all the fun customizations folks come up with! Green chiles, hot sauce, corn, pickled jalapeños — all of those sound like delicious additions that take this casserole to the next level. It’s such a flexible recipe, so feel free to get creative with toppings!

just now

I’m usually super picky about casseroles because they always turn into soggy, bland leftover mush, but this? Total game changer. The flavors are so bright, the tortilla layers stay nice and crisp if you don’t overbake it, and even the leftovers tasted amazing for lunch the next day. 10/10, no notes.



