
Tamago Grilled Cheese

title 1
Tamago Grilled Cheese
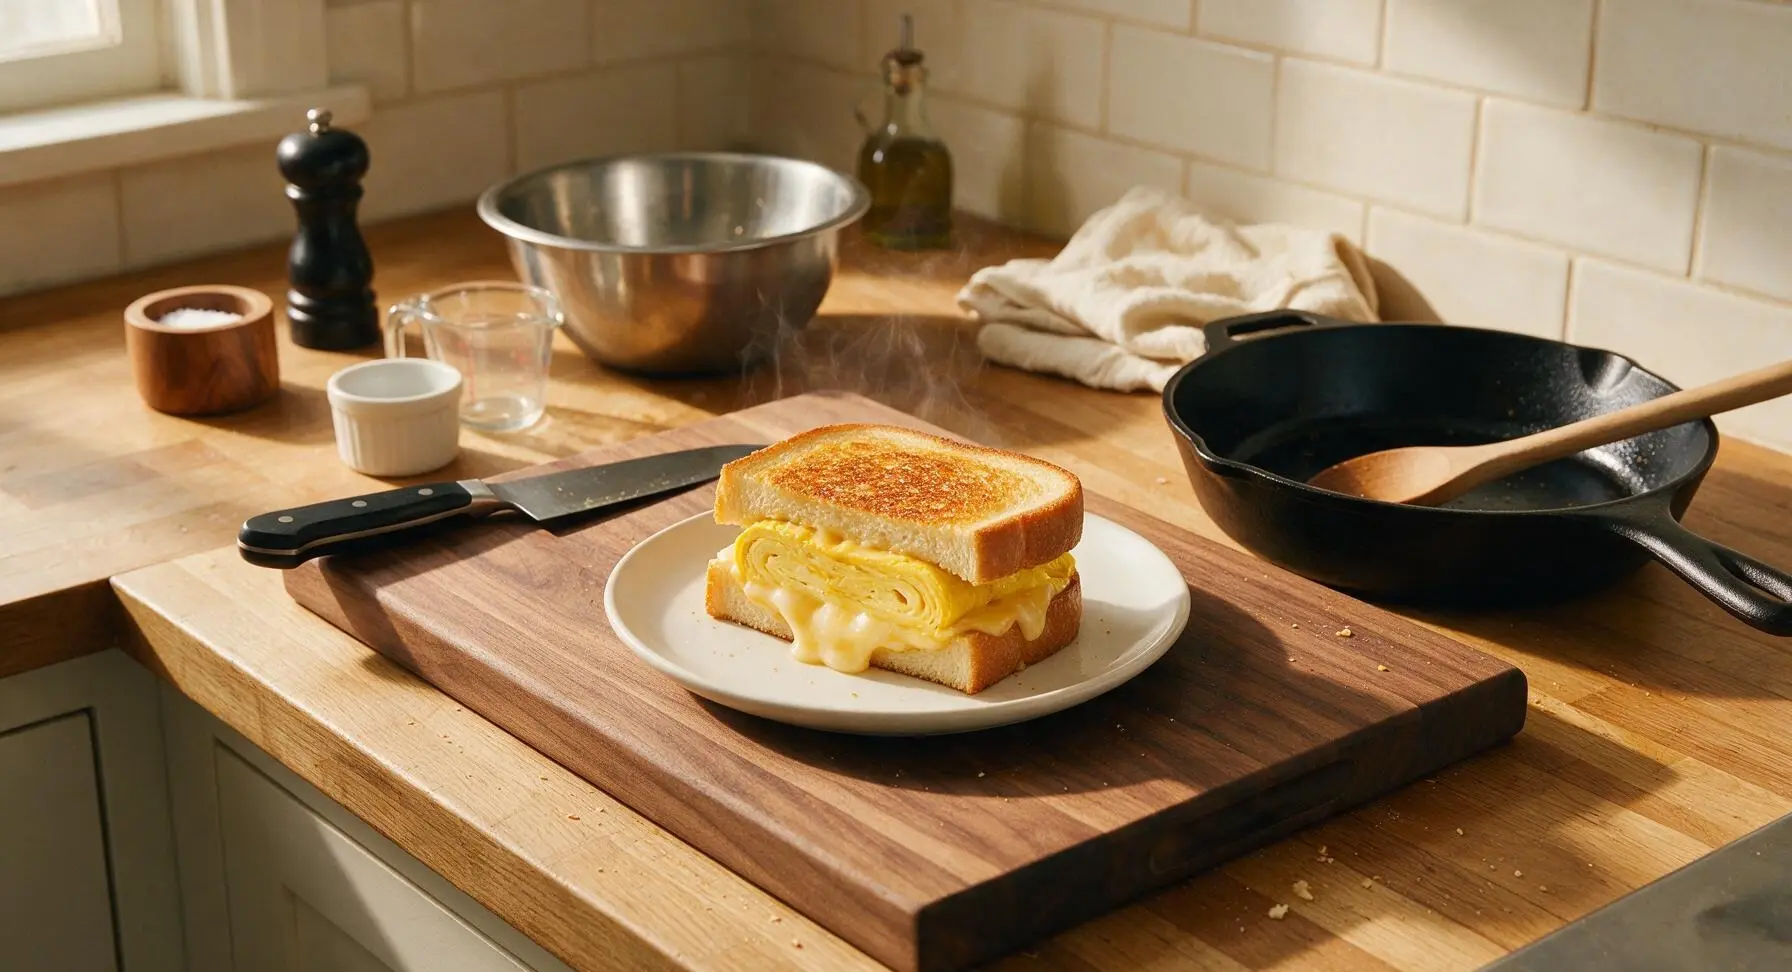
⏱️ cook time 10 minutes
🍽️ servings 2
⚡ Difficulty easy

intro

A cozy Japanese-American fusion of fluffy sweet-savory rolled tamago and oozing melted cheese, pressed between crisp buttery milk bread for a fast, satisfying bite.

Ingredients
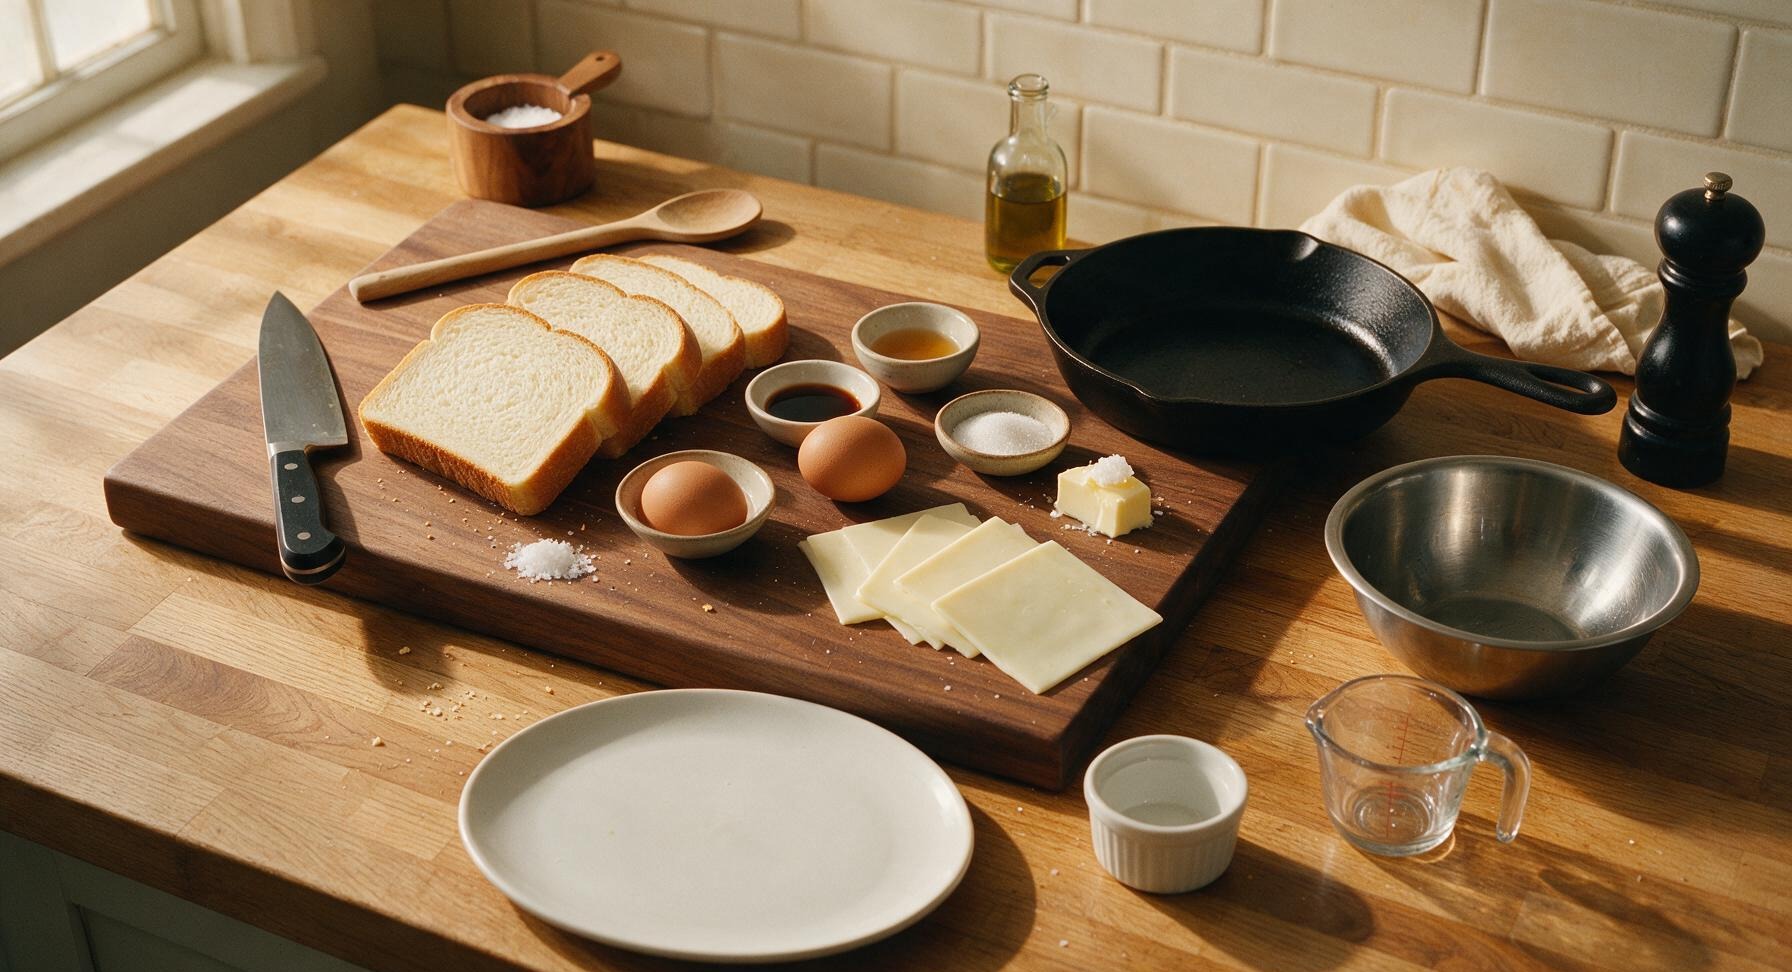
Japanese milk bread (shokupan) 4 slices (1.5cm thick)
Large eggs 2
Mirin 1 tsp
Low-sodium soy sauce 1/2 tsp
Granulated sugar 1 tsp
White American cheese slices 4 slices (1oz each)
Unsalted butter 2 tbsp, divided
Flaky sea salt 1 pinch

Steps

1

Whisk Tamago Egg Mixture

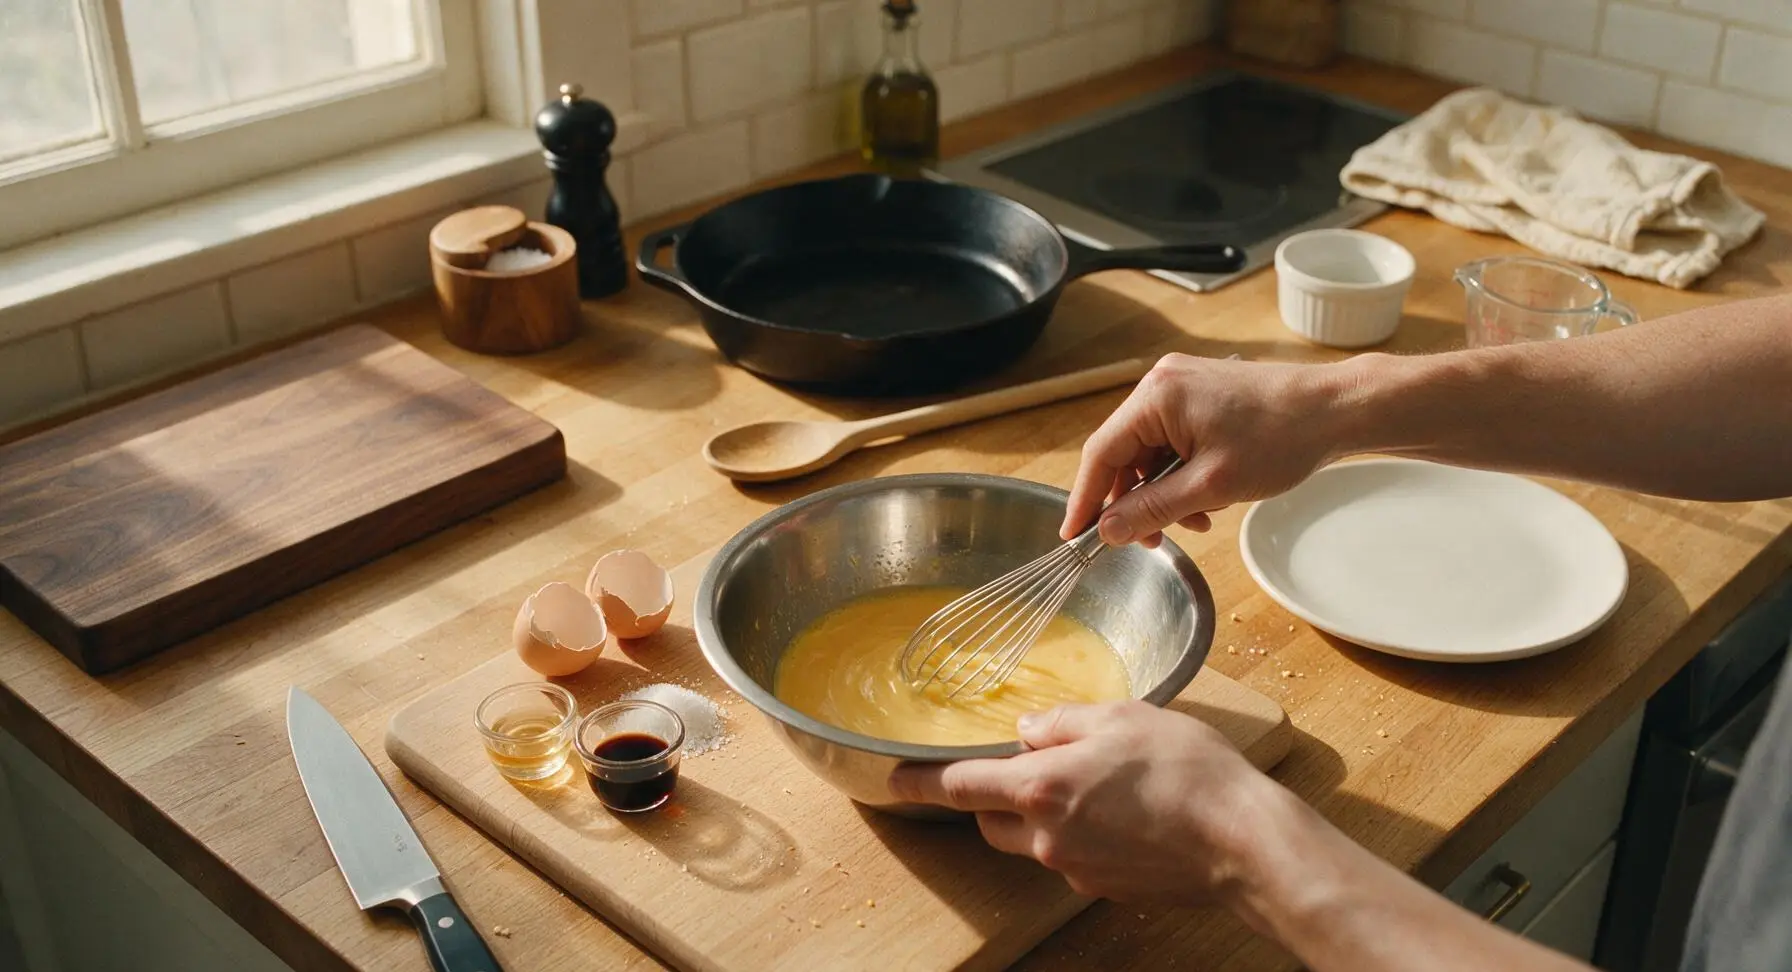
Crack 2 large eggs into the small stainless steel mixing bowl. Add 1 tsp granulated sugar, 1 tsp mirin, 1/2 tsp low-sodium soy sauce, and a pinch of flaky sea salt. Use the small stainless steel wire whisk to mix thoroughly for 30 seconds until completely smooth, with no visible streaks of egg white, and the sugar is fully dissolved. Avoid over-whisking to prevent large air bubbles that create uneven holes in the finished tamago.
Step 1
step1:Whisk Tamago Egg Mixture
2

Cook First Tamago Layer

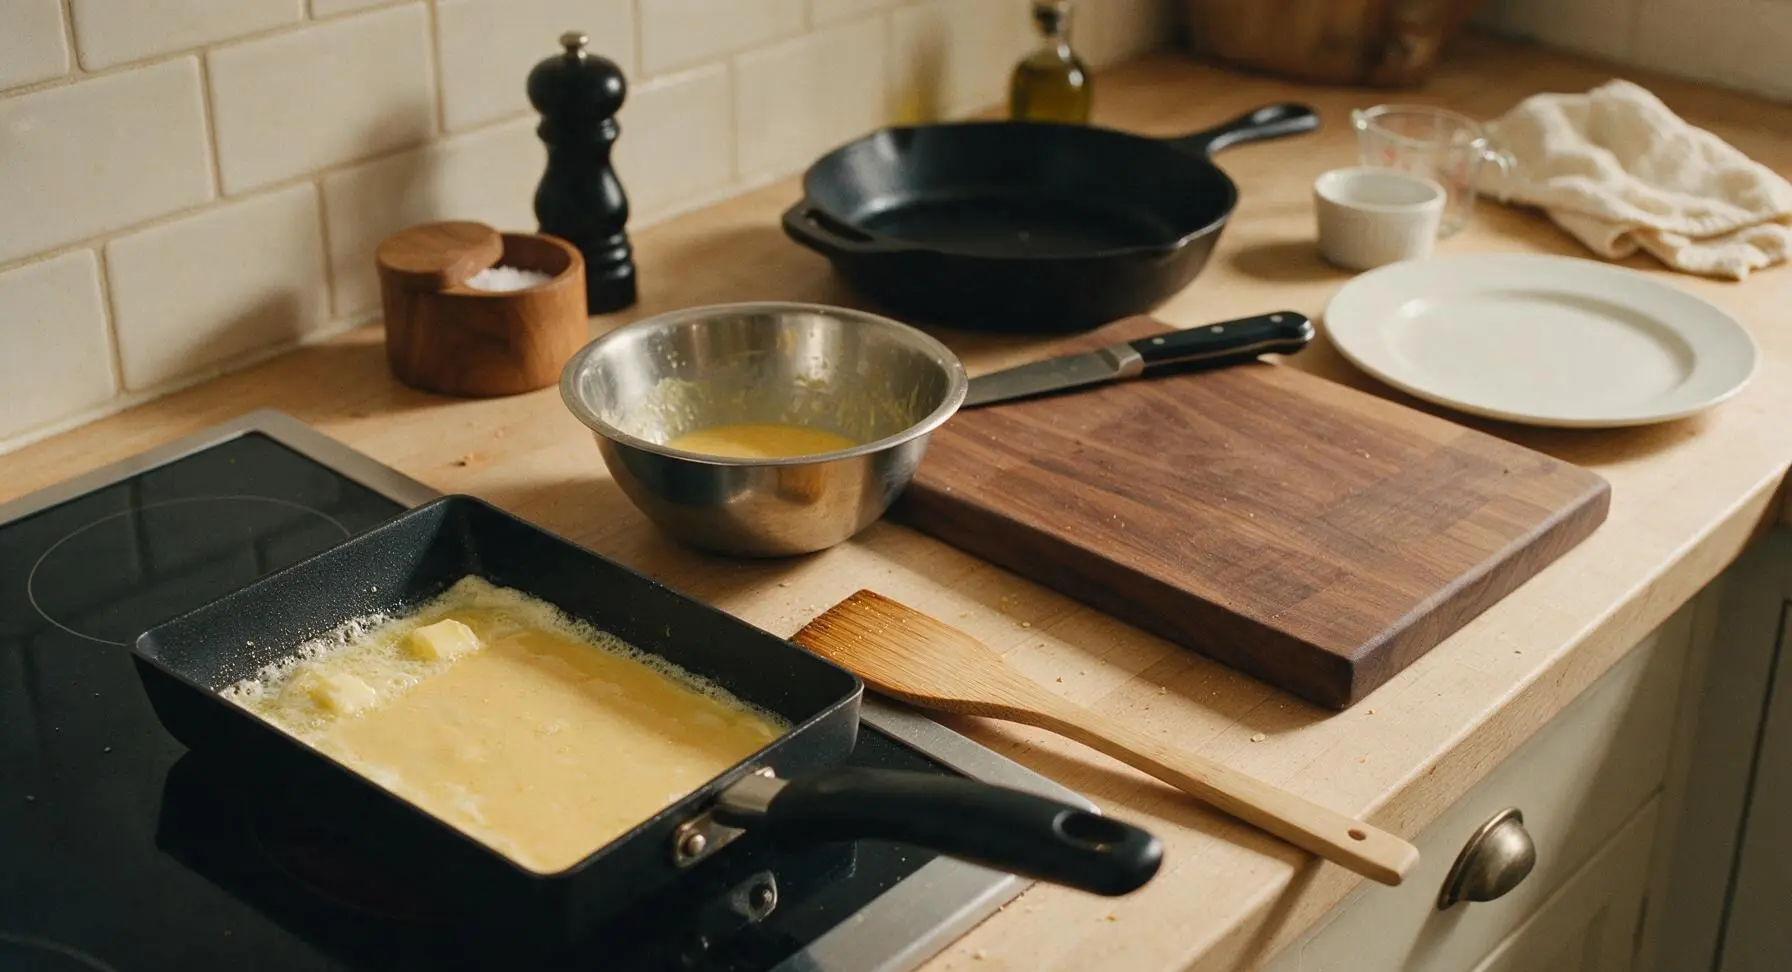
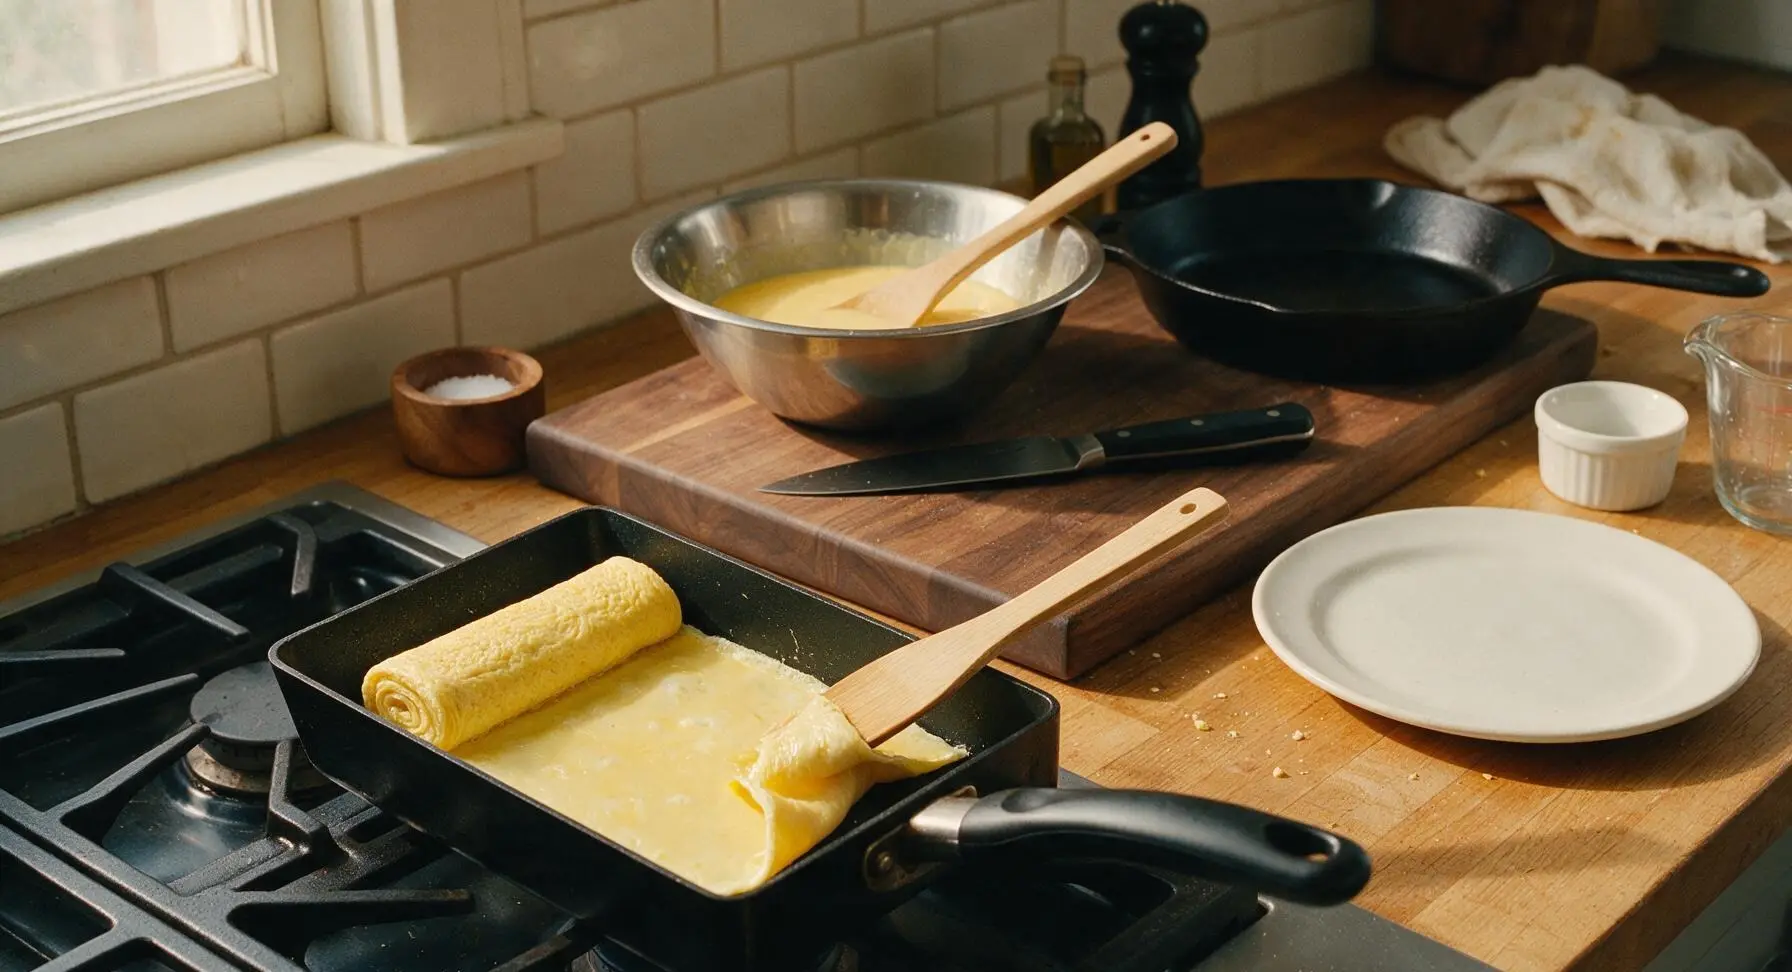
Place the rectangular non-stick tamagoyaki pan on the left induction burner over medium-low heat (325°F / 160°C). Melt 1/2 tsp of unsalted butter in the pan, swirling to coat the entire interior surface evenly. Pour 1/3 of the egg mixture into the pan, tilting to spread it into a thin, even layer across the pan bottom. Cook for 45 seconds, until the egg is just set on the bottom but still slightly glossy on top, popping any large air bubbles with the tip of the bamboo spatula as they form.
Step 2
step2:Cook First Tamago Layer
3

Roll Layered Tamago Log

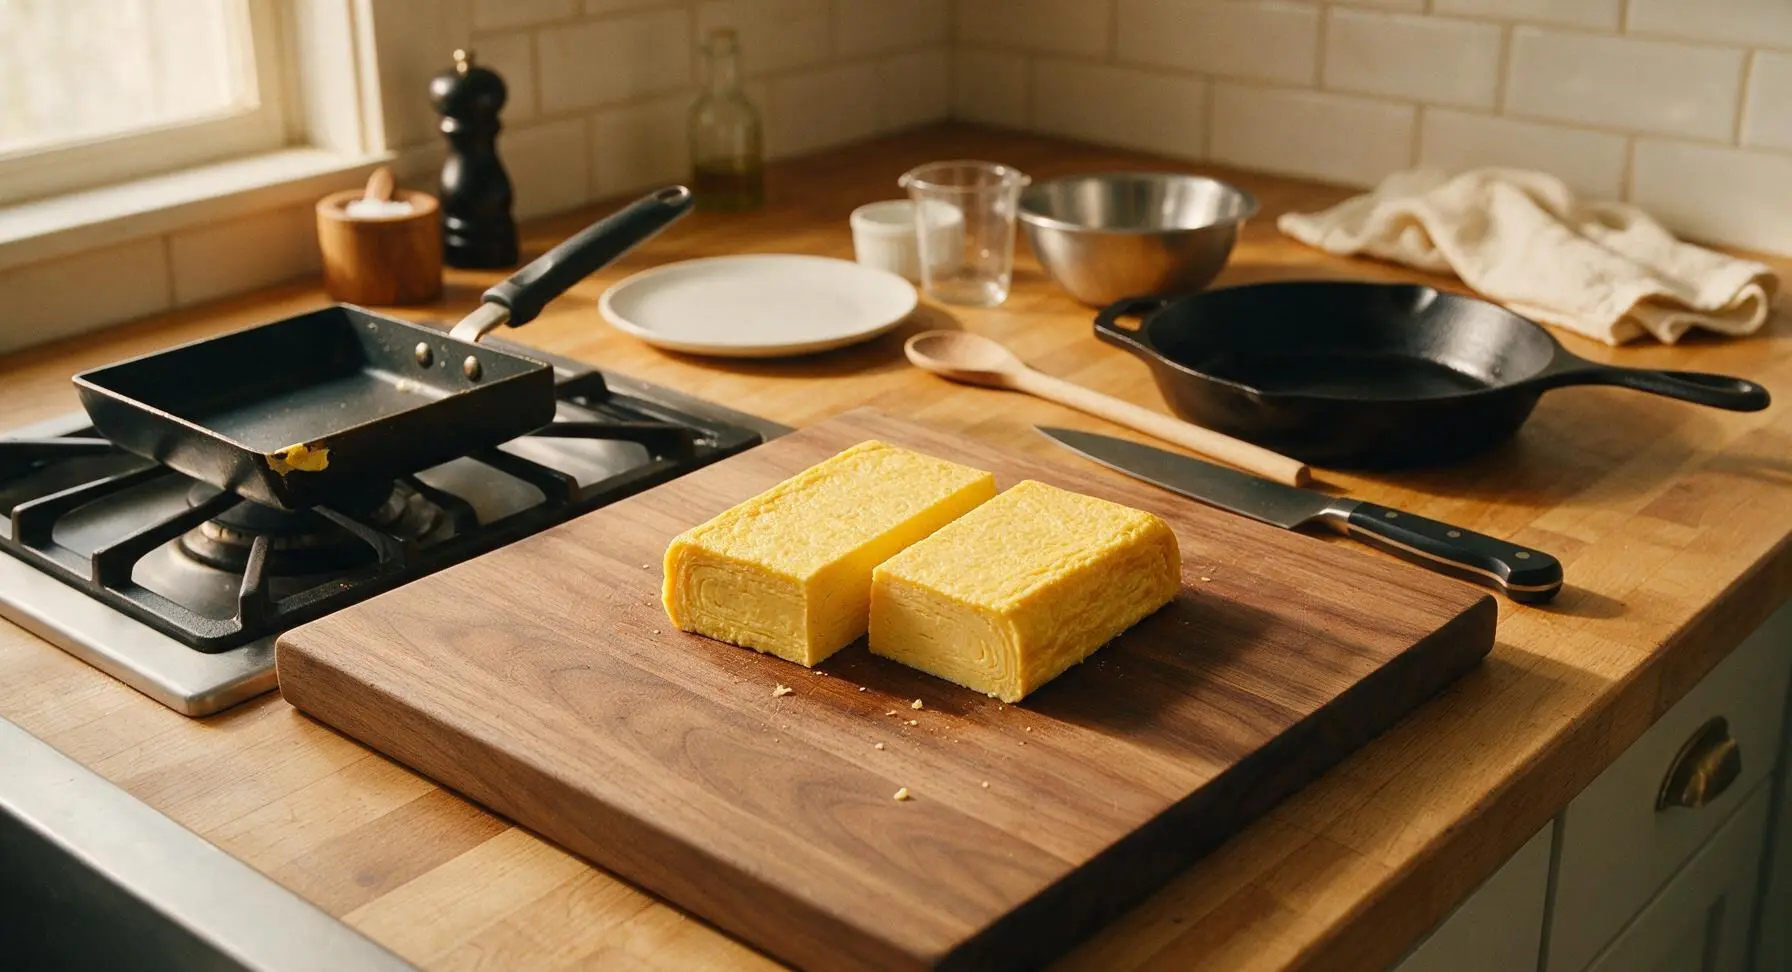
Use the bamboo spatula to gently lift the edge of the set egg layer closest to the pan handle, rolling it tightly away from you into a neat log at the far end of the pan. Lightly butter the empty section of the pan, then pour another 1/3 of the remaining egg mixture, lifting the rolled egg log slightly to let the new egg flow underneath and seal the roll. Cook for 45 seconds until set, then roll the log back toward the handle to encase the new layer. Repeat with the final 1/3 of egg mixture, rolling tightly to form a firm, even rectangular tamago log that matches the width of your milk bread slices. Transfer the finished tamago to the cutting board to cool for 2 minutes, then slice into two 1.5cm thick rectangular slabs sized to fit the bread.
Step 3
step3:Roll Layered Tamago Log
Step 3
step3:Roll Layered Tamago Log
4

Assemble Cheese Sandwiches

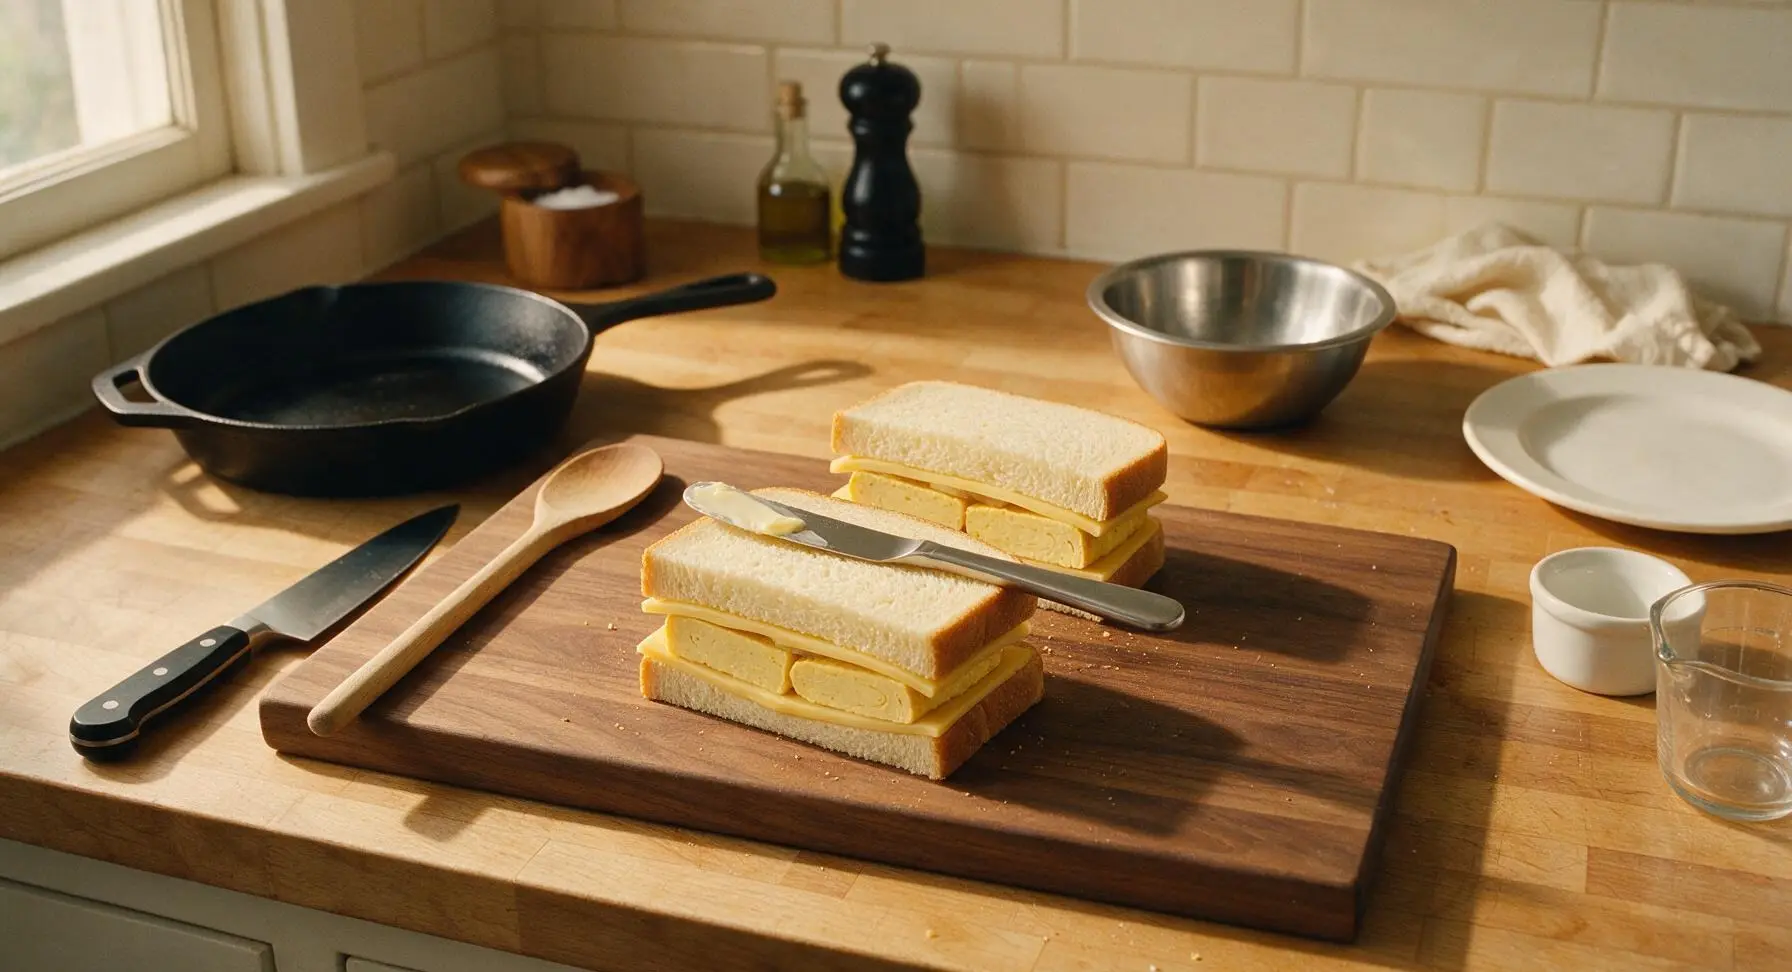
Lay out all 4 slices of milk bread on the beech cutting board. Place one slice of American cheese on each bread slice, then top two of the slices with the cut tamago slabs, pressing gently to flatten slightly. Top each tamago layer with a second slice of cheese, then close the sandwiches with the remaining bread slices, pressing firmly to help the layers adhere. Use the stainless steel butter knife to spread 1/2 tsp of softened unsalted butter evenly across the top surface of each sandwich, covering the bread completely from edge to edge.
Step 4
step4:Assemble Cheese Sandwiches
5

Grill Until Golden Crisp

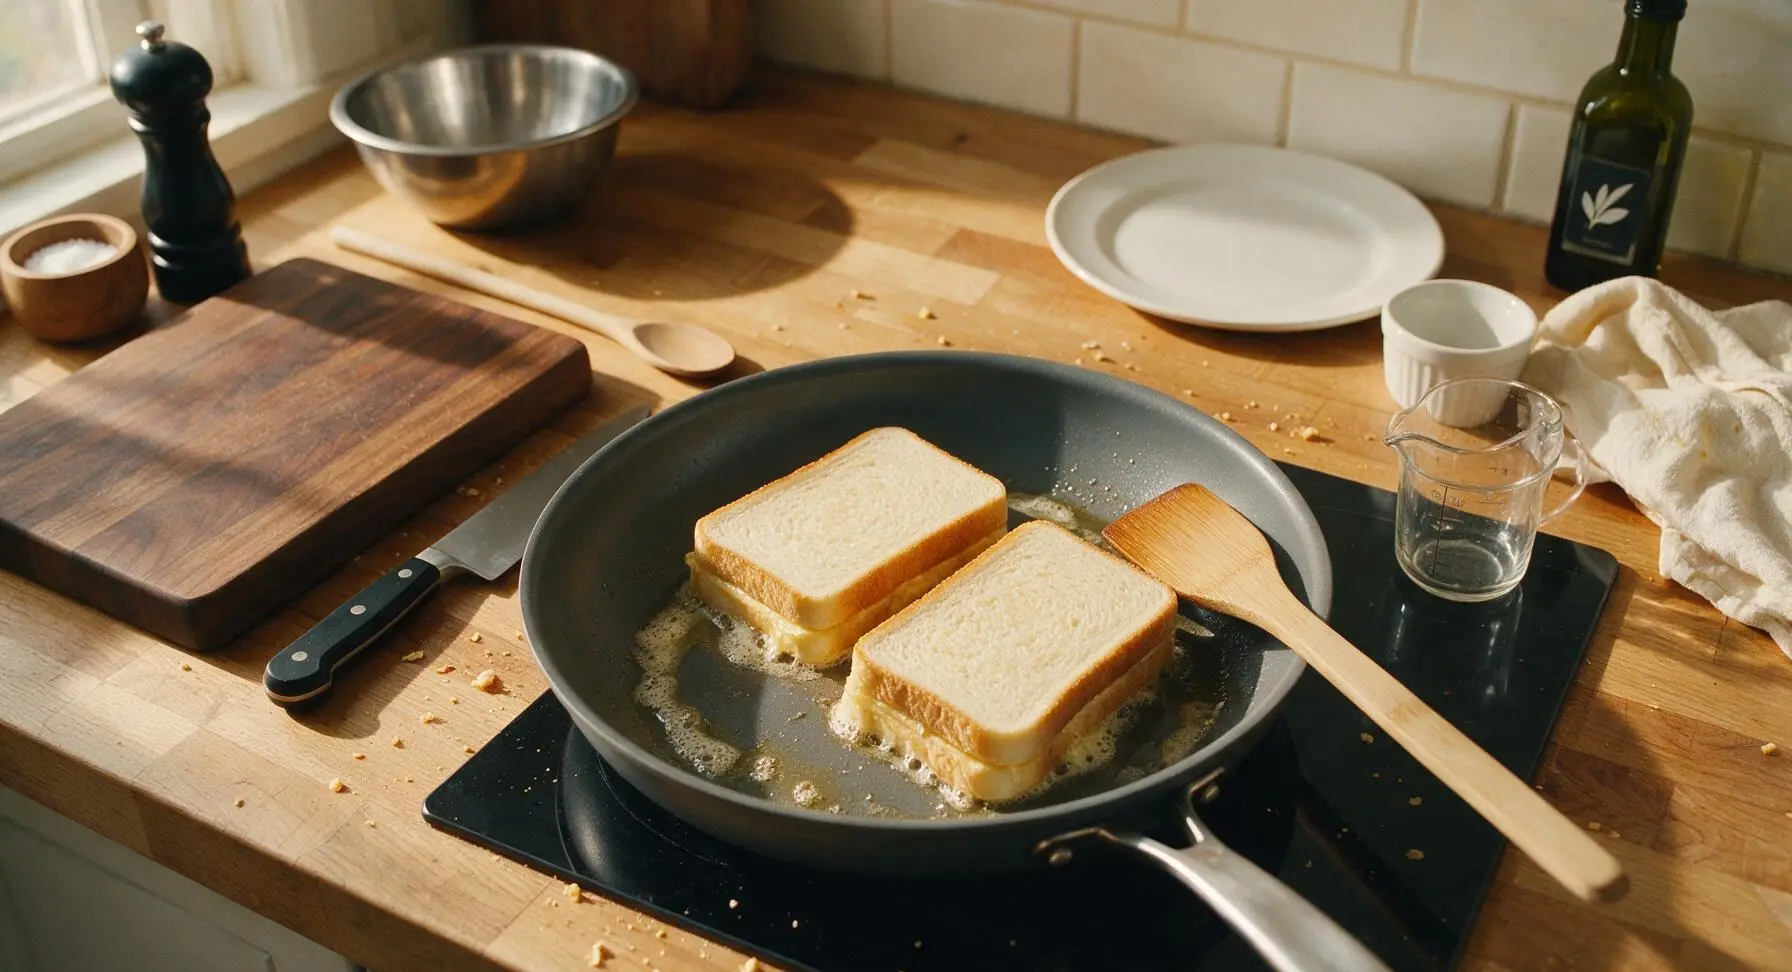
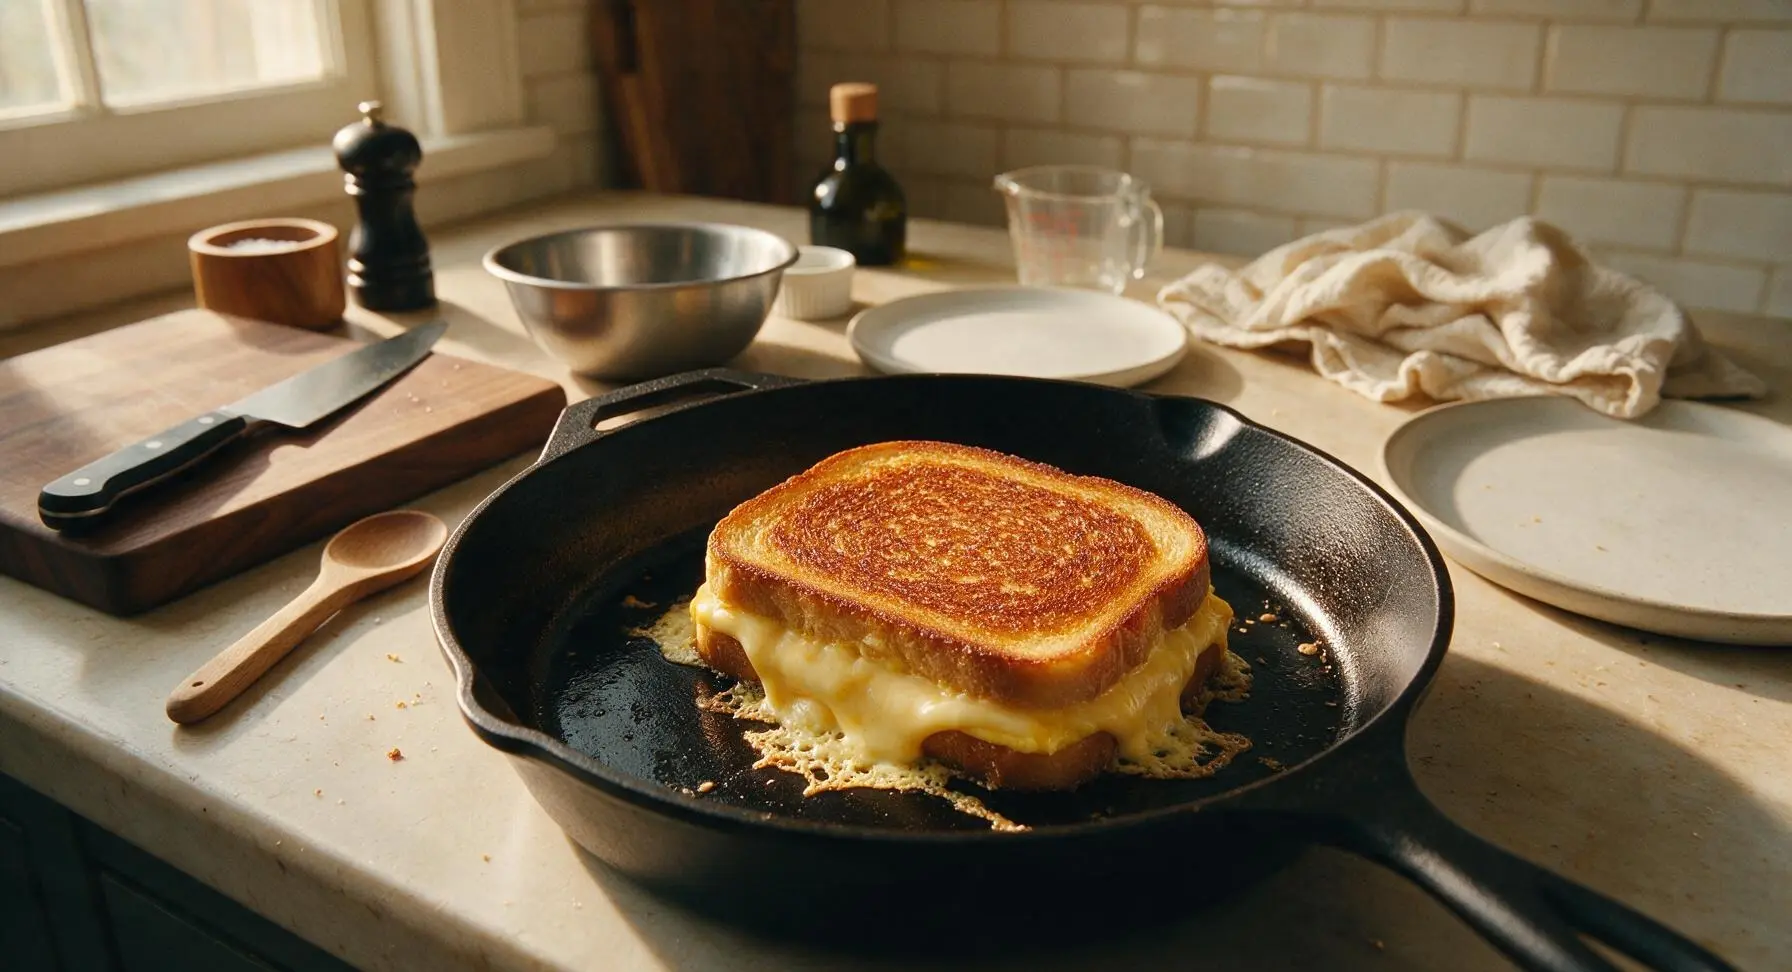
Place the 10-inch non-stick skillet on the right induction burner over medium heat (350°F / 175°C). Carefully place the sandwiches butter-side down in the skillet. Spread the remaining 1/2 tsp of butter per sandwich across the unbuttered top surface. Cook for 3-4 minutes, until the bottom bread is deep golden brown and crisp, and the cheese touching the pan starts to melt and bubble at the edges. Flip the sandwiches carefully with the bamboo spatula, then cook for another 2-3 minutes on the second side, until golden and crisp, and all cheese is fully melted with no hard, unmelted chunks in the sandwich center.
Step 5
step5:Grill Until Golden Crisp
Step 5
step5:Grill Until Golden Crisp
6

Rest, Slice, and Plate

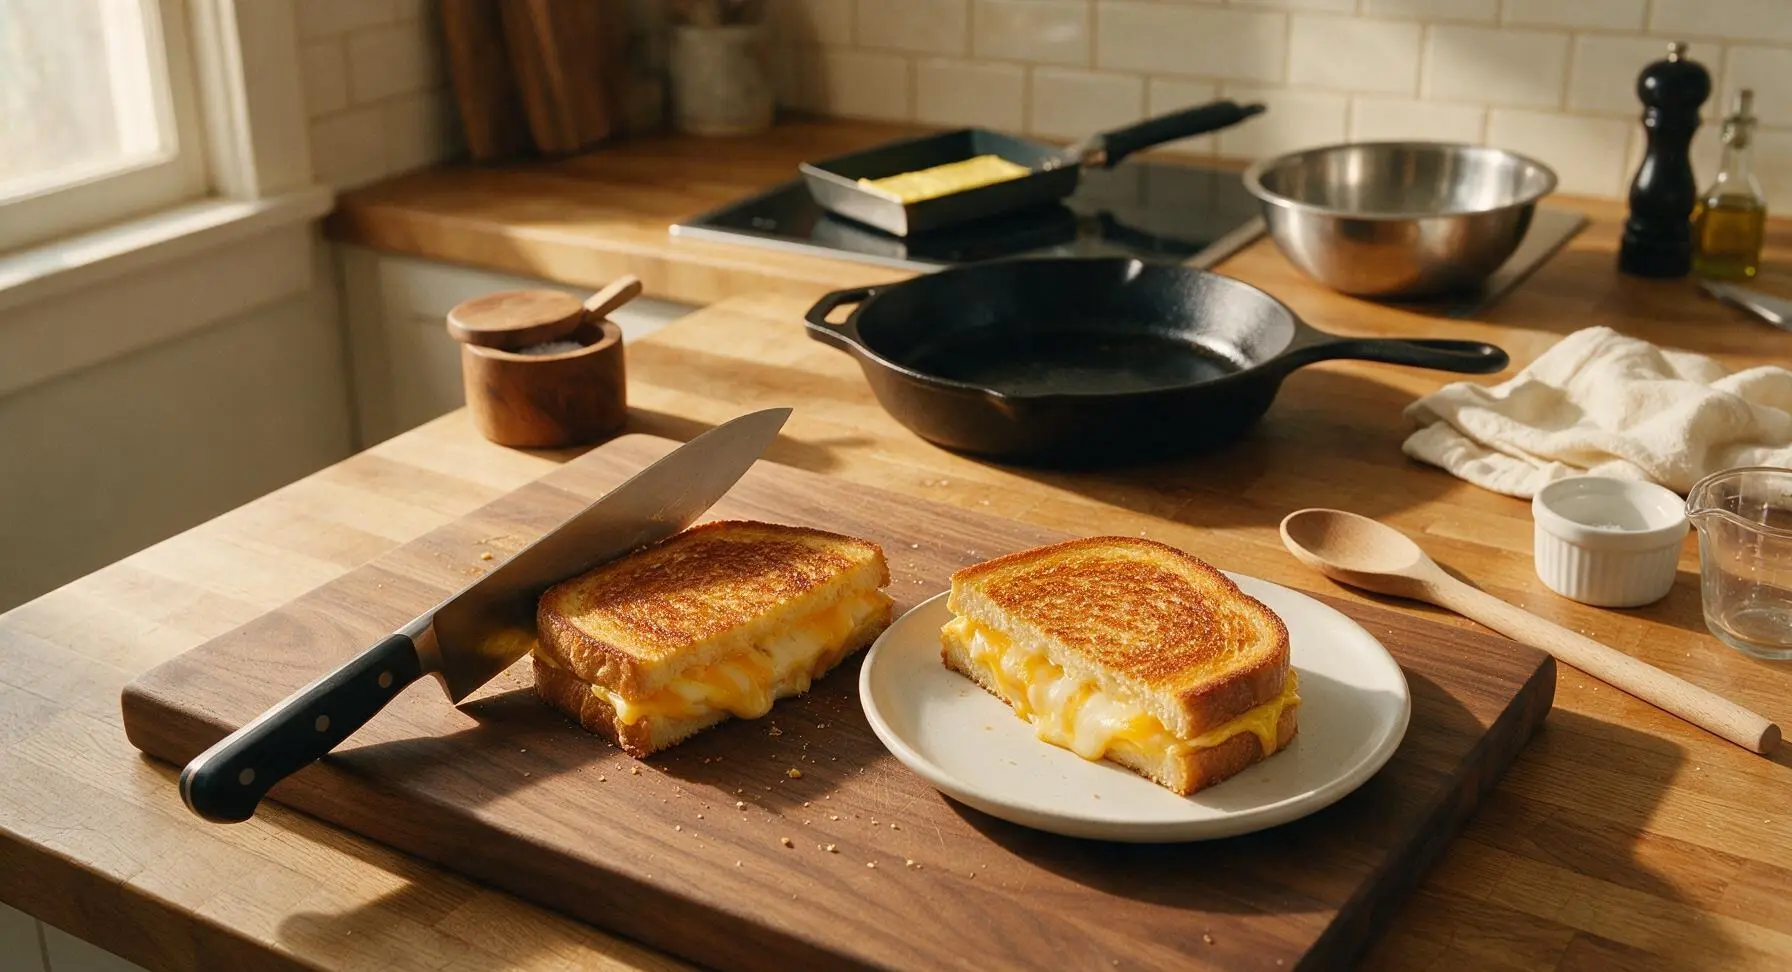
Transfer the cooked grilled cheese sandwiches from the skillet to the beech cutting board. Let rest for 1 minute to allow the cheese to set slightly, so it does not run out excessively when cut. Slice each sandwich diagonally into two triangular halves, then arrange on the matte cream ceramic lunch plate. Pluck a tiny sprig of fresh thyme from the countertop pot to use as a light garnish, if desired.
Step 6
step6:Rest, Slice, and Plate

Tips

1.Keep heat at medium-low when cooking tamago: high heat will brown the egg quickly and create a rubbery texture, but properly cooked tamago should be pale golden, soft, and fluffy with distinct, even layers.
2.Butter bread all the way to the edges: bare bread spots will dry out and turn pale instead of developing the uniform, deep golden crisp crust that makes grilled cheese taste perfect.
3.Let sandwiches rest for 1 full minute after cooking: cutting immediately will cause melted cheese to gush out onto the plate, but a short rest lets the cheese thicken slightly for clean slices and even, cheese-filled bites.


✨ You May Also Like

Main Course
🍜 United Kingdom

A showstopping classic of tender seared beef, savory mushroom duxelles, and crisp prosciutto wrapped in flaky golden puff pastry, baked to juicy perfection.

⏱️ 2 hours 1Main Course ★ 4.7
Main Course
🍜 India

Tender charred marinated chicken simmered in a rich, spiced creamy tomato sauce, this iconic Anglo-Indian curry pairs perfectly with basmati rice or warm naan.

⏱️ 50 minuteMain Course ★ 4.6
Main Course
🍜 Thailand

Classic tangy, sweet, and savory Thai stir-fried rice noodles with shrimp, tofu, and crunchy garnishes, balancing all five core Thai flavor profiles.

⏱️ 30 minuteMain Course ★ 4.5
Main Course
🍜 United Kingdom

Crispy golden beer-battered cod and fluffy double-fried chips, served with tangy tartar sauce and malt vinegar: the timeless, beloved British pub comfort classic.

⏱️ 45 minuteMain Course ★ 4.7
Main Course
🍜 Mexico

Smoky, chile-marinated pork tacos with caramelized pineapple, fresh cilantro, and lime: a beloved classic Mexican street food perfect for casual summer gatherings.

⏱️ 1 hour 45Main Course ★ 4.8
Main Course
🍜 United States

Crunchy Fritos corn chips layered with savory beef chili and melted cheddar, topped with cool, zesty fixings for a beloved, cozy Tex-Mex comfort food.

⏱️ 35 minuteMain Course ★ 4.8

Tamago Grilled Cheese:Frequently Asked Questions

1.What if I can’t find Japanese milk bread (shokupan) for this recipe? ▾
You can swap it for thick-cut soft white sandwich bread with a tight, even crumb, sliced about 1.5 inches thick. Avoid crusty sourdough or holey artisanal loaves—they won’t hold the soft tamago and melted cheese well, and won’t get that signature tender, buttery crisp edge shokupan is known for.
2.What type of cheese works best for tamago grilled cheese? ▾
Stick to mild, ultra-melty cheeses that won’t overpower the sweet-savory tamago: sliced American, low-moisture mozzarella, or mild white cheddar are perfect. Skip strong, pungent cheeses like blue cheese or aged gouda—they’ll clash with the delicate mirin and soy notes in the egg layer.
3.Can I make the tamago ahead of time to speed up weekday meal prep? ▾
Absolutely! Cook the rolled tamago, let it cool completely, then wrap it tightly in plastic wrap and store it in the fridge for up to 3 days. Slice it to fit your bread right before assembling the sandwich, so it doesn’t dry out around the edges before grilling.
4.I don’t have mirin on hand—what’s a reliable substitute? ▾
If you don’t have mirin, mix 1 tablespoon of dry sherry or dry white wine with 1 teaspoon of granulated sugar for every tablespoon of mirin the recipe calls for. Avoid seasoned rice vinegar as a swap—it’s far too tangy, and will throw off the tamago’s sweet-savory balance.
5.Why does the recipe call for low-sodium soy sauce instead of regular? ▾
Regular soy sauce is quite salty, and it can easily overpower the delicate, sweet egg flavor and make the whole sandwich overly briny once paired with salty melted cheese and buttery toasted bread. Low-sodium soy lets you control salt levels so umami, sweet, and savory notes all shine.
6.How do I keep the tamago fluffy instead of tough and rubbery? ▾
Cook the tamago over low to medium-low heat, rolling thin layers of egg as they just set—don’t wait for the egg to fully cook through before rolling, as residual heat will finish cooking it. Overcooking at high heat is the number one culprit for tough, rubbery tamago that ruins the sandwich texture.
7.Do I need a special square tamagoyaki pan to make the egg layer? ▾
You don’t! A small 8-inch nonstick skillet works perfectly. Just pour thin layers of egg, tilt the pan to spread the egg evenly across the surface, and roll it from one end of the pan to the other as each layer sets. The shape won’t be perfectly square, but the flavor will be identical.
8.How much butter should I use to get that perfect crisp bread crust? ▾
Use about 1 tablespoon of softened, unsalted butter total for both slices of bread—spread it in a thin, even layer all the way to the edges of each slice. This gives you a uniformly golden, crisp crust without making the bread soggy or greasy as the cheese melts.
9.Can I add extra fillings to this sandwich without ruining the flavor balance? ▾
Stick to mild, complementary add-ins if you want to mix it up: a thin spread of Japanese mayo, a sprinkle of furikake, or a few thin slices of crisp cooked bacon work great. Skip heavy, wet fillings like tomato slices or briny pickles—they’ll make the bread soggy and clash with the tamago’s gentle sweet-savory flavor.
10.What heat setting should I use to grill the sandwich so the cheese melts before the bread burns? ▾
Cook over medium-low heat, 3 to 4 minutes per side. This gives the bread time to turn a deep golden, buttery crisp, and lets the heat penetrate all the way through to melt the cheese and warm the tamago, without charring the outside of the bread before the filling is hot.
11.Can I make this recipe dairy-free? ▾
Definitely! Swap the butter for a neutral plant-based butter formulated for high-heat cooking, and use your favorite dairy-free melting cheese slices. Stick to mild, unflavored dairy-free cheese so it doesn’t add odd, artificial notes that compete with the tamago’s subtle flavor profile.
12.How thick should I slice the tamago for the best sandwich texture? ▾
Slice your cooled tamago log into ½-inch thick slices that fit evenly across the surface of your bread. If it’s too thin, you’ll lose that signature fluffy tamago texture; if it’s too thick, the sandwich will be hard to press evenly, and the cheese won’t melt consistently.
13.Why does my grilled bread turn out soggy instead of crisp? ▾
Sogginess usually comes from two common mistakes: using too much butter, or cooking the sandwich at too high a heat, which makes the butter burn off before it can crisp the bread. Make sure your pan is preheated just enough to melt butter gently, and skip wet, leaky fillings.
14.Can I freeze assembled tamago grilled cheeses for quick future meals? ▾
I don’t recommend freezing fully assembled sandwiches, as the bread will turn mushy and the tamago will develop a rubbery texture when thawed. You can freeze pre-cooked tamago logs for up to 1 month, then thaw them in the fridge overnight to assemble fresh sandwiches in minutes.

Comments (19)

2 days ago

OMG this was SO good! I threw this together for a quick weekday breakfast before work and it hit every spot. The fluffy sweet tamago paired with melty cheddar on milk bread? *Chef’s kiss* 10 minutes flat, no fancy equipment needed. Total game changer for my rushed mornings.

1 week ago

My kids loved it! I was so sick of making the same old peanut butter jelly for their school lunches, so I tested this yesterday after school and both begged for seconds. I added a tiny bit of extra sugar to the tamago like my grandma used to make, and it was perfect.

5 days ago

Love that tweak! Adding a touch of extra sugar to the tamago makes it feel extra cozy, I’m so glad your kids gave it two thumbs up!

30 minutes ago

Really solid! I used pepper jack instead of American because that’s what I had in the fridge, and the little kick paired so well with the sweet tamago. Only reason it’s not 5 stars is I overcooked the first tamago round and it got a little rubbery, totally my bad though. Will make again for sure.

3 days ago

This is going into my weekly meal prep rotation STAT! I make a big batch of tamago on Sundays, so throwing these together for lunch all week takes literally 2 minutes each. Way better than the sad takeout sandwiches I usually grab at work.

2 days ago

Wait do the sandwiches hold up okay if you assemble them the night before? I’ve been nervous about grilled cheese getting soggy in my lunch box!

5 minutes ago

Wait why have I never thought to combine tamago and grilled cheese before??? This is genius. I made this in my dorm room mini skillet and it came out perfect, no fancy skills needed. Drizzled a little sriracha on top and I’m literally in heaven.

just now

The sriracha add is insane! I did a drizzle of kewpie mayo too and it changed the whole thing.

just now

Sriracha and kewpie are such great add-ins! So stoked this worked in your dorm skillet, that’s exactly what this easy recipe is for!

2 weeks ago

Made this for our family movie night last weekend to switch up the usual pizza, and everyone went crazy for it. Even my super picky 7 year old who only eats plain buttered noodles ate a whole sandwich and asked when we can have it again. 10/10.

1 week ago

Did you cut them into little dippers? I feel like that would be so good with tomato soup for movie night!

5 days ago

Tomato soup dippers are such a good call! The sweet tamago pairs so nicely with tangy tomato soup, I’m adding that to my next make list too.

5 days ago

Brought these cut into bite sized squares to my neighborhood potluck last weekend and they were gone in 10 minutes flat! A couple people asked for the recipe, which I happily passed along. Only knock is I wish I made double the batch, I only got one bite!

yesterday

I’ve been eating tamago over rice for years and never thought to tuck it into a grilled cheese. This hit so hard when I made it for a quick dinner last night. The cheese gets all crispy on the bread edges? *Chef’s kiss* No notes.

2 hours ago

Crispy cheese edges are my favorite part too! So glad you gave this fun twist a try, it’s such a cozy quick dinner.

1 week ago

Super easy and tasty! I used gluten free sourdough because that’s what I keep on hand for my celiac kiddo, and it worked perfectly. The only thing I’ll change next time is using a milder cheese, the sharp cheddar I used overpowered the tamago a little bit for my taste.

5 days ago

Try using a soft white American! It melts so smooth and doesn’t compete with the sweet tamago flavor at all, that’s what I use for my GF grilled cheeses.

3 days ago

Great tip on the mild cheese! White American is perfect here for that classic melty grilled cheese vibe that lets the tamago shine. So happy the GF sourdough worked out!

yesterday

10 minute cook time is NOT a lie! I ran home on my lunch break, made this, ate it, and still had 15 minutes left to sit before heading back to the office. Absolute lifesaver for days when I forget to meal prep.

30 minutes ago

Same! I keep a carton of eggs and a pack of cheese at my office now so I can make this on days I don’t have leftovers. Game. Changer.

30 minutes ago

I’m literally the worst at cooking, like I burn toast 50% of the time, and this came out perfect! The instructions were so straightforward, I didn’t mess up the tamago at all. I’m so proud of myself lol.

5 minutes ago

Omg this makes me want to try it! I’m also a disaster in the kitchen, so if you could pull this off I bet I can too.

just now

That’s what I love to hear! This recipe is built for all skill levels, even if you’re still getting the hang of cooking. You’ve got this, go make it!

2 days ago

Added a slice of cooked spam to mine and it was out of this world. The salty spam, sweet tamago, melty cheese? I ate two sandwiches back to back and have zero regrets. Don’t knock it till you try it!

3 days ago

Served these at my little brunch get together with friends this weekend and everyone thought I was a culinary genius. Little do they know it took me 10 minutes per sandwich and basically zero effort. Paired amazing with mimosas, 10/10.

2 days ago

Brunch mimosas and tamago grilled cheese sounds like the absolute perfect weekend plan. I won’t tell your friends how easy it was if you don’t 😉

1 week ago

Total win for my tight grocery budget! Eggs, bread, cheese—all super cheap staples I almost always have in the fridge anyway. No fancy ingredients needed, tastes like something I’d pay $15 for at a fancy brunch cafe.

5 days ago

Right?! I calculated it out and each sandwich is like $1.20 to make. Cheaper than fast food and way more delicious.

3 days ago

Love that! Good food doesn’t have to be expensive or fancy. This recipe was designed to use up basic pantry and fridge staples for a tasty meal without the big price tag.

5 days ago

Added a thin layer of mashed avocado to mine and it was chef’s kiss. The creaminess paired so well with the sweet egg and salty cheese. Will for sure be making this on repeat for quick lunches. Next time I might add a little spinach too!

2 hours ago

Made this as a midnight snack after my late shift and it’s the best post-work meal I’ve had in weeks. Not too heavy, packed with flavor, done before I even finished changing out of my work uniform.

30 minutes ago

As someone who works 12 hour night shifts, I am always looking for quick late meals. Adding this to my list for tomorrow night’s shift!

yesterday

Used Japanese milk bread for this like the recipe suggested and OH MY GOODNESS. The soft, slightly sweet bread is the perfect match for the tamago and cheese. I don’t think I can ever go back to regular sandwich bread for grilled cheese again.

2 hours ago

Milk bread is the secret weapon here! It gets perfectly toasty on the outside but stays soft and fluffy inside, it really takes this sandwich to the next level. So glad you loved it!

2 weeks ago

I know some people think ketchup on grilled cheese is a crime, but dipping this in ketchup was unreal. The sweet tang of the ketchup with the tamago and cheese? Don’t judge me till you try it. I’ve made this 4 times in two weeks.

2 days ago

I didn’t feel like standing over the stove, so I made this in my air fryer at 375 for 6 minutes, flipping halfway, and it came out great! The bread was extra crispy, the cheese was fully melted, the tamago was perfectly fluffy. Total win.

yesterday

Such a smart air fryer hack! I love that you didn’t have to stand over the stove— that’s the best part of easy, flexible recipes, you can make them work with whatever tools you have at home. Thanks for sharing the tip!



