
Tangy Barbecue Chicken
intro
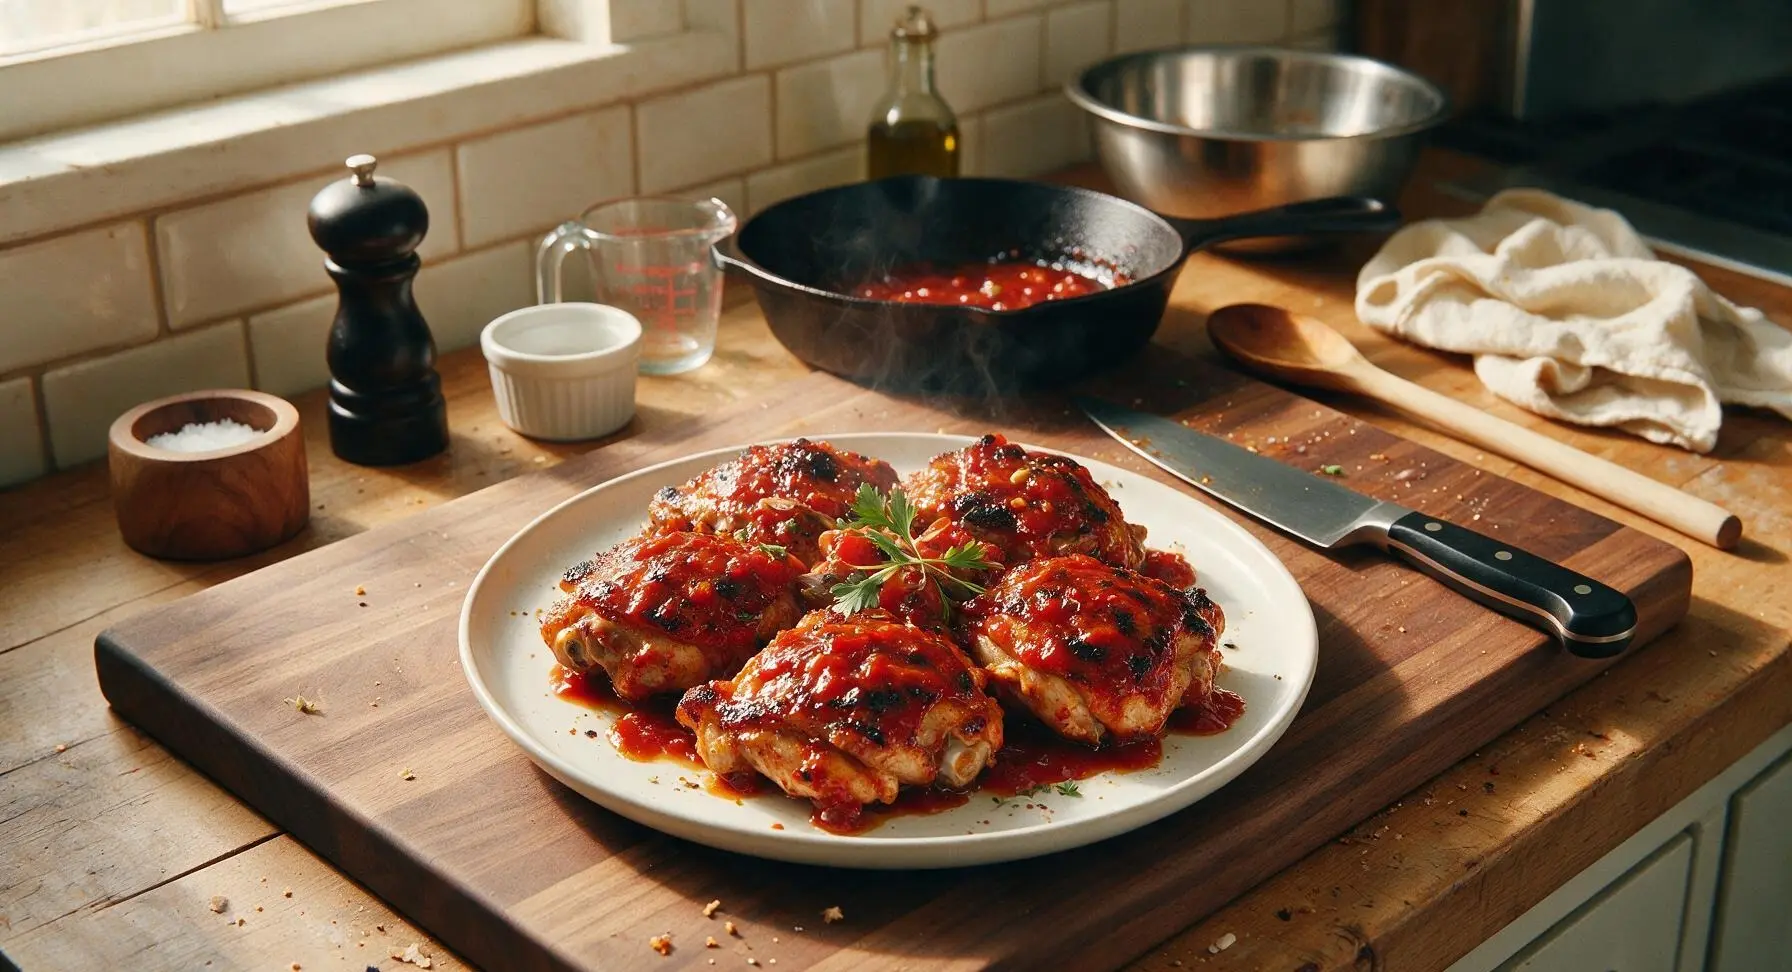
Juicy, char-kissed bone-in chicken thighs slathered in bright, tangy tomato-vinegar barbecue sauce, with caramelized edges, crisp skin, and a perfect balance of smoky, sweet, and bright sour flavor.
Ingredients
Steps
Prep Chicken Thighs
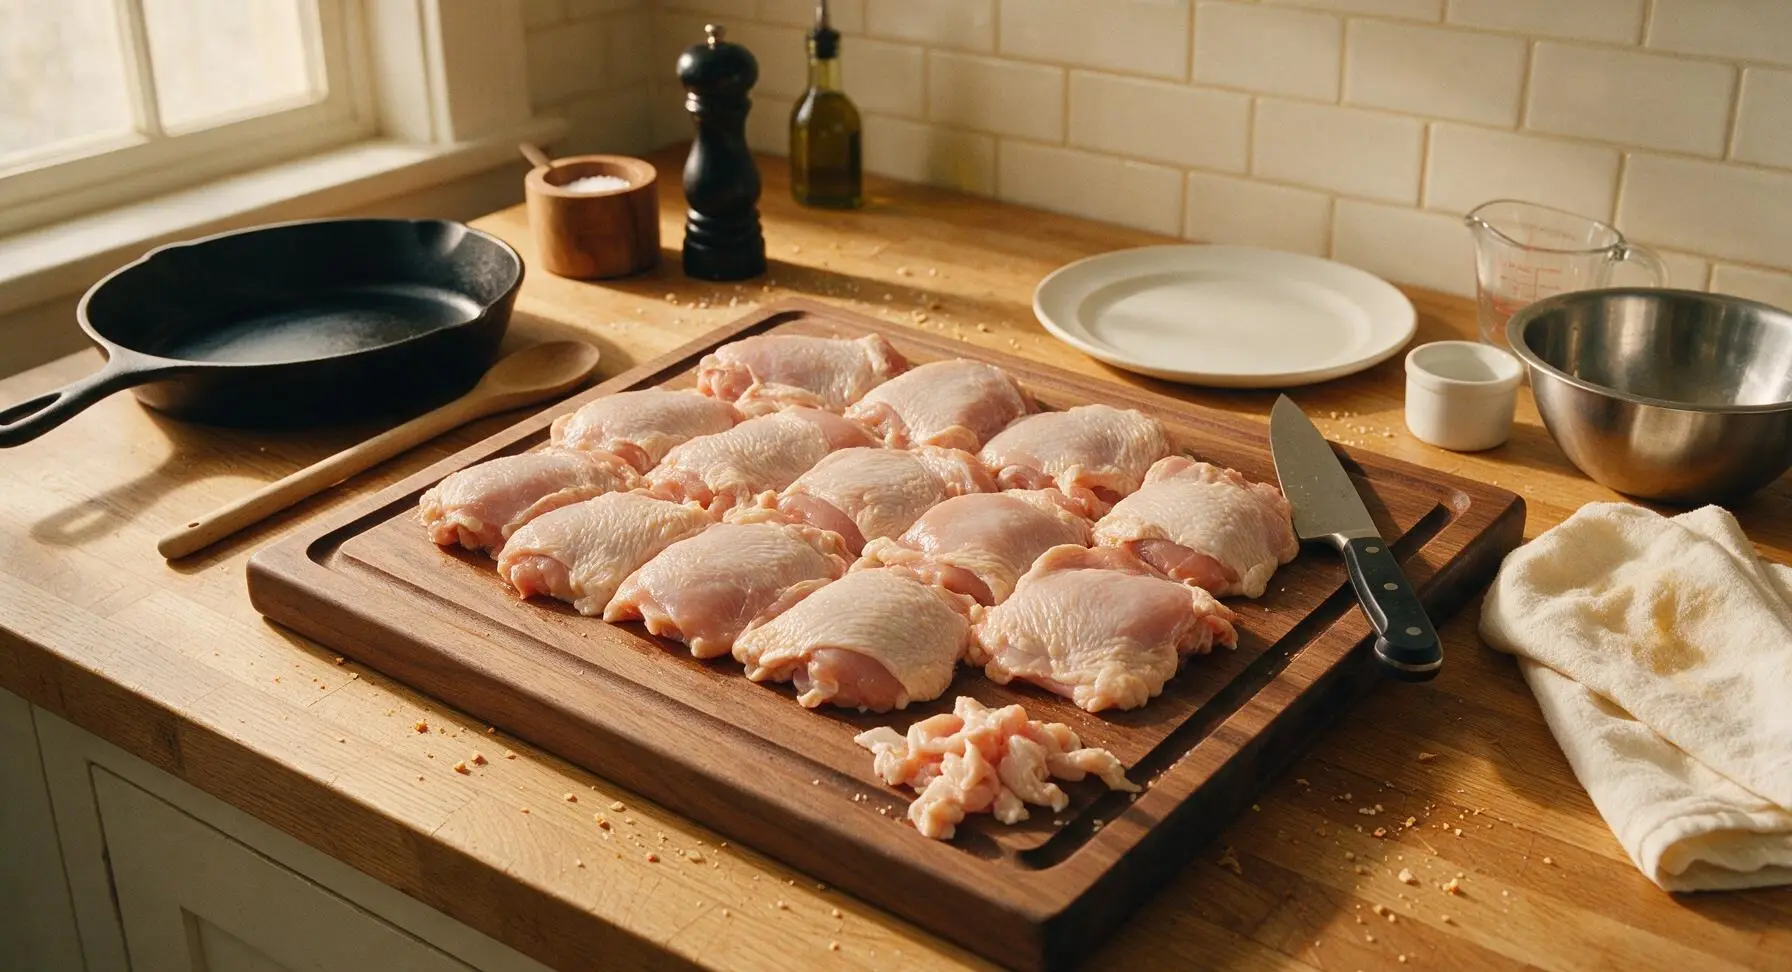
Place the chicken thighs on the walnut cutting board. Pat all surfaces completely dry using a corner of the indigo cotton kitchen towel to encourage crispy skin during grilling. Use the chef knife to trim any loose, hanging fat or excess skin that would burn on the grill, leaving a 1cm even layer of skin covering each thigh. Season all sides lightly with 1/2 tsp kosher salt and 1/4 tsp freshly ground black pepper, then set aside on the cutting board.
Mix Tangy BBQ Sauce
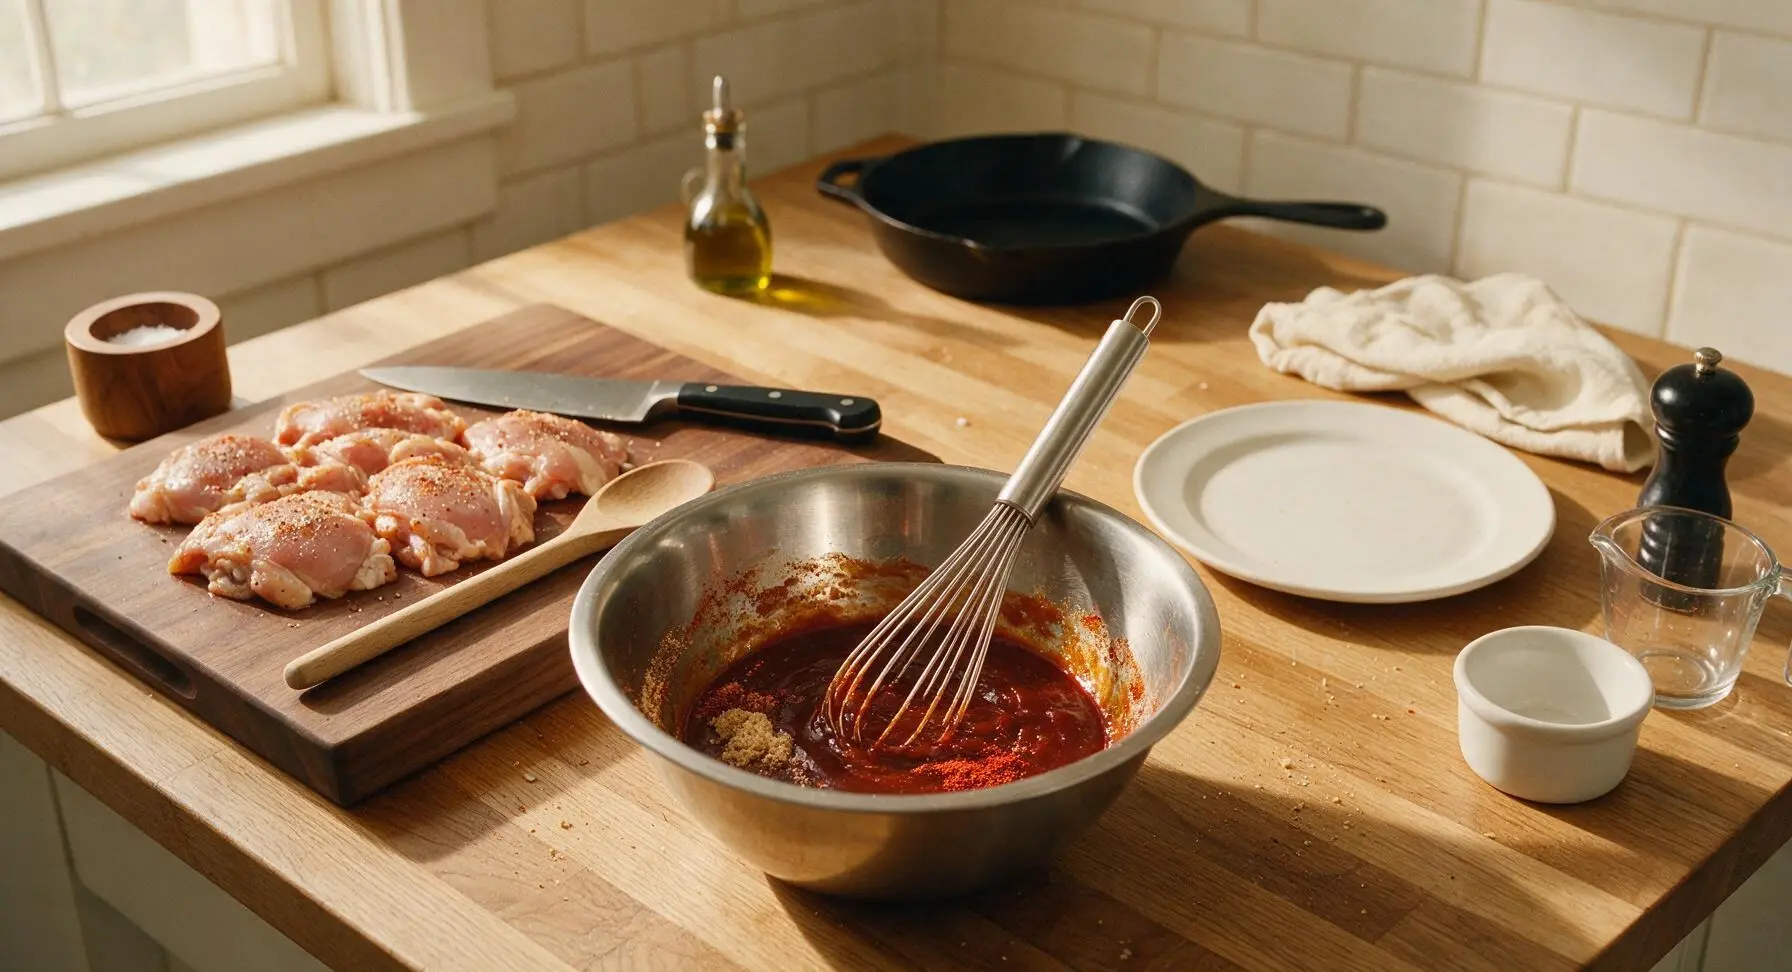
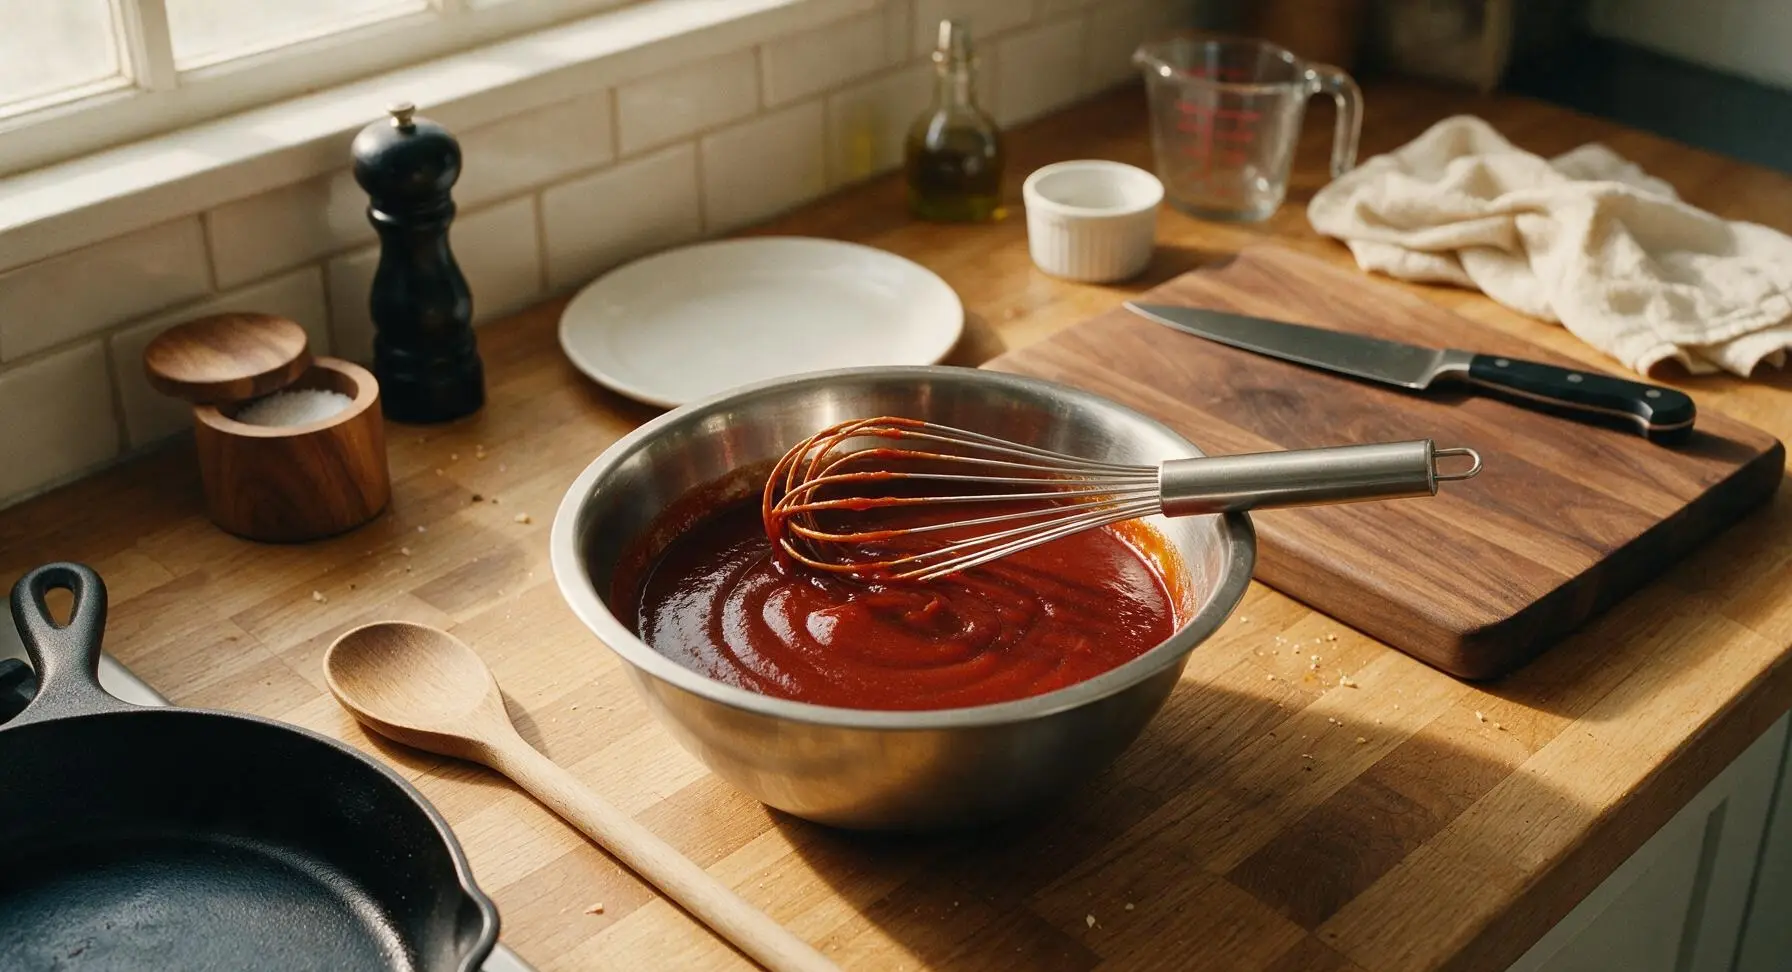
Move the medium stainless steel mixing bowl to the center of the counter. Add 120ml ketchup, 80ml apple cider vinegar, 2 tbsp packed light brown sugar, 1 tbsp Dijon mustard, 1 tbsp Worcestershire sauce, 1 tsp smoked paprika, 1 tsp garlic powder, 1/2 tsp onion powder, remaining 1 tsp kosher salt, and 1/4 tsp black pepper to the bowl. Use the stainless steel whisk to stir continuously for 1 minute until the brown sugar fully dissolves and the sauce is completely smooth, with no lumps of mustard or dry spice. Taste and adjust as desired: add 1 tsp extra vinegar for more tang, or 1 tsp extra brown sugar for milder balance.
Preheat Grill Grates
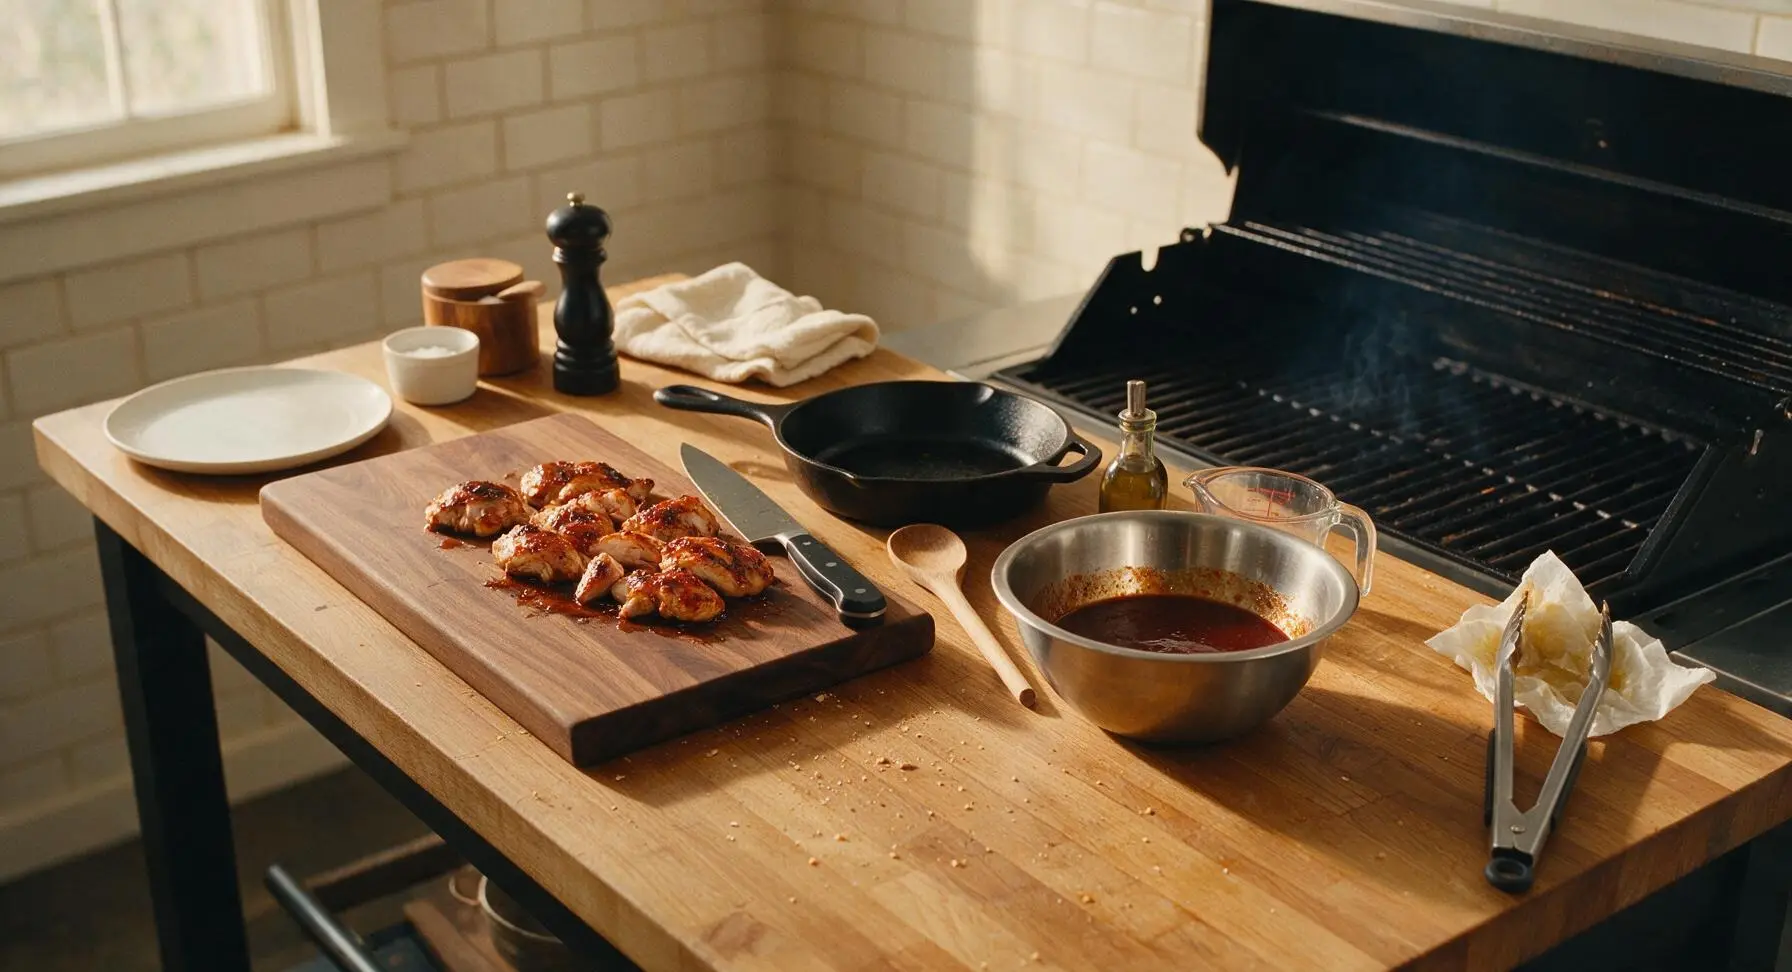
Turn the built-in matte black gas grill to medium-high heat (450°F / 230°C). Close the lid and preheat for 10 minutes, then scrape the grill grates clean of any leftover residue. Fold a small paper towel, dip it in the measured olive oil from the glass ramekin, and hold it with the grilling tongs to wipe a thin layer of oil across the grates to prevent sticking. The grill is ready when you can hold your hand 15cm above the grates for only 2-3 seconds before pulling away from the heat.
Sear Chicken Skin-Side Down
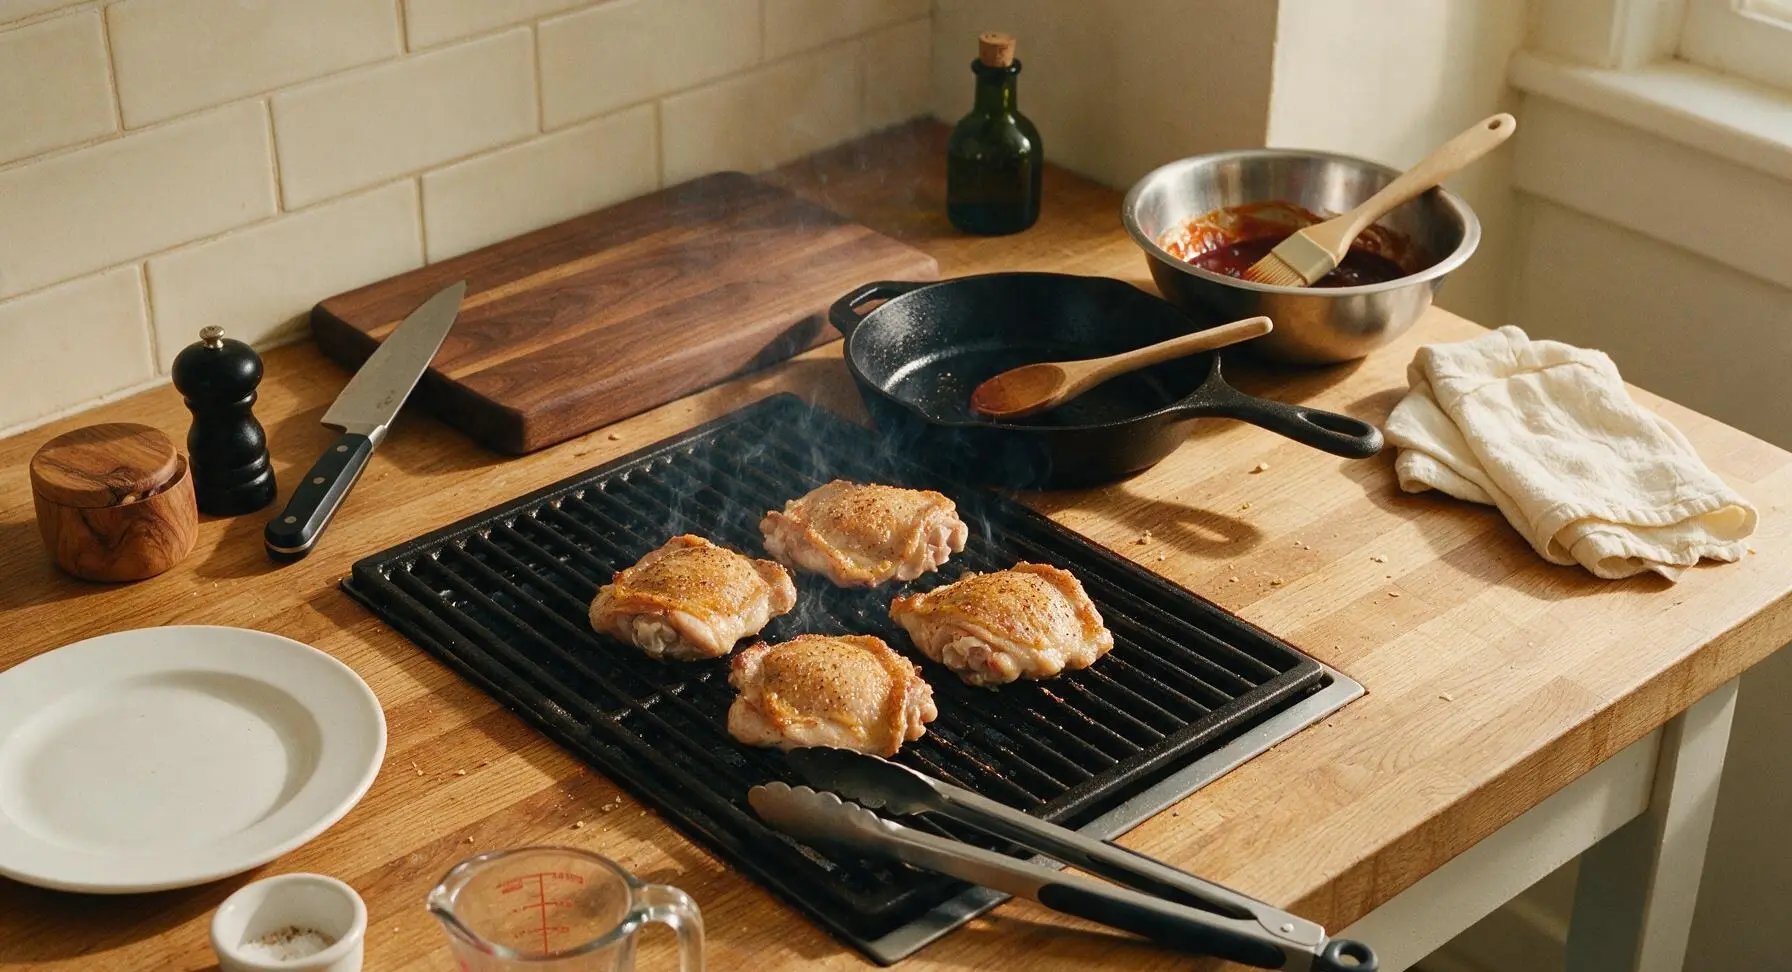
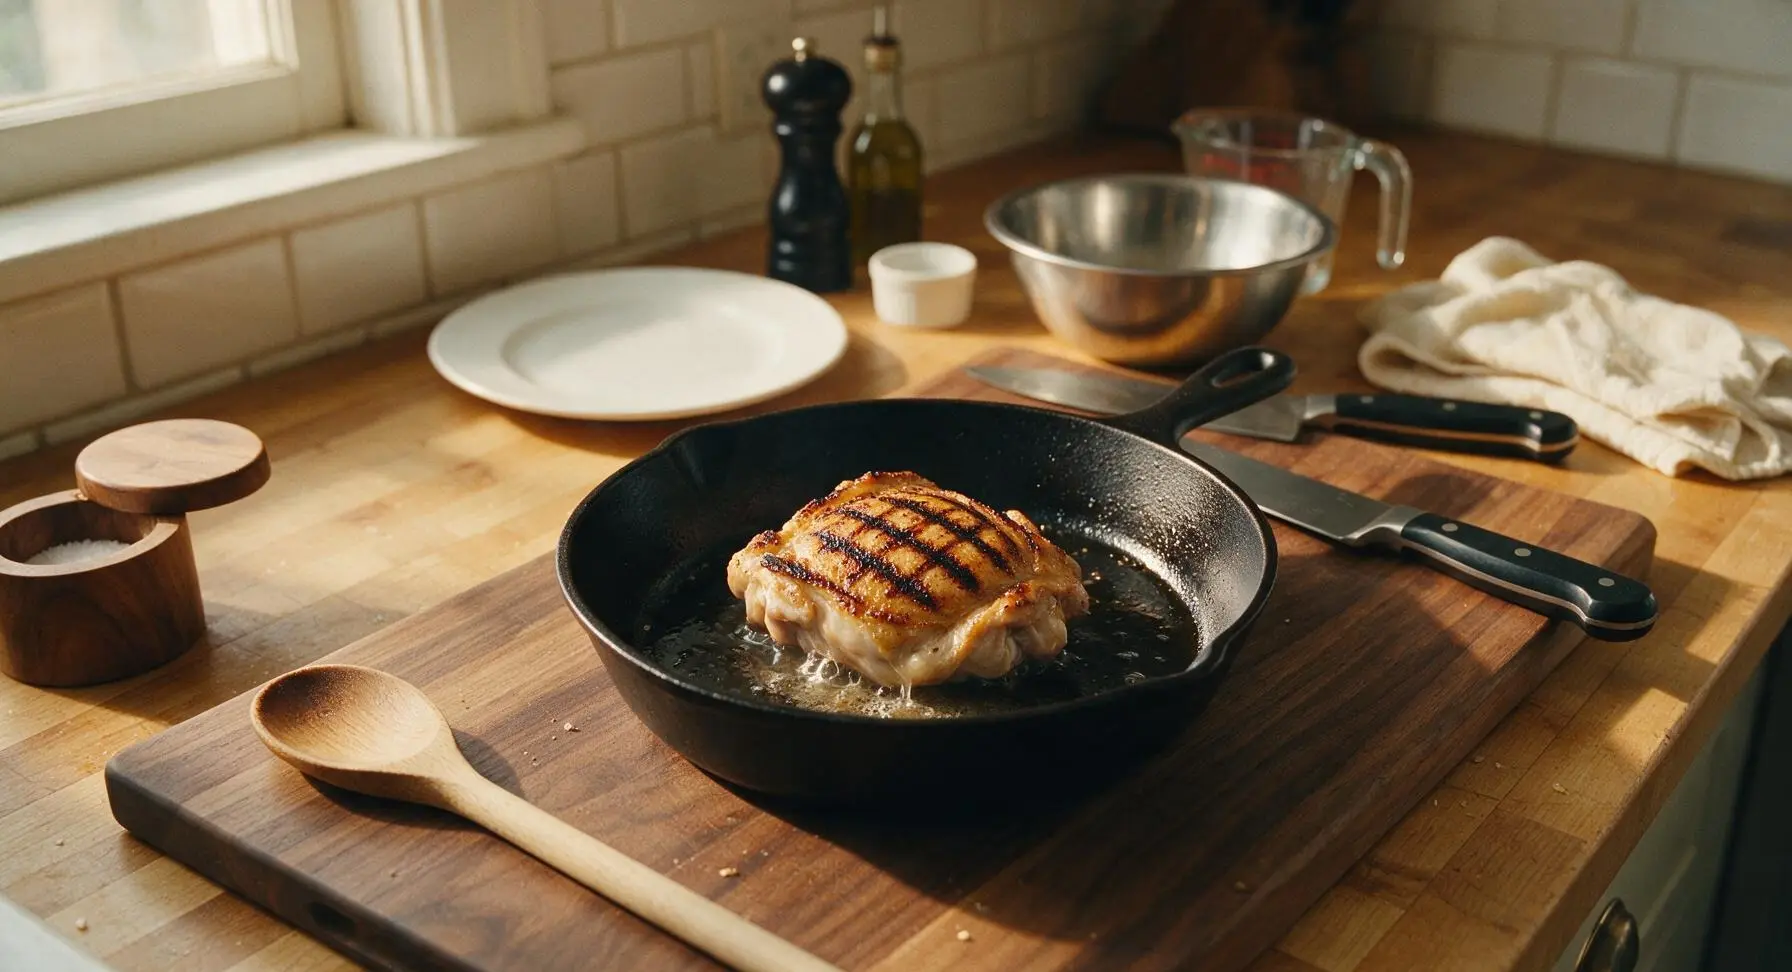
Use the grilling tongs to place the seasoned chicken thighs skin-side down on the oiled grill grates, arranged 2cm apart to allow even air flow between pieces. Close the grill lid and cook for 6-7 minutes, without moving the chicken, until the skin is deep golden with distinct dark grill marks and releases easily from the grates without sticking.
Flip and Cook Through
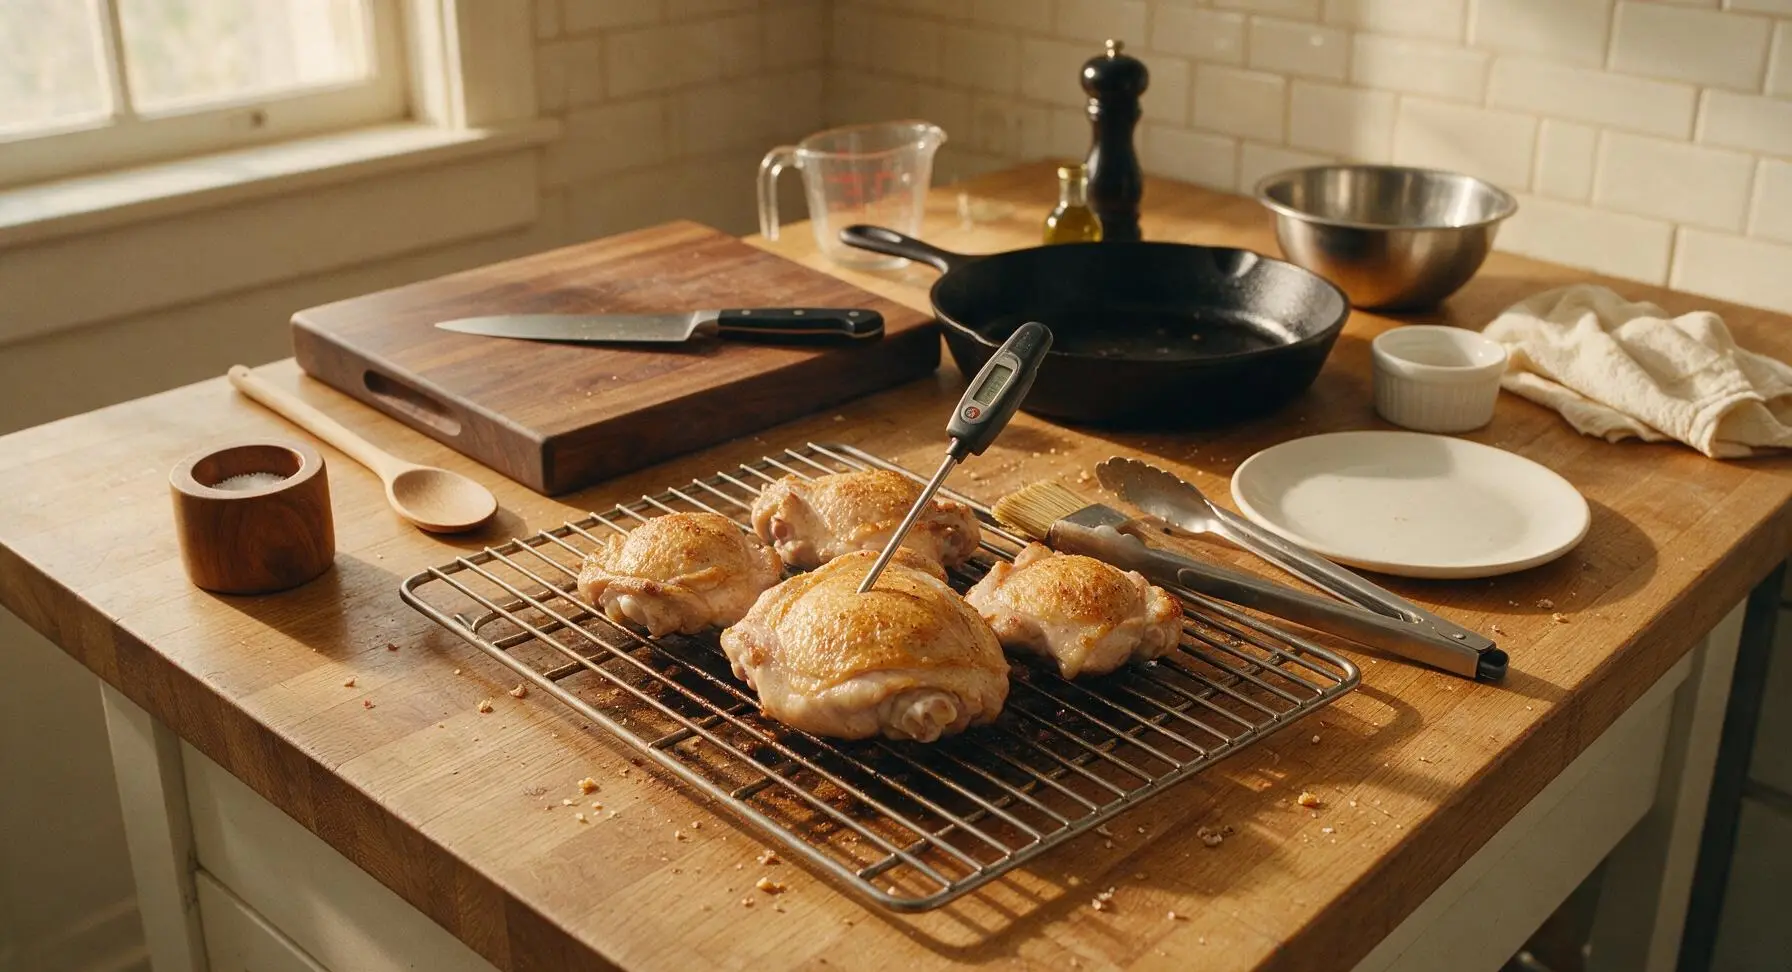
Use the tongs to flip each chicken thigh so the skin side faces up. Close the grill lid and cook for an additional 8-10 minutes, checking temperature periodically with the instant-read thermometer inserted into the thickest part of the thigh (not touching bone) until it reads 155°F / 68°C. The meat will feel firm when pressed gently with the tongs, with clear (not pink) juices running from the edges.
Baste and Caramelize Sauce
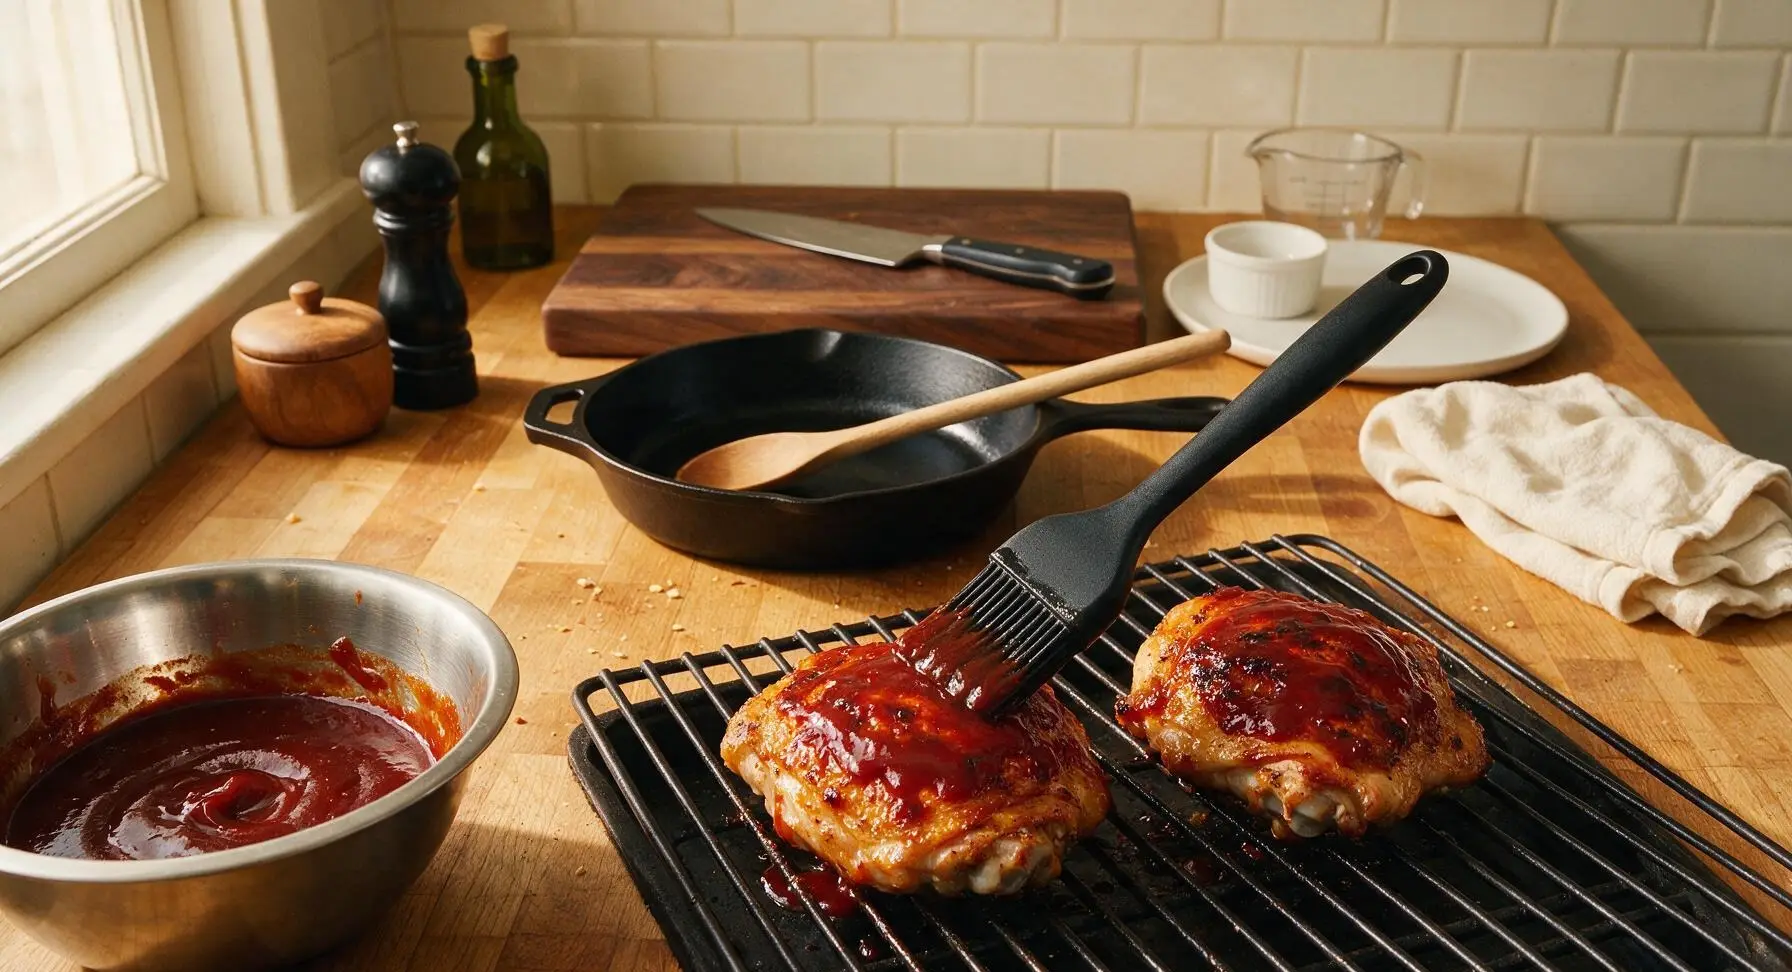
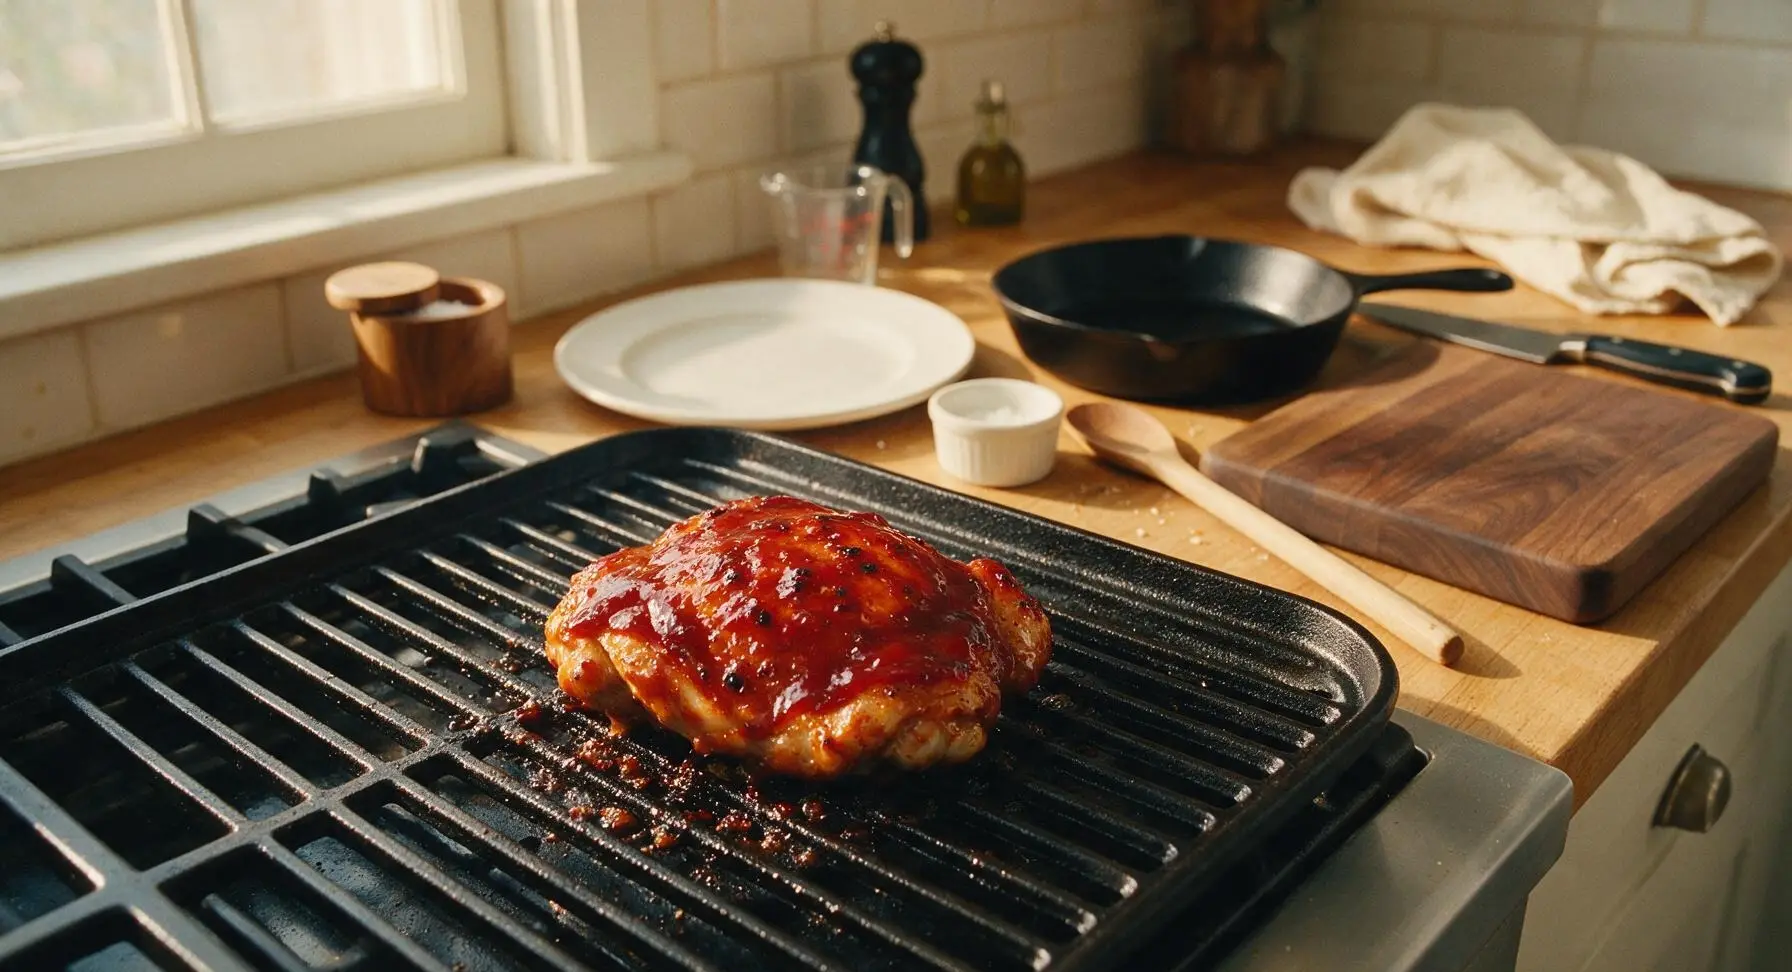
Once the chicken reaches 155°F / 68°C, dip the silicone basting brush into the prepared tangy barbecue sauce and generously coat the skin-side of each thigh with a thick, even layer of sauce. Close the grill lid and cook for 2 minutes, then flip the chicken and baste the opposite side. Cook for 2 more minutes, until the sauce is glossy and caramelized, and the internal temperature reaches a food-safe 165°F / 74°C. The sauce will bubble and darken slightly at the edges, but move chicken away from hot spots if sauce starts to burn.
Rest and Garnish Chicken
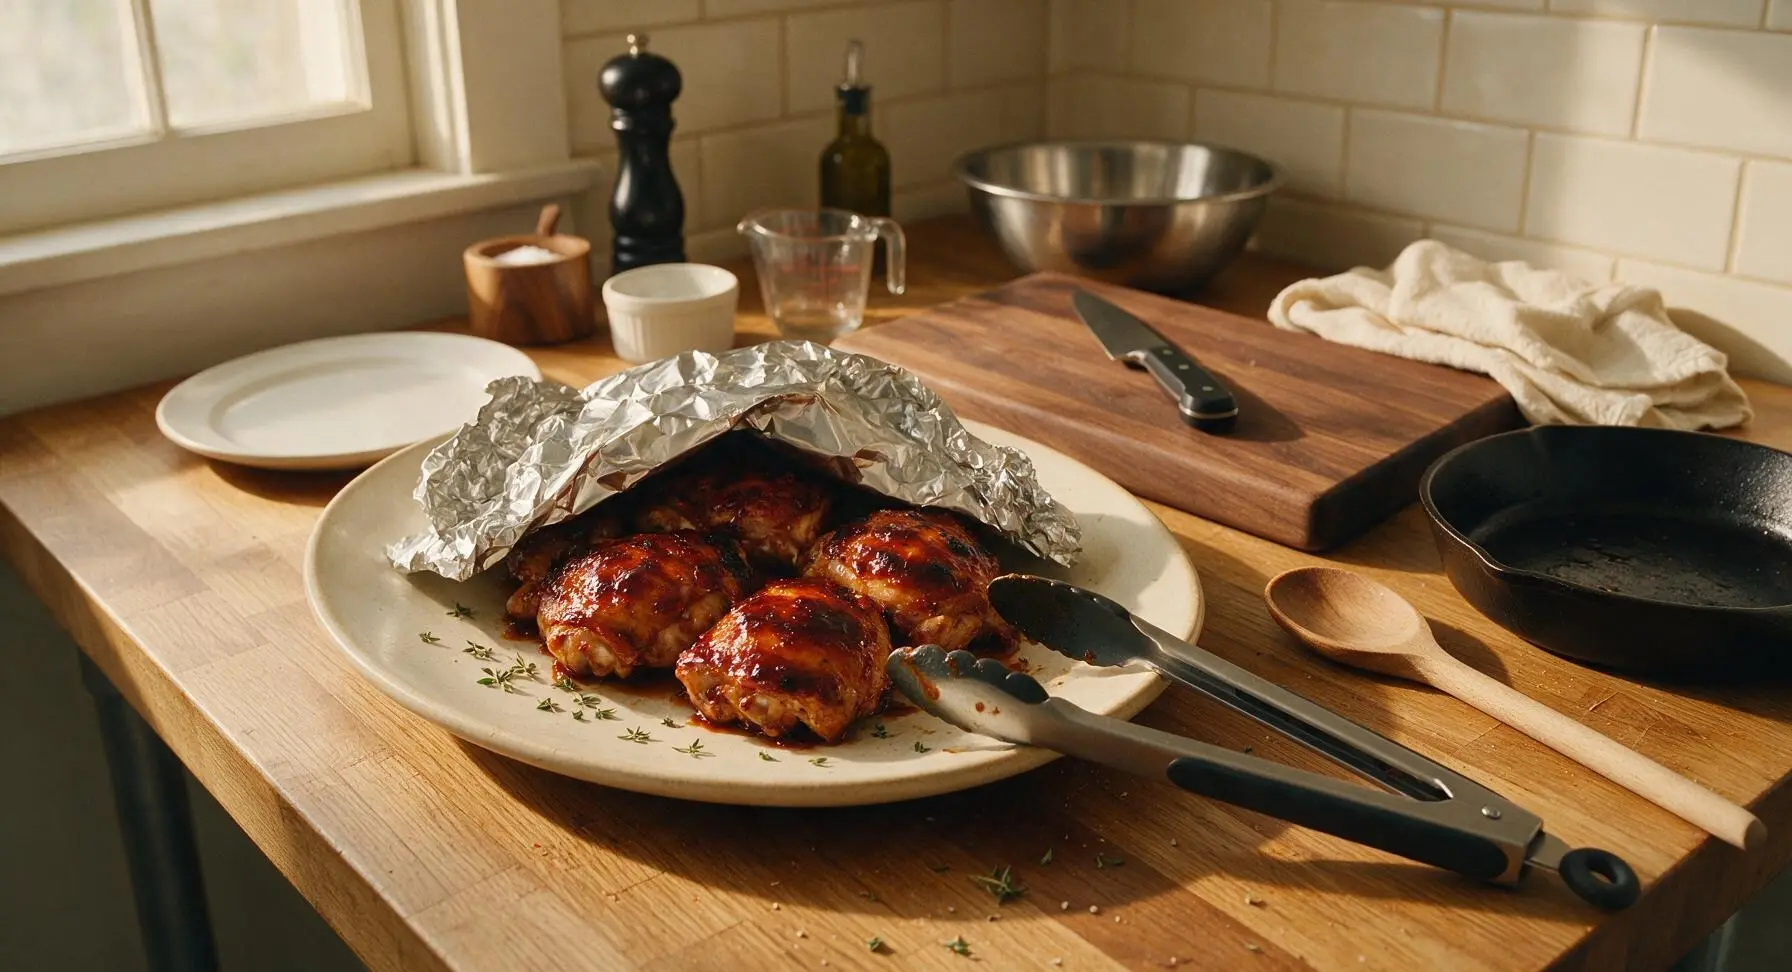
Use the grilling tongs to transfer the sauced, cooked chicken thighs to the large matte cream ceramic dinner platter. Loosely tent a small piece of aluminum foil over the platter and let the chicken rest for 5 minutes to allow juices to redistribute through the meat. After resting, pick leaves from the fresh thyme sprigs and sprinkle them lightly over the chicken for garnish.
Tips
2.Wait to apply barbecue sauce until the final 4 minutes of cooking: the sugar in the sauce burns quickly at temperatures over 400°F, leading to bitter, blackened edges instead of a glossy, sweet-tangy caramelized glaze.
3.Let chicken rest for 5 full minutes after grilling: cutting into hot chicken immediately causes all the juicy internal moisture to run out onto the platter, leaving dry, tough meat instead of juicy, tender bites.






OMG this tangy barbecue chicken was a total game changer for our weeknight family dinner! 25 minute cook time is no joke, I threw it together after soccer practice and my kids devoured every bite. Even my super picky 7 year old asked for seconds. SO good!
Took this to a neighborhood potluck this past weekend and everyone was hounding me for the recipe. The tangy balance is perfect, not too sweet like so many storebought BBQ sauces. Super easy too, I didn’t have to fuss over it for hours.
Meal prepped this for the week on Sunday and it held up perfectly! Paired it with roasted broccoli and rice for lunches all week, the flavor didn’t get soggy or dull at all. Will be adding this to my regular rotation for sure.
Wait as someone who can barely make toast without burning it, this was actually easy enough for me to pull off? Made it for my roommates and they thought I was some secret chef for a second. Only thing I messed up was I forgot to baste the last 5 minutes but it still slapped.
I was worried the tang would be too much for my husband who only likes super sweet BBQ, but he absolutely raved about it! Served it with coleslaw and cornbread for our Sunday supper, perfect combo.
Great high protein option for when I’m sick of plain grilled chicken! The sauce is so flavorful I don’t even feel like I’m eating a “diet” meal. Cook time was spot on too, chicken came out juicy no dry bits at all.
Made this on a random rainy Tuesday when I didn’t feel like running to the grocery store, I already had all the ingredients in my pantry! Total lifesaver, came out way better than the takeout BBQ I almost ordered.
Brought this to my office potluck and there were zero leftovers. People kept coming up to me asking if I bought it from a local BBQ spot! Little do they know how ridiculously easy it was to make.
Okay full transparency, this is the first thing I’ve ever grilled successfully. I was so nervous I’d undercook it or burn it to a crisp, but the timing instructions were so clear! The tangy flavor is unreal, I feel so proud of myself.
My granddaughter is visiting next week and she’s obsessed with BBQ chicken, so I did a test run of this recipe today. It’s so tangy and delicious, I know she’s going to love it. Easy enough for these old hands to make too, no complicated steps.
Made this in my air fryer instead of the oven and it came out perfectly crispy on the outside, juicy on the inside. 380 degrees for 22 minutes, basted twice, 10/10 would make again.
Wait why is this sauce so much better than any bottled BBQ sauce I’ve ever bought? The tang from the mustard and vinegar is chef’s kiss, I even made a double batch of the sauce to keep in the fridge for other meals.
Added a teaspoon of cayenne to the sauce to give it a little kick and it paired so well with the tangy base. Perfect balance of tang, sweet, and heat, will definitely be making this all summer long for cookouts.
Made this for my 10 year old’s birthday cookout and all the kids went crazy for it. I was worried it would be too tangy for kid palates but they all went back for seconds and thirds. Total win.
So happy this recipe is naturally gluten free if you use the right BBQ sauce base! I’ve been searching for an easy gluten free BBQ chicken recipe forever and this checks every box. Juicy, tangy, no weird ingredients.
Made this over the campfire last weekend on our family camping trip and it was unreal! Prepped the sauce at home and brought it with us, basted the chicken over the fire and everyone was raving. So easy even when you don’t have a full kitchen.
Okay I almost gave up on making BBQ chicken at home because every recipe I tried turned out dry or bland, but this one? Game changer. The chicken was so juicy, the sauce had the perfect tang, my whole family was shocked I made it. No more takeout BBQ for us!
Leftovers of this made the best BBQ chicken sliders the next day! Chopped up the leftover chicken, tossed it in a little extra sauce, piled it on Hawaiian rolls with a pickle slice, chef’s kiss. Way better than next day takeout.
I live in a tiny studio with no grill and a tiny oven, and this still came out amazing! I used a cast iron skillet on my stovetop to get a little char then finished it in the oven, no issues at all. The 25 minute cook time is totally accurate even for my wonky old oven.
Served this at our extended family Sunday dinner last week and even my uncle who swears he “doesn’t like tangy food” had two pieces. The flavor is balanced so well, it’s not overpoweringly tangy just bright and delicious. Will be a regular on our dinner menu.