
tater tot casserole 4 ingredients

title 1
tater tot casserole 4 ingredients
⏱️ cook time 48 minutes
🍽️ servings 6
⚡ Difficulty easy

intro

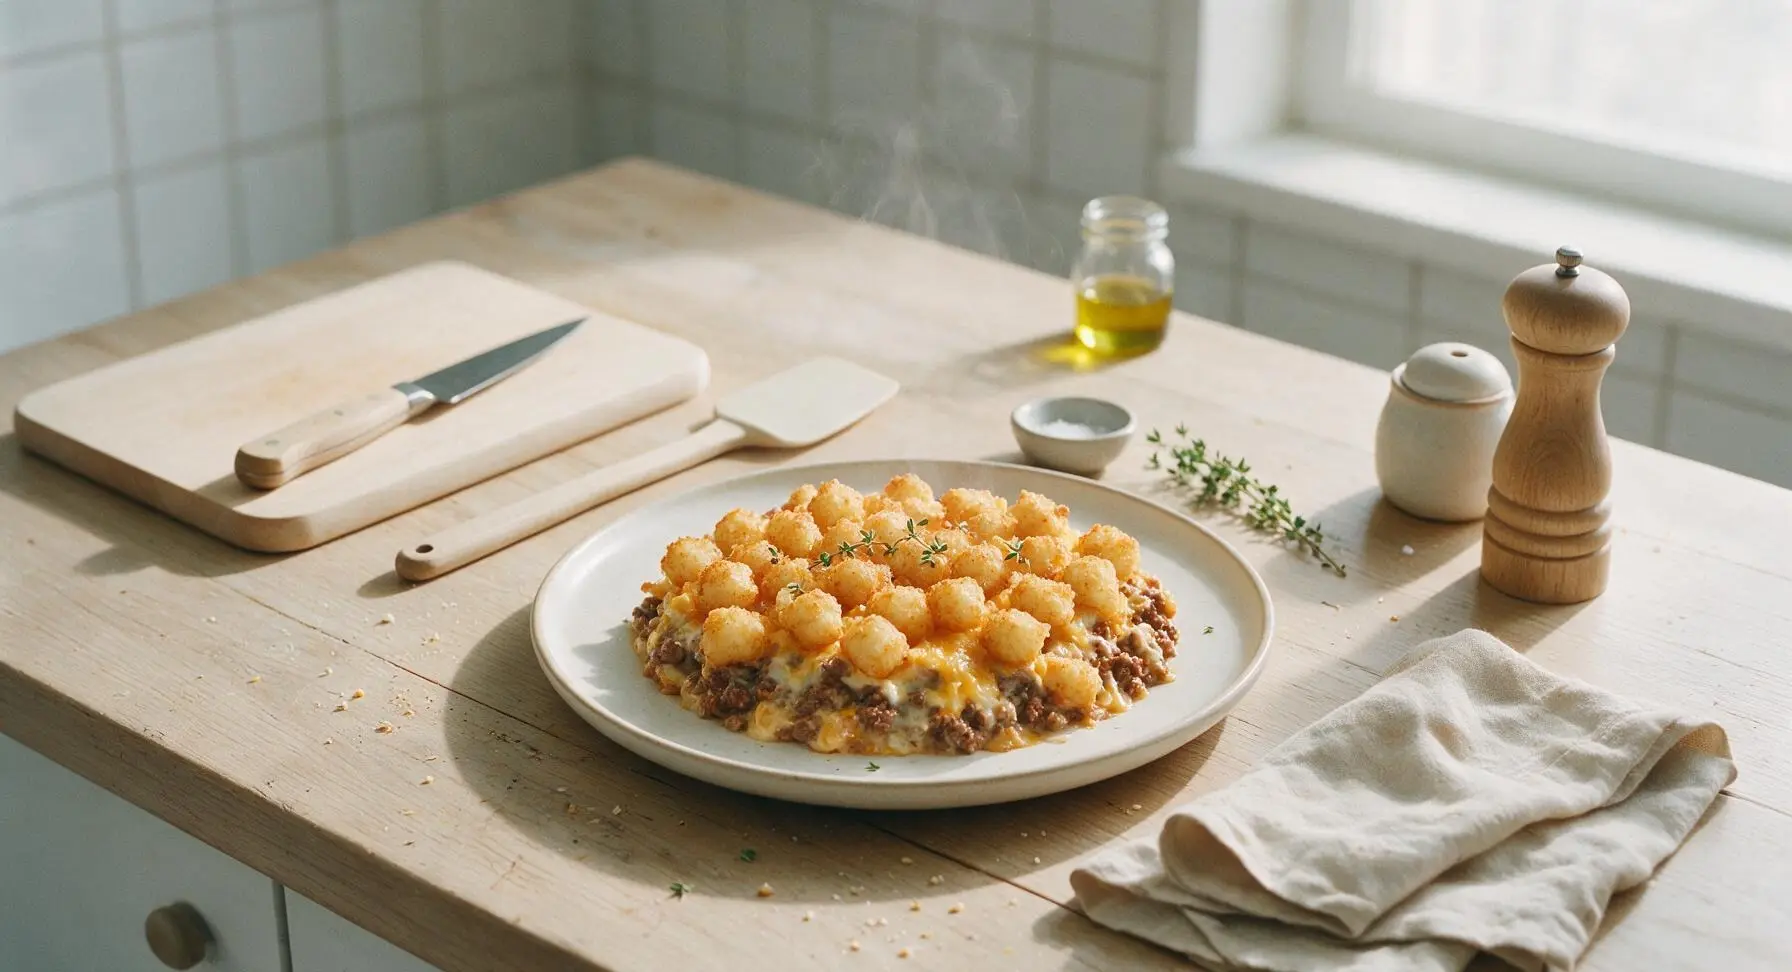
Crispy golden tater tots top a rich, creamy ground beef and melted cheese filling for the ultimate no-fuss comfort food, made with just four simple, budget-friendly staples.

Ingredients
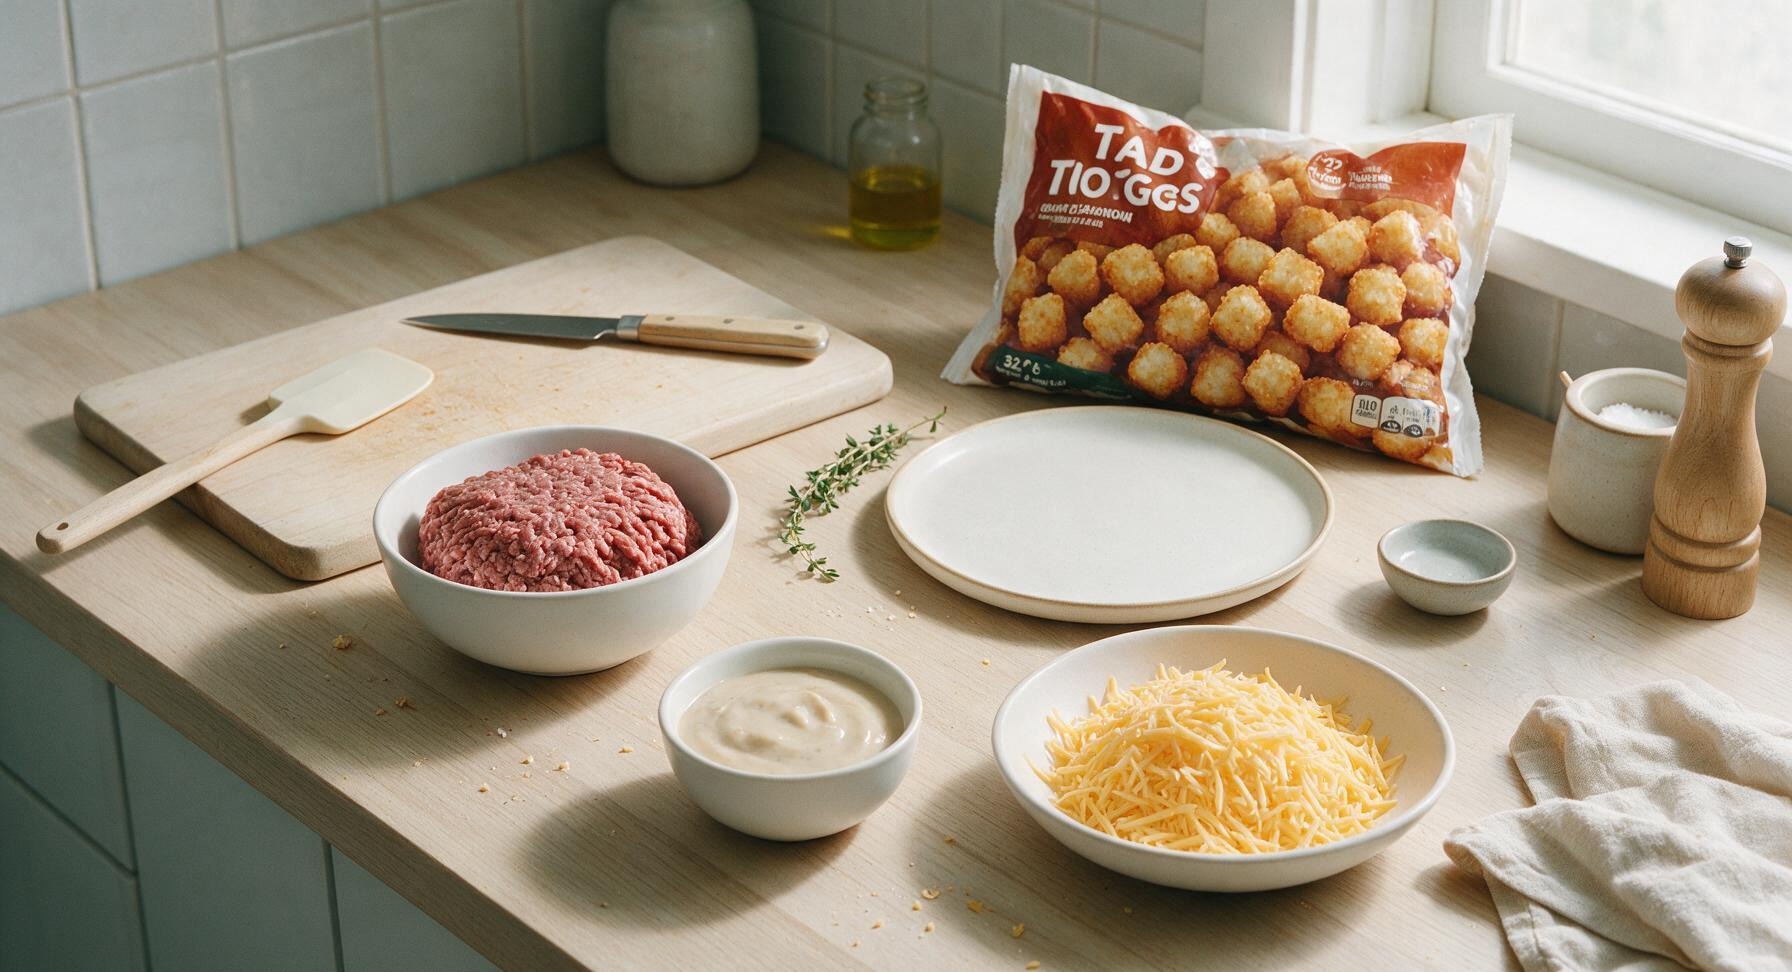
80/20 ground beef 1 lb (450g)
Condensed cream of mushroom soup 1 (10.5 oz / 298g) can
Shredded sharp cheddar cheese 2 cups (226g)
Frozen tater tots 32 oz (907g) bag

Steps

1

Preheat Oven and Pan

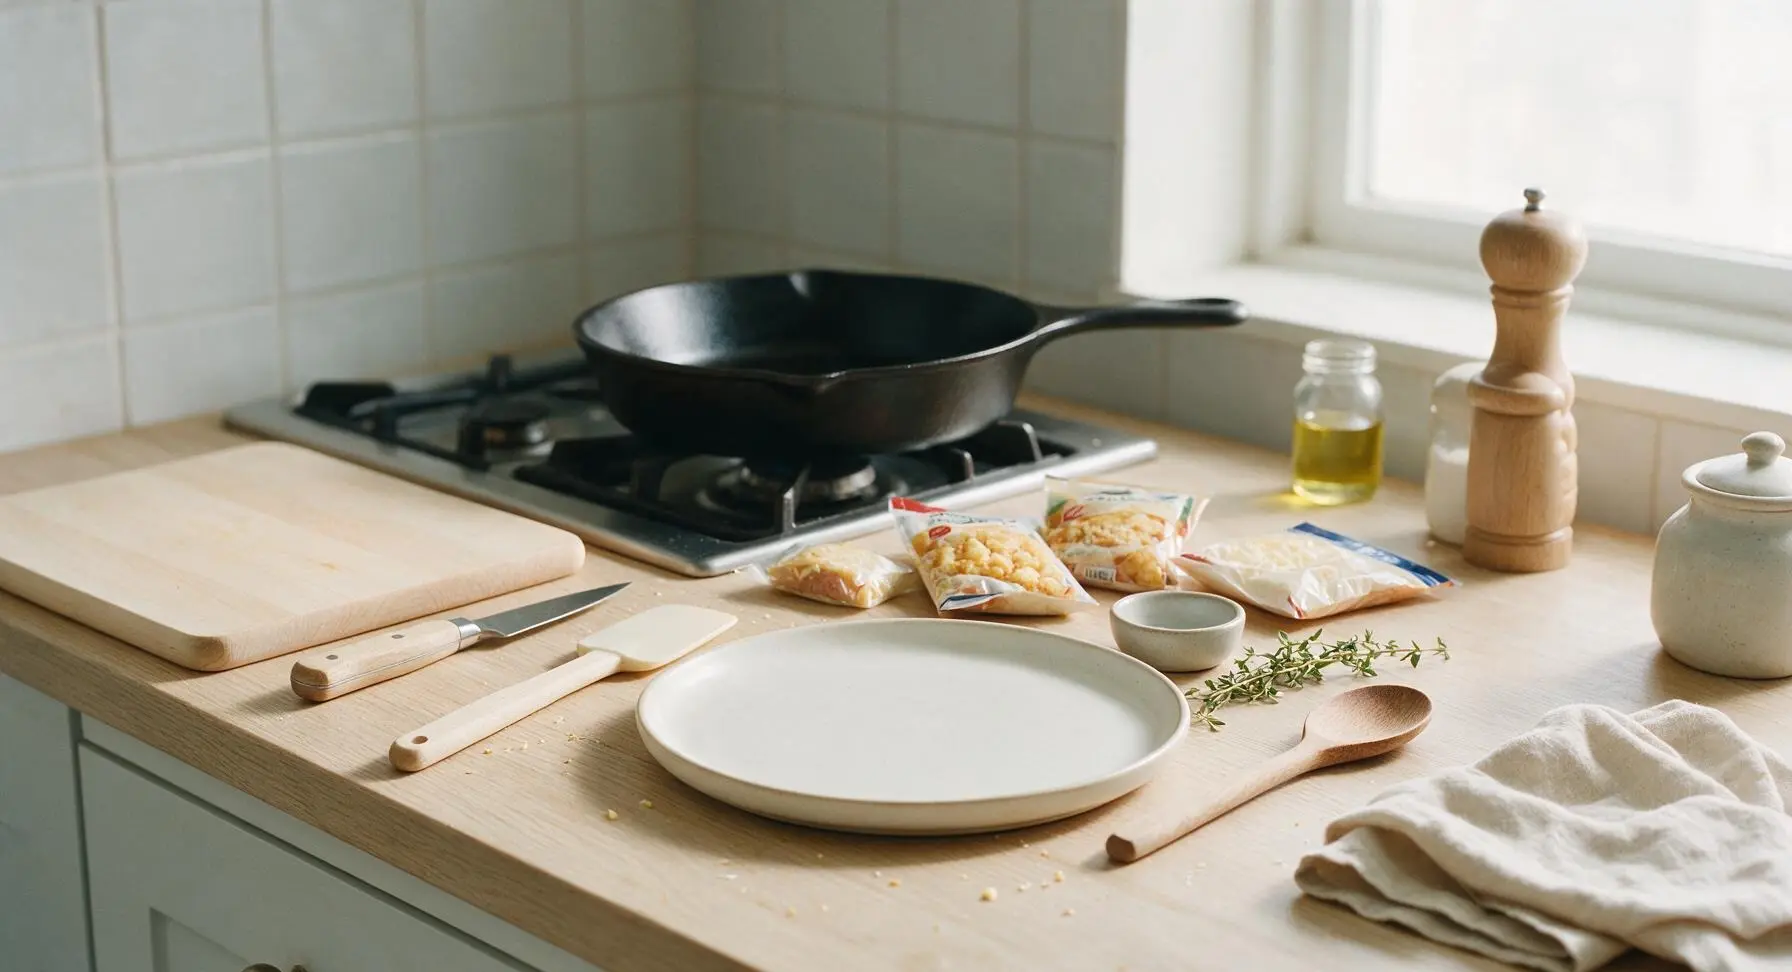
Adjust your oven rack to the middle position, then preheat the oven to 400°F (200°C). Retrieve the cast iron skillet from lower storage and place it on a stovetop burner over medium heat, allowing it to warm for 2 minutes. No added oil is needed, as the 80/20 ground beef will render enough fat to prevent sticking during cooking. The pan is ready when you can feel gentle radiating heat holding your hand 2 inches above the surface.
Step 1
step1:Preheat Oven and Pan
2

Brown the Ground Beef

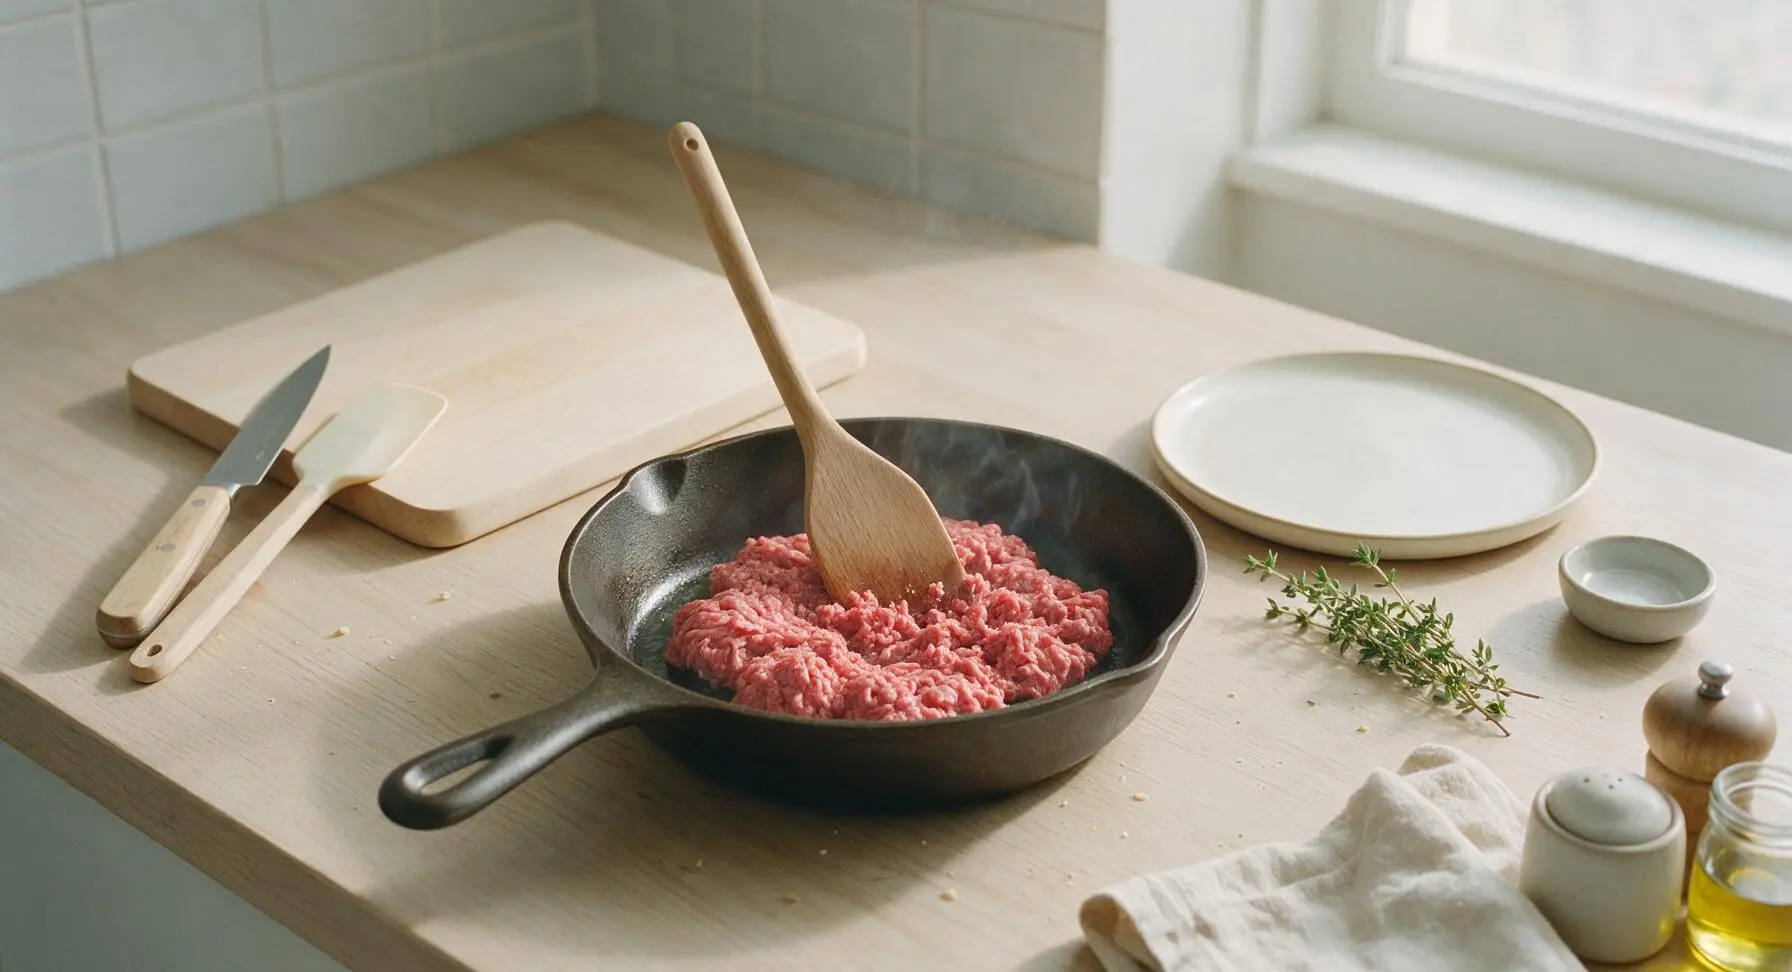
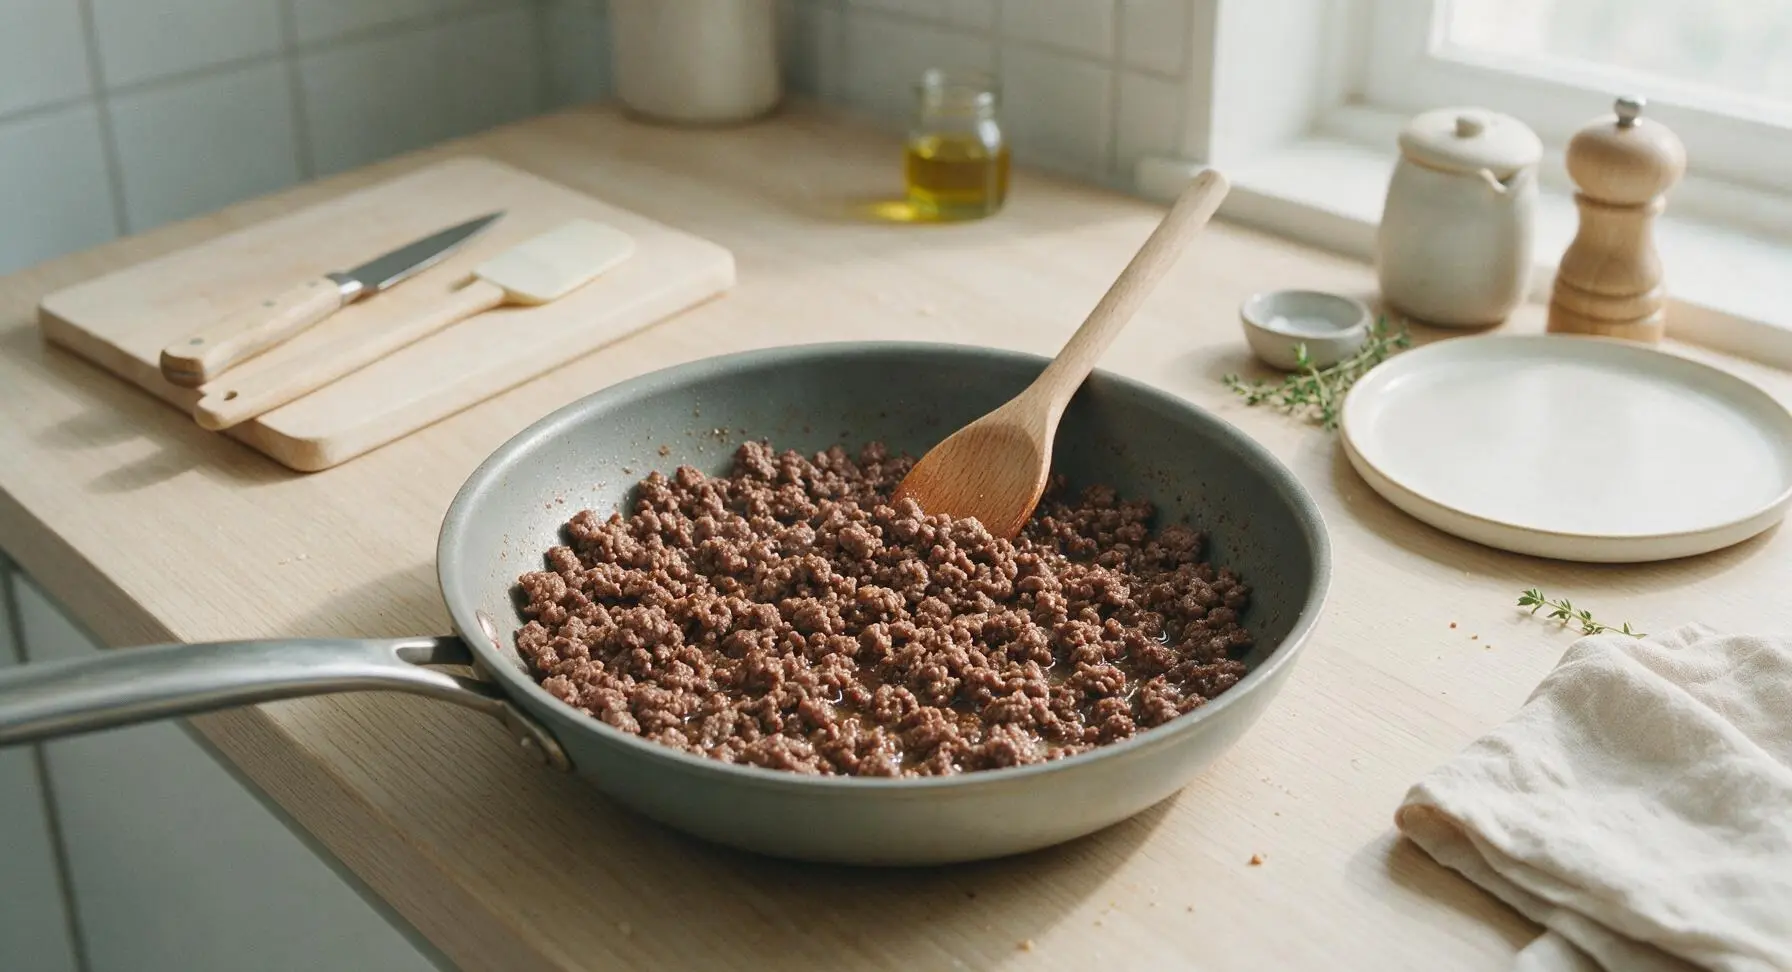
Remove the ground beef from its packaging and add it to the preheated skillet. Use the beechwood wooden spoon to break the beef into small, pea-sized crumbly pieces as it cooks, stirring every 2 minutes for 7 to 8 minutes total. Cook until the beef is fully browned with no visible pink remaining, and all released watery liquid has evaporated from the pan. Do not drain the rendered fat, as it adds rich flavor to the filling.
Step 2
step2:Brown the Ground Beef
Step 2
step2:Brown the Ground Beef
3

Stir in Condensed Soup

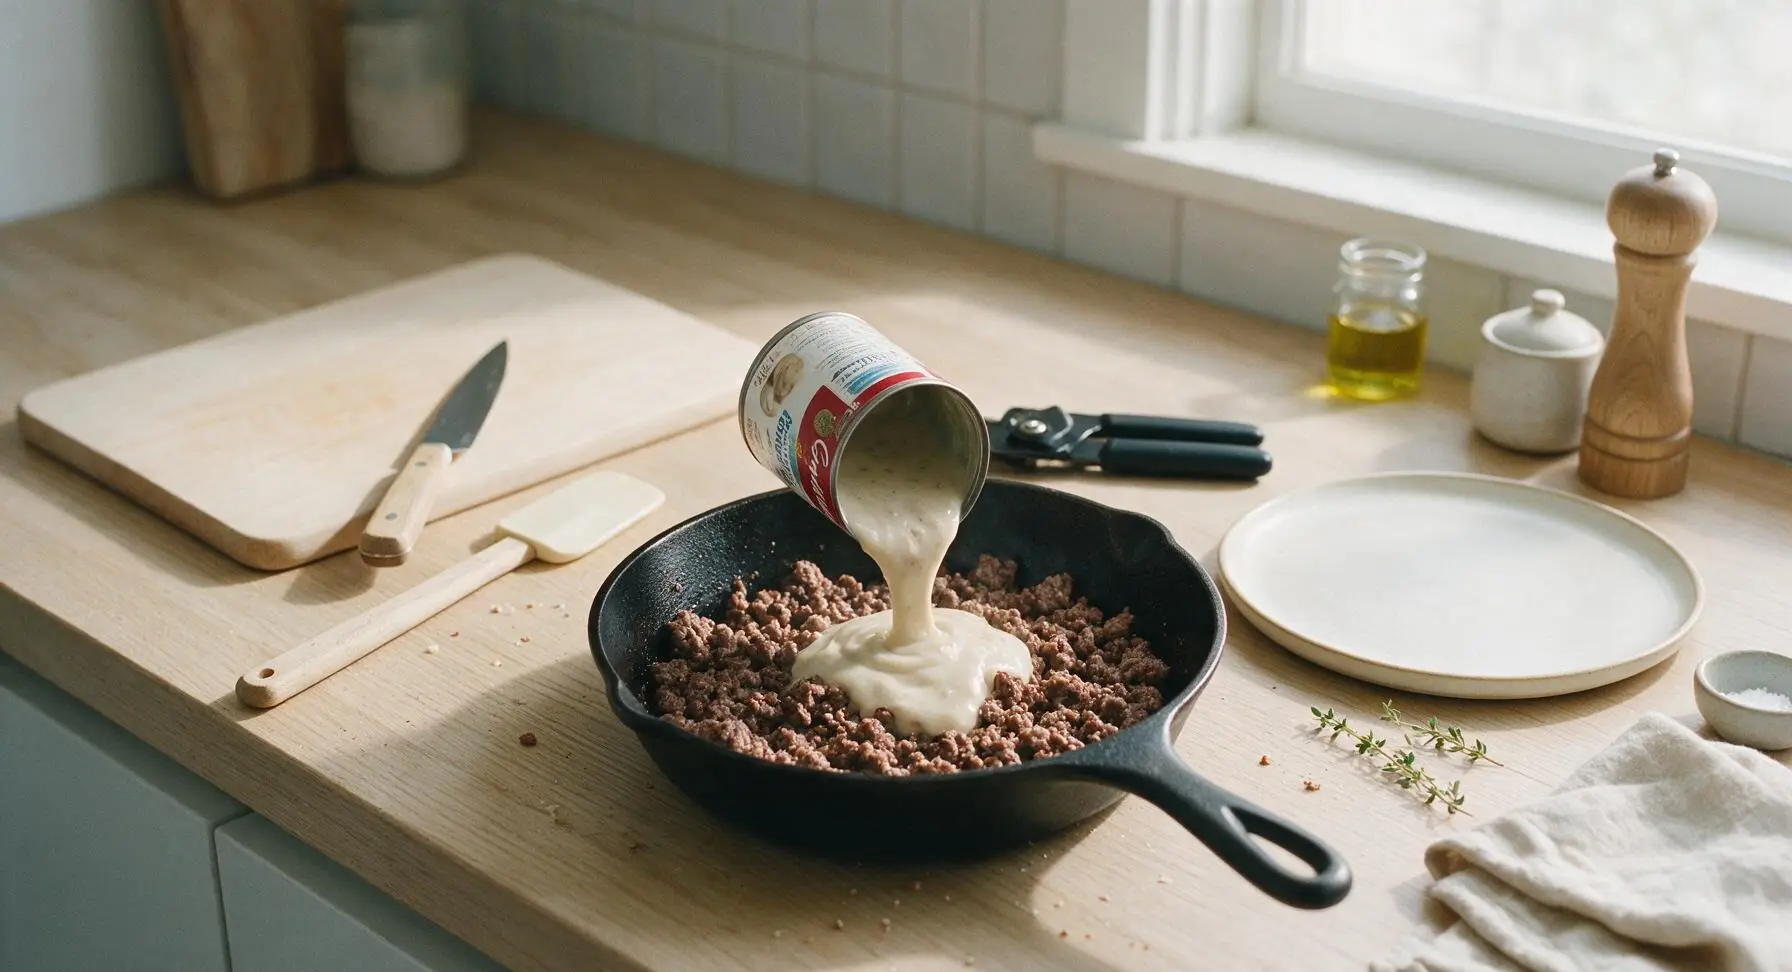
Use the matte black can opener to open the can of condensed cream of mushroom soup. Pour the entire undiluted contents of the can into the skillet with the browned beef. Stir thoroughly with the wooden spoon for 1 full minute, until the soup evenly coats every beef crumble to create a thick, creamy uniform filling. Remove the skillet from the stovetop burner.
Step 3
step3:Stir in Condensed Soup
4

Spread Filling in Baking Dish

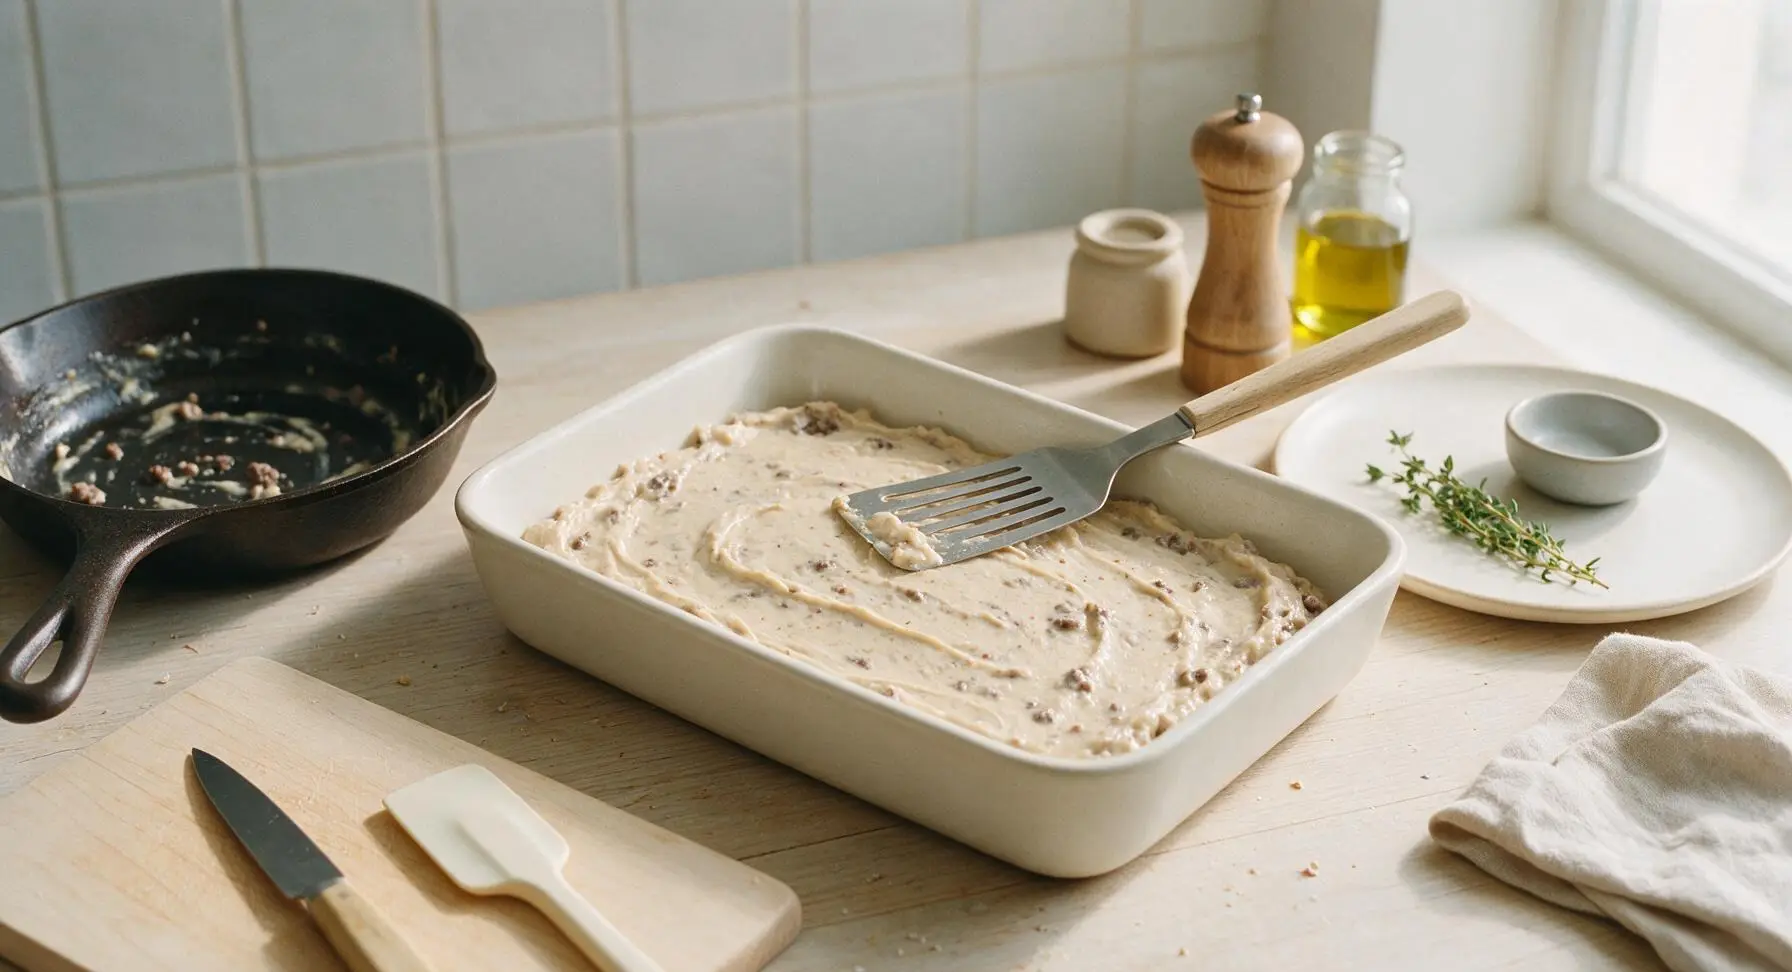
Retrieve the cream white 9x13-inch ceramic baking dish from lower storage and place it in the center of the soapstone counter. Use the slotted stainless steel turner spatula to scoop all of the beef and soup mixture from the skillet into the baking dish. Spread the mixture in a perfectly even, flat 1-inch thick layer across the bottom of the dish, using the flat back of the spatula to smooth out any lumps or gaps.
Step 4
step4:Spread Filling in Baking Dish
5

Add Even Cheese Layer

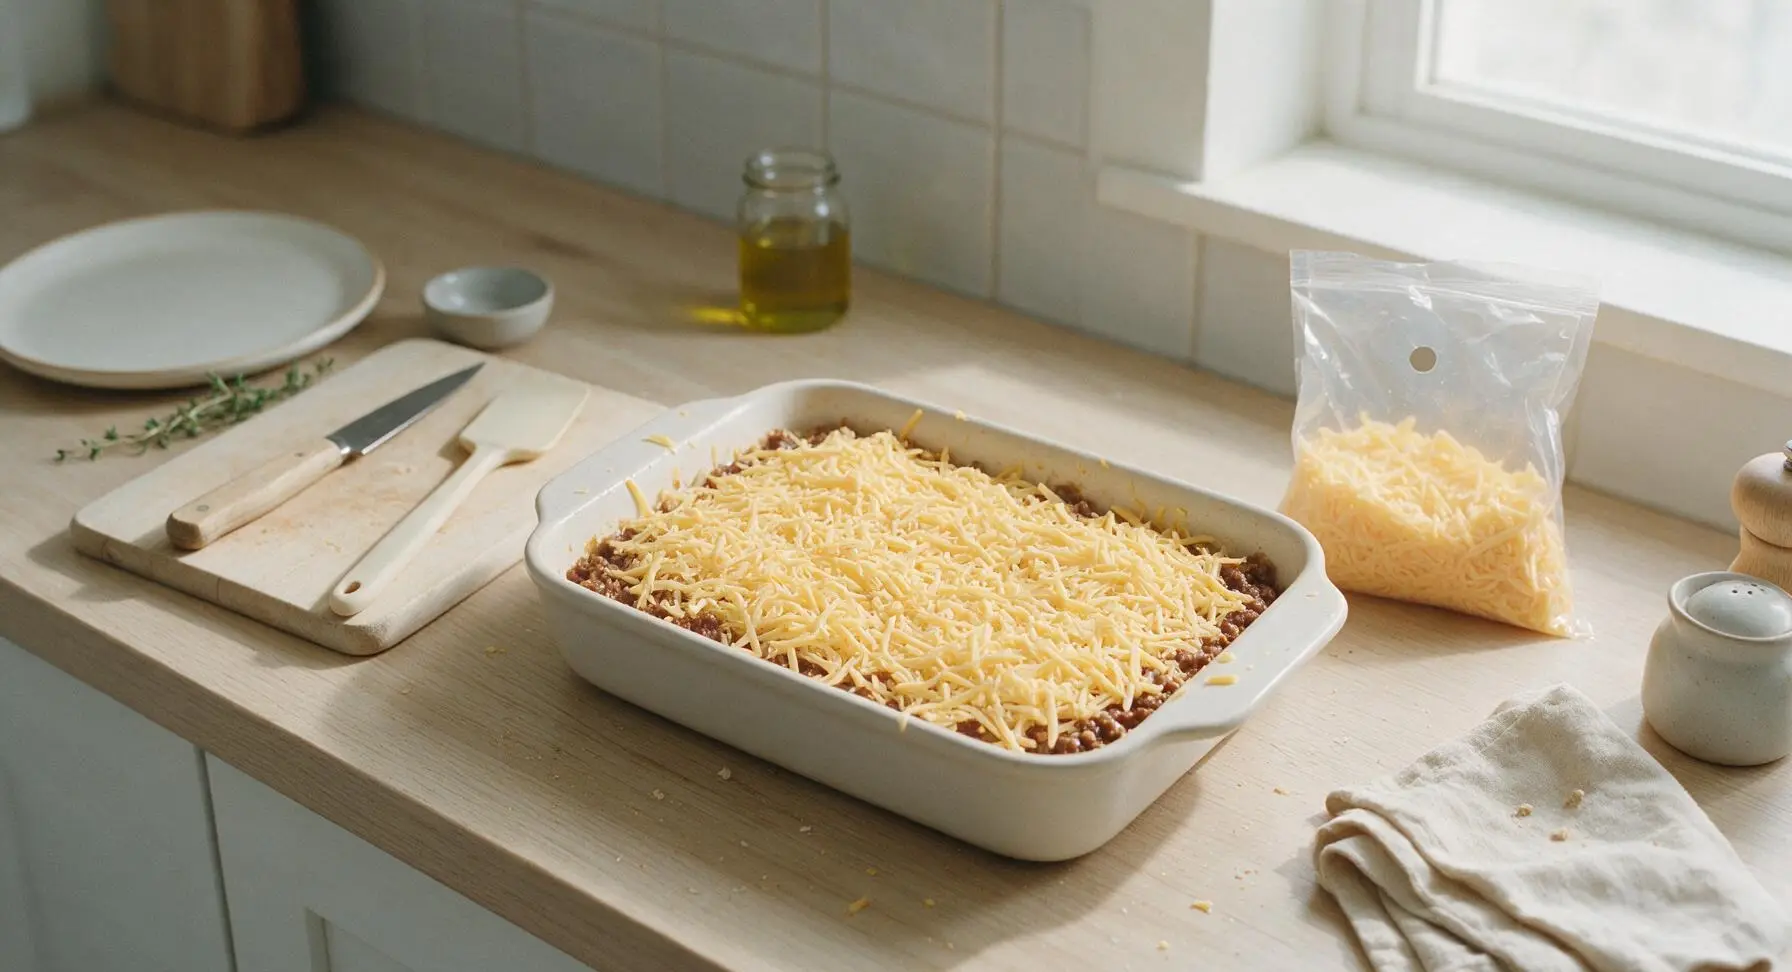
Open the bag of shredded sharp cheddar cheese. Sprinkle the full 2 cups of cheese evenly over the beef filling, covering the entire surface from edge to edge of the baking dish. Use the tip of the spatula to spread any thick clumps of cheese, creating a uniform layer with no bare spots of beef filling visible through the cheese.
Step 5
step5:Add Even Cheese Layer
6

Arrange Tater Tot Top

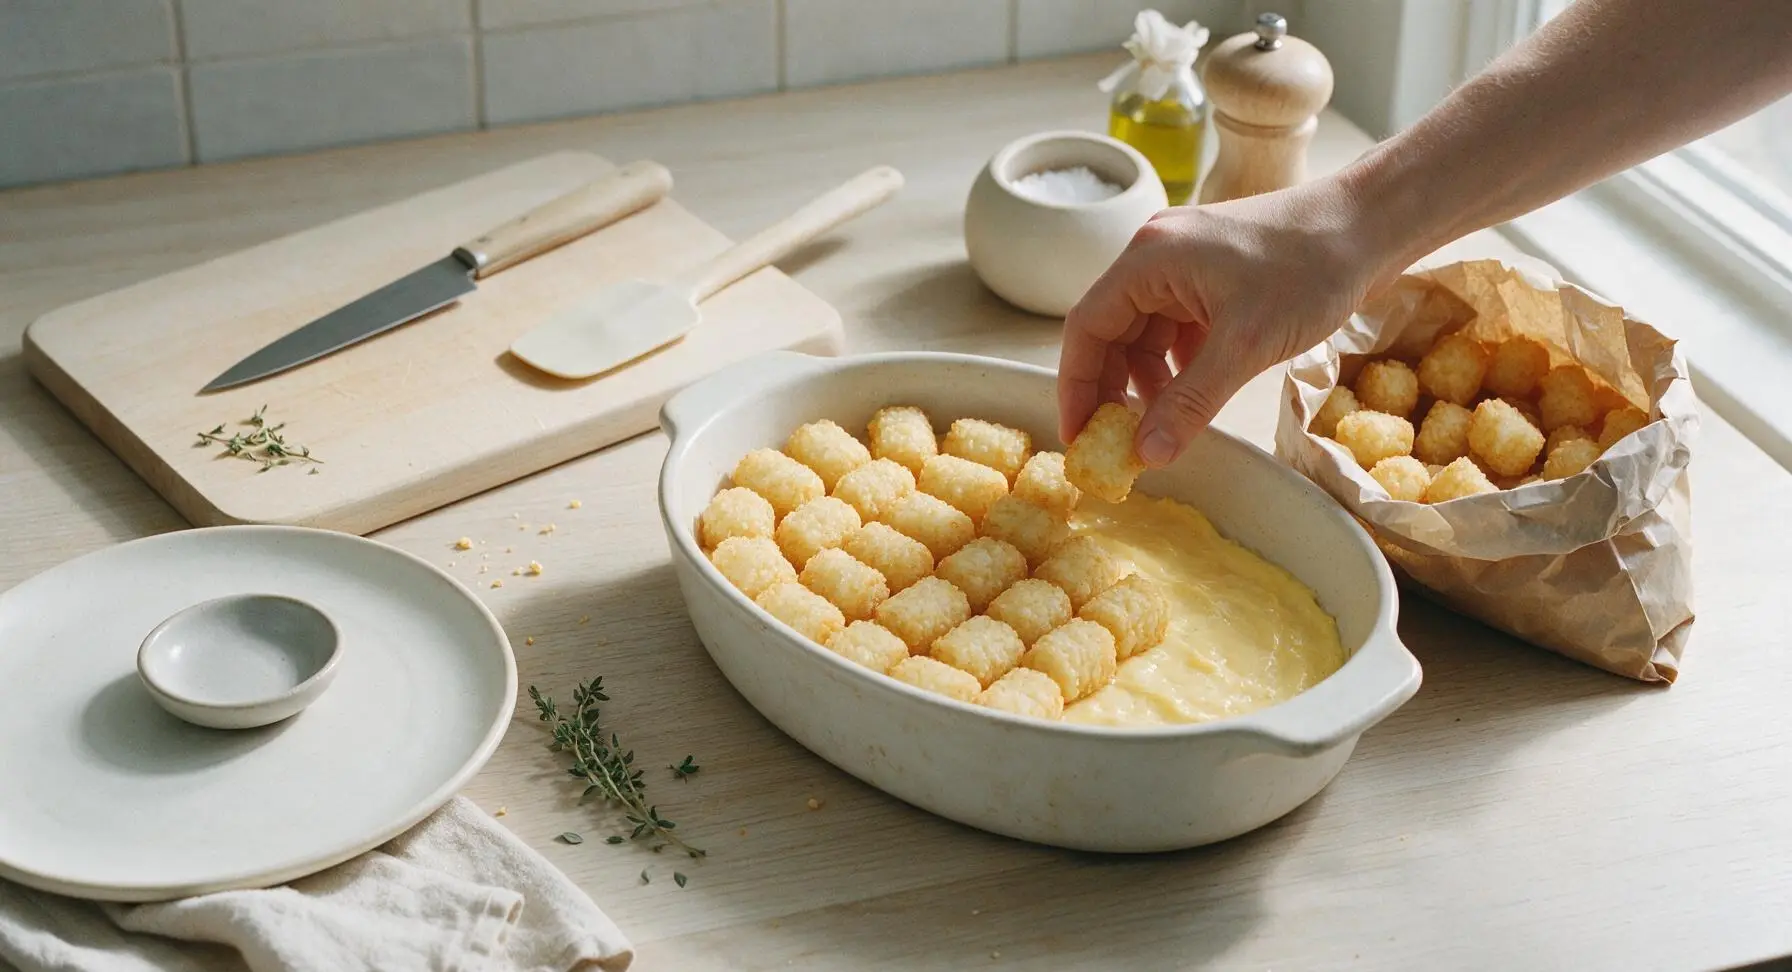
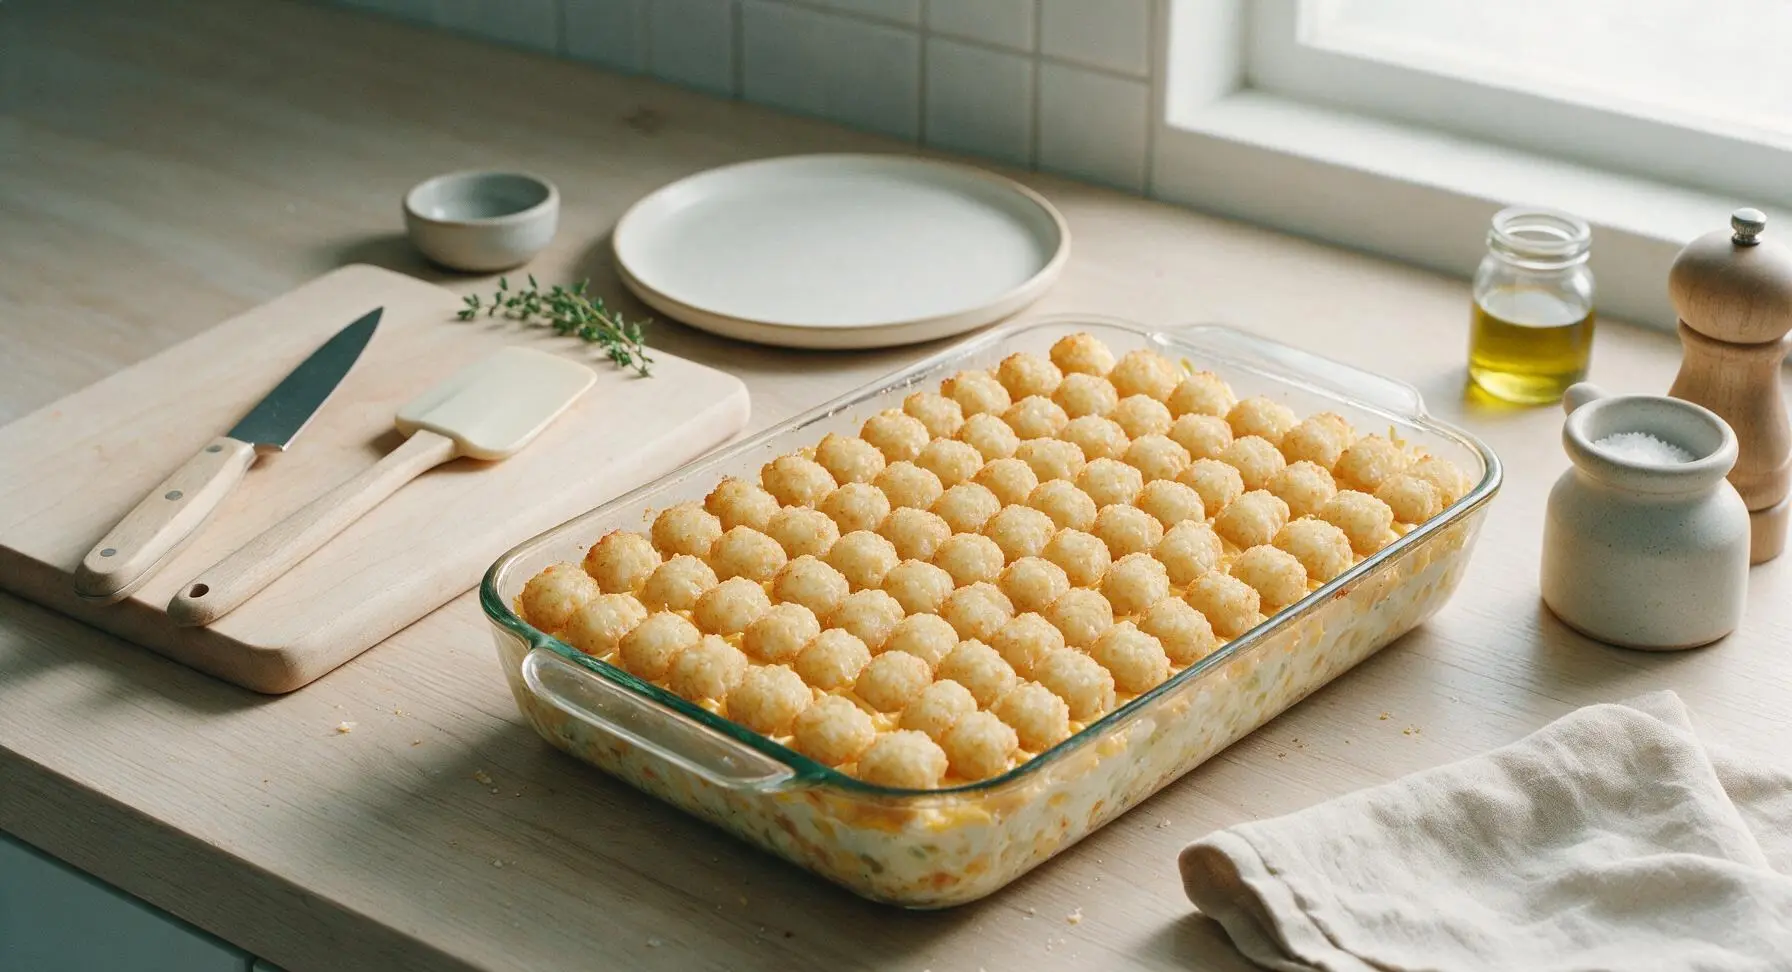
Open the bag of frozen tater tots. Arrange the tots in tight, evenly spaced rows across the top of the cheese layer, flat side down, covering the entire casserole surface. Use nearly the full 32-oz bag of tots; do not leave gaps between tots, as they will shrink slightly as they bake. Do not thaw the tots first, as frozen tots bake to a crispier finish.
Step 6
step6:Arrange Tater Tot Top
Step 6
step6:Arrange Tater Tot Top
7

Bake Until Crispy Bubbly

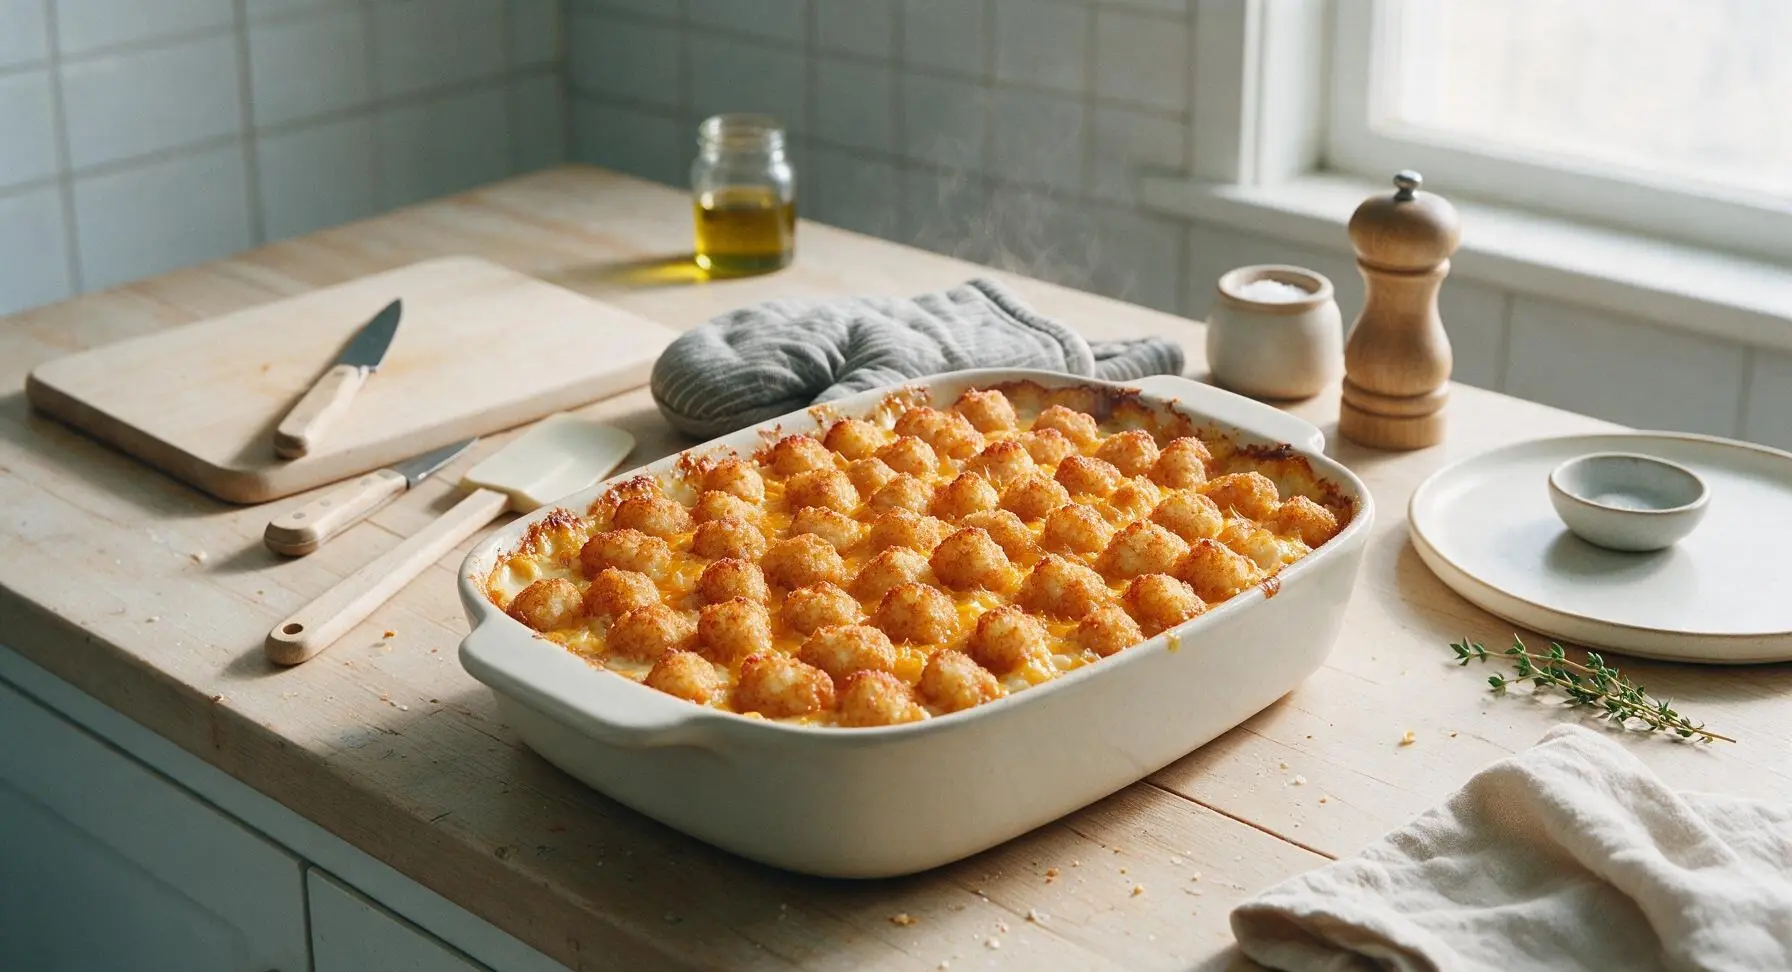
Carefully transfer the assembled baking dish to the middle oven rack. Bake for 40 minutes total, until the tater tots are deep golden brown and crispy on the outside, the cheddar cheese is fully melted and bubbling up around the dish edges, and the beef filling is hot all the way through. Use the cotton oven mitt to remove the dish from the oven, then let it rest for 5 minutes before serving to allow the filling to set.
Step 7
step7:Bake Until Crispy Bubbly

Tips

1.Do not thaw frozen tater tots before baking: Frozen tots develop an extra-crispy, crunchy exterior as surface moisture flash-evaporates in the hot oven, while thawed tots release excess water and turn soft and soggy.
2.Skip draining the rendered fat from browned ground beef: The fat mixes with the condensed soup to create a richer, smoother filling that doesn’t taste dry or starchy, and cuts down on extra cleanup from a greasy strainer.
3.Let the casserole rest for a full 5 minutes after baking: This allows the hot, bubbly filling to set slightly, so scoops hold their neat shape on the plate instead of sliding apart into a runny mess.


✨ You May Also Like

Main Course
🍜 United Kingdom

A showstopping classic of tender seared beef, savory mushroom duxelles, and crisp prosciutto wrapped in flaky golden puff pastry, baked to juicy perfection.

⏱️ 2 hours 1Main Course ★ 4.7
Main Course
🍜 India

Tender charred marinated chicken simmered in a rich, spiced creamy tomato sauce, this iconic Anglo-Indian curry pairs perfectly with basmati rice or warm naan.

⏱️ 50 minuteMain Course ★ 4.6
Main Course
🍜 Thailand

Classic tangy, sweet, and savory Thai stir-fried rice noodles with shrimp, tofu, and crunchy garnishes, balancing all five core Thai flavor profiles.

⏱️ 30 minuteMain Course ★ 4.5
Main Course
🍜 United Kingdom

Crispy golden beer-battered cod and fluffy double-fried chips, served with tangy tartar sauce and malt vinegar: the timeless, beloved British pub comfort classic.

⏱️ 45 minuteMain Course ★ 4.7
Main Course
🍜 Mexico

Smoky, chile-marinated pork tacos with caramelized pineapple, fresh cilantro, and lime: a beloved classic Mexican street food perfect for casual summer gatherings.

⏱️ 1 hour 45Main Course ★ 4.8
Main Course
🍜 United States

Crunchy Fritos corn chips layered with savory beef chili and melted cheddar, topped with cool, zesty fixings for a beloved, cozy Tex-Mex comfort food.

⏱️ 35 minuteMain Course ★ 4.8

tater tot casserole 4 ingredients:Frequently Asked Questions

1.Can I use a leaner ground beef instead of the recommended 80/20 blend? ▾
I don’t recommend swapping for super lean beef as your first choice. The 20% fat content in 80/20 builds rich, savory depth without extra add-ins, and keeps the filling from drying out during baking. If you only have 90/10 on hand, stir 1 tablespoon of melted butter into your drained, browned beef to replicate that moisture and fat balance.
2.Do I need to thaw the frozen tater tots before baking the casserole? ▾
Nope, no thawing required! Using fully frozen tater tots is actually the secret to getting that crispy, golden, not-soggy top crust. If you thaw them first, they’ll release excess moisture as they bake, leading to mushy, limp tots instead of the crunchy, fluffy texture everyone loves on this classic casserole.
3.Can I substitute cream of chicken soup for cream of mushroom if I don’t like mushrooms? ▾
Absolutely! Condensed cream of chicken is a 1:1 swap that works beautifully here, and keeps the same rich, creamy base you want without any mushroom flavor. You can also use cream of celery if you prefer that profile—just make sure you’re using regular undiluted condensed soup, not the ready-to-eat diluted variety, to keep the filling thick.
4.What temperature and bake time works best for a perfectly cooked casserole? ▾
Bake uncovered at 375°F for 40 to 45 minutes total. At the 30 minute mark, give the top a quick check—if the tater tots are browning too fast, tent a loose piece of aluminum foil over the pan for the remaining cook time. The dish is done when the filling is bubbly around the edges and the tots are deep golden and crispy.
5.Do I need to drain the grease from the ground beef after browning it? ▾
Yes, definitely drain the excess rendered grease from your browned 80/20 beef before layering it in the baking dish. If you leave all that grease in, the filling will turn out overly greasy and runny instead of rich and creamy. You only need to leave about 1 teaspoon of the fat in the pan to carry that beefy flavor, no more.
6.Can I make this casserole ahead of time for meal prep or a potluck? ▾
You sure can! Assemble the fully layered casserole (don’t bake it yet), cover it tightly with plastic wrap, and store it in the fridge for up to 24 hours before baking. When you’re ready to cook, add 5 to 7 minutes to the total bake time to account for the cold pan, and remove the plastic wrap before popping it in the oven.
7.What size baking dish do I need for this recipe? ▾
A standard 9x13 inch baking dish is the perfect size for this recipe, giving you enough room to spread the beef and soup base evenly, top it with cheese, and arrange the tater tots in a single, even layer. If you use a smaller dish, the layers will be too thick, leading to undercooked filling and soggy tots on top.
8.Can I add extra mix-ins like veggies or bacon without ruining the recipe? ▾
Of course! This 4-ingredient base is super customizable. Stir in half a cup of drained canned corn, cooked diced onion, crumbled bacon, or frozen mixed veggies into the beef and soup layer before adding cheese and tots. Just keep added mix-ins to 1 cup total max, so you don’t throw off the creamy filling ratio or make the casserole watery.
9.Why is my casserole filling coming out runny instead of thick and creamy? ▾
Runny filling usually comes from one of two common mistakes: either you didn’t drain excess grease from the browned beef, or you used diluted ready-to-serve soup instead of undiluted condensed cream of mushroom. If you end up with a runny bake, pop it back in the oven uncovered for 5 extra minutes to let excess moisture evaporate before serving.
10.Can I use a different type of cheese instead of sharp cheddar? ▾
Absolutely! Sharp cheddar is classic for its bold, tangy flavor that cuts through the rich beef and creamy soup, but you can swap it 1:1 for shredded mozzarella, colby jack, pepper jack, or a Mexican cheese blend if that’s what you have. Just skip pre-shredded cheese with added anti-caking agents if you want the smoothest, meltiest cheese layer.
11.How do I store leftover tater tot casserole, and how long will it keep? ▾
Let leftover casserole cool completely to room temperature first, then transfer it to an airtight container or cover your baking dish tightly with foil. It will keep well in the refrigerator for 3 to 4 days. When reheating, pop individual portions in the microwave or oven until warmed through, and broil for 1 minute to crisp the tots back up.
12.Can I freeze this casserole to bake later or store leftovers long-term? ▾
Yes, this casserole freezes beautifully! Assembled, unbaked casseroles can be wrapped tightly in two layers of heavy-duty foil and frozen for up to 3 months. Bake straight from frozen at 375°F for 1 hour 15 minutes, covered for the first 45 minutes, until the filling is bubbly. Leftover baked portions also freeze well for up to 2 months.
13.Should I mix the cheese into the filling or layer it separately? ▾
For the best texture, layer the shredded sharp cheddar directly on top of the beef and soup mixture, right before you add the tater tot layer. This creates a gooey, melty cheese barrier that keeps the tater tots from getting soggy from the creamy filling, and gives you that perfect cheese pull in every bite when you serve it.
14.My tater tots are getting too dark before the filling is bubbly—what did I do wrong? ▾
This usually happens if your oven runs hot, or if you placed the oven rack too close to the top heating element. As soon as you notice the tots browning faster than expected, tent a loose sheet of aluminum foil over the top of the dish to reflect excess heat, and move the rack to the middle position to let the filling finish cooking without burning the tots.
15.Do I need to grease my baking dish before assembling the casserole? ▾
A quick light grease is never a bad idea to prevent stuck-on bits, even with the rich filling in this recipe. You can give the dish a quick spritz of nonstick cooking spray, or rub a thin layer of butter along the bottom and sides, before you add the first layer of beef. It only takes 10 seconds, and makes serving and cleanup so much easier.
16.Can I make this recipe in a slow cooker instead of the oven? ▾
You can, with one small adjustment to avoid soggy tots. Layer the browned beef, undiluted soup, and cheese in the bottom of a 6-quart slow cooker, then top with frozen tater tots. Cook on low for 4 to 5 hours, leaving the lid slightly cracked for the last 30 minutes to let excess steam escape, so the tots crisp up instead of turning mushy.

Comments (4)

2 days ago

OMG this was such a game changer for our weeknight dinner! I only had 10 minutes to throw something together before my son’s soccer practice and I literally had all 4 ingredients in my fridge/freezer already. My kids loved it, devouring half the pan before I even got a second serving, SO good.

yesterday

Wait did you add any extra seasonings? I’m making this for our church potluck this Sunday and wondering if I can toss in a little garlic powder without messing it up!

2 hours ago

So glad your family loved it! A little garlic powder or even a sprinkle of smoked paprika works totally great if you want an extra flavor kick—this recipe is super forgiving for little add-ins, which makes it ideal for potlucks and big group meals. Since it’s so easy to throw together, you’ll have tons of time to chat with guests instead of slaving over the stove!

3 days ago

Wait 4 ingredients only??? No way, I grew up eating tater tot casserole that required like 3 different canned soups and a bunch of random seasonings I never have on hand. I made this last night for my roommates and we all ate way too much, total cozy comfort food for super cheap. No sad microwave dorm meals for us this week!

2 days ago

Love that! This recipe was made for easy, budget-friendly meals—no fancy grocery runs or expensive specialty ingredients required, perfect for feeding a group on a dime. The 48 minute cook time is totally hands off too, so you can study or hang out while it bakes!

1 week ago

I prepped this on Sunday for the week’s work lunches and it held up so much better than I expected! I was worried the tater tots would get soggy sitting in the fridge for days but they stayed nice and crispy even after a quick 2 minute reheat in the break room microwave. 10/10 will be adding this to my regular meal prep rotation, it’s so nice to have a hot, filling lunch that doesn’t take a ton of effort to make.

5 days ago

Oh this is such a relief to hear! I was gonna skip this recipe because I figured tater tot bakes never reheat well and get all mushy, but now I’m definitely making a batch this weekend for my work lunches too! Thanks for the tip!

5 days ago

Made this for my husband’s backyard birthday cookout last weekend and every single guest was asking for the recipe before they left! I tossed on a little extra shredded cheddar the last 10 minutes of baking (can never have too much cheese, tbh) and it was a total hit. Even my super picky mother-in-law went back for seconds, which is basically a Michelin star rating in my book. So easy to make for a crowd too!



