
tater tot casserole in the oven
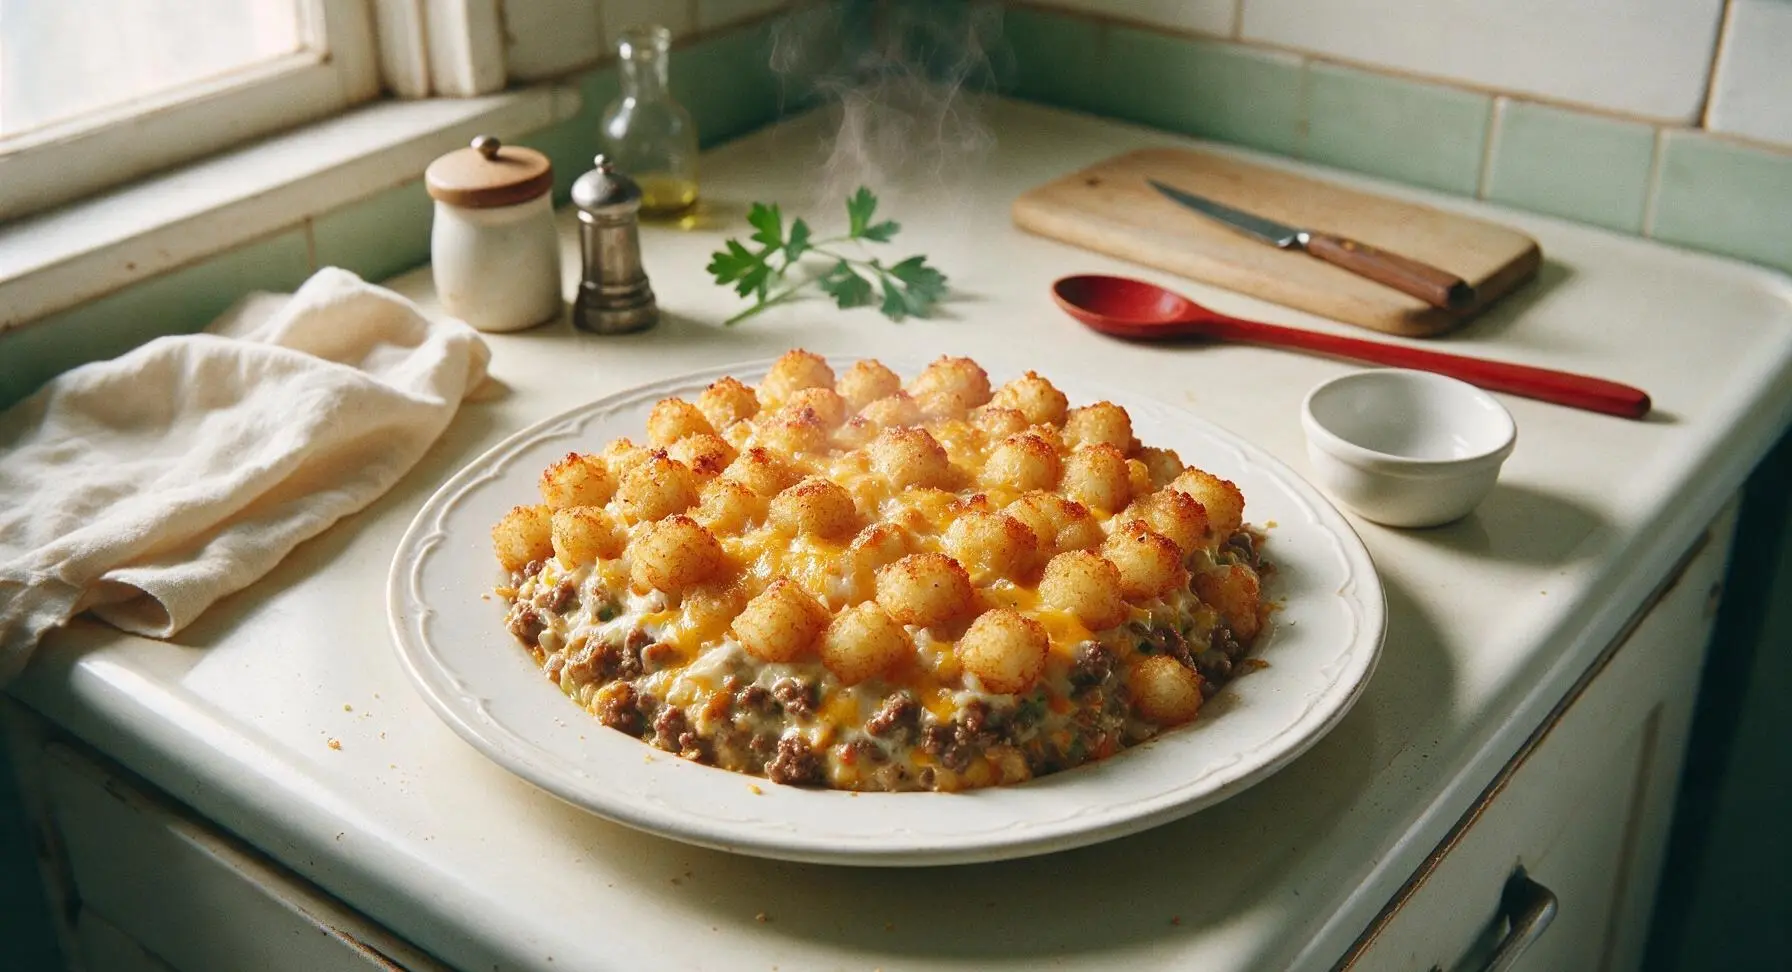
intro
Crispy golden tater tots top a creamy, savory layer of seasoned ground beef, veggies, and melted cheddar for the ultimate cozy, crowd-pleasing baked comfort food.
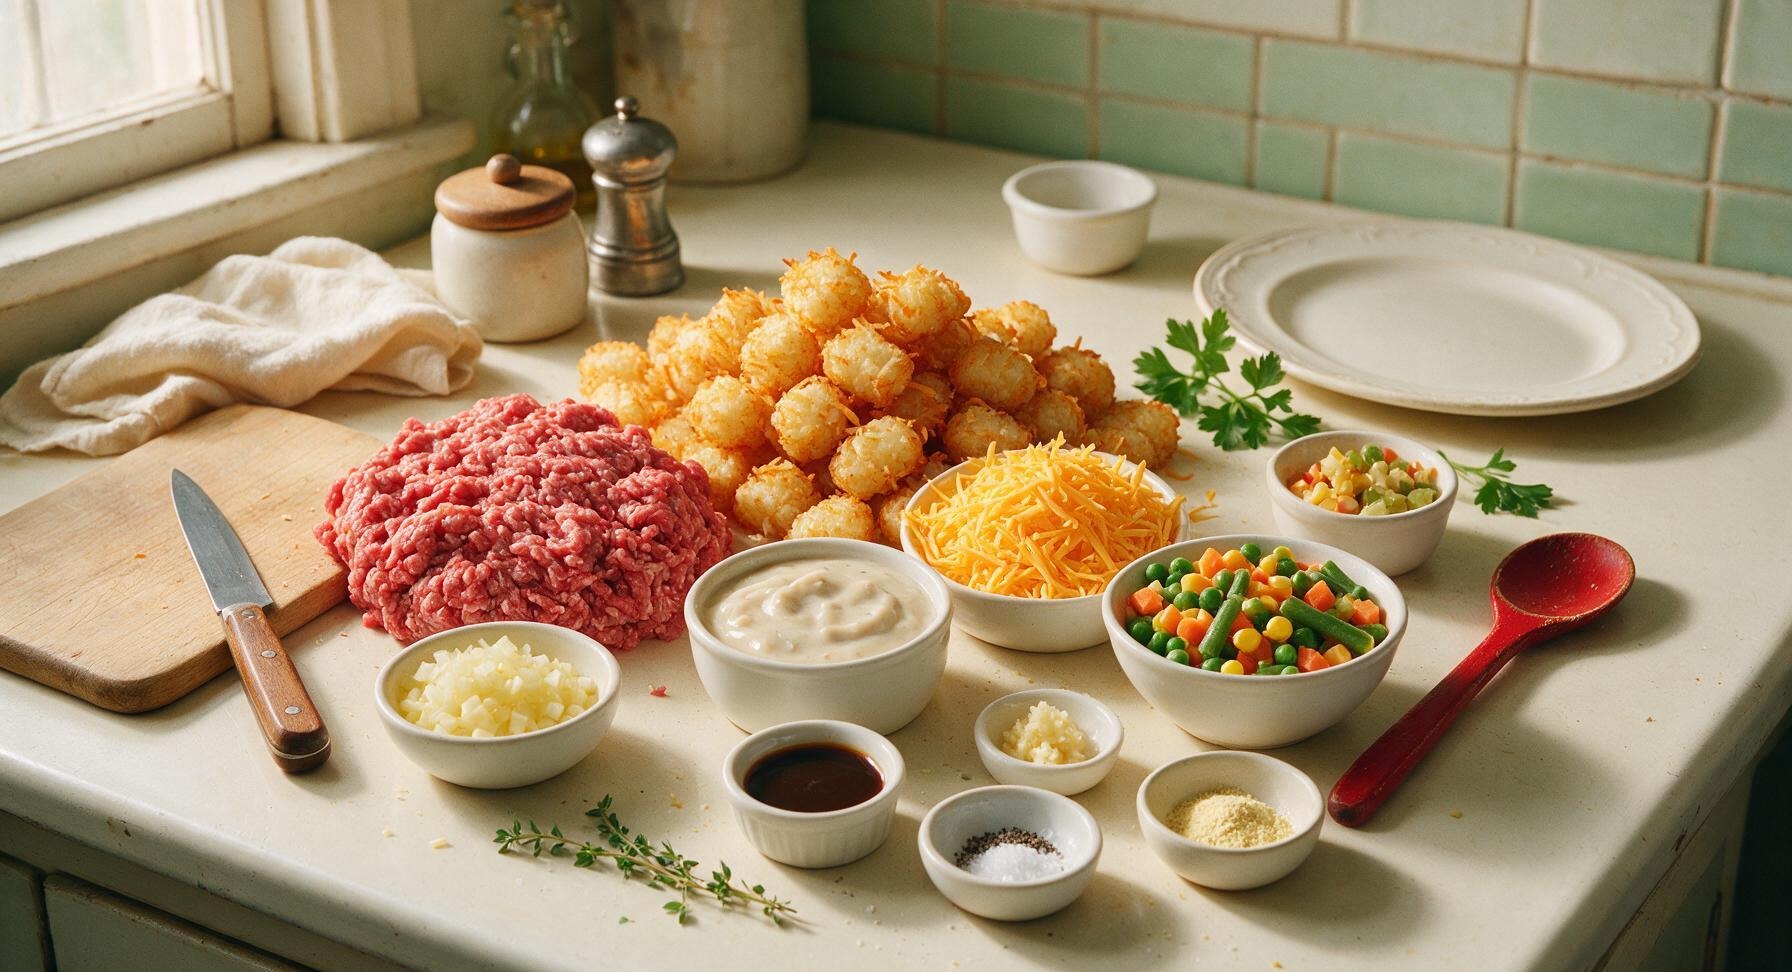
Ingredients
Steps
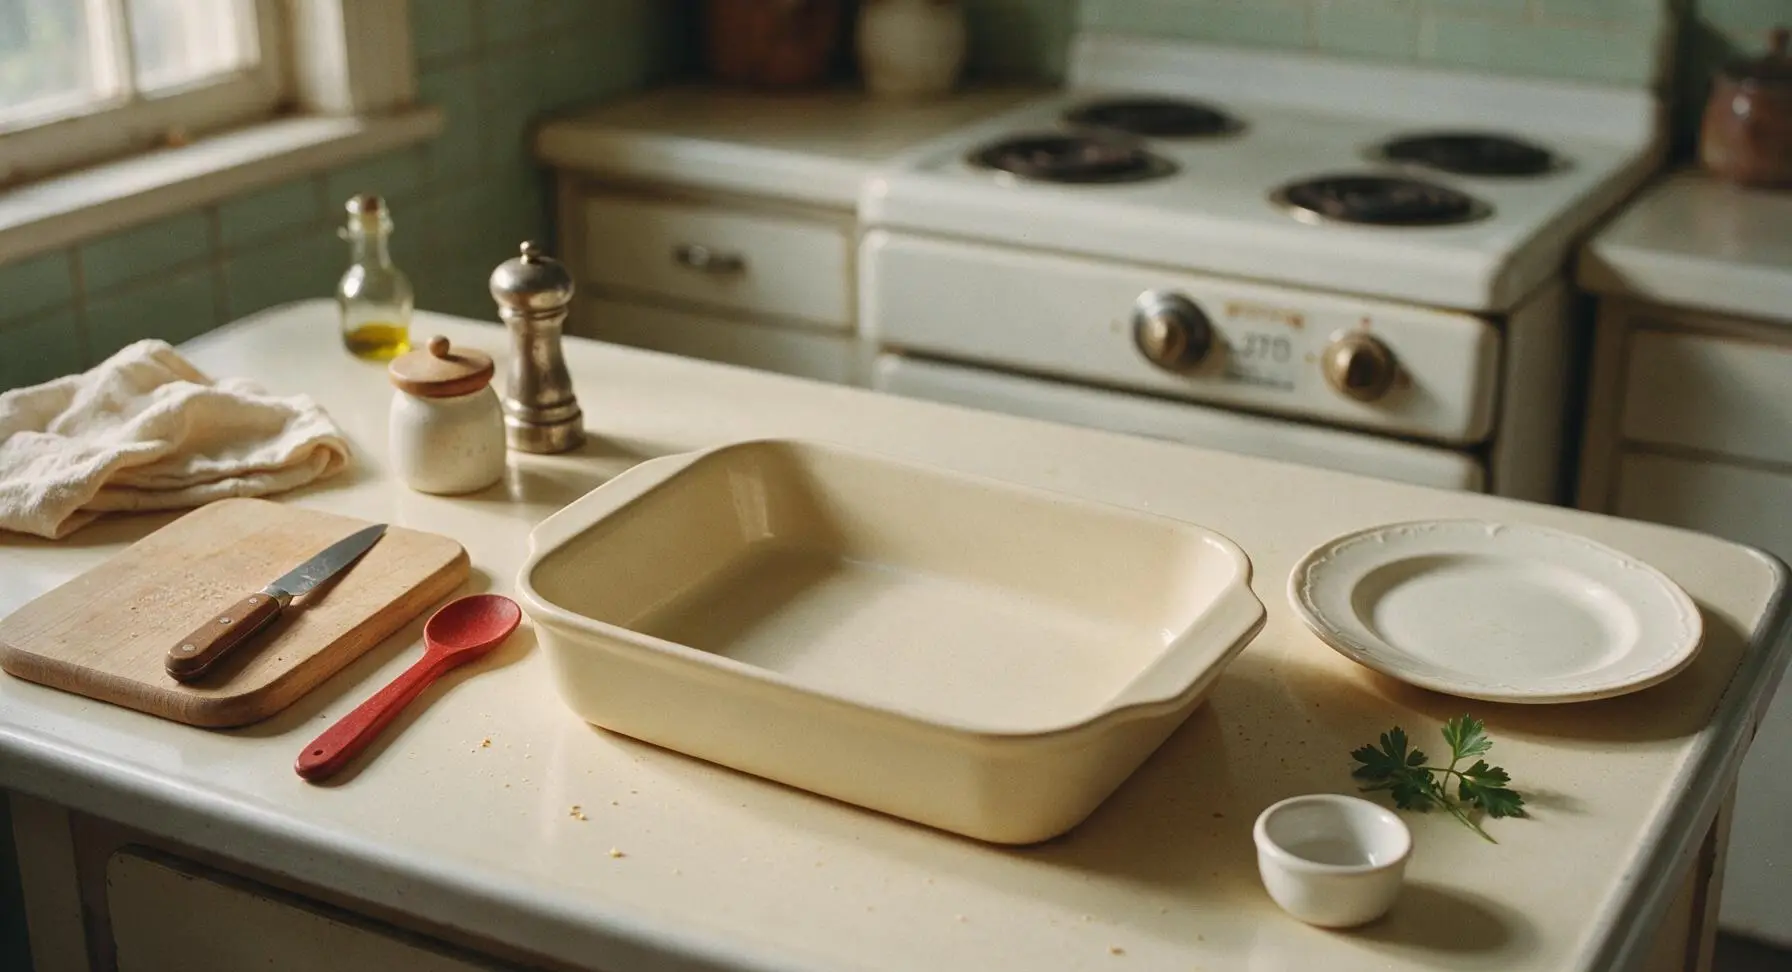
Preheat Oven and Prep Pan
Adjust your oven rack to the middle position, then preheat the oven to 375°F (190°C). Set the 9x13 inch matte cream ceramic baking dish on the counter within arm’s reach of the stove; no greasing is required, as rendered beef fat will prevent the casserole from sticking during baking. Gather all pre-measured ingredients near the dish to streamline cooking.
Brown Beef and Aromatics
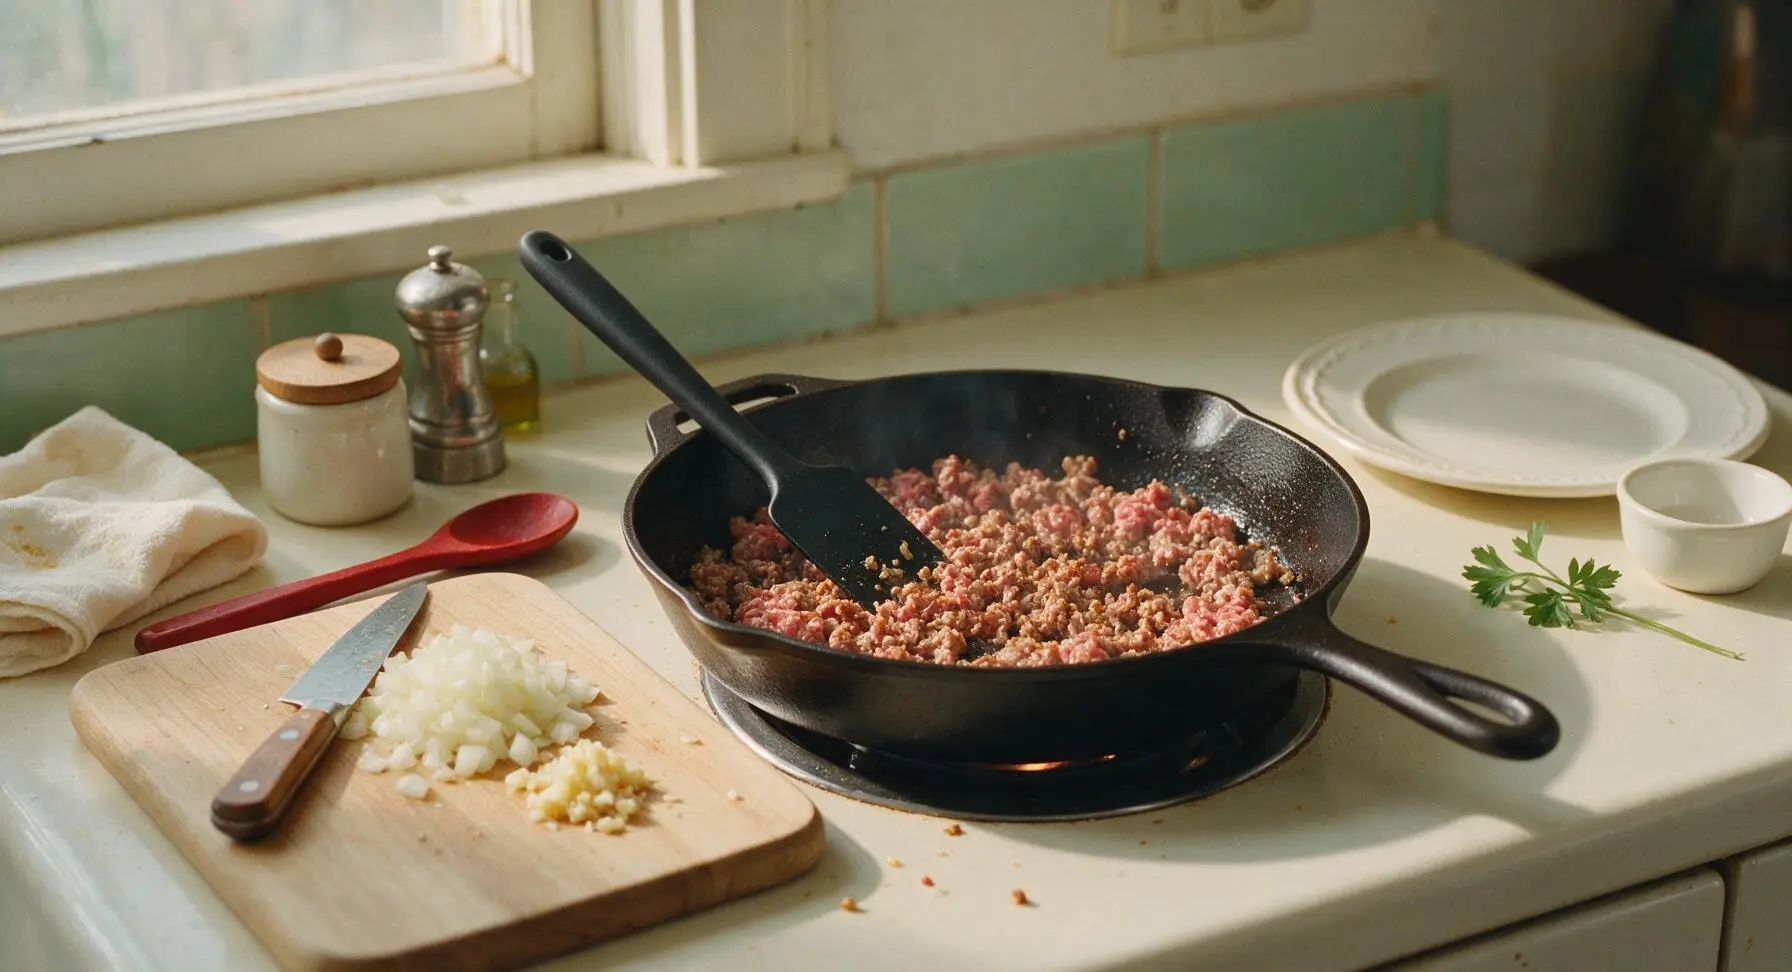
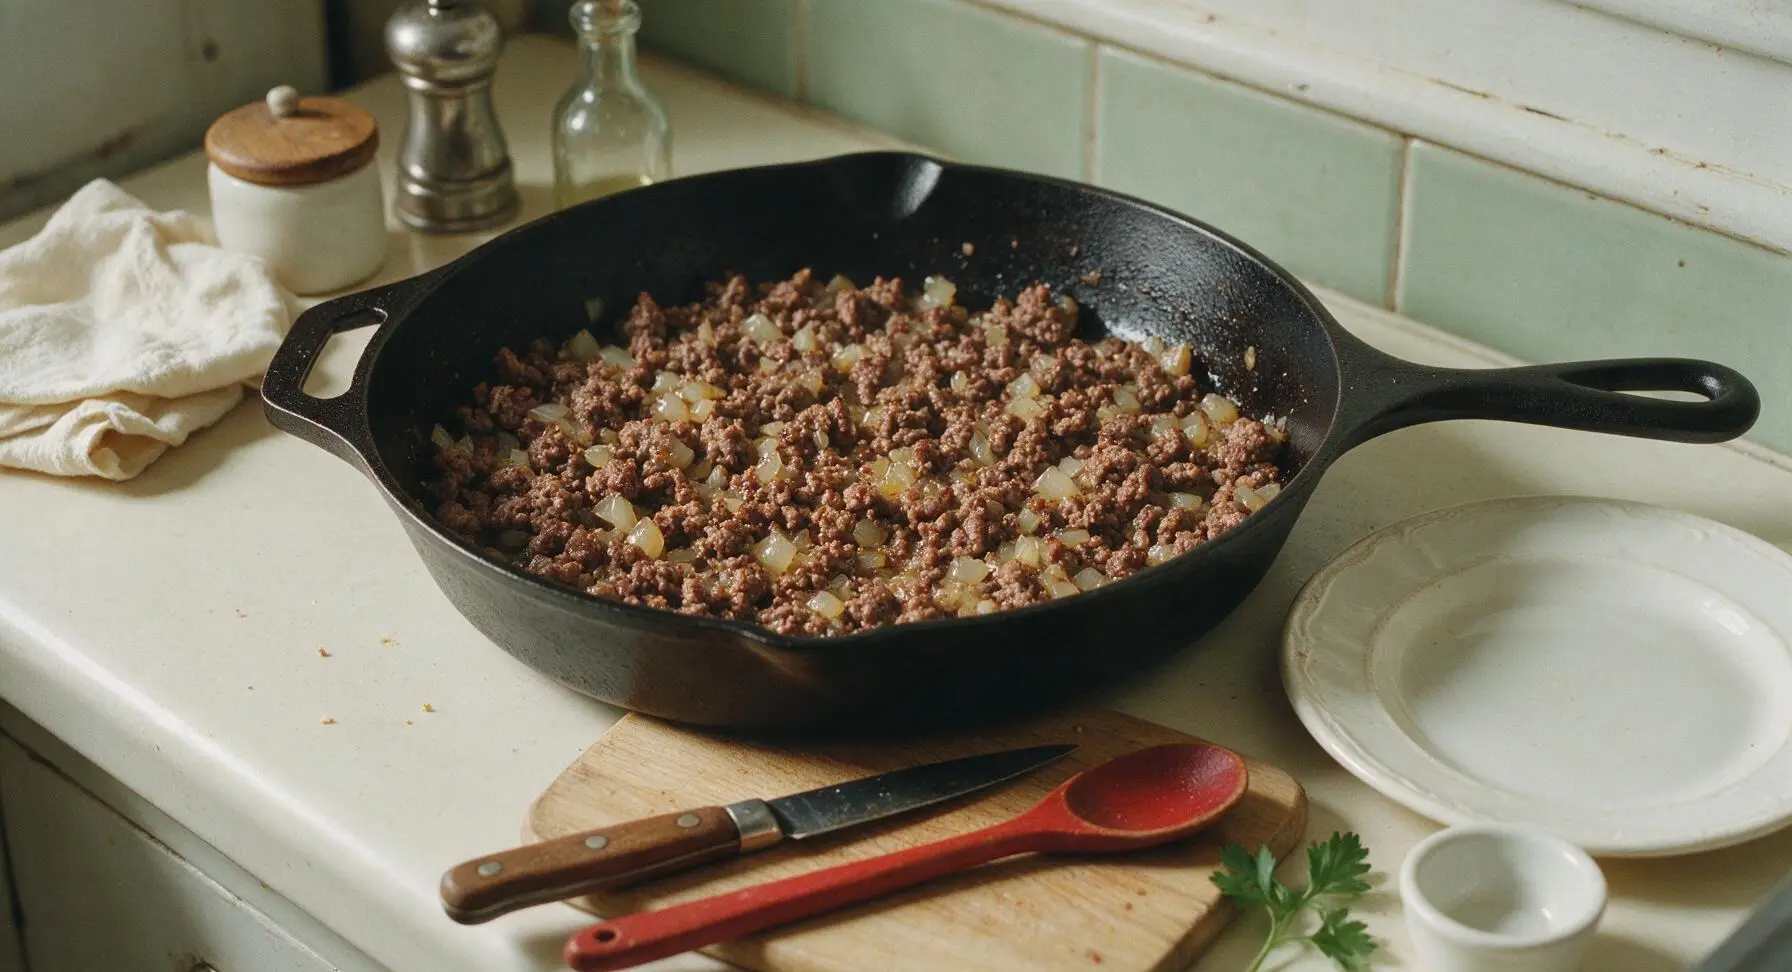
Place the 12-inch cast iron skillet on a stovetop burner over medium heat. Add the 450g of 80/20 ground beef to the dry pan, breaking it apart into small crumbles with the matte black silicone spatula as it cooks for 4 minutes, until no bright pink meat remains. Add the diced small yellow onion and 2 minced garlic cloves to the pan, cook for 3 more minutes until the onion turns soft and translucent, and the beef crumbles develop deep golden, crispy edges. Drain any excess grease from the pan if more than 1 tablespoon remains.
Mix Creamy Casserole Base
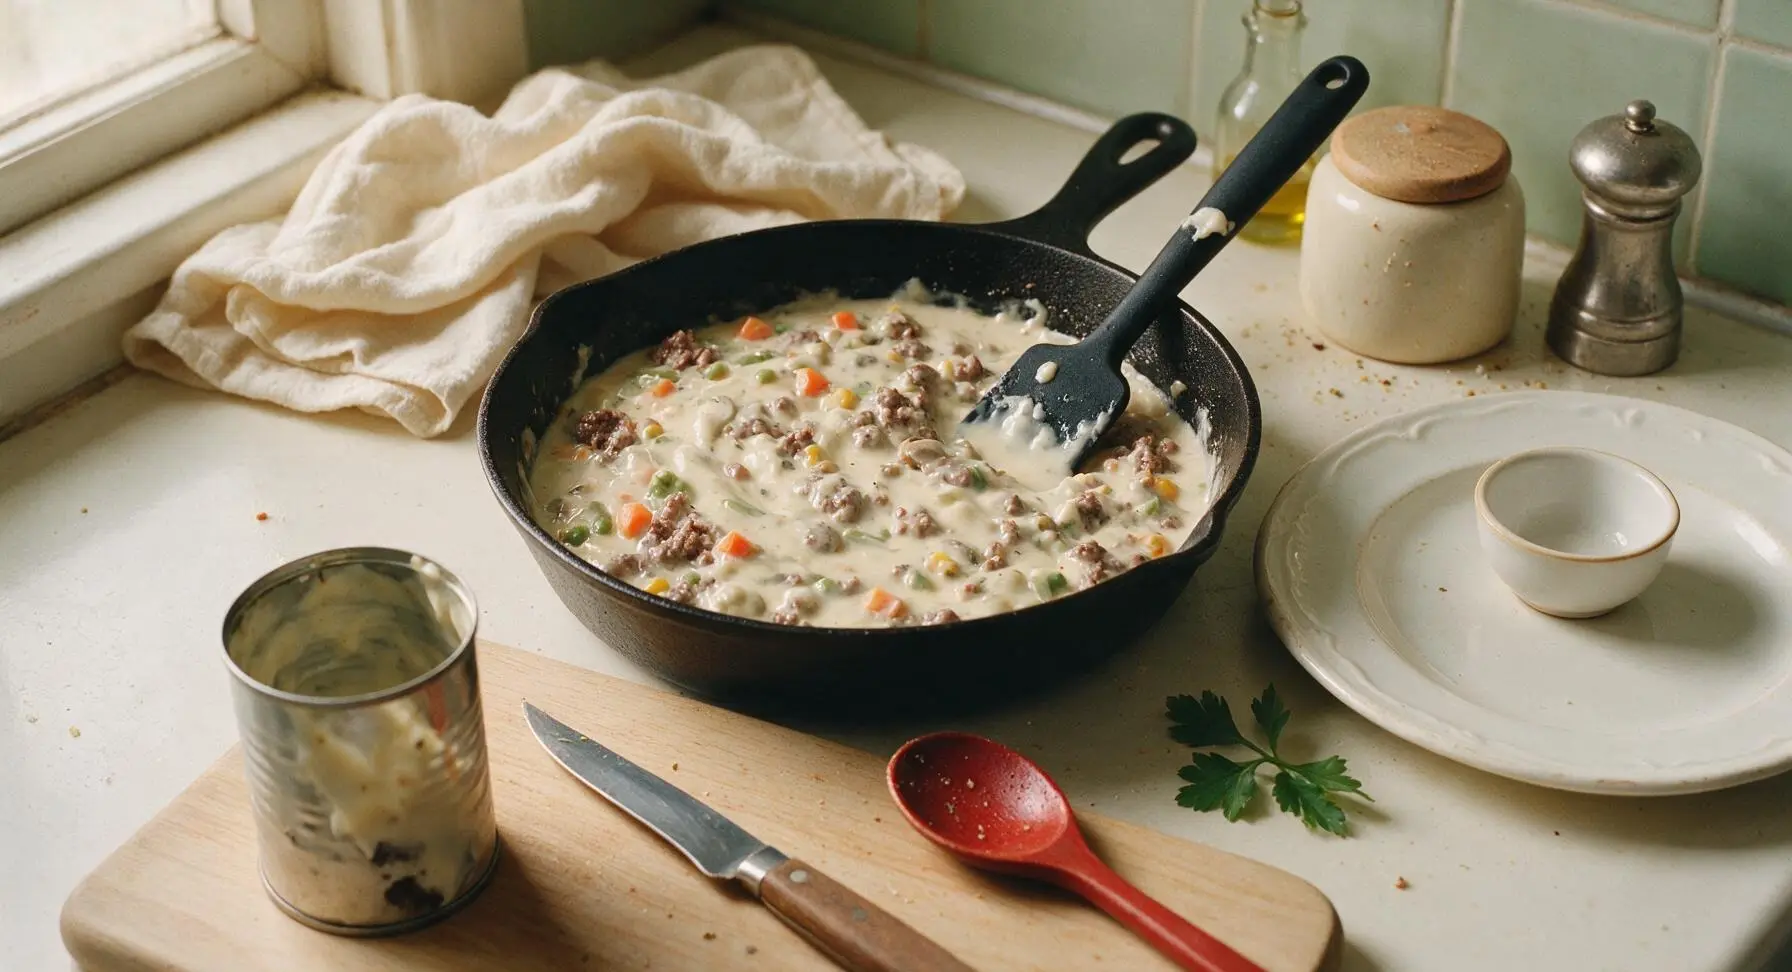
Reduce stovetop heat to low. Stir the 305g can of condensed cream of mushroom soup, 300g frozen mixed vegetables, 1 tablespoon Worcestershire sauce, 1 teaspoon kosher salt, ½ teaspoon black pepper, and ½ teaspoon garlic powder into the browned beef and onion mixture. Stir continuously with the silicone spatula for 2 minutes until all ingredients are evenly coated in the creamy soup base, and the frozen vegetables start to thaw slightly from the pan’s residual heat.
Layer Base in Baking Dish
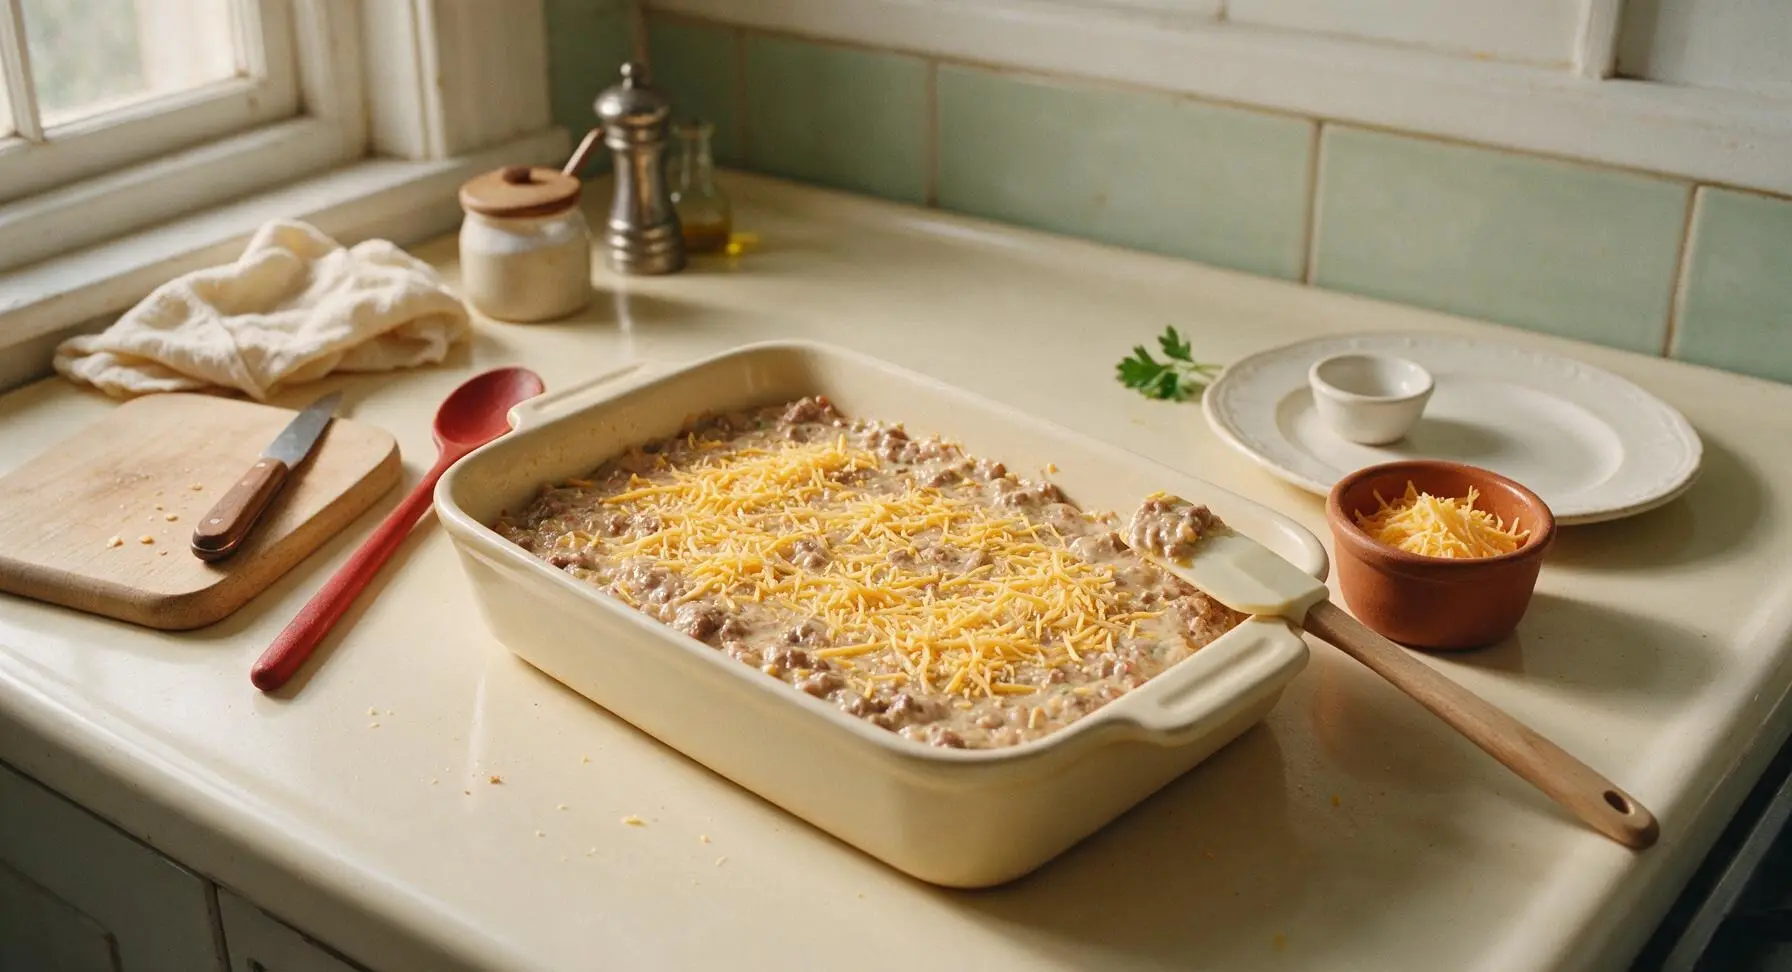
Remove the cast iron skillet from heat. Pour the entire creamy beef and vegetable mixture into the 9x13 inch cream ceramic baking dish, spreading it into a smooth, even, flat layer across the bottom of the dish with the silicone spatula. Sprinkle 150g of the shredded sharp cheddar cheese evenly over the top of the beef layer, setting the remaining 50g of cheese aside in the small terracotta ramekin for the final topping.
Arrange Tater Tot Topping
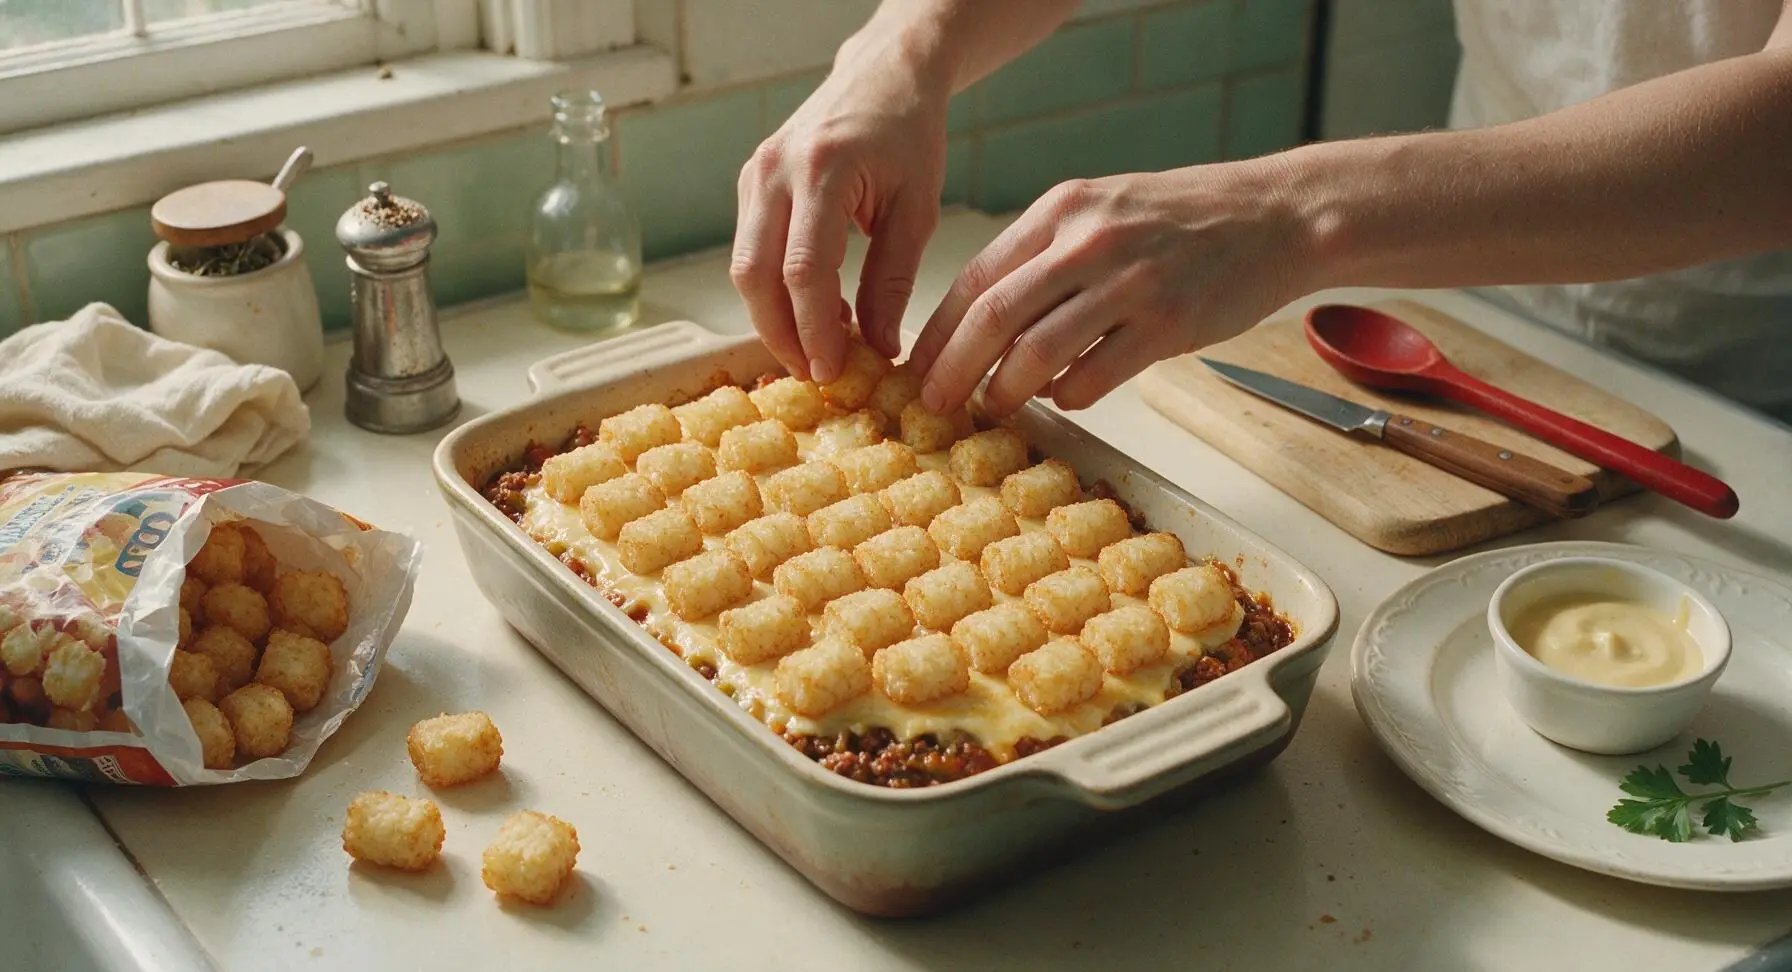
Open the 900g bag of frozen tater tots (using the stainless steel can opener if needed for the bag seal). Arrange the tots in tight, even rows across the top of the cheese and beef layer, placing them flat-side down so the entire casserole surface is covered with no gaps between tots. Do not thaw the tots first — rock-hard frozen tots will crisp far better in the oven than thawed ones.
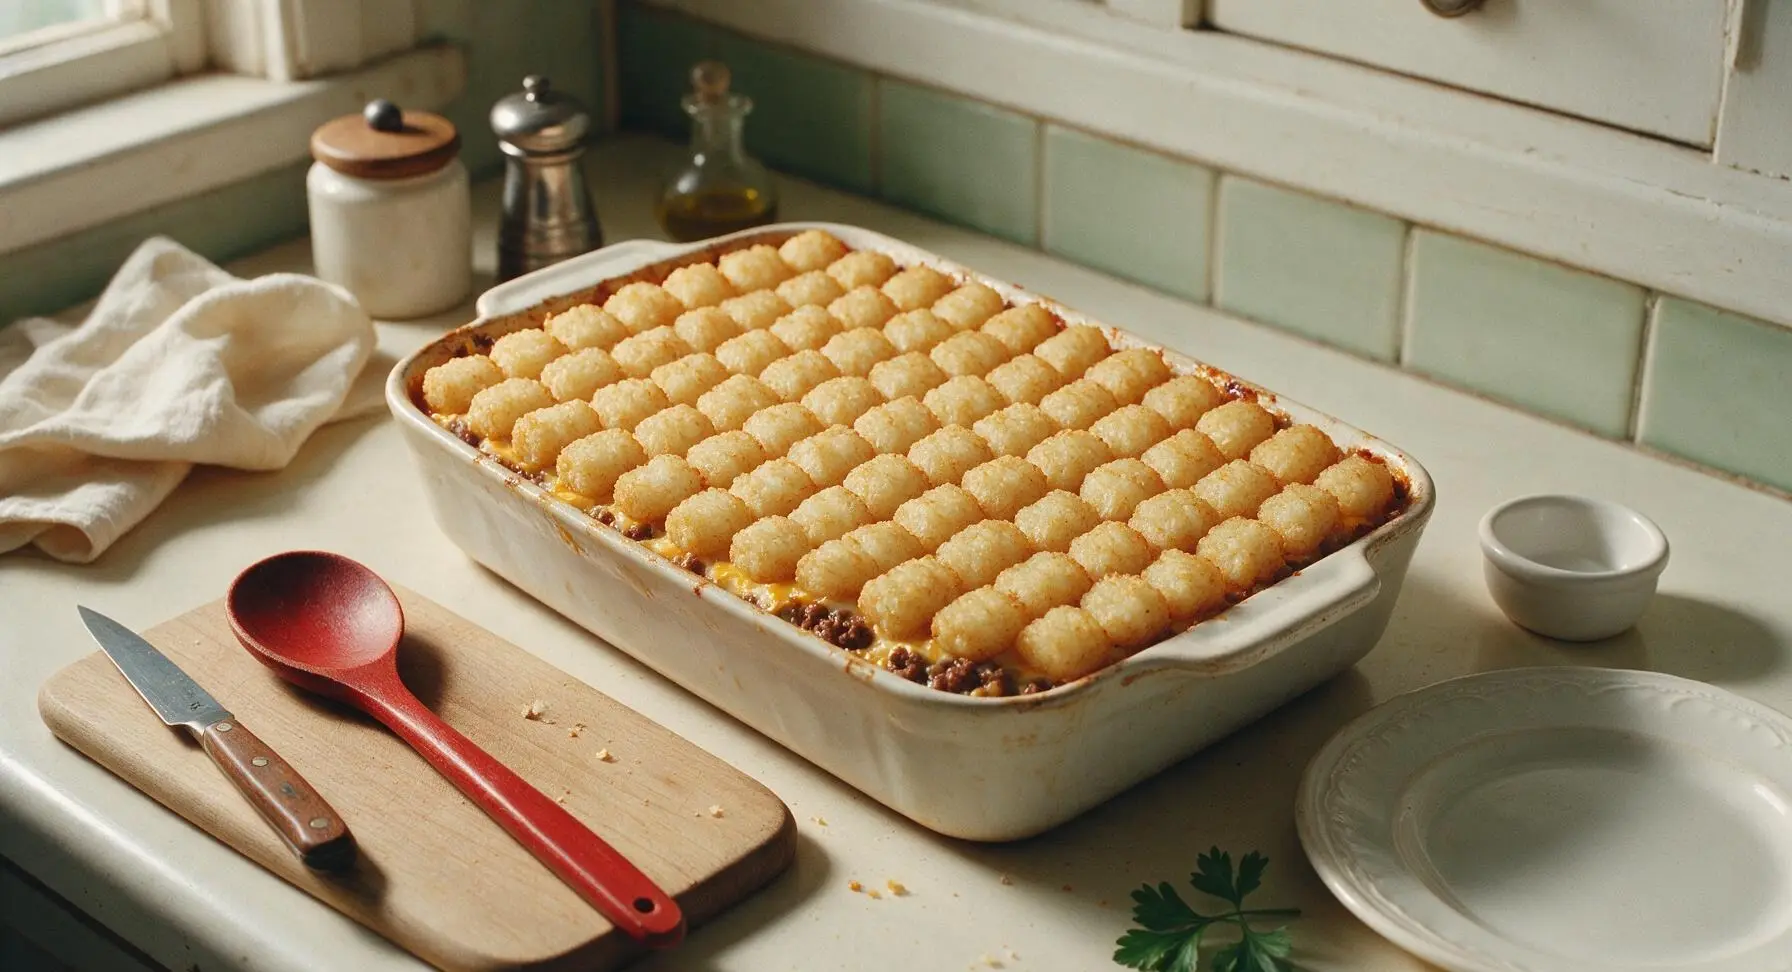
Bake Covered Until Bubbly
Cover the baking dish tightly with aluminum foil, pressing the seal around the dish edges to trap steam inside. Place the dish on the middle oven rack, bake for 30 minutes at 375°F (190°C). The edges of the casserole will be gently bubbling under the foil when the first bake stage is complete.
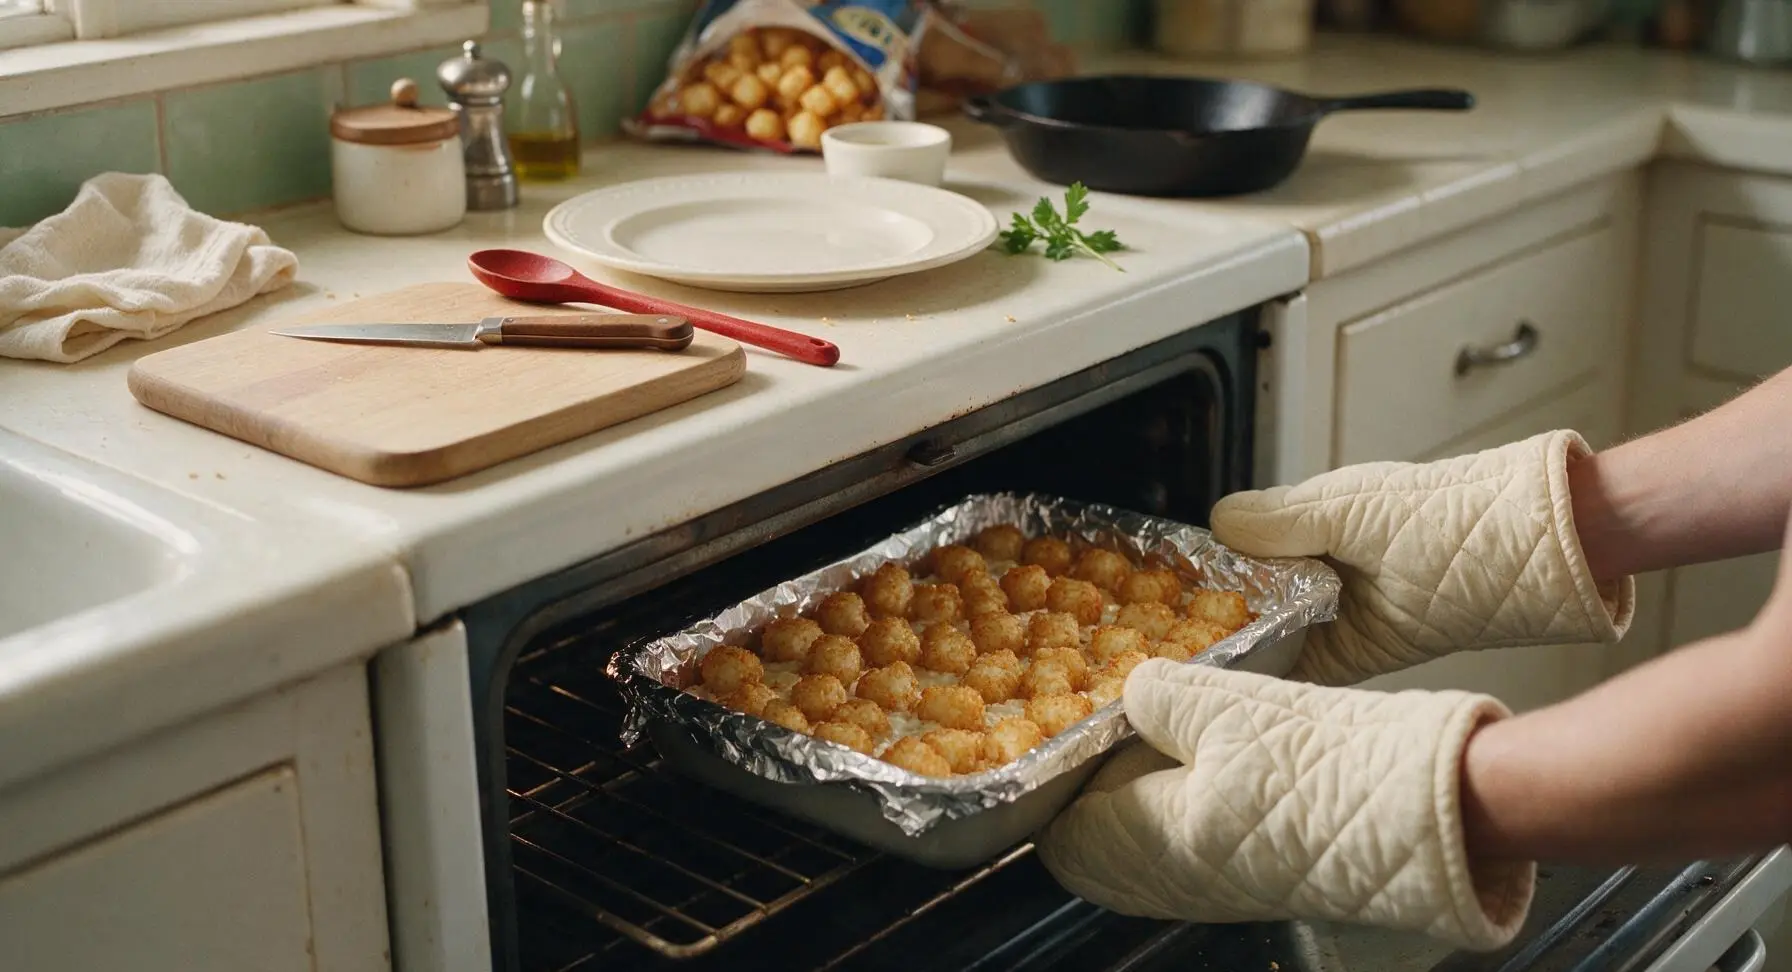
Add Cheese, Bake Uncovered
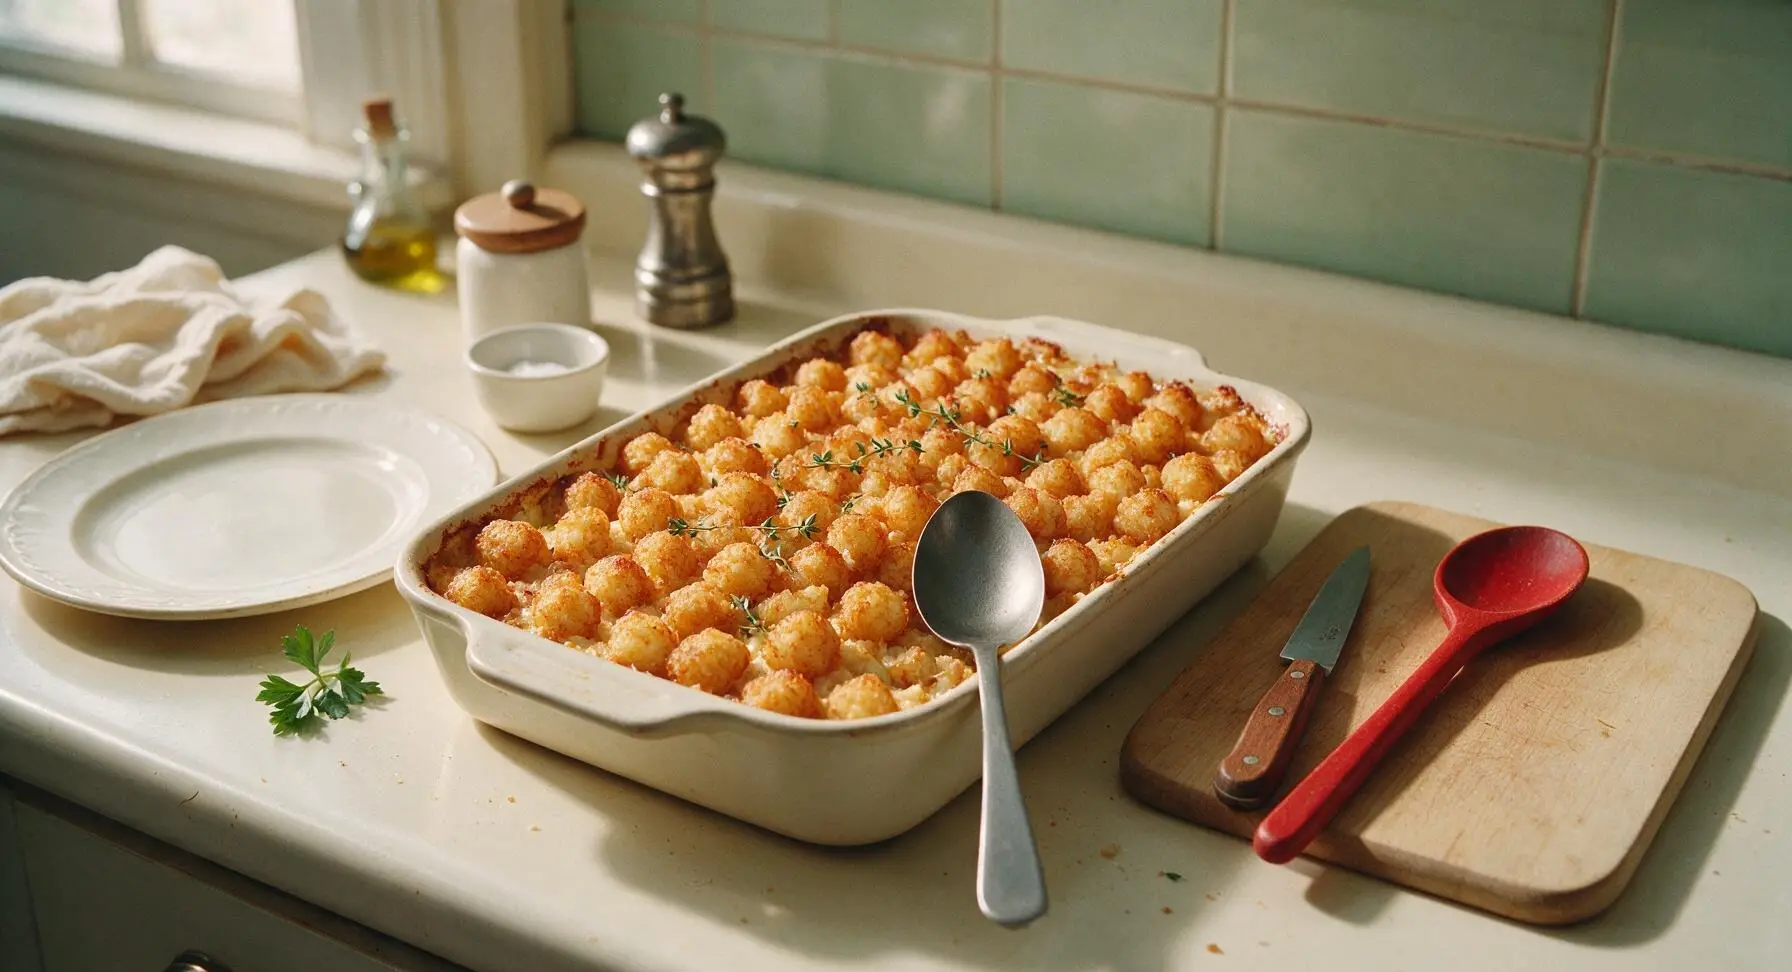
After 30 minutes of covered baking, carefully pull the oven rack out using the oven mitts, then peel the aluminum foil off the dish (stand back to avoid burns from escaping hot steam). Sprinkle the reserved 50g of shredded cheddar cheese evenly over the top of the tater tots. Return the uncovered dish to the oven, bake for 10 more minutes until the cheese is fully melted, the tots are deep golden and crispy on the edges, and the casserole filling bubbles actively around the dish sides.
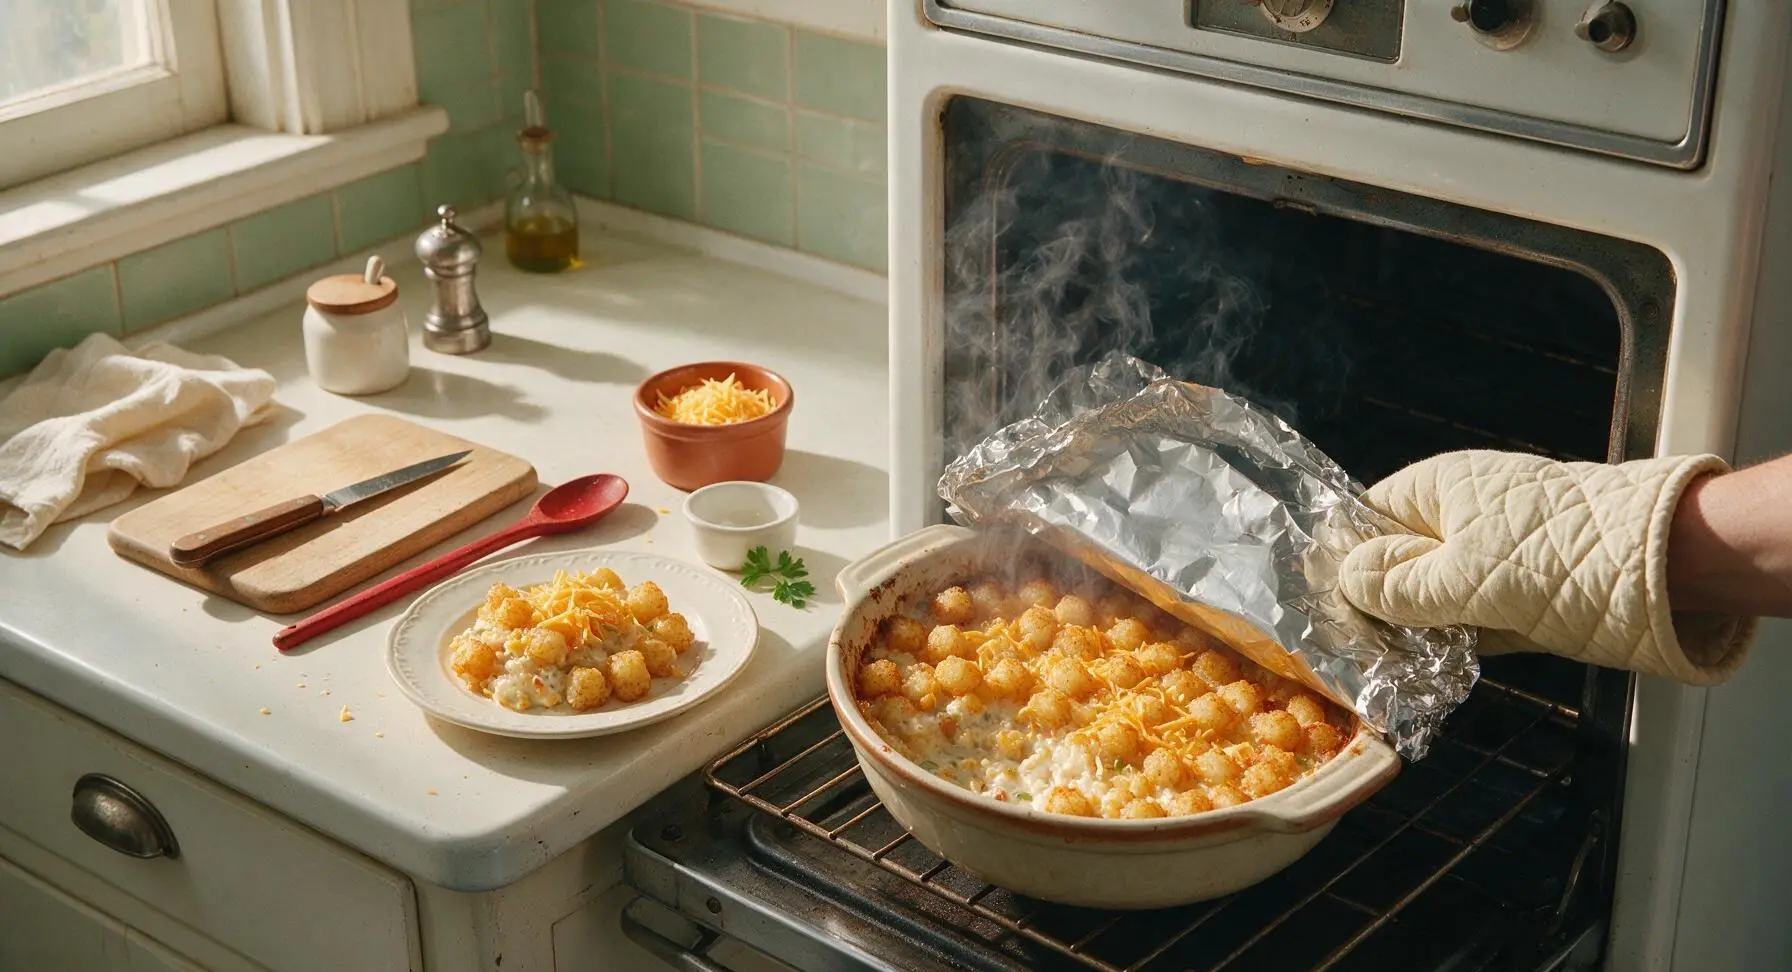
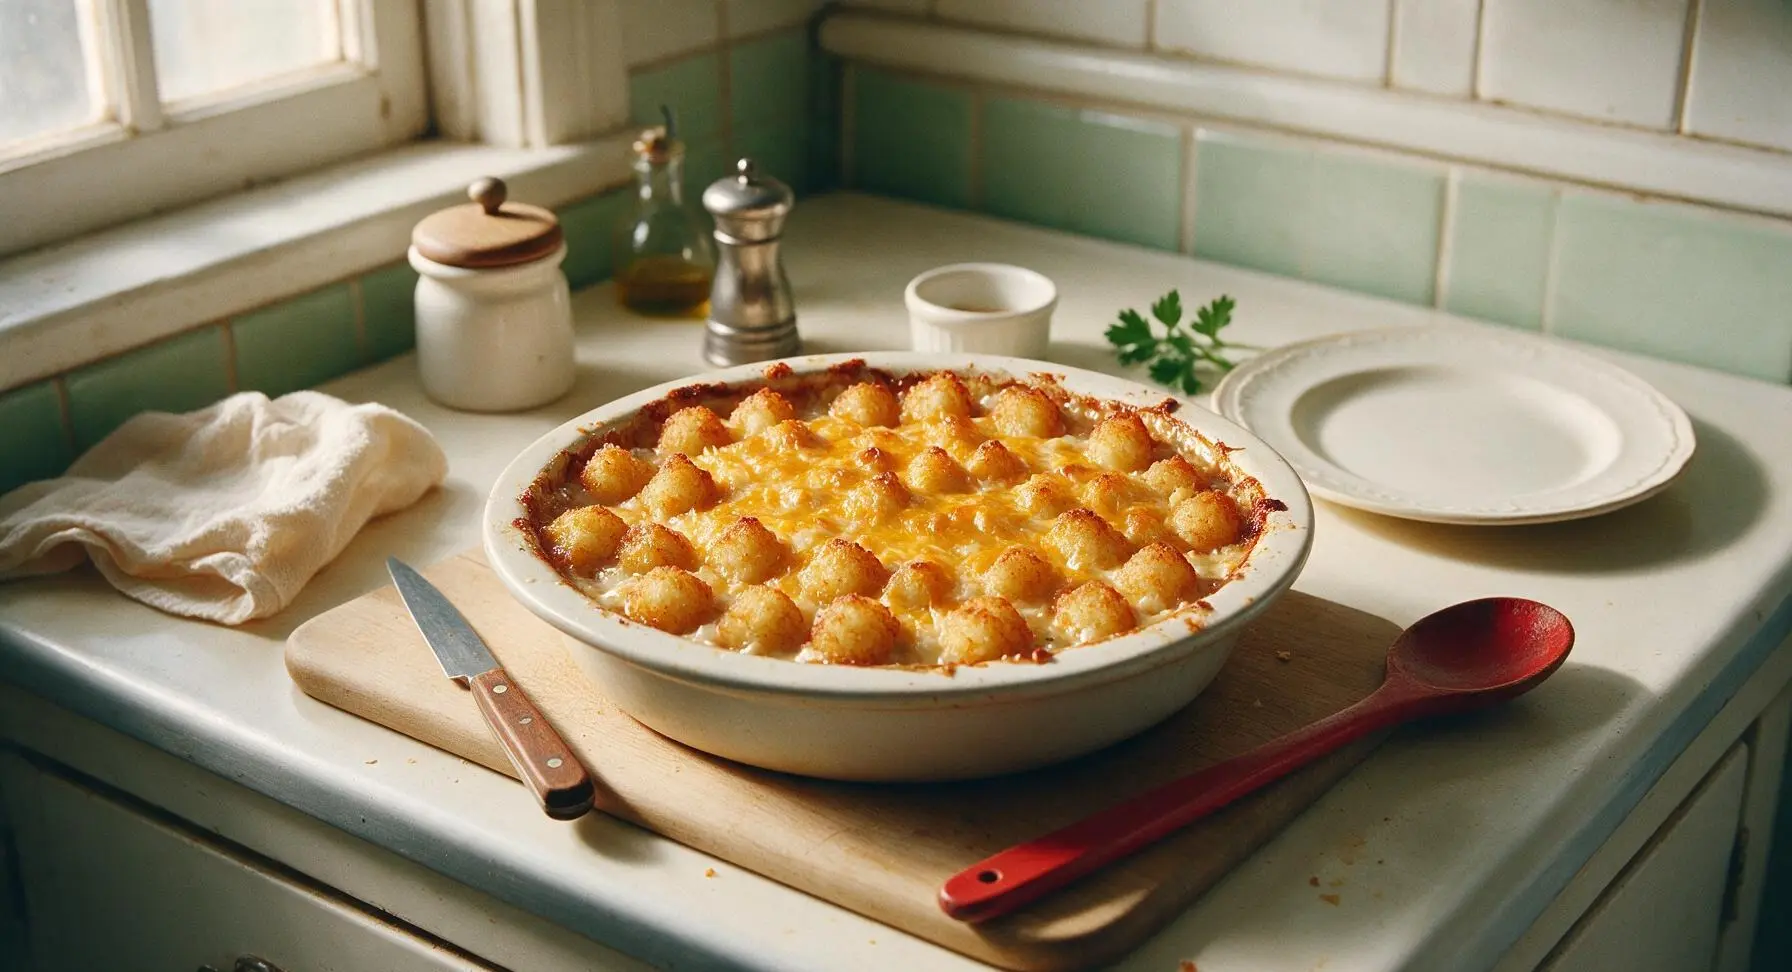
Rest Casserole Before Serving
Remove the finished casserole from the oven using the oven mitts, and let it rest on the counter for 5 minutes to set. This rest time prevents the creamy filling from running when you scoop portions, creating neat, intact servings. Garnish the top of the casserole with fresh thyme sprigs before scooping onto plates.
Tips
2.For extra-crispy tater tot crust, brush the tops of the arranged frozen tots with 1 tablespoon of melted unsalted butter before covering with foil; the butter encourages faster browning and adds a rich, buttery flavor to the potato crust.
3.Let the baked casserole rest for the full 5 minutes after removing it from the oven: the hot creamy filling needs time to set, so scoops will hold their neat shape instead of running across the plate, and the filling will cool slightly to avoid burning your mouth on the first bite.






OMG this was such a game changer for our weeknight family dinner! I was scrambling to throw something together after soccer practice and this came together in 10 minutes of prep, baked while I helped the kids with homework. My 7 year old went back for thirds, even my husband who hates 'casserole food' raved about it. 10/10 will be making this every other week for sure.
Bro this is so cheap to make and feeds my whole dorm floor for like $12 total. I swapped the cream of mushroom for cream of chicken because that's all the corner bodega had and it still slapped. No fancy skills needed, 10/10 broke college student approved.
I brought this to our church potluck last Sunday and the entire pan was gone in 15 minutes! Multiple people came up to ask for the recipe, I felt like a total rockstar. Only change I made was adding a layer of melted cheddar on top the last 10 minutes of baking, chef's kiss.
Made this for our Sunday football watch party and it was a huge hit, only reason I'm not giving 5 stars is I wish the recipe noted you should let it rest 5 minutes after taking it out of the oven so it doesn't fall apart when you scoop it. First couple servings were a little soupy, but after resting it was perfect.
This is my new go-to Sunday meal prep! I portion it out into 5 containers for work lunches and it reheats so well in the microwave, no weird soggy tater tot texture like I was worried about. Saves me so much money during the week instead of grabbing takeout.
I've been making tater tot casserole for 40 years and I have to say, this version is even better than my old go-to! The seasoning ratio for the ground beef is perfect, not too salty, just the right amount of garlic powder. My grandkids begged me to make it again next time they visit.
Made this on a lazy Sunday when I didn't want to put any effort into cooking and holy cow it's SO good. I ate half the pan while binging Netflix, no regrets. Don't judge me, it was worth the food coma.
This was a huge win with my extremely picky 10 year old who only eats chicken nuggets and mac and cheese! I did have to leave out the onions because he picks them out, but otherwise followed the recipe exactly. Only tiny complaint is the cook time said 50 minutes but my oven runs hot so it was done in 42, so just keep an eye on it if you have a finicky oven.
Wait why did I sleep on this recipe for so long? All the ingredients are stuff I already keep in my pantry and freezer, no random expensive specialty items needed. Total win for when I forget to plan dinner the night before.
Made this vegan by swapping the ground beef for plant-based crumbles, using dairy-free cream soup, and vegan tater tots, and even my meat-obsessed roommate said it was fire. 10/10 easy swap if you're cooking for mixed diets.
We got 8 inches of snow last week and this was the coziest dinner to come home to after shoveling the driveway. It's hearty, warm, and tastes like pure comfort food. Served it with a side of steamed green beans and it was the perfect cold weather meal.
First time ever making a casserole and it turned out okay! I think I messed up the cream of soup ratio because mine was a little runny, but the flavor was really good. I'll definitely try it again and measure more carefully next time, I definitely eyeballed the soup instead of using the full can.
I've made this for three separate tailgates and potlucks in the last month and people literally cheer when they see me walk in with the pan. It's so easy to transport, doesn't get weird when it sits out for a couple hours, and literally everyone loves it. Absolute no-brainer for group events.
I am the worst cook ever, I burn toast 90% of the time, and even I managed to pull this off without messing it up! The instructions are so straightforward, no weird fancy techniques required. My boyfriend thought I ordered takeout, I'm so proud of myself.