
tater tot casserole with
intro
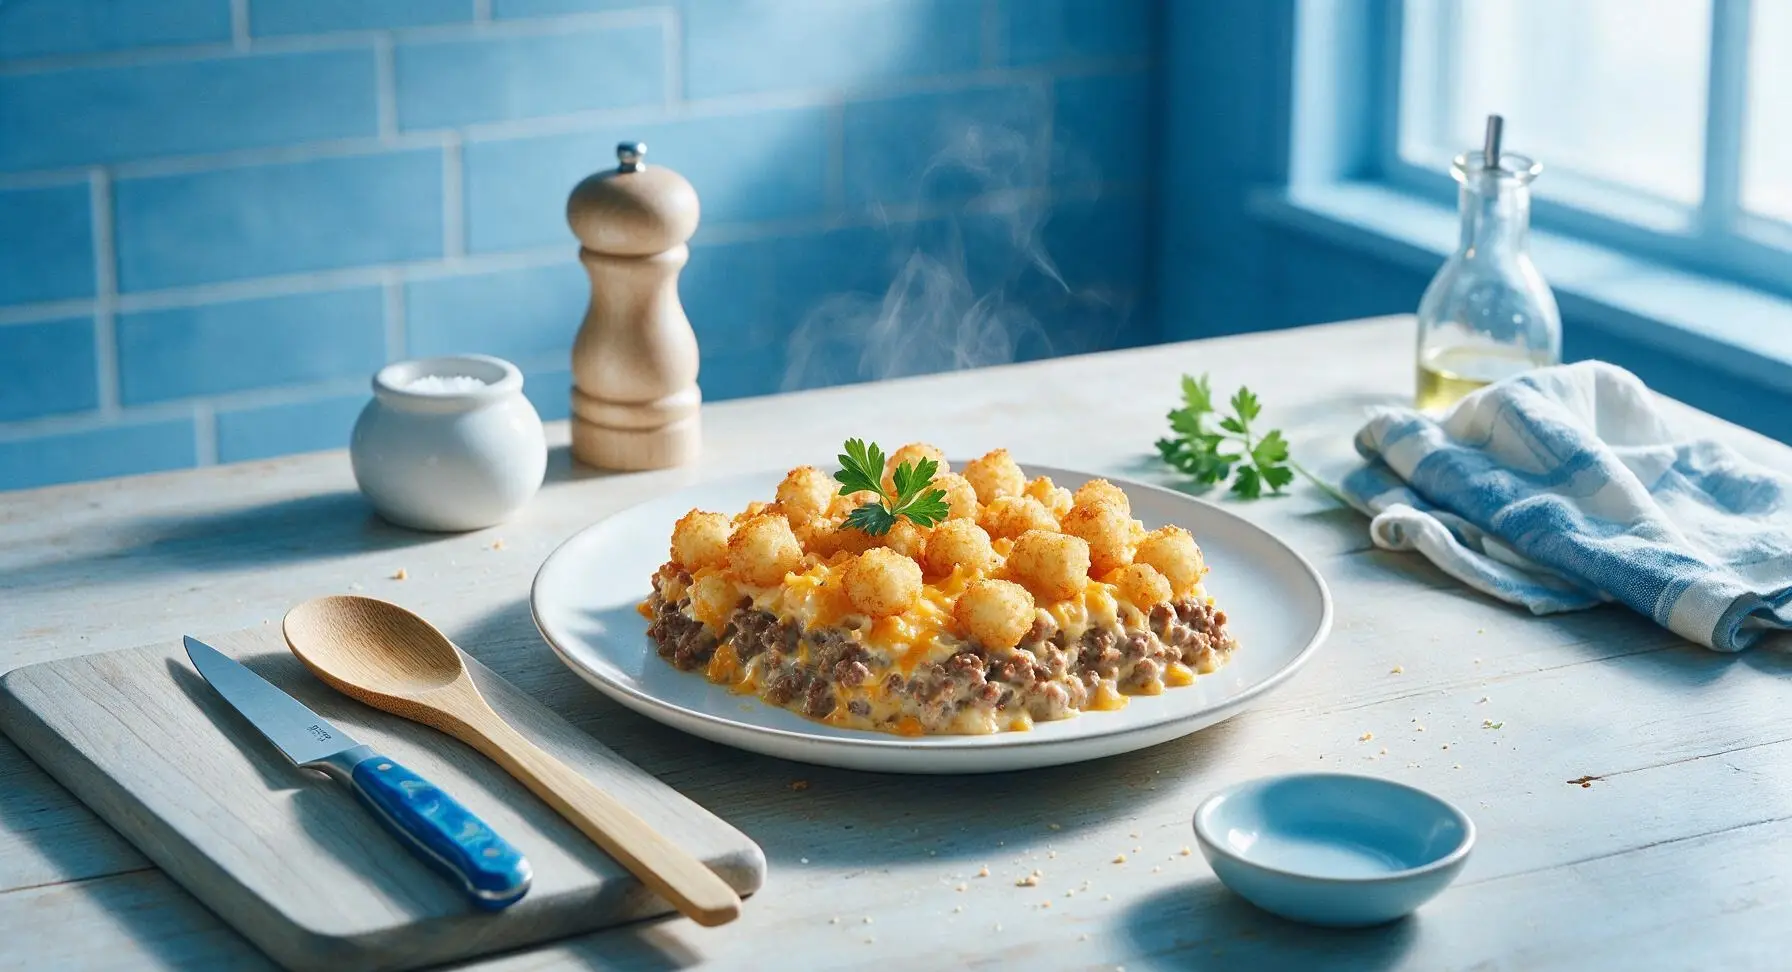
Crispy golden tater tots top a creamy, savory ground beef and cheddar filling, baked to bubbly perfection for a nostalgic, cozy Midwestern family favorite.
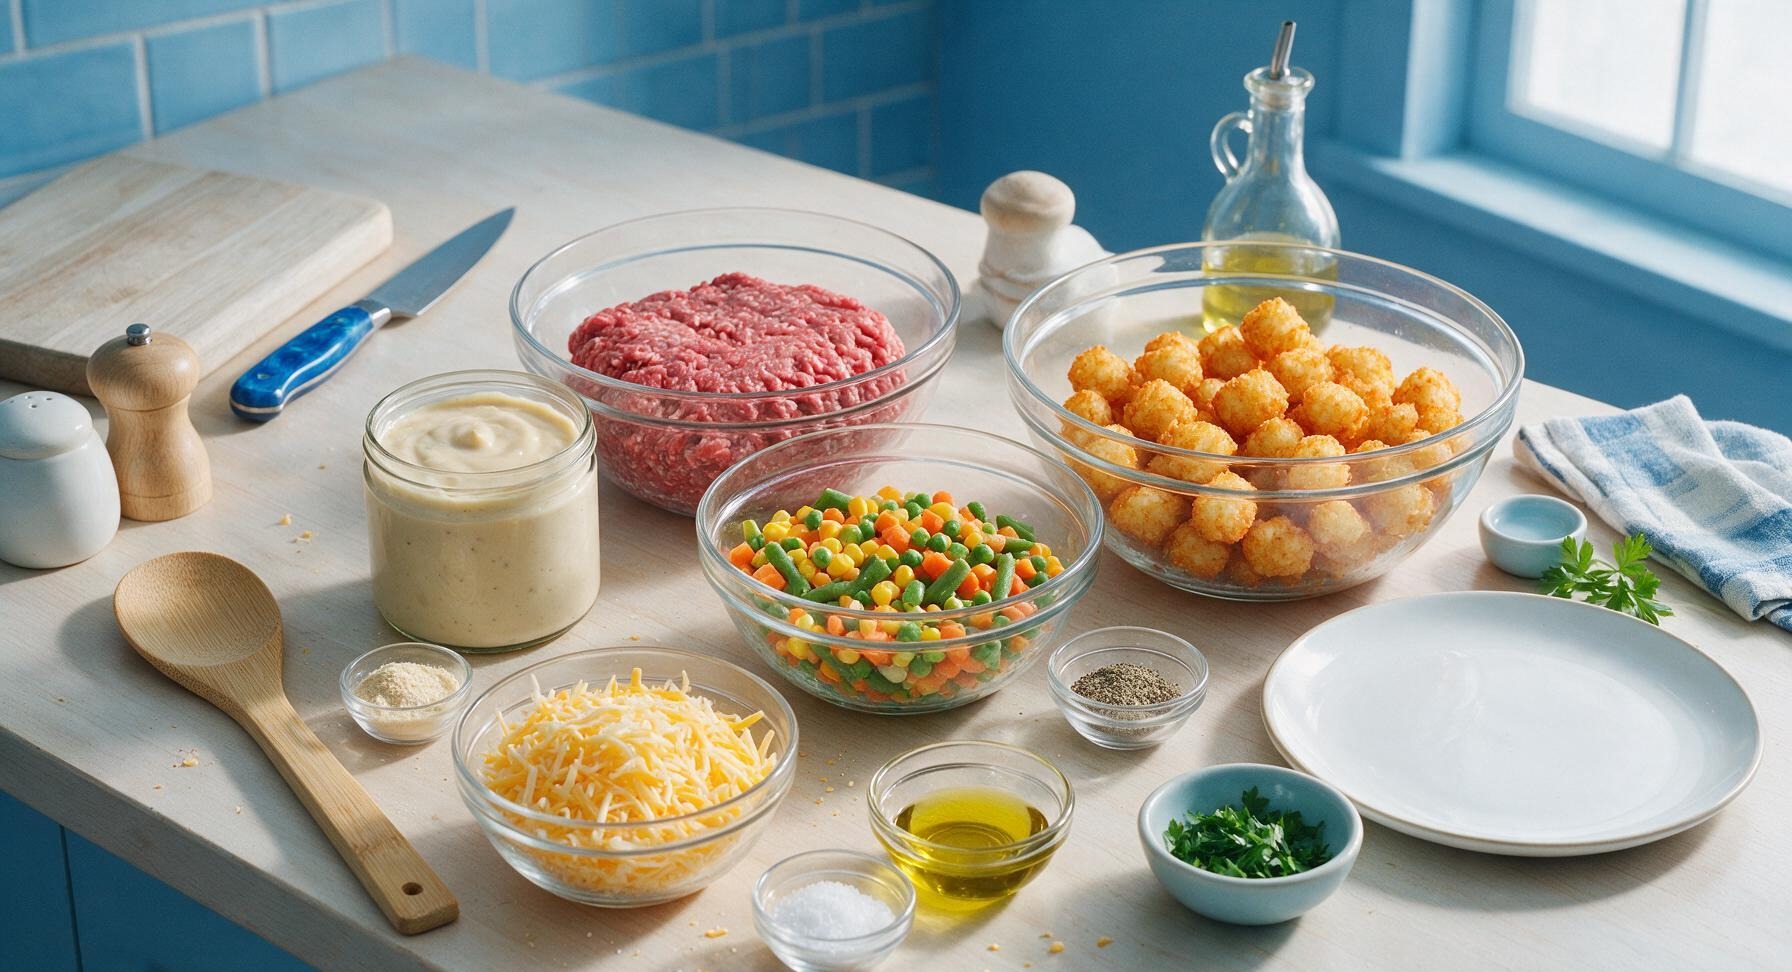
Ingredients
Steps
Preheat Oven and Prep Dish
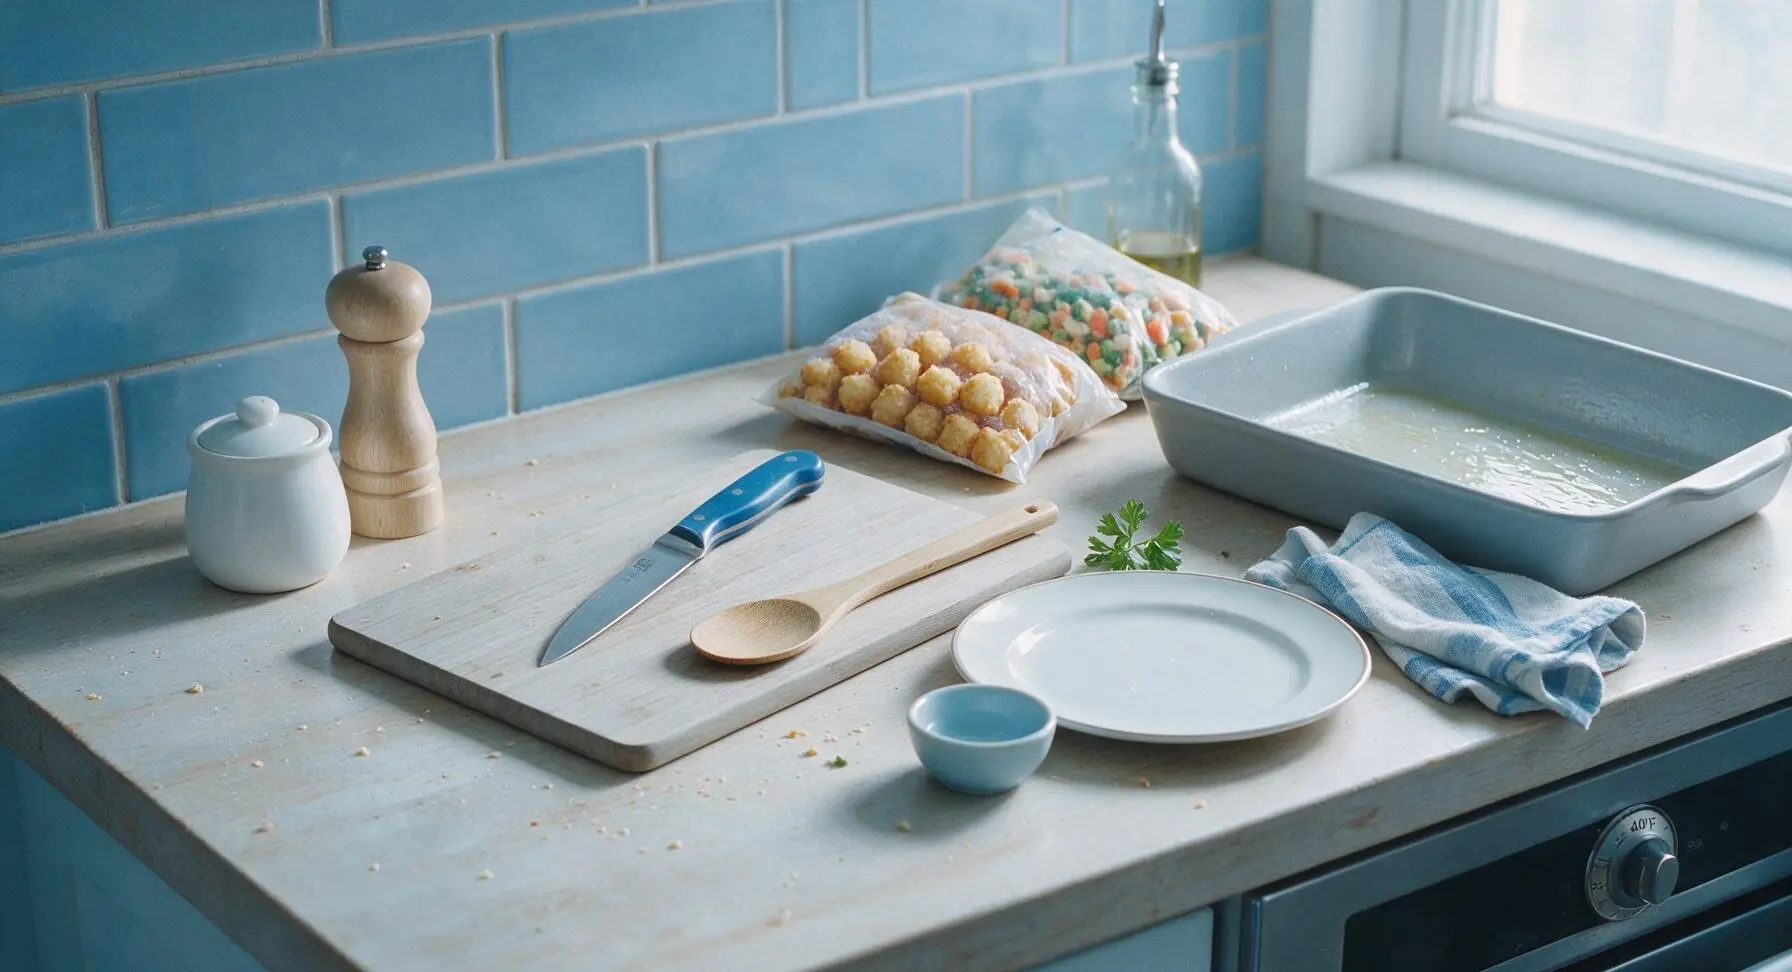
Adjust your oven rack to the middle position, then preheat the oven to 400°F (200°C). Use a paper towel to spread a thin, even layer of olive oil across the interior of the 9x13 inch matte light gray ceramic baking dish to prevent sticking, then set the dish on the right side of the counter within easy reach. Remove the frozen tater tots and mixed vegetables from the freezer to take the sharp edge off the chill while you cook the beef filling.
Brown the Ground Beef
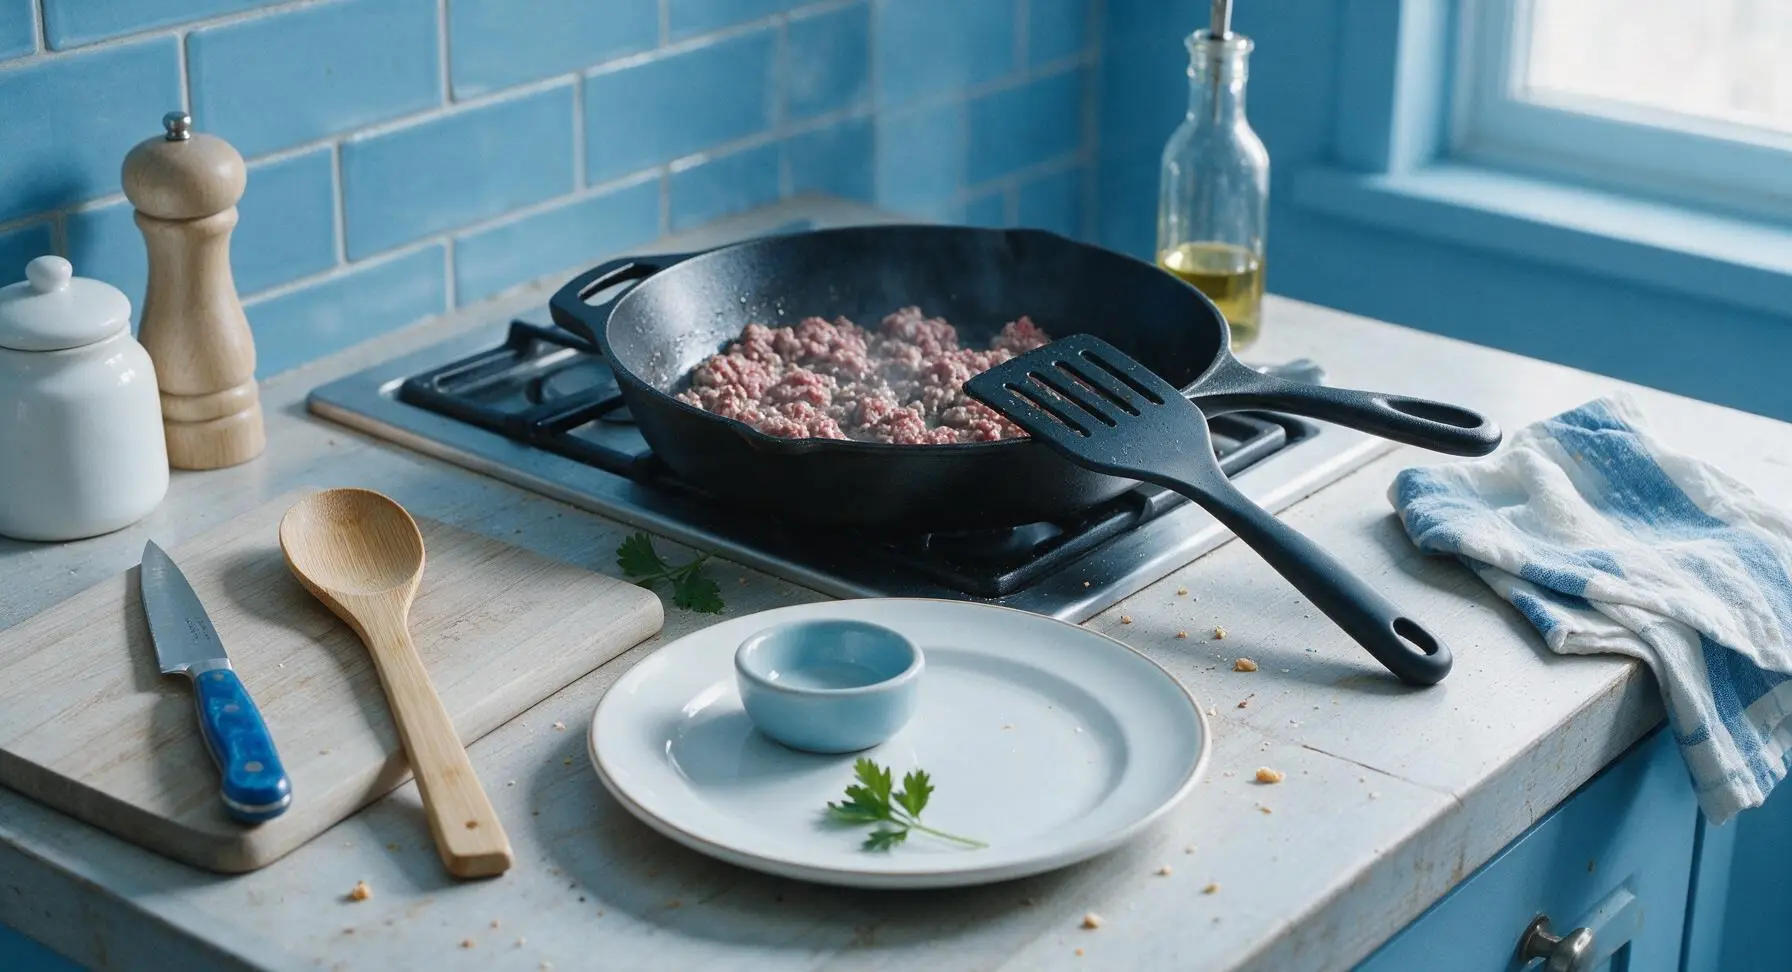
Place the 12-inch matte black carbon steel skillet on the rear stovetop over medium heat, add 1 tablespoon of olive oil, and heat until the oil shimmers. Add the full 1 pound of ground beef to the pan, breaking it into small, pea-sized crumbles with the slotted black silicone turner as it cooks. Cook for 6-7 minutes, stirring occasionally, until the beef is fully browned with no visible pink remaining, and small crispy browned bits form on the bottom of the pan. Carefully tilt the pan and drain off any excess rendered grease into a heatproof container to keep the casserole from being overly greasy.
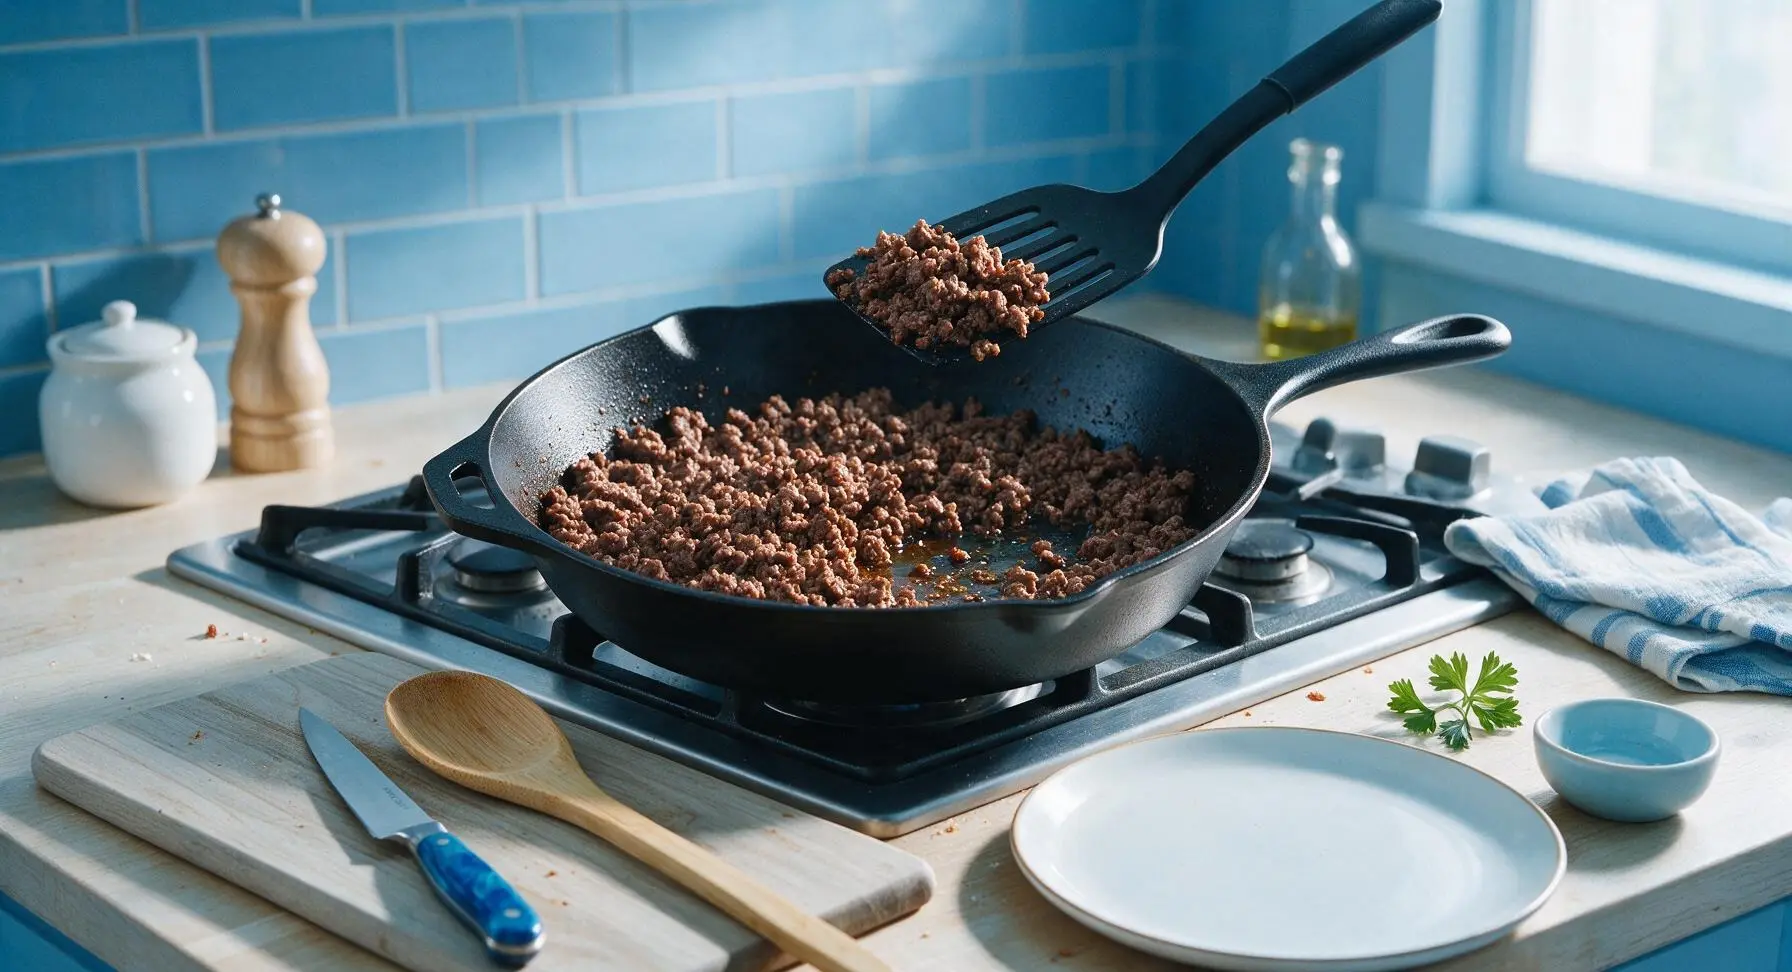
Mix Casserole Filling
Return the skillet with drained browned beef to medium-low heat. Add the 2 cups of partially thawed frozen mixed vegetables, full can of condensed cream of mushroom soup, 1 teaspoon garlic powder, 1/2 teaspoon onion powder, 1/2 teaspoon kosher salt, and 1/2 teaspoon ground black pepper to the pan. Stir continuously with the muted sage green silicone spatula for 2 minutes, until all ingredients are fully combined into a creamy, evenly mixed filling with no visible clumps of dry spice. Fold in 1 cup of the shredded sharp cheddar, stirring just until the cheese begins to melt into the warm filling.
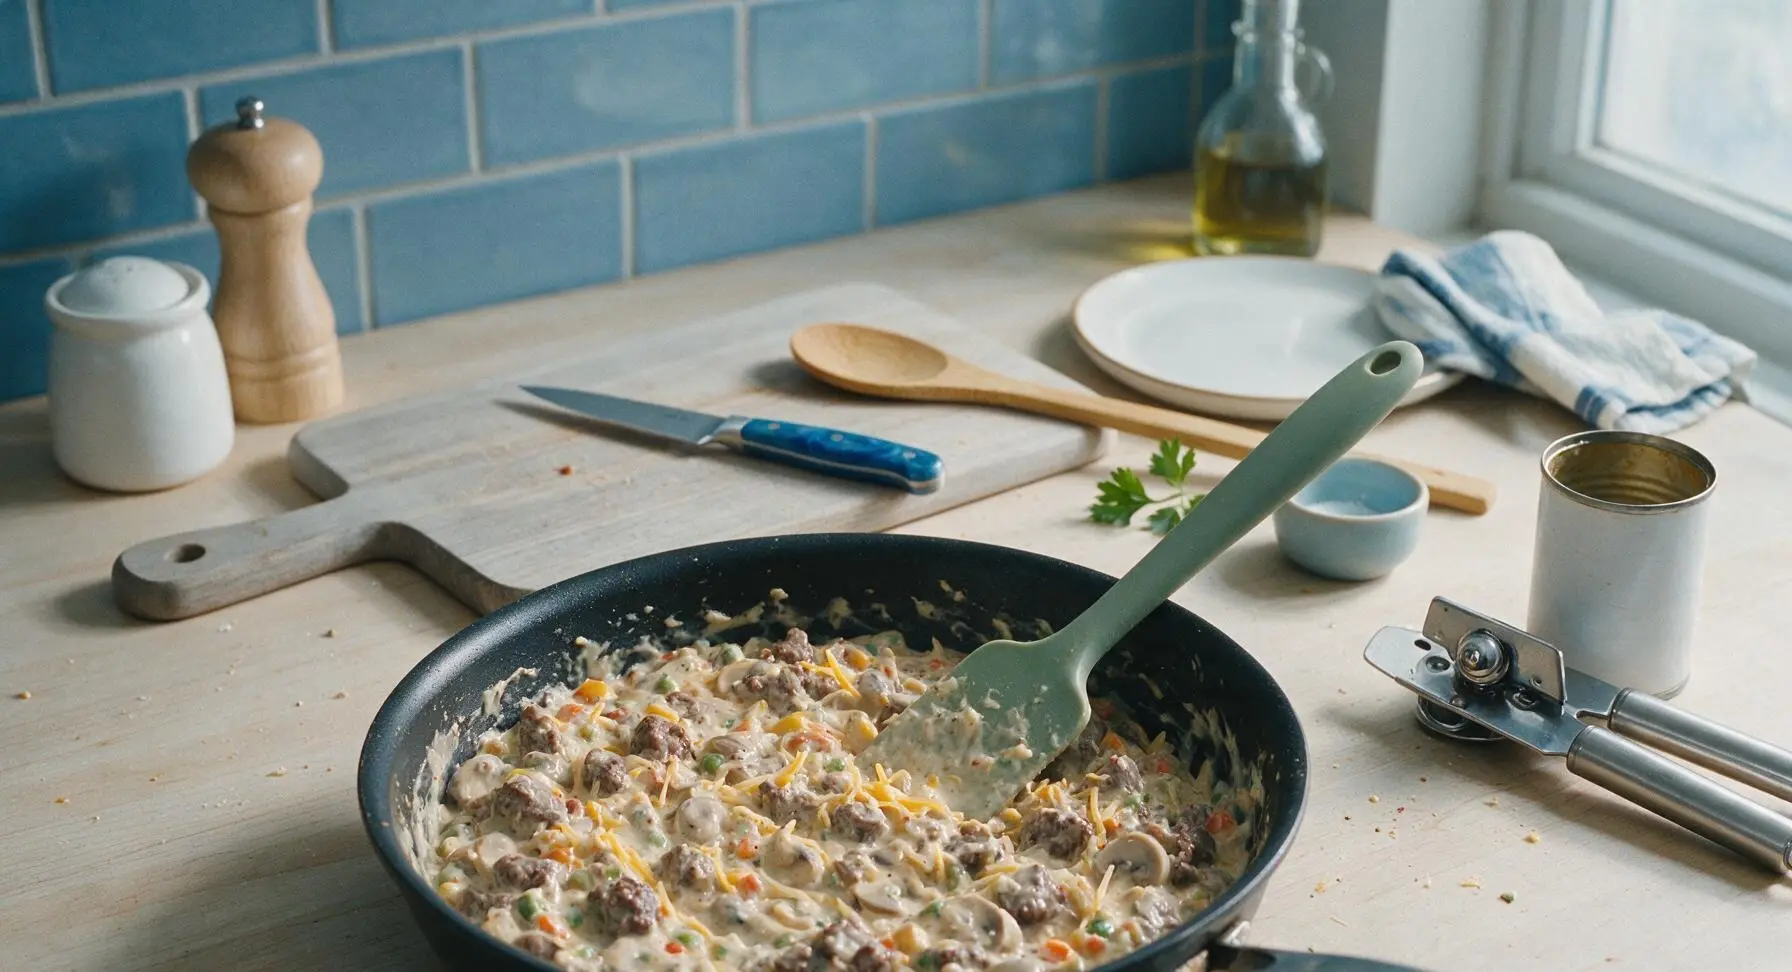
Layer Filling in Dish
Pour the entire beef, vegetable, and cheese filling mixture from the skillet into the pre-greased 9x13 inch ceramic baking dish. Use the sage green silicone spatula to spread the filling into a perfectly flat, even layer across the bottom of the dish, pressing gently to eliminate air pockets and ensure no thin spots, so the tater tot layer will sit evenly across the top.
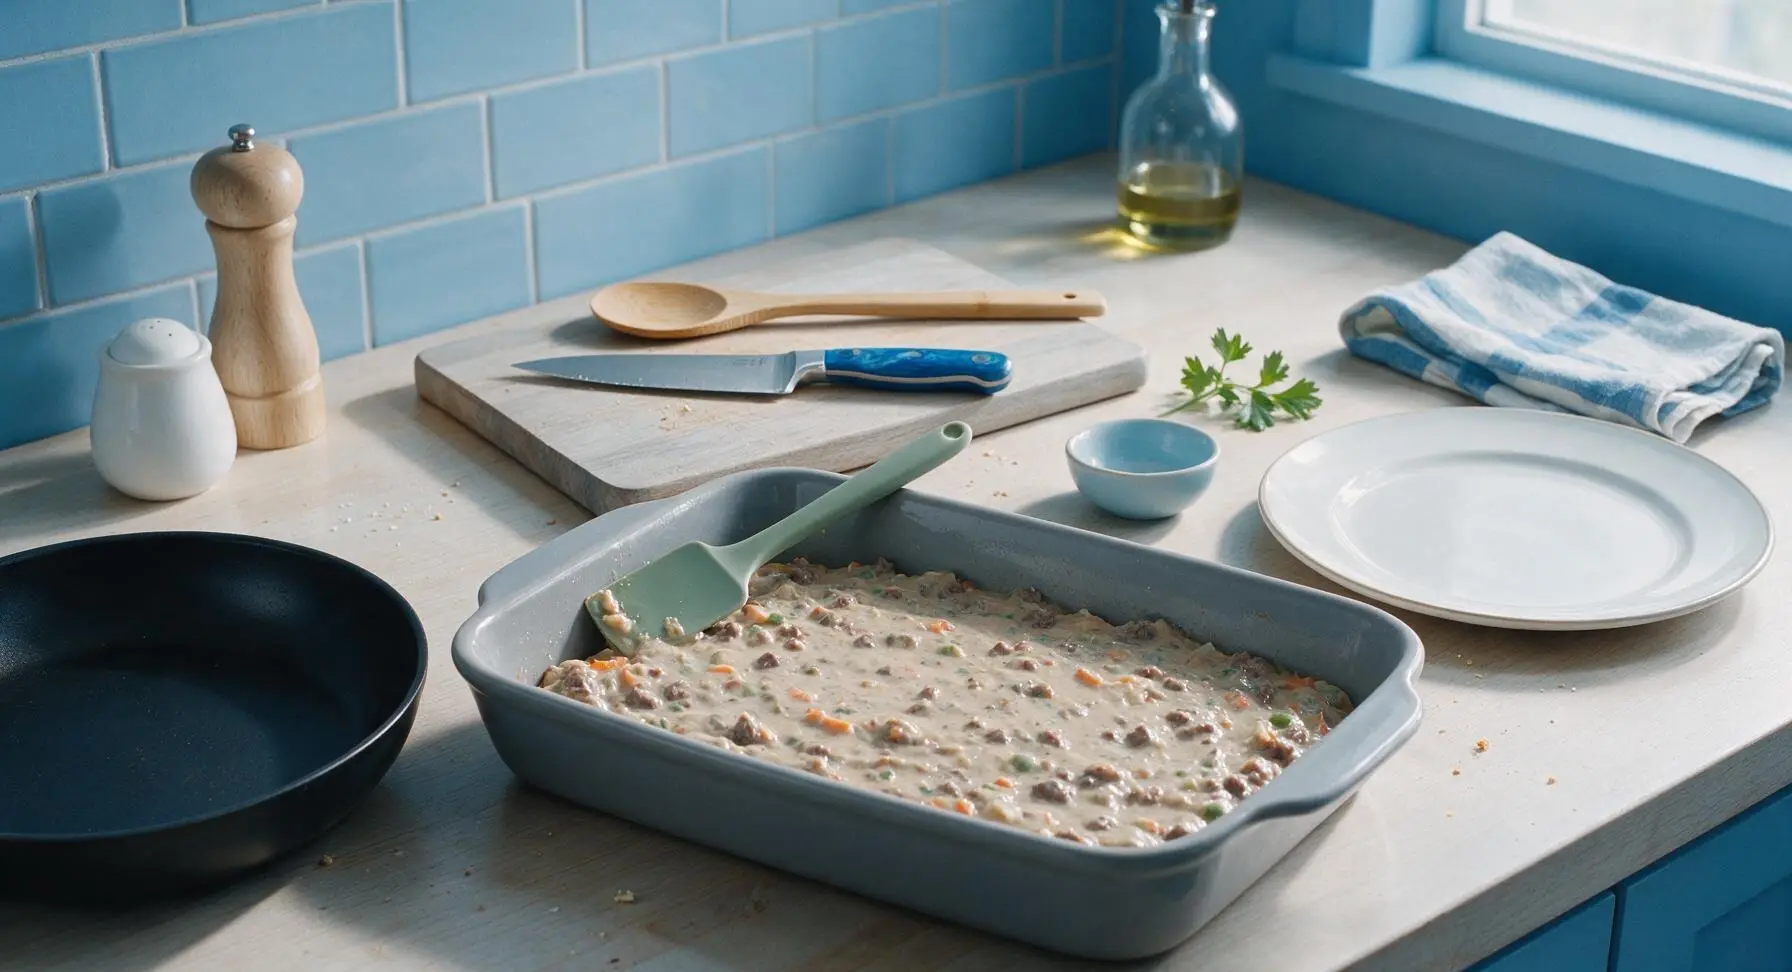
Top with Tater Tots
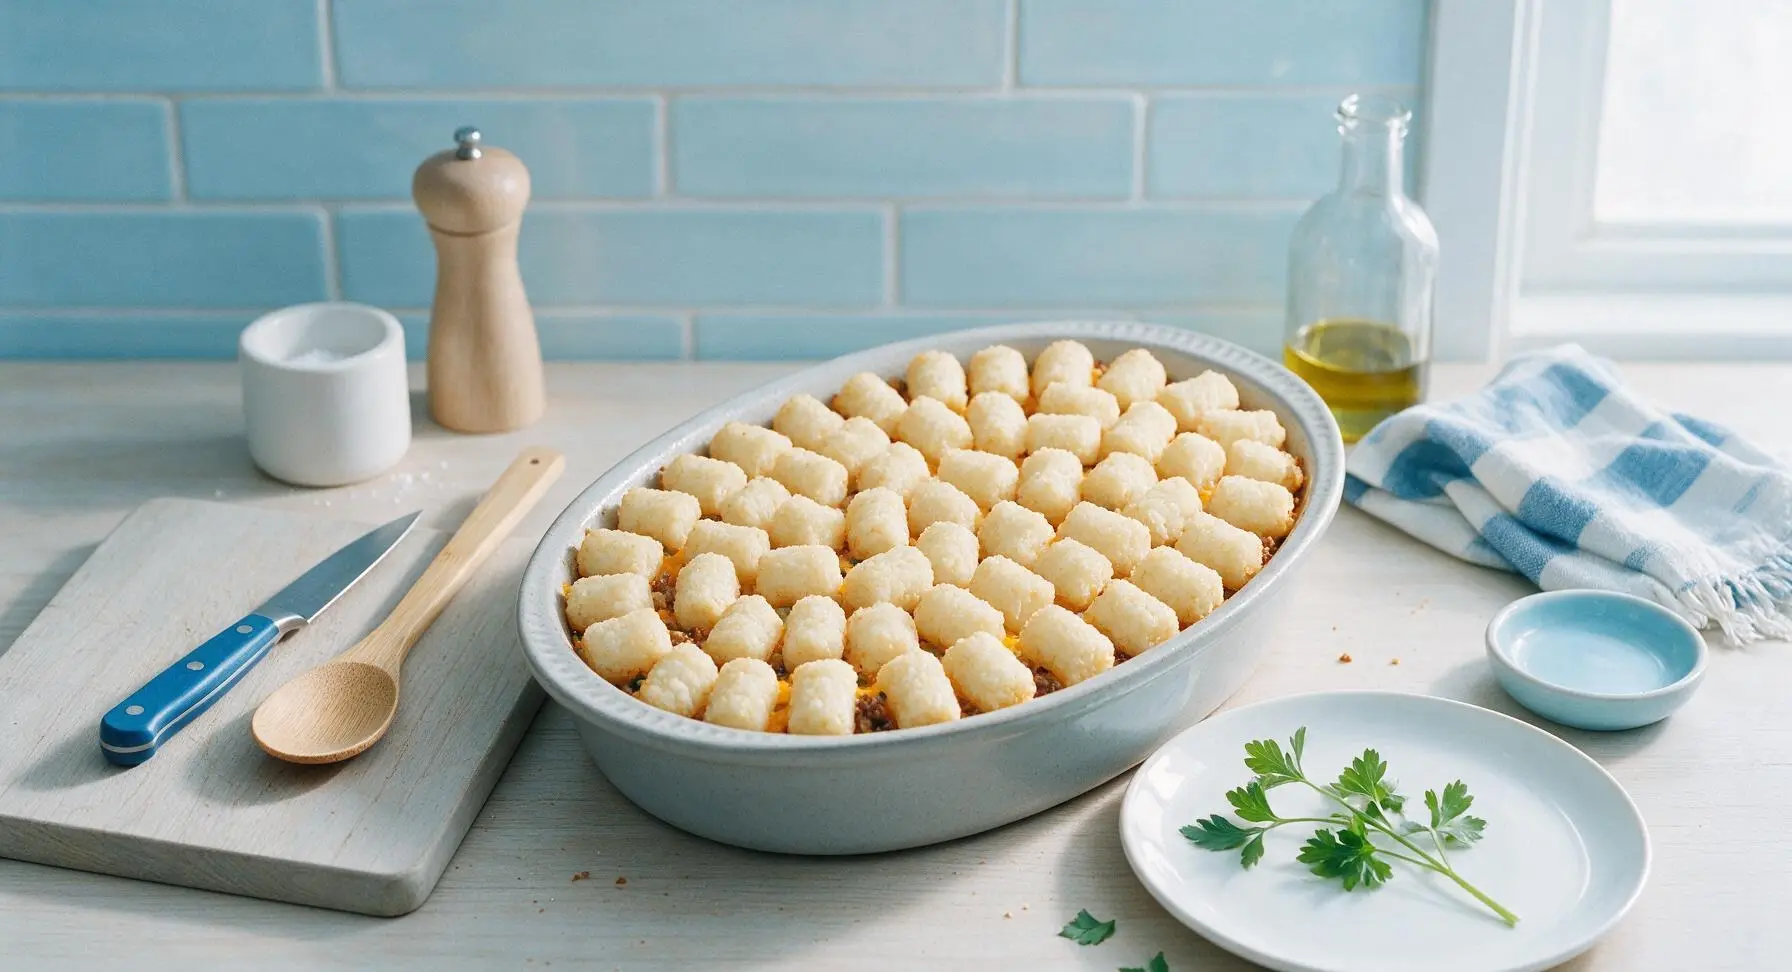
Arrange the frozen tater tots in a single, tight, even layer across the entire surface of the filling, placing each tot flat-side down to maximize crispiness. Do not press the tots down into the filling; leave them resting loosely on the surface so hot oven air can circulate around every tot, preventing sogginess as they bake.
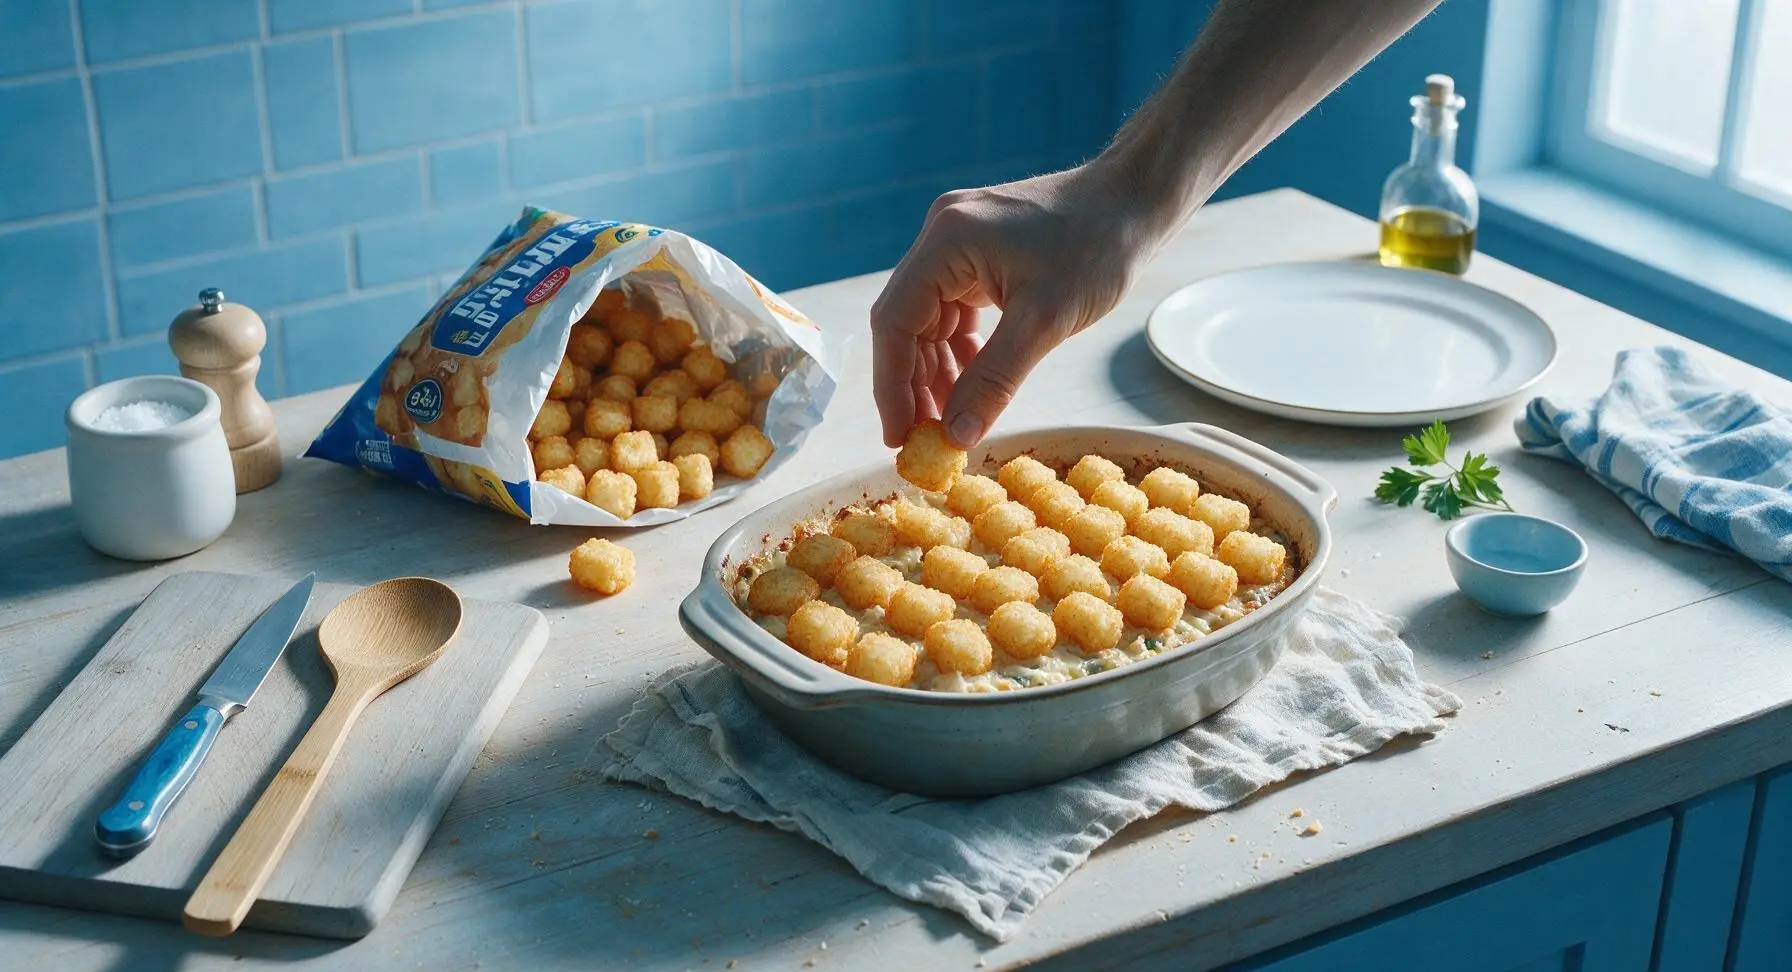
Bake Until Golden
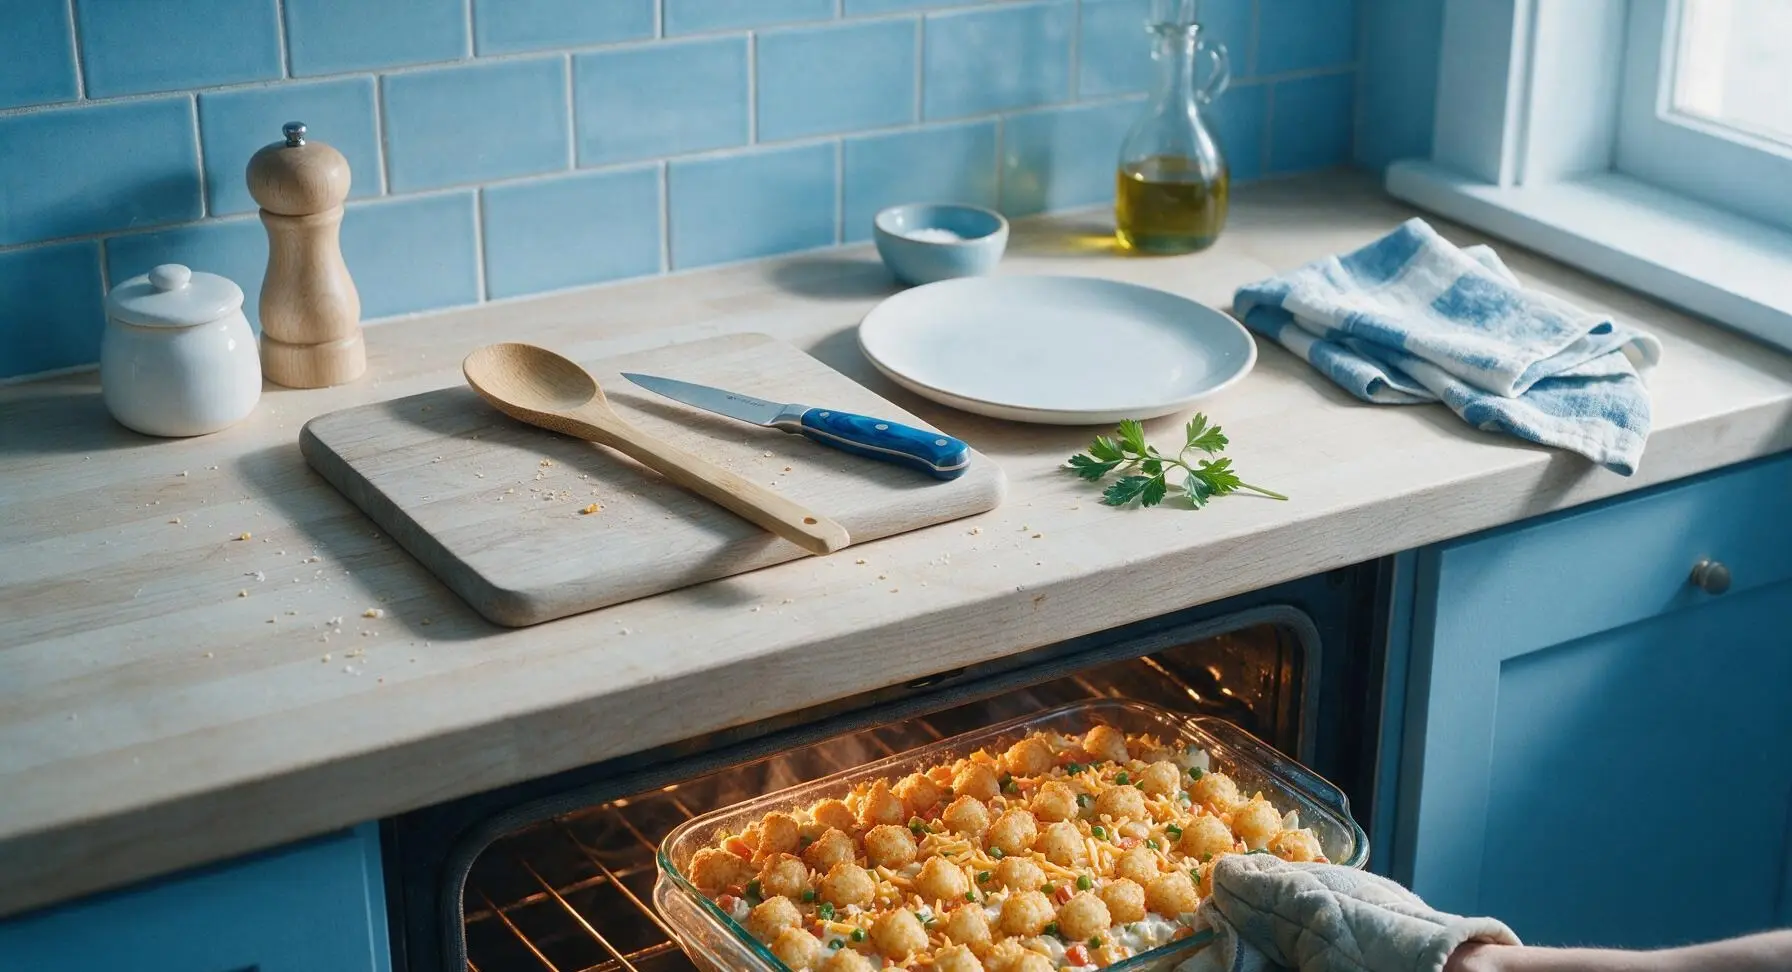
Carefully transfer the assembled baking dish to the middle rack of the preheated 400°F (200°C) oven. Bake uncovered for 30 minutes, until the tater tots are deep golden brown and crispy on their exposed surfaces, and the hot filling is bubbling gently around the edges of the dish.
Add Final Cheese Layer
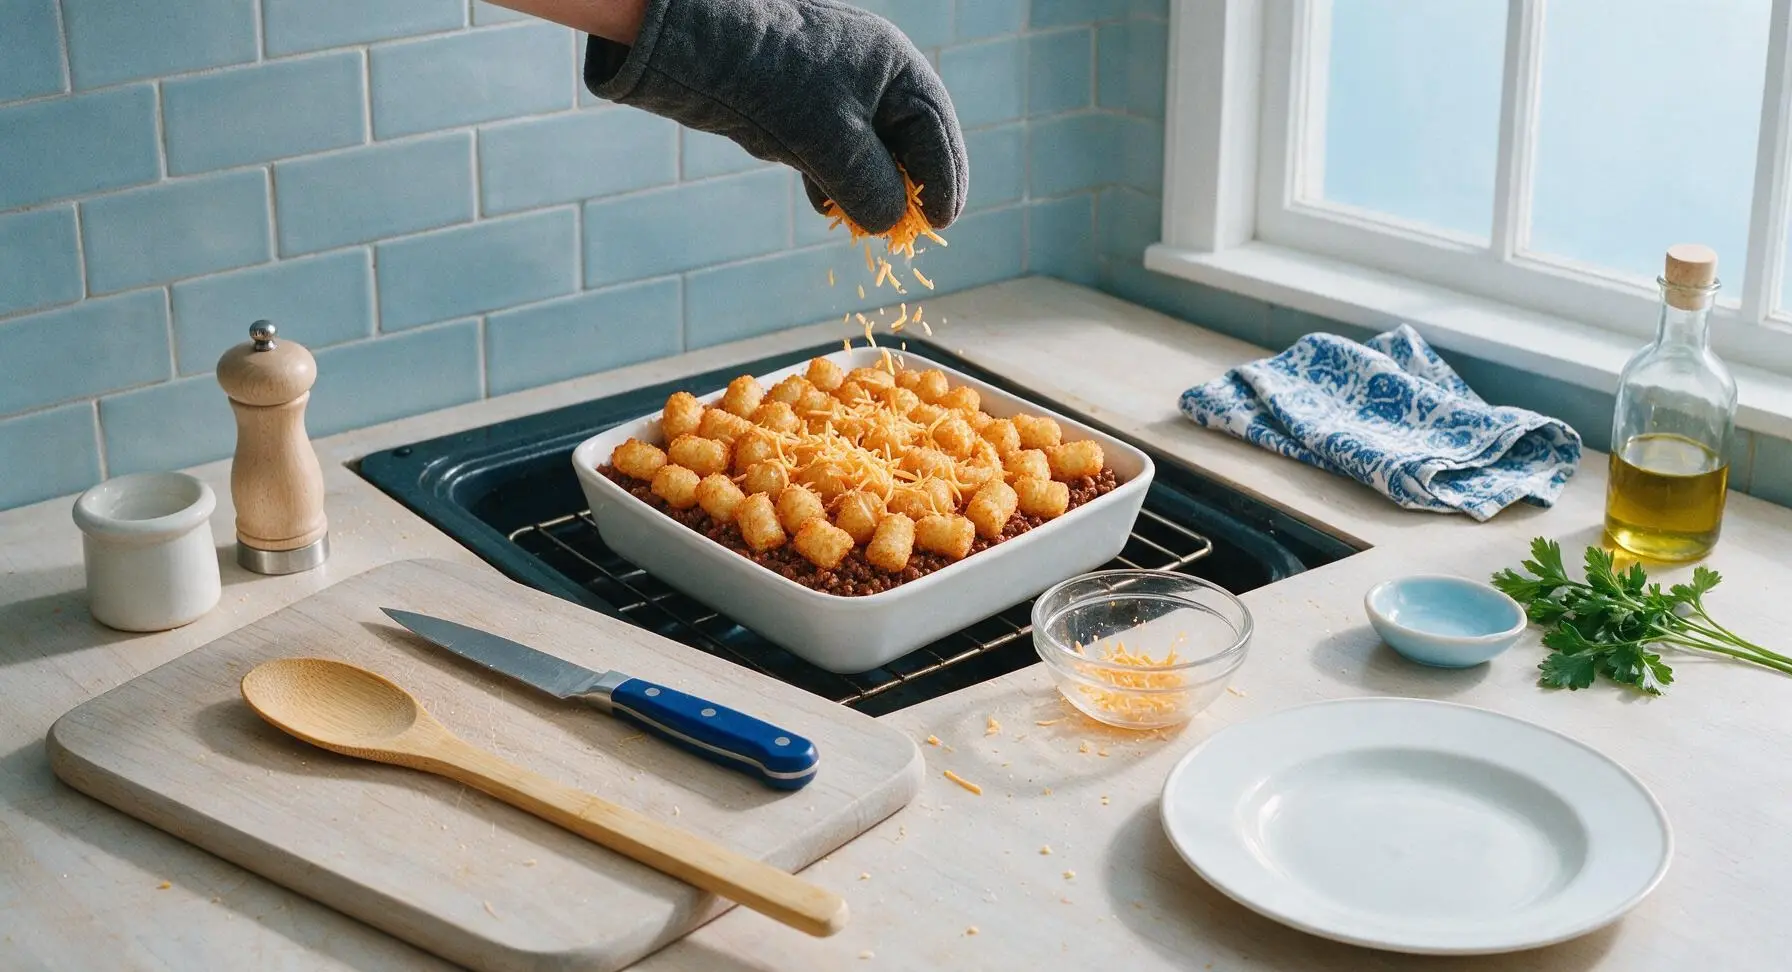
After 30 minutes of baking, carefully pull the oven rack out slightly (wear thick oven mitts to avoid steam burns) and sprinkle the remaining 1 cup of shredded sharp cheddar evenly across the top of the crispy tater tots. Push the rack back into place, close the oven, and bake for an additional 5 minutes, until the cheese is fully melted, bubbly, and just starting to turn golden in spots.
Rest and Garnish
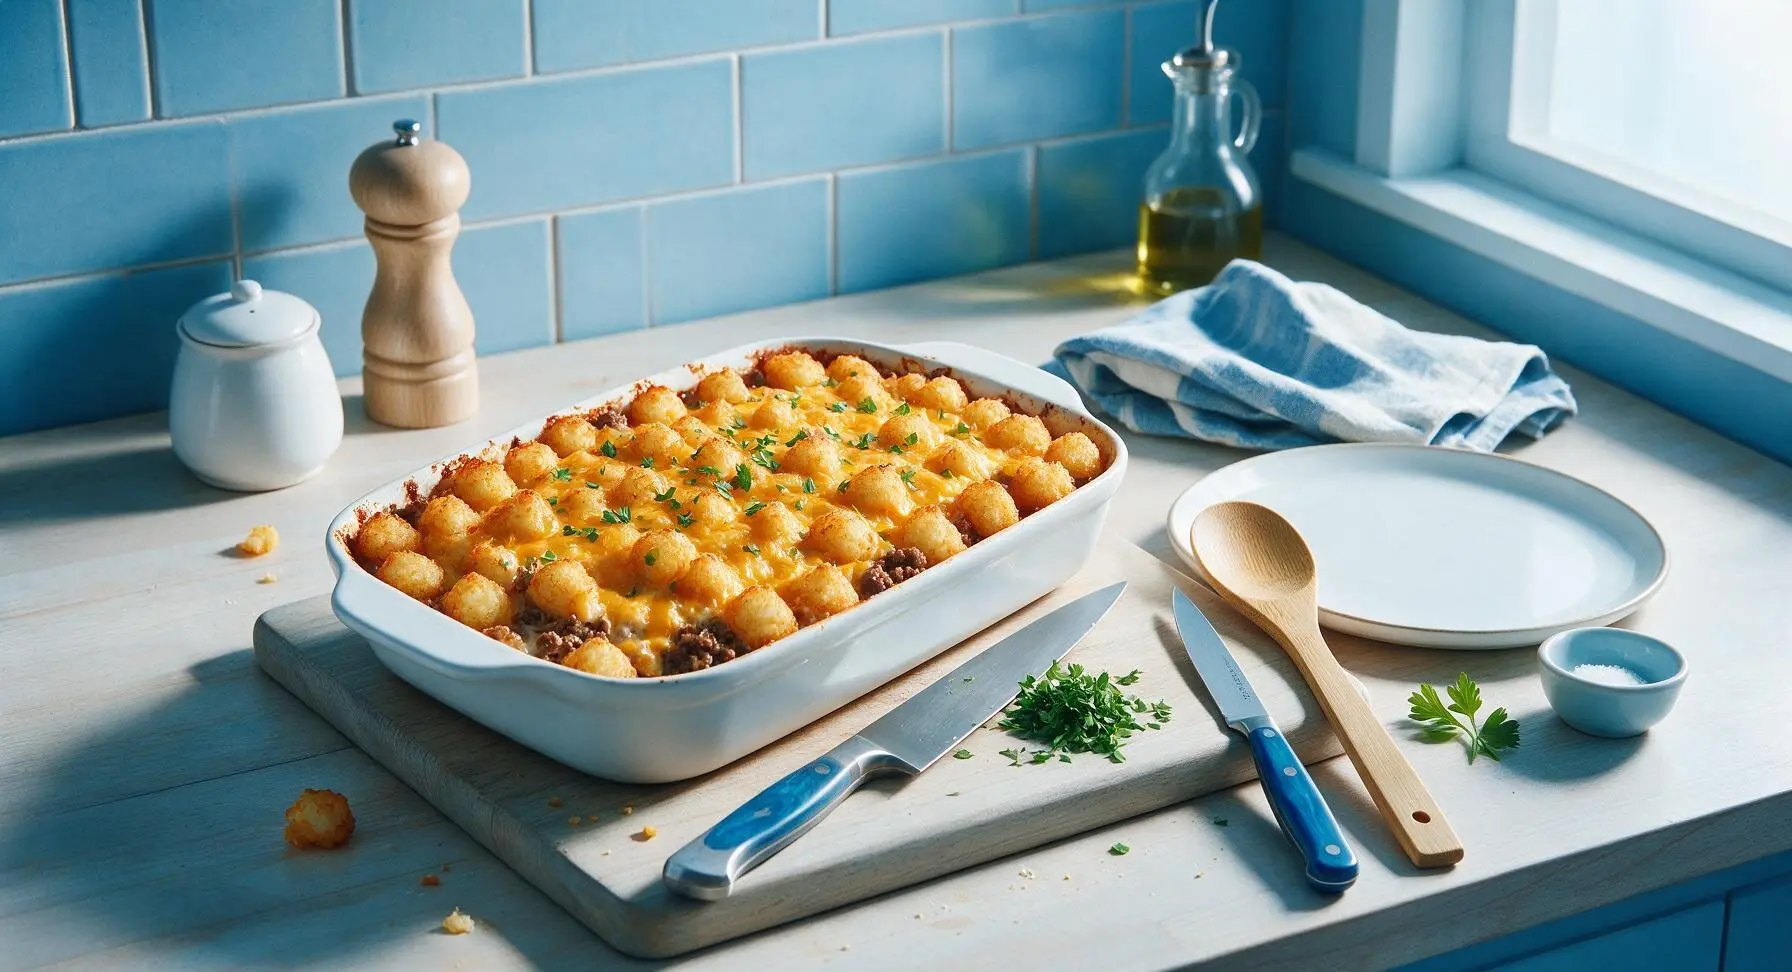
Remove the fully baked casserole from the oven, transfer it back to the quartz counter, and let it rest for 10 minutes before serving. This rest time allows the hot filling to set, so slices hold their clean shape instead of oozing when cut. Sprinkle the top of the casserole evenly with 2 tablespoons of freshly chopped flat-leaf parsley for a bright, fresh color contrast.
Tips
2.Keep tater tots fully frozen until you arrange them on the casserole: thawed tots absorb moisture from the filling and turn soft and soggy in the oven, while frozen tots develop a shatteringly crisp outer layer as they bake.
3.Skip the urge to press tater tots into the filling: leaving them sitting loosely on the surface lets hot oven air circulate around every side of the tots, ensuring even crispness instead of a soft, mushy layer where the tots meet the filling.






OMG this tater tot casserole is a total game changer for our weeknight family dinners! I threw it together after work last night in 10 minutes of prep, popped it in the oven, and my two picky toddlers ate SECONDS. The sharp cheddar adds such a perfect tang that cuts through the richness of the beef and tots. 10/10 will be making this every other week for meal prep too!
I brought this to our neighborhood block party potluck this past weekend and people were lined up for seconds! The pan was completely scraped clean before I even got a chance to grab a second helping myself. Only note is I added a can of cream of mushroom like my grandma used to, but the original recipe is perfect as written too.
Super easy to make in my tiny dorm oven! I used frozen ground beef I had stashed in my mini fridge, pre-shredded cheddar, and the cheapest bag of tater tots the grocery store had, and it still came out SO good. Perfect cheap meal that feeds me for 3 days straight. No fancy skills required at all.
Wait, does anyone know if this works with gluten free cream of something soup? My husband has celiac so I have to swap out a lot of canned soups, but this looks too good to pass up for our Sunday dinner!
Made this on Sunday for my weekly meal prep and it held up perfectly all week in the fridge! The tater tots didn’t get soggy at all even after reheating in the microwave at work. I added a little sprinkle of paprika on top before baking for a tiny kick, highly recommend.
As someone who burns toast 50% of the time, I was shocked how easy this was to pull off! I followed the directions exactly and it came out perfectly golden brown on top, the cheese was all melty, my roommate thought I ordered takeout lmao. Will definitely be making this again.
This is exactly the tater tot casserole I grew up eating in the Midwest! I was worried no recipe would live up to my mom’s, but this is spot on. The sharp cheddar is key—so many recipes use mild cheddar and it just tastes bland. Perfect comfort food for a cold rainy day.
Made this for my kid’s birthday dinner per their request (they saw me scrolling recipes on my phone) and it was a massive hit. I mixed in a cup of frozen corn with the ground beef to add a little veggie, and nobody even complained about eating vegetables. Win win.
Total budget friendly win! I calculated the whole thing cost me less than $12 to make, and it feeds 6 people. Way cheaper than ordering takeout for the family, and everyone likes it. I used ground turkey instead of beef because that’s what I had on hand, and it still tasted amazing.
Made this for our guys’ game night last weekend and it was gone in 15 minutes. Served it with a side of hot sauce for dipping and it was perfect finger food (don’t judge, we ate it straight out of the pan with paper plates). So easy to throw together while we were waiting for the tournament to start.
Wait, how much cheese is too much cheese? Asking for a friend who dumped an extra half bag of sharp cheddar on top before baking… no regrets though, it was so cheesy and crispy on the edges, exactly what I wanted. This recipe is so forgiving, love that you don’t have to measure perfectly for it to turn out great.