
tater tot egg
intro
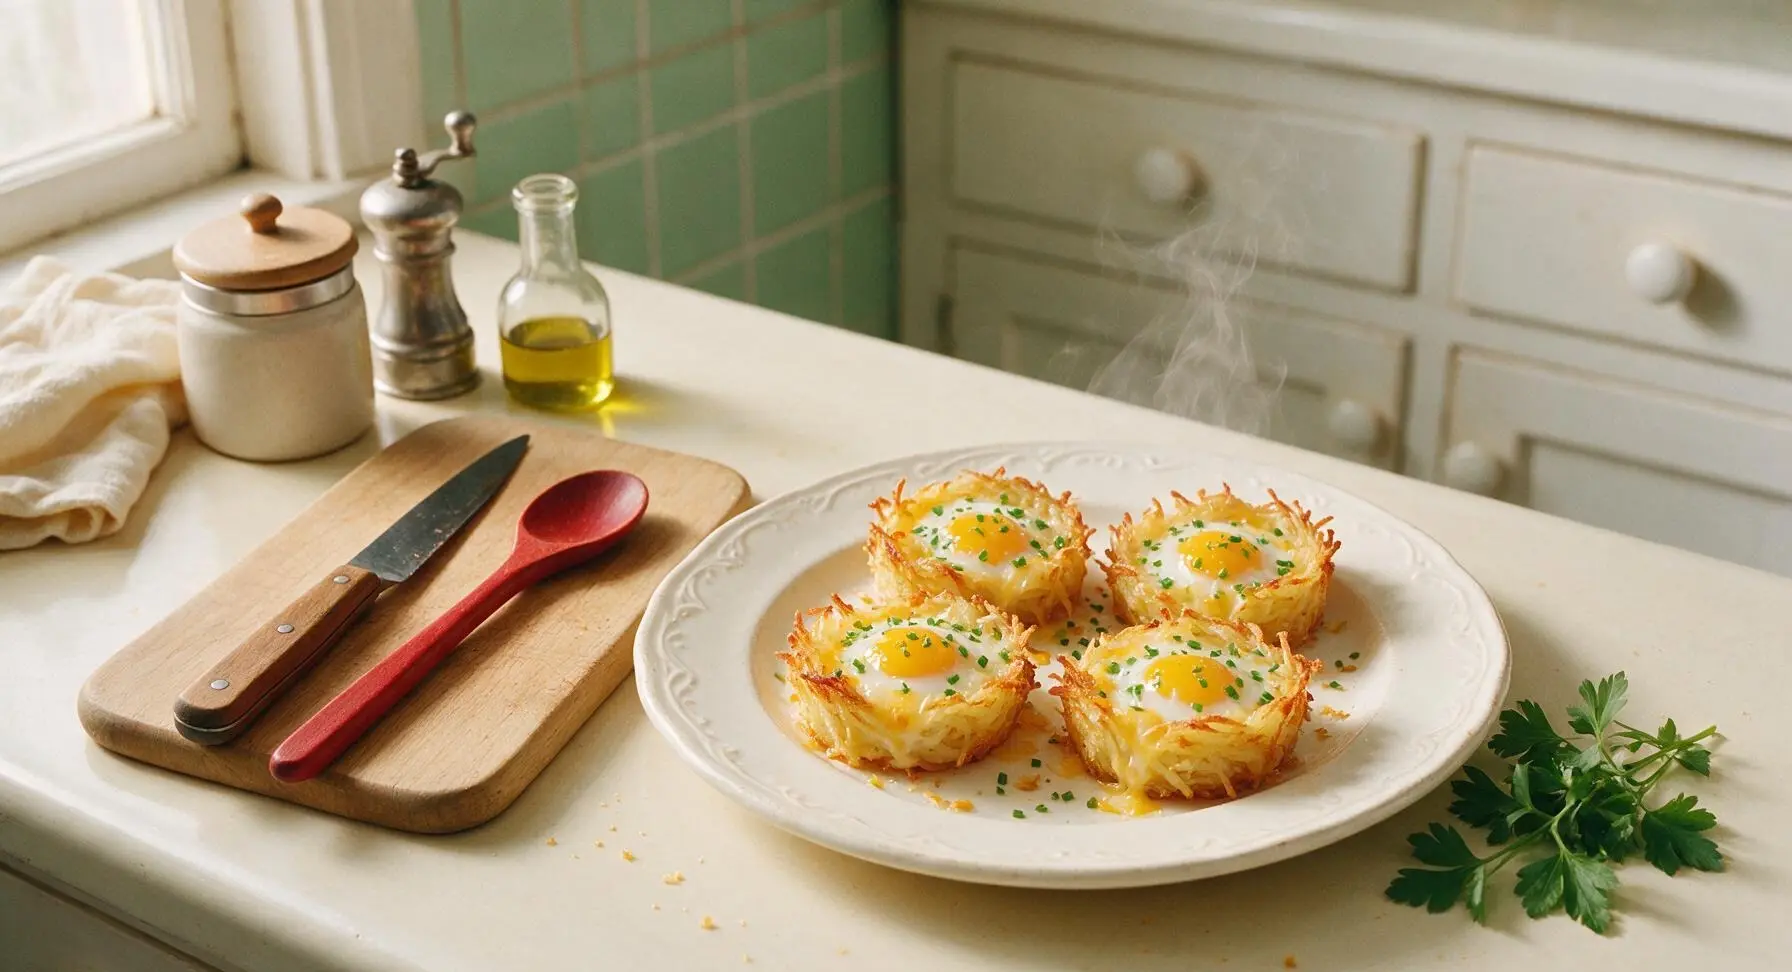
Crispy golden potato tater tot nests baked with runny eggs and melted cheddar, garnished with bright chives. A cozy, minimal-cleanup comfort meal ready in under 40 minutes.
Ingredients
Steps
Prep Muffin Tin
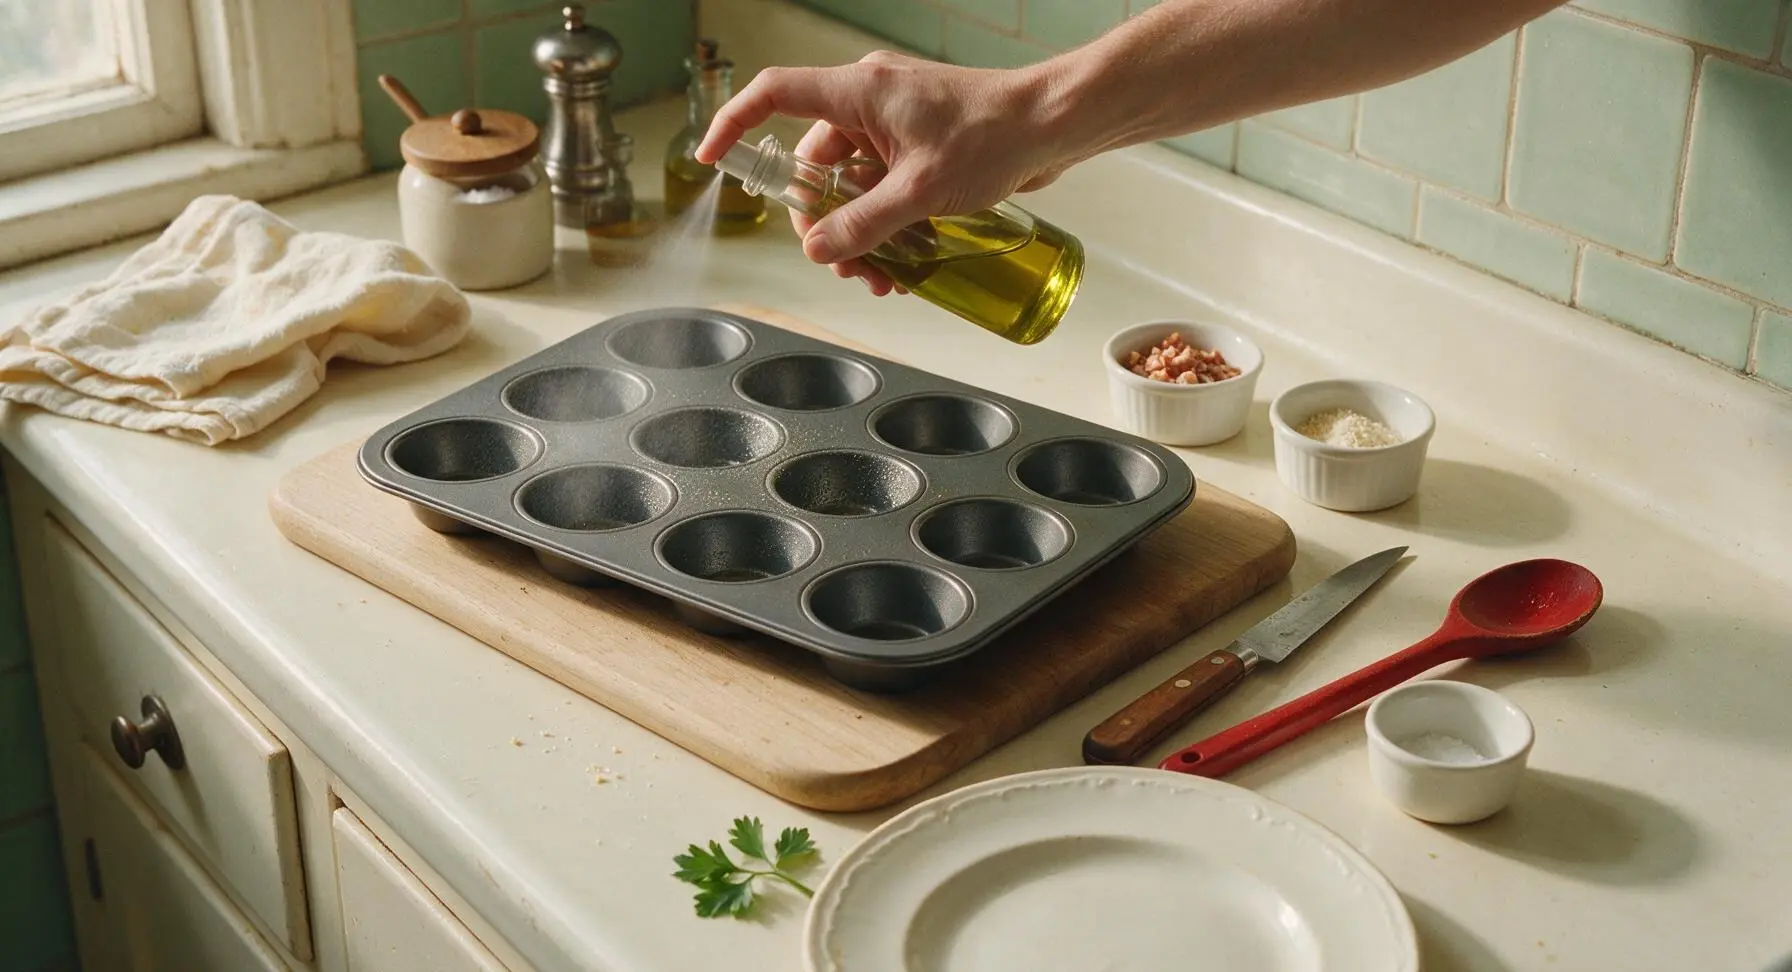
Preheat your oven to 425°F (220°C). Retrieve the matte dark gray nonstick muffin tin from its rear counter storage spot and place it centered on the bamboo cutting board. Lightly coat 8 of the 12 muffin cups with olive oil cooking spray, leaving the 4 unused cups completely dry. The thin oil layer will prevent the crispy potato edges from sticking to the tin as they bake. Do not use paper liners, as they will trap moisture and make the tater tot crust soggy.
Par-Bake Tater Tots
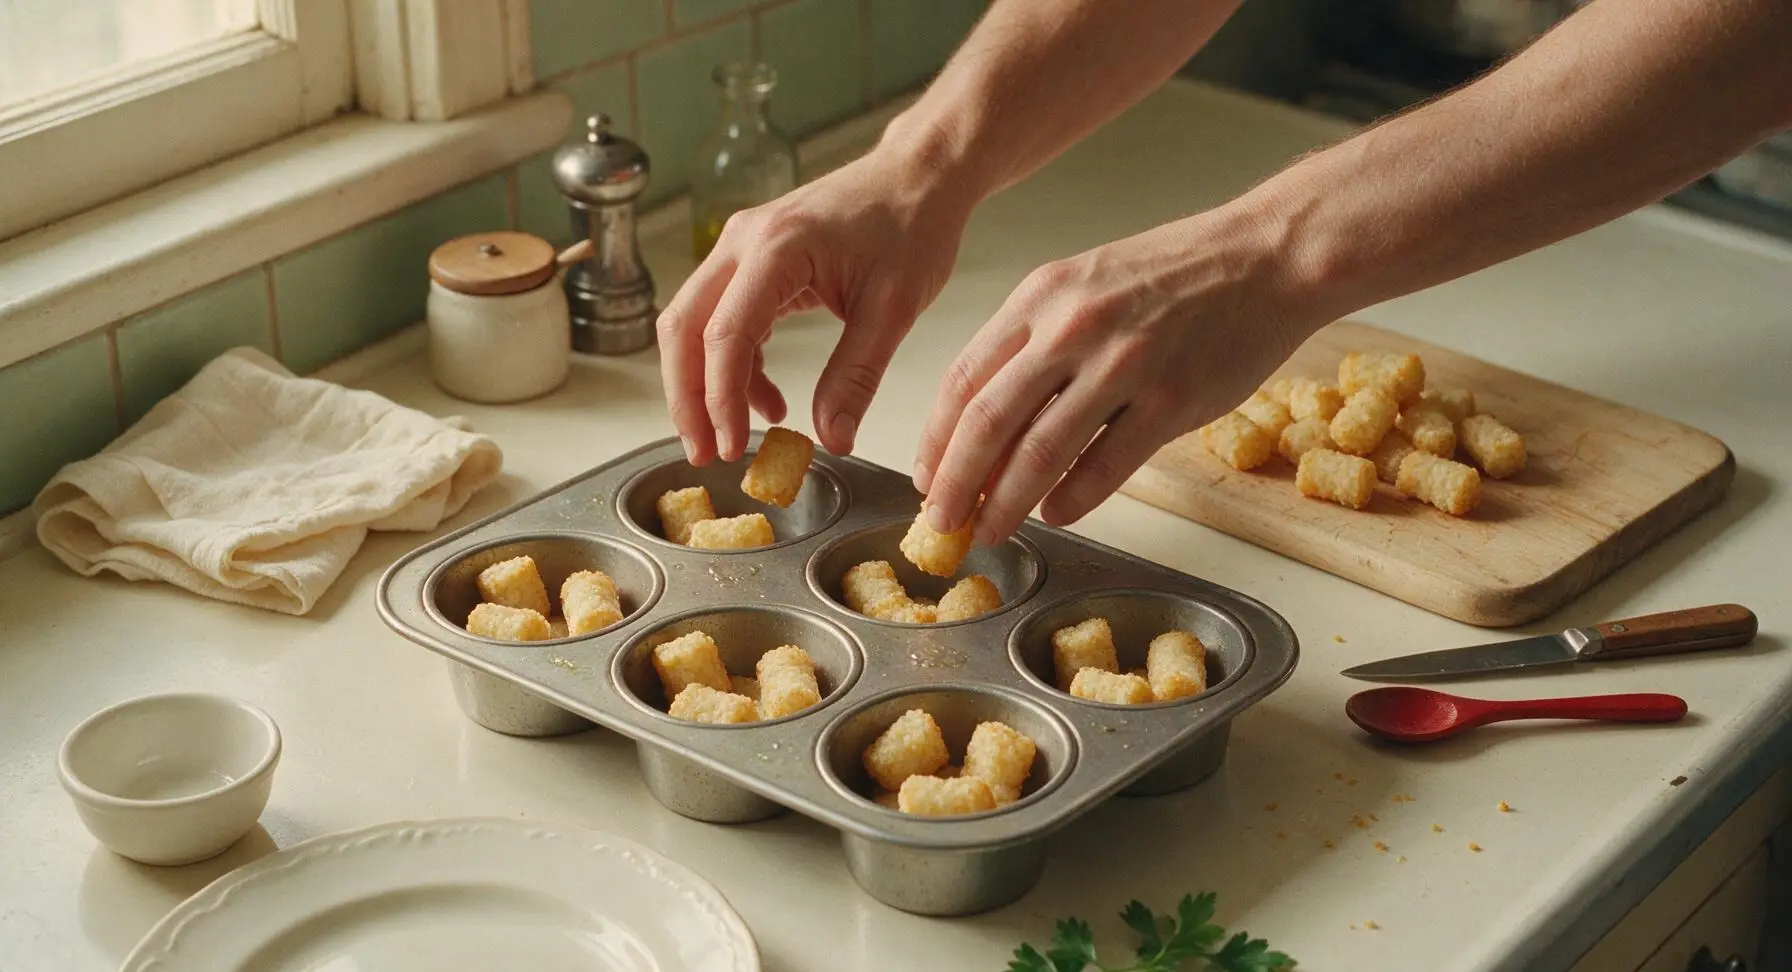
Place 4 frozen tater tots into each of the 8 greased muffin cups, arranging them in a loose ring around the cup edge. Do not thaw the tots first—frozen tots will develop a crispier outer layer as they bake, while pre-thawed tots will release excess moisture and turn mushy. Slide the tin into the preheated oven and bake for 10 minutes, until the tots are pale golden at the edges and soft enough to press without crumbling.
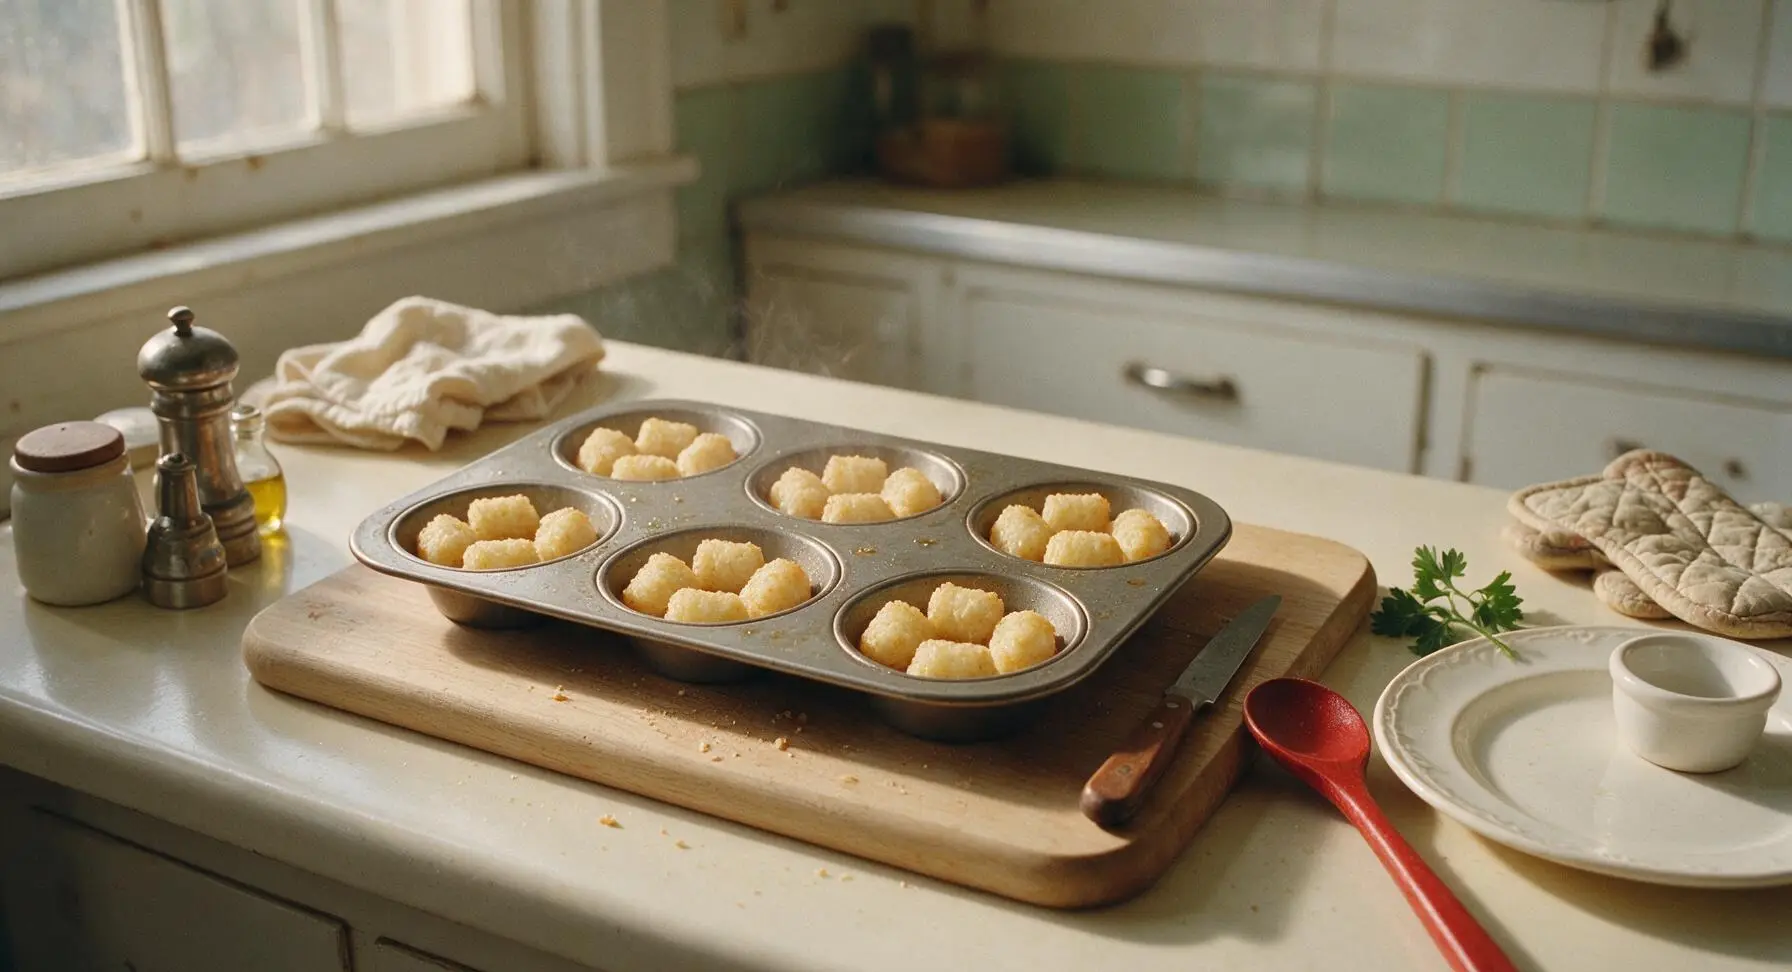
Press Tots into Nests
Let the par-baked tots cool for 1 minute, until they are cool enough to touch without burning your fingers. Use the flat bottom of the stainless steel 1-tablespoon measuring scoop to press the softened tots firmly up the sides and across the bottom of each muffin cup, forming a ½-inch deep hollow nest shape. Press firmly to seal any gaps in the potato layer, as gaps will cause raw egg to leak through and stick to the tin during baking.
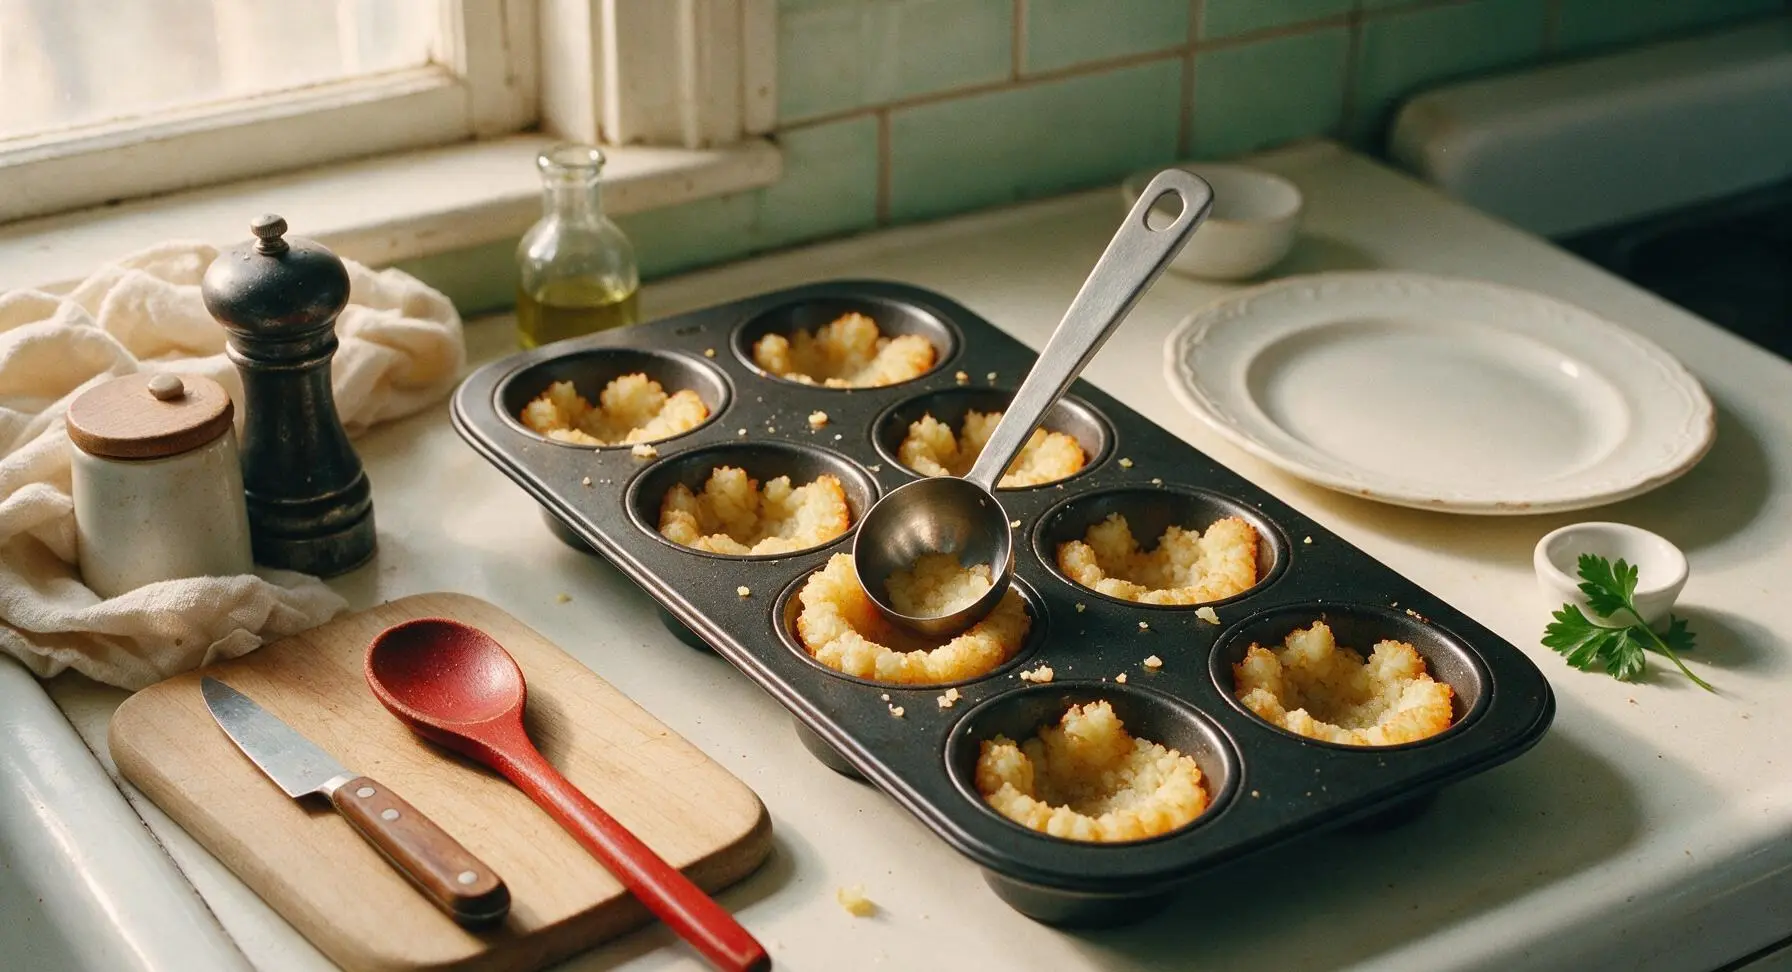
Add Cheese Layer
Sprinkle 1 tablespoon of shredded sharp cheddar cheese into the bottom of each tater tot nest, dividing the ½ cup total evenly across all 8 cups. The cheese will melt into a waterproof barrier as it bakes, preventing raw egg from soaking into the potato layer and keeping the tater tot crust extra crispy. Reserve 1 tablespoon of cheese to sprinkle over the egg tops if desired.
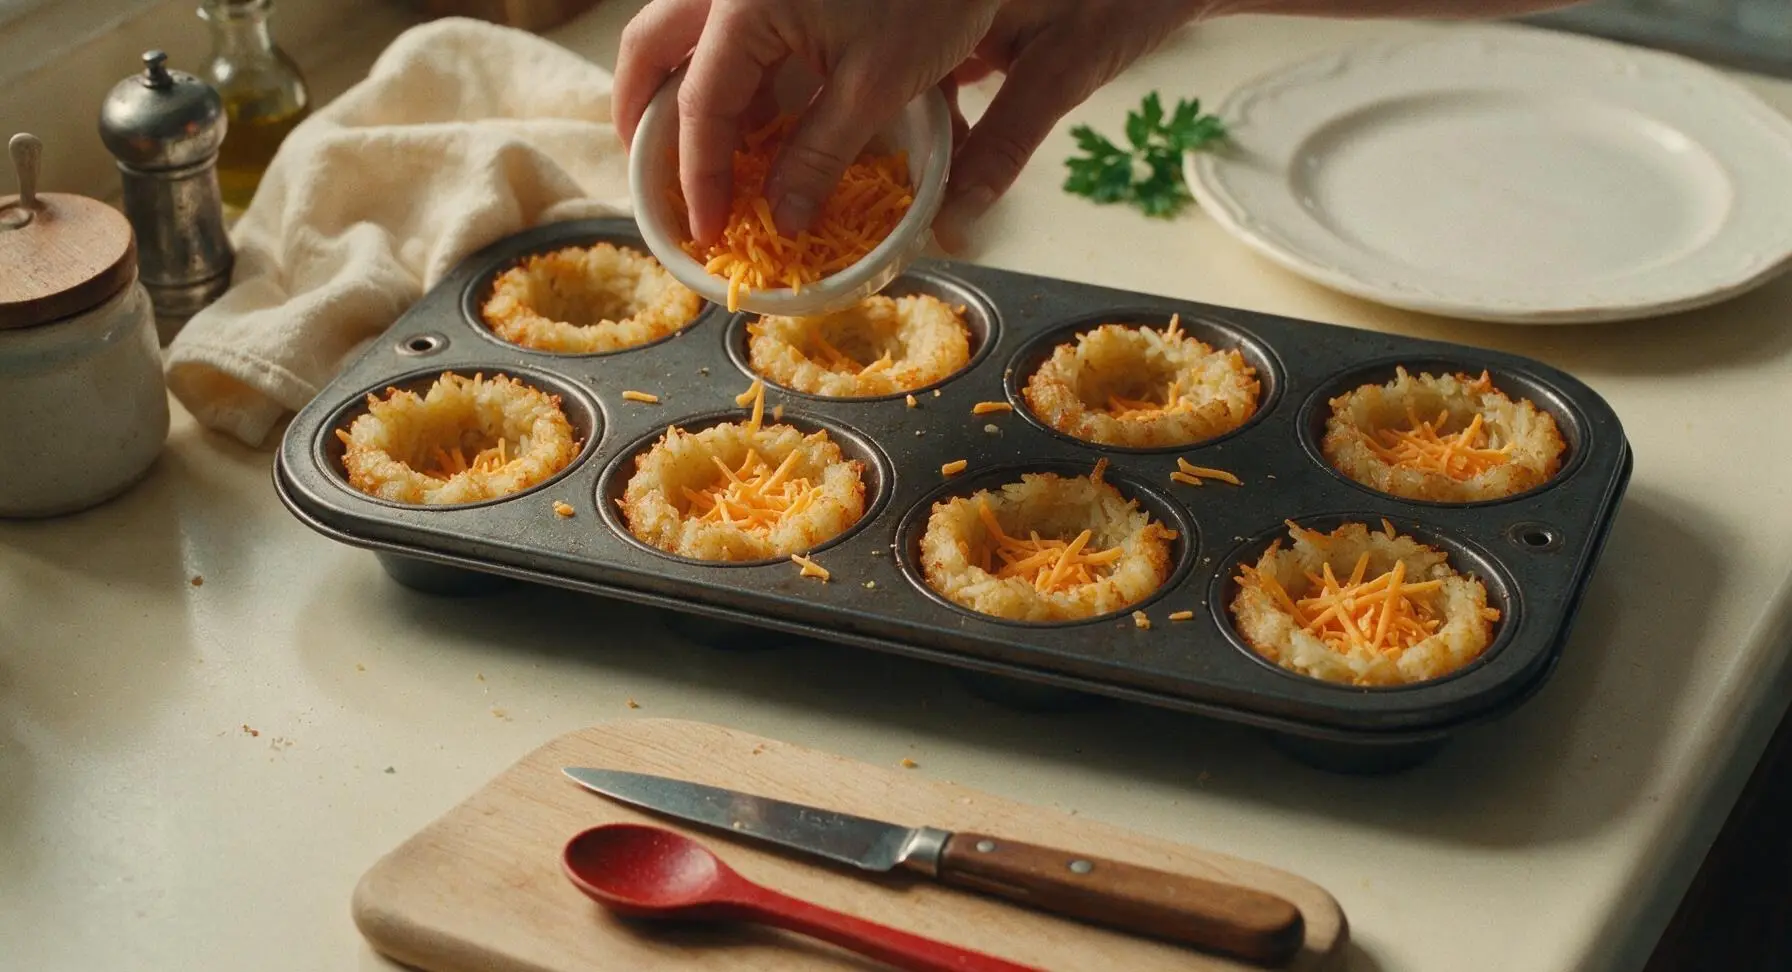
Crack Eggs into Nests
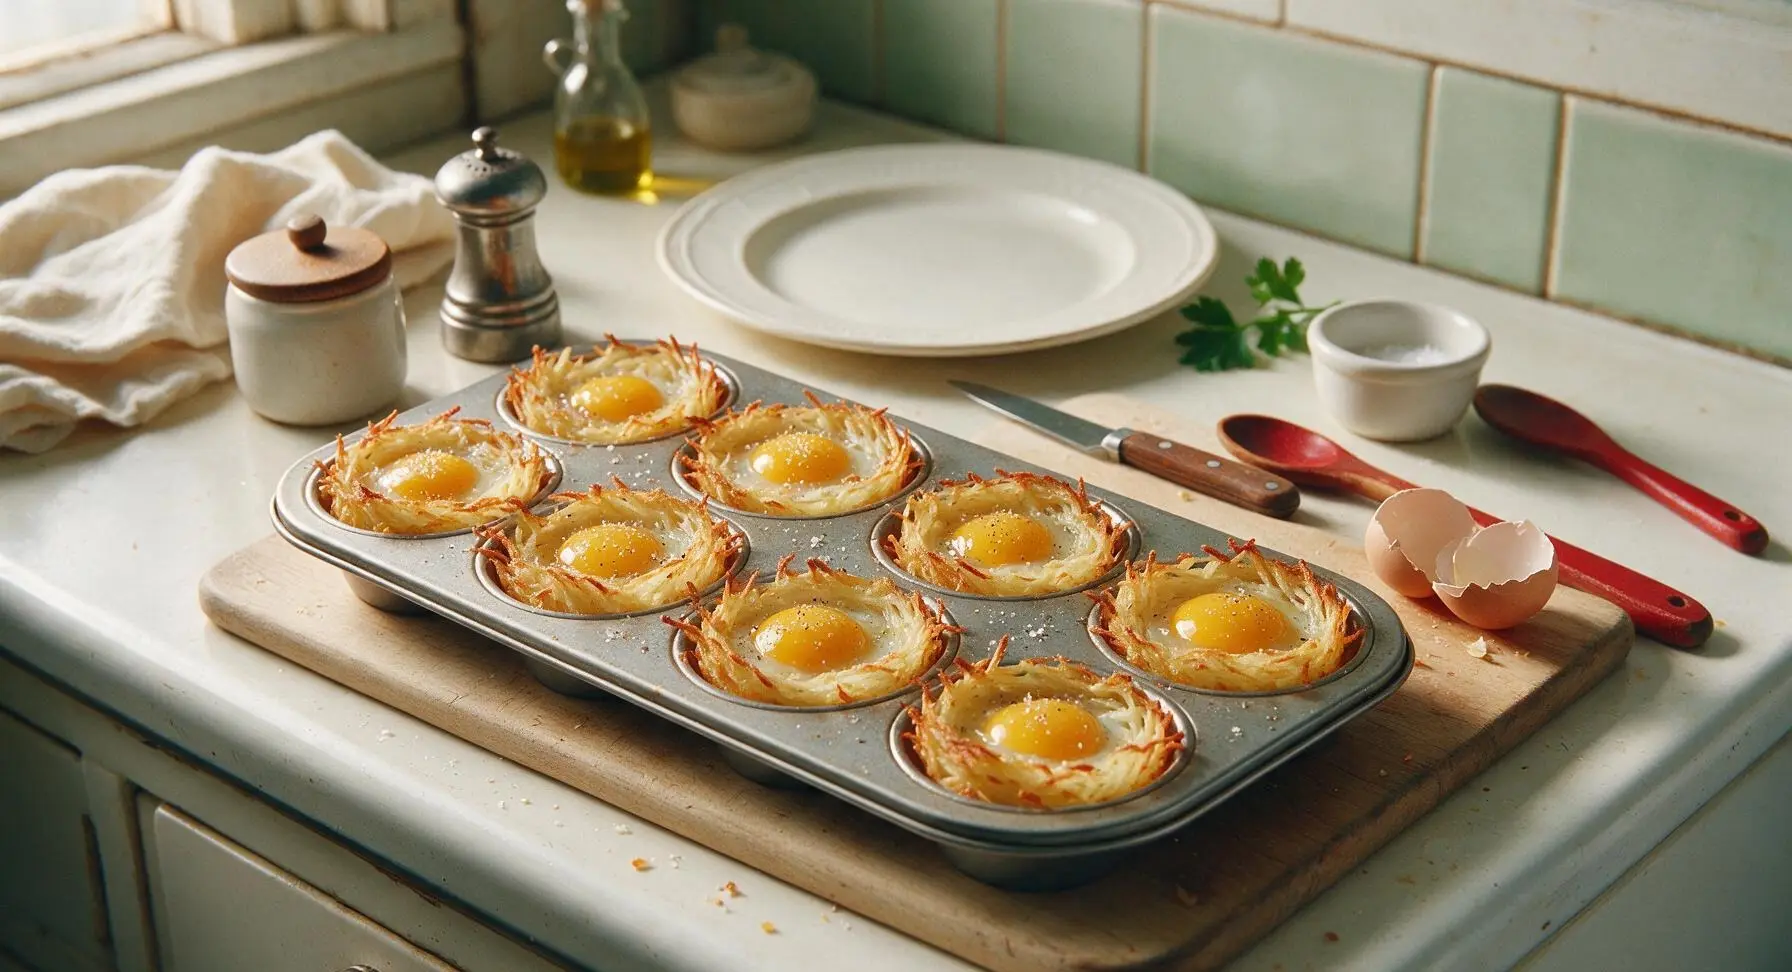
Crack 1 large egg directly into each cheese-lined tater tot nest, taking care not to break the yolk. If any small egg shell fragments fall into the nest, use the tip of the measuring scoop to fish them out before baking. Season the top of each egg evenly with the measured kosher salt and freshly ground black pepper. For extra cheesiness, sprinkle the reserved 1 tablespoon of cheddar over the egg tops at this stage.
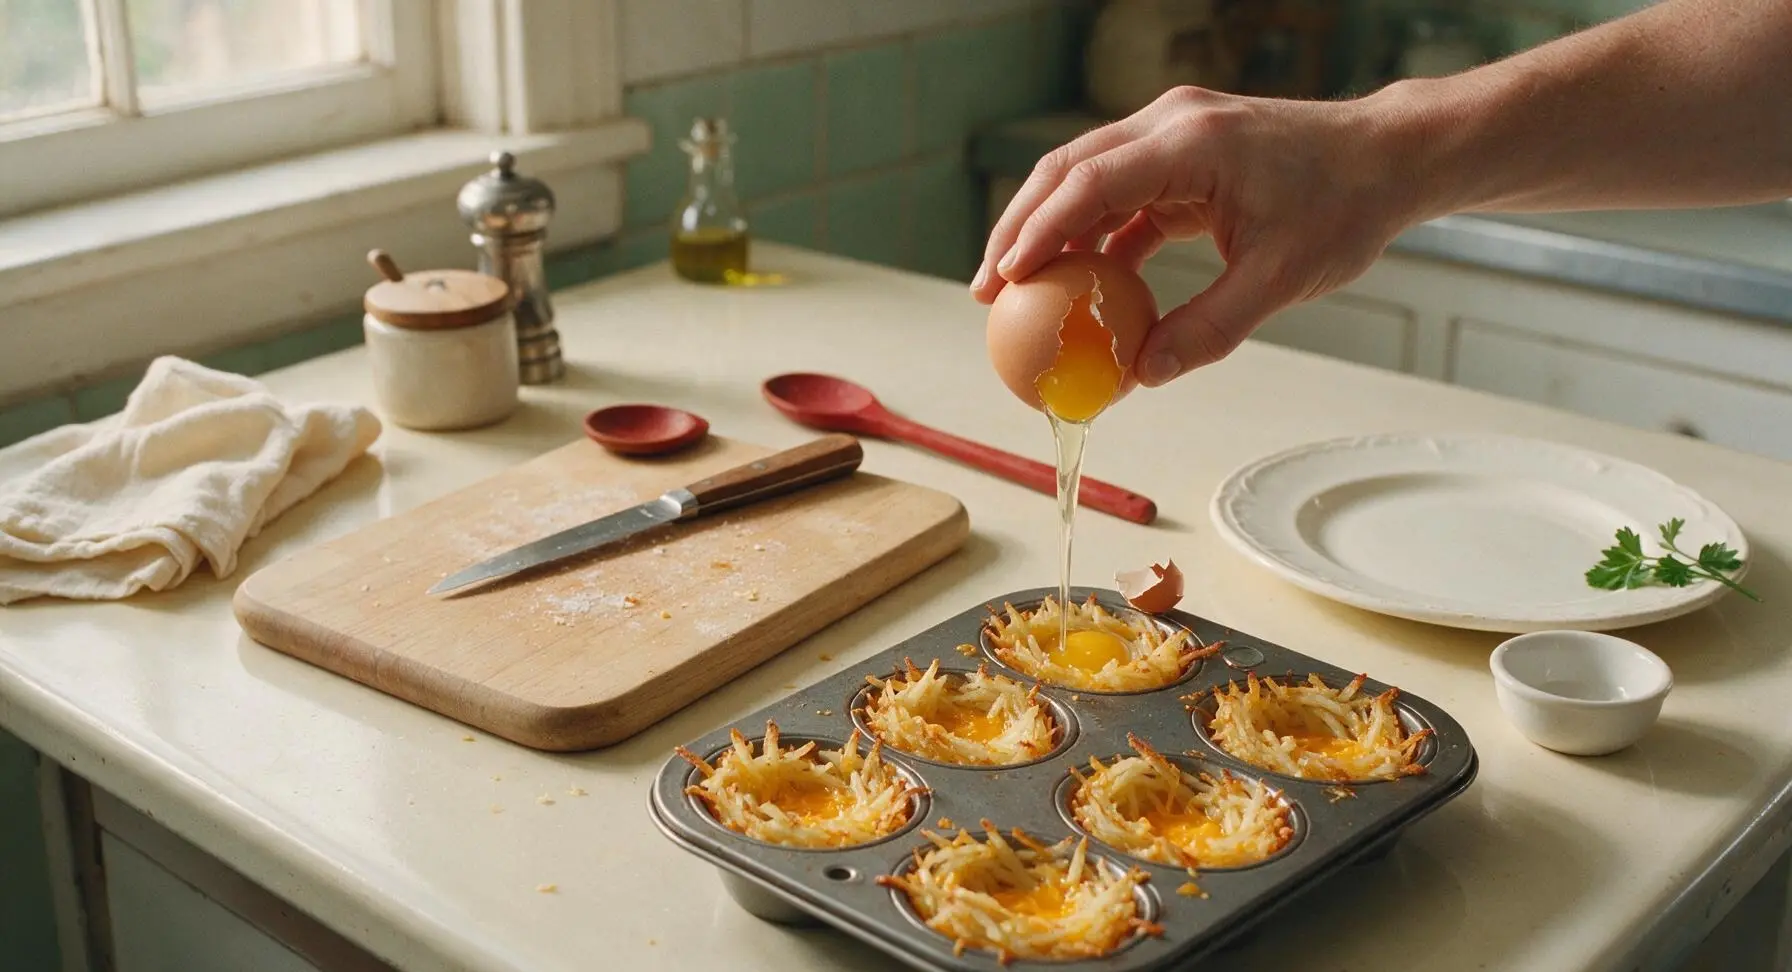
Bake to Perfection
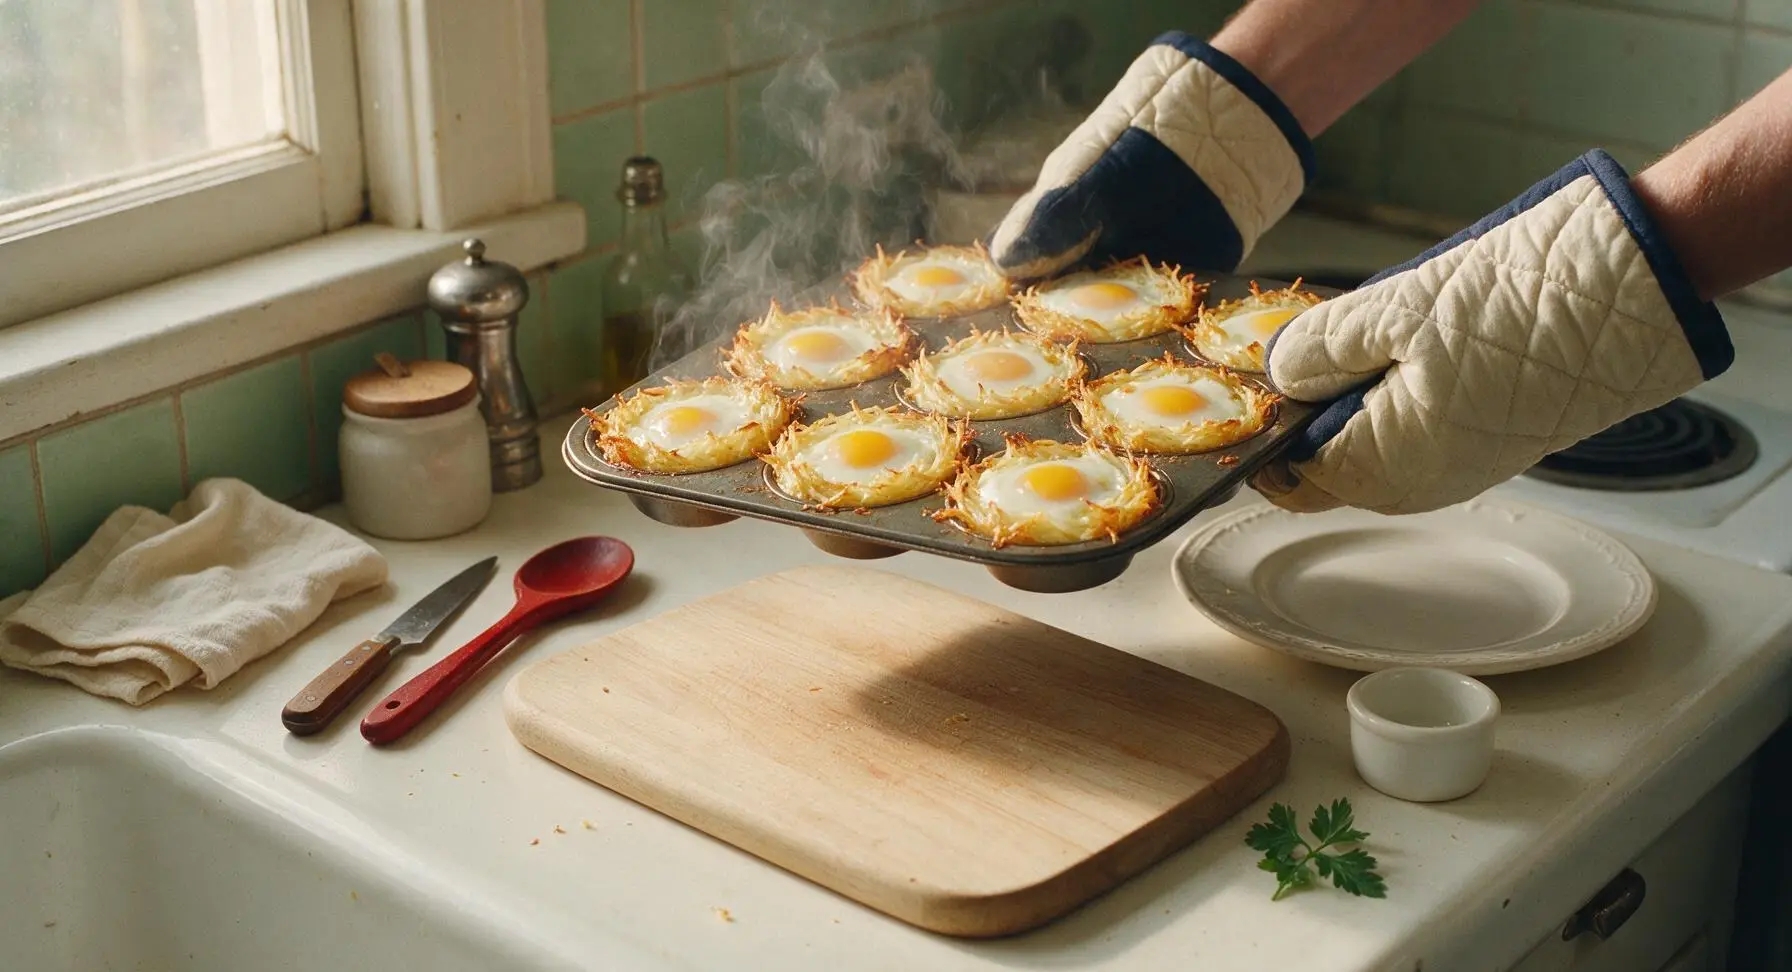
Carefully slide the muffin tin back into the 425°F (220°C) oven. Bake for 12-15 minutes, checking doneness at the 12 minute mark: the egg whites should be fully opaque and set, with no clear runny white remaining. Bake for 12 minutes for soft, runny dippable yolks, or 15 minutes for firm, fully set yolks. Watch closely during the last 3 minutes of baking, as eggs can overcook and turn rubbery very quickly.
Rest and Garnish
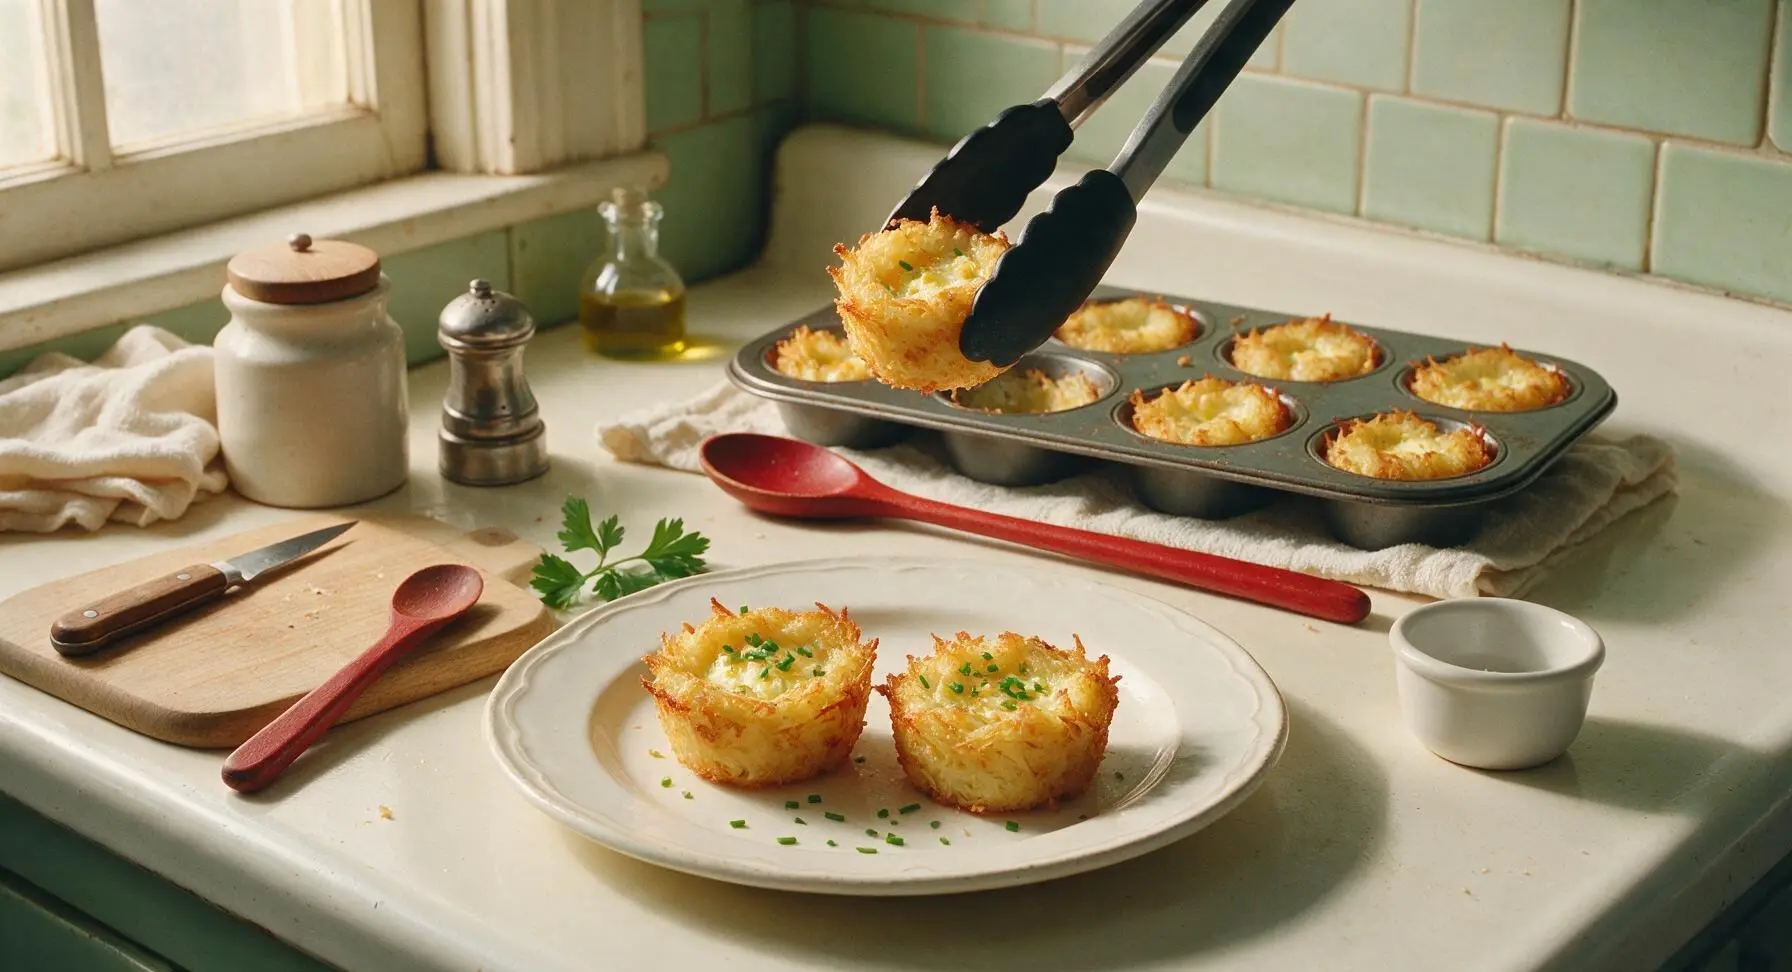
While the eggs bake, chop the fresh chives into ¼-inch pieces. Once the tin is removed from the oven, let the tater tot eggs rest in the tin for 2 full minutes to set, which will make them easier to remove without breaking. Use the silicone-tipped tongs to gently lift each nest out of the muffin cup, loosening the edges first if they stick slightly. Transfer 2 nests per serving to the matte cream stoneware plates, then sprinkle the top of each nest with the chopped fresh chives to serve.
Tips
2.For extra flavor, add a pinch of crumbled cooked bacon or diced sautéed bell pepper to the bottom of each nest before adding the egg—just make sure any added mix-ins are patted very dry to avoid soggy crusts.
3.If you prefer extra crispy tots, brush the top edges of the pressed potato nests with a tiny amount of melted butter before adding the cheese and egg; the butter will help the potato shreds brown and crisp faster in the hot oven.






OMG these were such a game changer for busy school mornings! I pre-shaped the tater tot nests the night before, popped them in the oven with eggs right before the kids woke up, and my two picky eaters devoured them before the bus even pulled up. No soggy bottoms, perfectly crispy, 10/10 will be on our weekly breakfast rotation!
Brought these to our neighborhood block party potluck last weekend and they were gone in 10 minutes flat! I added a sprinkle of crumbled bacon and a dash of hot sauce on top of a few for the spicy food fans, and people were literally lining up to ask for the recipe. So easy to scale up for a crowd too!
Added these to my weekly Sunday meal prep rotation! They reheat perfectly in the air fryer for 3 minutes, stay crispy, and are way more filling than a plain granola bar for work breakfasts. Only note: I’d recommend spraying the muffin tin really well because my first batch stuck a little.
As someone who burns basically everything, I was shocked how easy these turned out! 25 minutes total, no fancy ingredients, and my roommate said they taste like something from a fancy brunch spot. Will 100% make again when I’m too tired to make a big breakfast.
Made these for my girls’ brunch yesterday and they were so cute! I topped each one with a little fresh chive and a tiny dollop of sour cream, they looked almost like fancy restaurant appetizers. The tater tots get perfectly crispy around the edges, and the egg in the middle is so creamy and soft. SO good!
Tried making these for my son’s birthday sleepover breakfast and let me tell you, a half dozen teen boys polished off two full muffin tins worth of these. I thought I made enough for leftovers, nope. Even the super picky one who only eats plain cereal asked for seconds. Total dad win.
So happy this recipe is naturally gluten free as long as you pick the right tater tots! I’ve been hunting for easy GF brunch ideas that don’t require a ton of weird specialty ingredients, and these fit the bill perfectly. My gluten-obsessed husband didn’t even notice they were GF, that’s how good they are.
Pro tip: Tuck a pickled jalapeño slice in the middle with the egg before baking, then top with a little shredded pepper jack. Total game changer! The zingy heat pairs so perfectly with the crispy potato and creamy runny yolk, I’ll never make these plain again.