
tater tot hash
intro
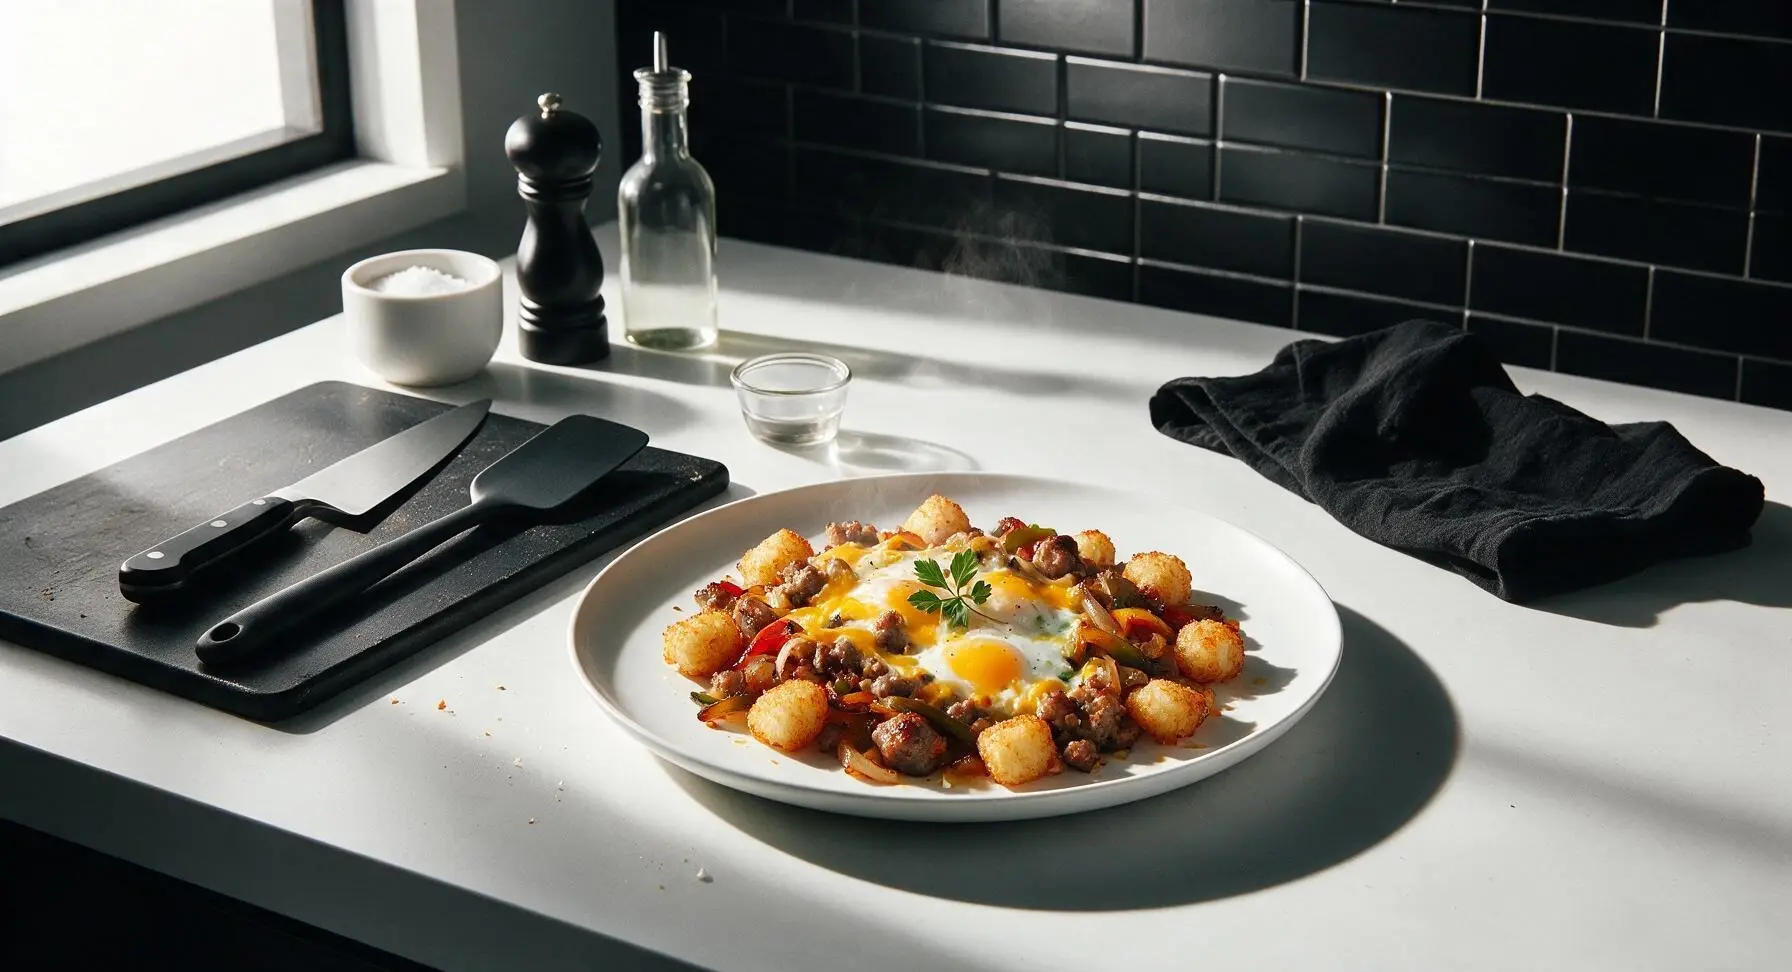
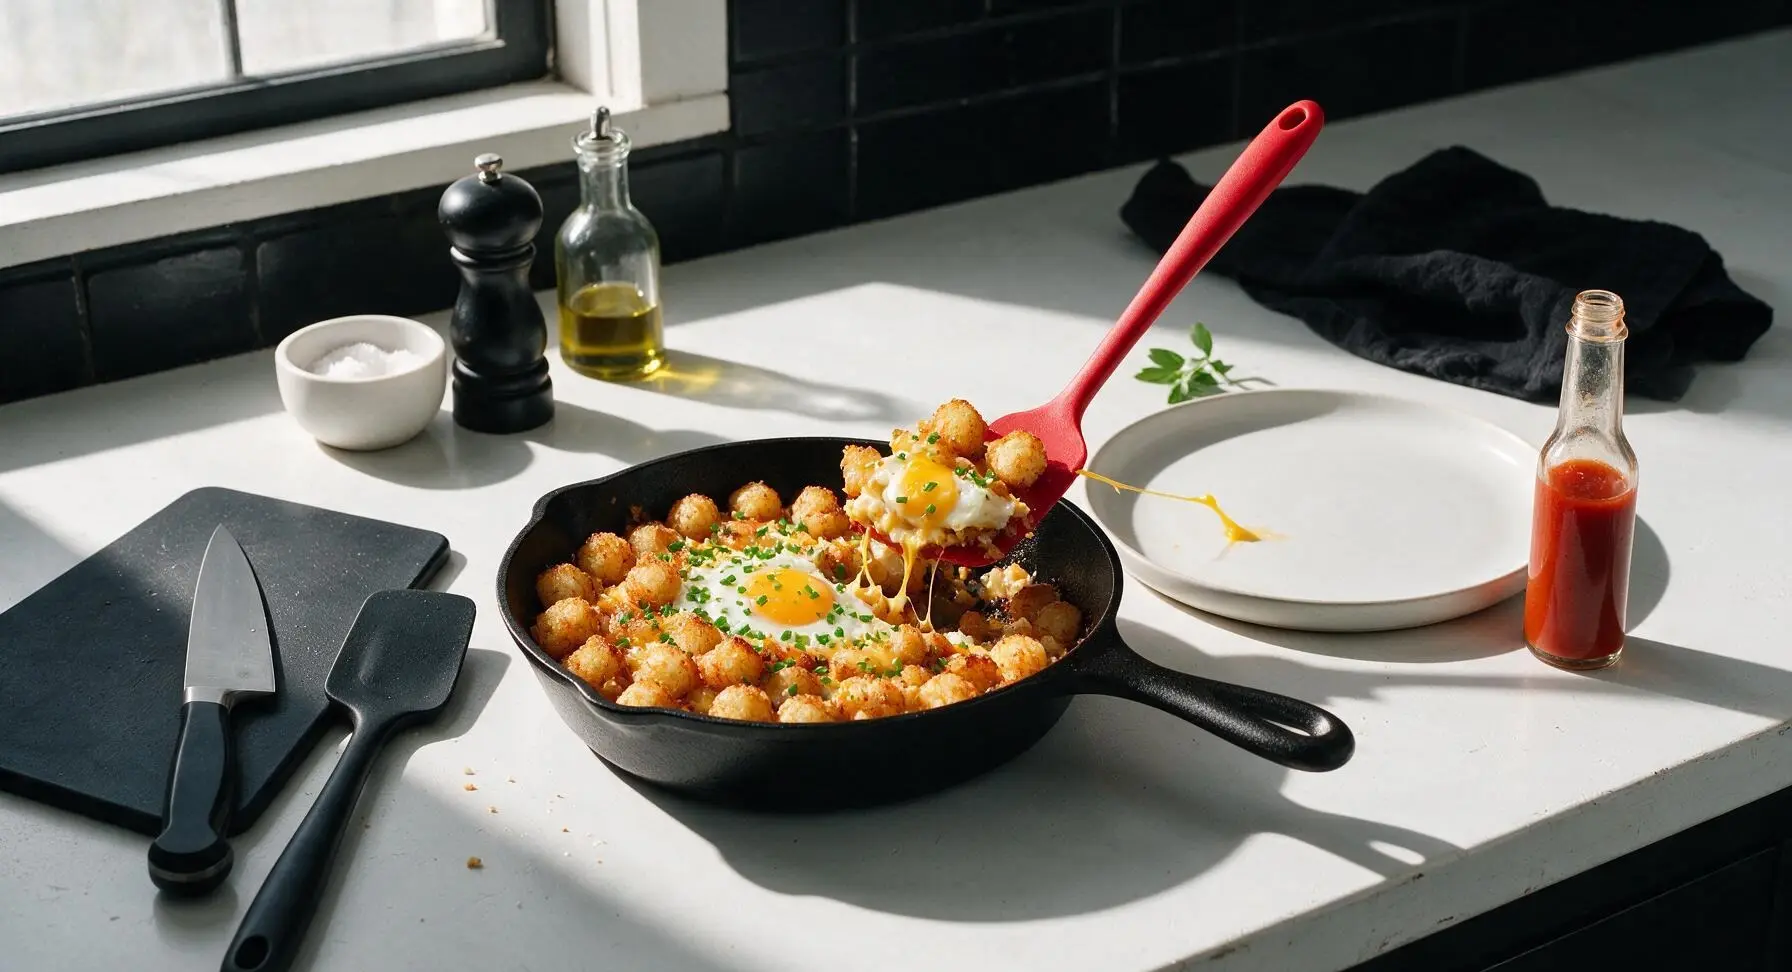
Crispy golden tater tots, savory sausage, caramelized peppers and onions, melted cheddar, and runny baked eggs come together in this cozy, nostalgic one-pan hash with minimal cleanup.
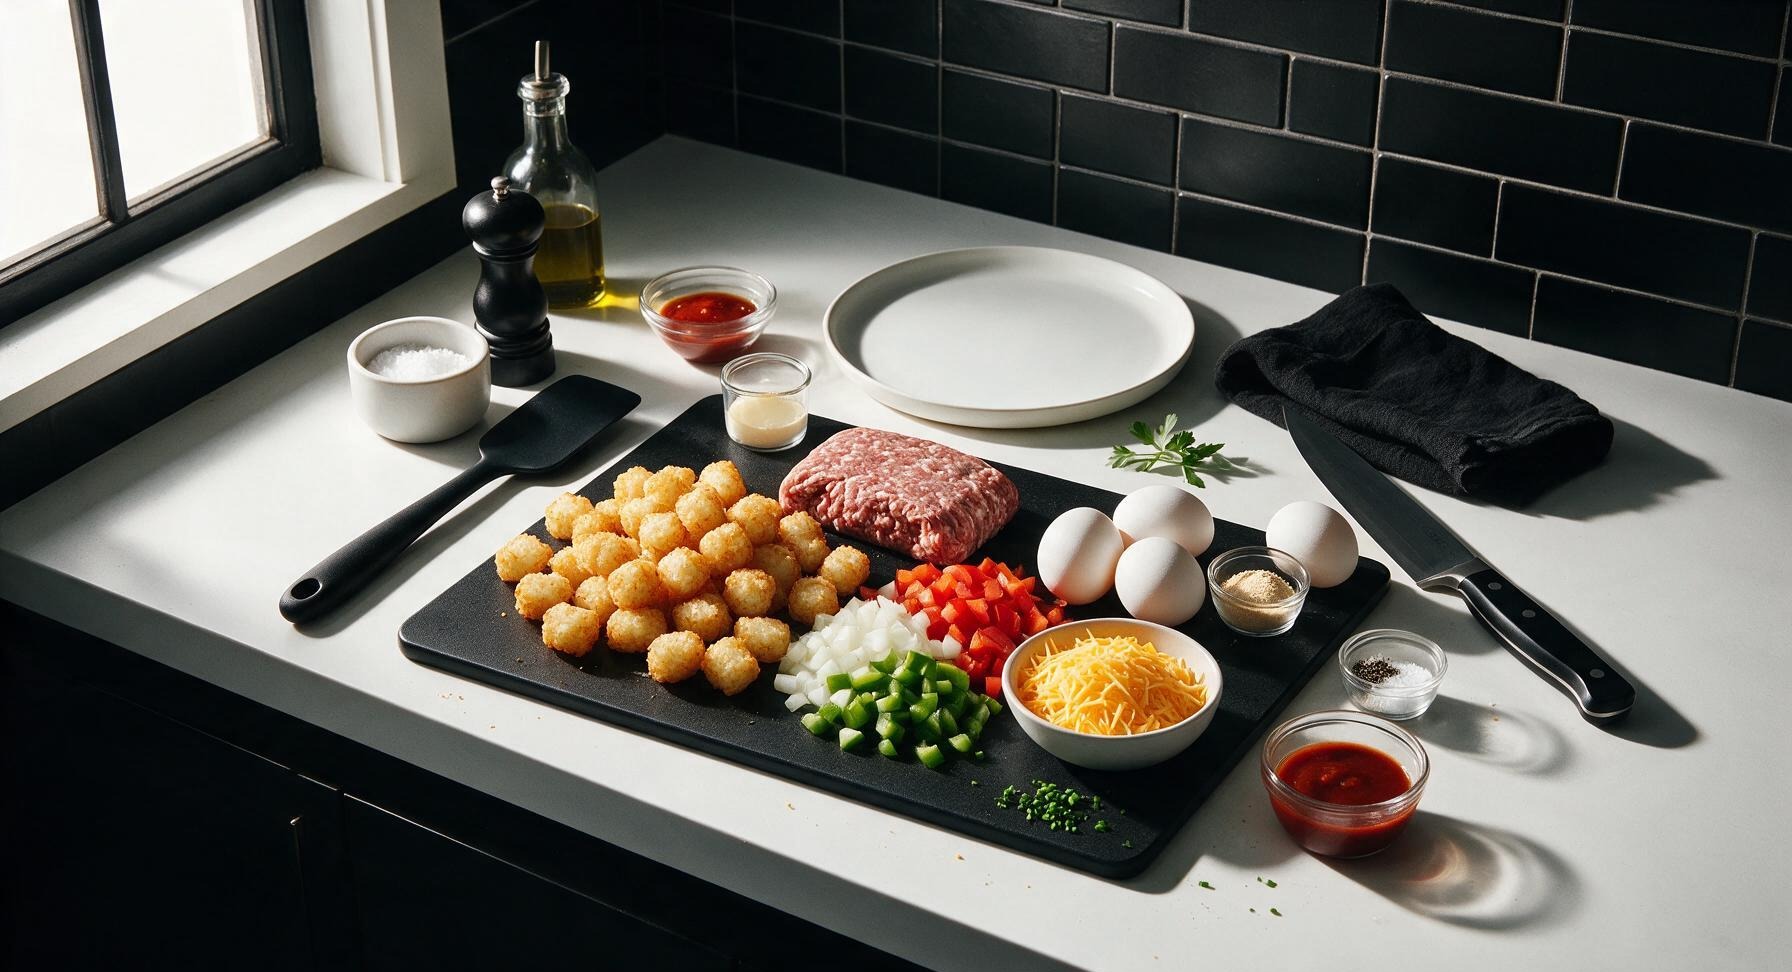
Ingredients
Steps
Preheat Oven and Chop Veggies
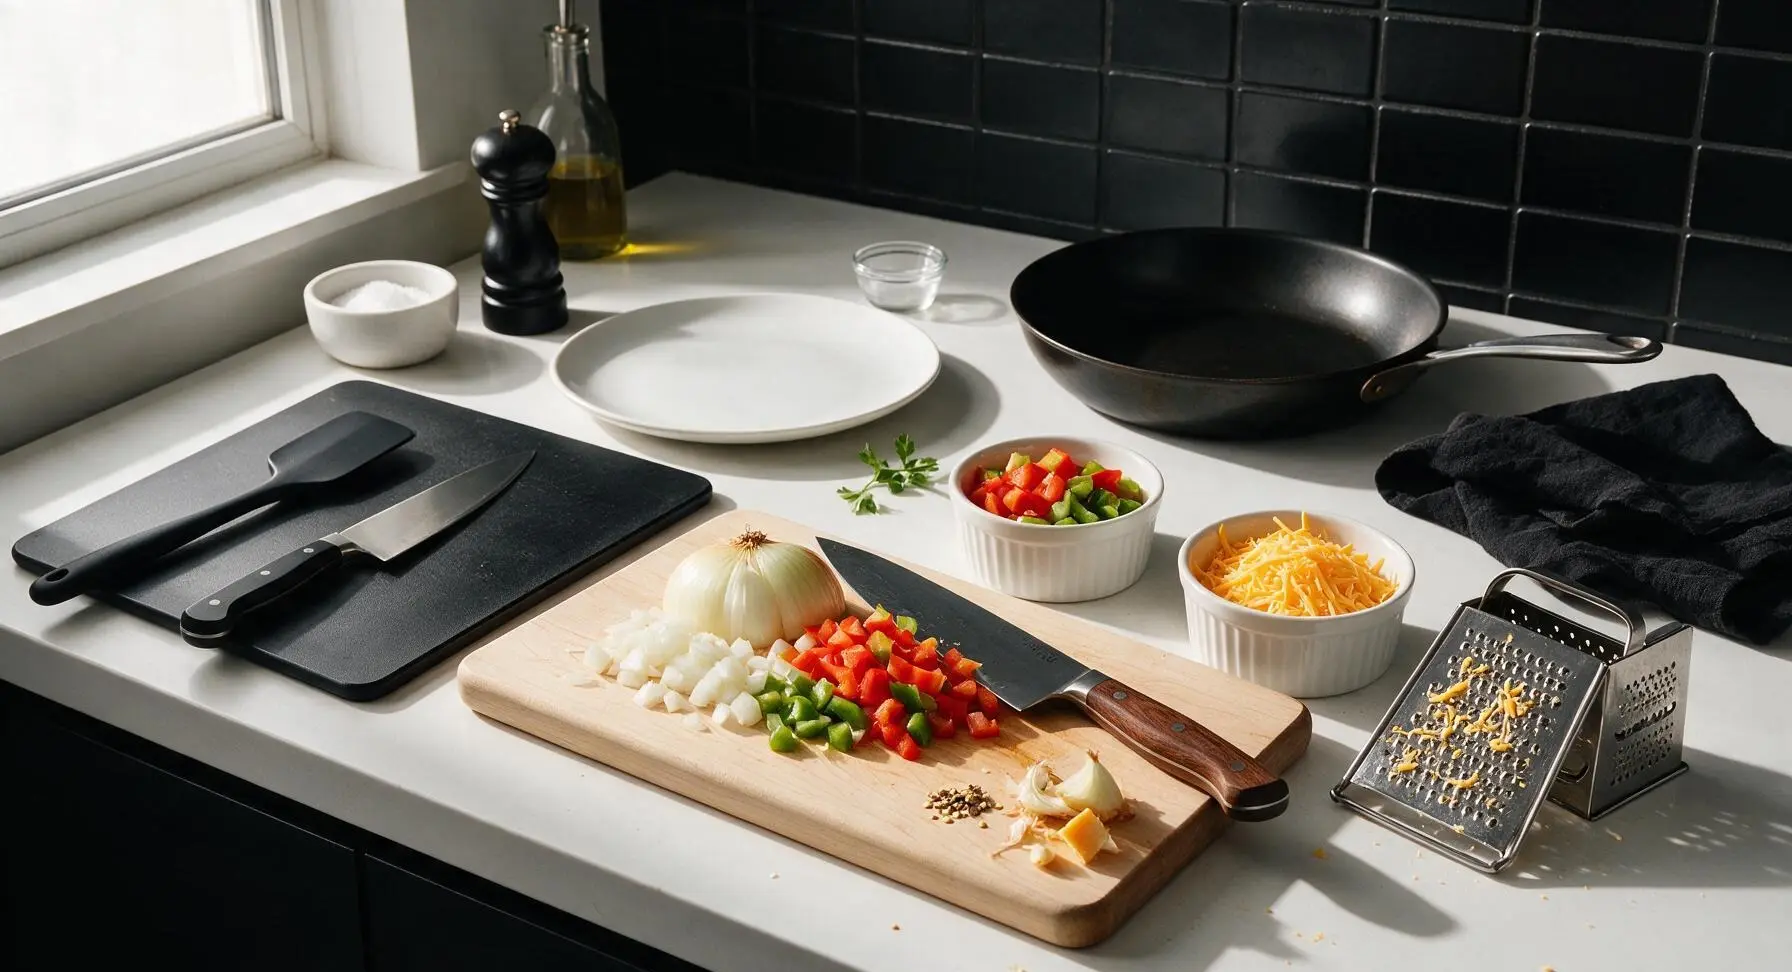
Adjust oven rack to middle position and preheat oven to 425°F (220°C). Place the medium light maple wood cutting board center-left on the counter. Using the 8-inch walnut-handled chef’s knife, dice the yellow onion, red bell pepper, and green bell pepper into 1/2-inch pieces, transferring diced veggies to one of the matte white ceramic ramekins. Use the stainless steel 4-sided box grater to shred the sharp cheddar cheese, transferring shreds to a second ramekin. Discard any pepper seeds, tough onion core scraps, or cheese rind into a small waste bowl at the corner of the board.
Brown Breakfast Sausage
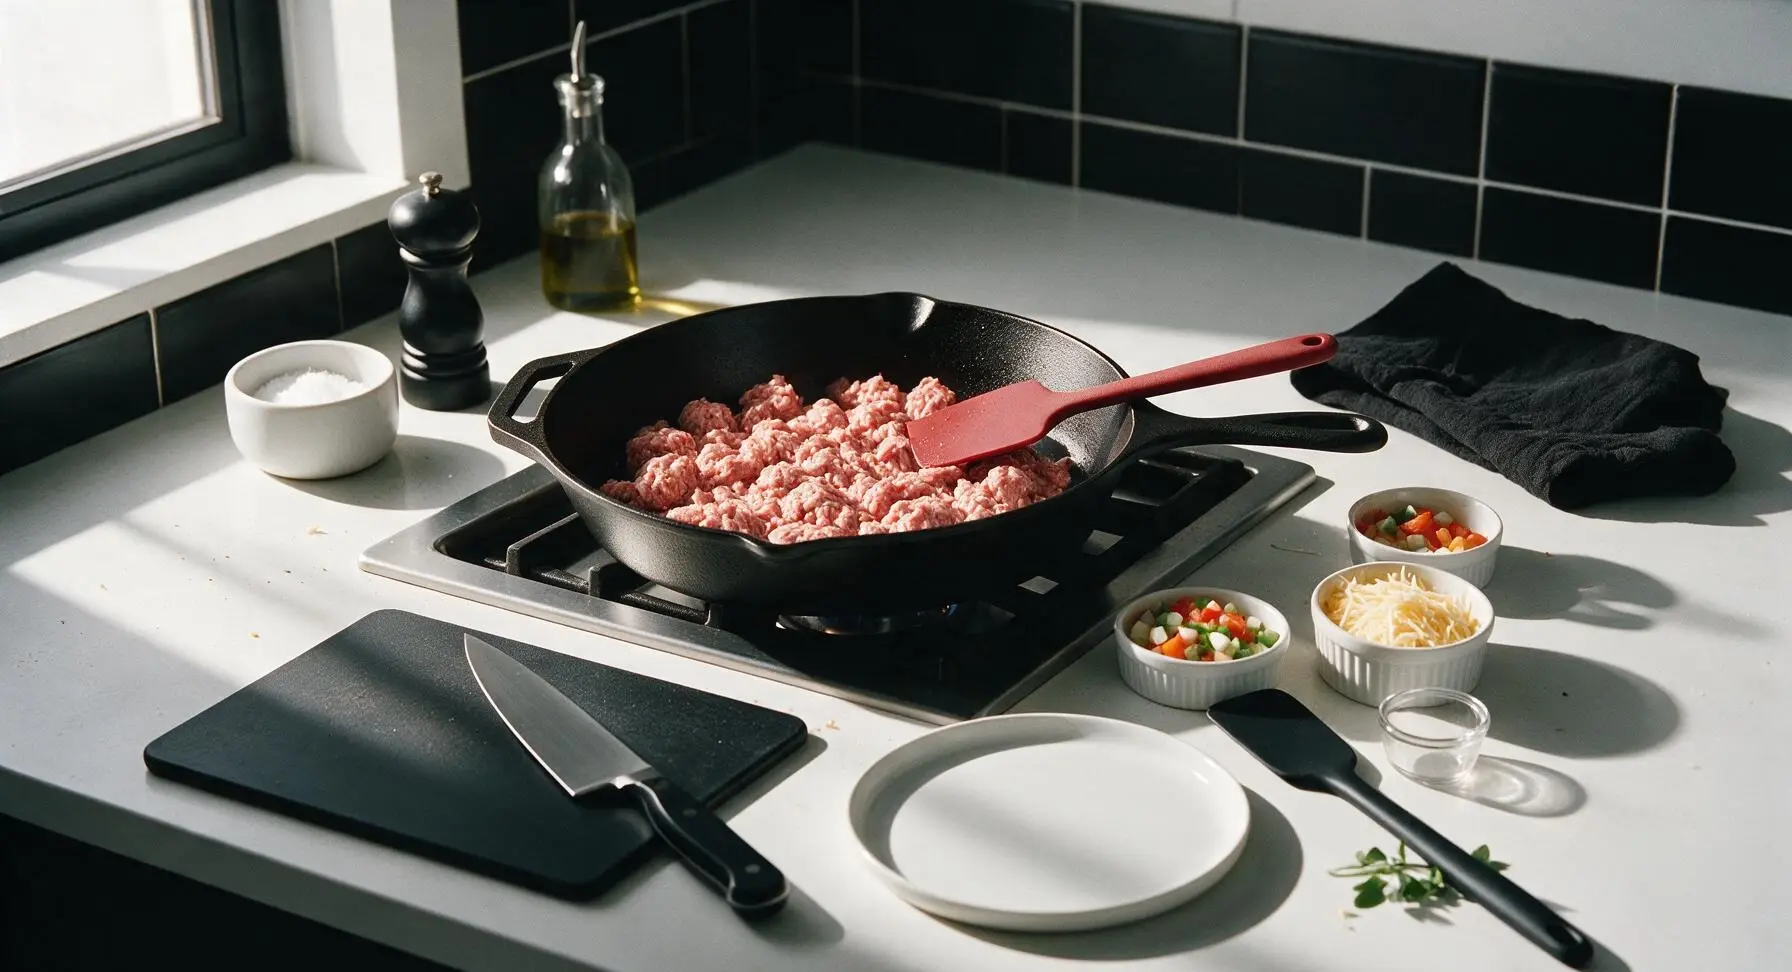
Place the 12-inch matte black carbon steel skillet on the stovetop over medium heat. Add the 12oz bulk pork breakfast sausage to the pan, breaking it apart into 1/2-inch crumbles with the matte red silicone spatula as it cooks. Cook for 5-6 minutes, until sausage is fully browned and no pink remains, with crisped edges on the crumbles. Do not drain the rendered sausage fat—it will add flavor and crisp the tater tots.
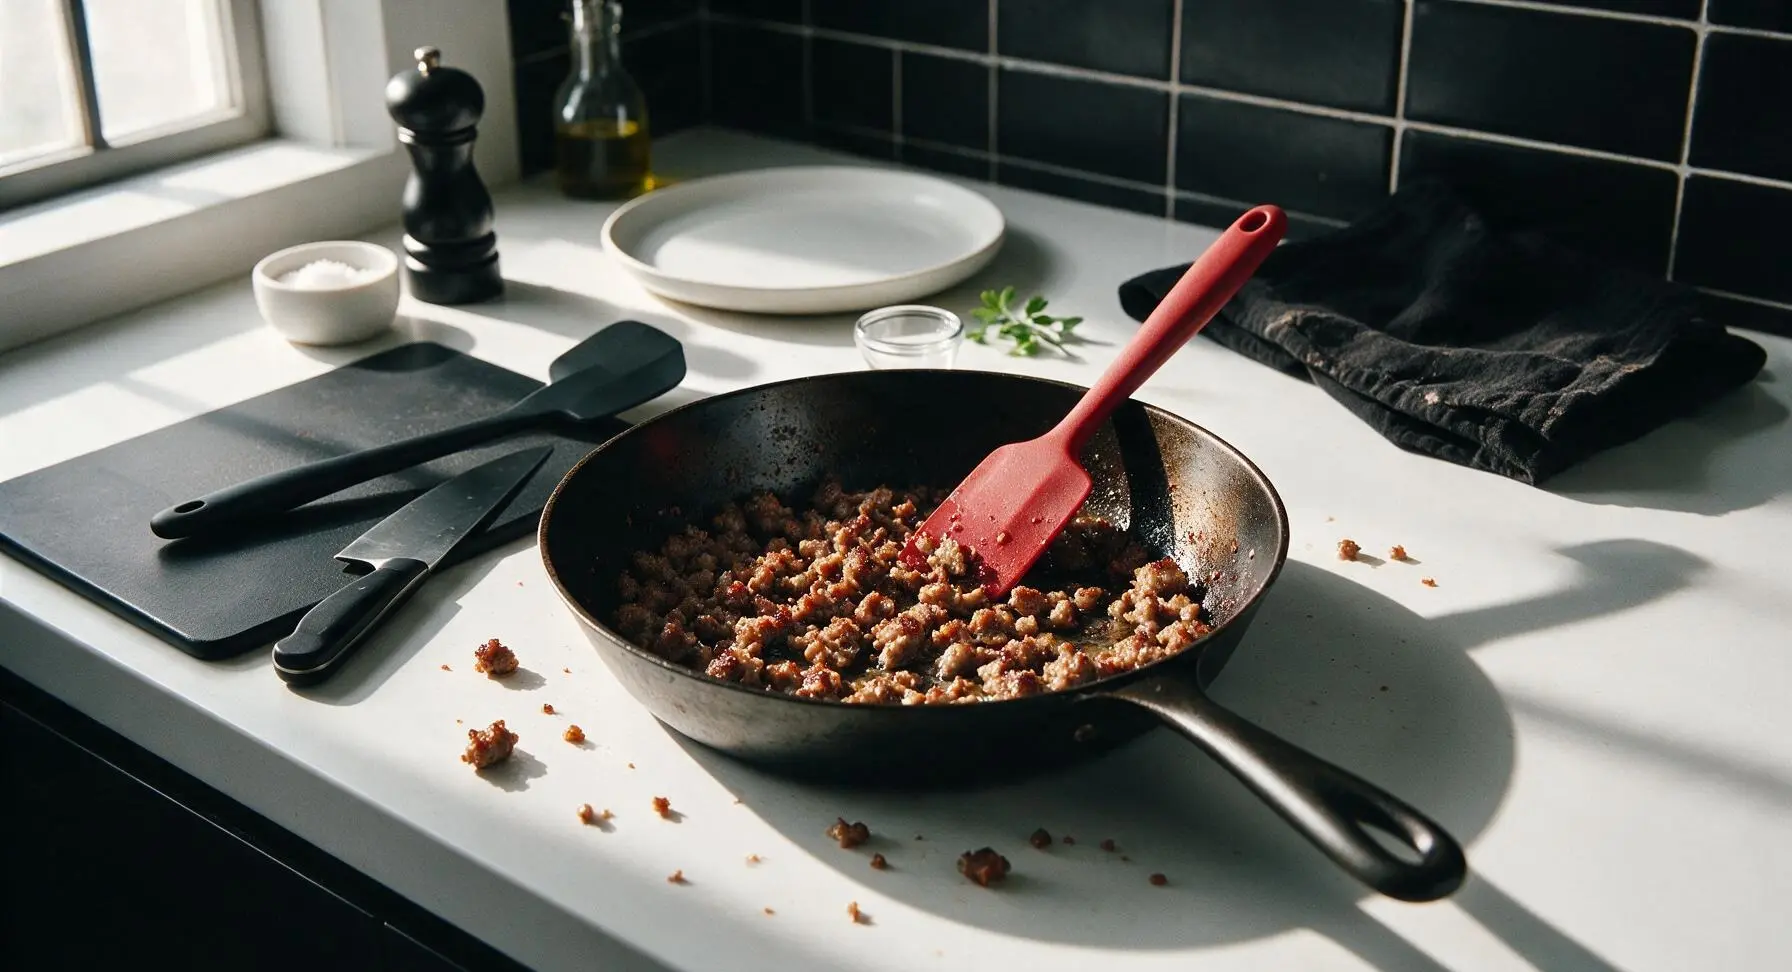
Sauté Diced Vegetables
Add the diced onion, red bell pepper, and green bell pepper to the skillet with the browned sausage. Stir with the red silicone spatula to coat veggies in the rendered fat. Season with 1/2 tsp kosher salt, 1/4 tsp black pepper, and 1 tsp garlic powder. Sauté for 4-5 minutes, until veggies are softened and slightly caramelized at the edges, with the onion turning translucent and fragrant.
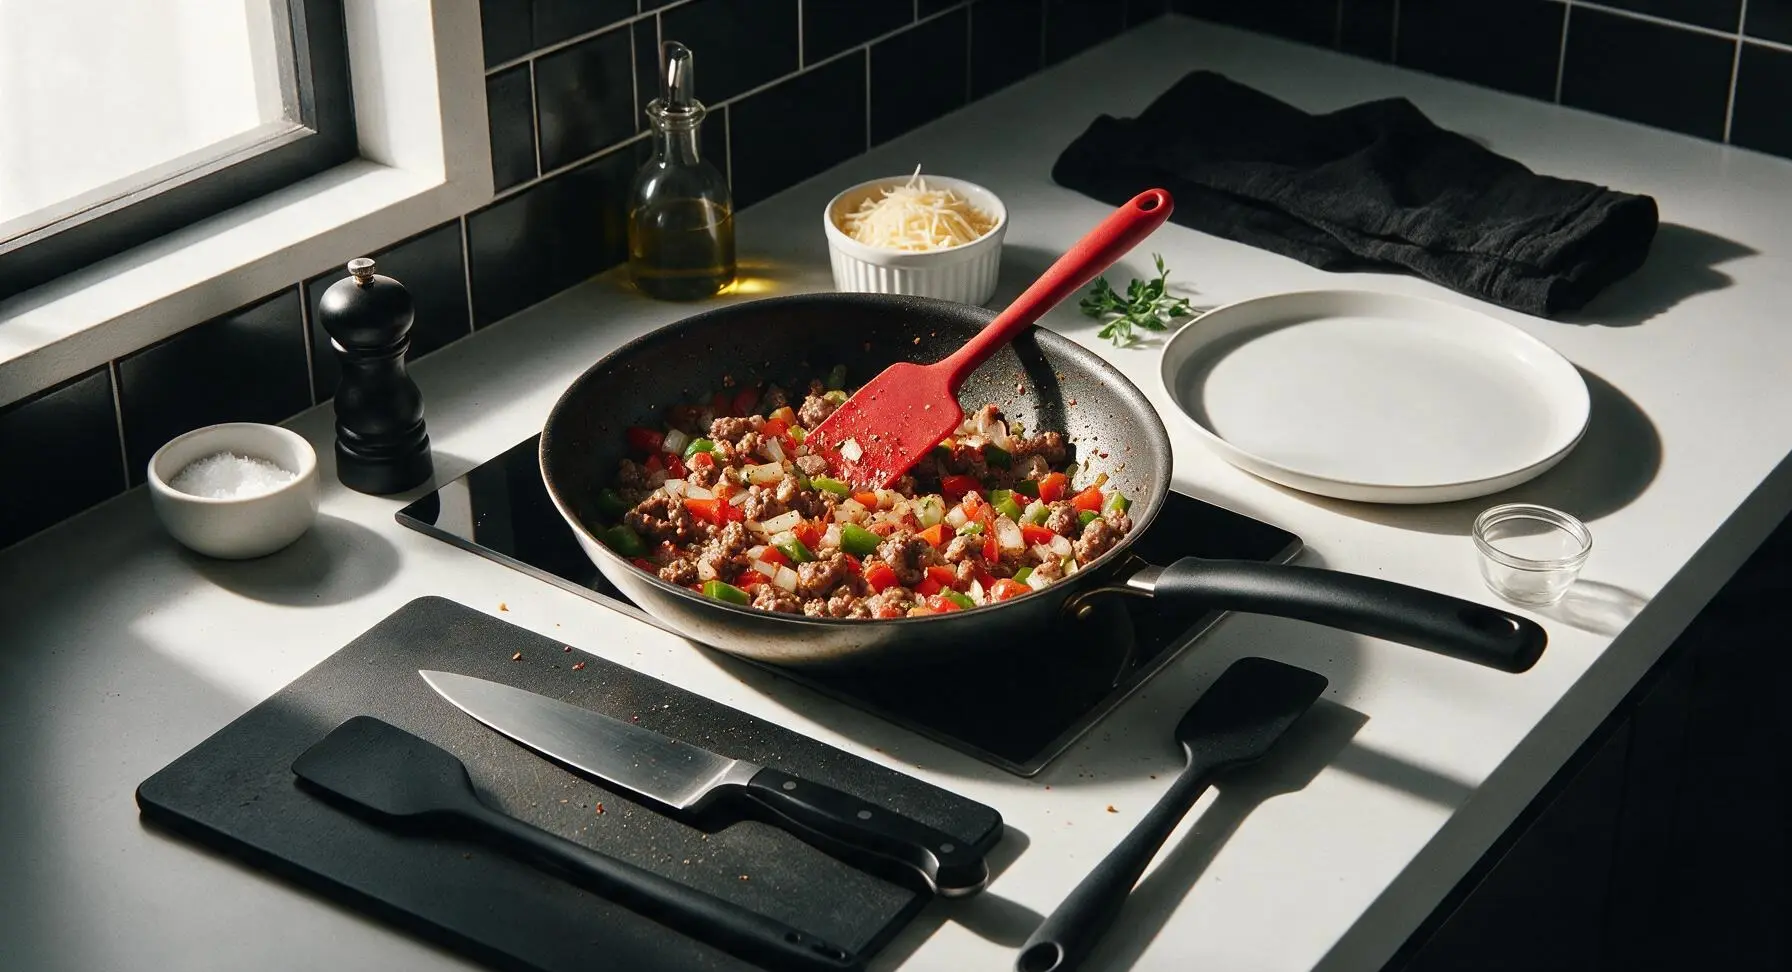
Arrange Tots for Crisping
Remove the skillet from heat temporarily. Spread the sausage and veggie mixture in an even layer across the bottom of the pan. Arrange the 1.5lbs frozen tater tots in a single, tightly packed layer over the top of the sausage and veggie base, pressing them down gently with the spatula so they make contact with the hot pan surface. Do not thaw the tots first—frozen tots will crisp better without turning mushy.
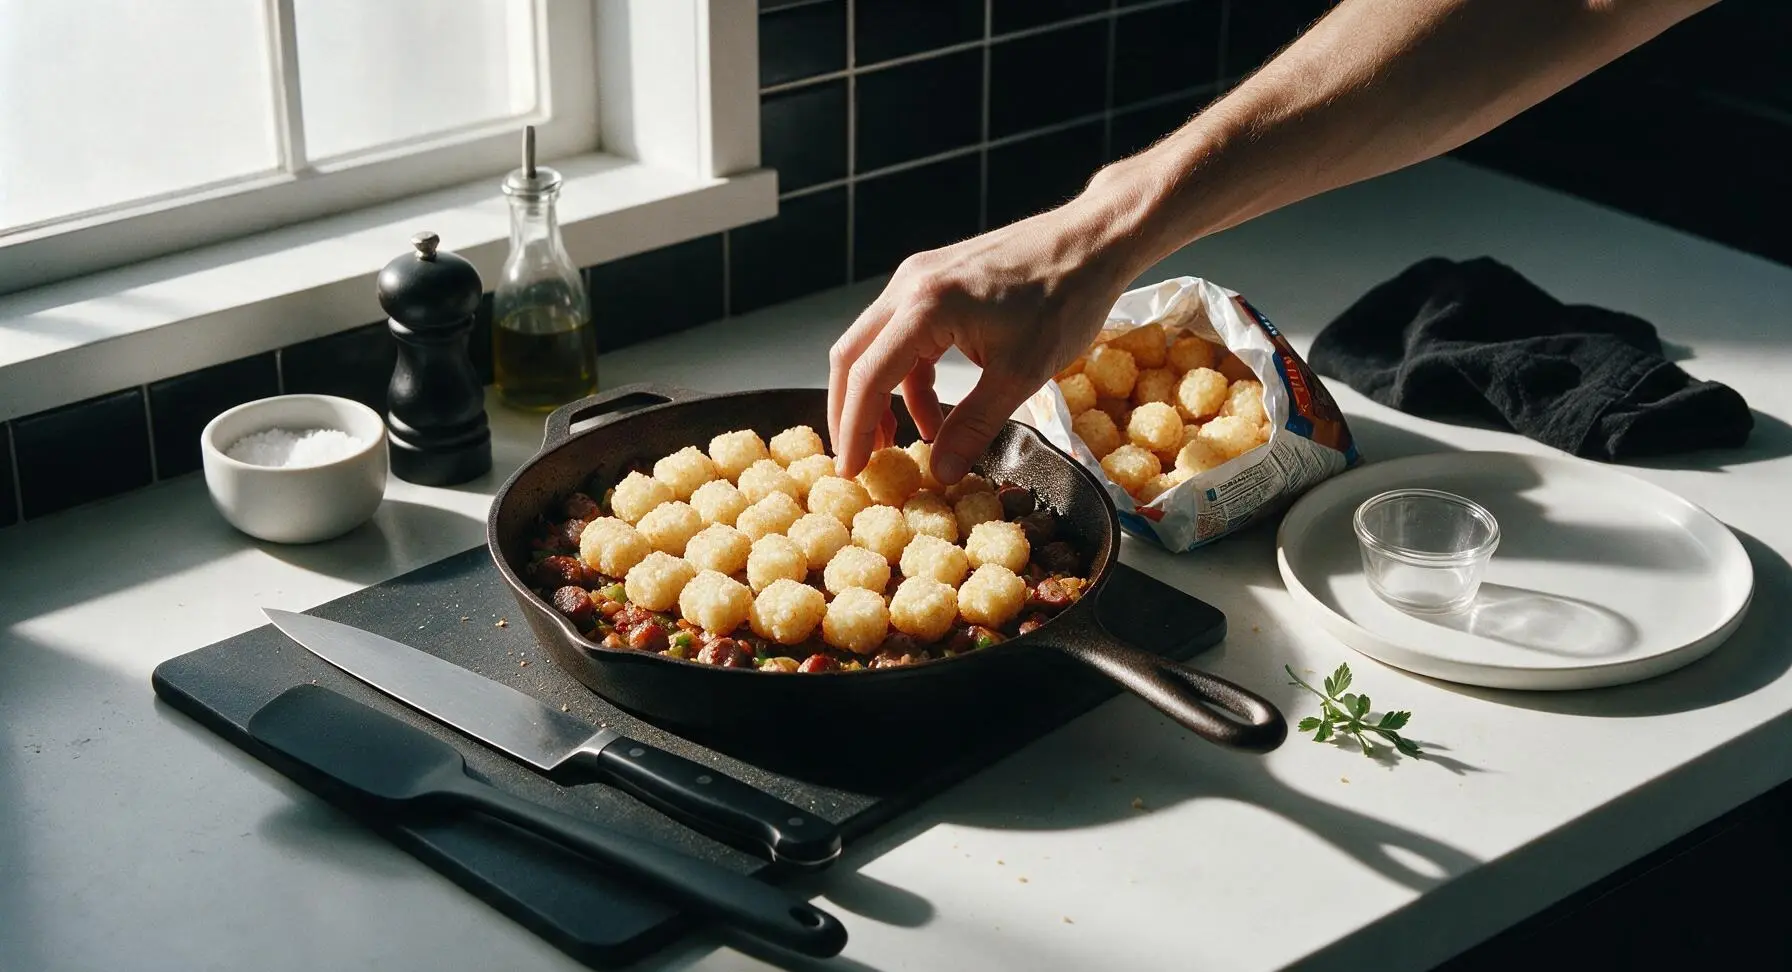
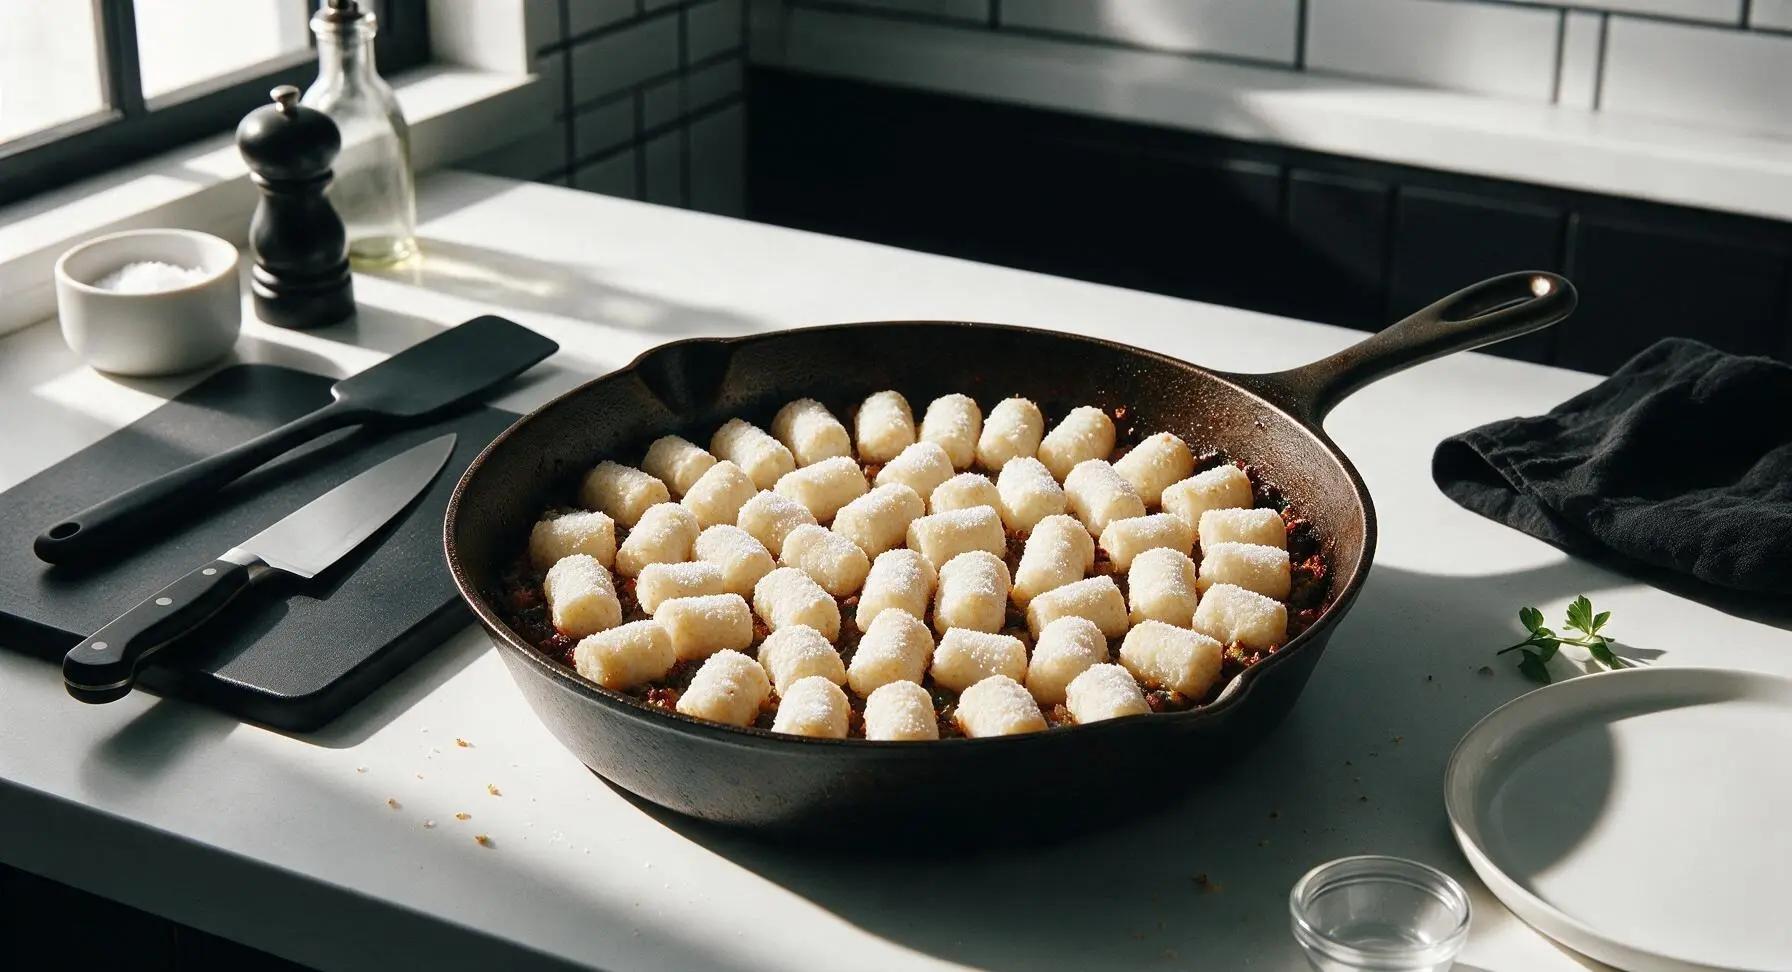
Bake Hash Until Crisp
Carefully transfer the skillet to the preheated 425°F (220°C) oven. Bake for 20 minutes, until tater tots are deep golden brown and crispy on the top and edges, with no frozen or soft spots remaining. Use oven mitts to pull the skillet out briefly when done, leaving the oven on.
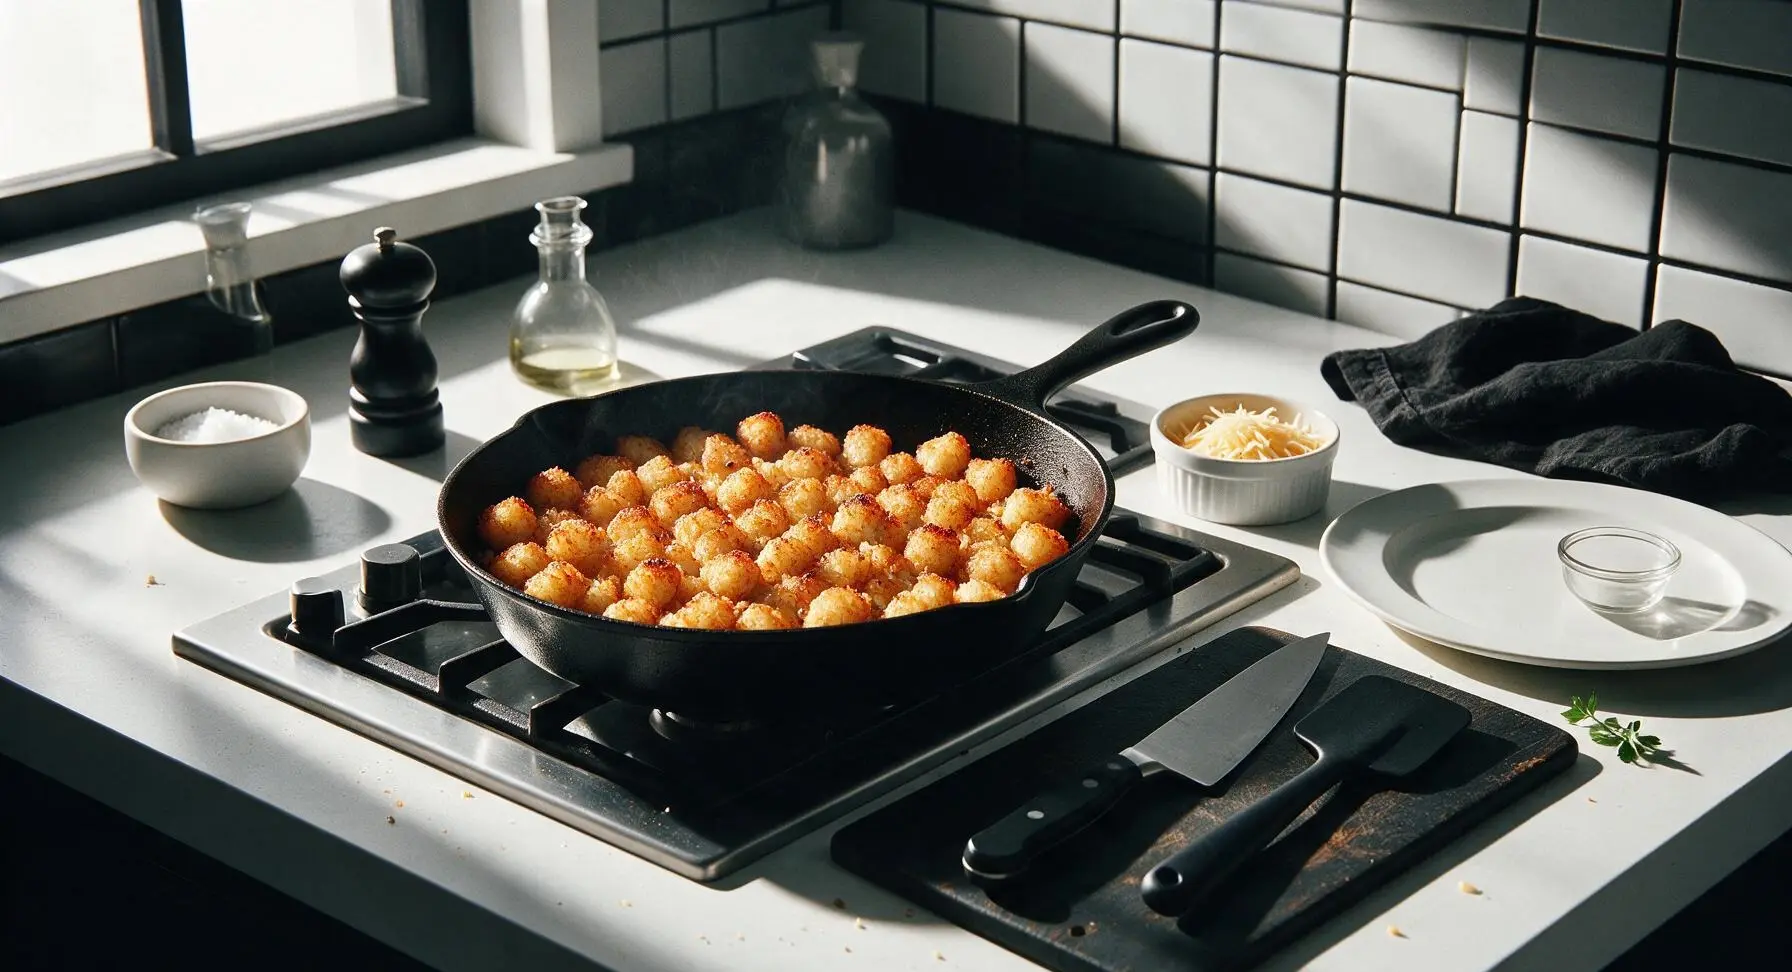
Add Cheese and Eggs
Sprinkle the shredded sharp cheddar cheese evenly over the hot, crispy tater tots. Use the back of a spoon to make 4 small, shallow wells in the hash (one for each serving). Crack one large egg directly into each well, taking care not to break the yolks. Season the top of the eggs lightly with a pinch of salt and pepper from the salt cellar and pepper mill.
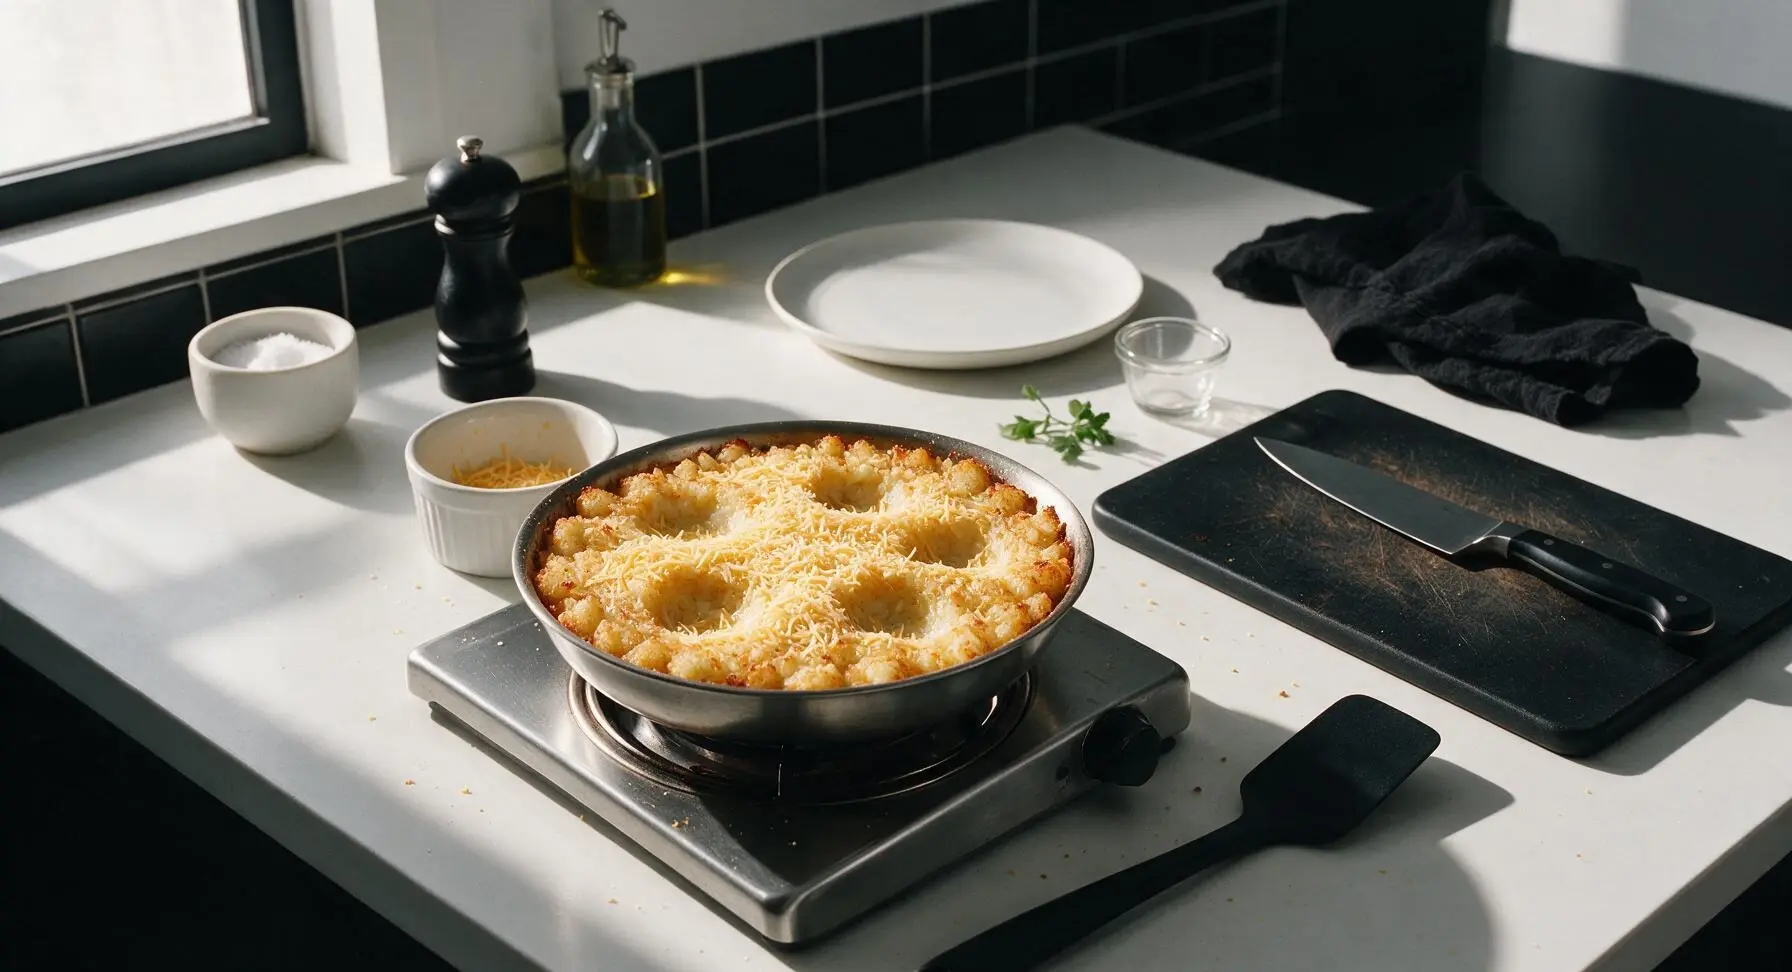
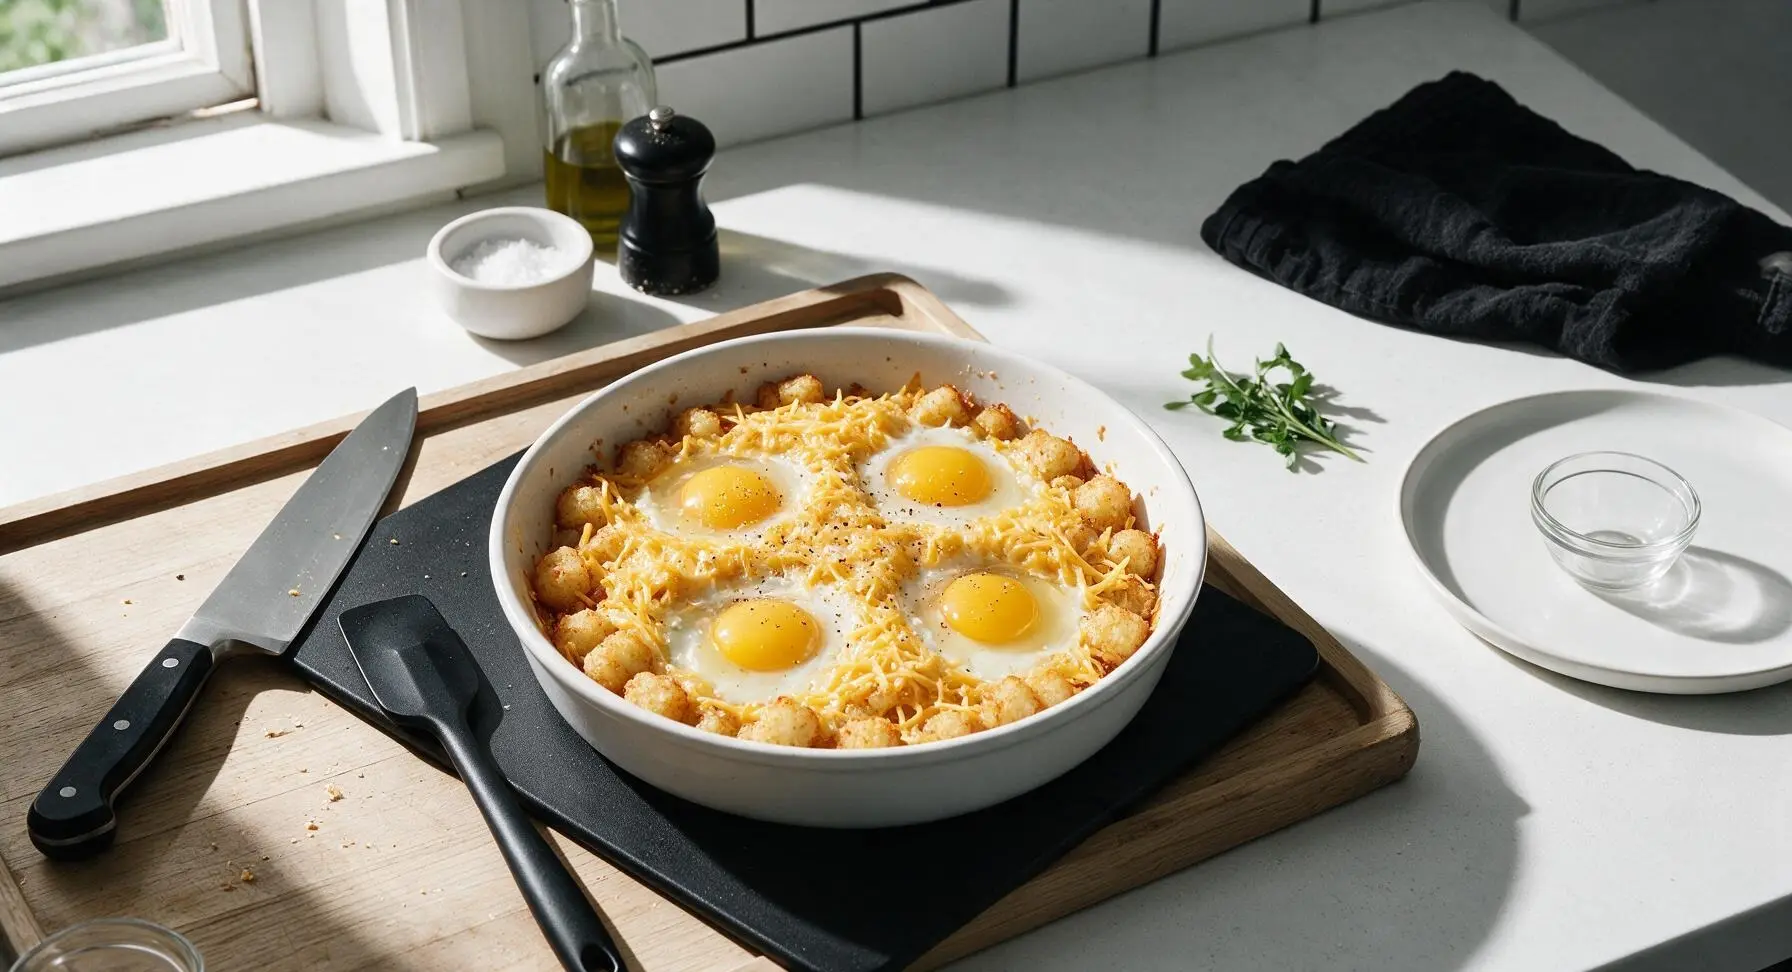
Bake to Set Eggs
Return the skillet to the 425°F (220°C) oven for 7-9 minutes, until egg whites are fully opaque and set, but yolks remain runny (add 2 extra minutes if you prefer firm yolks). Watch closely during the last 2 minutes to avoid overcooking the yolks—eggs will continue to set slightly for 1 minute after coming out of the oven.
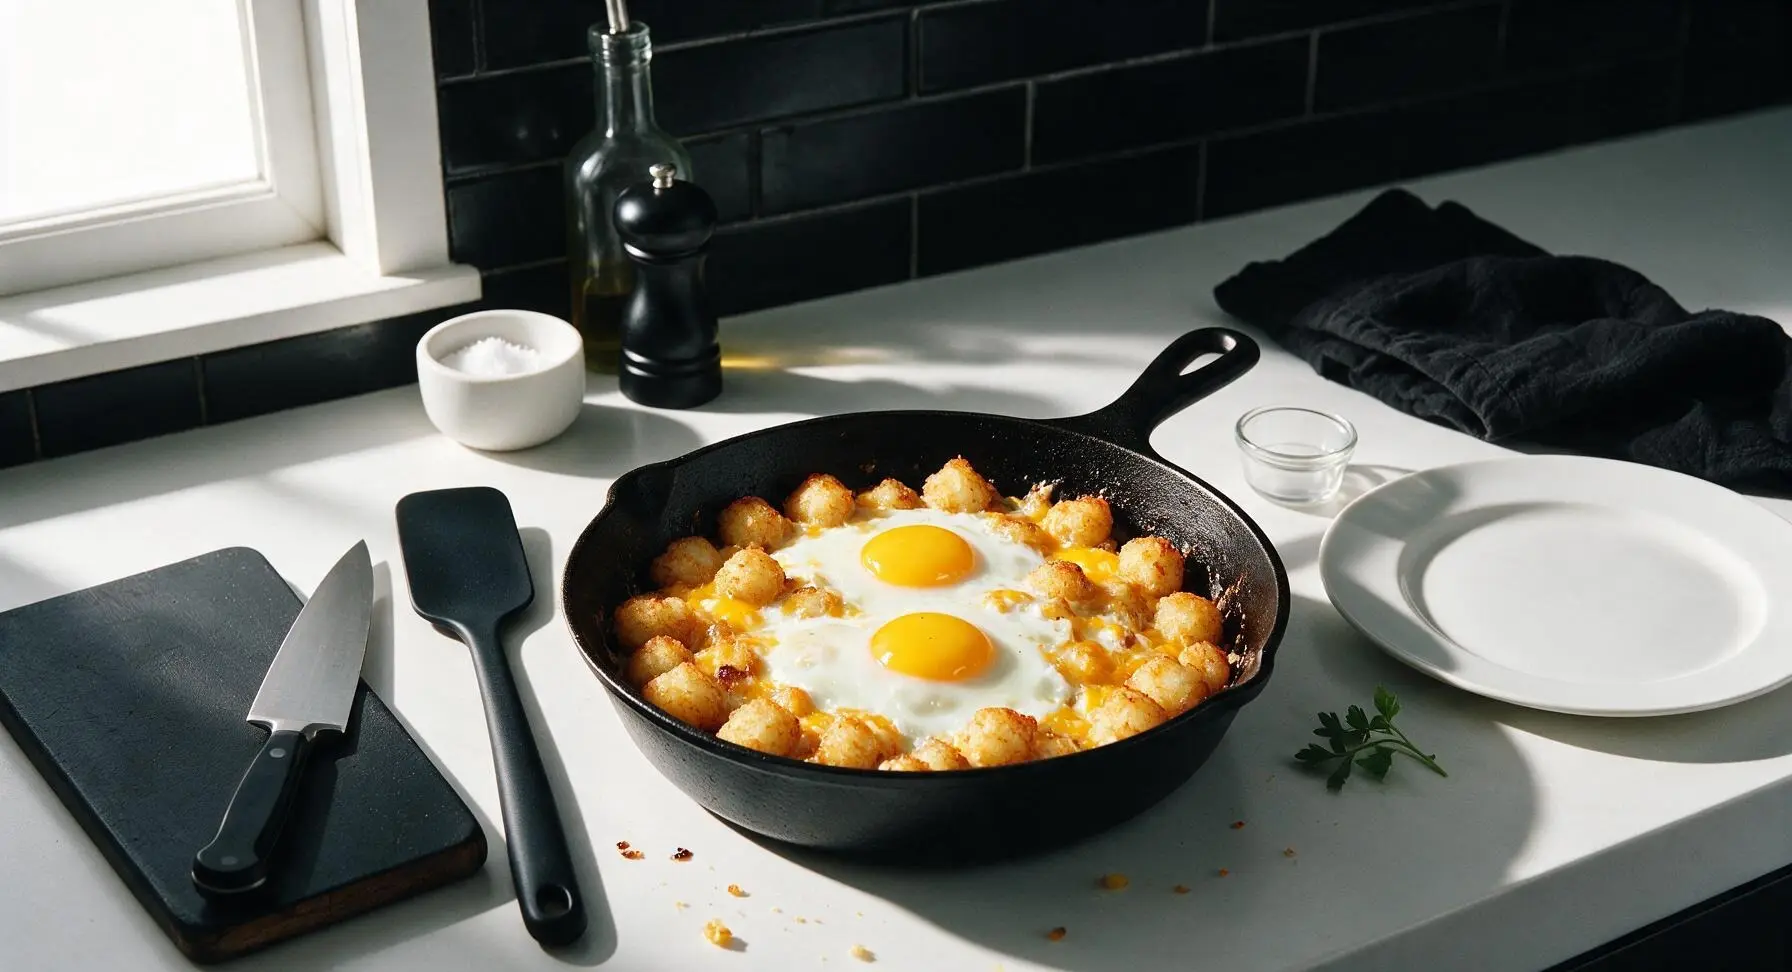
Garnish and Serve Hot
Remove the skillet from the oven. Sprinkle the chopped fresh chives evenly over the top of the hash. Use the red silicone spatula to scoop 1/4 of the hash (with one egg per serving) onto the waiting matte cream stoneware dinner plates. Serve immediately with hot sauce on the side for drizzling.
Tips
2.Keep the rendered sausage fat in the pan instead of draining it: the flavorful fat coats the bottom of the tater tots as they cook, creating extra-crunchy, golden edges without requiring you to add extra neutral oil.
3.For evenly set eggs with runny yolks, make your wells deep enough to hold the entire egg: shallow wells cause egg whites to run across the top of the tots and cook unevenly, leaving raw white patches next to overcooked yolks.






OMG this tater tot hash is a total game changer for our Sunday brunch rotation! I tossed in a handful of diced bell peppers and a sprinkle of hot sauce on top, and my entire family cleaned their plates in 10 minutes flat. So easy to throw together even when I’m half asleep before coffee, 10/10.
This is now my go-to meal prep breakfast for the work week! It reheats like a dream in the microwave, no soggy tater tots if you crisp them up real good first per the recipe. 30 minutes start to finish is exactly what I need on busy Sunday meal prep days.
Super easy to make in my tiny dorm kitchen! I didn’t have any onion on hand so I skipped it, and it still tasted great. Next time I’m gonna add some crumbled sausage to make it a little more filling for late study nights.
Made this for my kids’ Saturday morning breakfast before their soccer games and they went crazy for it! My 7 year old asked for seconds before he even finished his first plate. Way better than the frozen hash browns I usually make, tater tots are just infinitely better tbh.
So happy this recipe is naturally gluten free as long as you pick the right tater tots! I’ve been searching for an easy, hearty breakfast that doesn’t require a million fancy GF ingredients, and this fits the bill perfectly. SO good.
Great base recipe! I threw in leftover chopped brisket from last night’s dinner and it was chef’s kiss. Only note is that my tater tots took a little longer to crisp up than the recipe said, maybe my oven runs a little cool?
Made this at 1am after hanging out with friends and it hit so different. No fancy ingredients, just stuff I already had in the freezer and fridge. 10/10 drunchies food, will be making again every time I have people over.
Made this for my meat-free Monday dinner! I swapped the usual bacon bits for roasted mushrooms and added some spinach, and it was so hearty I didn’t even miss the meat. Super easy to tweak for different diets, love a flexible recipe.
Brought this to my office potluck yesterday and the entire pan was gone in 15 minutes! People kept coming up to me asking if I’d made it from scratch or catered it, little did they know it took me 30 minutes total at home that morning. Total win.
I’m literally the worst at cooking, like I burn toast half the time, and even I pulled this off with zero issues! The instructions are so straightforward, and it came out crispy and flavorful just like the photos. Gained so much cooking confidence from this, thanks!