
tater tot hotdish vegetarian

title 1
tater tot hotdish vegetarian
⏱️ cook time 45 minutes
🍽️ servings 6
⚡ Difficulty easy

intro

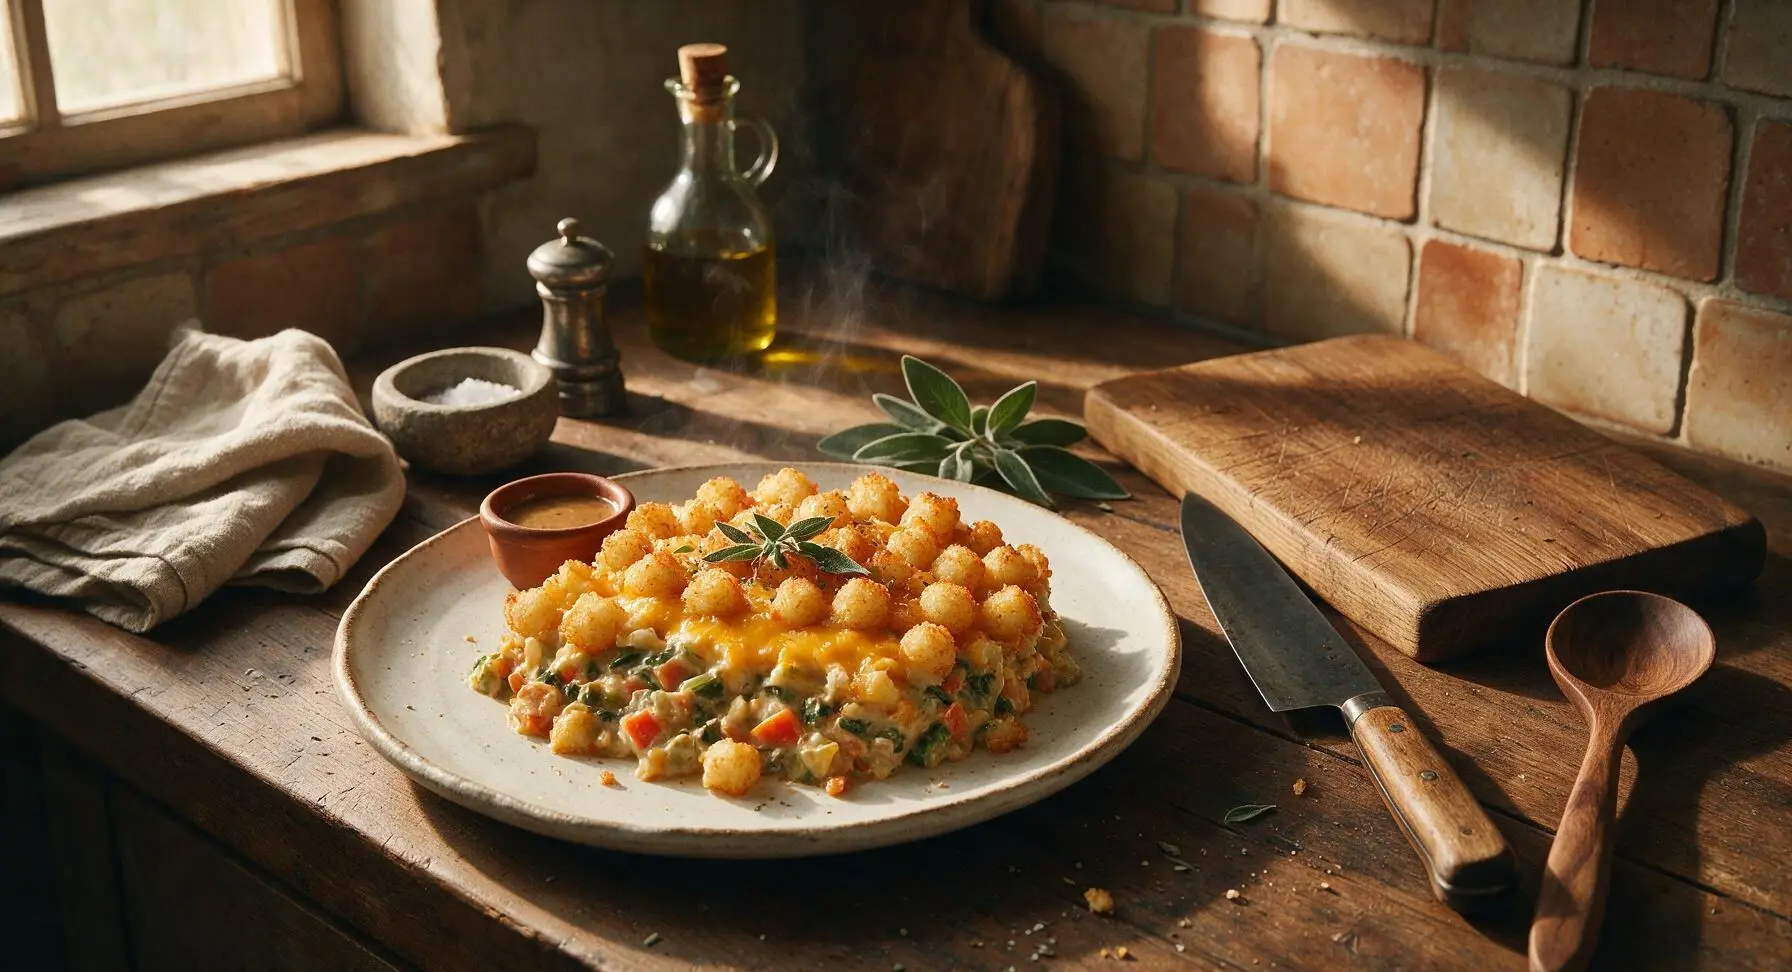
A cozy, veggie-packed vegetarian take on the classic Midwestern comfort food, with creamy savory filling, melted cheddar, and a crispy golden tater tot top perfect for cold-weather family meals.

Ingredients
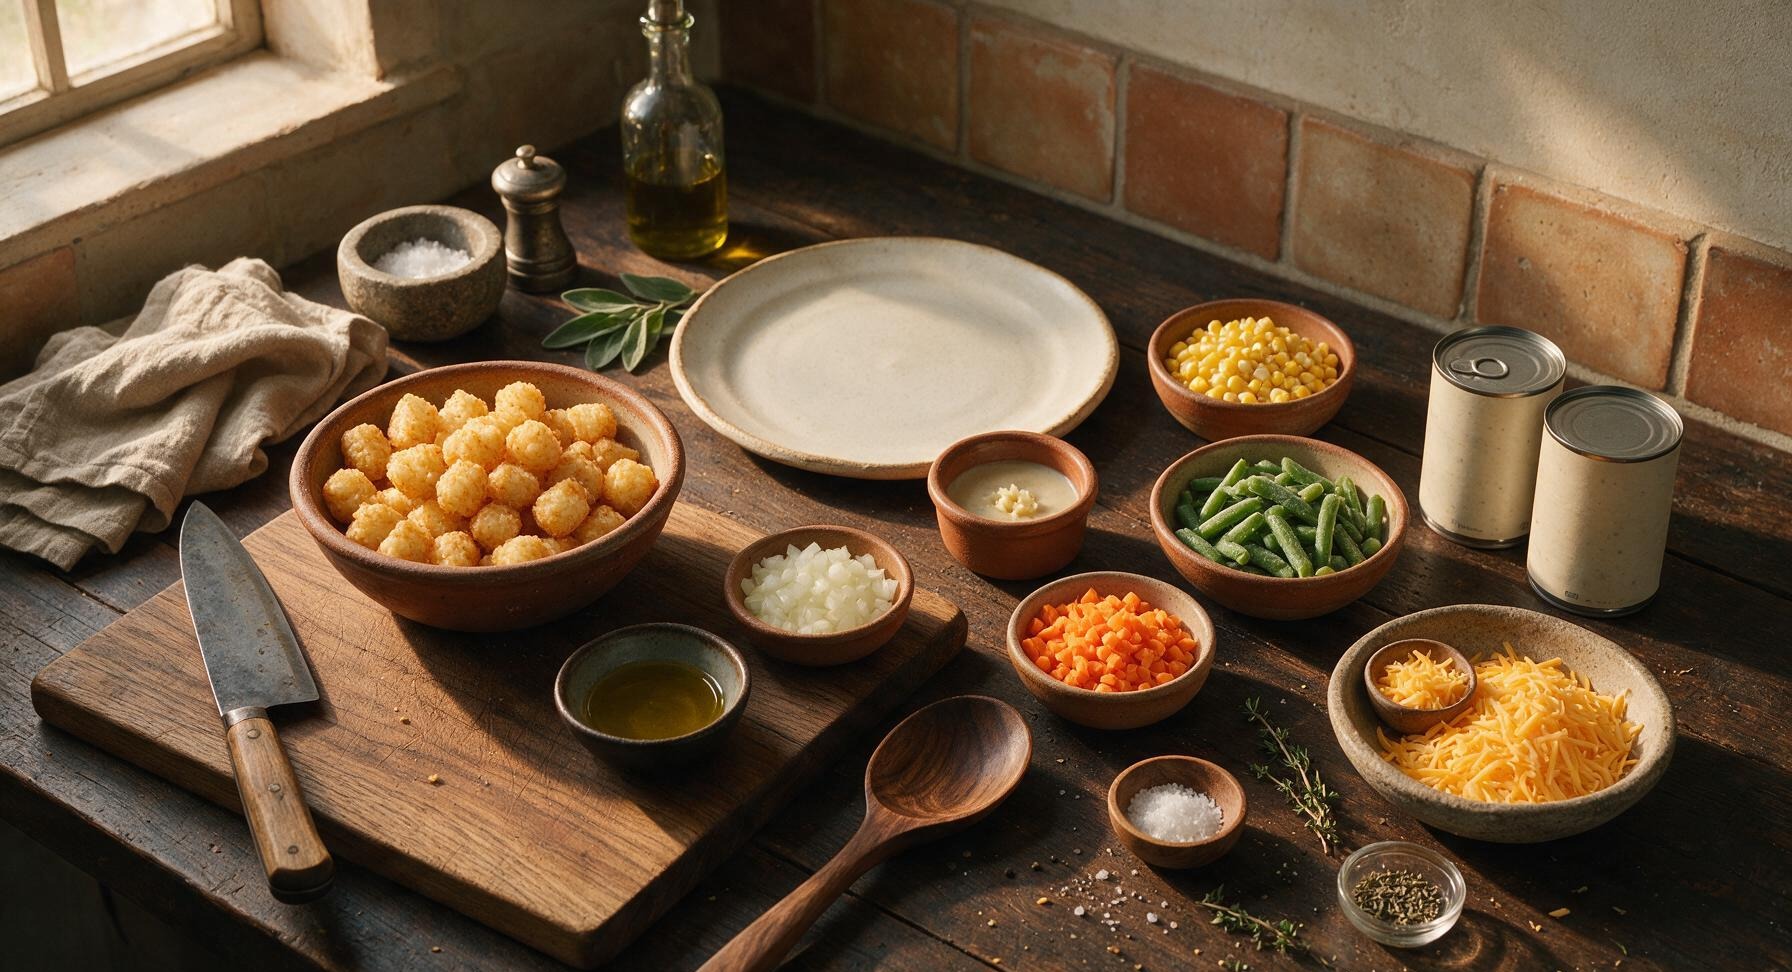
Frozen tater tots 2 lbs (900g)
Olive oil 2 tbsp
Yellow onion ½ cup, diced (1 small)
Carrot ½ cup, diced (1 medium)
Garlic 2 cloves, minced
Frozen cut green beans 1 cup, thawed, patted dry
Frozen sweet corn 1 cup, thawed, patted dry
Vegetarian cream of mushroom soup 2 (10.5oz) cans
Sharp cheddar cheese 1 cup, shredded, divided
Kosher salt ½ tsp
Freshly ground black pepper ½ tsp
Dried thyme 1 tsp
Fresh thyme sprigs 2, for garnish

Steps

1

Preheat Oven and Prep

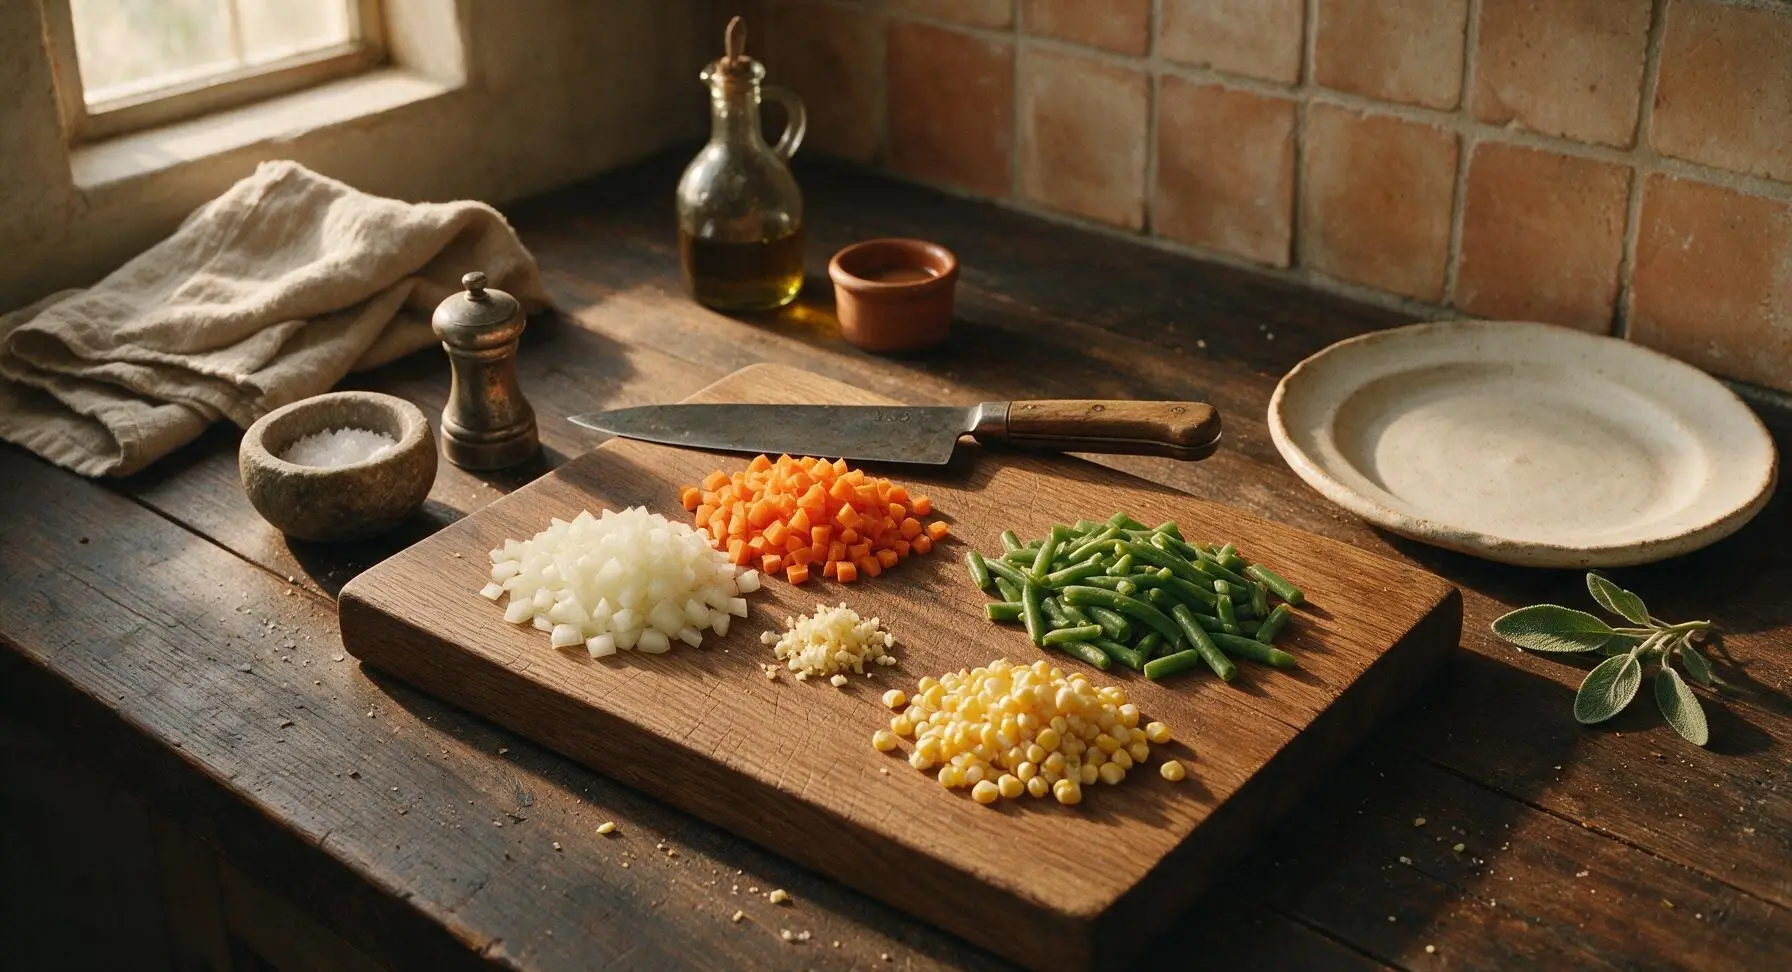
Adjust your oven rack to the middle position and preheat to 375°F (190°C). Pull the dark acacia cutting board from below counter and place it at the counter center. Use the 8-inch chef knife to dice the yellow onion and carrot into uniform ¼-inch pieces, mince the 2 garlic cloves finely. Pat the thawed frozen green beans and corn dry with paper towels to remove excess ice melt moisture—this prevents a watery final filling. Group prepped vegetables in neat piles on the edge of the cutting board, and shred the cheddar cheese if using a block.
Step 1
step1:Preheat Oven and Prep
2

Sauté Aromatic Vegetables

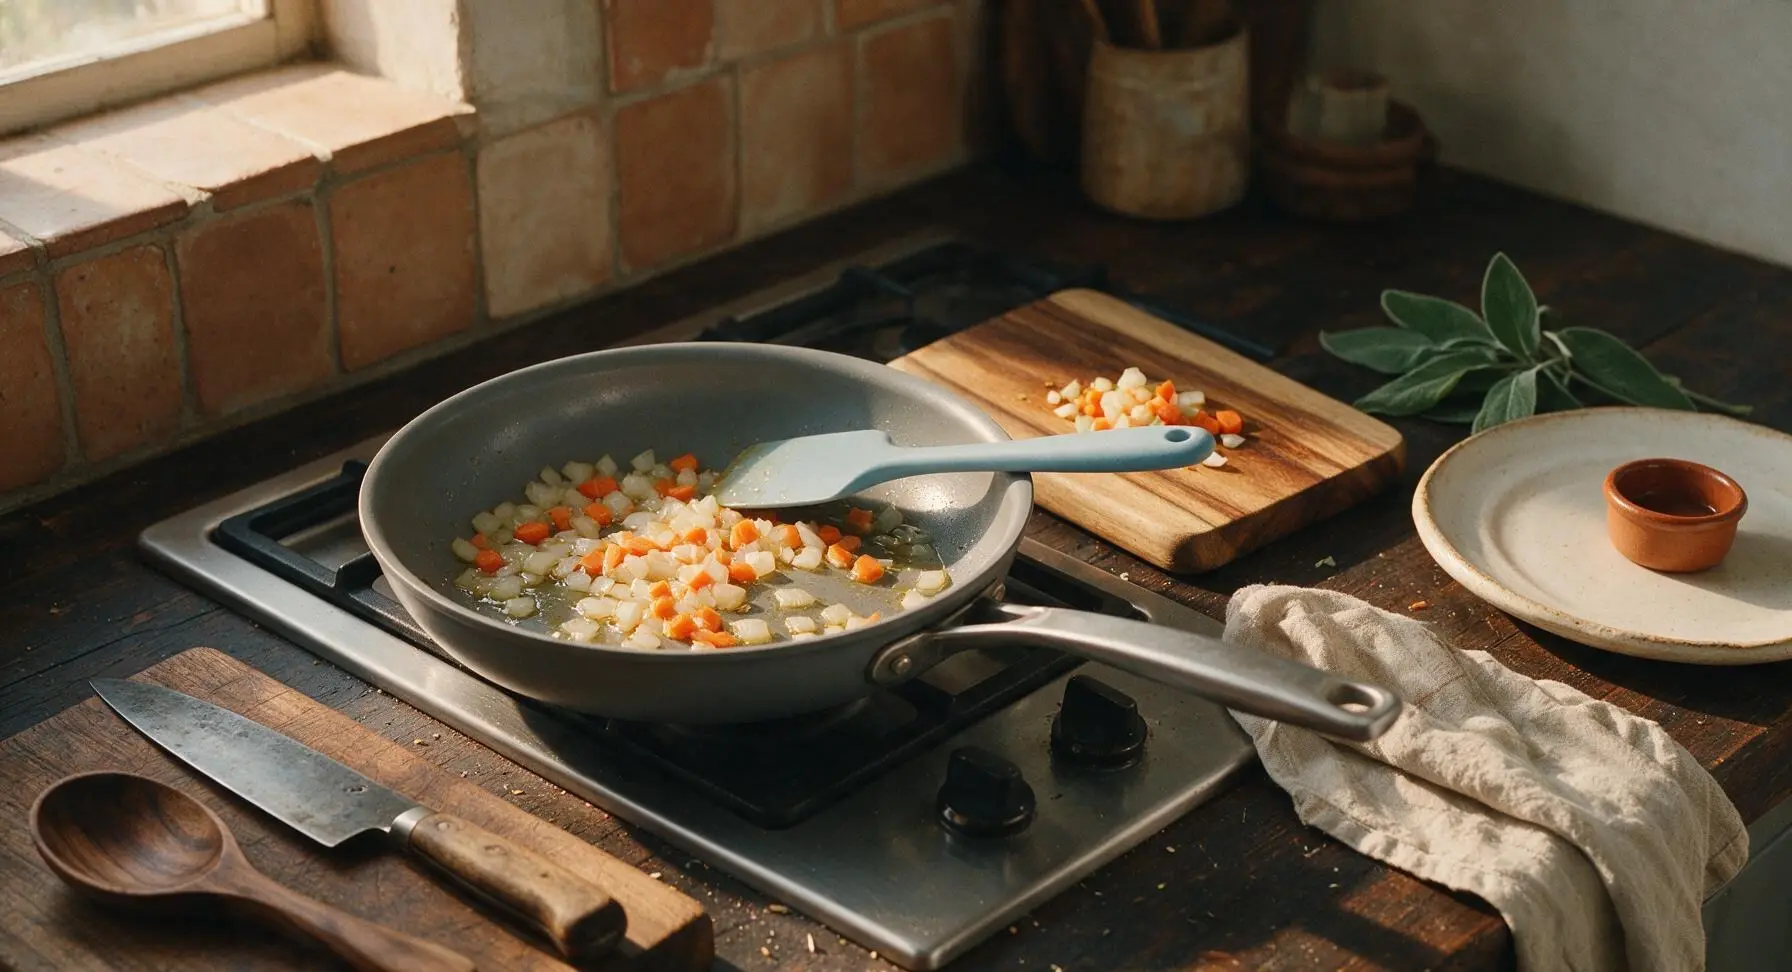
Place the 12-inch hard-anodized nonstick skillet on the left stovetop burner zone over medium heat, add 2 tablespoons of olive oil from the amber glass bottle. Once the oil shimmers (approximately 1 minute, no smoking), add the diced onion and carrot. Sauté for 5 minutes, stirring occasionally with the light blue silicone spatula, until vegetables are soft and onion edges turn pale golden. Add minced garlic, dried thyme, kosher salt, and black pepper, cook for 30 seconds only, until garlic smells fragrant—do not brown or burn the garlic, as it will turn bitter.
Step 2
step2:Sauté Aromatic Vegetables
3

Mix Casserole Filling

Turn off the stovetop heat, use the silver can opener to open both cans of vegetarian cream of mushroom soup, then transfer the sautéed onion, carrot, and garlic mixture from the skillet into the matte cream ceramic 9x13 baking dish, now placed at counter center (the acacia cutting board is returned to below-counter storage at this point). Add the patted-dry green beans, corn, and soup to the dish. Stir thoroughly with the silicone spatula until every vegetable piece is evenly coated in thick, creamy soup, then smooth the top of the filling into a flat, even layer.
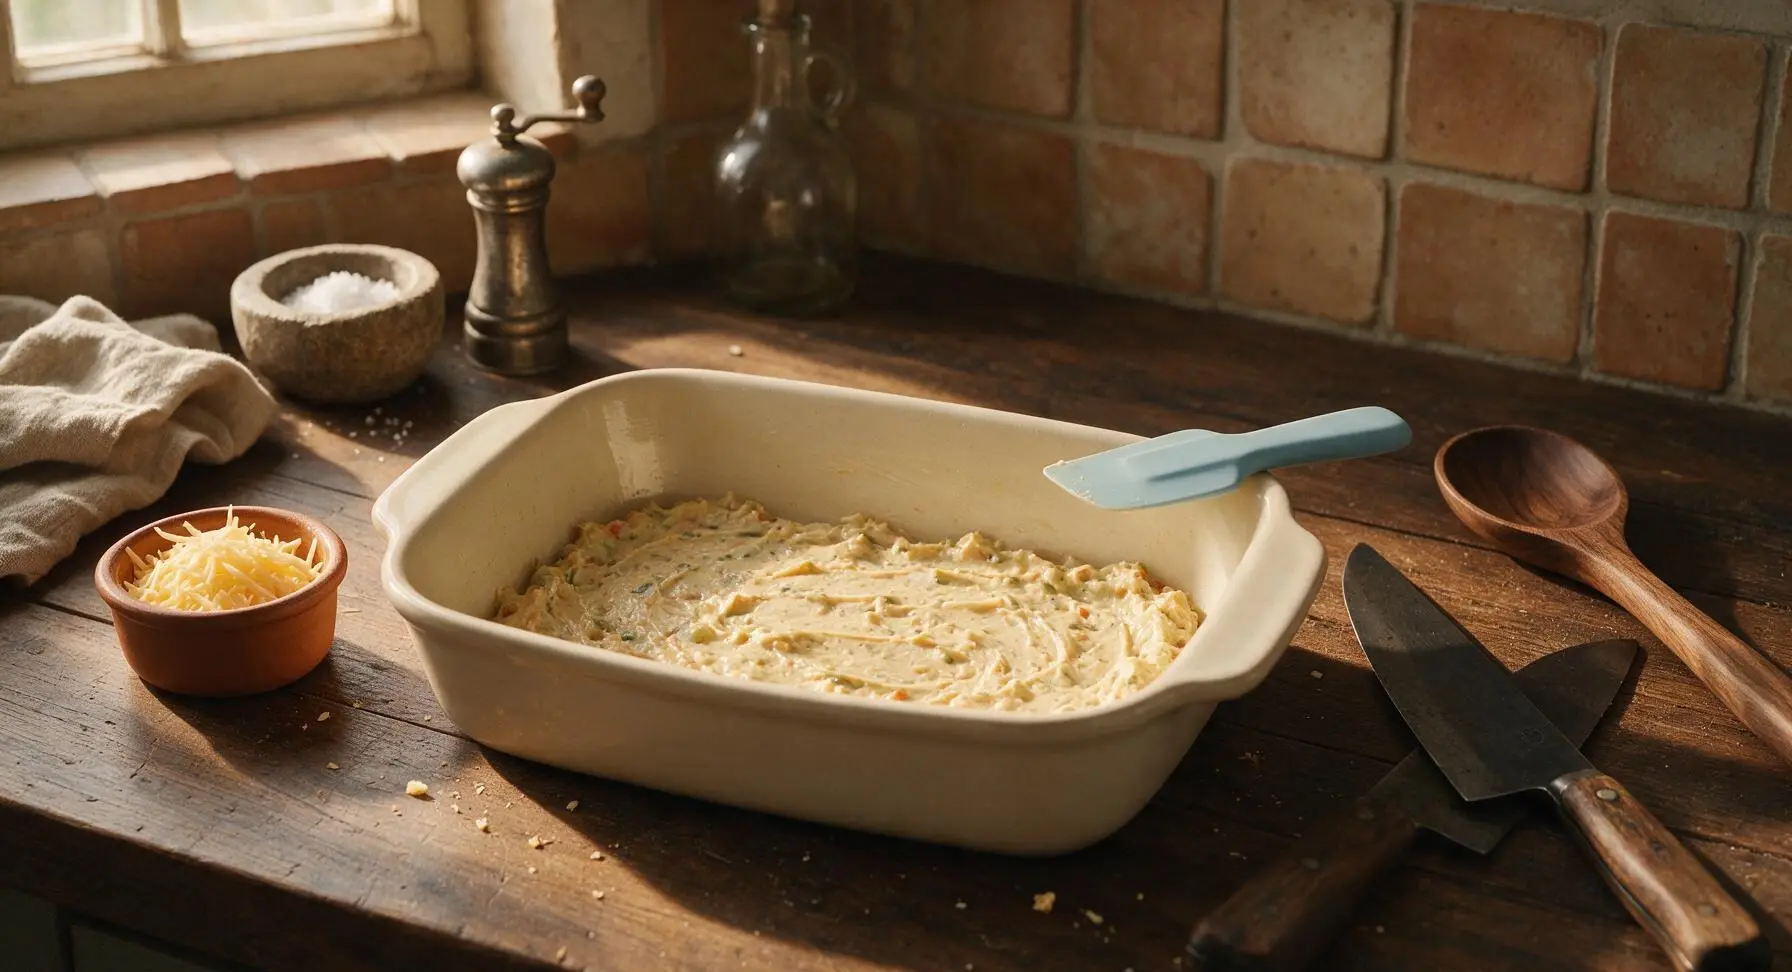
Step 3
step3:Mix Casserole Filling
4

Layer Cheese and Tots

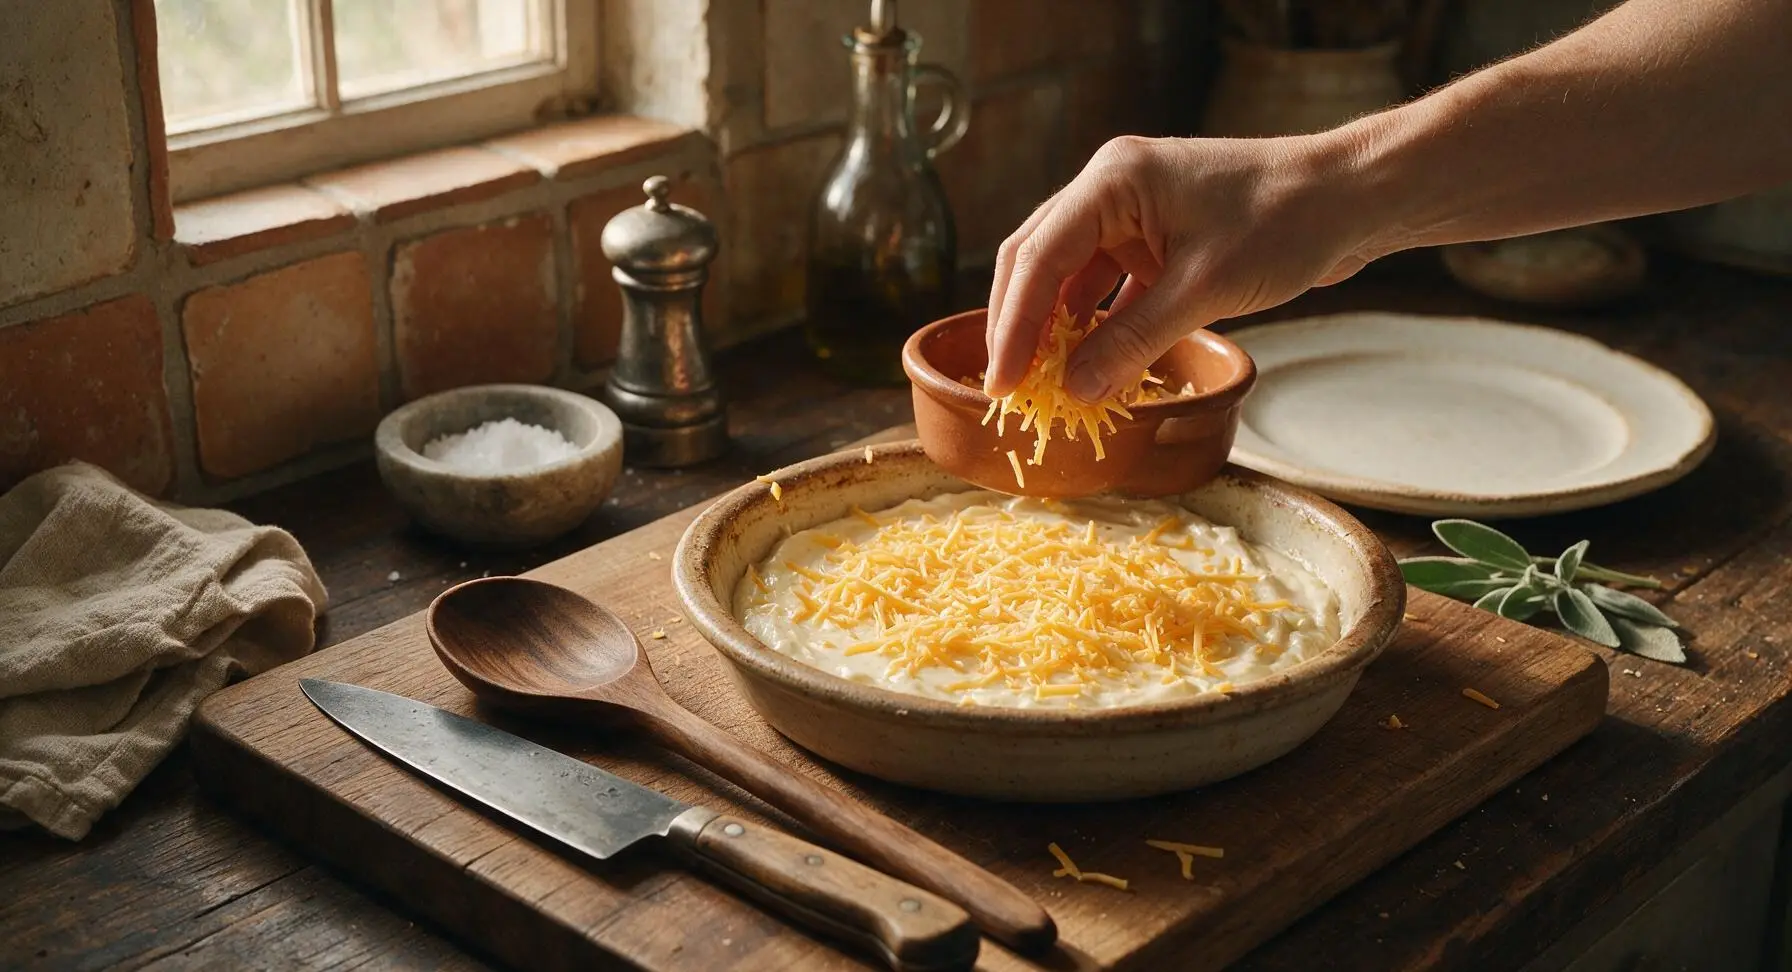
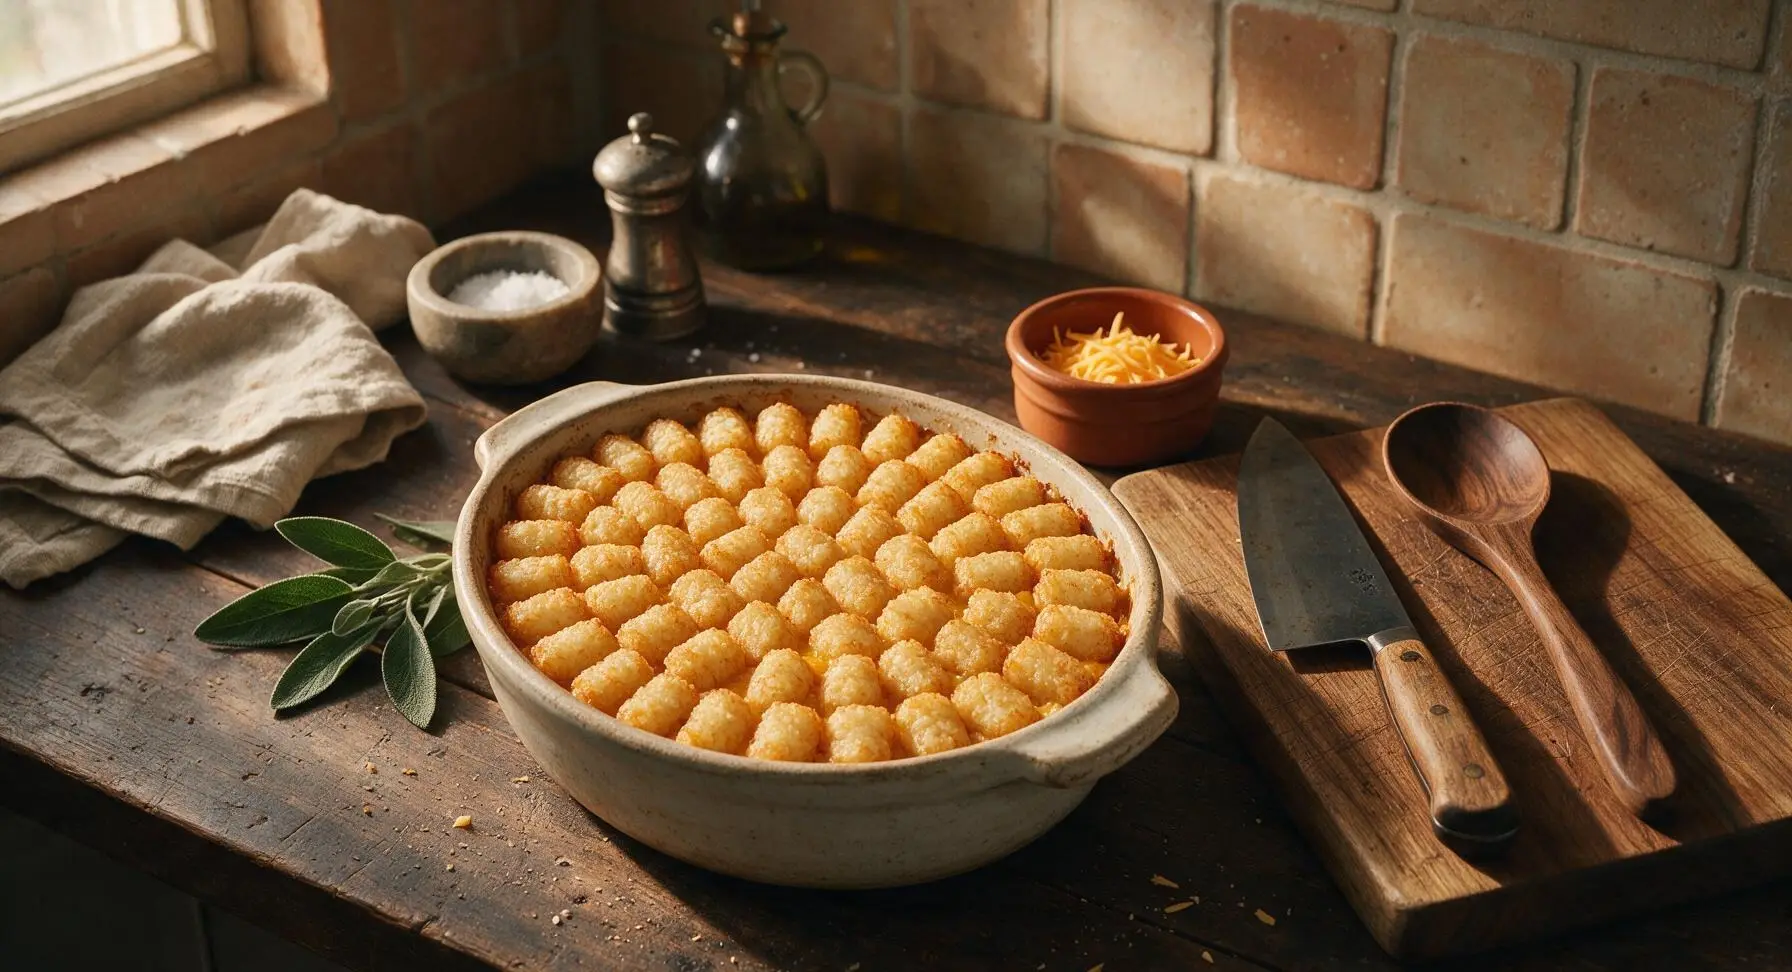
Sprinkle ¾ cup of the shredded sharp cheddar from the terracotta ramekin in an even layer across the entire surface of the creamy filling. Retrieve the frozen tater tots (do not thaw) and arrange them in tight, evenly spaced rows across the cheese layer, flat-side down. Overlap tots slightly to ensure no gaps expose the filling below—this creates a solid, crispy potato top that prevents the filling from bubbling over.
Step 4
step4:Layer Cheese and Tots
Step 4
step4:Layer Cheese and Tots
5

Bake to Crispy Perfection

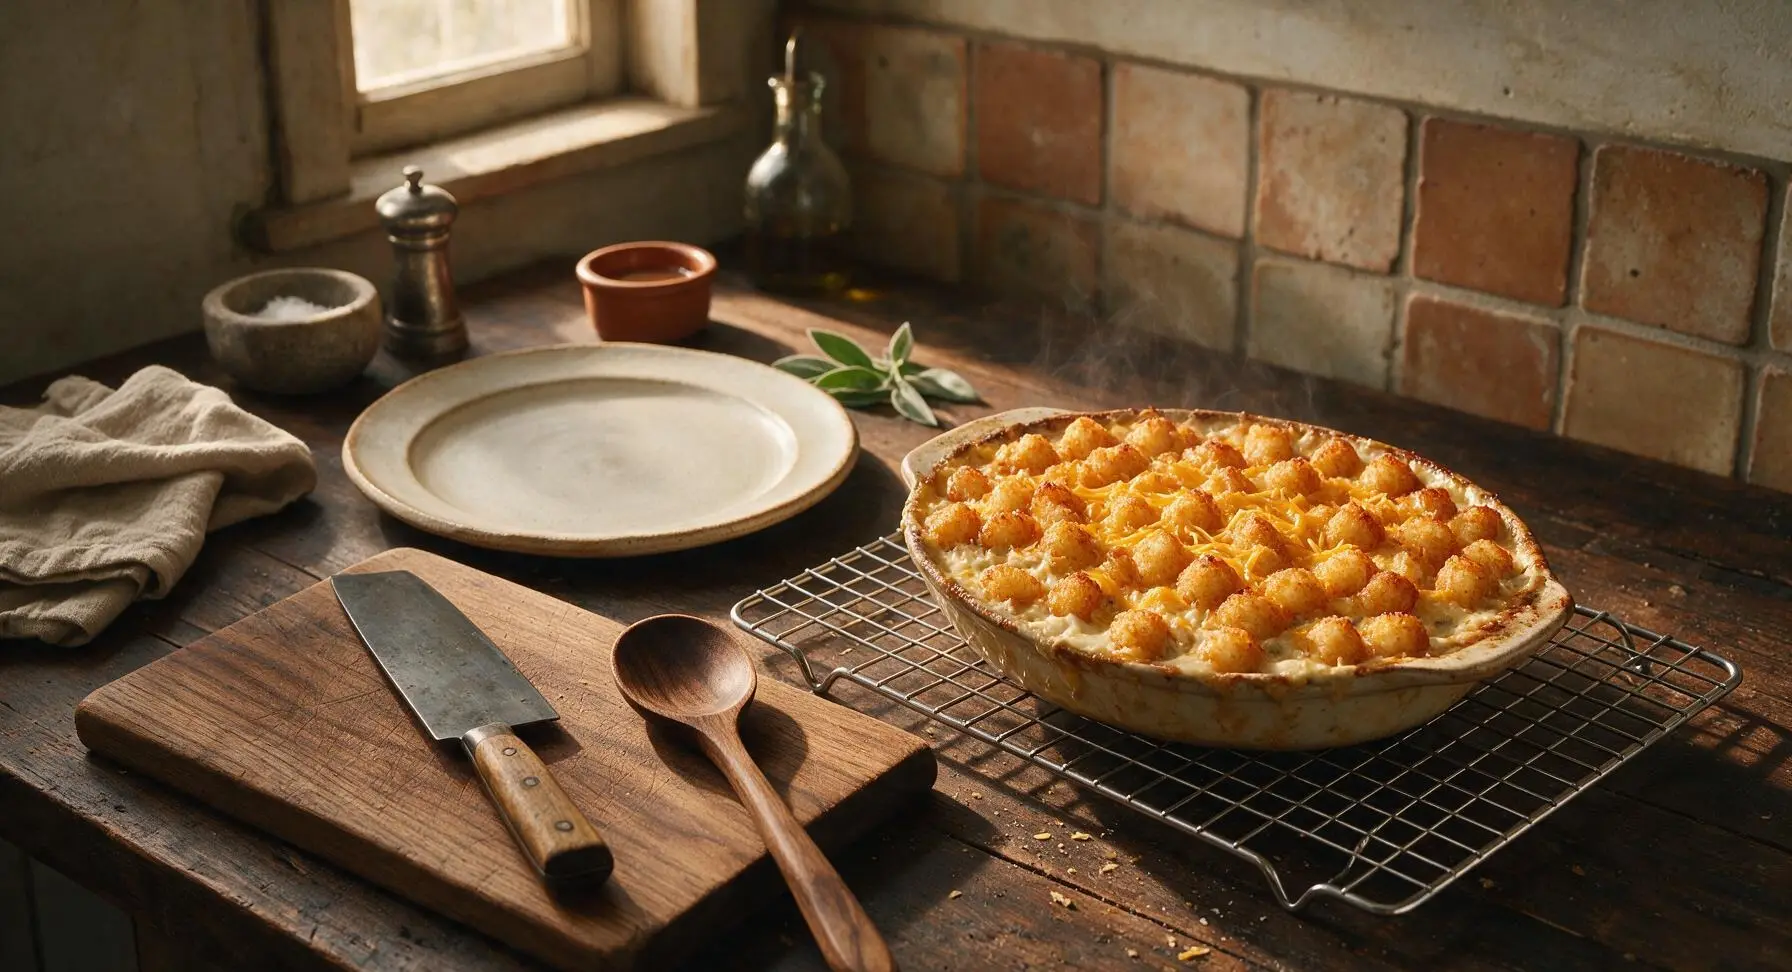
Carefully lift the assembled baking dish and place it on the preheated middle oven rack. Bake uncovered for 40 minutes, until the creamy filling bubbles vigorously around the dish edges and tater tots turn deep golden brown on top. For extra crispness, switch the oven to high broil for the final 2 minutes, watching constantly to avoid burning the tot edges. Once done, transfer the dish to the chrome wire rack placed on the counter to the right of center, and let rest 5 minutes. Sprinkle the remaining ¼ cup shredded cheddar over the hot tater tots, letting residual heat melt the cheese into small bubbly patches.
Step 5
step5:Bake to Crispy Perfection
6

Plate and Garnish

After the 5-minute rest (this allows the filling to set so portions hold their shape instead of running), use a large metal serving spoon to scoop a generous 1.5-cup portion onto the matching matte cream ceramic dinner plate, placed in front of the baking dish. Top the portion with a small fresh thyme sprig for a bright, herby garnish, and serve warm.
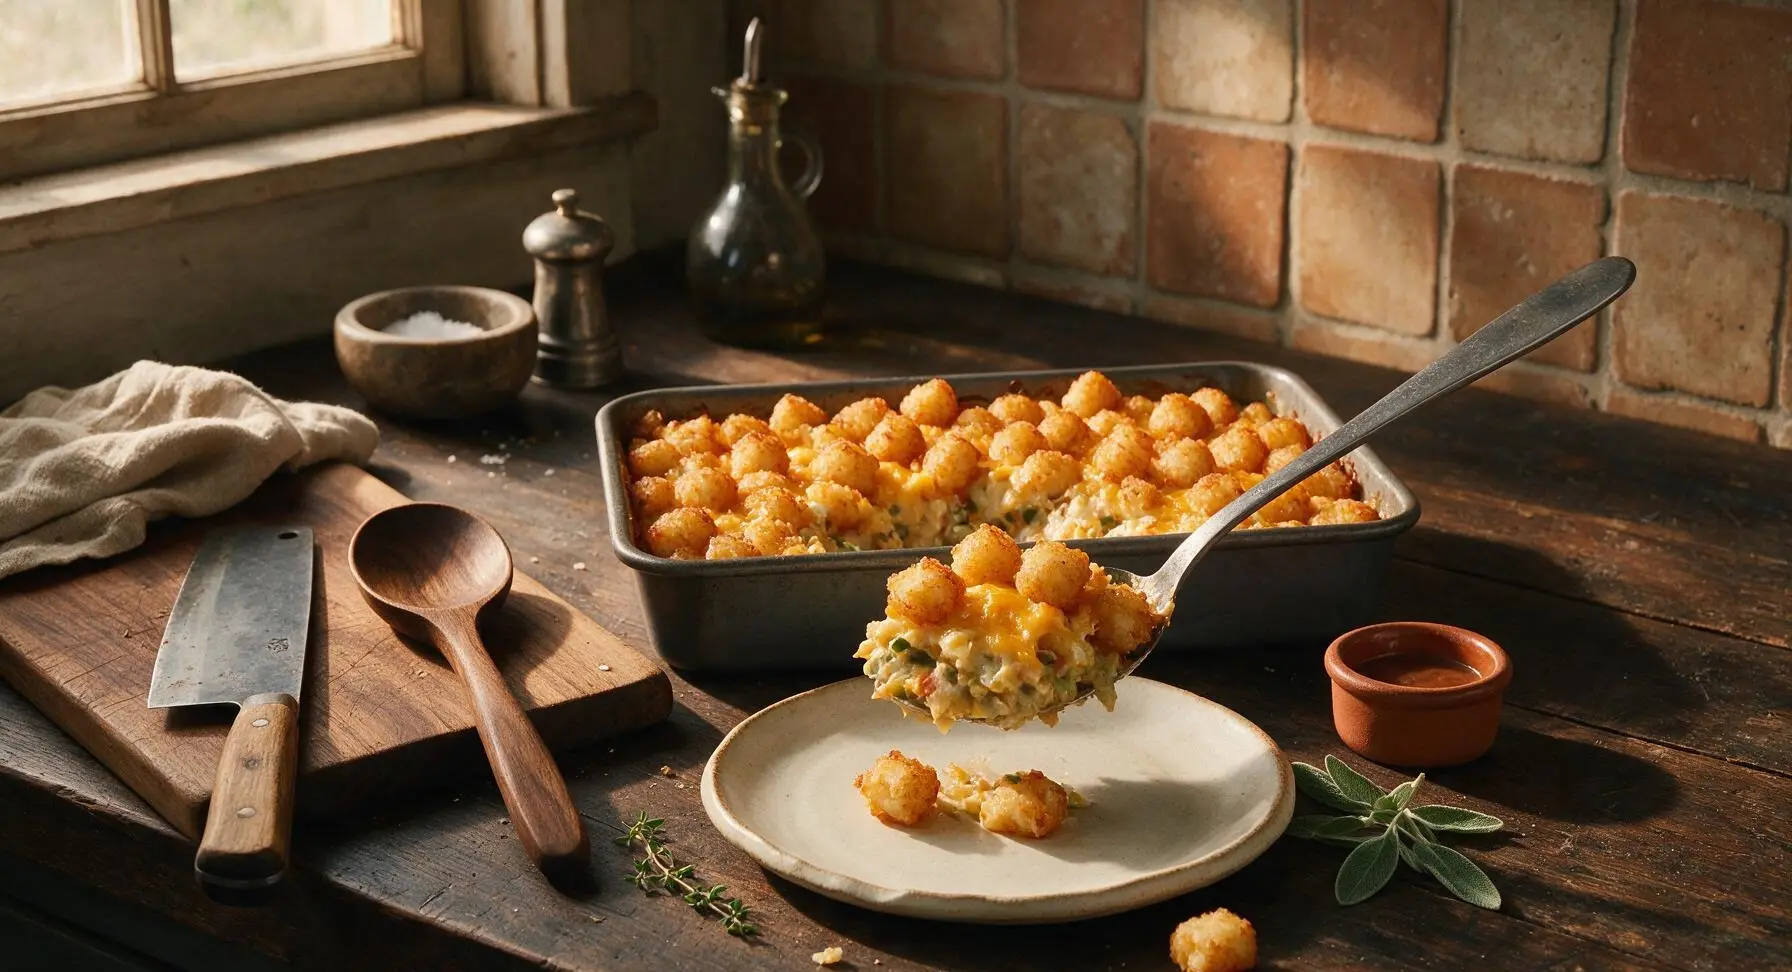
Step 6
step6:Plate and Garnish

Tips

1.Pat thawed frozen green beans and corn completely dry before mixing into the filling: excess melted ice water from frozen vegetables will create a watery, runny casserole and prevent the tater tot top from crisping as it bakes.
2.Never thaw tater tots before arranging them on the casserole: tots baked straight from frozen develop a shatteringly crisp, golden exterior, while pre-thawed tots absorb creamy filling and turn soft and soggy.
3.Let the baked hotdish rest for a full 5 minutes before serving: this short rest allows the creamy soup and cheese filling to set, so scooped portions hold their neat shape instead of spreading across the plate. The dish also stays warm for 30 minutes when covered with foil, making it ideal for group meals.


✨ You May Also Like

Main Course
🍜 United Kingdom

A showstopping classic of tender seared beef, savory mushroom duxelles, and crisp prosciutto wrapped in flaky golden puff pastry, baked to juicy perfection.

⏱️ 2 hours 1Main Course ★ 4.7
Main Course
🍜 India

Tender charred marinated chicken simmered in a rich, spiced creamy tomato sauce, this iconic Anglo-Indian curry pairs perfectly with basmati rice or warm naan.

⏱️ 50 minuteMain Course ★ 4.6
Main Course
🍜 Thailand

Classic tangy, sweet, and savory Thai stir-fried rice noodles with shrimp, tofu, and crunchy garnishes, balancing all five core Thai flavor profiles.

⏱️ 30 minuteMain Course ★ 4.5
Main Course
🍜 United Kingdom

Crispy golden beer-battered cod and fluffy double-fried chips, served with tangy tartar sauce and malt vinegar: the timeless, beloved British pub comfort classic.

⏱️ 45 minuteMain Course ★ 4.7
Main Course
🍜 Mexico

Smoky, chile-marinated pork tacos with caramelized pineapple, fresh cilantro, and lime: a beloved classic Mexican street food perfect for casual summer gatherings.

⏱️ 1 hour 45Main Course ★ 4.8
Main Course
🍜 United States

Crunchy Fritos corn chips layered with savory beef chili and melted cheddar, topped with cool, zesty fixings for a beloved, cozy Tex-Mex comfort food.

⏱️ 35 minuteMain Course ★ 4.8

tater tot hotdish vegetarian:Frequently Asked Questions

1.Do I need to thaw frozen tater tots before using them for this hotdish? ▾
Nope, no thawing required! Using fully frozen tater tots straight from the bag is actually the trick to getting that perfect crispy, golden top instead of soggy, mushy tots. Just arrange them in an even single layer over the filling right before popping the dish in the oven, and they’ll crisp up beautifully as the hotdish bakes.
2.Can I make this hotdish fully vegan? ▾
Absolutely! Swap the dairy cheddar for a well-melting vegan cheddar shred blend, use unsweetened plain oat milk to make the creamy filling, and double-check your frozen tater tots don’t have hidden milk derivatives. Most standard store-bought tater tots are accidentally vegan, but it never hurts to scan the label first to confirm.
3.What other veggies can I add to the filling to bulk it up? ▾
You have tons of flexible options here! Diced bell pepper, frozen corn, cut green beans, sliced mushrooms, or even frozen peas all work beautifully. Sauté firmer veggies like bell pepper and mushrooms along with the onion, carrot, and garlic, and stir in softer frozen veggies right before assembling to avoid overcooking.
4.How do I keep the tater tot top from getting soggy? ▾
The two biggest tricks are using fully frozen (not thawed) tater tots arranged in a single, slightly overlapping layer, and letting your warm veggie filling cool for 5 minutes before adding the cheese and tots. Bake the dish uncovered the whole time to let steam escape, which keeps tots light and crisp.
5.Can I prep this hotdish ahead of time for a weeknight meal? ▾
Definitely! Assemble the entire dish—veggie filling, cheese layer, and frozen tater tot top—up to 24 hours in advance, cover it tightly, and store it in the fridge. When you’re ready to bake, add 10 to 15 minutes to the total bake time since it’ll be cold going into the oven, and keep it uncovered for crisp tots.
6.What kind of cheese works best if I don’t have sharp cheddar? ▾
Melty, flavorful semi-hard cheeses work best here. Try a blend of mozzarella and Monterey Jack for a milder, super stretchy melt, or add a sprinkle of smoked gouda for a rich, deep, savory note. Avoid crumbly cheeses like feta as the main layer, since they won’t give that classic gooey, cohesive melt.
7.How long does leftover hotdish keep in the fridge? ▾
Properly stored in an airtight container (or tightly covered in its baking dish), leftover tater tot hotdish will stay fresh for 3 to 4 days in the refrigerator. Reheat individual portions in the microwave for a quick meal, or pop a whole pan back in a 350°F oven for 15 minutes to crisp the tots back up.
8.Can I freeze this hotdish for later meals? ▾
Yes, it freezes beautifully! Assemble the unbaked hotdish in a freezer-safe baking dish, wrap it tightly in two layers of plastic wrap and a layer of foil, and freeze for up to 3 months. Bake straight from frozen (remove plastic first!) at 375°F for 1 hour to 1 hour 15 minutes, until bubbly and the tots are golden.
9.Do I need to use canned creamy soup like traditional hotdish recipes call for? ▾
You don’t have to rely on canned soup if you don’t want to! Make a quick, simple roux with olive oil, a little flour, vegetable broth, and a splash of milk to get that same rich, creamy texture without canned soup, or use low-sodium canned cream of mushroom soup if you want that classic nostalgic flavor.
10.My kids are picky eaters—how can I adjust the veggies to suit them? ▾
Finely dice the onion and carrot so they almost melt into the creamy filling, or pulse them briefly in a food processor to make them less noticeable. You can also mix in kid-friendly favorites like frozen corn or finely chopped broccoli, and add extra cheese on top to make it feel extra fun for little eaters.
11.What size baking dish works best for this recipe? ▾
A standard 9x13 inch glass or ceramic baking dish is ideal for even cooking and a perfect ratio of filling to crispy tater tot top. If you use a smaller dish, your filling layer will be too thick and tots may sink; if you use a larger dish, the filling will spread too thin and cook too quickly.
12.Can I add plant-based protein to make this more filling? ▾
Absolutely! Stir in a can of rinsed, drained chickpeas, cooked lentils, or browned crumbled plant-based sausage along with the veggies for an extra protein boost. These additions pair perfectly with the creamy, savory flavor profile and won’t make the filling watery as long as you drain canned beans well first.
13.Why is my filling watery after baking? ▾
Watery filling usually comes from not cooking moisture-heavy add-ins (like mushrooms or zucchini, if you use them) long enough to evaporate their excess water before assembling the dish, or using too much thin liquid in your creamy base. Sauté high-moisture veggies until all their released liquid cooks off completely.
14.Can I use sweet potato tater tots instead of regular potato tots? ▾
You sure can! Sweet potato tater tots add a subtle, earthy sweetness that pairs beautifully with the savory veggie filling and melted cheddar. Use them straight from frozen just like regular tater tots, and keep an eye on them the last 10 minutes of baking since they brown a little faster than standard tots.
15.What temperature and bake time works best for this hotdish? ▾
Bake the hotdish uncovered at 375°F for 40 to 45 minutes, until the filling is bubbling around the edges, the cheese is fully melted, and the tater tots on top are deep golden and crispy all over. If tots start browning too fast before the filling is hot, tent the top loosely with foil for the last 10 minutes.
16.How do I make this hotdish gluten-free? ▾
It’s super easy to adapt this recipe for gluten-free diets! First, confirm your frozen tater tots are labeled gluten-free (some have wheat-based coatings), use gluten-free all-purpose flour if making a homemade creamy roux, and double-check that any broth or canned soup you use is certified gluten-free.
17.Can I add extra cheese on top of the tater tots? ▾
Go for it! Sprinkling a quarter cup of extra shredded cheddar over the tater tots during the last 5 minutes of baking gives you an extra gooey, cheesy, salty crust that tastes incredible. Just don’t add the cheese too early, or it will burn and get crispy instead of melty before the tots are fully cooked.
18.Do I need to cover the dish while it bakes? ▾
Skip the cover for most of the bake time! Baking uncovered lets excess steam escape, which keeps your tater tot top crispy instead of soggy. The only time you’ll want a loose foil tent is if you notice tots browning too fast before the filling is bubbling through, usually when baking a cold pre-assembled dish.
19.What should I serve alongside this hotdish? ▾
This rich, cozy dish pairs perfectly with light, bright sides to cut through the creaminess. Try a simple tossed green salad with tangy vinaigrette, quick pickled cucumber slices, or steamed green beans with a squeeze of lemon. The hotdish is filling enough on its own, so you don’t need heavy, elaborate sides.
20.Can I use fresh homemade tater tots instead of frozen? ▾
If you have homemade or fresh refrigerated tater tots, those work great too! Just note that fresh tots have more moisture than frozen ones, so par-bake them for 10 minutes on a sheet tray before arranging them on the filling to make sure they get extra crispy instead of softening into the cheese layer as they bake.

Comments (7)

2 days ago

OMG this vegetarian tater tot hotdish is an absolute game changer! I brought it to my neighborhood potluck last weekend and even the staunchest meat-eaters were going back for second and third helpings. I swapped the regular cream of mushroom soup for the low-sodium version and it still tasted SO good. 10/10 will be making this for my regular weekly meal prep rotation!

yesterday

Wait did you toss in any extra veggies? I’m planning to make this for my book club this weekend and I’m thinking of adding some diced bell peppers to the mix!

2 hours ago

Love the bell pepper idea, Meg! Diced peppers and a handful of frozen corn make amazing add-ins for this recipe — just sauté them for a couple minutes first to cook off excess moisture so the hotdish doesn’t end up watery. So glad everyone at the potluck enjoyed it!

5 days ago

Super straightforward recipe, perfect for those chaotic weeknights when I don’t feel like spending an hour slaving away in the kitchen. My kids loved it — they didn’t even notice there was no meat in it! The only reason I’m not giving a full 5 stars is the tater tots on the edge of the pan got a little crispier than my crew likes. Next time I’ll cover it with foil for the first 30 minutes to keep them softer.

3 days ago

The extra crispy edge tots are my absolute favorite part! 😂 I actually leave the foil off the entire bake time to get that crunch on every single tot on the top layer.

2 days ago

Thanks so much for the honest feedback, Mike! Covering with foil for the first 25-30 minutes is a great hack if you prefer softer, less crispy tots. I’m thrilled to hear your kids still gobbled it up even with the extra crunch!

1 week ago

I whipped up a big pan of this on Sunday and ate portions for lunch all work week long! It reheats way better than I expected — no mushy tater tots, no weird separated sauce, just as good on day four as it was fresh out of the oven. I sprinkled a little nutritional yeast on top before baking for an extra cheesy, umami kick and it was chef’s kiss. Easy, budget-friendly, filling — what more could you want?

5 days ago

The nutritional yeast trick is such a smart call! So glad this worked out for your weekly meal prep — it’s one of my go-to make-ahead meals too, since the flavors actually meld even better after a day or two in the fridge.

3 days ago

As someone who’s genuinely terrible at cooking and only switched to a vegetarian diet last month, I was fully convinced I’d mess this up. It was SO easy! 45 minutes total, zero fancy skills or weird ingredients required, and my roommate said it’s the best thing I’ve made since we moved in together. This is going straight into my permanent weekly dinner rotation.

2 days ago

Same vibe! I’m a senior in college with a tiny, janky dorm oven and this came out perfectly on the first try. You don’t need any fancy equipment at all, just a basic 9x13 casserole dish.

2 weeks ago

Made this for family dinner last night when my vegetarian sister came into town, and literally every person at the table asked me for the recipe. I was worried the classic cozy hotdish flavor would feel off without ground beef, but the mix of tender veggies and creamy, seasoned sauce hits that exact comfort food spot I was craving. Served it with a side of roasted green beans and it was the perfect low-fuss weeknight meal.

2 weeks ago

That makes me so happy to hear, Kara! This recipe was developed to have that same nostalgic hotdish vibe without the meat, so it’s ideal for mixed-diet family get-togethers. So glad it was a hit!

yesterday

Really solid base recipe! I tossed in an extra half cup of shredded sharp cheddar between the veggie layer and the tater tots because I’m a total cheese fiend, and it came out so rich and delicious. Next time I make it I’m going to stir a little dash of smoked paprika into the sauce and maybe drizzle hot sauce on my serving for a tiny kick. So easy to tweak to your taste!

5 minutes ago

Just pulled this out of the oven and my whole apartment smells incredible! I’ve been searching forever for a vegetarian take on the classic tater tot hotdish I grew up eating at family gatherings, and this hits every single nostalgic note. Crispy golden tots on top, creamy savory veggie filling, zero weird fake meat required — it’s pure cold-weather comfort food. I’m already planning to make another pan for my game night with friends next weekend!



