
tater tots and eggs breakfast
intro
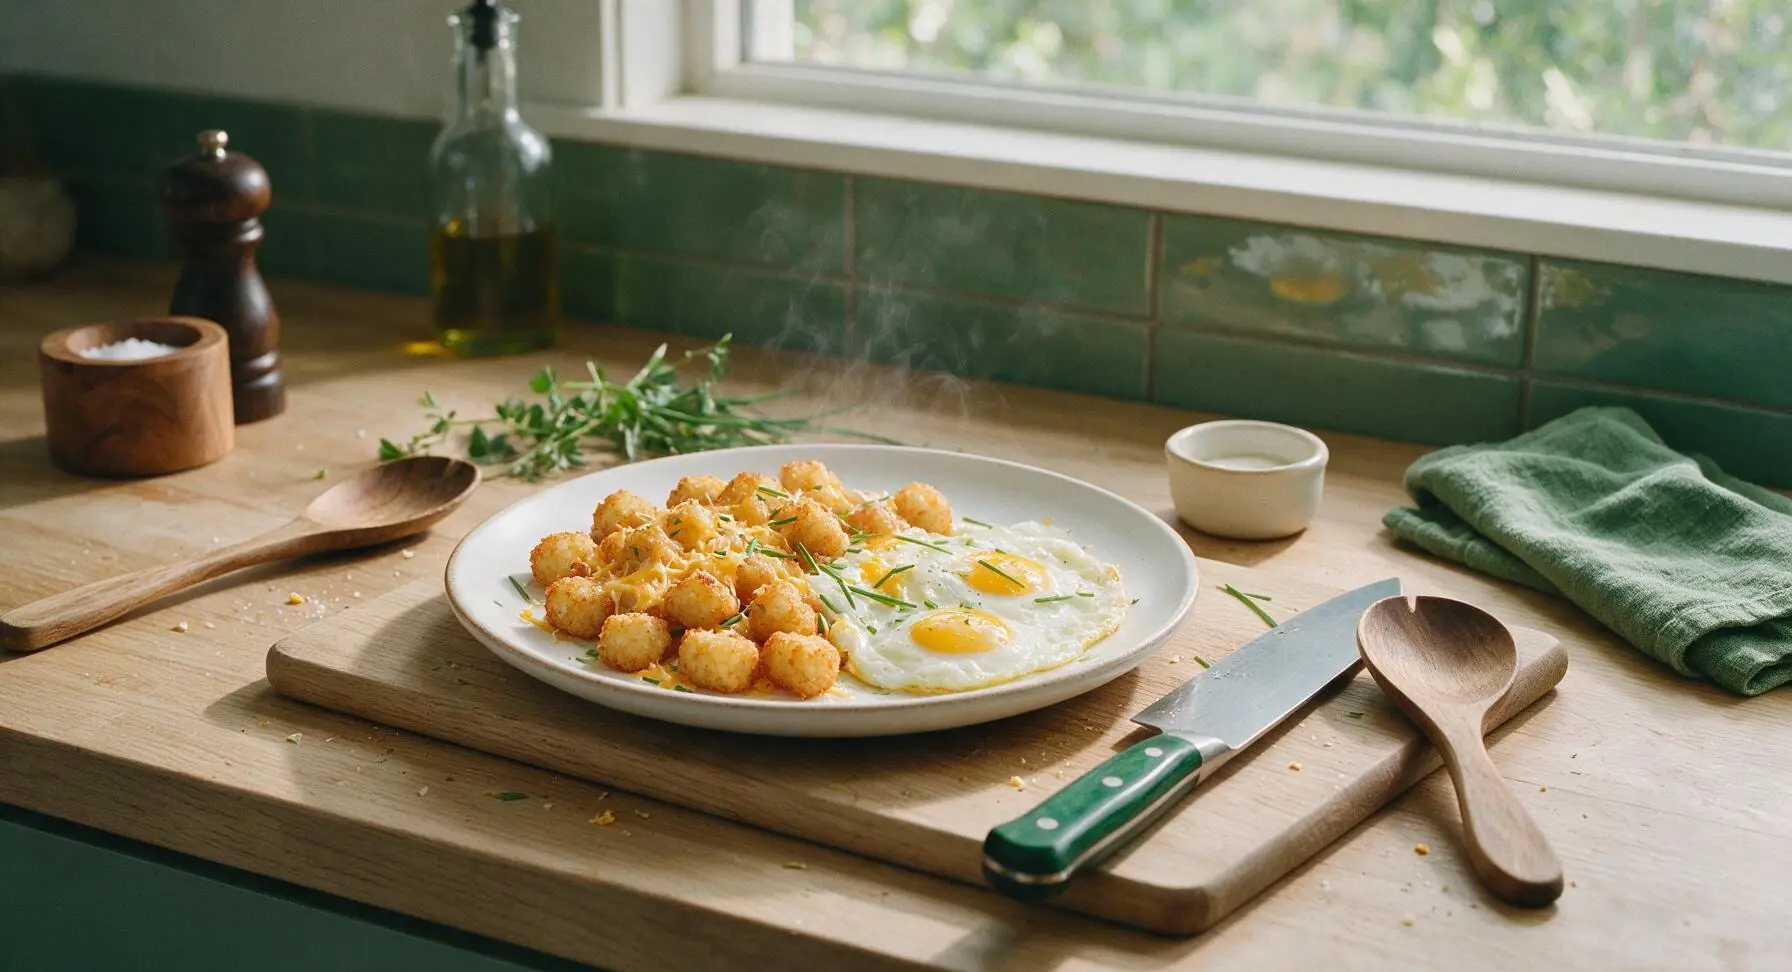
Crispy golden cheese-topped tater tots paired with fluffy sunny-side-up eggs and fresh chives—classic diner comfort, ready in 25 minutes with minimal cleanup.
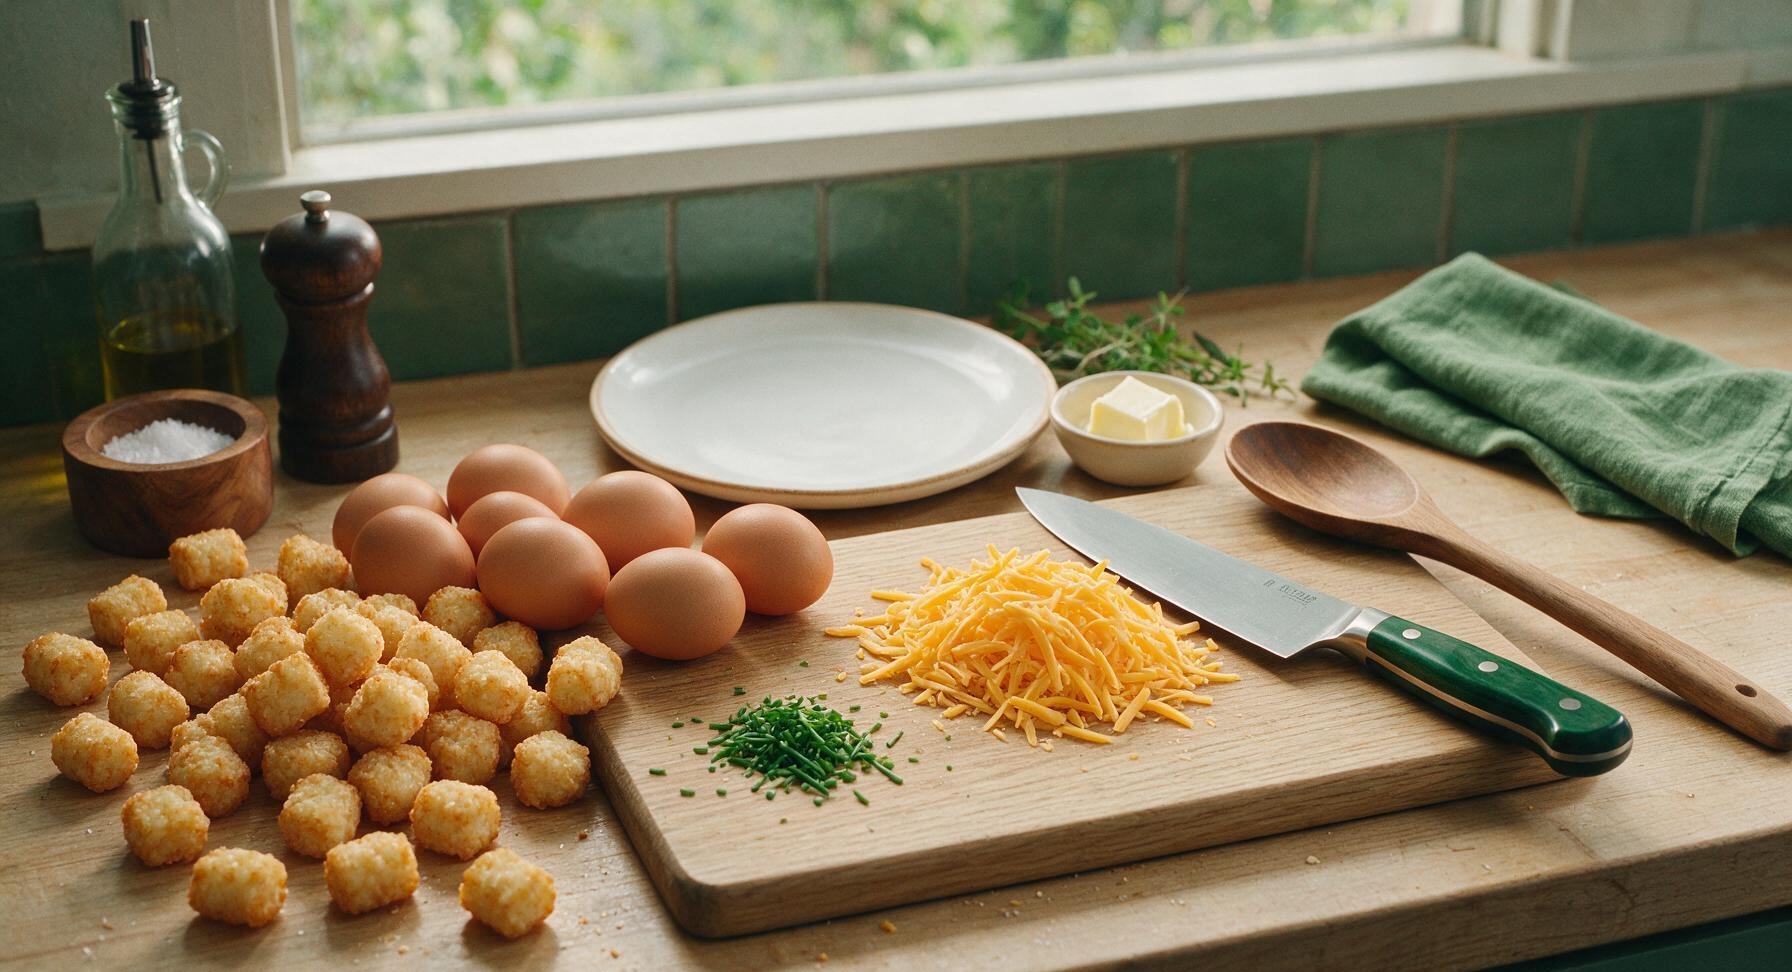
Ingredients
Steps
Preheat Oven, Prep Pan
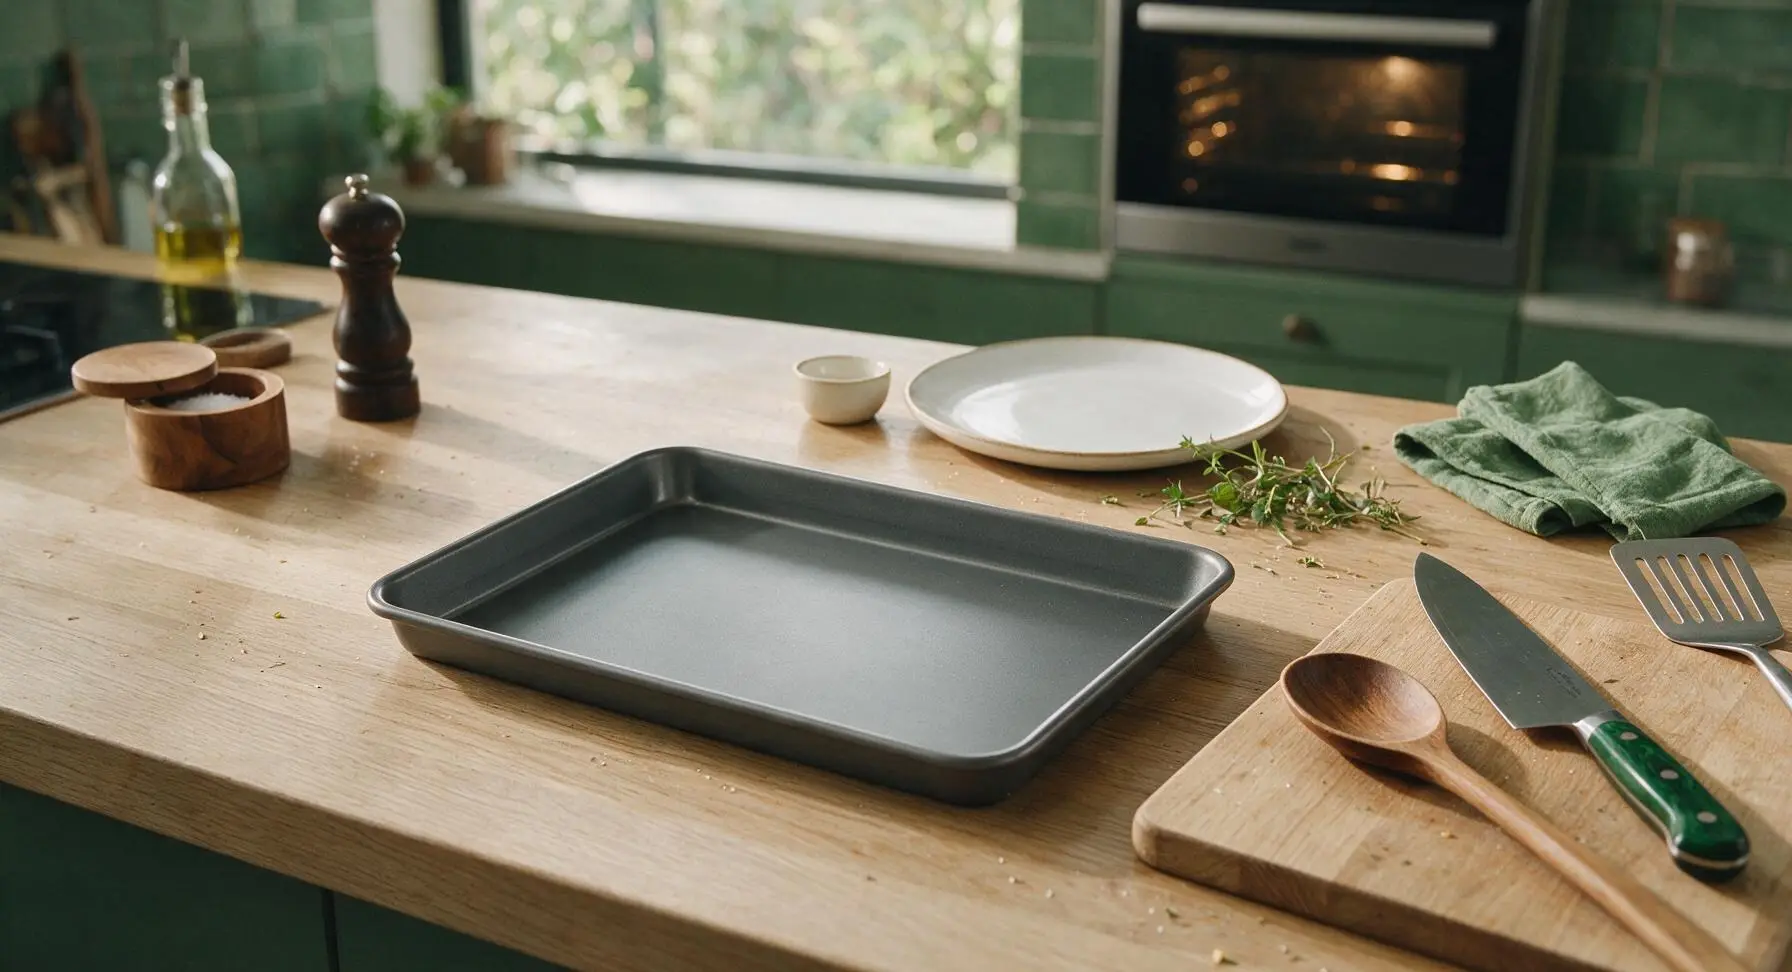
Adjust oven rack to middle position, preheat oven to 425°F (220°C). Pull the matte dark grey half-sheet pan from the right-side metal rack, place it in the center of the counter. No oil is needed for the pan, as frozen tater tots release enough starch and oil to crisp without sticking during baking.
Chop Chives, Prep Cheese
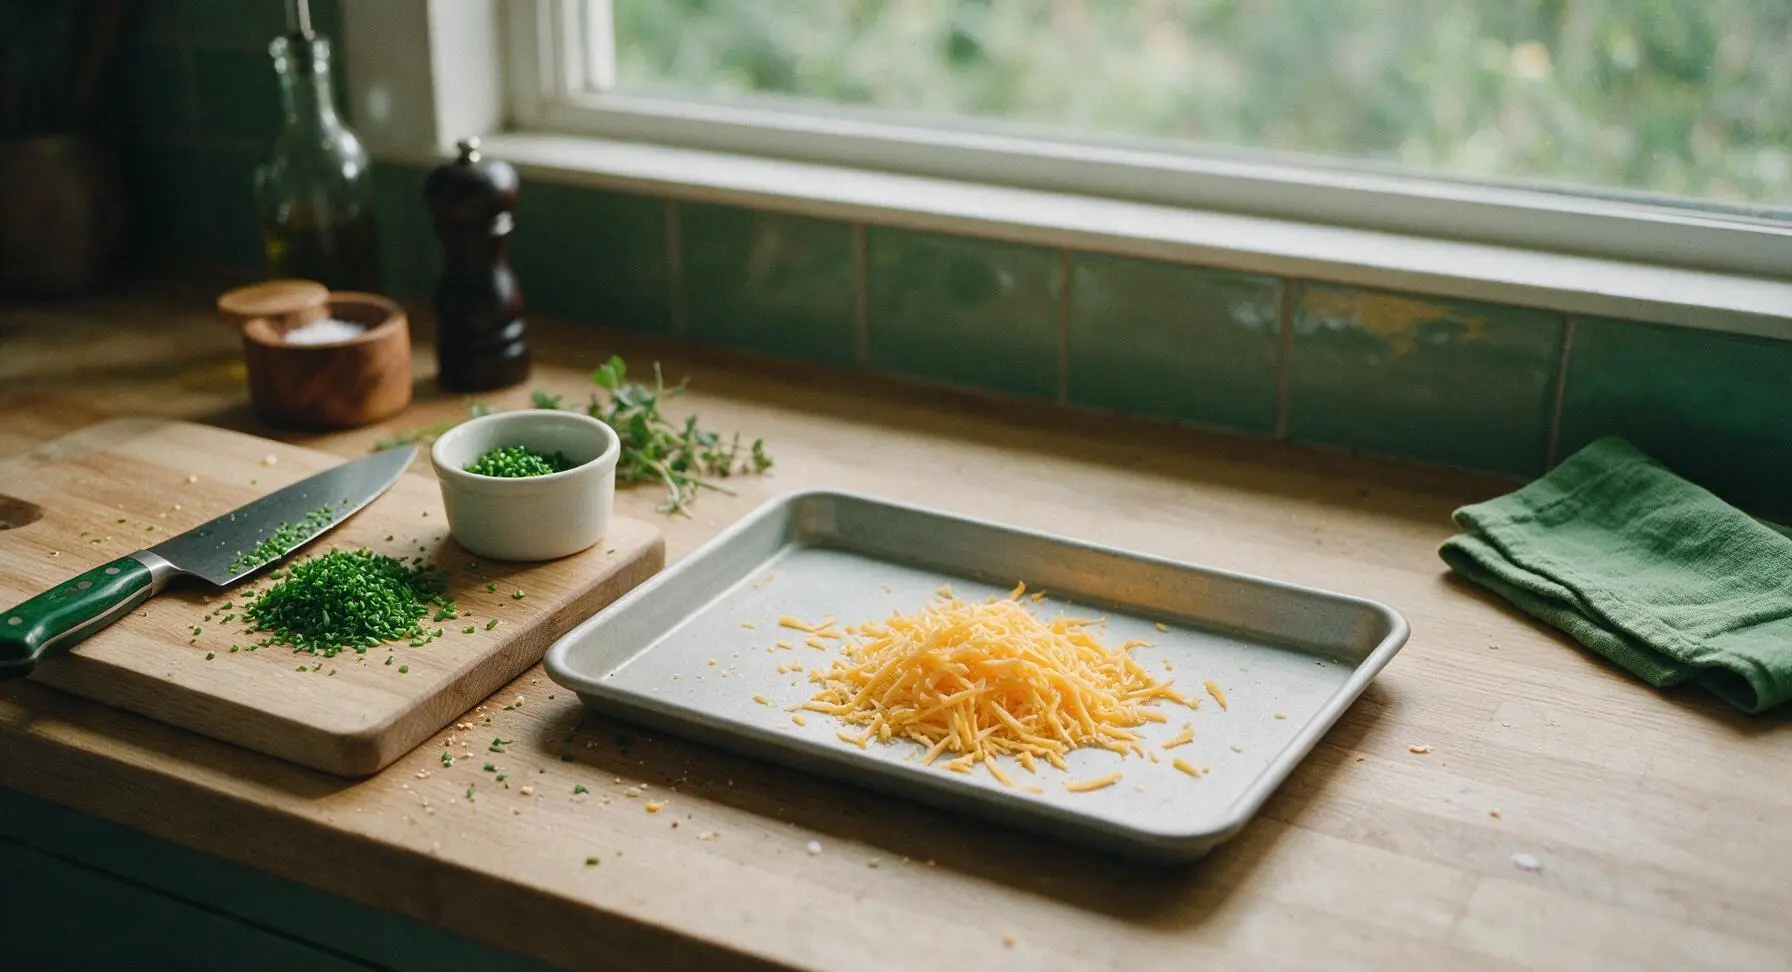
Pull the 6-inch stainless steel chef’s knife from the magnetic backsplash strip, pull the honey oak cutting board to the left work area. Place the fresh chives on the cutting board and finely chop into 1/4-inch pieces, transfer to the small white ramekin and set aside. Measure 1 cup of shredded sharp cheddar, divide it into two equal 1/2 cup portions.
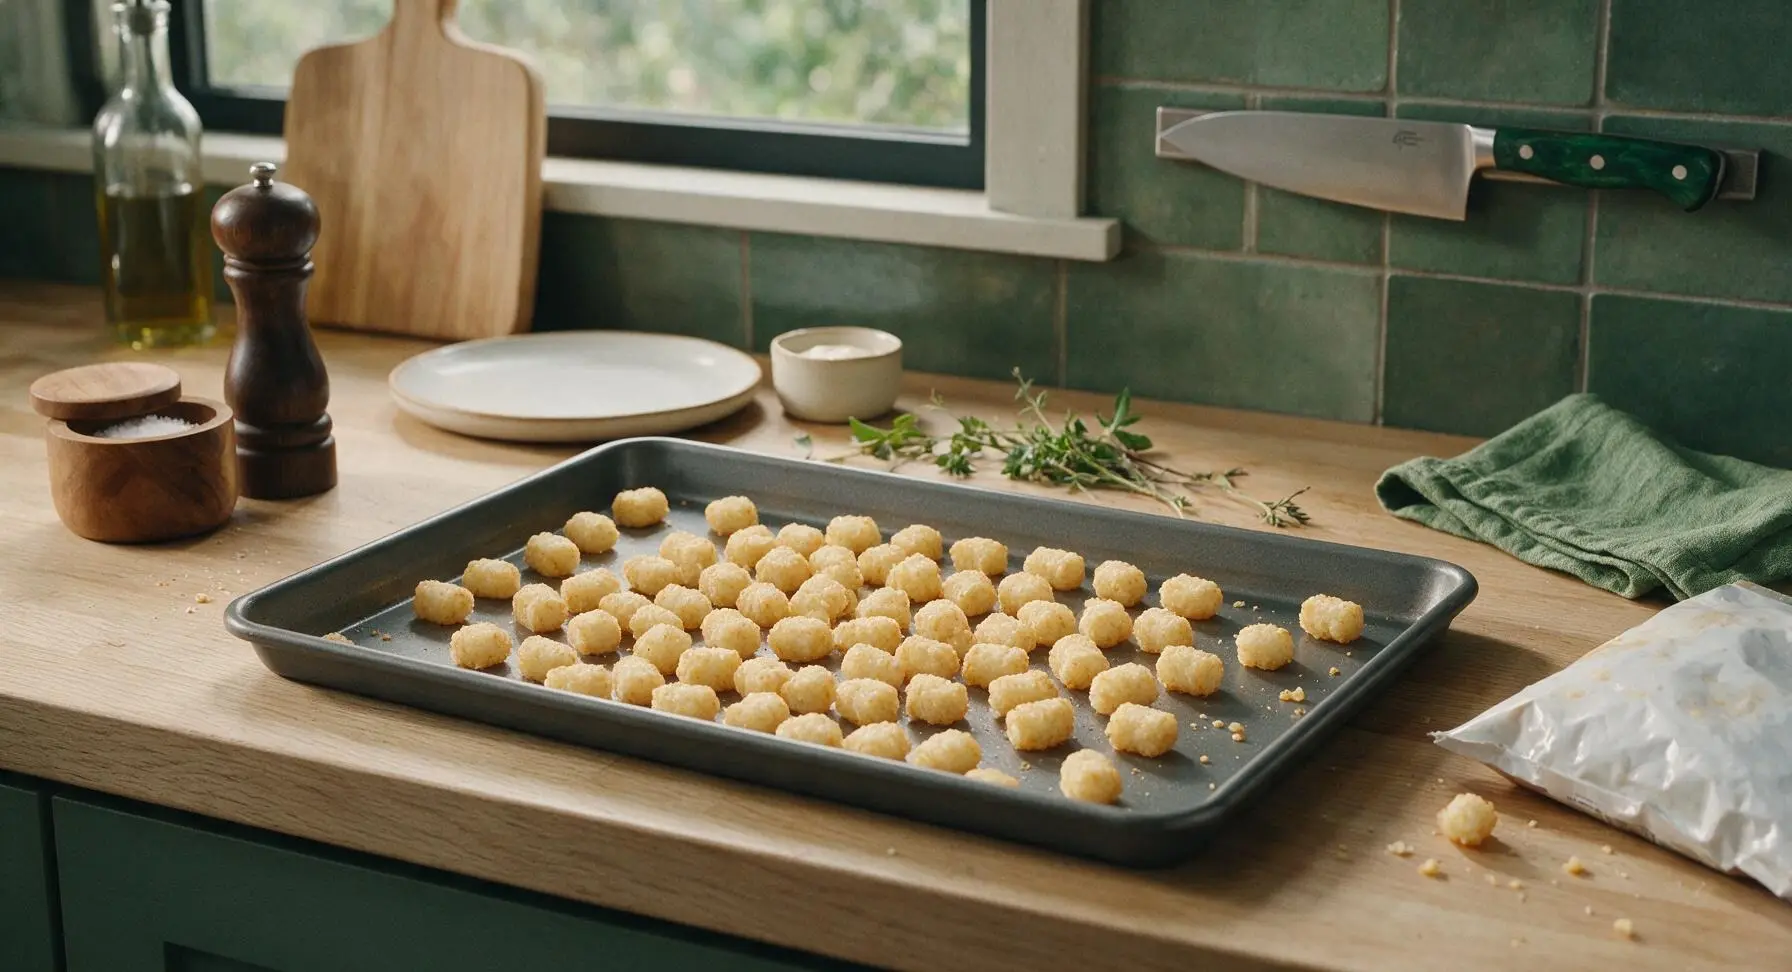
Arrange Tots on Pan
Pour the frozen tater tots onto the half-sheet pan, arranging them in a single even layer with no overlapping pieces. Ensure no tots are stacked, as this will cause steaming instead of crisping. Place the pan in the preheated oven, set a timer for 15 minutes. Return the chef’s knife to the magnetic strip, and set the cutting board back to its stored position once chives are chopped.
Flip Tots, Add Cheese
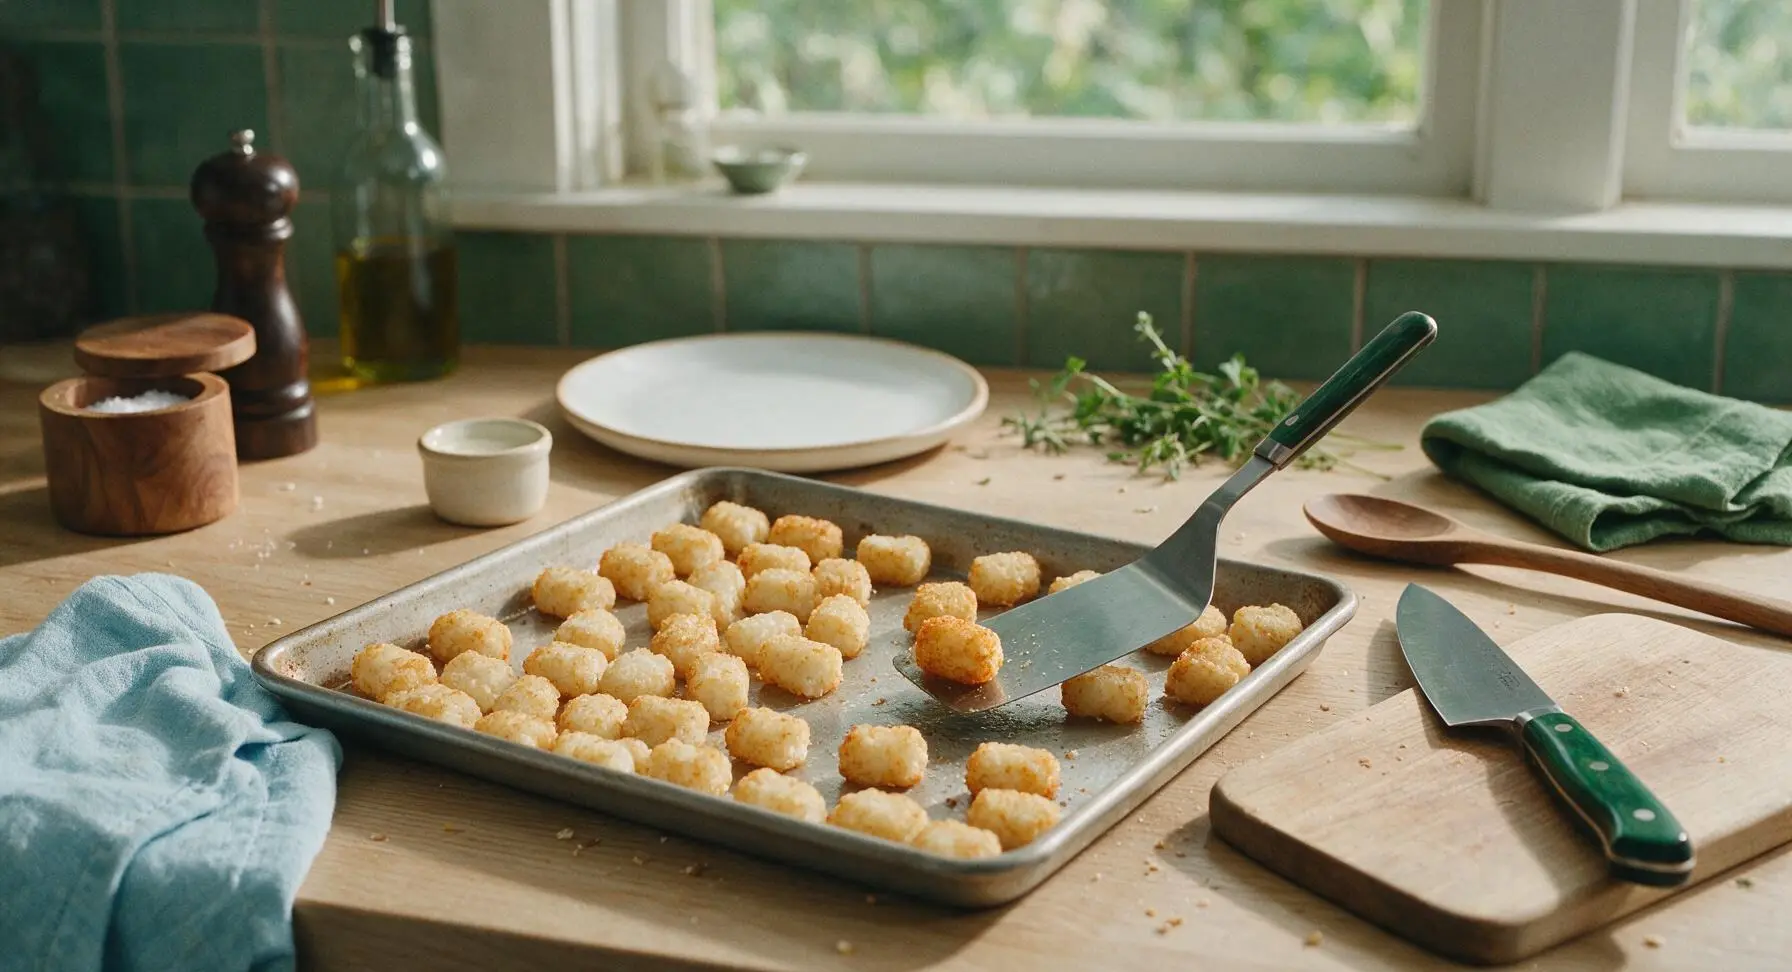
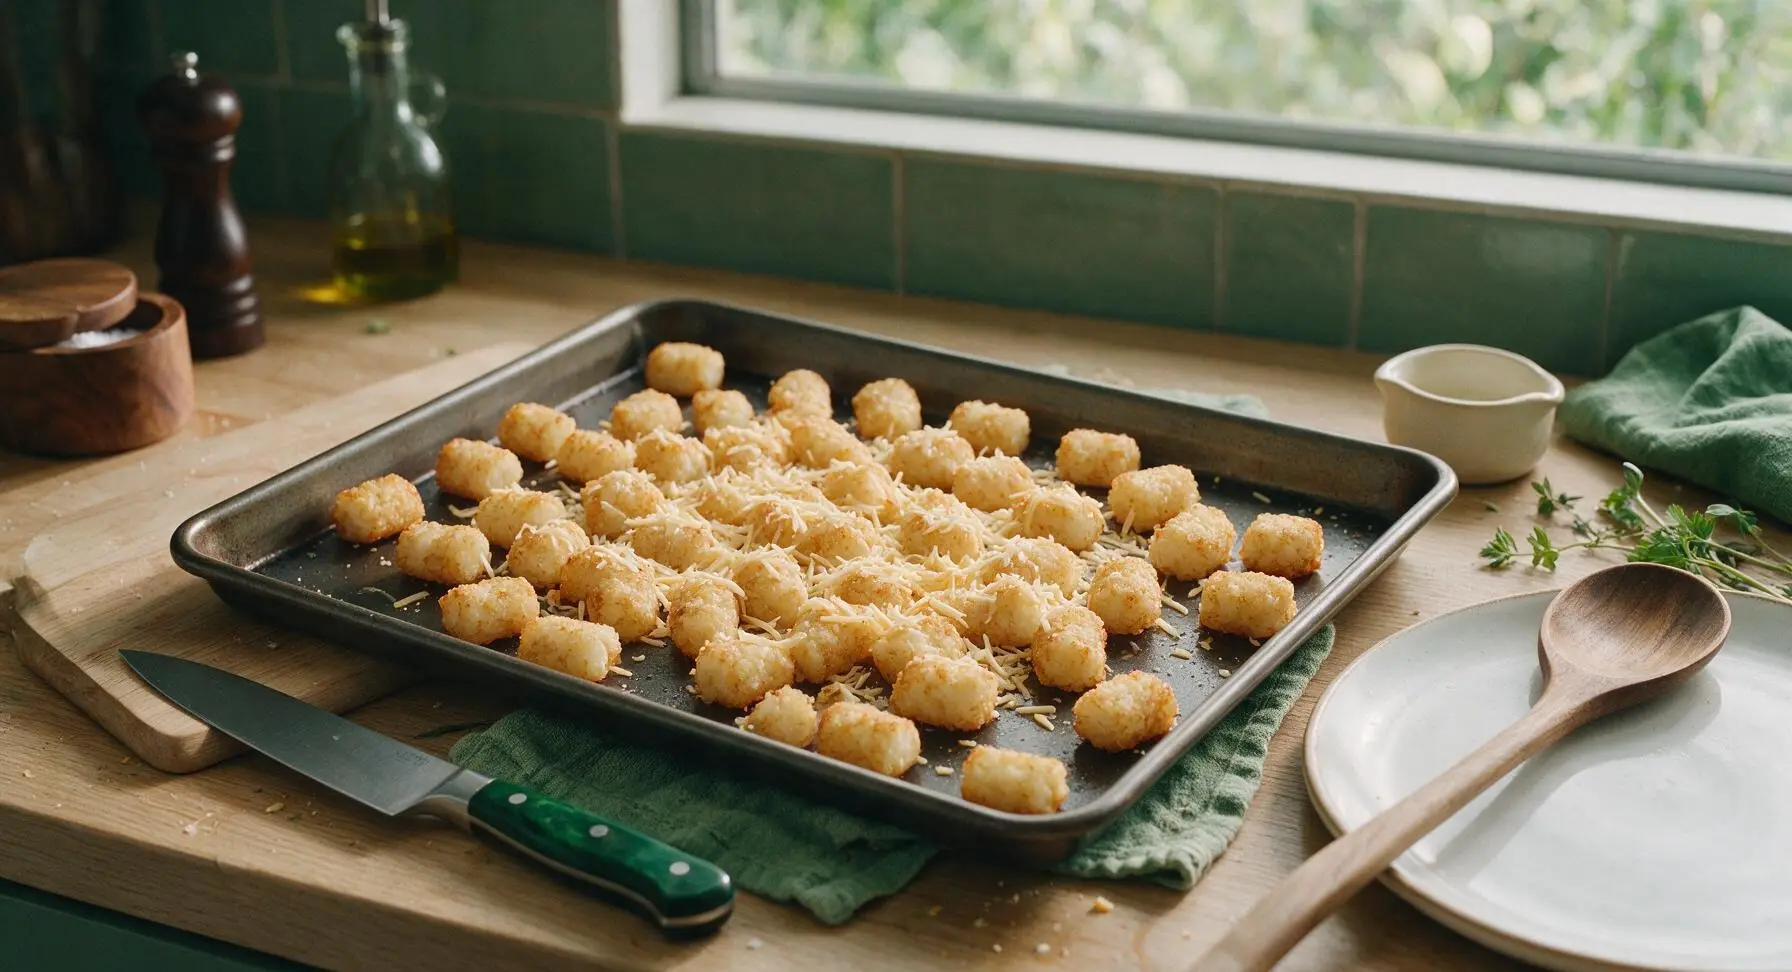
After 15 minutes of baking, carefully pull the half-sheet pan from the oven using an oven mitt (pan will be very hot). Use the stainless steel turner to flip each tater tot to its opposite side, so the previously pale, soft bottom side is now facing up. Sprinkle one 1/2 cup portion of shredded cheddar evenly over the tops of the tots, then return the pan to the oven for 5 more minutes, until tots are deep golden and crispy, and cheese is fully melted and bubbly.
Heat Skillet for Eggs
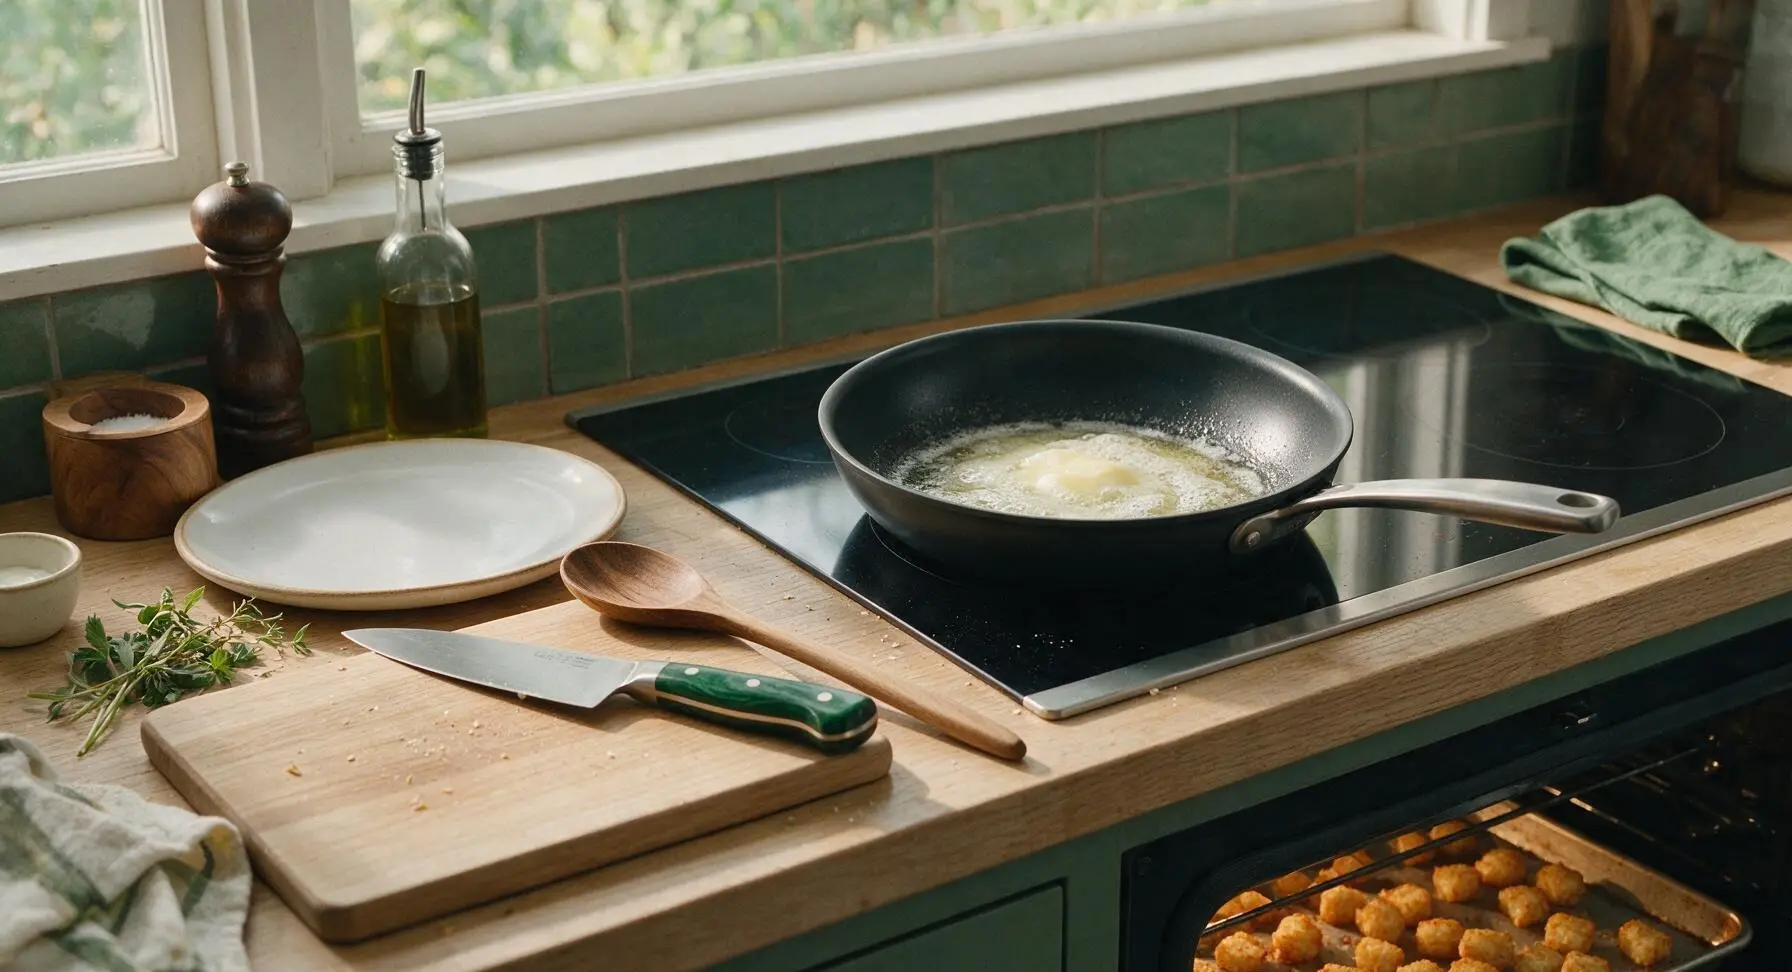
When the tater tots have 5 minutes left to bake, pull the matte black non-stick skillet from its under-cabinet hook to the induction burner, set heat to medium (350°F). Add the 2 tablespoons of unsalted butter to the skillet, allowing it to melt fully and foam slightly, but not turn dark brown. Swirl the pan to coat the entire bottom surface with melted butter.
Cook Sunny-Side Eggs
Crack the 8 eggs gently into the skillet, taking care not to break the delicate yolks, spacing them evenly across the pan surface. Reduce heat to medium-low, cook for 3-4 minutes, until egg whites are fully opaque and set all the way to the edge of the yolks, and yolks remain runny and bright golden. Sprinkle eggs lightly with 1/2 teaspoon flaky sea salt and 1/4 teaspoon black pepper. Do not flip the eggs, as this will break the yolks.
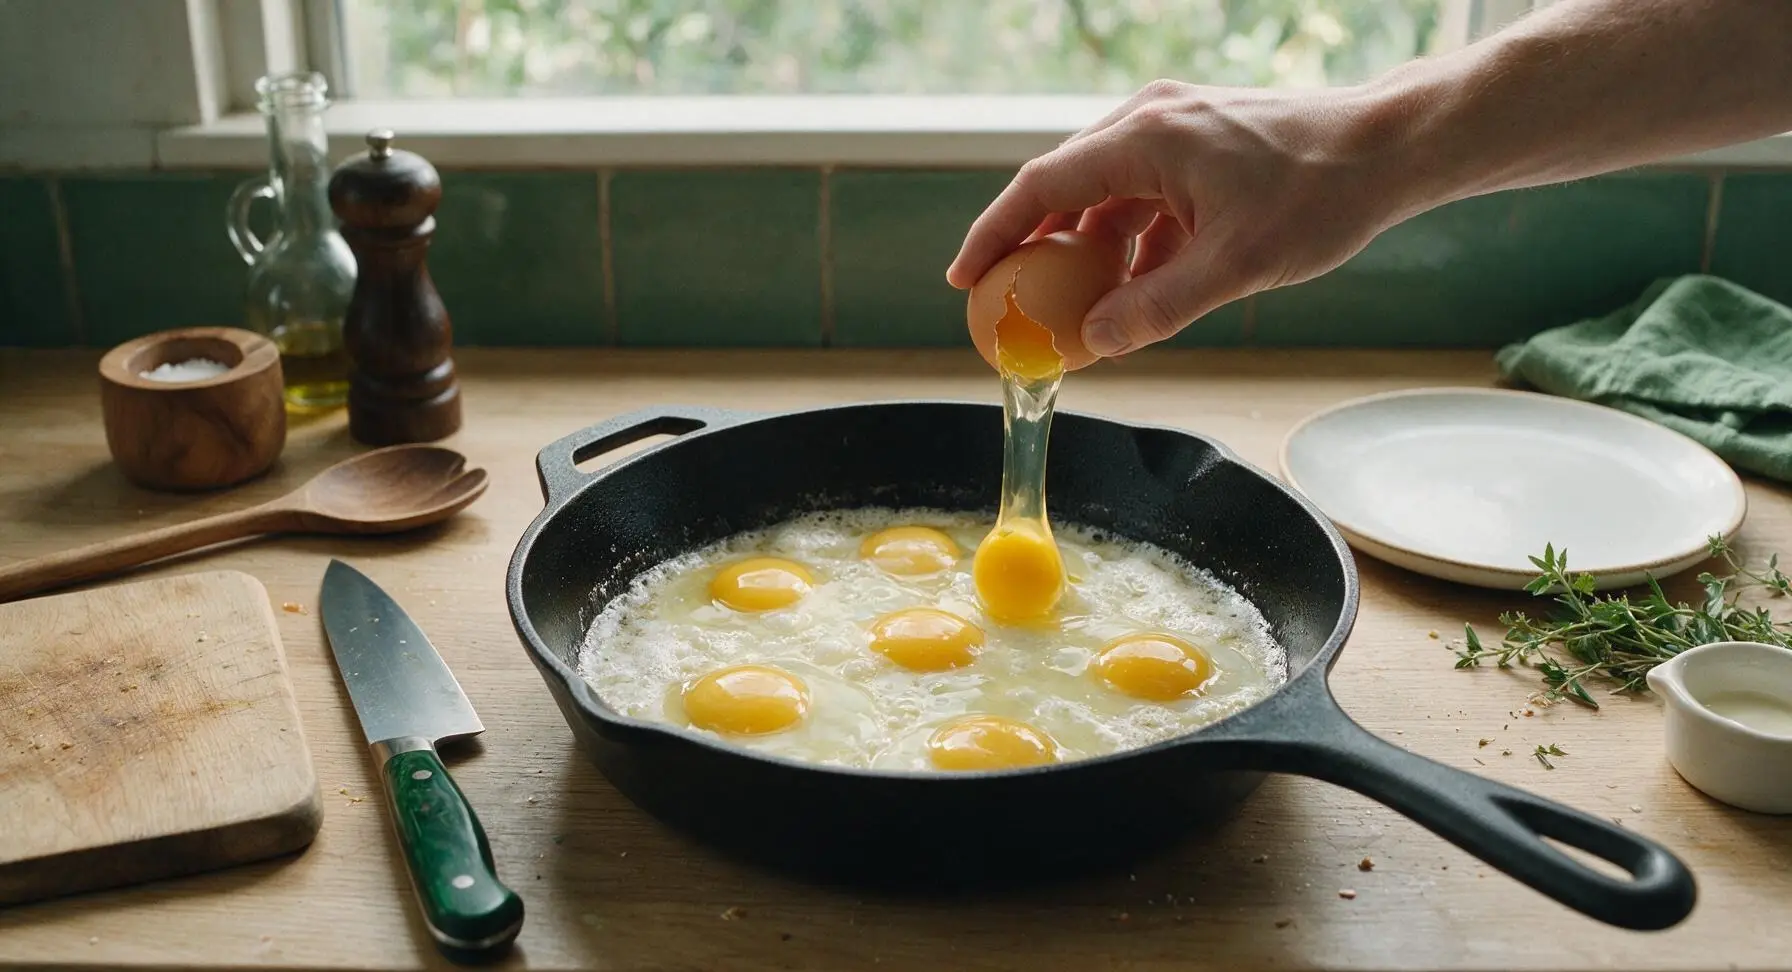
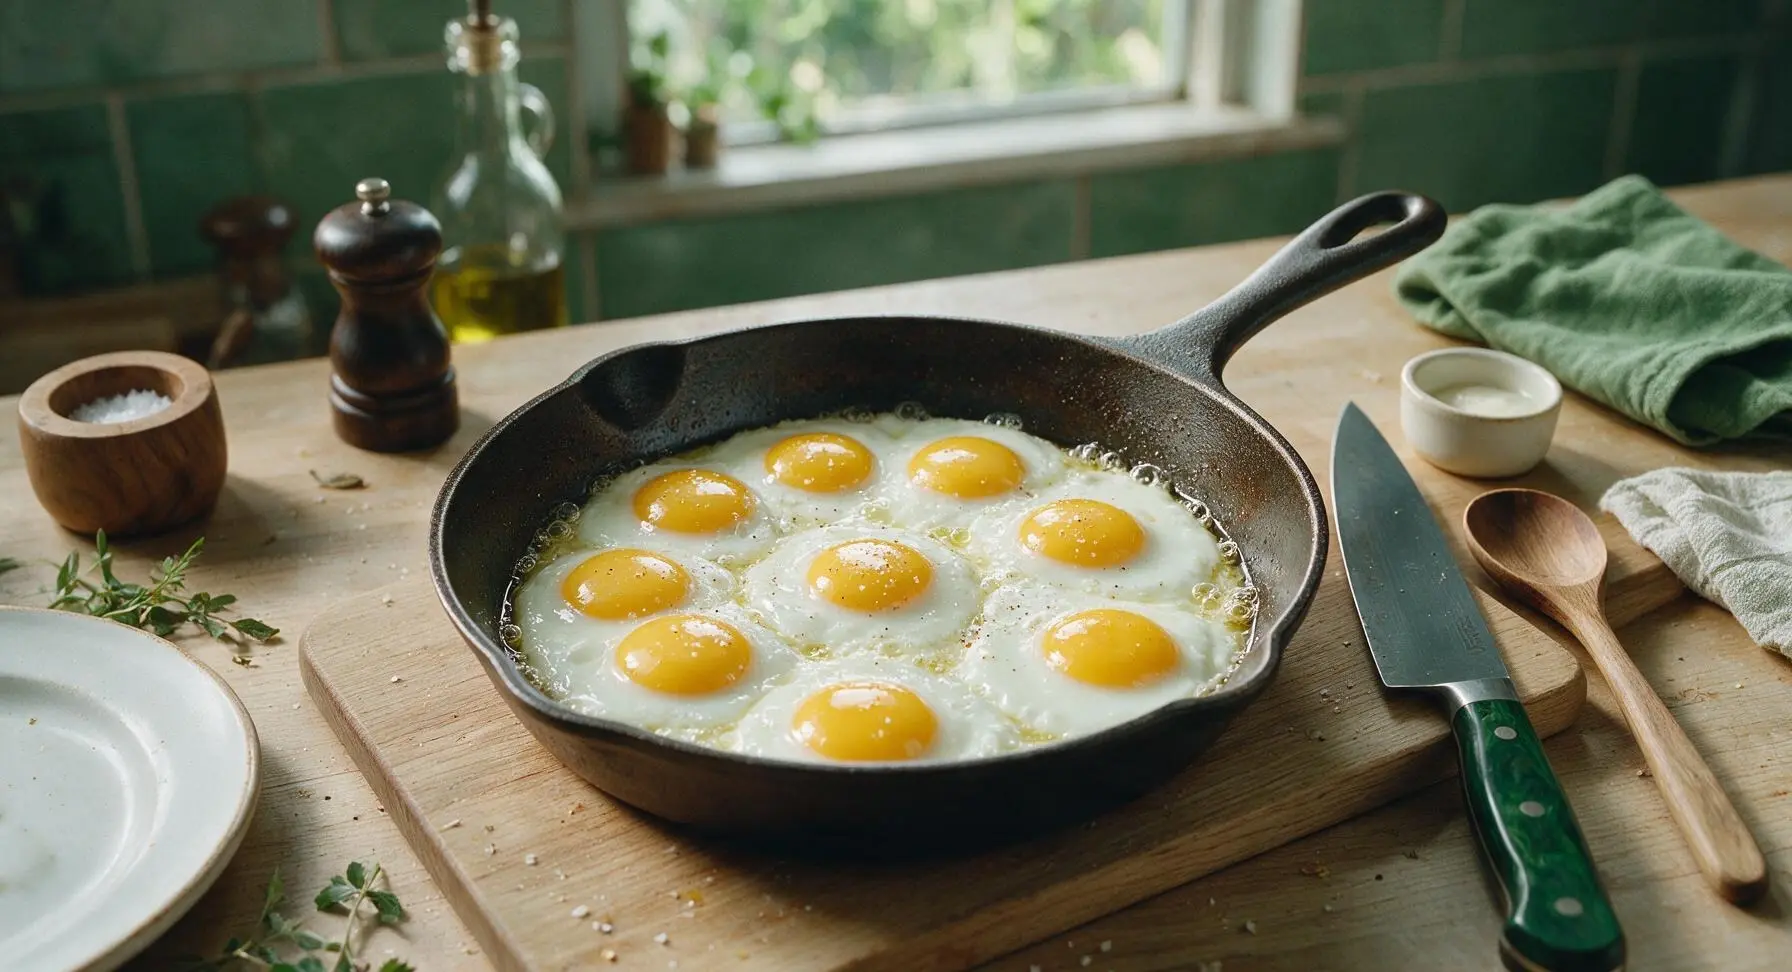
Plate Tots and Eggs
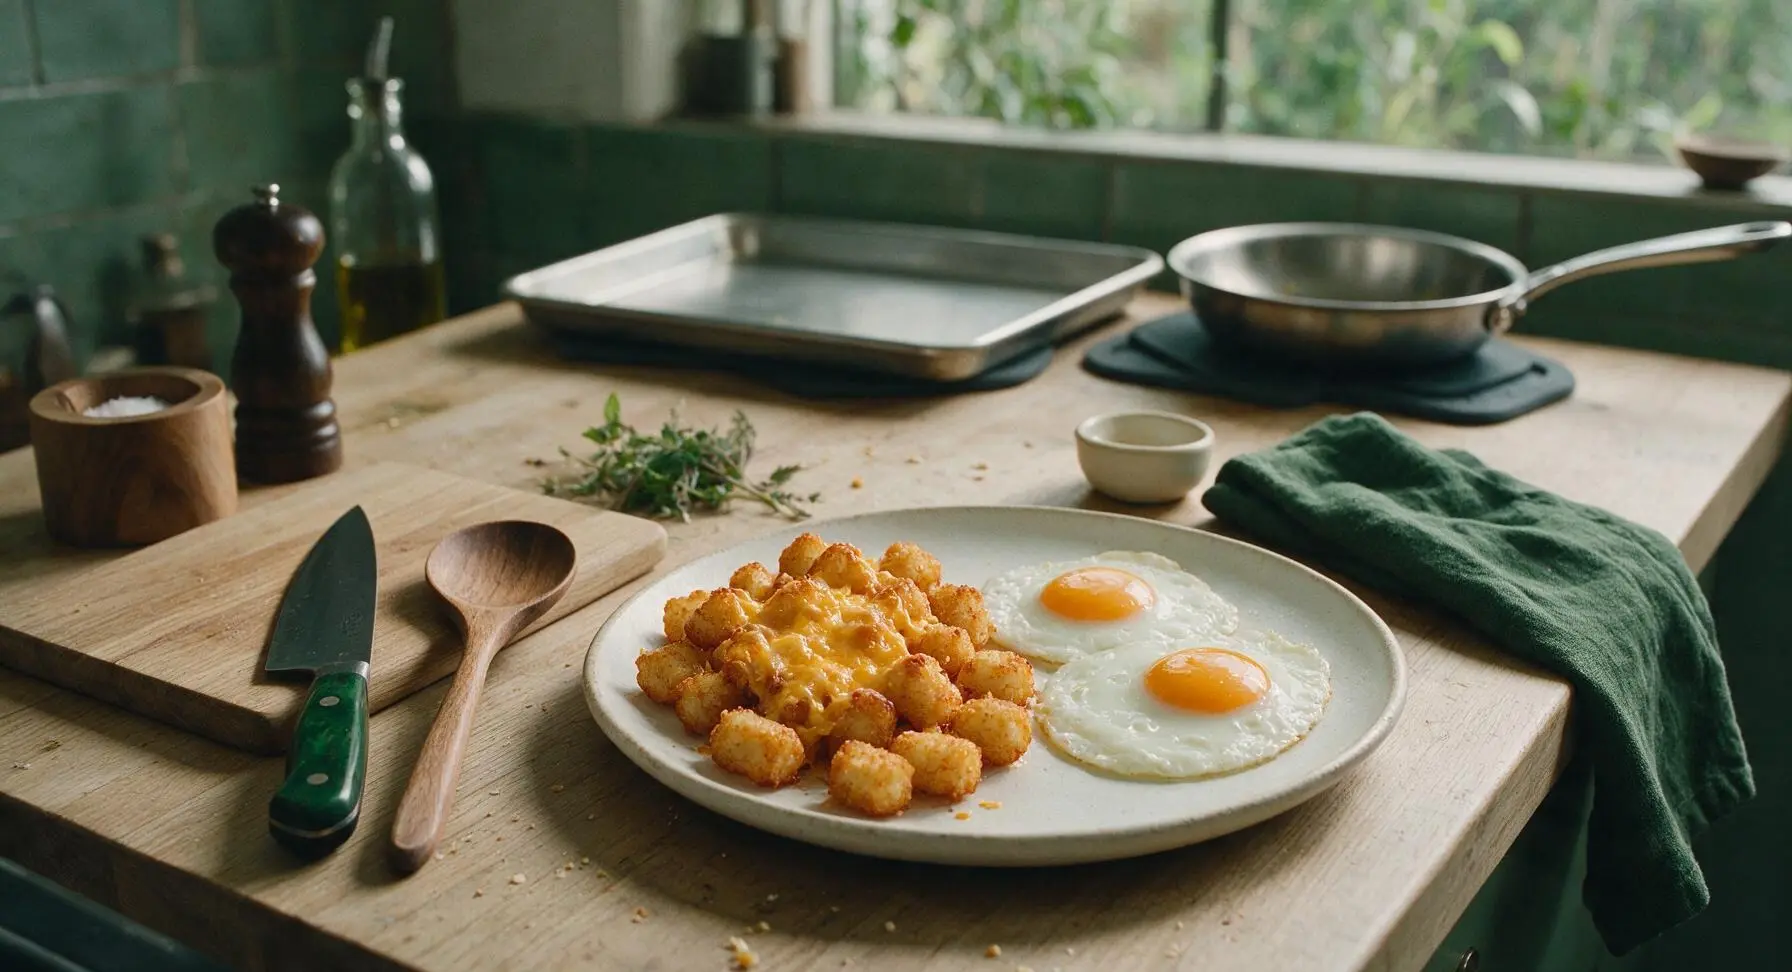
Once the tater tots finish their final 5 minutes of baking, pull the pan from the oven (cheese should be fully melted and bubbly, tots deep golden and crisp to the touch). Pull one matte cream white ceramic dinner plate from the back left stack to the center counter. Use the stainless steel turner to scoop a 1-cup portion of cheesy tater tots, piling them loosely on the left half of the plate. Use the turner to lift 2 eggs carefully, placing them beside the tater tots on the right half of the plate.
Garnish and Serve
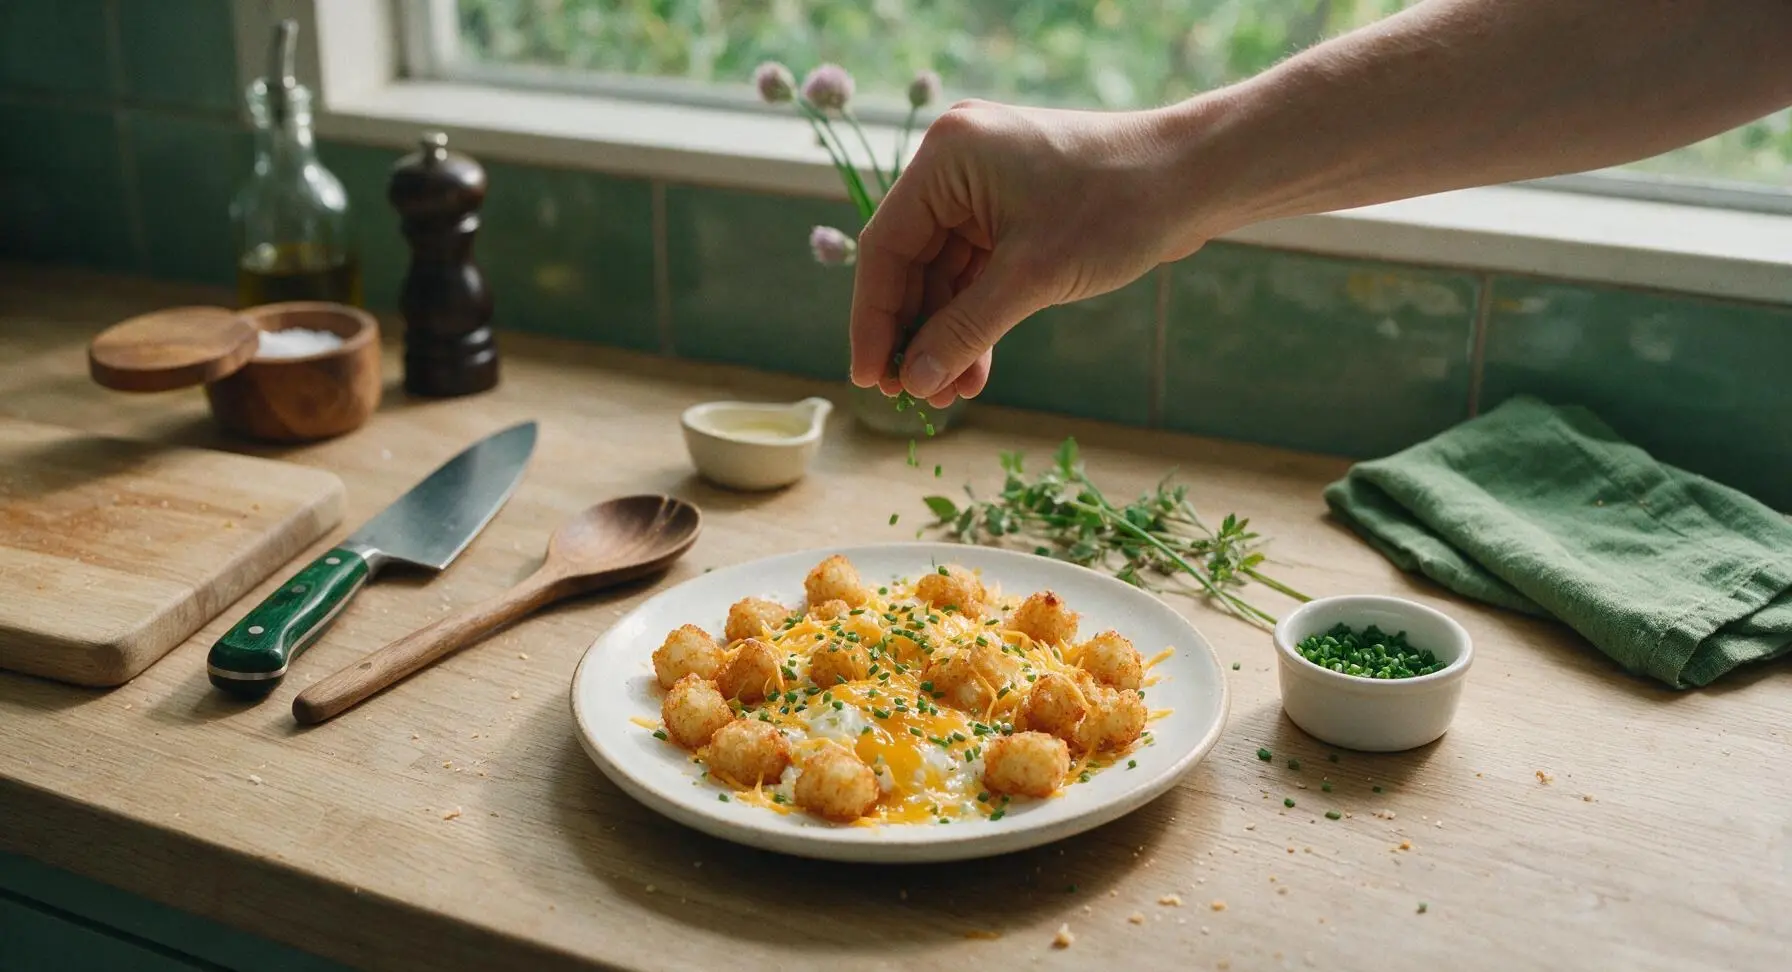
Sprinkle the remaining 1/2 cup of shredded cheddar over the hot eggs so it melts slightly from the residual heat of the eggs and tots. Top the entire plate with the finely chopped fresh chives, the remaining 1/2 teaspoon flaky sea salt, and a light crack of fresh black pepper. Serve immediately while hot, while egg yolks are still runny and tater tots are crisp.
Tips
2.For runny yolks every time, avoid cooking eggs on high heat: high heat will burn the bottom of the egg whites before the top sets, while medium-low heat cooks whites gently without tough, rubbery edges or broken yolks.
3.Wait 30 seconds after taking tater tots out of the oven before moving them: this short rest lets the crispy crust set, so the tots hold their shape instead of breaking apart when you lift them with the spatula.






OMG this was SO good! I made this for my kids before school this morning and they devoured every single bite. I thought getting the tater tots crispy in the pan would be a hassle but it was so easy, whole thing came together in 20 minutes flat. Total game changer for busy school mornings! Will be adding this to our weekly breakfast rotation for sure.
Great easy recipe for meal prep! I made a big batch on Sunday, portioned it out into containers, and it reheated perfectly in the toaster oven all week. The tater tots stayed crispy instead of getting soggy like other breakfast skillet recipes I’ve tried. 10/10, will make again for next week’s prep.
Made this for my roommate potluck brunch last weekend and everyone was begging for the recipe! I added a sprinkle of everything bagel seasoning on the eggs and it hit so hard. Only issue I had was my tater tots got a little burnt on the bottom because my stove runs hot—any tips for that?
Was looking for a quick camping breakfast idea that didn’t require a ton of cleanup, and this delivered! Cooked it all in my cast iron over the camp stove, tater tots got perfectly crispy, eggs were runny just how I like ‘em. My son said it’s better than the diner breakfast we get on our camping trips. Wild.
Okay I’m usually terrible at making eggs that don’t turn rubbery, but this recipe was foolproof! The instructions for cooking the eggs in the same pan after the tater tots are done is genius, no extra dishes, and the little bit of potato oil makes the eggs taste amazing. Only took me 20 minutes even with me fumbling around the kitchen. SO good.
Solid base recipe! It’s super easy to throw together and the tater tots get perfectly crispy if you follow the cook times, but it’s a little plain on its own. I added some diced pickled jalapeños and crumbled cotija cheese on top right before serving for a little extra zing, and it slapped. Perfect easy breakfast for when you roll out of bed hungover on a Saturday and don’t feel like putting in a ton of effort. Would definitely make it again with my own little add-ins.