
Thai Peanut Burnt Ends

title 1
Thai Peanut Burnt Ends
⏱️ cook time 2 hours 20 minutes
🍽️ servings 4
⚡ Difficulty medium

intro

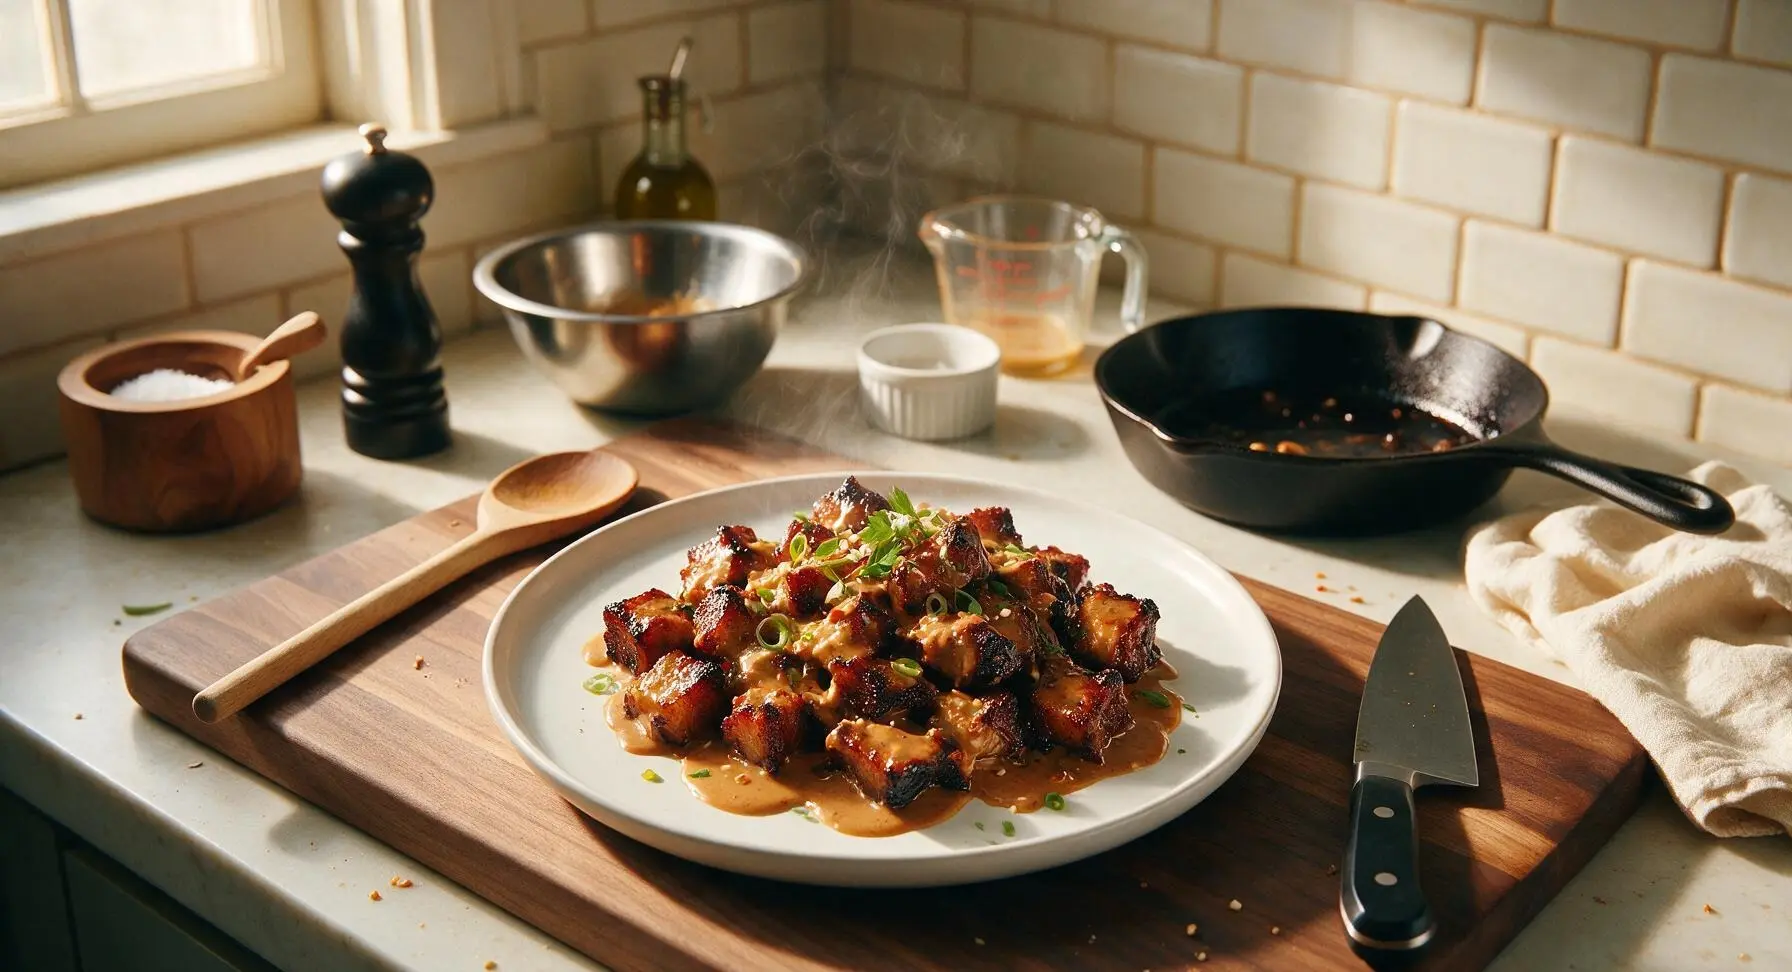
Smoky, caramelized pork belly burnt ends tossed in creamy, tangy Thai peanut sauce—sweet, salty, nutty, and perfectly charred for summer cookouts.

Ingredients
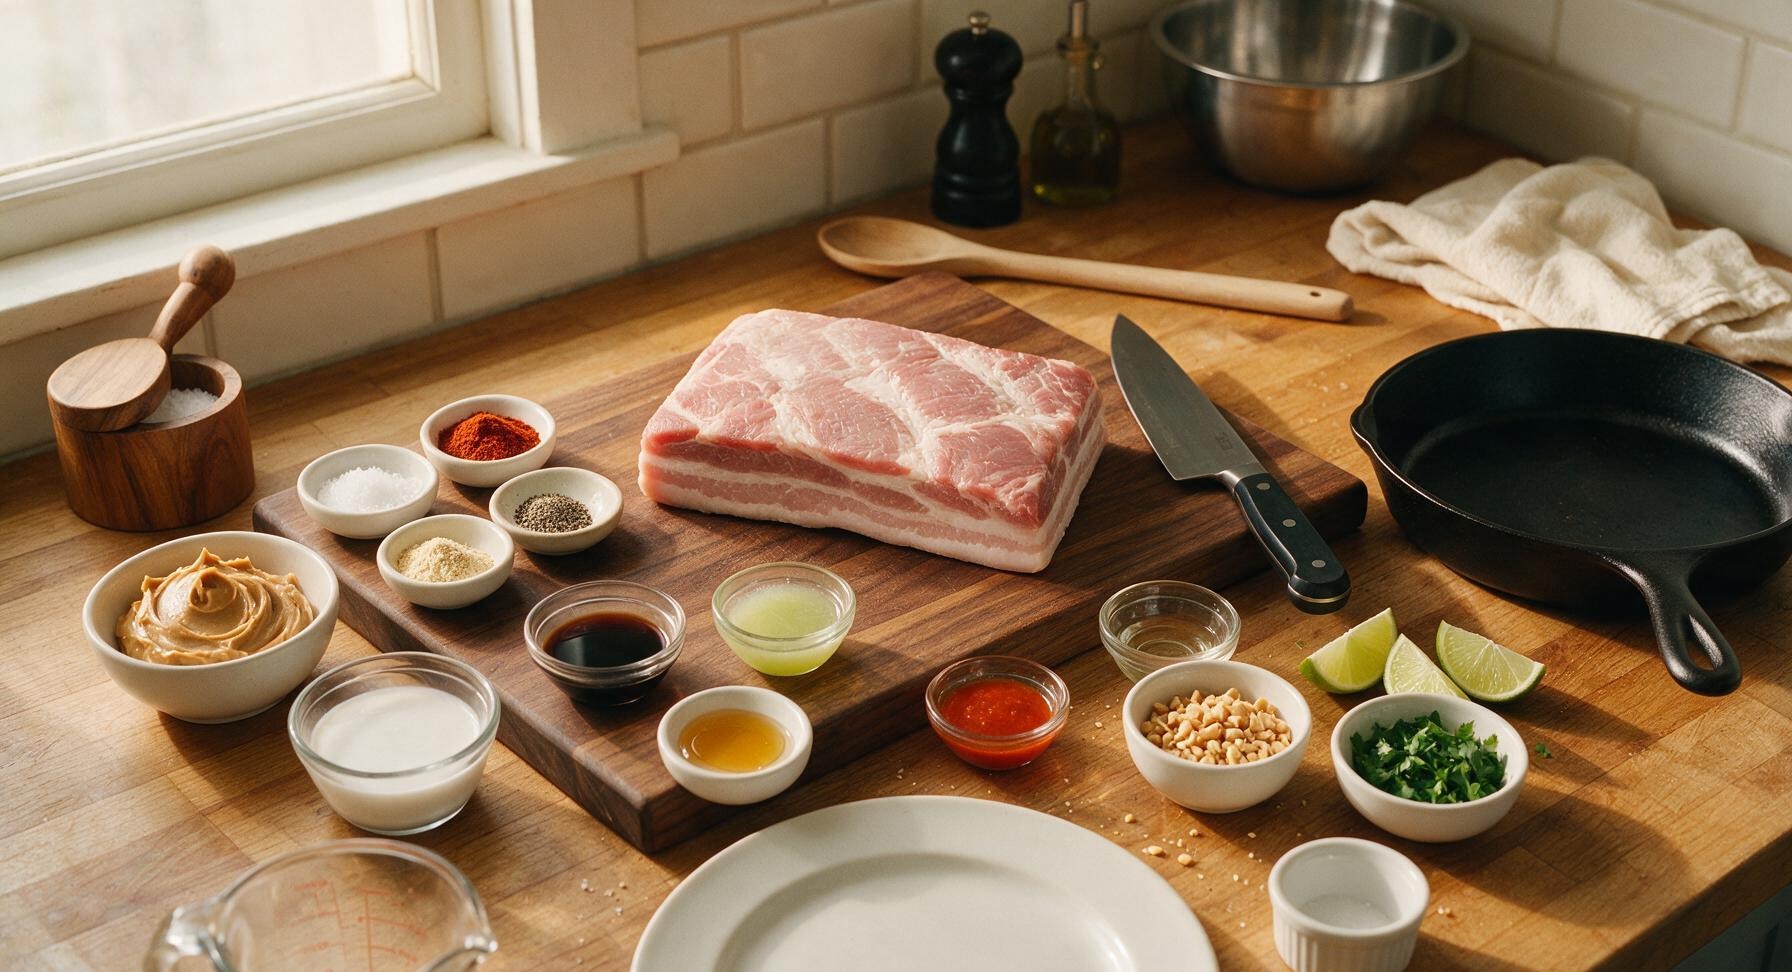
Skinless pork belly 680g (1.5 lbs)
Kosher salt 1 tbsp
Smoked paprika 1 tbsp
Garlic powder 1 tsp
Ground ginger 1 tsp
Freshly ground black pepper 1 tsp
Creamy unsweetened peanut butter 120g (1/2 cup)
Full-fat coconut milk 80ml (1/3 cup)
Low-sodium soy sauce 2 tbsp
Fresh lime juice 2 tbsp
Honey 1 tbsp
Sriracha hot sauce 1 tsp
Rice vinegar 1 tsp
Roasted unsalted peanuts (crushed) 3 tbsp
Fresh cilantro (chopped) 2 tbsp
Lime wedges (for serving) 4 each

Steps

1

Cube the Pork Belly

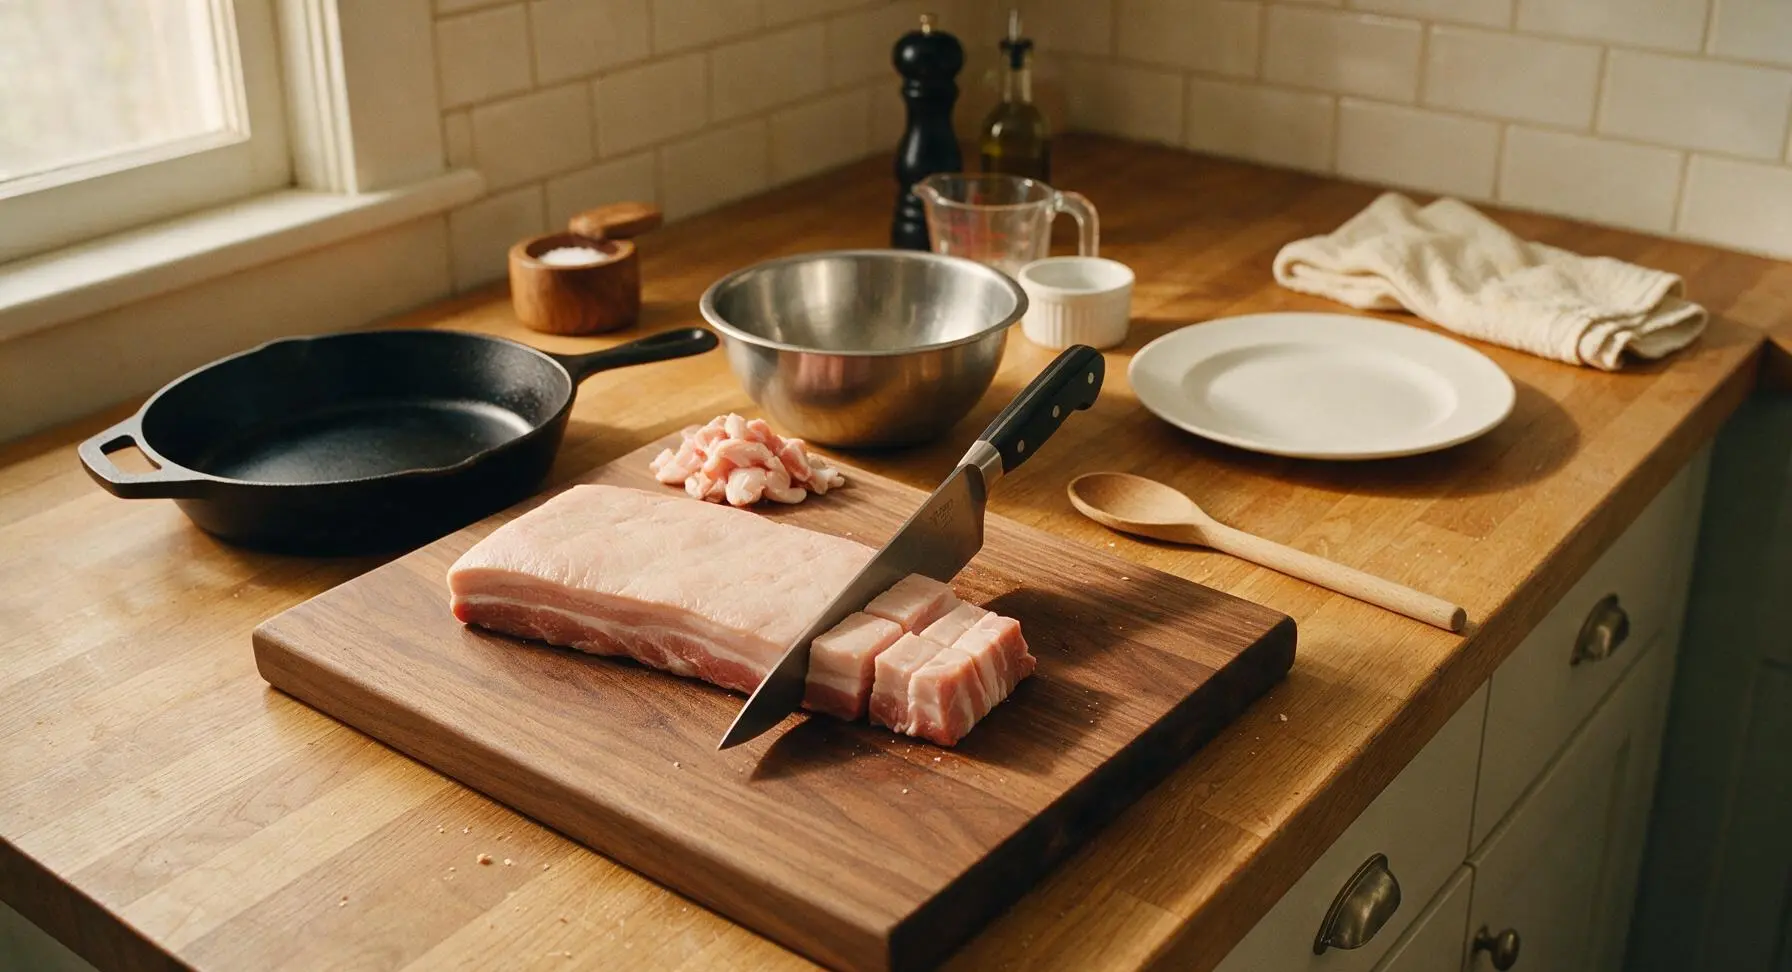
Place the skinless pork belly on the large teak cutting board. Use the 8-inch chef knife to trim any excess loose hard fat or silver skin from the meat surface, then cut the pork into uniform 2.5cm (1-inch) cubes, ensuring all pieces are equal size to guarantee even cooking. Pat all cubes completely dry with the edge of the burnt orange linen towel.
Step 1
step1:Cube the Pork Belly
2

Coat with Dry Rub

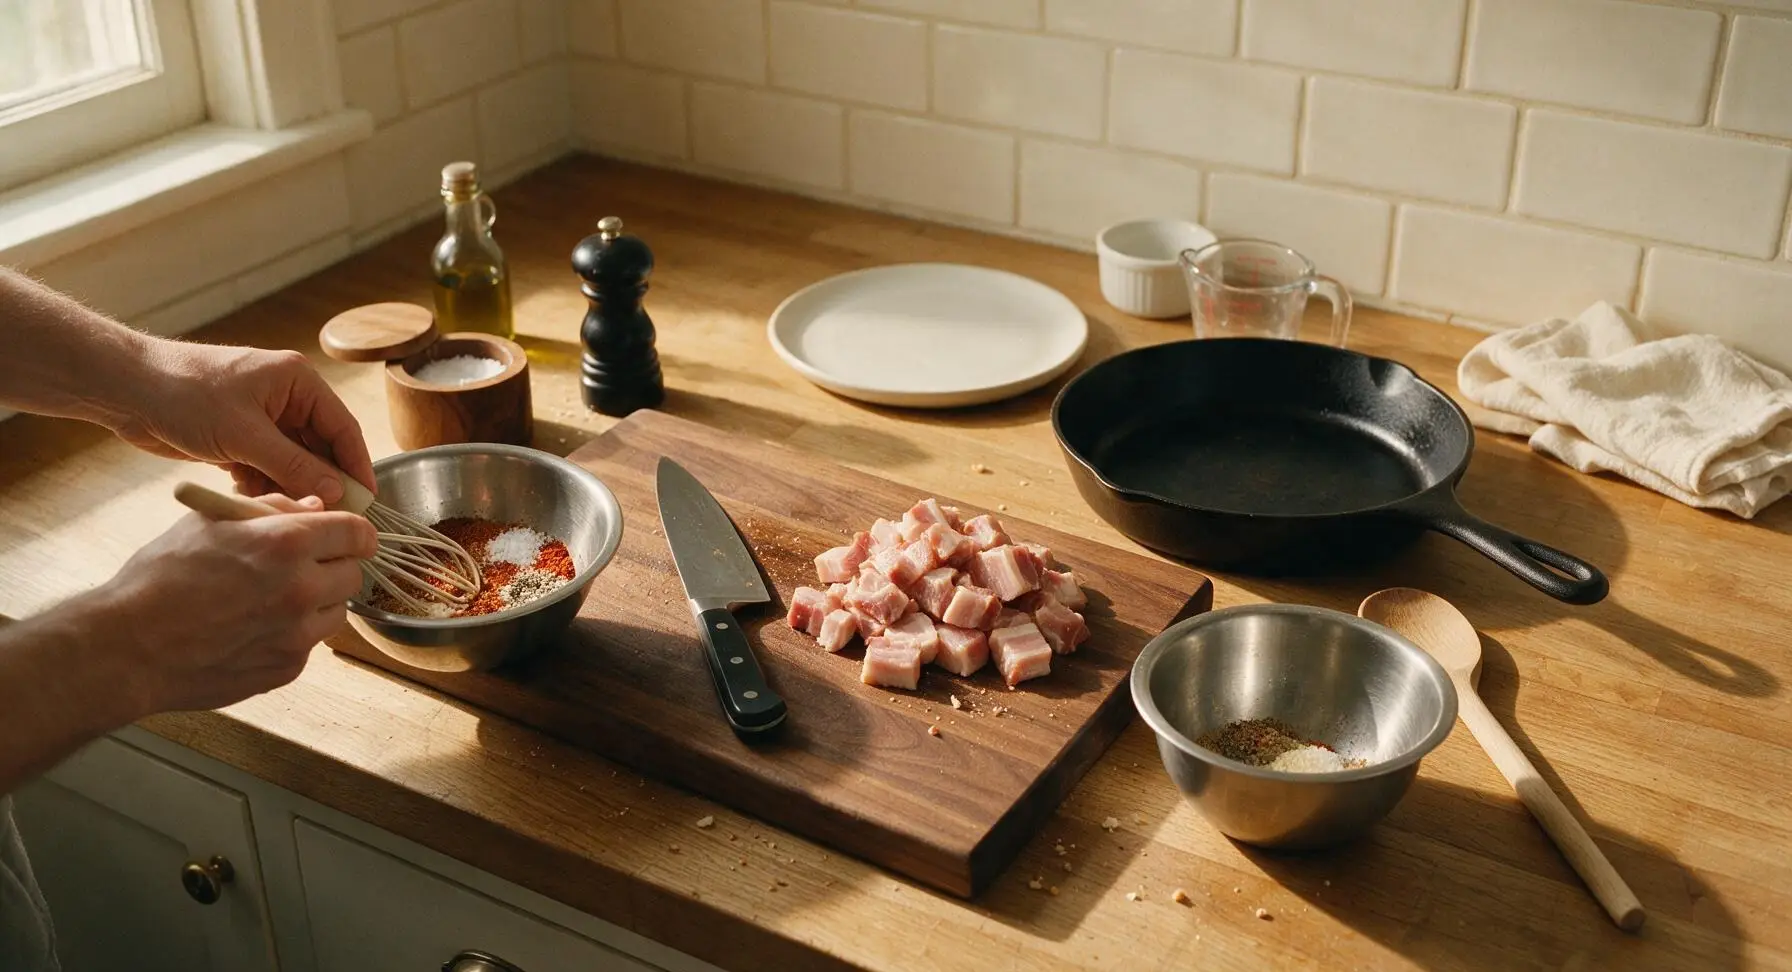
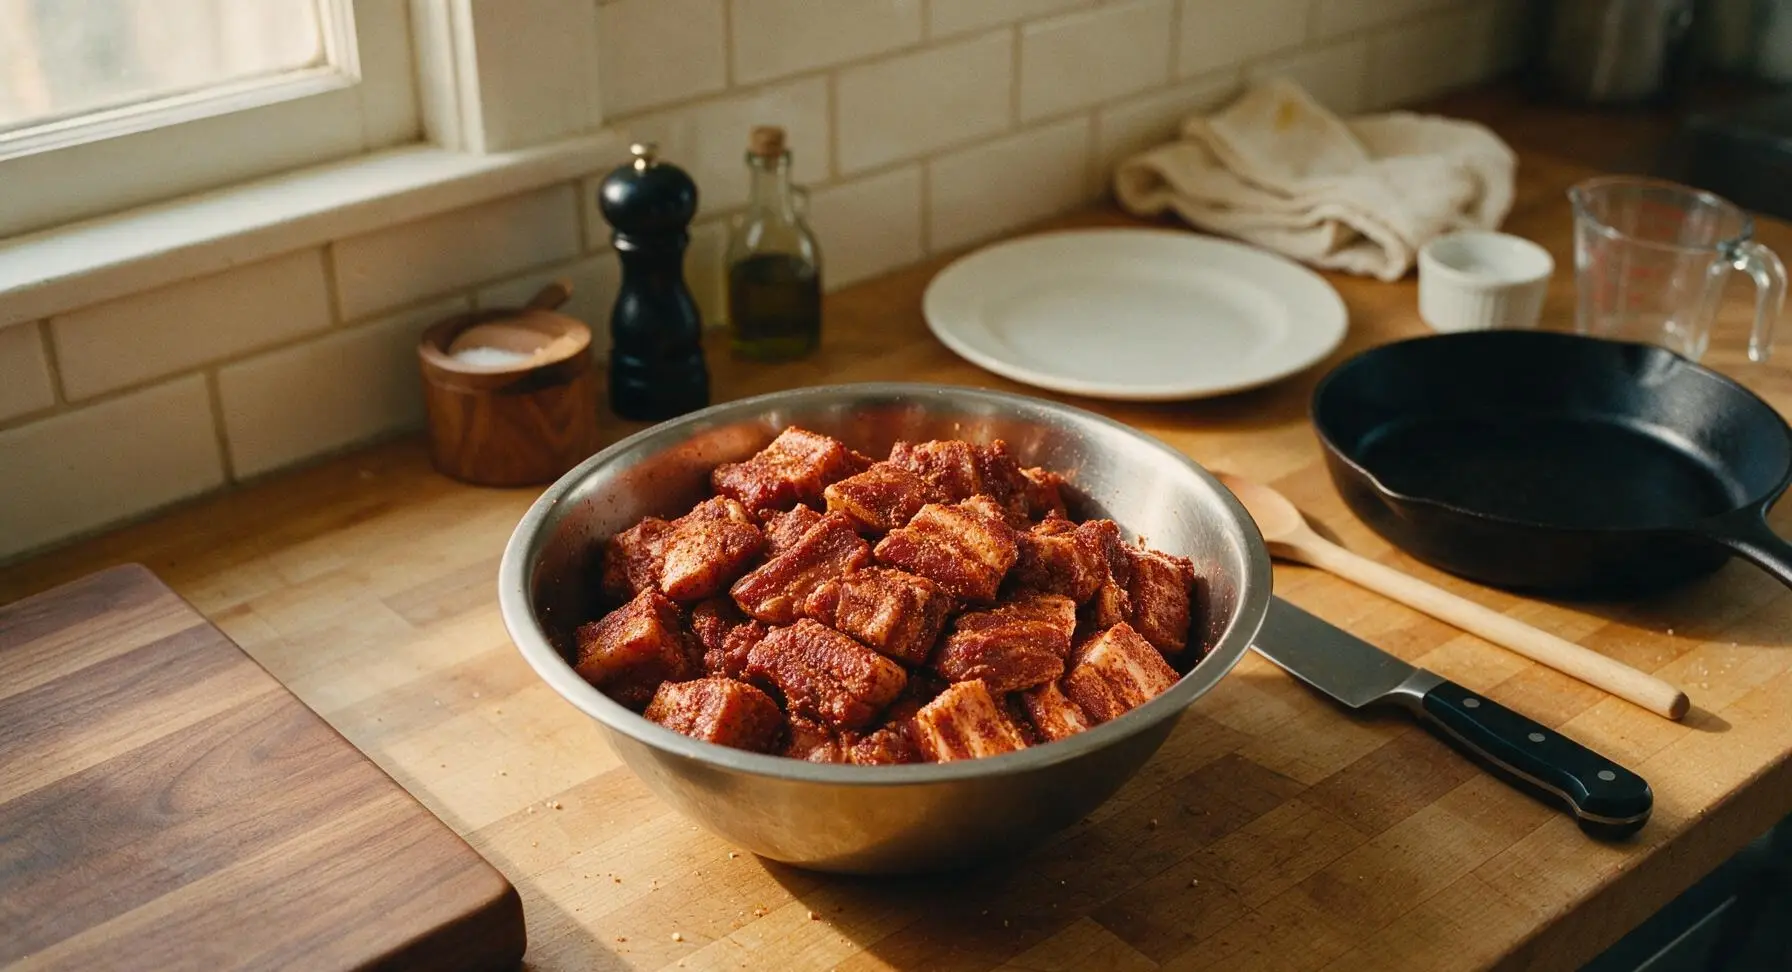
In the medium stainless steel mixing bowl, combine 1 tbsp kosher salt, 1 tbsp smoked paprika, 1 tsp garlic powder, 1 tsp ground ginger, and 1 tsp freshly ground black pepper, whisking briefly with the small silicone whisk to combine. Toss the dried pork belly cubes in the rub until every surface is evenly coated, with no bare pink meat visible.
Step 2
step2:Coat with Dry Rub
Step 2
step2:Coat with Dry Rub
3

Smoke Until Tender

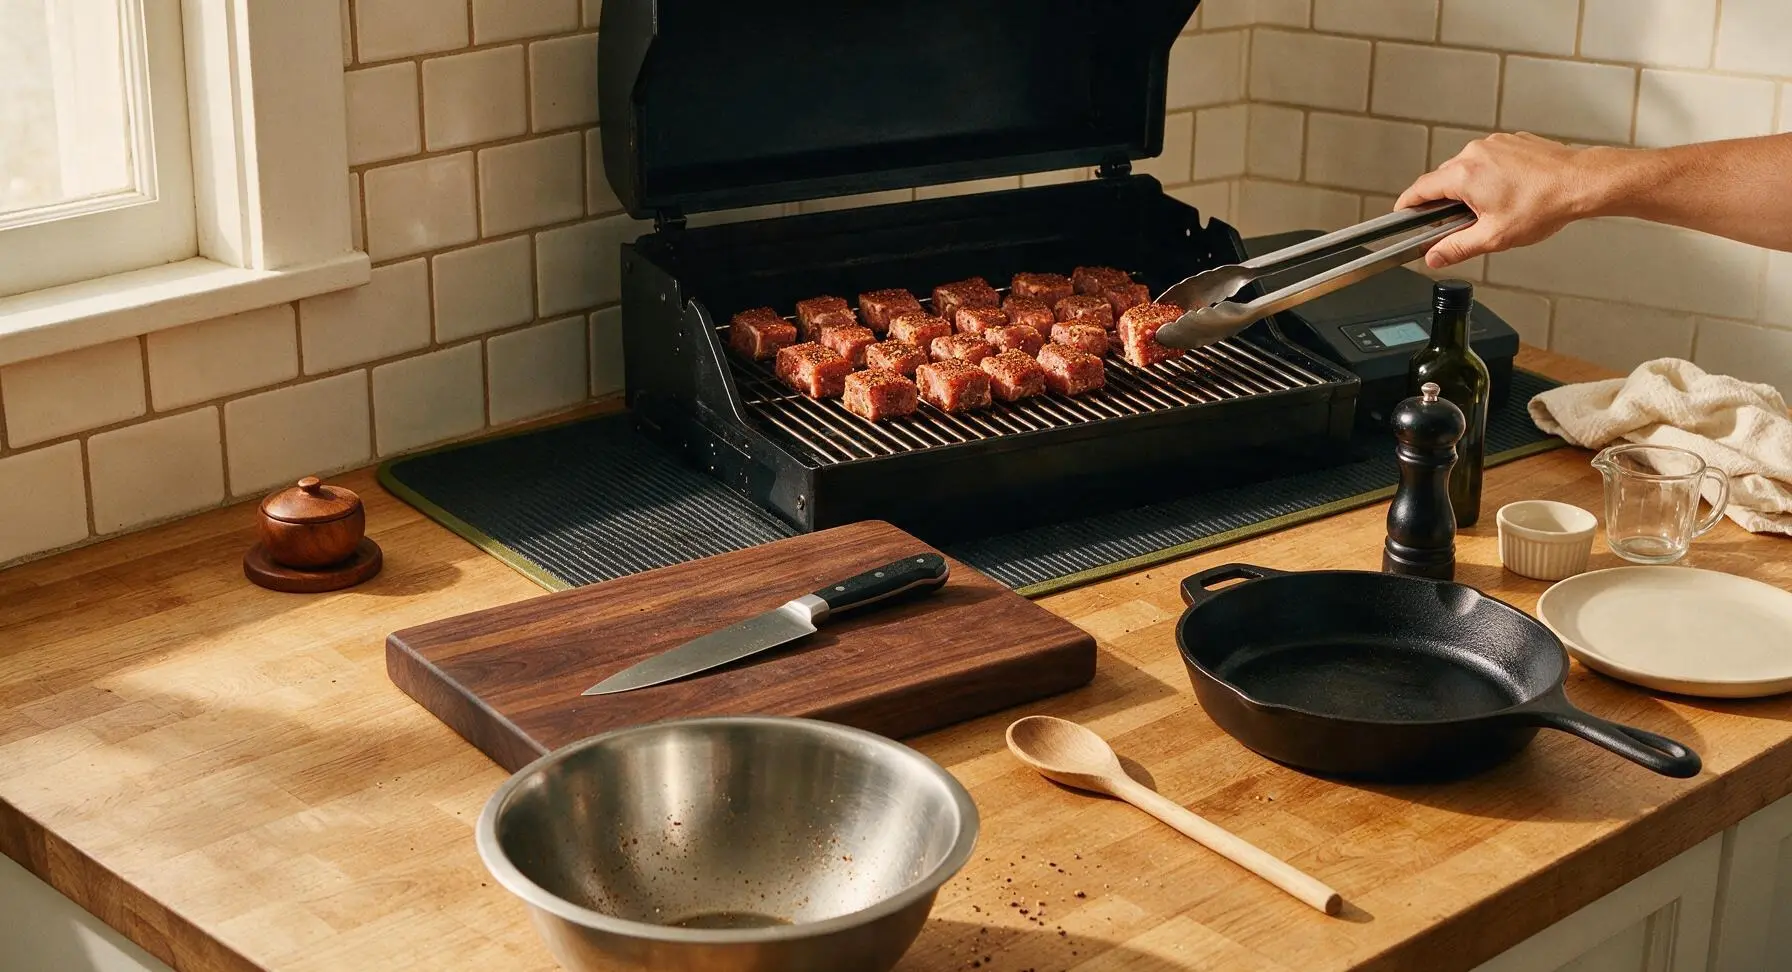
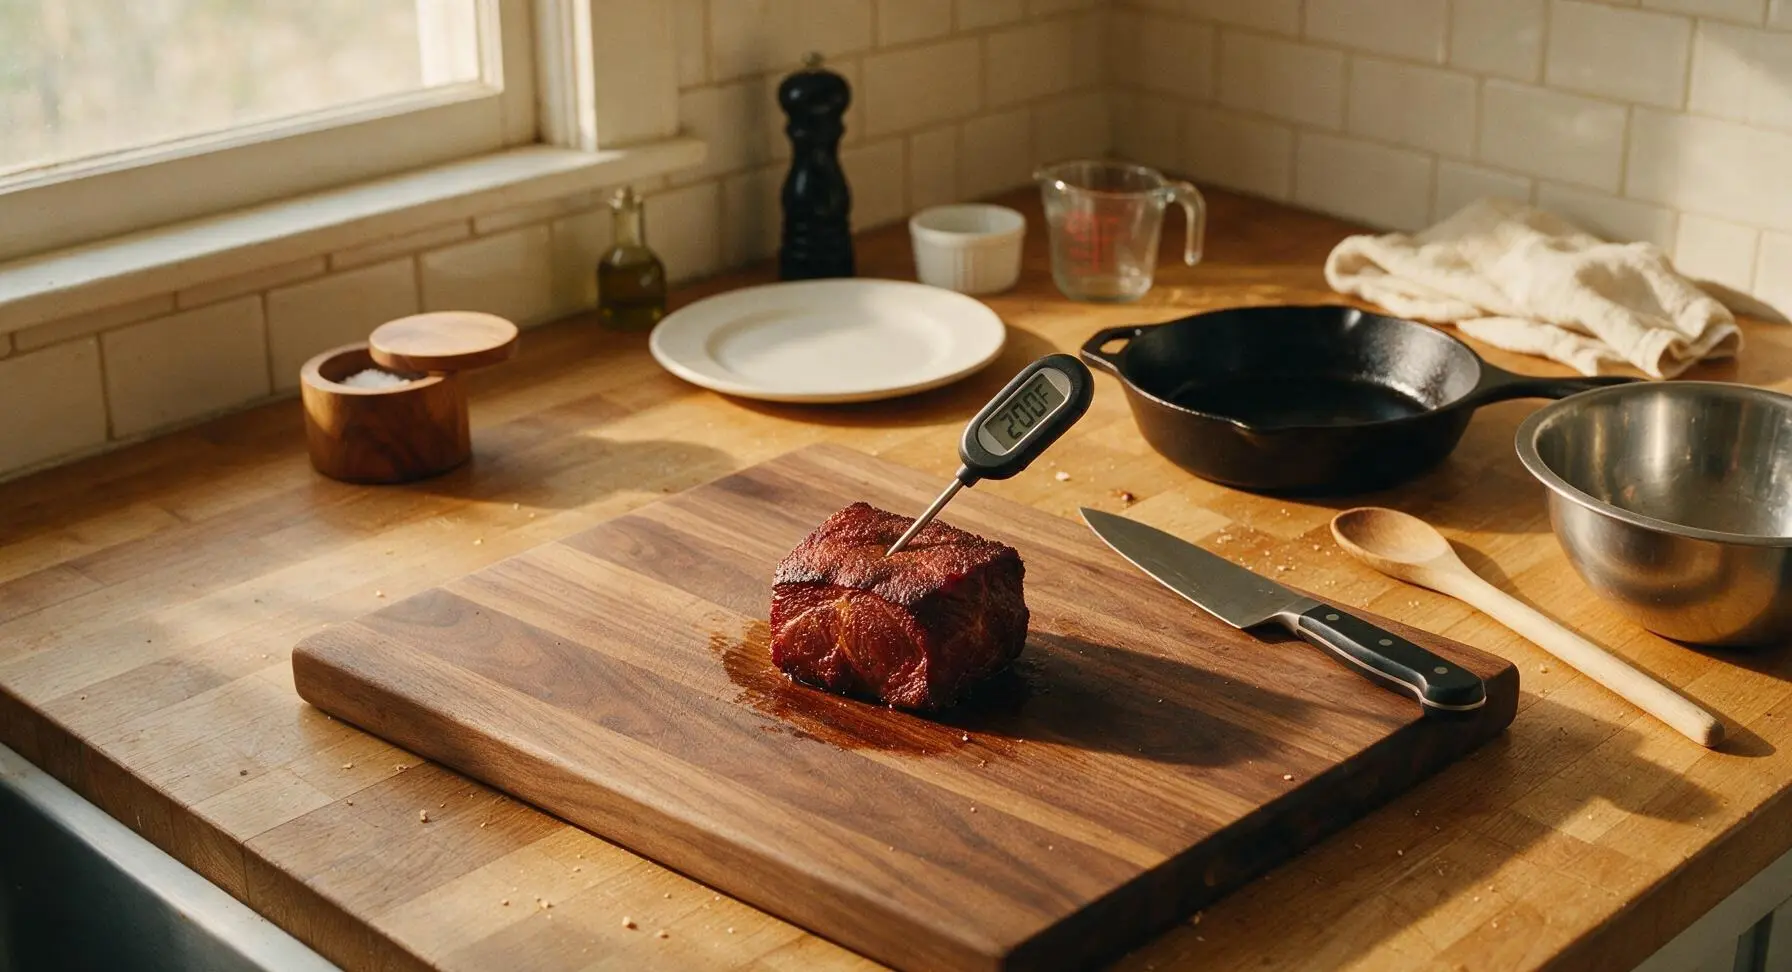
Preheat the built-in pellet grill to 120C (250F) using hickory or apple wood pellets for mild, sweet smoke. Arrange the rubbed pork cubes in a single layer on the grill grate, spaced 1cm apart to allow even smoke circulation. Close the lid and smoke for 1 hour 45 minutes, until the cubes are dark reddish-brown, firm to the touch, and reach an internal temperature of 93C (200F) when checked with the digital instant-read thermometer.
Step 3
step3:Smoke Until Tender
Step 3
step3:Smoke Until Tender
4

Whisk Peanut Sauce

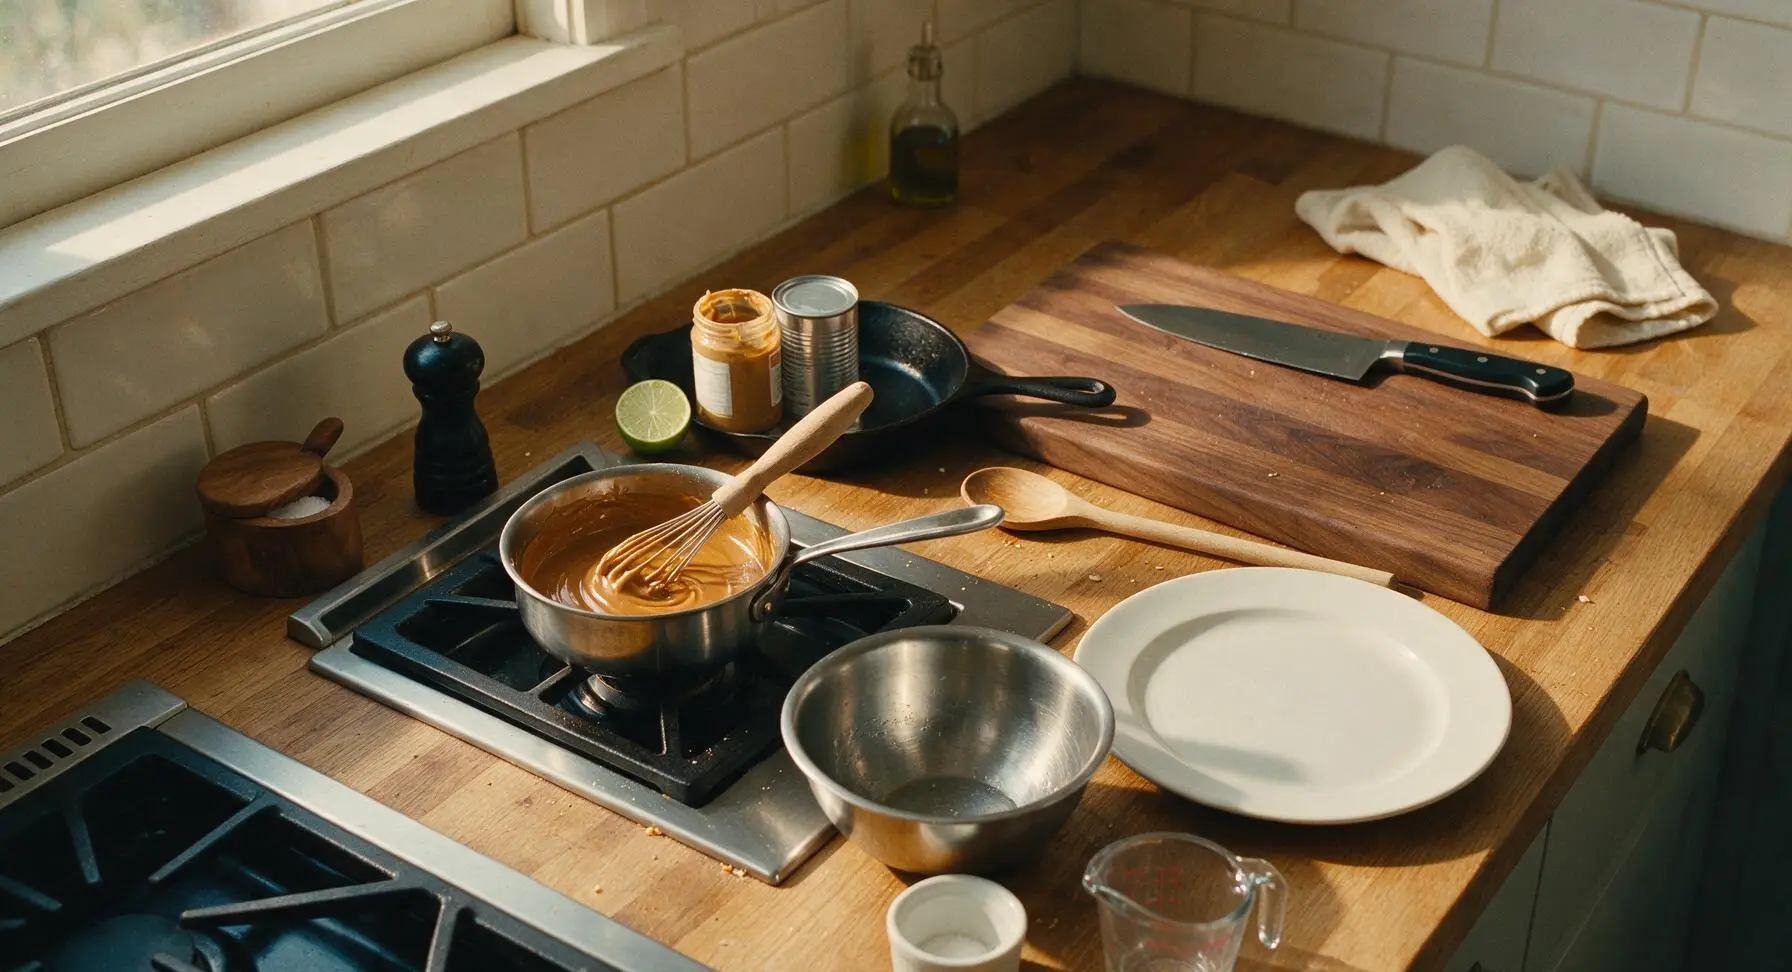
While the pork smokes, place the small stainless steel sauce pot on the built-in counter side burner set to low heat. Add 1/2 cup creamy unsweetened peanut butter, 1/3 cup full-fat coconut milk, 2 tbsp low-sodium soy sauce, 2 tbsp fresh lime juice, 1 tbsp honey, 1 tsp sriracha, and 1 tsp rice vinegar to the pot. Whisk continuously with the silicone whisk for 3-4 minutes, until the sauce is smooth, glossy, and just barely simmering—do not boil, as this will cause the peanut butter to separate. Remove from heat and set aside.
Step 4
step4:Whisk Peanut Sauce
5

Toss in Peanut Sauce

Once the pork cubes reach 200F internal temp, use the long stainless steel tongs to transfer all cubes into the heavy-duty aluminum foil pan. Pour 3/4 of the warm peanut sauce over the cubes, tossing gently with the tongs to coat every piece evenly, reserving the remaining 1/4 of sauce for serving.
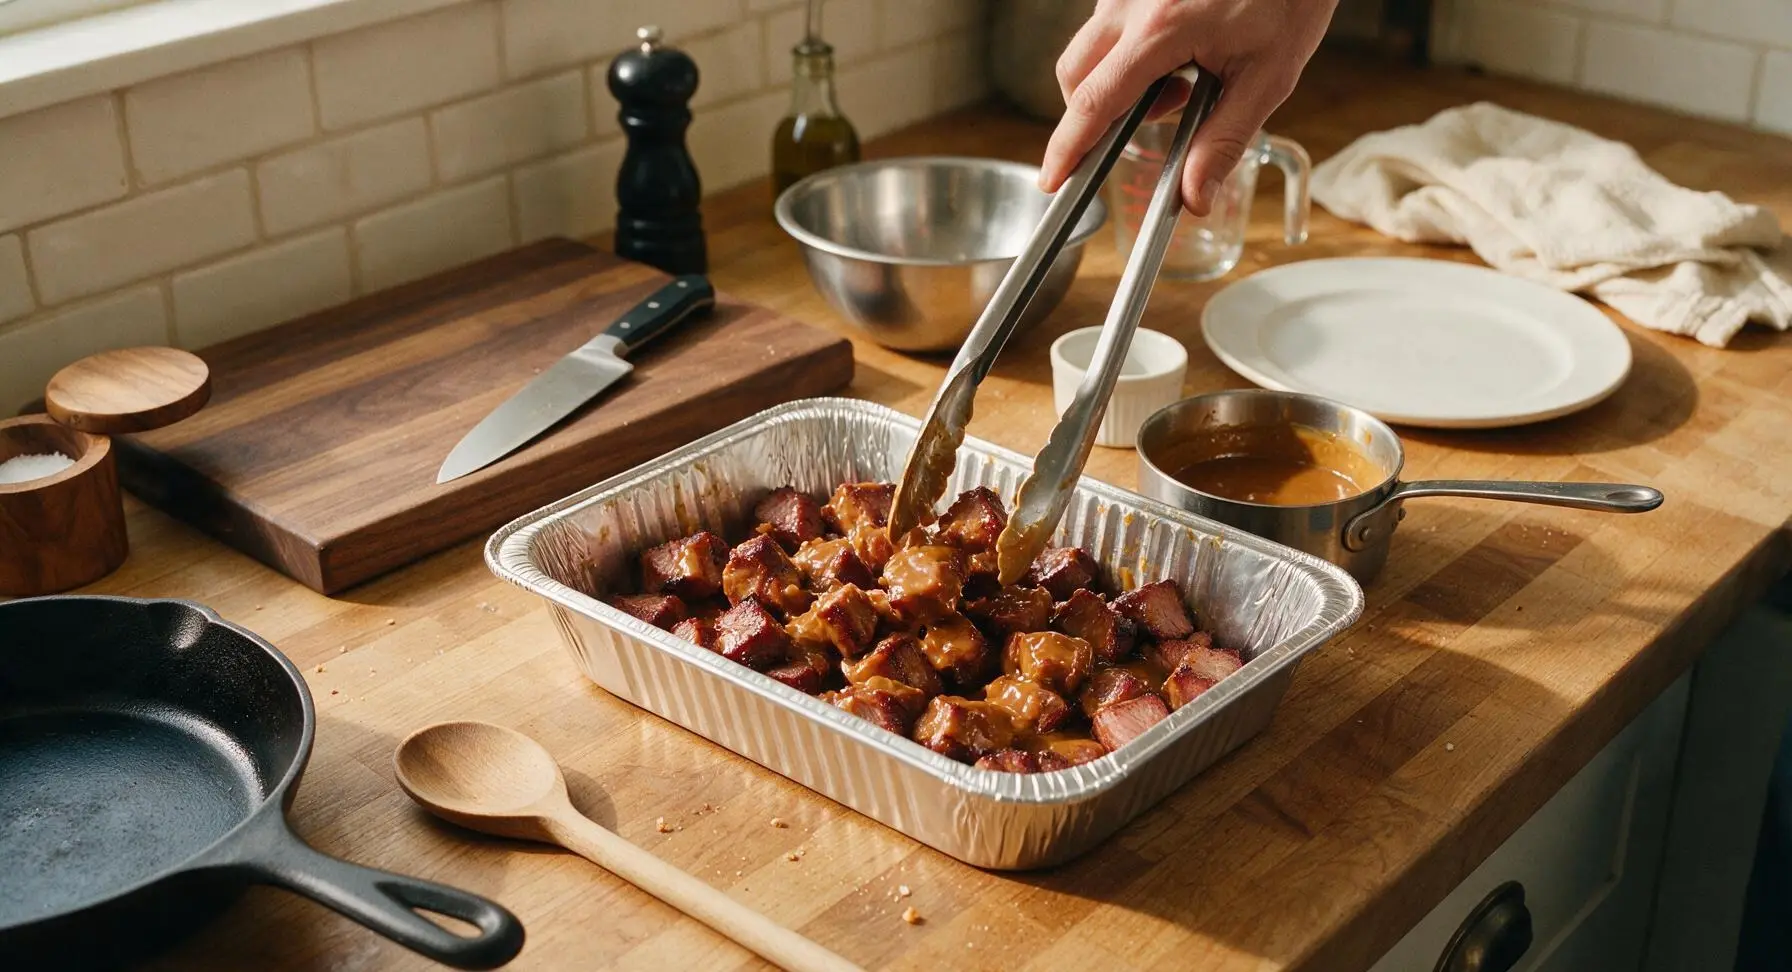
Step 5
step5:Toss in Peanut Sauce
6

Caramelize the Ends

Return the aluminum foil pan with sauced pork cubes to the 120C (250F) grill, leaving the pan uncovered. Cook for an additional 25 minutes, stirring once halfway through with the tongs, until the sauce is thick, sticky, and caramelized on the edges of the cubes, with dark slightly charred 'burnt' spots forming on the corners. Do not overcook, as the honey in the sauce will burn quickly and turn bitter.
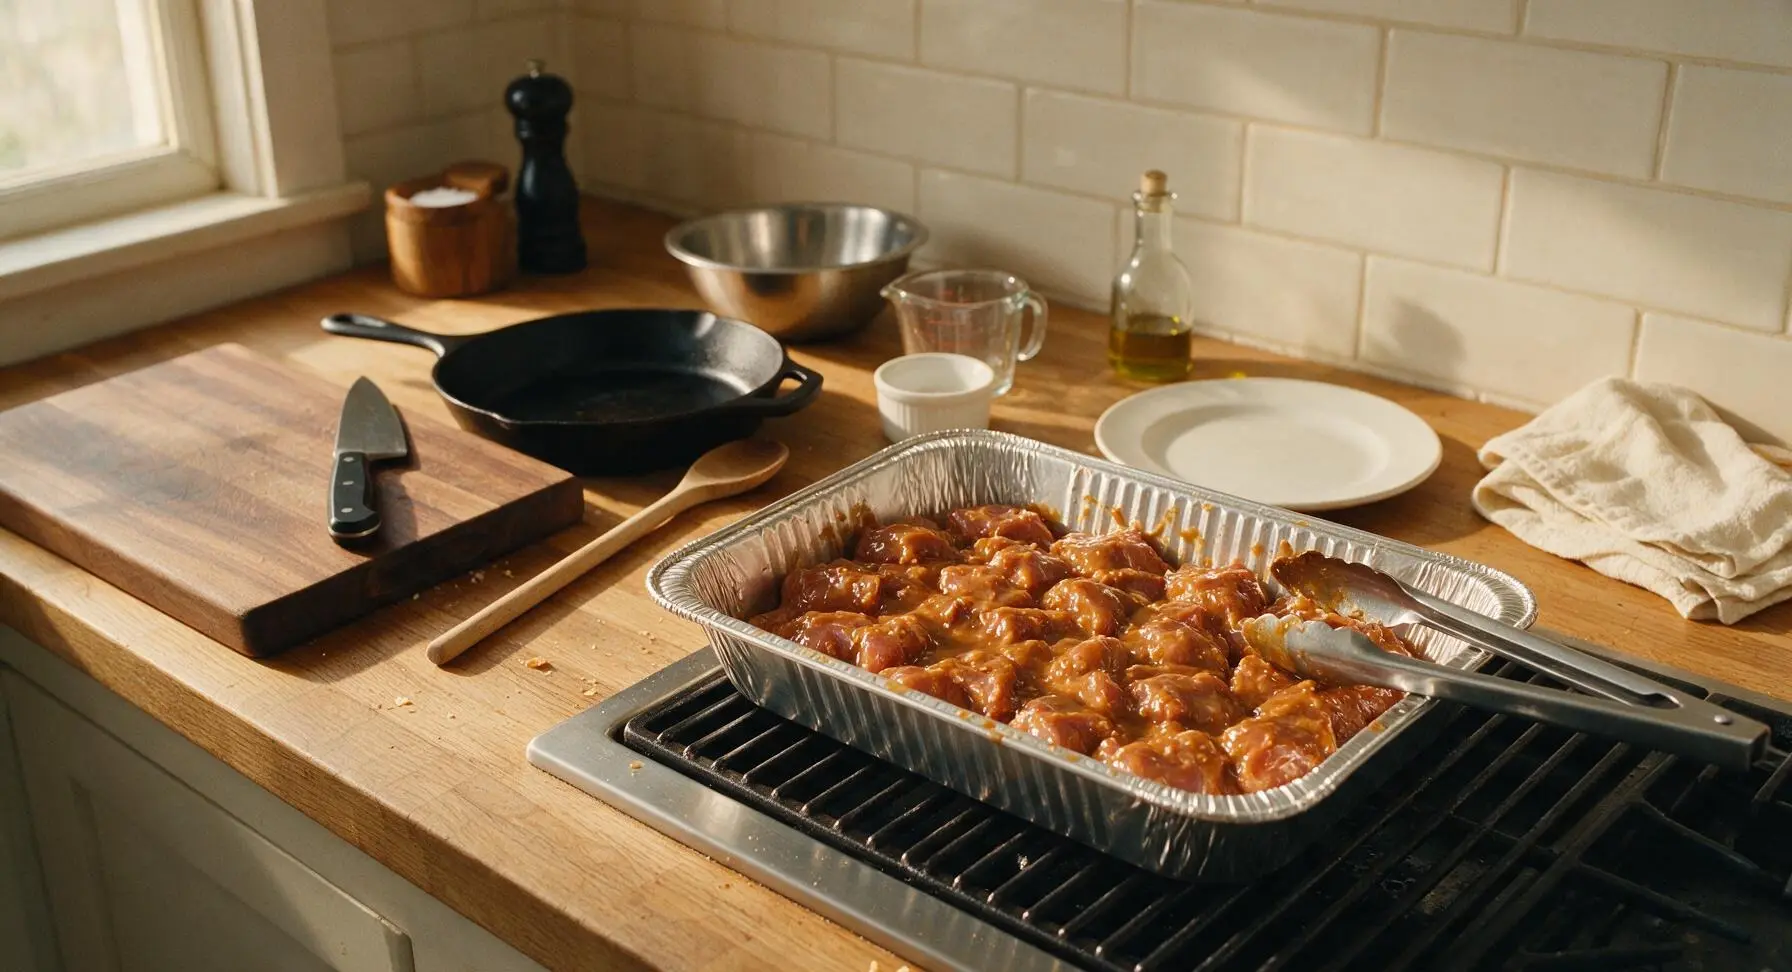
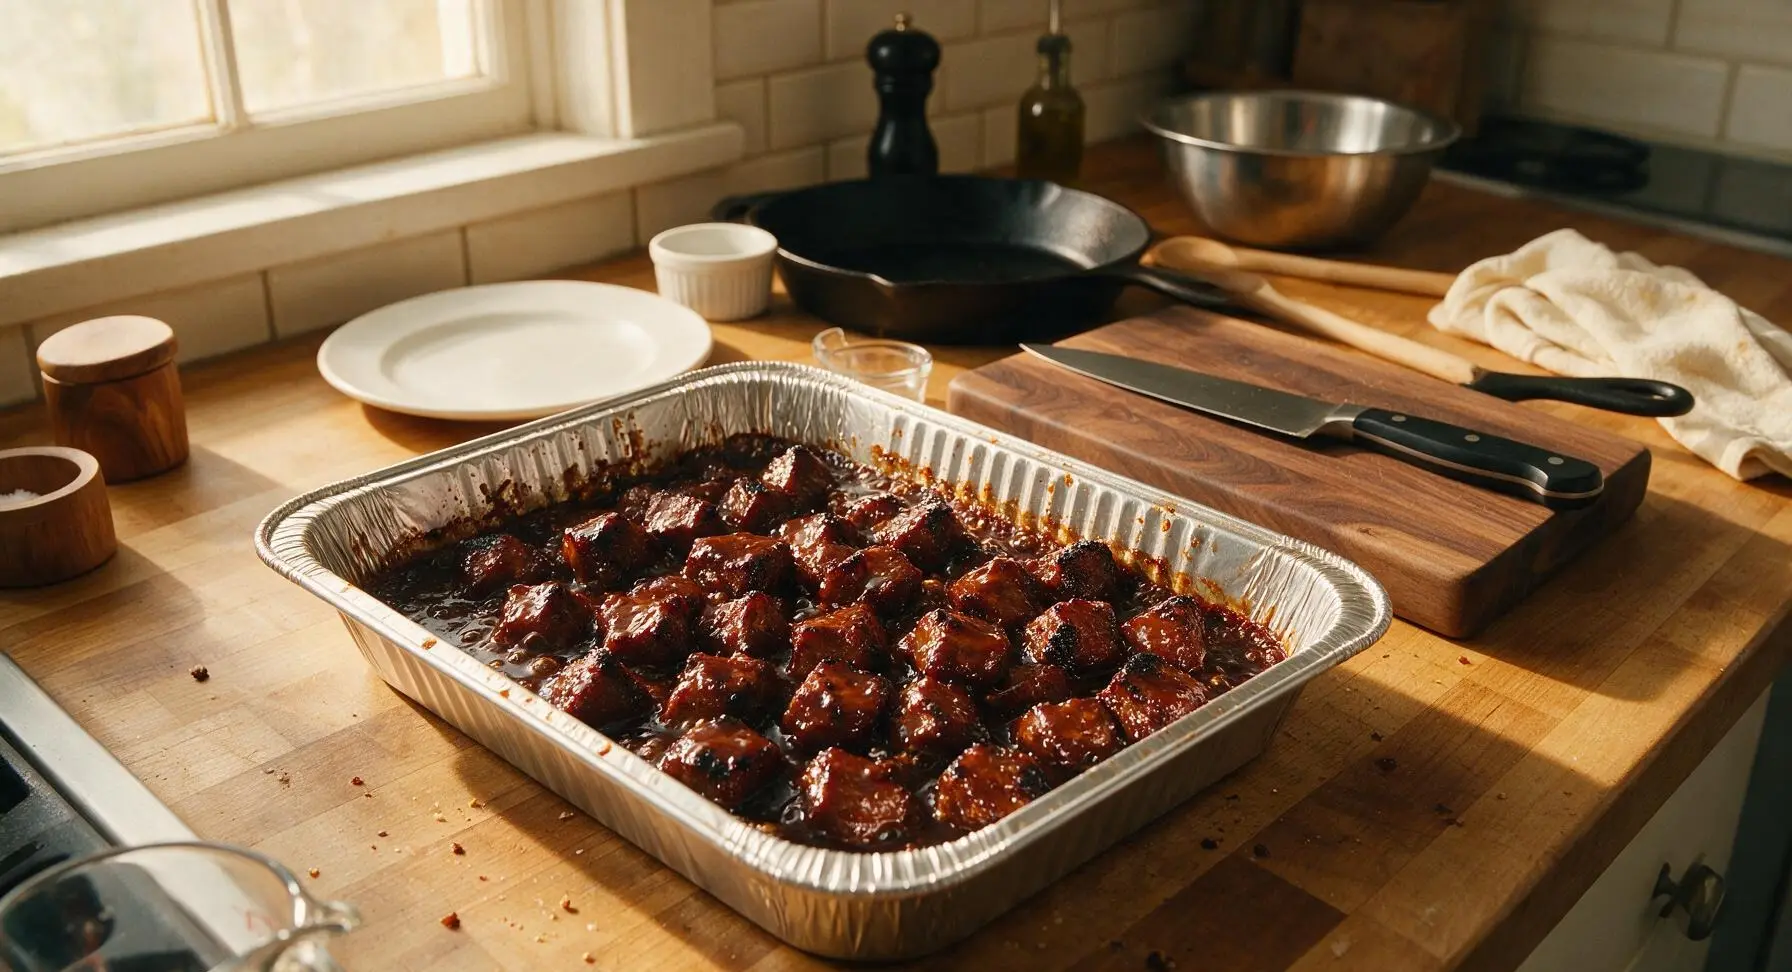
Step 6
step6:Caramelize the Ends
Step 6
step6:Caramelize the Ends
7

Pile for Serving

Remove the foil pan from the grill using the tongs. Transfer all the sauced, caramelized burnt ends to the center of the matte charcoal gray ceramic serving platter, piling the cubes loosely in a tall, generous mound. Drizzle the reserved peanut sauce lightly over the top of the pile.
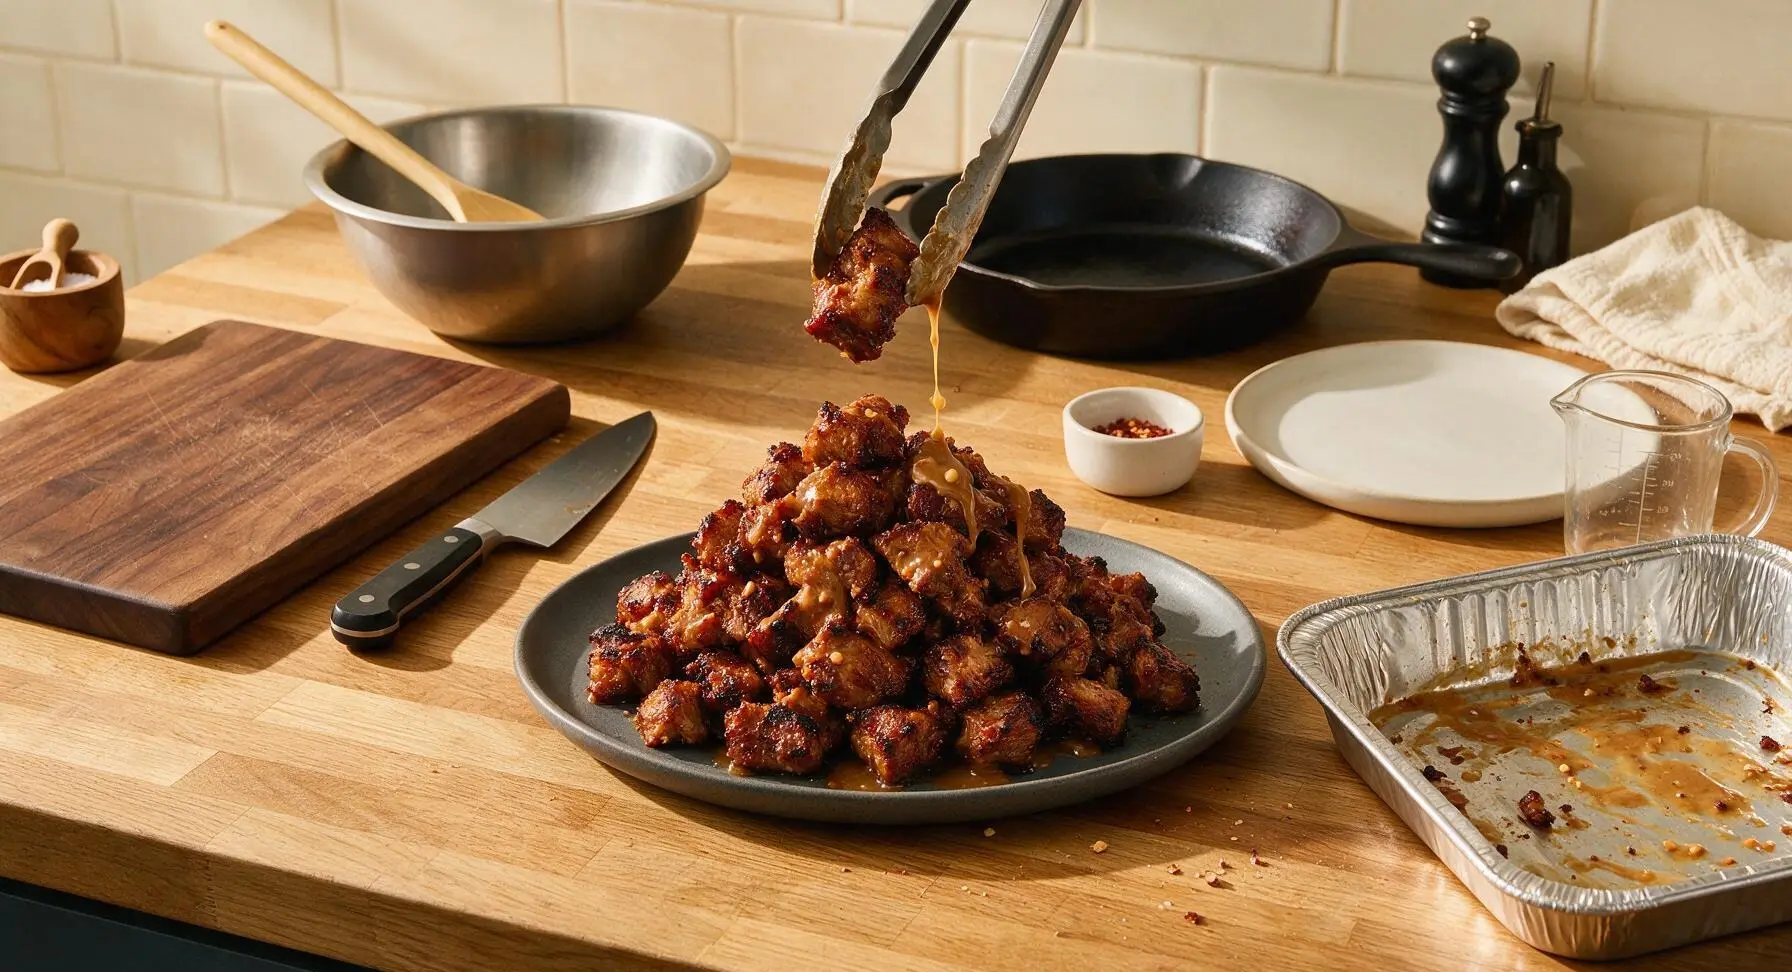
Step 7
step7:Pile for Serving
8

Garnish and Serve

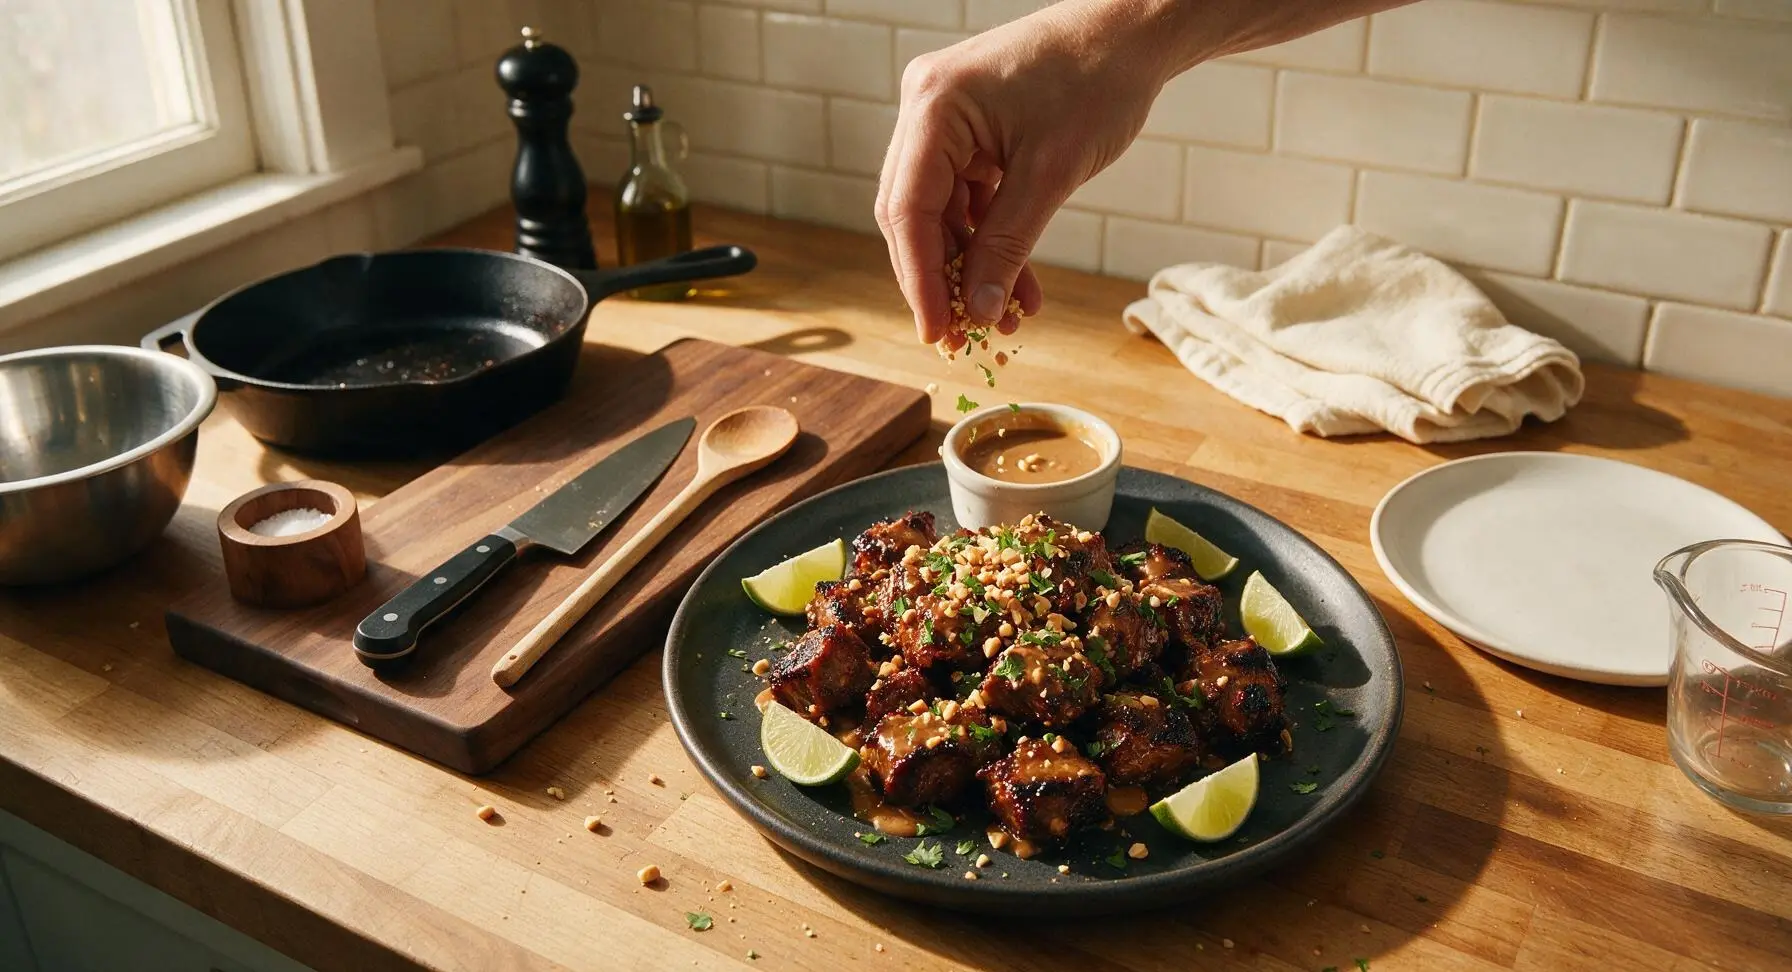
Sprinkle the crushed roasted peanuts and chopped fresh cilantro evenly over the top of the sauced burnt ends. Tuck 4 lime wedges around the edge of the platter for squeezing, and serve immediately while hot, with extra sauce in the small matte white ceramic ramekin placed on the side.
Step 8
step8:Garnish and Serve

Tips

1.Pat pork belly cubes completely dry before applying dry rub—any residual surface moisture will prevent the spice rub from forming a tight, crispy, smoky bark during smoking, leading to soggy, unevenly flavored burnt ends.
2.Keep heat on low when making the peanut sauce, and remove it from heat as soon as it is smooth and barely simmering. Boiling will cause the peanut butter’s natural oils to separate, creating a greasy, broken sauce that will not cling evenly to the pork cubes.
3.Cut pork belly into exact 1-inch cubes for even cooking. Cubes smaller than 1 inch will dry out and become tough during the long smoke, while cubes larger than 1 inch will not develop the signature caramelized, slightly burnt edges before the interior turns tender.


✨ You May Also Like

BBQ & Grilling
🍜 United States

Tender, melt-in-your-mouth beef brisket with a crisp, spiced bark, slow-smoked to deep smoky perfection, the iconic centerpiece of Texas backyard barbecue.

⏱️ 12 hours BBQ & Grilling ★ 4.4
BBQ & Grilling
🍜 Korea

Tender, sweet-savory marinated beef short ribs, a beloved Korean BBQ staple with caramelized, slightly charred edges and deep umami flavor, perfect for outdoor summer gatherings.

⏱️ 4 hours 2BBQ & Grilling ★ 4.8
BBQ & Grilling
🍜 United States

Juicy grilled beef patties topped with smoky homemade chili, melted cheddar, and tangy pickles on toasted brioche buns for a hearty, flavor-packed handheld meal.

⏱️ 40 minuteBBQ & Grilling ★ 4.7
BBQ & Grilling
🍜 United States

A sweet, smoky, tangy BBQ sauce brightened with peak-season dark cherries, ideal for glazing grilled ribs, chicken, pork, or summer roasted veggies.

⏱️ 35 minuteBBQ & Grilling ★ 4.7
BBQ & Grilling
🍜 United States

Rich, smoky, slightly sweet homemade bourbon BBQ sauce with deep caramel notes, ideal for glazing grilled ribs, chicken, and burgers at cookouts.

⏱️ 25 minuteBBQ & Grilling ★ 4.7
BBQ & Grilling
🍜 United States

Iconic Alabama-style BBQ featuring tender hickory-smoked chicken slathered in tangy creamy white sauce, a beloved regional Southern cookout staple.

⏱️ 3 hoursBBQ & Grilling ★ 5

Thai Peanut Burnt Ends:Frequently Asked Questions

1.What cut of pork should I use for Thai Peanut Burnt Ends? ▾
Stick with 1.5 to 2-inch cubed skinless pork belly for the best results—it has the ideal fat-to-meat ratio to get that crispy, caramelized exterior and melt-in-your-mouth interior without getting tough. Skip lean cuts like pork shoulder, as they’ll dry out during the long smoky cook and won’t hold up to the thick peanut sauce coating.
2.Can I use skin-on pork belly if that’s all I have? ▾
You can, but you’ll need to trim the tough skin completely off first, or score it extremely deeply and render it for an extra 45 minutes before cubing. Left attached, the skin will turn chewy and rubbery instead of crisp, and it will prevent the dry rub and peanut sauce from sticking properly to the meat surface.
3.What temperature should I smoke the pork belly cubes at? ▾
Smoke the cubed pork belly at 275°F for the first 2 hours, using a mild hardwood like apple or cherry to complement the warm spices and nutty peanut sauce. This temperature is hot enough to render excess fat without burning the spice rub, and low enough to build that deep, classic smoky flavor perfect for summer cookouts.
4.Do I need to wrap the burnt ends during cooking? ▾
After the initial 2-hour smoke, transfer the cubes to a disposable aluminum pan, toss with a splash of pineapple juice or coconut aminos, cover tightly with foil, and cook for another 90 minutes. This steaming step tenderizes the pork belly, breaks down tough connective tissue, and gets the cubes ready to absorb the Thai peanut sauce in the final step.
5.What’s in the simple dry rub for this recipe? ▾
The base dry rub uses equal parts kosher salt, smoked paprika, garlic powder, and ground ginger, balanced to highlight the Thai peanut flavor without overpowering the rich pork. You can add a pinch of cayenne if you like extra heat, but skip heavy, bold spices like cumin that will clash with the bright, nutty, tangy profile of the final sauce.
6.When do I add the Thai peanut sauce to the burnt ends? ▾
Add the creamy Thai peanut sauce during the final 15 to 20 minutes of cooking, after you remove the foil cover from the pan. Toss the tender pork cubes thoroughly to coat every piece, then leave the pan uncovered so the sauce caramelizes slightly onto the burnt ends, creating that sticky, charred, perfectly glossy exterior everyone loves.
7.Can I make these burnt ends on a regular gas grill if I don’t have a smoker? ▾
Absolutely! Set your gas grill up for indirect heat, keep the temperature steady at 275°F, and add a small smoke box filled with apple wood chips over the direct heat side. Follow the exact same timing steps as you would for a smoker—you’ll get nearly identical smoky, caramelized results without needing specialized equipment.
8.Can I make these burnt ends in the oven? ▾
You can, though you’ll miss some of the deep wood smoke flavor. Cook the seasoned cubes on a wire rack set over a baking sheet at 275°F for 2 hours, then transfer to a covered pan for 90 minutes, toss with sauce, and finish uncovered for 20 minutes. Add a pinch of extra smoked paprika to the sauce to amp up that classic smoky note.
9.How do I know when the burnt ends are done cooking? ▾
The burnt ends are ready when the pork belly is probe-tender—meaning a meat thermometer slides in with no resistance, like pushing into soft butter—at an internal temperature of around 200 to 205°F. After saucing, the edges should be slightly charred, the sauce sticky and caramelized, and every piece should be a rich, deep golden-brown color.
10.What goes into the Thai peanut sauce for this recipe? ▾
The tangy, creamy peanut sauce uses smooth natural peanut butter, fresh lime juice, low-sodium soy sauce, a splash of rice vinegar, a pinch of the same ground ginger and garlic powder from the rub, and a tiny bit of brown sugar to balance flavors. Thin it with a splash of coconut milk if it’s too thick to toss evenly over the warm pork cubes.
11.Can I use crunchy peanut butter for the sauce? ▾
You absolutely can if you prefer extra nutty texture! Just note that crunchy peanut butter will create a slightly chunkier coating instead of the smooth, glossy sauce that clings evenly to every burnt end. If you go that route, stir a tablespoon of warm water into the sauce to thin it enough to coat the pork without clumping.
12.How far in advance can I prep these for a summer cookout? ▾
You can cube the pork belly and toss it with the dry rub up to 24 hours in advance, storing the seasoned pork covered in the fridge until you’re ready to cook. Wait to make the peanut sauce until the day of your cookout, as the lime juice can turn bitter if left to sit too long, and fresh sauce has a brighter, tangier flavor.
13.What side dishes pair well with Thai Peanut Burnt Ends? ▾
These sticky, nutty burnt ends pair perfectly with light, fresh sides that cut through the rich pork, like cucumber salad, coconut rice, grilled pineapple, tangy coleslaw, or quick pickled vegetables. Skip heavy, creamy sides like mac and cheese, as they’ll compete with the bold peanut sauce and make the meal feel overly heavy.
14.My burnt ends came out tough—what did I do wrong? ▾
Tough burnt ends almost always come from one of two issues: either you didn’t cook them long enough to break down the pork belly’s connective tissue, or you cooked them at too high a temperature, which seized the meat before the fat could render. Next time, stick to the 275°F cook temperature, use the foil wrap step, and cook until cubes are probe-tender.
15.Can I make these burnt ends spicier? ▾
Definitely! Add ¼ teaspoon of cayenne pepper to the dry rub, or stir a teaspoon of chili garlic sauce or sriracha into the Thai peanut sauce before tossing to add warm, lingering heat that pairs beautifully with the nutty, sweet, salty flavor profile. Start with a small amount, taste, and add more heat to match your preference.
16.How should I store leftover burnt ends? ▾
Store cooled leftover burnt ends in an airtight container in the fridge for up to 4 days. When you’re ready to reheat, spread the cubes on a baking sheet and warm them in a 350°F oven for 10 to 12 minutes, until the sauce is bubbly and the edges crisp back up—skip the microwave, as it will make the pork belly rubbery.
17.Do I need to trim excess fat off the pork belly before cubing? ▾
You only need to trim any hard, thick chunks of external fat that won’t render down during cooking—leave the thin, even streaks of marbled fat intact, as that’s what creates the juicy, melt-in-your-mouth texture and caramelized edges that make burnt ends so good. Over-trimming will leave you with dry, bland cubes.
18.Can I make these with a different protein if I don’t eat pork? ▾
You can swap the pork belly for 2-inch cubed boneless, skinless chicken thighs for a lighter version—they have enough fat to stay juicy through the smoke and hold up well to the thick peanut sauce. Just reduce total cook time by about 45 minutes, since chicken doesn’t need the long render time pork belly does.

Comments (19)

3 days ago

OMG y’all, these Thai peanut burnt ends were an absolute game changer for our weekend cookout! I was nervous to mess with classic burnt ends but that creamy, spicy peanut glaze? *Chef’s kiss* My husband and three kids devoured the whole tray in 10 minutes flat. Already got three neighbors asking for the recipe. SO good.

2 days ago

Wait did you use brisket point or pork belly for yours? I’ve made regular burnt ends a dozen times but want to get the cut right for this Thai version!

1 day ago

So stoked these were a hit at your cookout, Sarah! To answer the cut question too – this recipe works best with brisket point, but pork belly makes a fantastic richer swap if that’s what you have on hand!

3 days ago

Made these for my weekly meal prep and they held up great all week! Only note is I cut back on the sriracha a tiny bit because I don’t love super spicy food, but the peanut flavor still came through perfectly. Will definitely be adding this to the rotation.

2 days ago

Great call adjusting the heat to your taste, Kris! So glad these worked out for meal prep – the glaze actually gets even better as it sits for a day or two, in my opinion.

1 week ago

As someone who grew up eating Thai food, I was skeptical about a BBQ fusion take on peanut sauce, but this is chef’s kiss! The balance of sweet, salty, nutty, and a little kick is exactly what I look for in a peanut sauce, and the crispy burnt end texture pairs so perfectly with it. Brought these to a potluck at work and everyone was raving.

5 days ago

Tasted great once I got it right, but I definitely overcooked the first batch because my smoker runs hot. Ended up with a few charred (not in a good way) pieces before I dialed the temp down. Wish the recipe had a note about checking internal temp more frequently if you have a finicky smoker!

3 days ago

Thanks for the honest feedback, Nate! That’s such a good callout – we’ll add a note about adjusting for smoker temperature variances and shooting for 195°F internal temp for that perfect tender bite. Sorry your first batch had some duds!

1 week ago

Made these for our church potluck last Sunday and they were the first dish gone! I served them with little toothpicks and a side of extra peanut sauce for dipping, and people were coming back for thirds. Even the lady who “doesn’t like fusion food” asked for the recipe. Total win!

5 days ago

Did you make these the night before or morning of? I want to make them for our football watch party this weekend and don’t want to be stuck grilling the whole time guests are over!

3 days ago

I prepped the glaze the night before and smoked the meat the morning of, then cut them up and tossed in glaze about 30 minutes before leaving! They stay warm in a covered dish for a good 2 hours no problem.

2 weeks ago

I don’t have a smoker so I made these in the oven per the alternative instructions, and they still turned out so tasty! The edges got nice and crispy, the peanut glaze caramelized perfectly, and my roommate thought I ordered takeout from our favorite Thai BBQ spot. Only reason it’s not 5 stars is the cook time felt a little long for a weeknight, but worth it for a weekend treat.

yesterday

Stop what you’re doing and make these RIGHT NOW. I added a little extra crushed peanut on top for crunch and it was *perfect*. I could drink that peanut glaze straight, no joke. Paired it with some coconut rice and steamed broccoli for the easiest, most impressive date night dinner ever.

2 hours ago

The crushed peanut topping is such a good call! That extra crunch takes it over the top. So glad you two loved the date night spread!

3 days ago

Solid recipe! I threw in a little extra lime juice to brighten up the glaze and it cut the richness perfectly. My only complaint is I wish the glaze recipe made a little more – I love having extra to drizzle on everything from rice to roasted veggies after!

2 days ago

Omg extra lime is genius! I felt the same way about the glaze quantity, I ended up making a 1.5x batch last time I made these and had zero regrets.

1 day ago

Love the lime addition, Joe! Great tip on scaling the glaze too – we’ll note that a 1.5x batch is perfect for folks who love extra sauce for dipping or drizzling!

5 days ago

My kids are OBSESSED. I was worried the Thai flavors would be too out there for my super picky 8 year old who only eats chicken nuggets and mac and cheese, but he ate three servings and asked if we can have these for his birthday dinner. Win for mom! We had them with pineapple fried rice on the side and it was such a fun family dinner.

2 days ago

I was so excited for this recipe but I didn’t see the note about using regular creamy peanut butter until I was already halfway done, and I only had natural no-stir peanut butter on hand. The glaze came out super grainy and separated on me, so the whole batch was kind of a bummer. Wish the peanut butter note was higher up in the ingredient list!

1 day ago

Oh no, Amy, I’m so sorry that happened! We totally get that – we’re moving that note right to the top of the ingredient section so folks don’t miss it. For future reference, a quick blitz of natural peanut butter with a little extra coconut milk in the blender smooths it right out for the glaze!

2 weeks ago

Took these to a Friendsgiving potluck a couple weeks ago and they stole the show! I was worried they wouldn’t hold up next to all the classic Thanksgiving sides, but people were going back for seconds even after the turkey was gone. The sweet-savory-spicy combo is just unbeatable.

1 week ago

Wait Friendsgiving is such a perfect call for these! I’ve been looking for a non-turkey dish to bring to my friend’s gathering this year, this is officially it.

5 days ago

Do it! I promise you’ll be the most popular person there, just make extra because they go fast.

1 week ago

As a Texas guy who takes his burnt ends very seriously, I was prepared to be a hater, but this slaps. The peanut glaze doesn’t overpower the smoky brisket, it complements it. I’ll still make classic burnt ends for my annual BBQ competition, but this is going to be my go-to casual weekend cook for friends who like fun flavors.

30 minutes ago

Just pulled these out of the smoker and snuck a bite before my partner gets home and HOLY COW. The caramelization on the glaze is insane, the brisket is fall-apart tender, and that little hint of ginger in the peanut sauce? *Chef’s kiss* I already know he’s going to lose his mind when he tries these.

5 minutes ago

Love that first bite excitement! Hope your partner loves them as much as you did – that ginger kick is one of our favorite little secret ingredients in the glaze!

3 days ago

This was so good! I couldn’t find brisket point at my local grocery store so I used chuck roast cut into 1.5 inch cubes, and it worked shockingly well for a budget swap. Saved me like $15 and still had that tender, meaty texture that soaks up all the glaze. Will absolutely make again!

2 days ago

Wait chuck roast? That’s such a good swap, I’m a broke college student and brisket is way out of my grocery budget right now. Did you adjust the cook time at all when you used chuck?

1 day ago

I added about 15 extra minutes of cook time to make sure it got tender enough, no other changes! So worth it, way cheaper and tastes almost identical.

2 days ago

Made these for our tailgate before the UGA game last weekend and people were lined up at my cooler for a sample. The combination of smoky BBQ and creamy Thai peanut is such a crowd pleaser, even the guy who only eats plain hot dogs tried one and came back for two. 10/10, will be a regular in my tailgate rotation from now on.

2 hours ago

I added an extra tablespoon of sriracha and a pinch of red pepper flakes because I love super spicy food, and these were perfect. The heat doesn’t hit you right away, it builds a little, and the peanut creaminess cools it down just enough. Paired with a cold Thai iced tea? Literal perfection.

30 minutes ago

Love the extra heat! Pairing with Thai iced tea is such a perfect call, that sweet creamy drink balances the spice so well. We’ll have to try that next time we make a batch!

5 days ago

This was the first thing I ever made on my new smoker and it turned out AMAZING. I was so nervous I’d mess it up, but the instructions were super clear, the timing was spot on, and my whole family was impressed. Can’t wait to experiment with more of your recipes now that I didn’t completely bomb my first smoke!

3 days ago

Yay, we’re so honored your first smoker cook was with us! That’s such a milestone, and we’re thrilled it turned out so well. Welcome to the smoked meat club – you’re gonna be hooked now!

1 week ago

So happy this recipe is super easy to make gluten free! I swapped the regular soy sauce for tamari and didn’t notice a difference at all in the glaze flavor. Brought these to a family dinner where half of us are gluten free and everyone loved them, no weird texture or off flavors like some GF swaps have. Already passed the recipe along to my whole celiac support group.

yesterday

Leftovers of these are insane! I chopped up the leftover burnt ends and threw them in a salad with some crunchy cabbage, edamame, and extra peanut dressing for lunch today, and it might have been better than the first night. The only reason it’s 4 stars is I wish I’d made a double batch so I had more leftovers!

2 hours ago

The leftover salad hack is genius! We love chopping up extra burnt ends for fried rice or noodle bowls too. Next time, definitely double the batch – we’ve never regretted having extra of these around!



