
thai sweet chilli sauce
intro
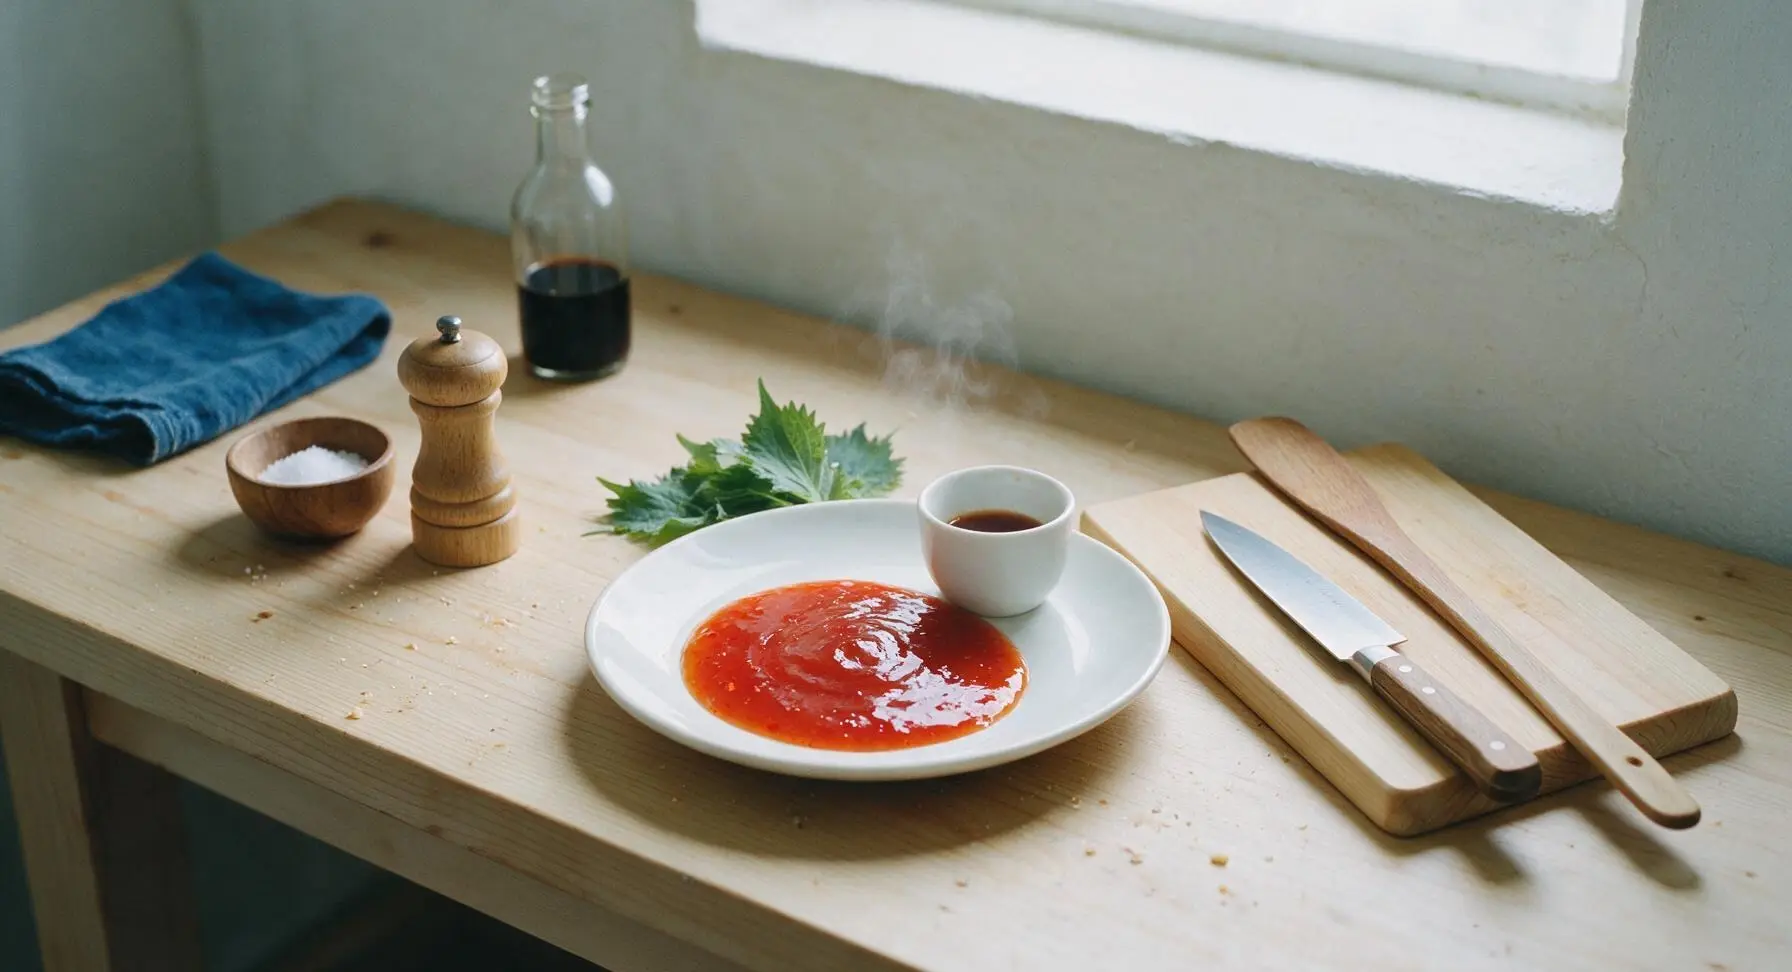
Bright, glossy, perfectly balanced Thai sweet chilli sauce—sticky, sweet, tangy, and gently spicy, ideal for dipping spring rolls, glazing grilled chicken, or drizzling over seafood.
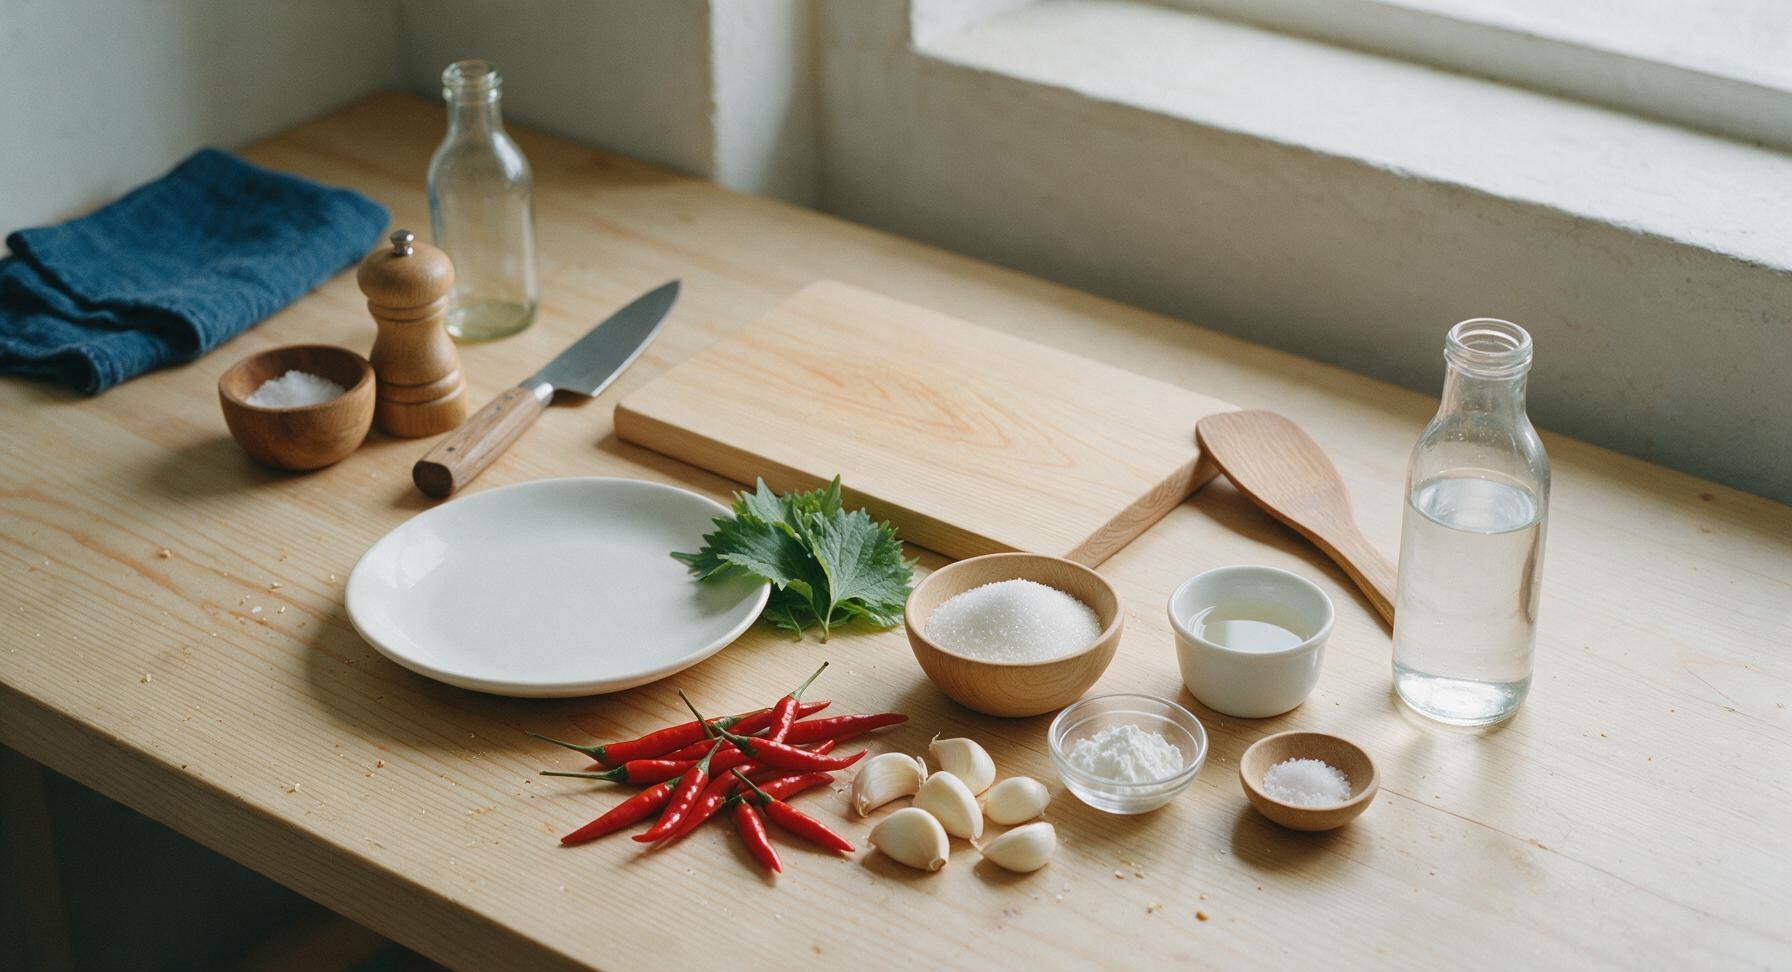
Ingredients
Steps
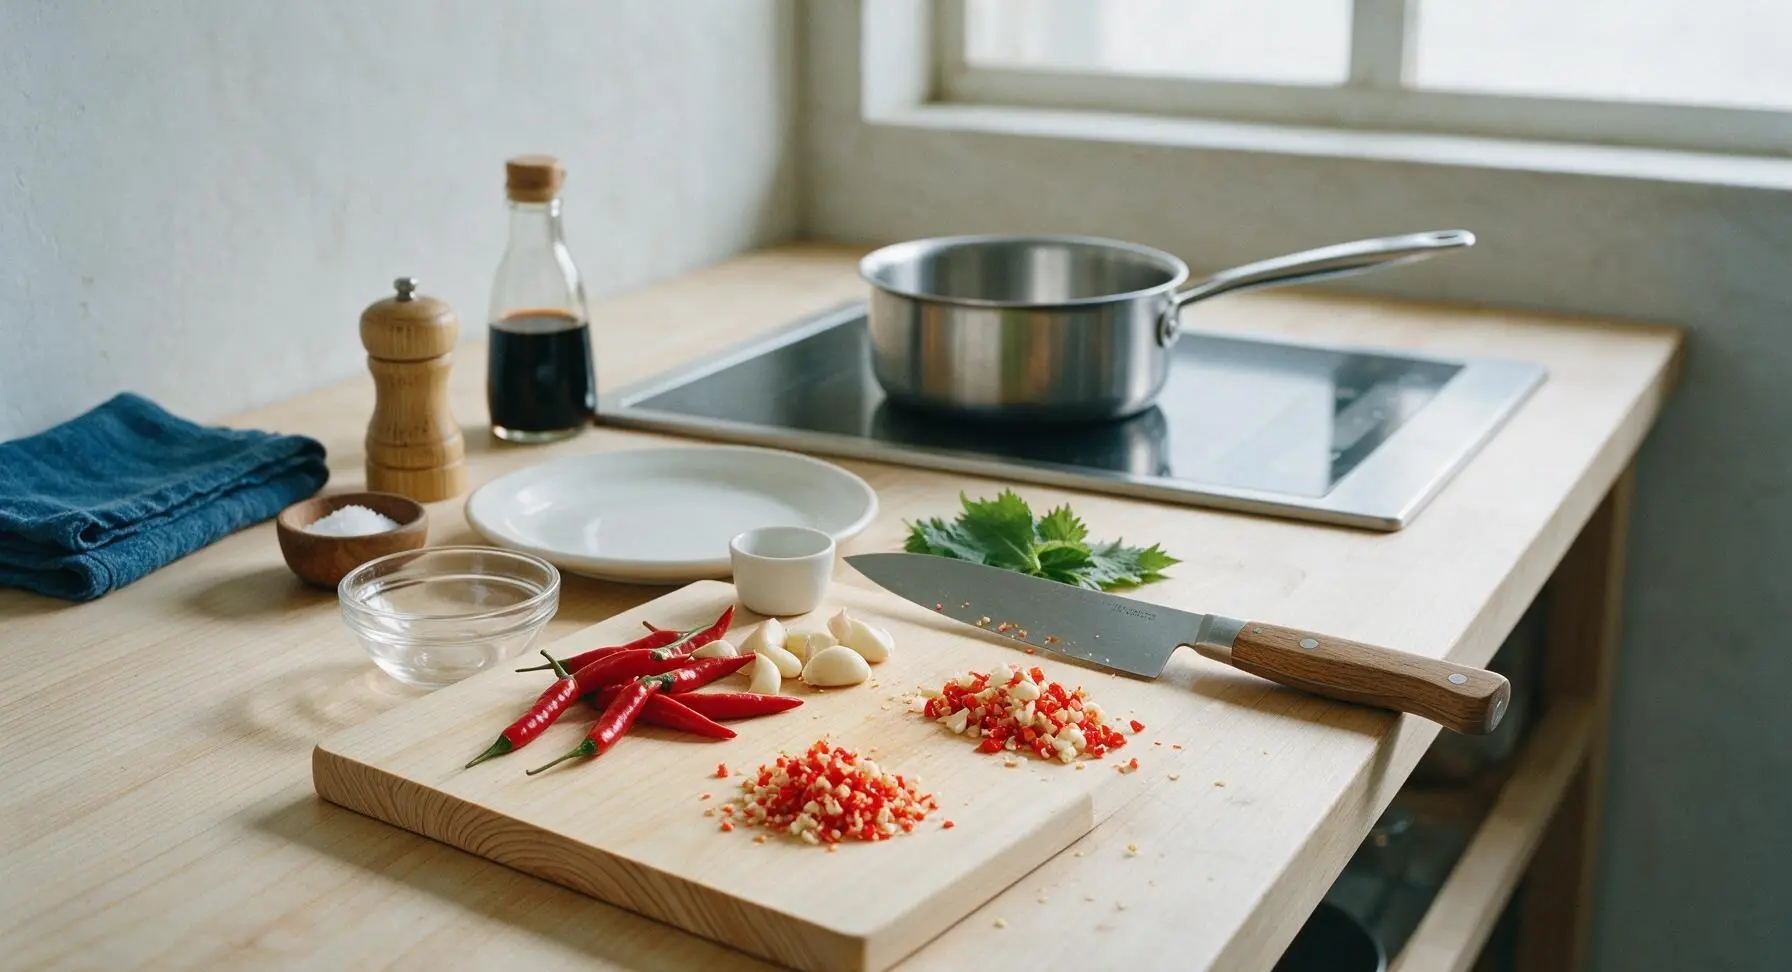
Chop Chilis and Garlic
Set the acacia cutting board in its fixed position, and place all peeled garlic cloves and whole red Thai chilis on its surface. Using the stainless steel paring knife, finely chop half the chilis and garlic into 2mm pieces to create a smooth sauce base, and roughly chop the remaining half into 5mm pieces to add pleasant, visible texture. If you prefer a milder sauce, scrape out and discard the chili seeds and inner white pith before chopping. Set all chopped aromatics aside in one of the small glass pinch bowls.
Combine Sauce Base
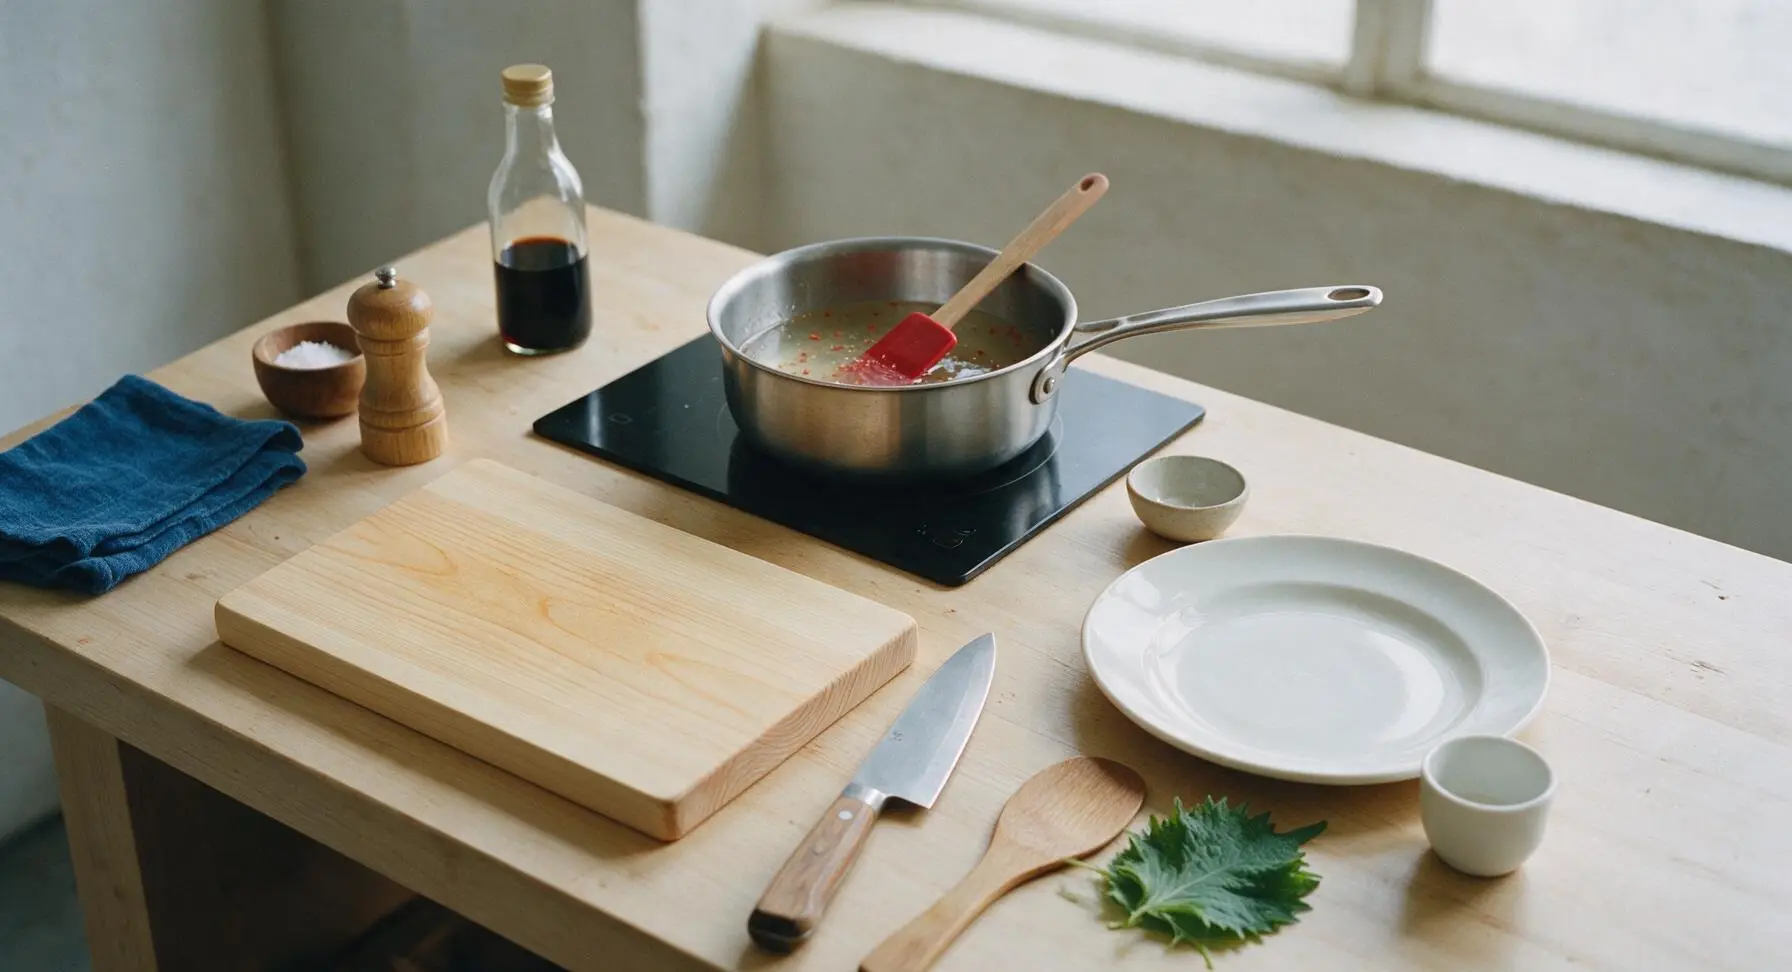
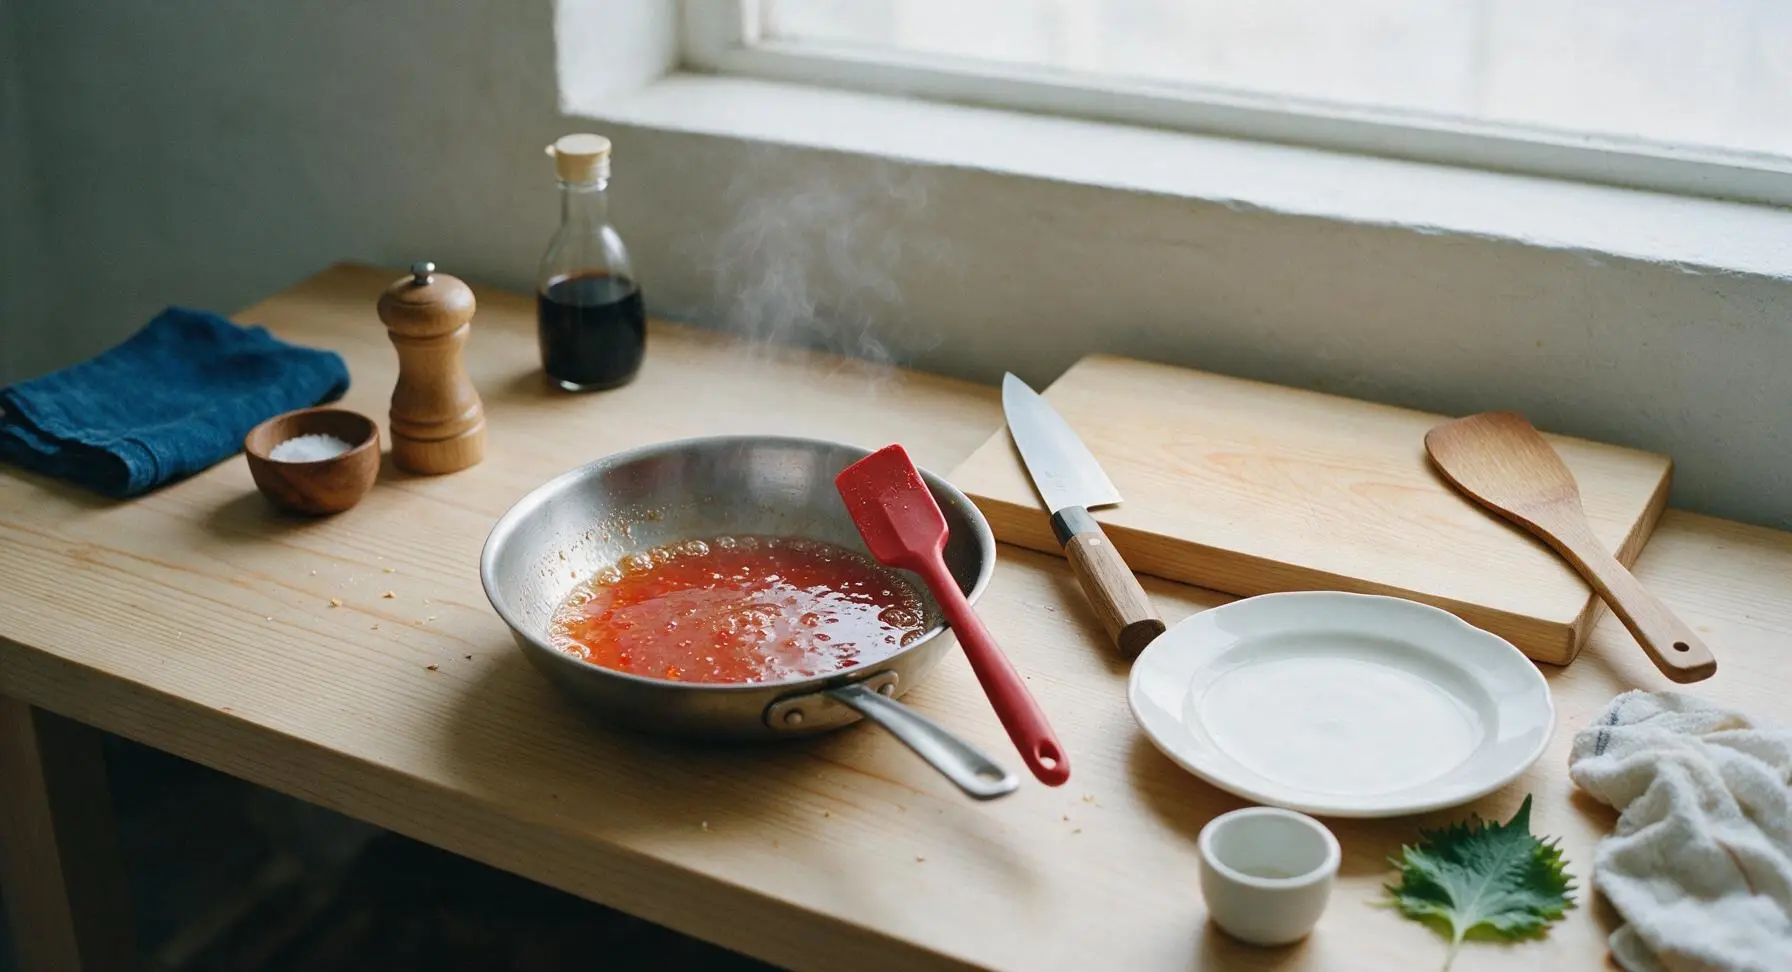
Place the 1.5L stainless steel saucepan on the central induction cooktop set to medium heat. Add the measured granulated sugar, distilled white vinegar, 150ml of the filtered water, fine sea salt, and all of the chopped chili and garlic to the pan. Stir gently with the red silicone spatula to combine all ingredients evenly.
Bring to Gentle Simmer
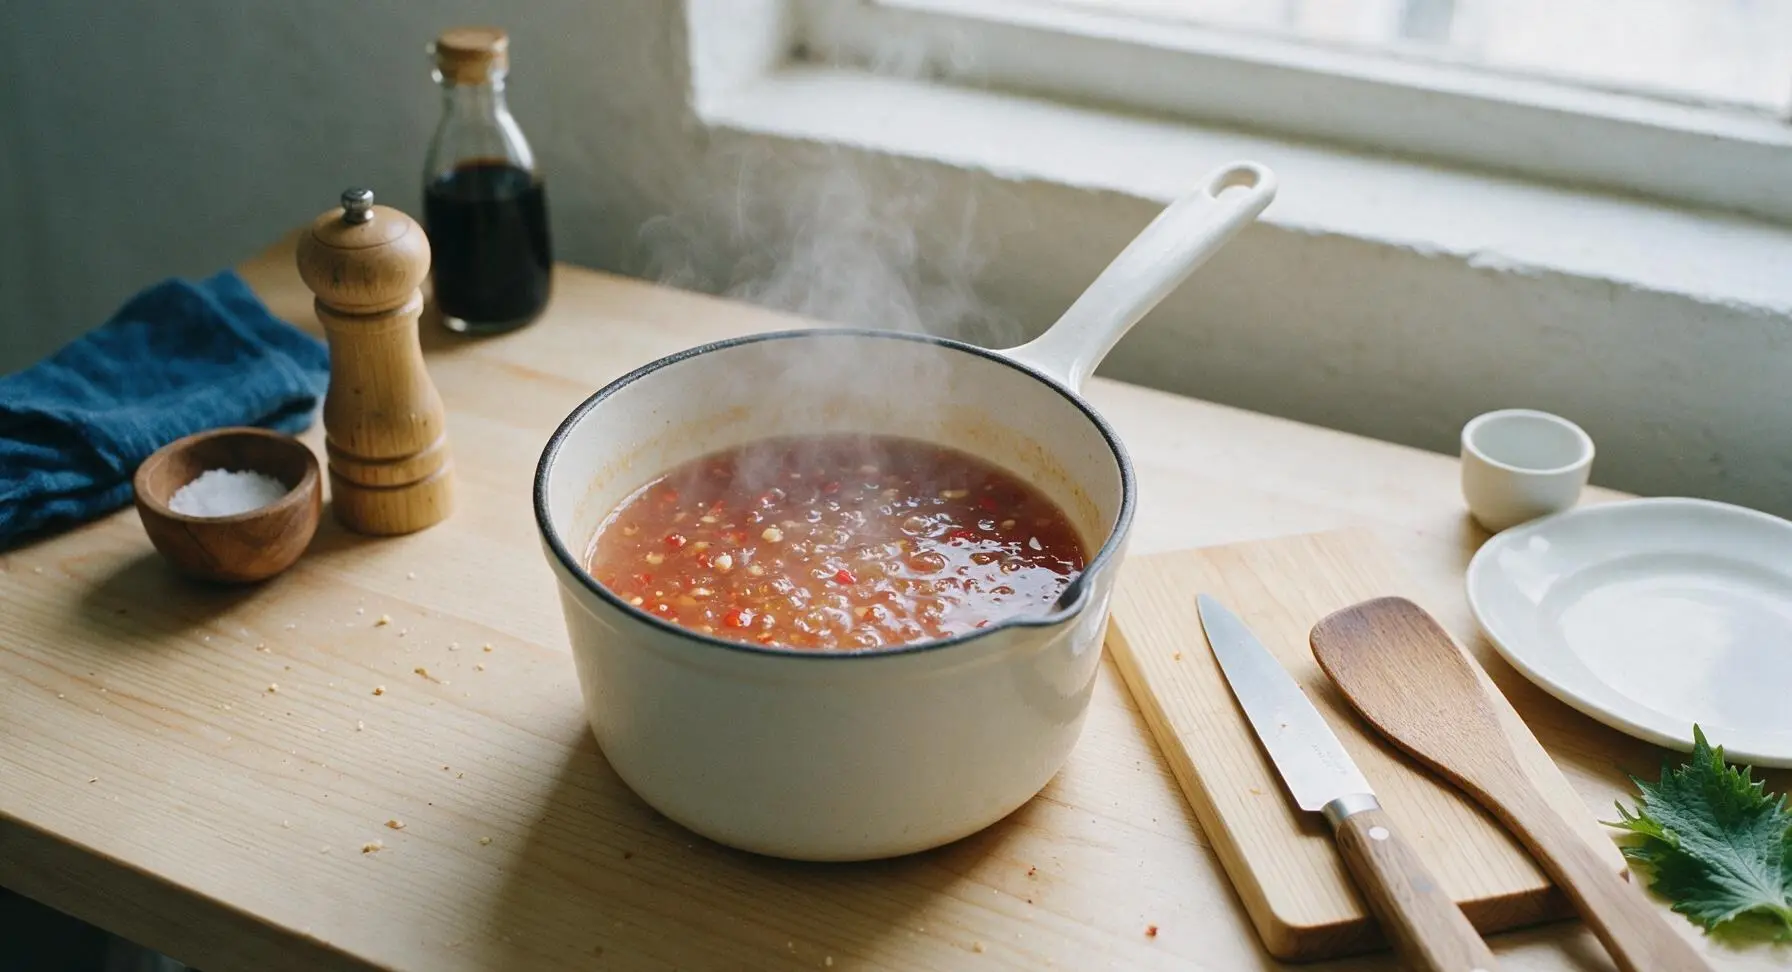
Heat the sauce base, stirring occasionally with the silicone spatula to ensure the sugar fully dissolves and does not stick to the pan bottom. Bring the mixture to a gentle, rolling simmer (not a hard boil, which will make the vinegar taste harsh), identified by small, steady bubbles breaking across the surface, as the liquid starts to take on a pale amber-red hue. Reduce heat to medium-low to maintain the simmer, and cook for 8 minutes to allow the garlic and chili flavors to infuse into the liquid.
Make Cornstarch Slurry
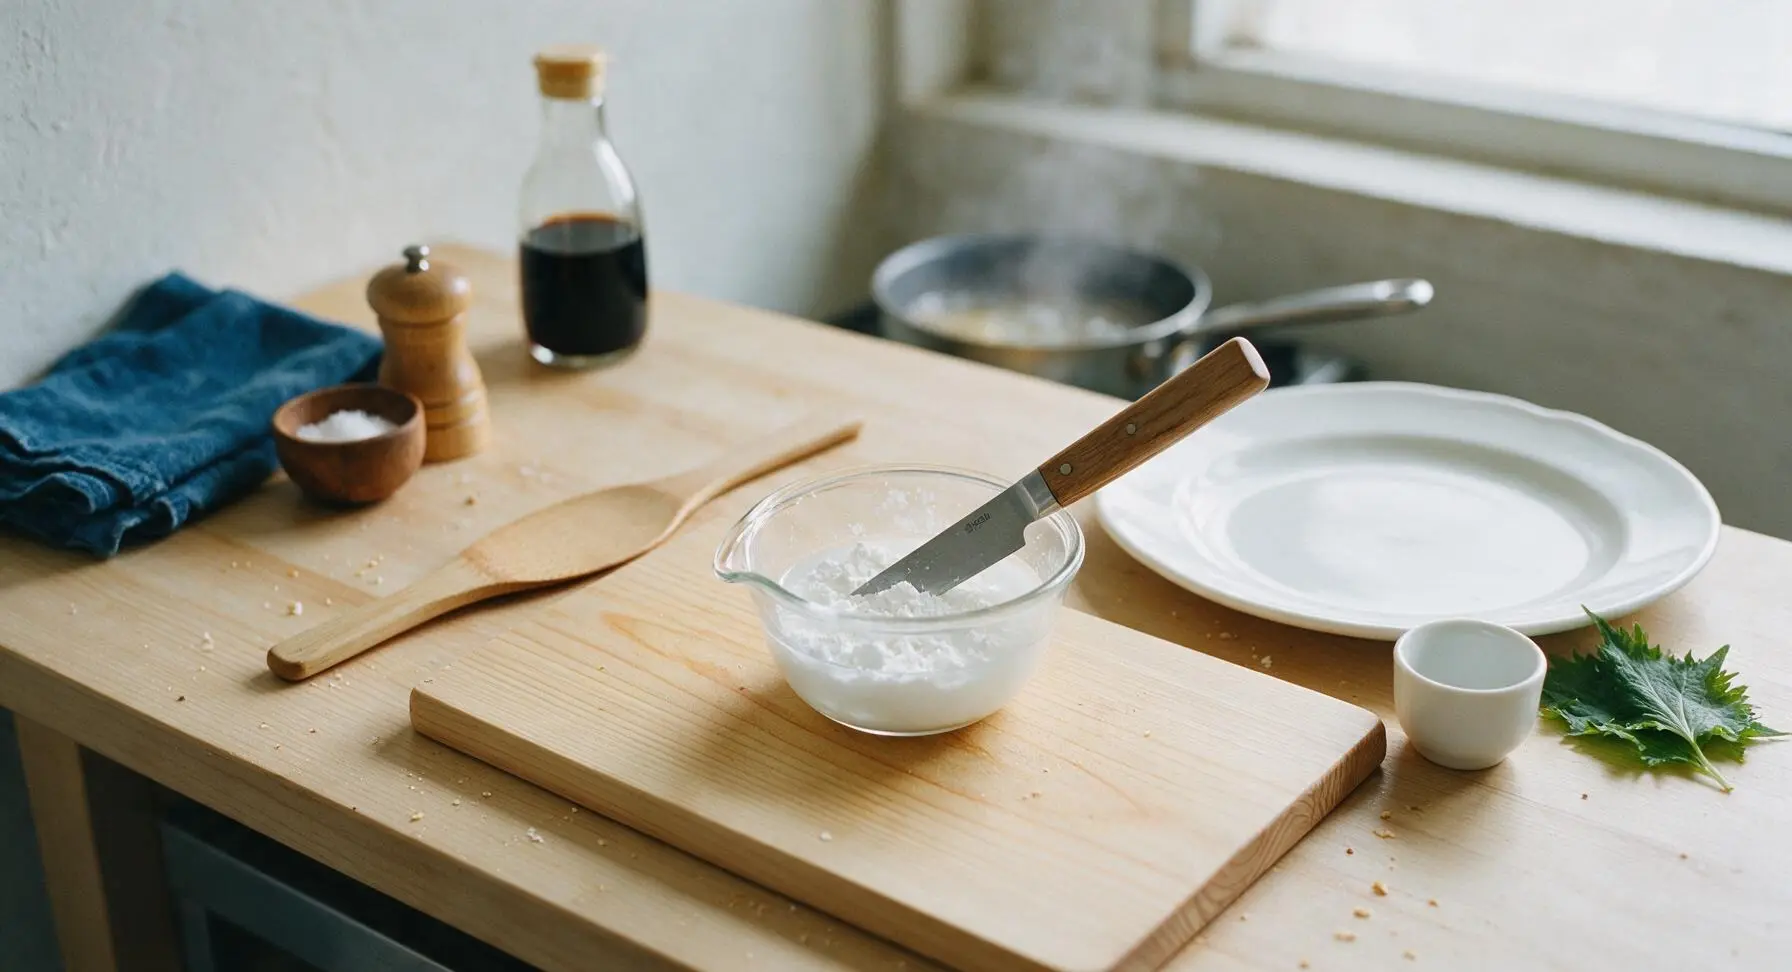
While the sauce simmers, combine the 1 tablespoon cornstarch with the remaining 30ml of filtered water in one of the small clear glass pinch bowls. Stir thoroughly with the tip of the paring knife until the cornstarch is fully dissolved, with no visible lumps remaining. This slurry will thicken the sauce to the perfect sticky, coating consistency.
Thicken the Sauce
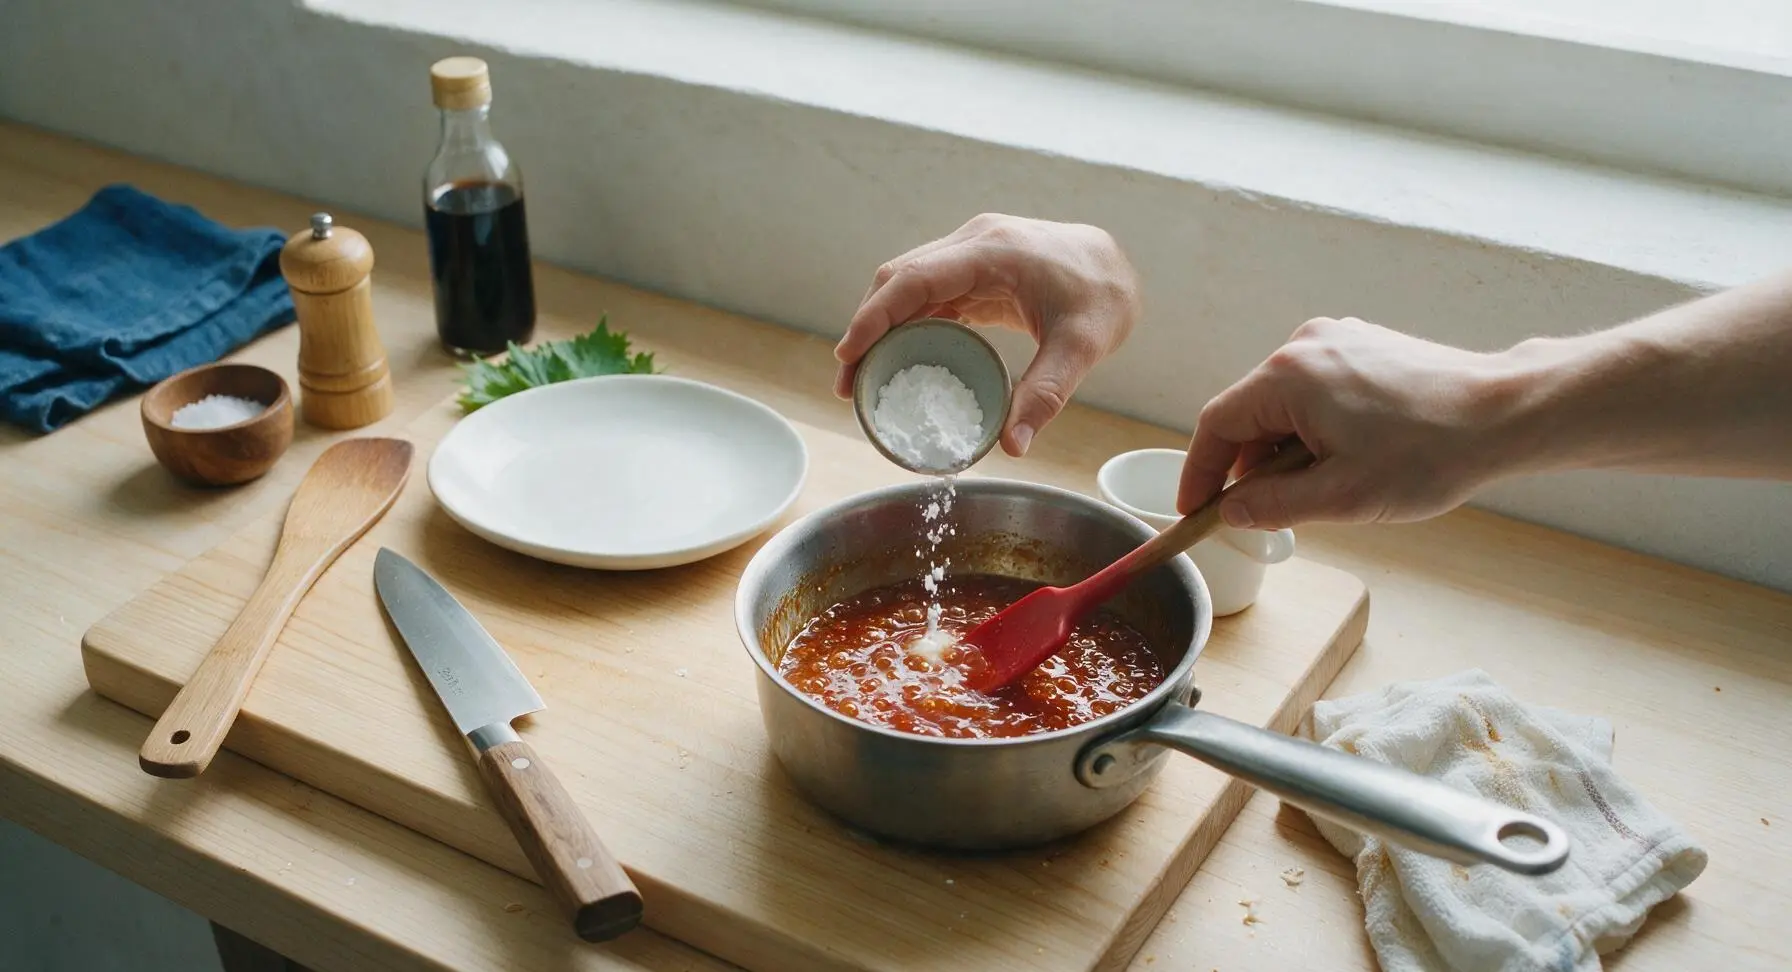
Give the cornstarch slurry a quick re-stir (cornstarch settles quickly to the bottom of the bowl), then pour it slowly into the simmering sauce while stirring constantly with the silicone spatula. Continue stirring for 2 full minutes as the sauce simmers, until it thickens to a syrupy consistency that coats the back of the spatula—when you run your finger across the coated spatula, the line should hold its shape without running.
Strain for Ideal Texture
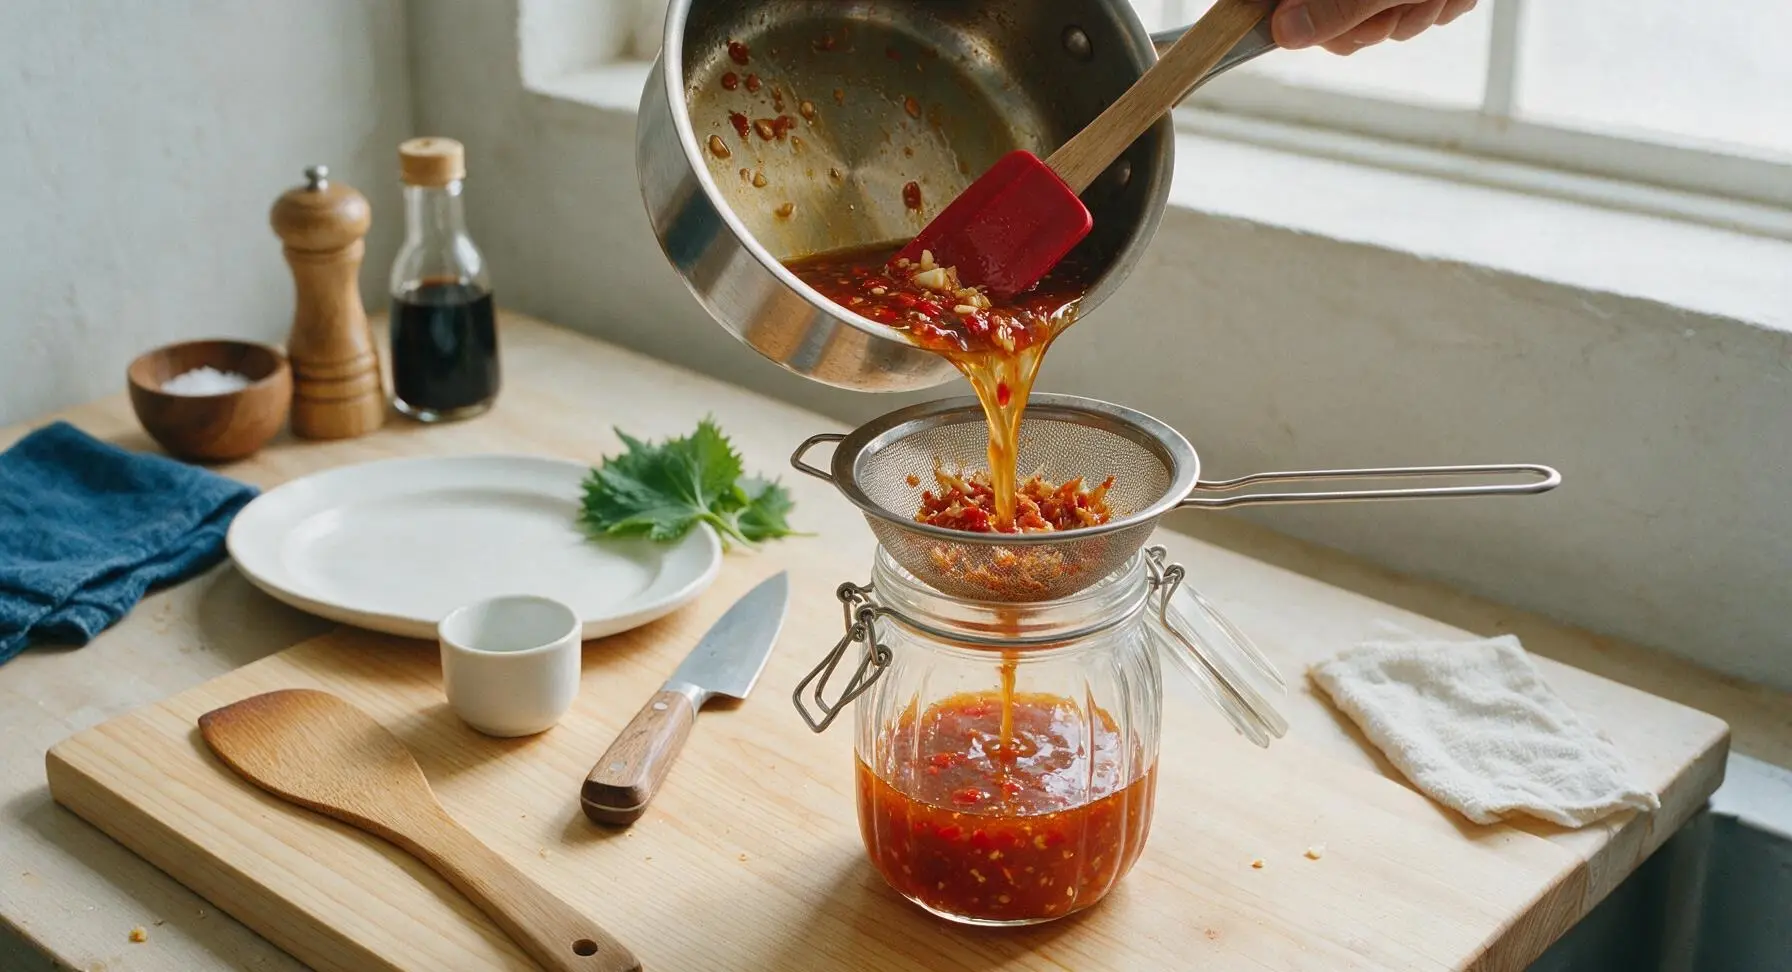
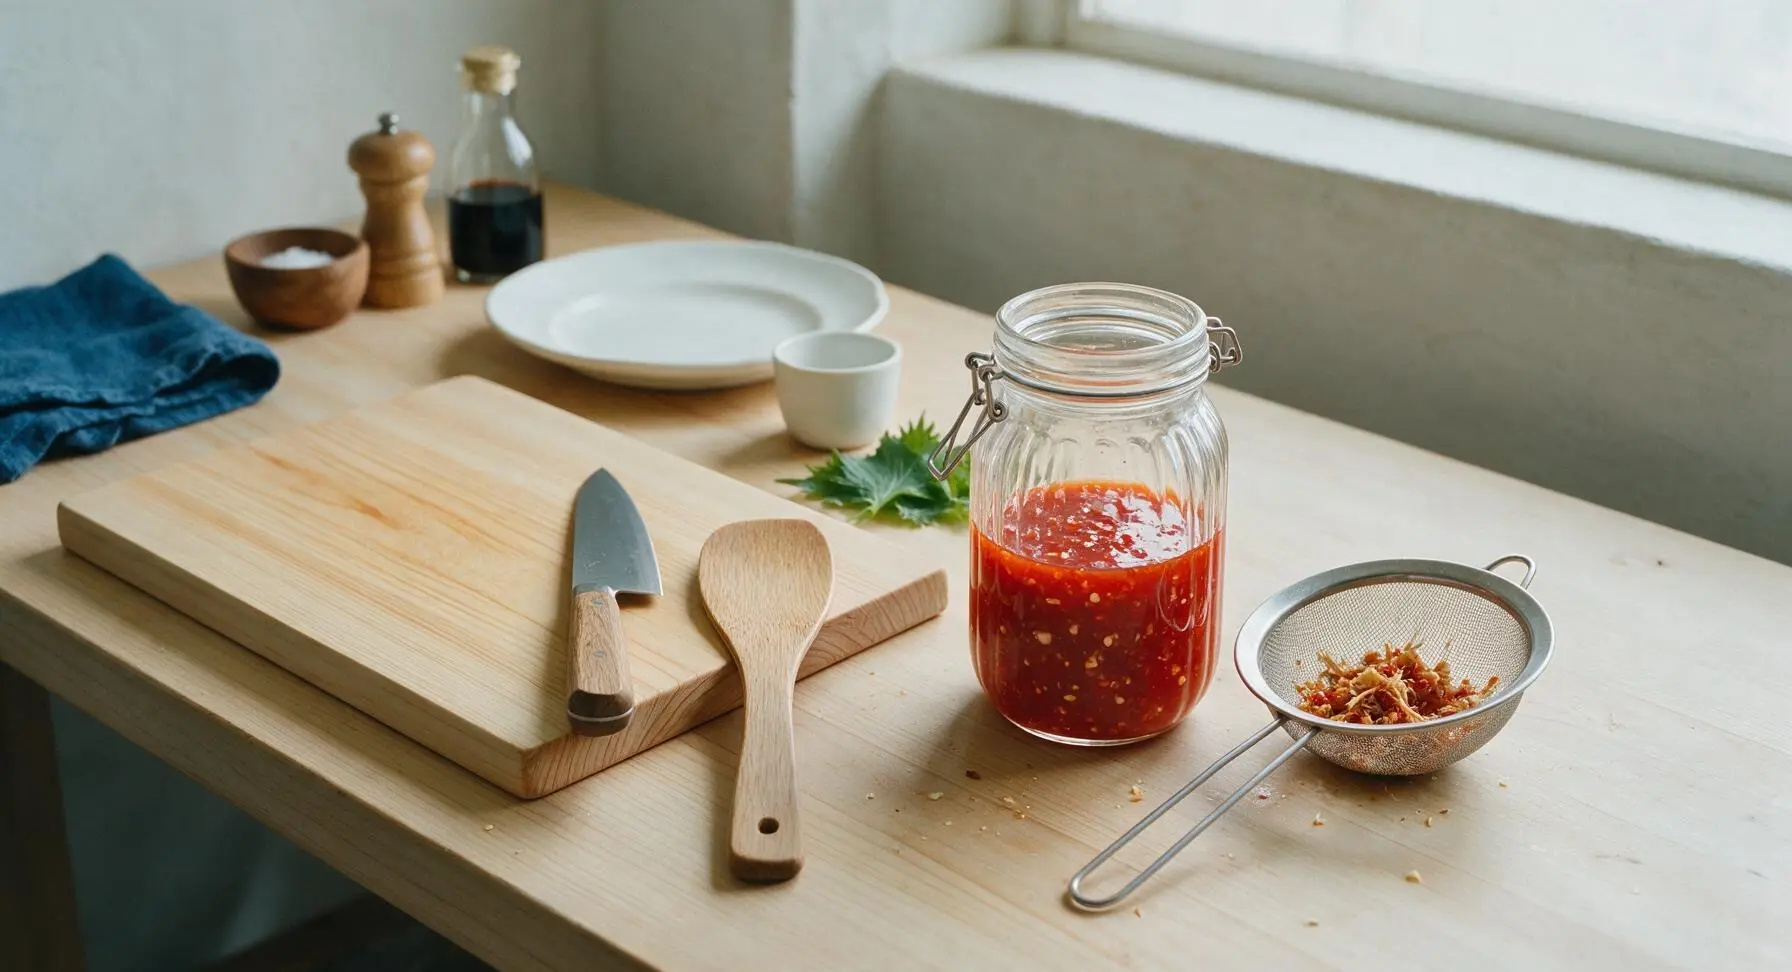
Turn off the induction cooktop heat, and carefully lift the warm stainless steel saucepan by its handle. Set the fine-mesh stainless steel strainer across the mouth of the clear fluted glass swing-top jar. Pour exactly half of the hot sauce through the strainer, pressing gently on the trapped chili and garlic bits with the silicone spatula to extract all flavorful liquid; discard any dry, fibrous bits left in the strainer. Pour the remaining unstrained half of the sauce directly into the jar to retain bright, visible flecks of chili and garlic, then stir gently to combine.
Cool and Store
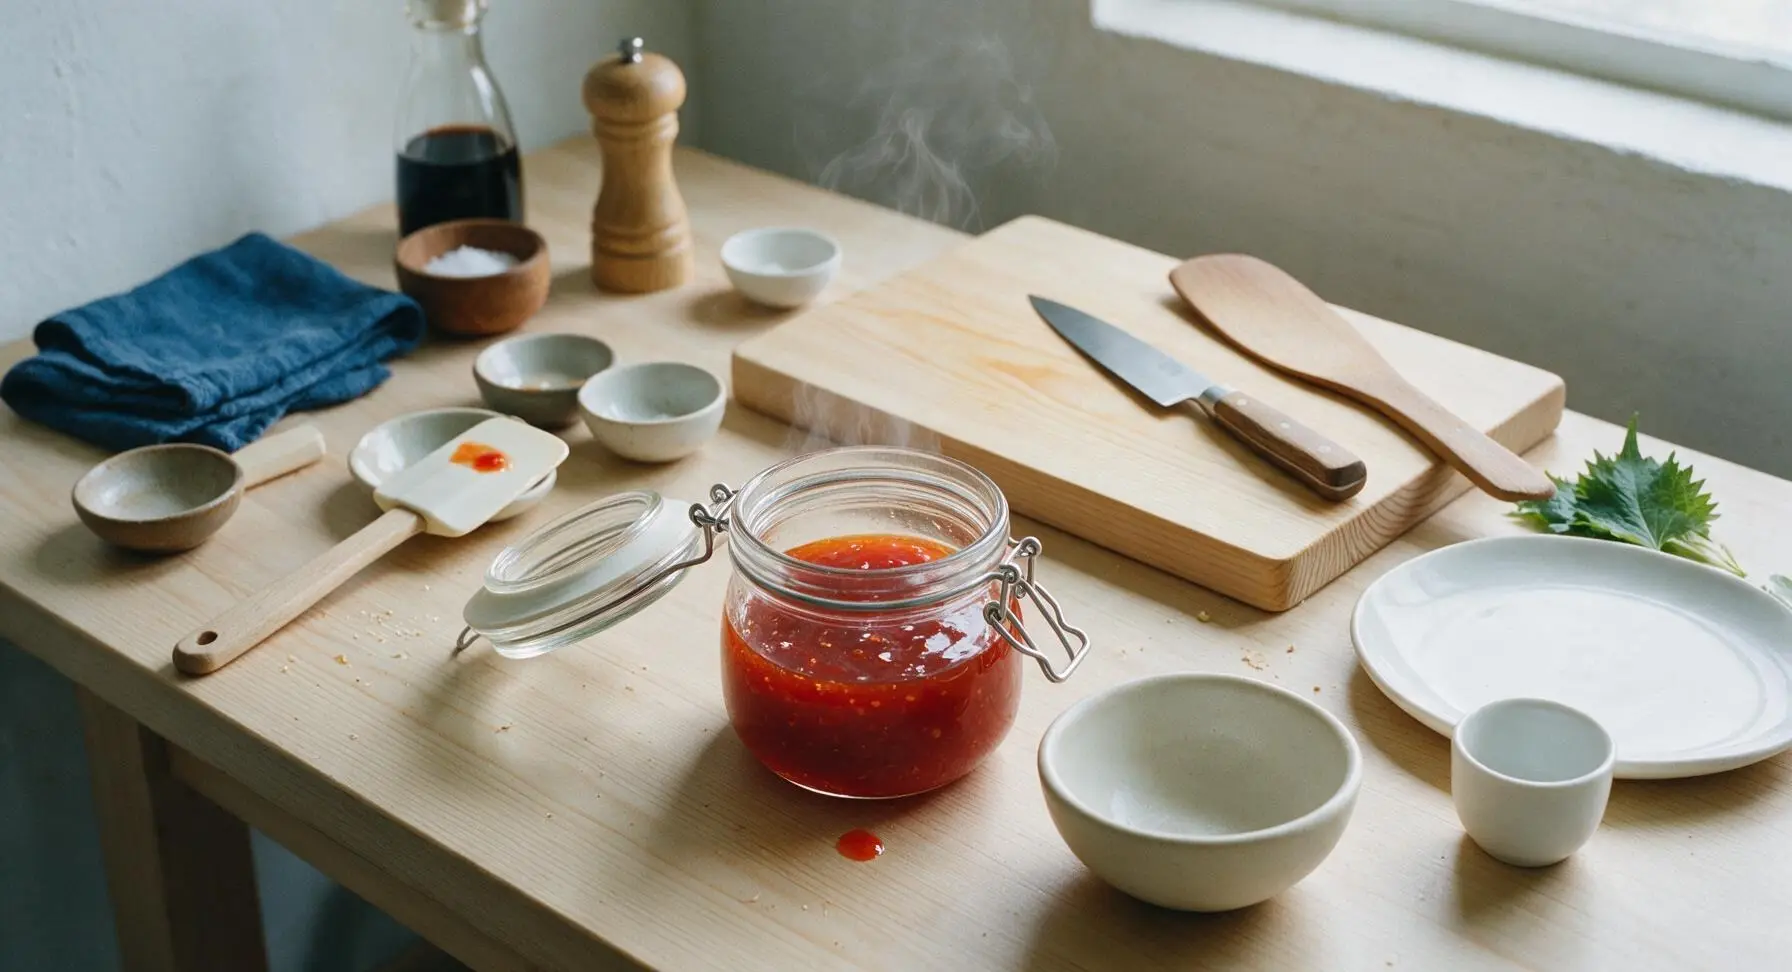
Leave the sauce in the open swing-top jar to cool completely to room temperature, about 30 minutes—the sauce will thicken further as it cools, so do not add extra cornstarch while it is hot. Once cool, fasten the silver clasp on the jar lid to seal. The sauce will keep refrigerated for up to 3 weeks. For serving, pour a small portion into the matte cream white ceramic dipping bowl, and garnish with a single fresh Thai basil leaf if desired.
Tips
2.Avoid boiling the sauce rapidly after adding vinegar: High heat breaks down the bright acetic acid in vinegar, leading to a flat, cloyingly sweet sauce with no tangy balance. Maintain a low, steady simmer to preserve the bright, fresh sour note that defines classic Thai sweet chilli sauce.
3.Wait for full cooling before adjusting thickness: Hot sauce will appear much thinner than its final chilled consistency, as cornstarch sets as it cools. Adding extra slurry to hot sauce will result in a gummy, paste-like texture once refrigerated, rather than the ideal light, syrupy coating that clings to food.






OMG this sauce is a total game changer! I made a double batch last Sunday for our family taco night and potluck at my kid’s soccer practice, and everyone was begging for the recipe. It’s way better than the store-bought stuff that’s loaded with weird preservatives. SO good drizzled on chicken wings too!
I cannot believe how easy this was! 15 minutes total? I was skeptical at first because restaurant Thai sweet chili sauce tastes so complex, but this nailed it. My partner who is super picky about takeout sauces said this is better than our local Thai spot’s version. Win!
Really solid recipe! Tastes amazing, I used it as a dip for homemade spring rolls last night for our dinner party. Only tiny note: I found it a touch too sweet for my taste, so I added a tiny extra splash of rice vinegar and it was perfect. Will make again for sure.
Added this to my weekly meal prep rotation immediately! I toss it with roasted veggies, brush it on salmon, use it as a dip for egg rolls, you name it. My kids loved it so much they were dipping their apple slices in it at lunch yesterday? Wild, but no complaints from me!
Brought this to our neighborhood block party last weekend and people were literally drizzling it on everything from hot dogs to grilled shrimp. I had to text the recipe to 6 different neighbors before the night was over! 10/10, so easy to throw together last minute.
Wait why did I ever buy this from the grocery store?? I made this in my dorm kitchen with like 0 fancy equipment and it turned out perfect. Drizzled it on my frozen air fryer wings and it tasted like restaurant food. Obsessed.
So happy this is naturally gluten free! I have celiac and so many store-bought sweet chili sauces have hidden wheat in them, so being able to whip this up at home in 15 minutes with ingredients I already have is a dream. Tastes exactly like the regular stuff, no weird aftertaste.
Used this as a glaze for grilled chicken thighs at today’s cookout and everyone went nuts. The sweet heat pairs so well with smoky grilled meat, I’m never using store bought barbecue sauce for wings again, this is way better.
Just finished making this and let it cool, dipped a fresh spring roll in it and WOW. Perfect balance of sweet, tangy, and a little kick. I added a tiny bit of grated garlic extra because I’m a garlic fiend, chef’s kiss.
Super easy to make, my only mess up was I let it simmer a tiny bit too long so it got thicker than I wanted once it cooled, but it still tasted great! Next time I’ll pull it off the heat a little earlier, that’s on me though not the recipe.
Made this for my at-home Thai date night with my boyfriend last night, we had homemade pad thai and crispy shrimp, and this sauce tied the whole meal together. He said I should open a food truck, lmao, all thanks to this easy recipe!