
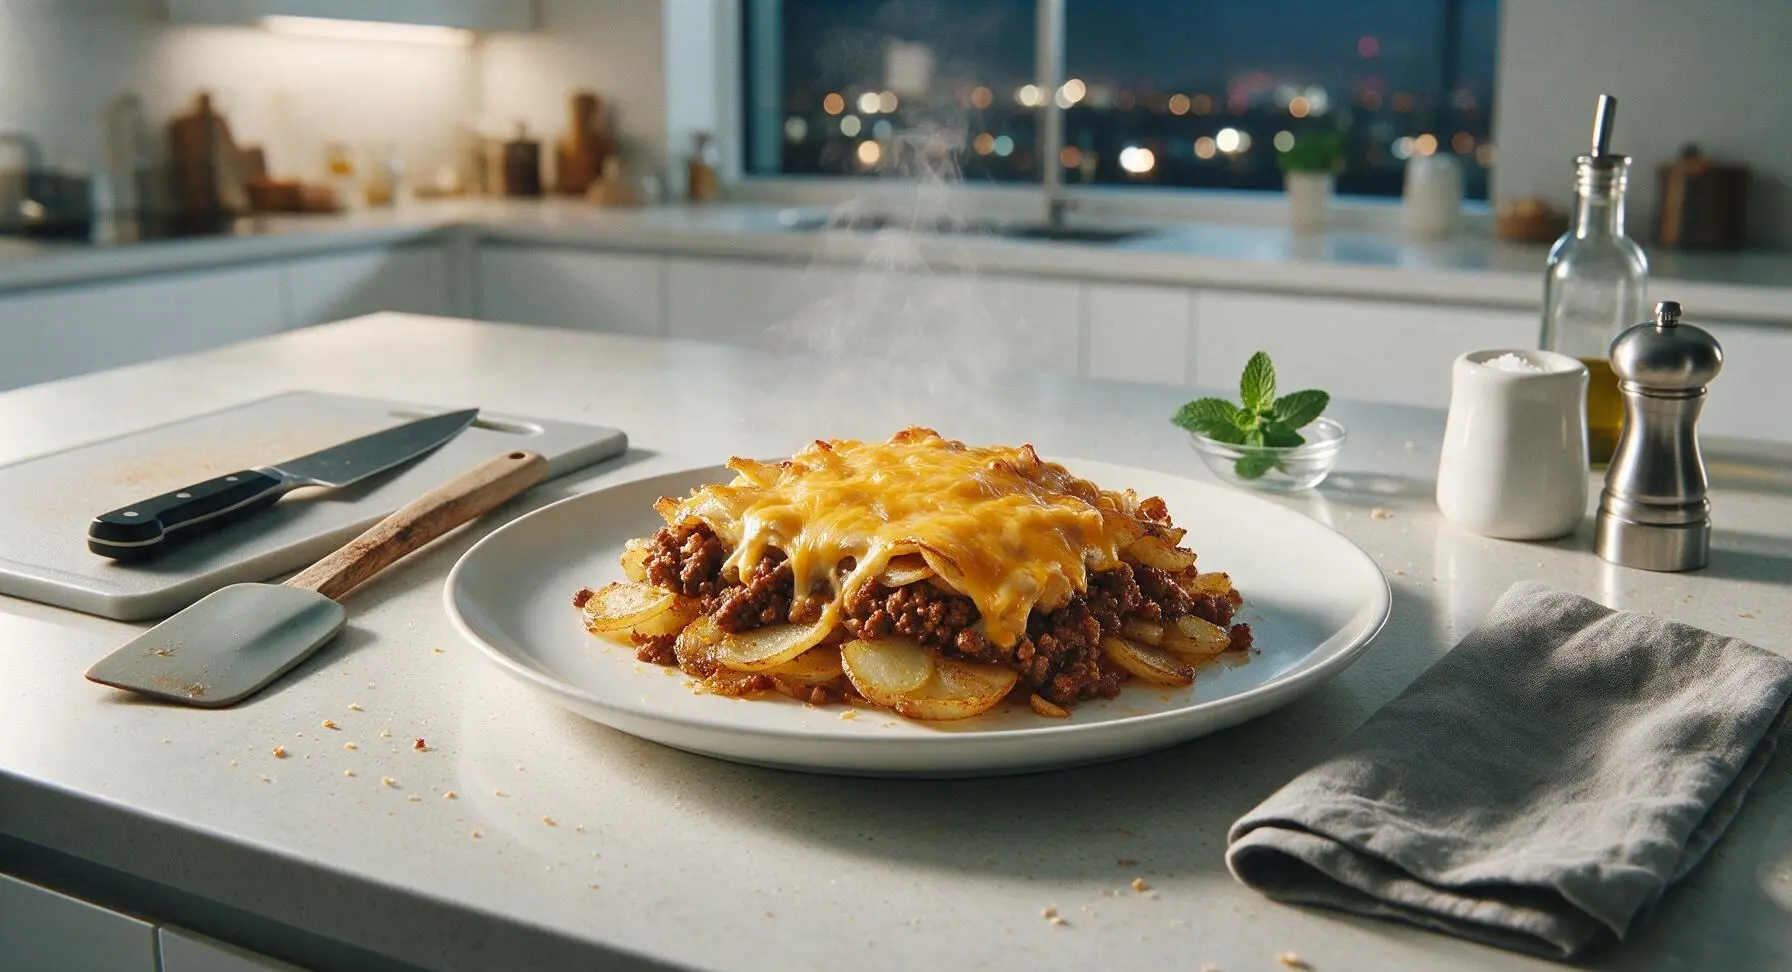
the cheesy skillet

title 1
the cheesy skillet
⏱️ cook time 30 minutes
🍽️ servings 4
⚡ Difficulty easy

intro

Crispy golden potatoes, savory seasoned ground beef, and stretchy melted cheddar cooked in a single skillet—zero extra dishes, pure cozy, satisfying weeknight comfort.

Ingredients
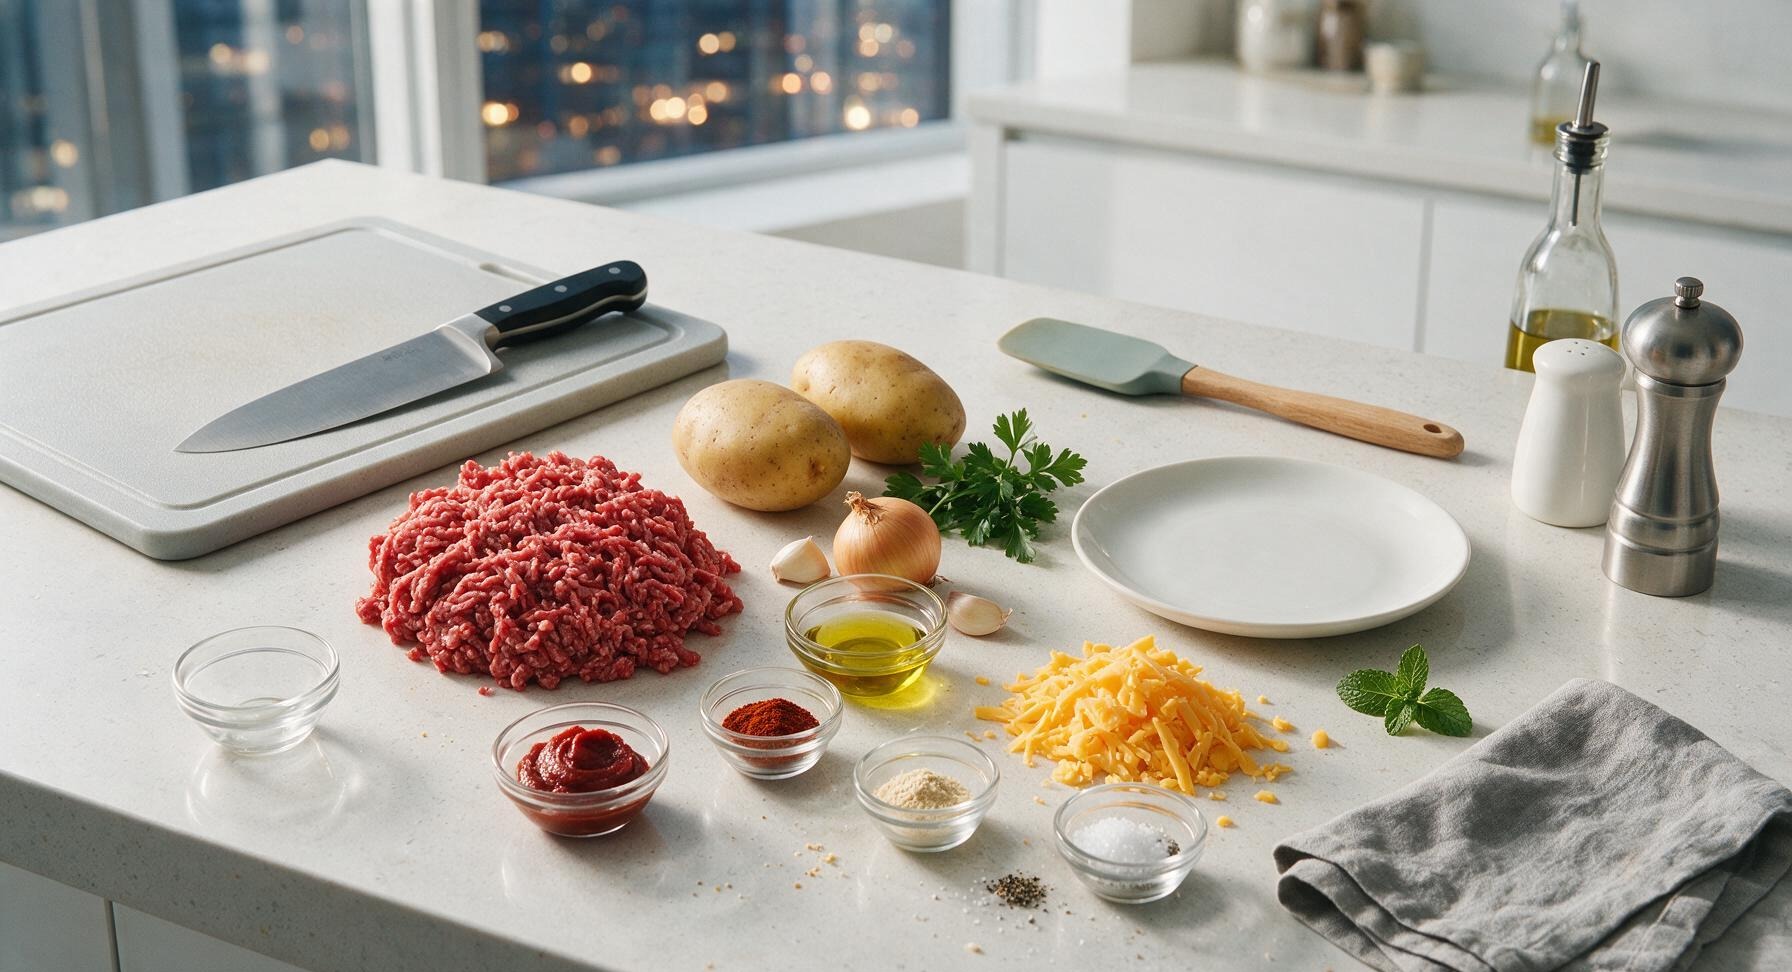
Lean ground beef (90/10) 500g
Yukon gold potatoes 450g (2 medium)
Sharp cheddar cheese 150g
Yellow onion 120g (1 small)
Garlic cloves 2 (6g)
Tomato paste 1 tbsp (15g)
Smoked paprika 1 tsp
Garlic powder 1 tsp
Kosher salt 1 tsp
Freshly ground black pepper ½ tsp
Olive oil 2 tbsp
Fresh flat-leaf parsley 5g (small bunch)

Steps

1

Chop Base Vegetables

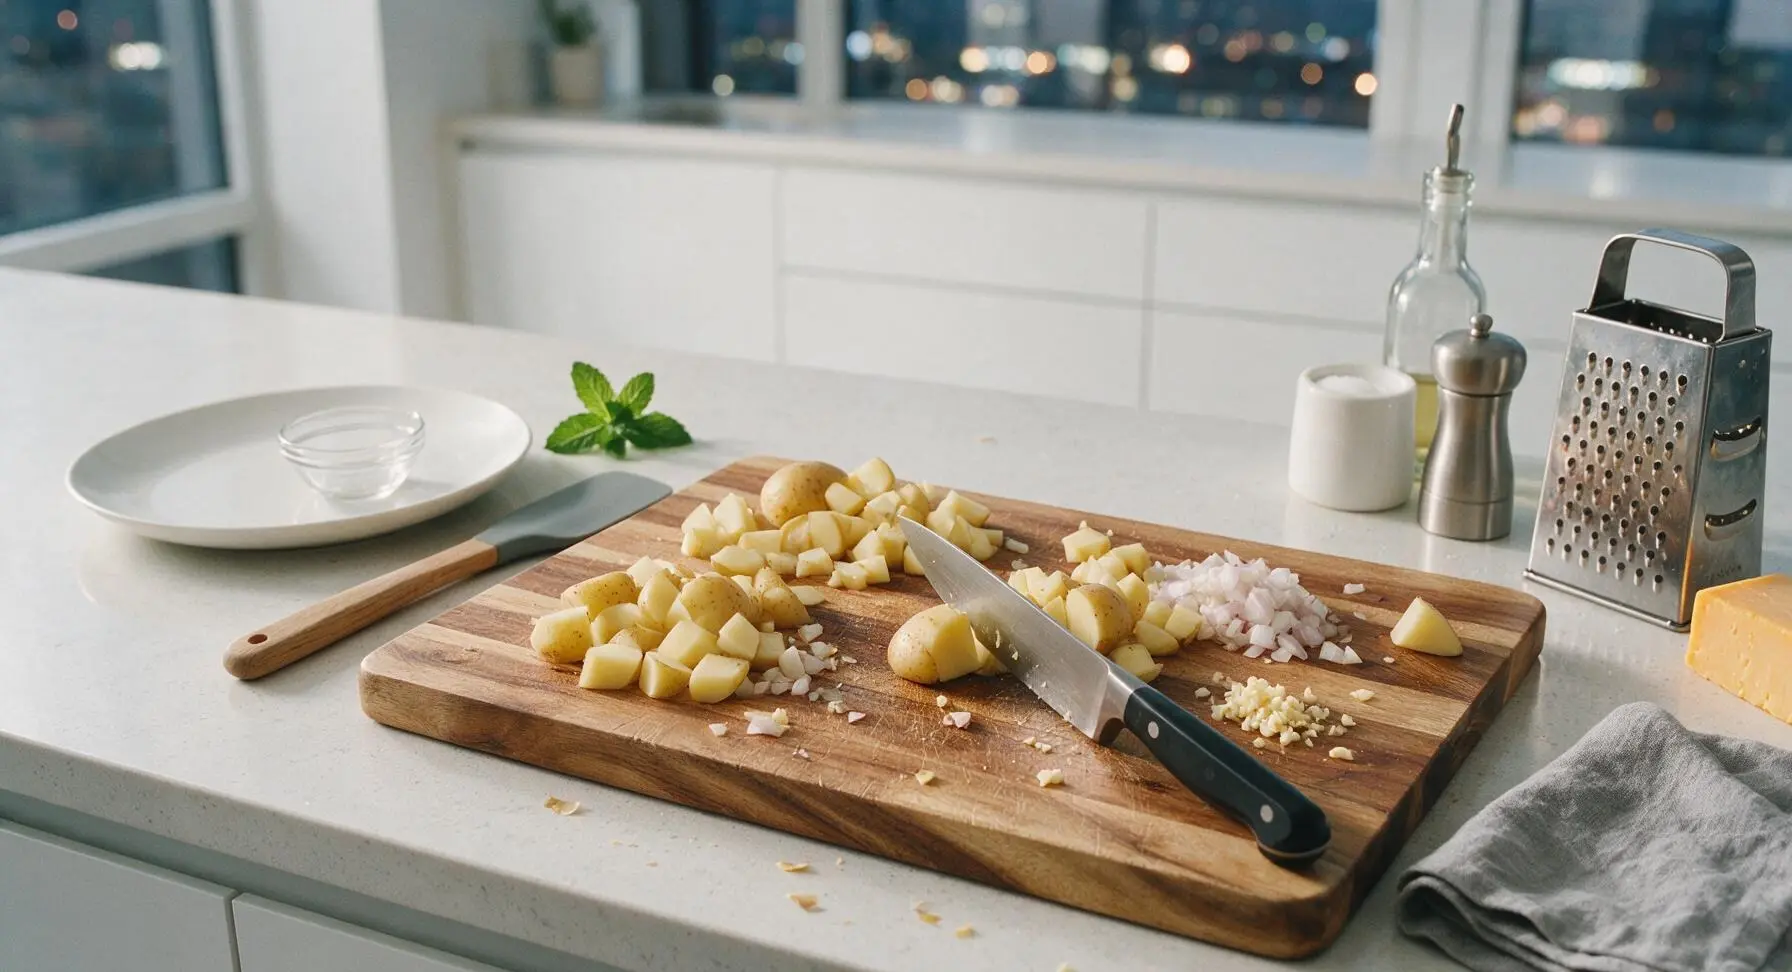
Place the Yukon gold potatoes and yellow onion on the acacia wood cutting board. Using the 8-inch chef’s knife, dice unpeeled potatoes into uniform 1.5cm cubes, dice the onion into 1cm pieces, and mince garlic cloves finely. Uniform potato size ensures even cooking without burnt edges or raw centers. Pile prepped veggies in a small loose stack on the left edge of the cutting board when finished.
Step 1
step1:Chop Base Vegetables
2

Grate Sharp Cheddar

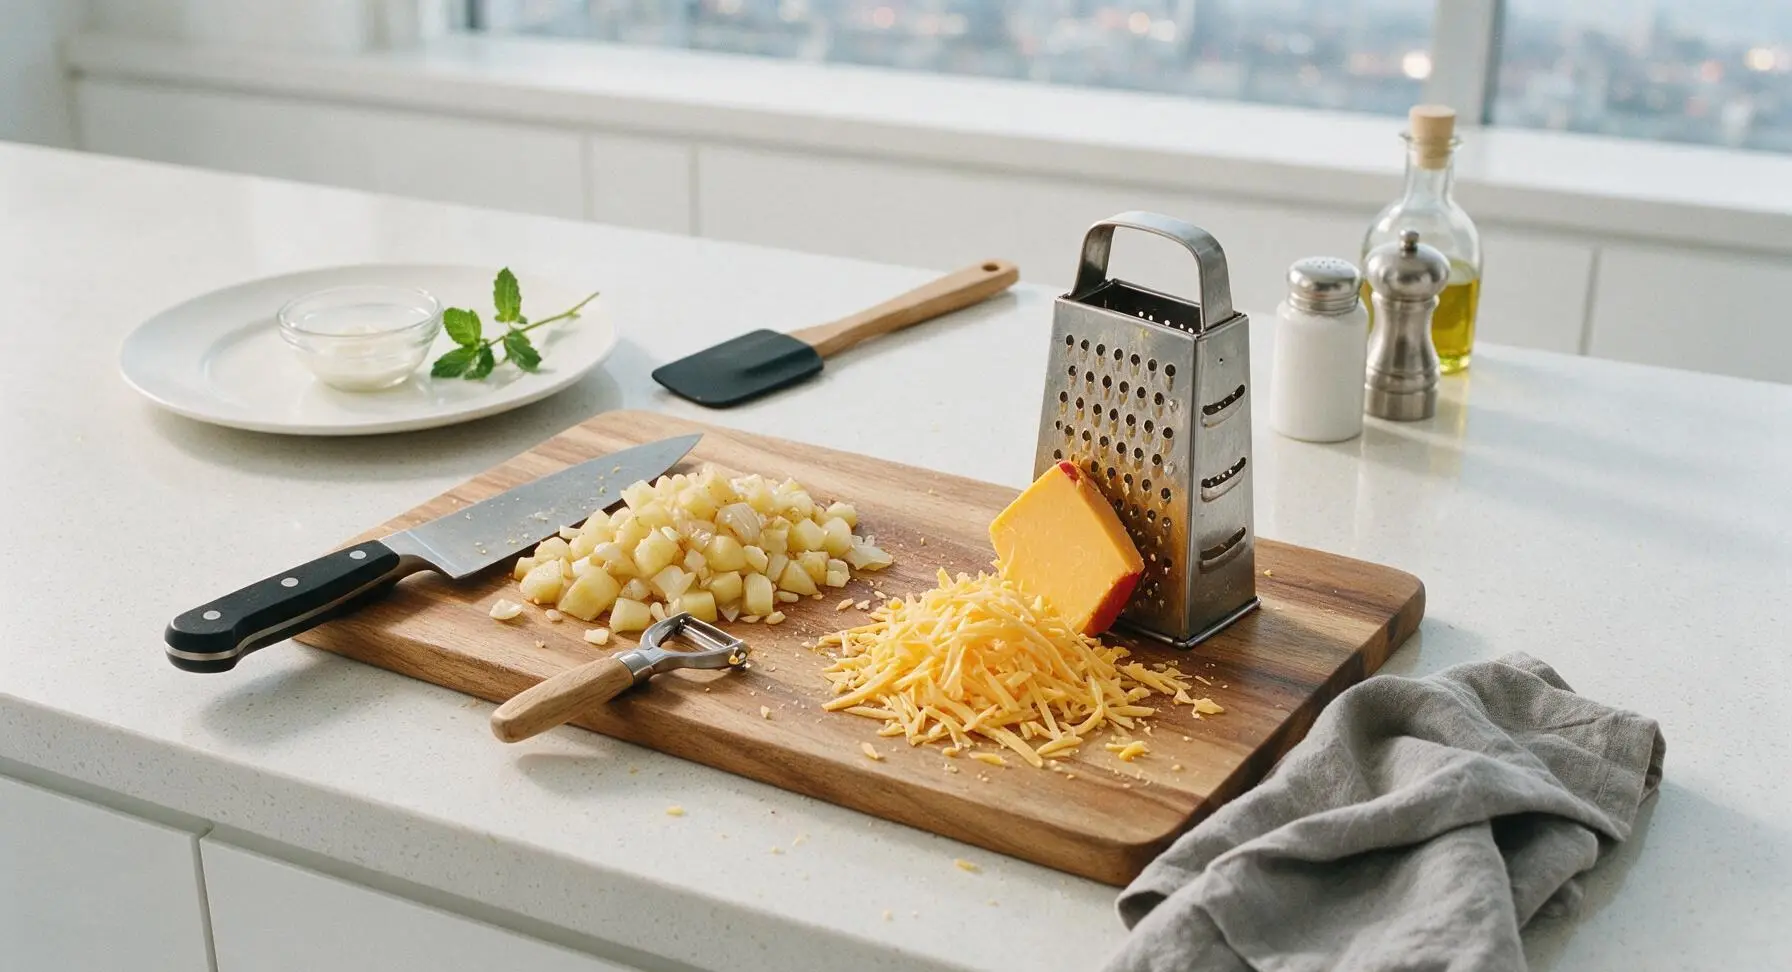
Hold the block of sharp cheddar against the large holes of the stainless steel box grater, grating all 150g into a light, fluffy pile. Set aside ¼ of the grated cheese in a small loose pile for the final top layer; do not pack shreds down, as loose shreds melt more smoothly than compressed cheese. Avoid pre-shredded cheese coated in anti-caking agents for the creamiest final texture.
Step 2
step2:Grate Sharp Cheddar
3

Sear Potato Cubes

Place the 12-inch matte black enameled cast iron skillet on the center-back induction burner, heat 2 tablespoons of olive oil over medium heat (175C/350F) for 1 minute until the oil shimmers across the pan surface. Add diced potato cubes in a single even layer, season with ½ teaspoon of kosher salt, and cook undisturbed for 8 minutes until the bottom sides are deep golden and crispy. Flip cubes with the silicone spatula and cook for another 6 minutes until all sides are crisp and potatoes are just tender when pierced with a fork tip.
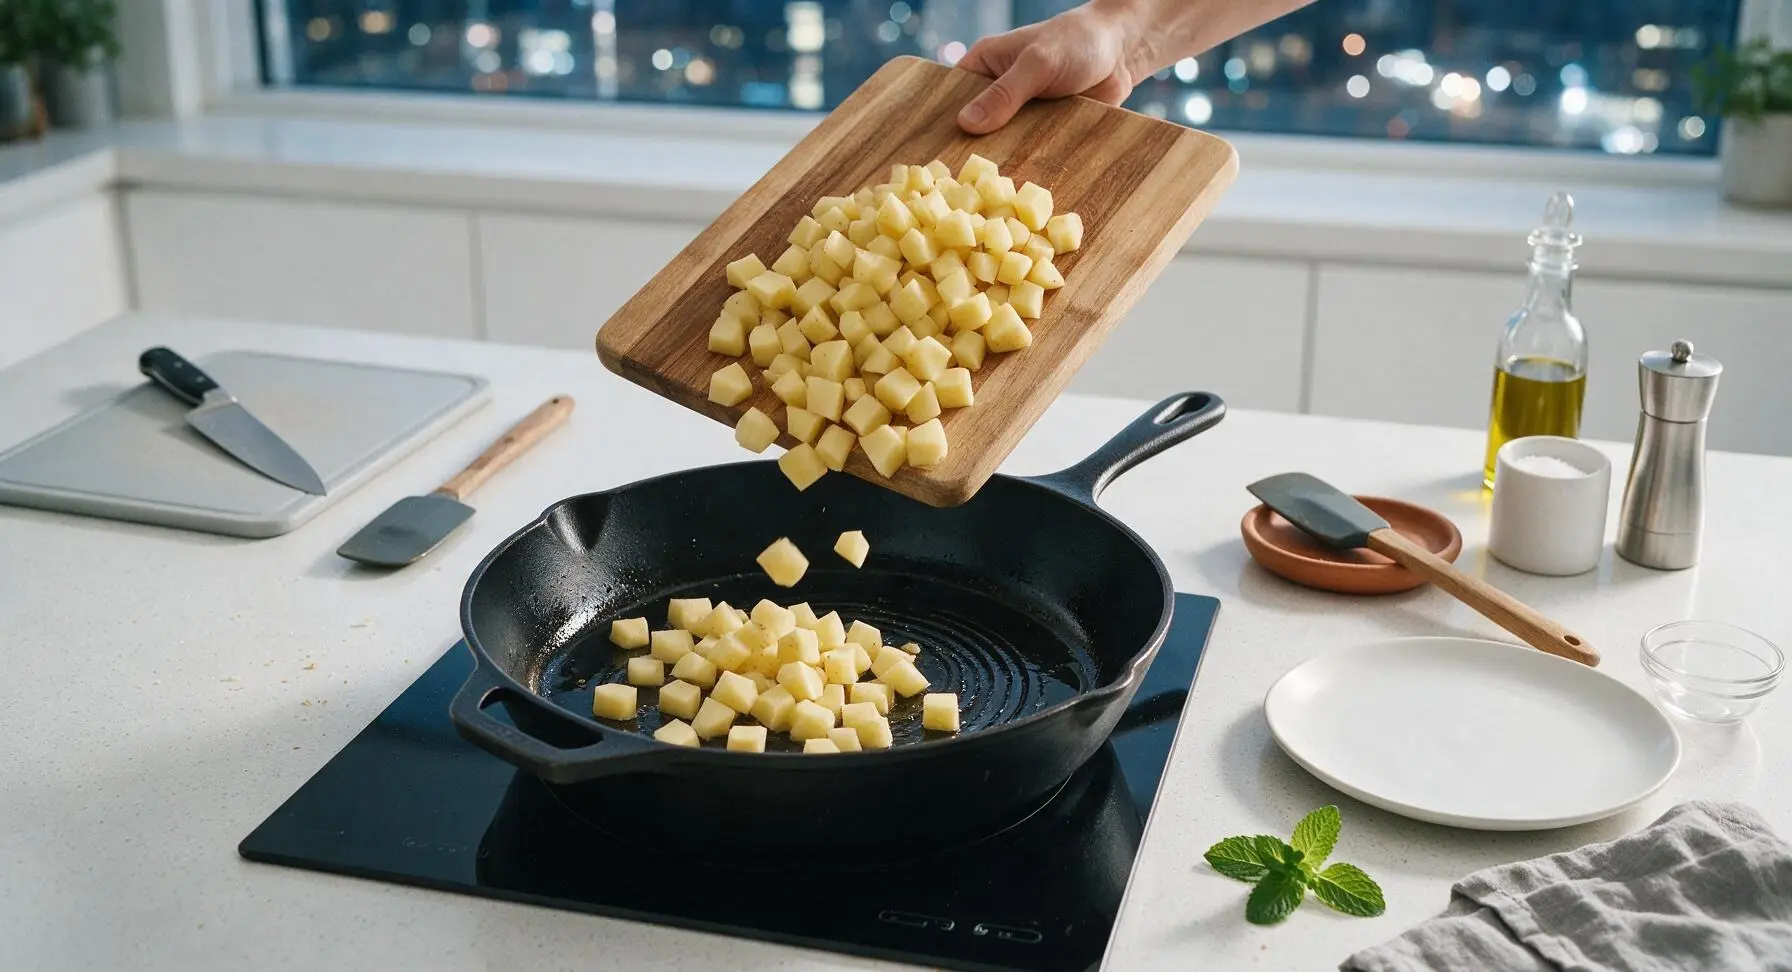
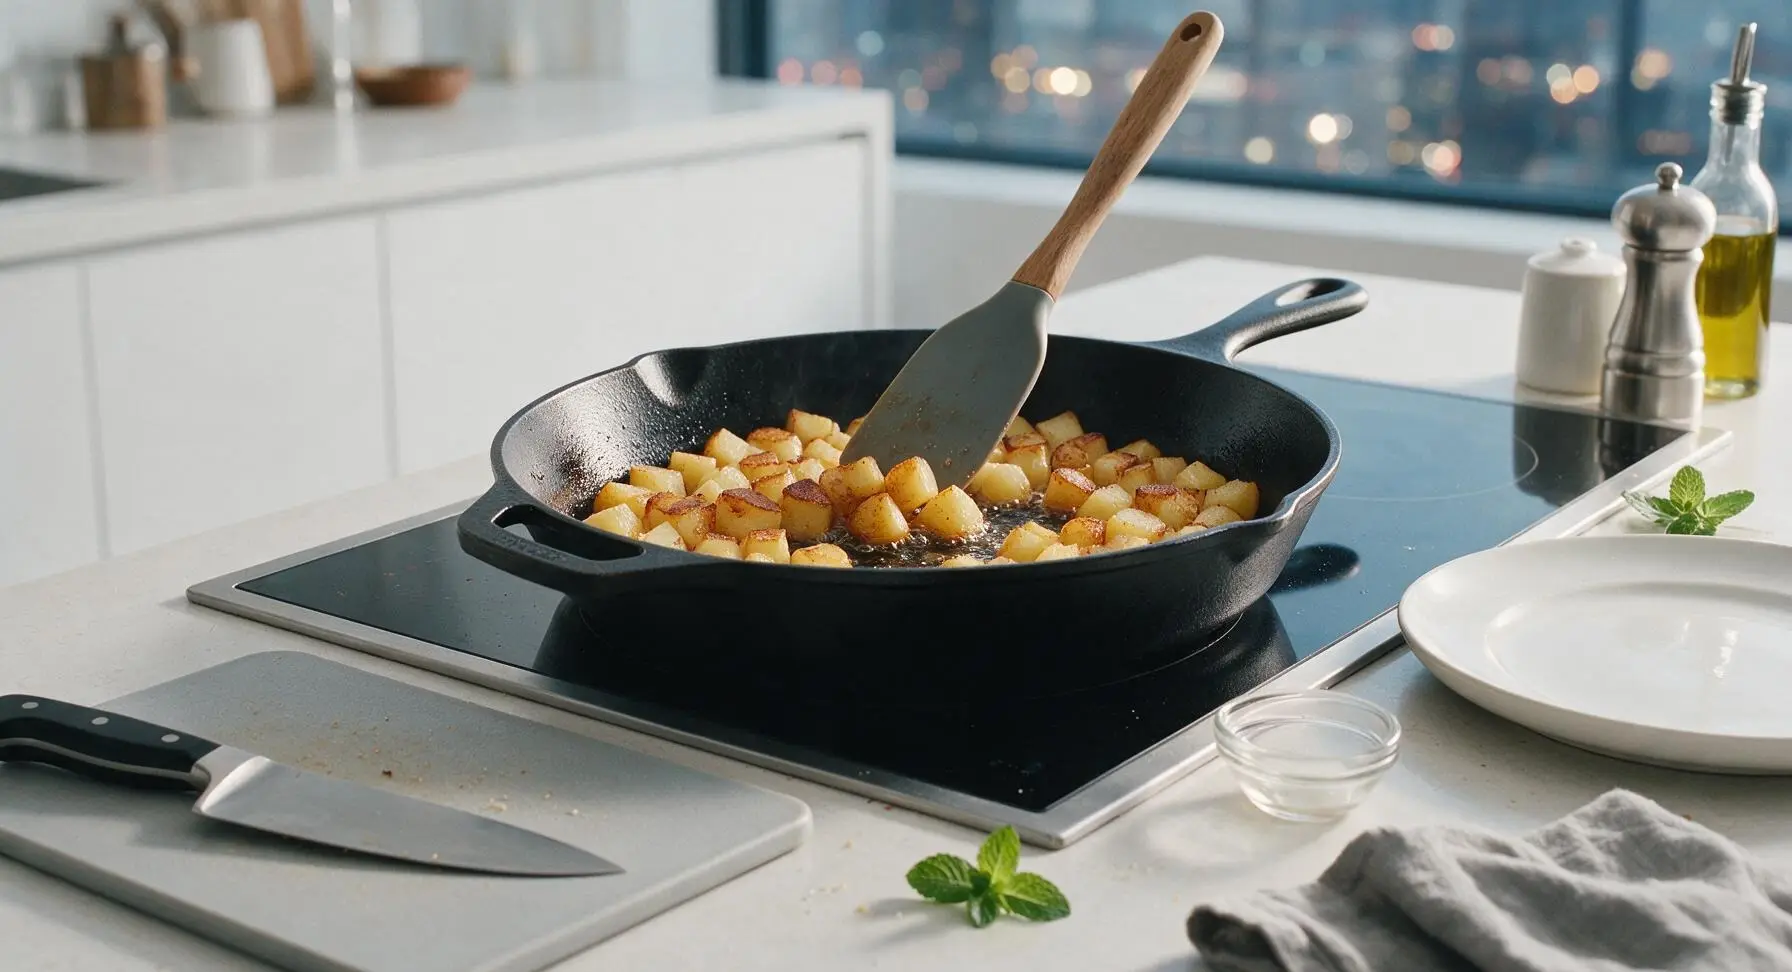
Step 3
step3:Sear Potato Cubes
Step 3
step3:Sear Potato Cubes
4

Brown Seasoned Beef

Push seared potato cubes to the outer edges of the skillet, then add diced onion to the center of the pan. Cook for 2 minutes until onion is soft and translucent, then add minced garlic, cooking for 30 seconds until fragrant (do not burn, as garlic will turn bitter). Add ground beef to the pan center, breaking it apart into small crumbles with the silicone spatula. Stir in tomato paste, smoked paprika, garlic powder, remaining ½ teaspoon kosher salt, and black pepper. Cook for 5 minutes, stirring occasionally, until beef is fully browned with no pink remaining, and spices are evenly distributed across the mixture. If excess grease pools in the pan (more than 1 tablespoon), carefully pour it off before proceeding to avoid a greasy final texture.
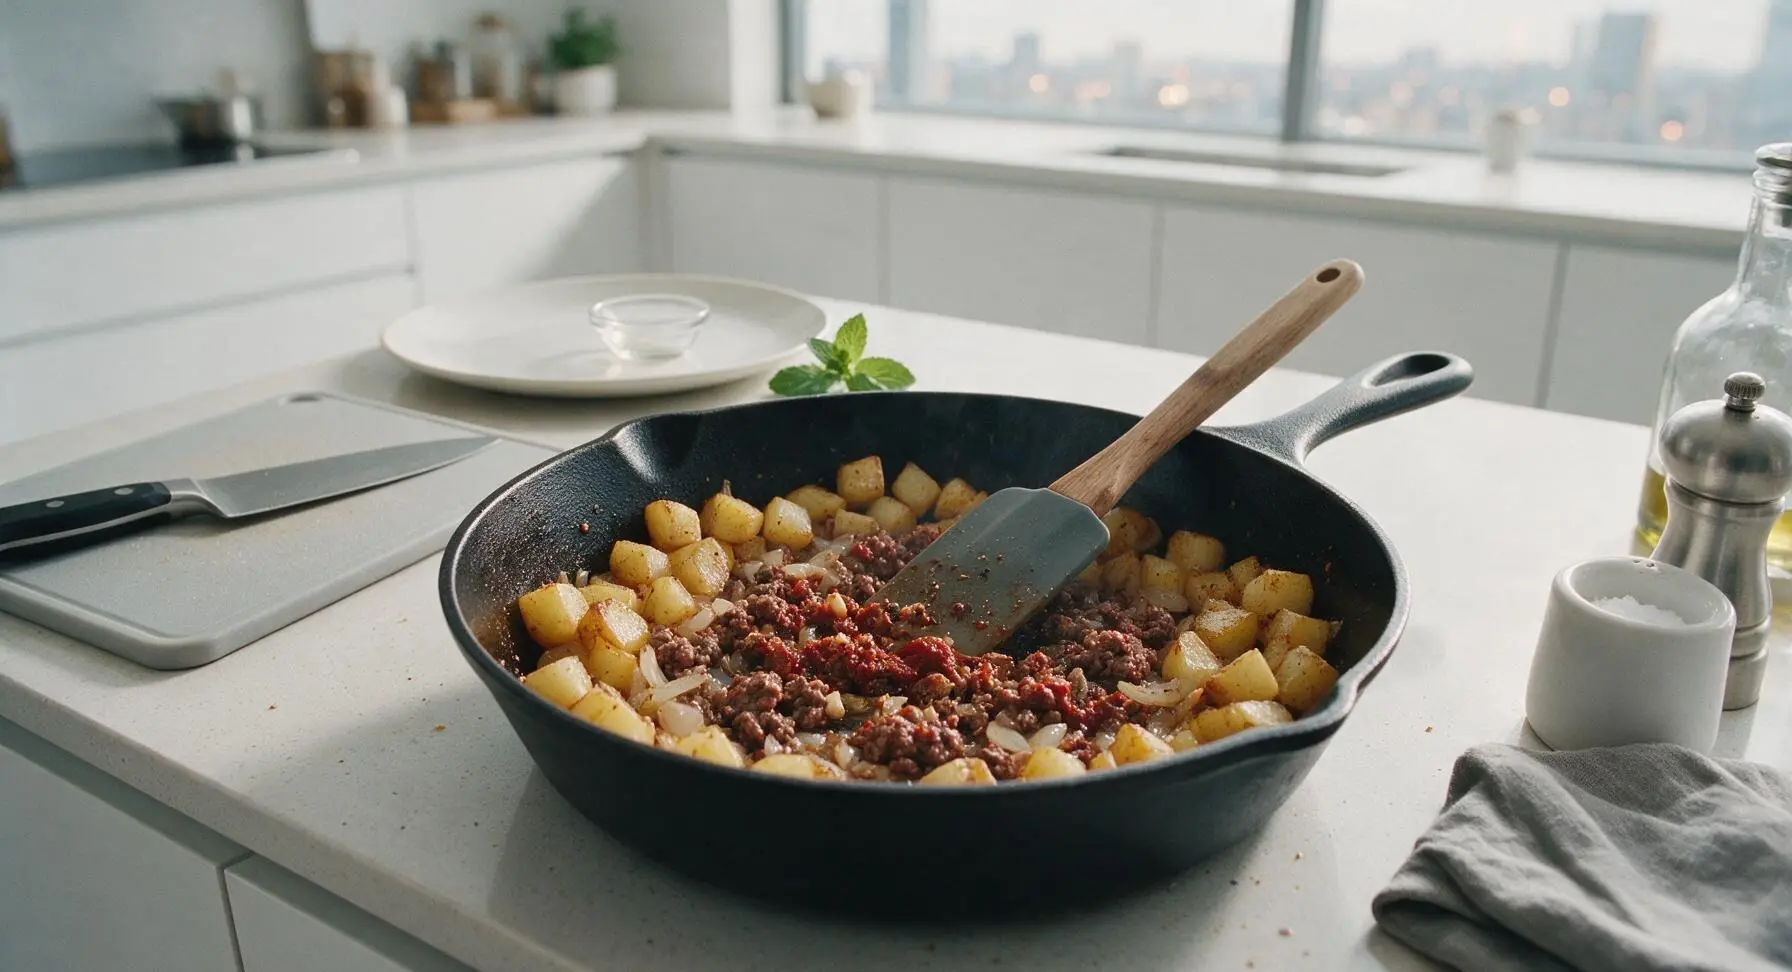
Step 4
step4:Brown Seasoned Beef
5

Melt and Broil Cheese

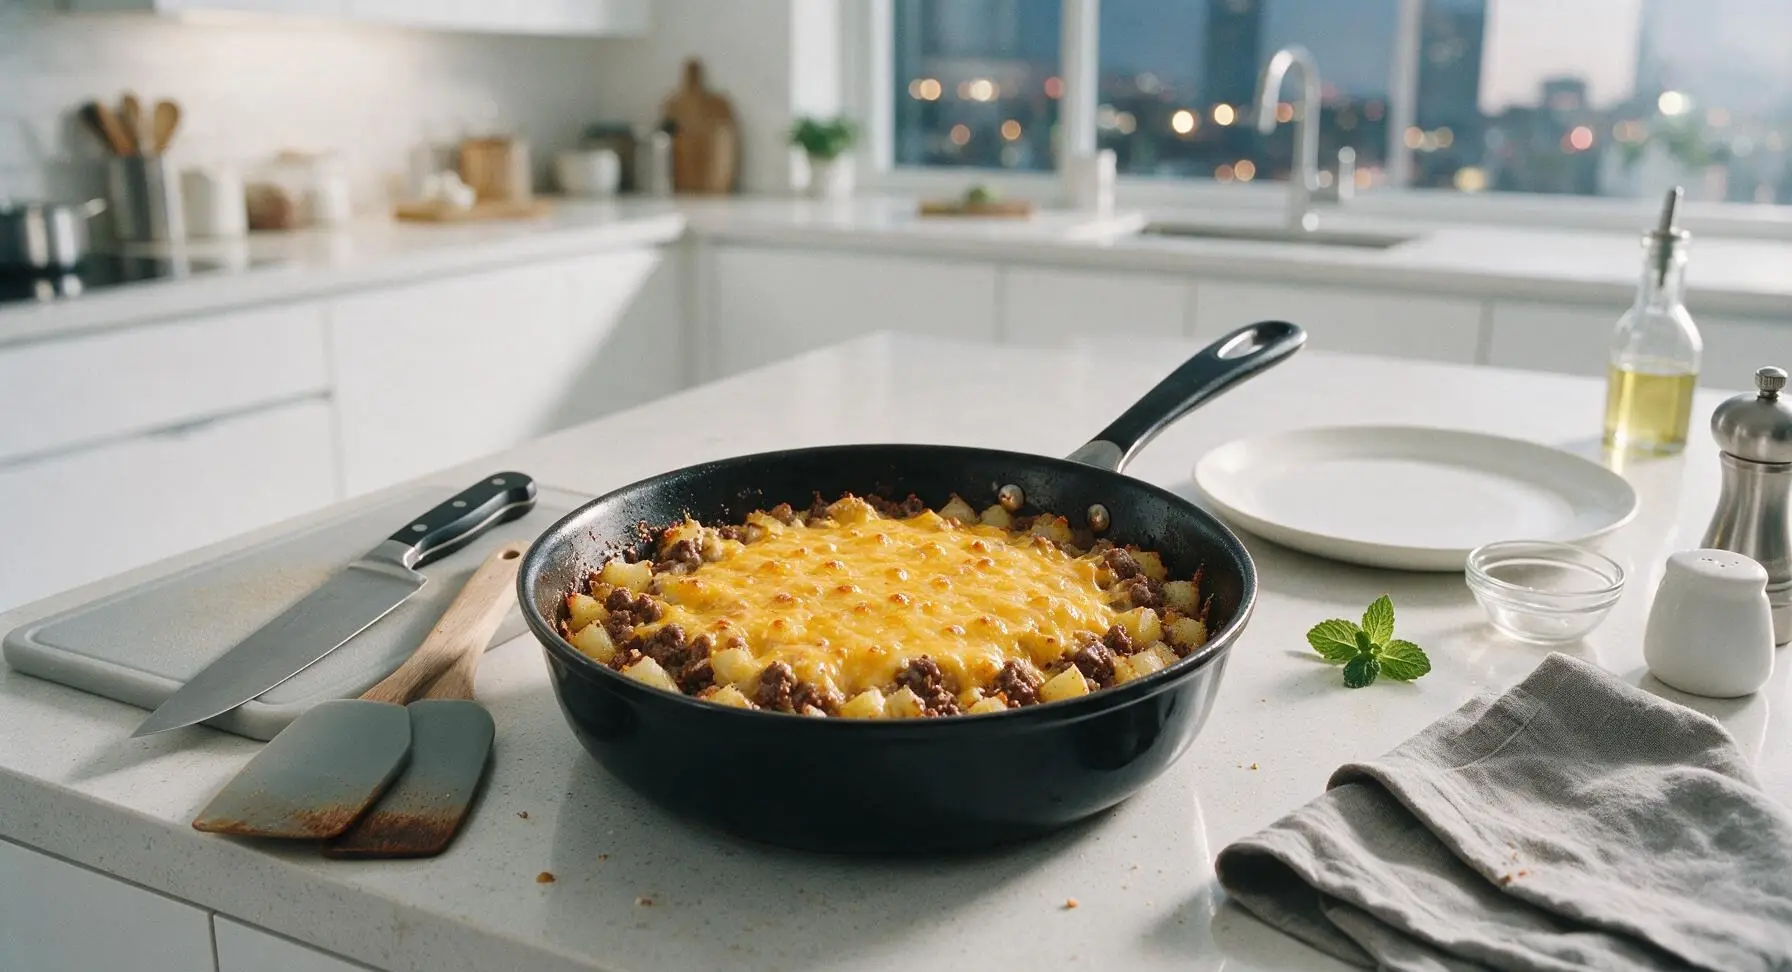
Turn burner heat down to low, then stir ¾ of the grated cheddar into the beef and potato mixture until fully melted and creamy, coating every crumble and potato cube. Spread the mixture into an even layer across the skillet bottom, then sprinkle the reserved ¼ of grated cheddar evenly across the top. Turn the oven broiler to high (260C/500F) and place the skillet 15cm below the broiler element for 2 minutes, watching closely, until the top cheese is bubbly and dotted with golden brown spots (do not walk away, as cheese burns quickly under broilers).
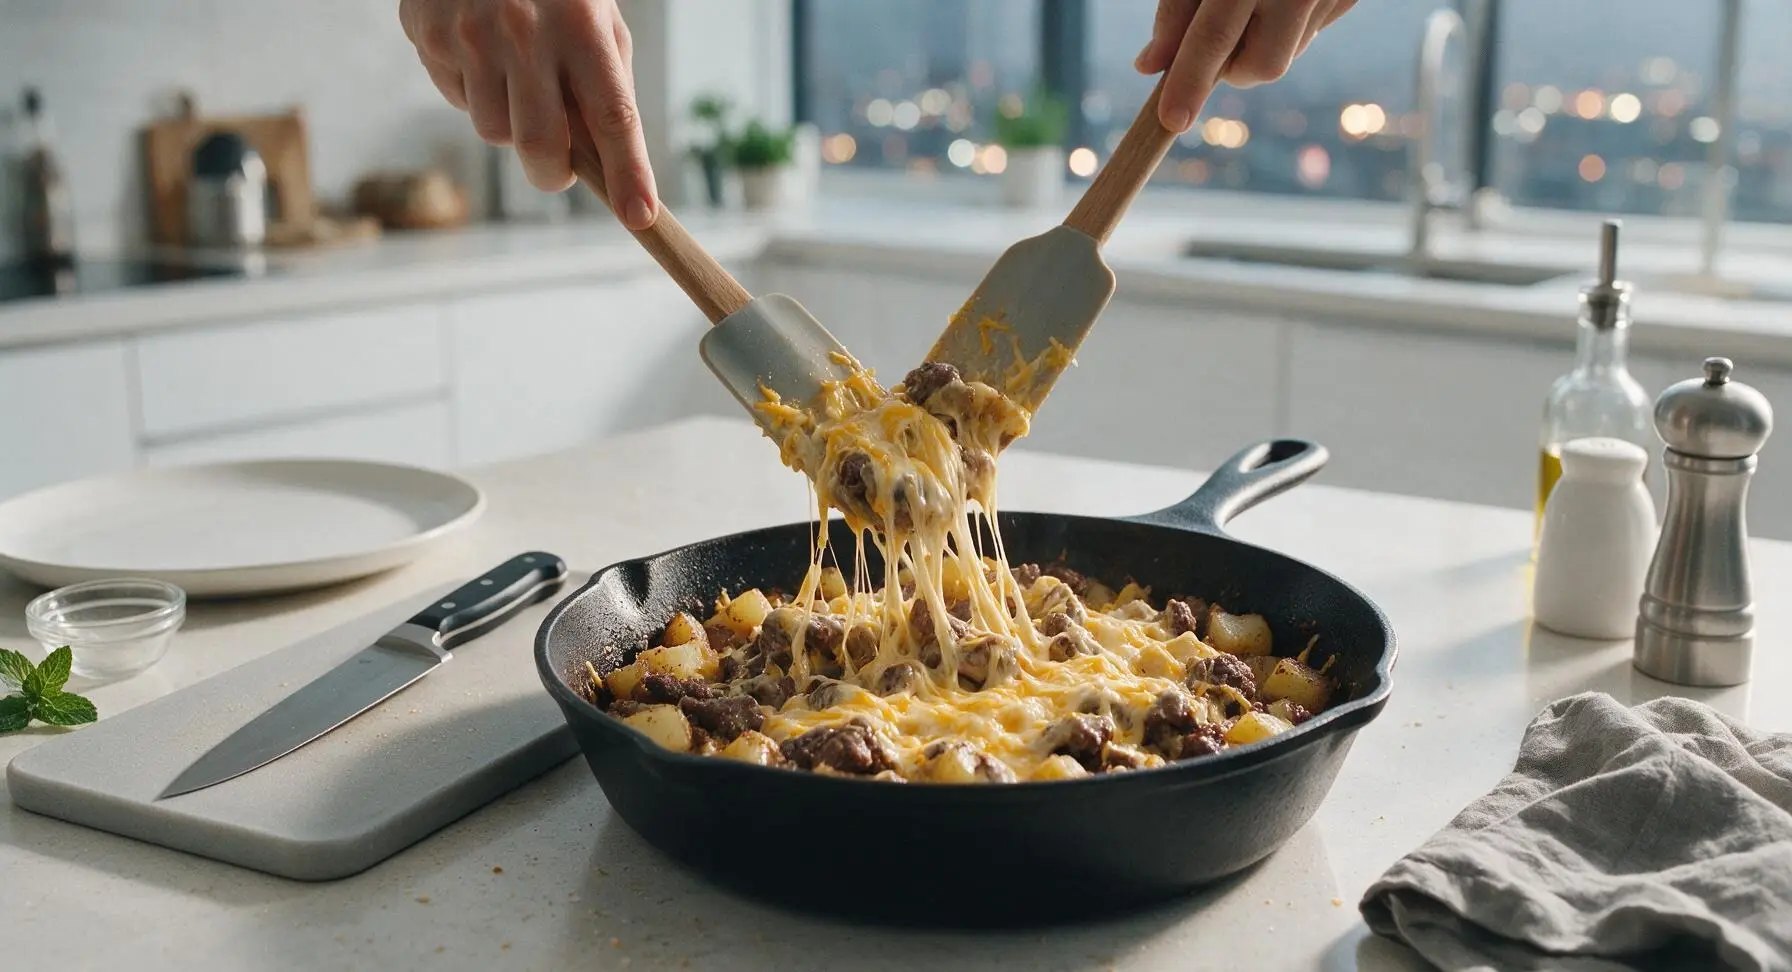
Step 5
step5:Melt and Broil Cheese
Step 5
step5:Melt and Broil Cheese
6

Garnish and Rest

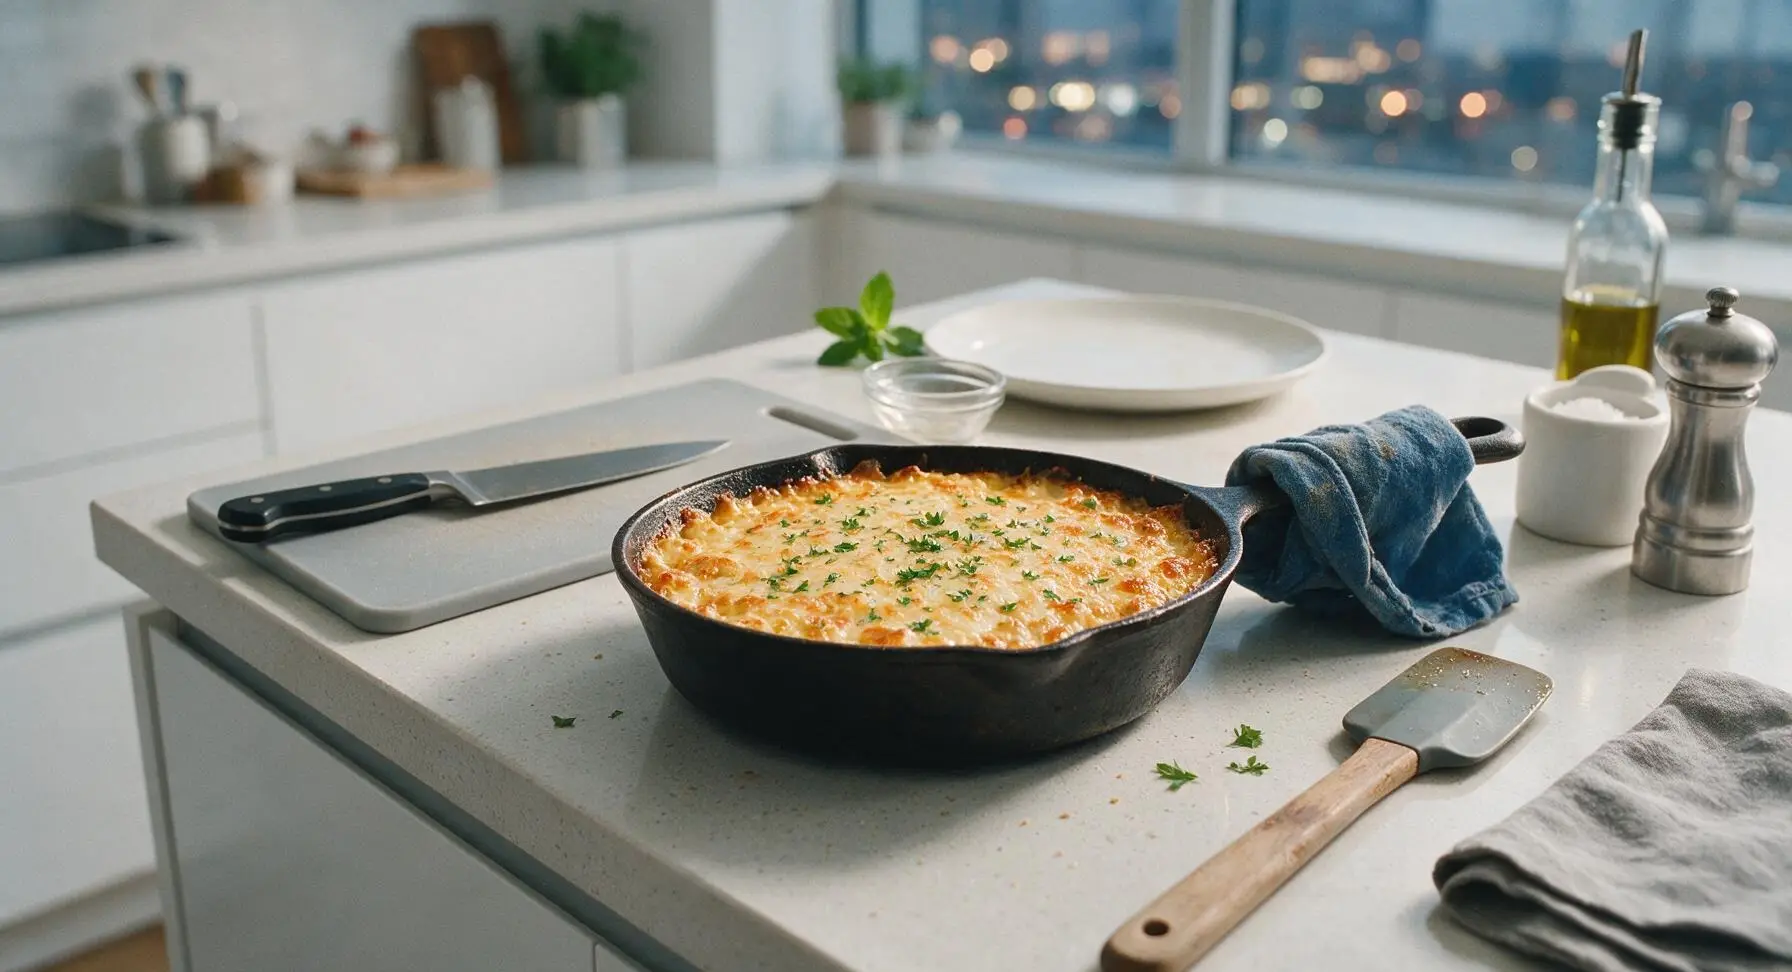
Carefully remove the hot skillet from the broiler (use oven mitts to avoid burns on the metal handles) and set it back on the soapstone counter. Let the dish rest for 3 minutes to allow the cheese to set slightly, so it does not slide off when serving. Finely chop the fresh flat-leaf parsley and sprinkle it evenly across the top of the skillet for a bright, fresh contrast to the rich, savory cheese and beef.
Step 6
step6:Garnish and Rest

Tips

1.Cut potatoes to a uniform 1.5cm size: smaller cubes will burn before cooking through, while larger cubes will develop a mushy exterior and raw center, so even sizing guarantees crispy outsides and light, fluffy insides.
2.Grate cheese fresh from a block instead of using pre-shredded packaged cheddar: pre-shredded cheese is coated in potato starch and anti-mold agents that prevent smooth melting, resulting in a grainy, separated cheese texture compared to freshly grated shreds.
3.Let the skillet rest for a full 3 minutes after broiling: this allows molten cheese to set slightly so it does not slide off when serving, and gives the potatoes time to reabsorb any excess moisture for the best, non-soggy texture.


✨ You May Also Like

Main Course
🍜 United Kingdom

A showstopping classic of tender seared beef, savory mushroom duxelles, and crisp prosciutto wrapped in flaky golden puff pastry, baked to juicy perfection.

⏱️ 2 hours 1Main Course ★ 4.7
Main Course
🍜 India

Tender charred marinated chicken simmered in a rich, spiced creamy tomato sauce, this iconic Anglo-Indian curry pairs perfectly with basmati rice or warm naan.

⏱️ 50 minuteMain Course ★ 4.6
Main Course
🍜 Thailand

Classic tangy, sweet, and savory Thai stir-fried rice noodles with shrimp, tofu, and crunchy garnishes, balancing all five core Thai flavor profiles.

⏱️ 30 minuteMain Course ★ 4.5
Main Course
🍜 United Kingdom

Crispy golden beer-battered cod and fluffy double-fried chips, served with tangy tartar sauce and malt vinegar: the timeless, beloved British pub comfort classic.

⏱️ 45 minuteMain Course ★ 4.7
Main Course
🍜 Mexico

Smoky, chile-marinated pork tacos with caramelized pineapple, fresh cilantro, and lime: a beloved classic Mexican street food perfect for casual summer gatherings.

⏱️ 1 hour 45Main Course ★ 4.8
Main Course
🍜 United States

Crunchy Fritos corn chips layered with savory beef chili and melted cheddar, topped with cool, zesty fixings for a beloved, cozy Tex-Mex comfort food.

⏱️ 35 minuteMain Course ★ 4.8

the cheesy skillet:Frequently Asked Questions

1.Can I use a different type of potato if I don’t have Yukon Golds on hand? ▾
Sure! Yukon Golds are ideal for their creamy, buttery interior and ability to get ultra-crispy on the outside when pan-fried, but you can swap in russet potatoes if that’s what you have—just dice them into uniform ½-inch cubes to make sure they cook through evenly. Skip waxy red potatoes here, as they won’t develop that perfect golden crisp crust.
2.My fried potatoes always turn out soggy instead of crispy—what am I doing wrong? ▾
The two most common mistakes are overcrowding the skillet and stirring too often. Spread your diced potatoes in a single even layer, leave them undisturbed for 6-7 minutes per side over medium heat to build a crust, and don’t cover the pan while they cook—trapped steam will make them mushy instead of perfectly crisp and golden.
3.Can I use a higher-fat ground beef instead of the recommended 90/10 lean blend? ▾
Absolutely! 90/10 lean beef is recommended to keep the dish from getting overly greasy, but if you use 80/20, just drain off most of the excess rendered fat after browning the beef before adding aromatics. Leave about a tablespoon of that beef fat in the pan, though—it adds rich, savory depth for cooking your onions and garlic.
4.Do I have to use sharp cheddar, or can I swap in a different cheese? ▾
Sharp cheddar brings a bold, tangy flavor that cuts through the rich beef and starchy potatoes, but you can absolutely swap in a blend! A mix of 70% sharp cheddar and 30% Monterey Jack gives you that iconic stretchy, melty pull. Skip pre-shredded cheese, though—it has anti-caking agents that prevent smooth, even melting.
5.How can I prep this dish ahead for busy weeknights without the cheese turning rubbery? ▾
You can prep components up to 2 days in advance: dice potatoes, chop onion and garlic, and brown the seasoned ground beef, storing each separately in the fridge. When you’re ready to eat, crisp the potatoes in the skillet, heat the beef and aromatics through, then top with cheese and melt it right before serving for the best texture.
6.What easy add-ins work to add extra veggies to this skillet? ▾
This recipe is incredibly flexible! Diced bell pepper, sliced cremini mushrooms, or a handful of frozen corn tossed in when you cook the onions add great color and nutrition with no extra dishes. If you like a little heat, toss in a diced jalapeño or pinch of red pepper flakes with the garlic for a warm kick that pairs perfectly with cheddar.
7.I don’t have an oven-safe skillet—can I still get that perfectly gooey melted cheese top? ▾
No problem at all! Once your potatoes and beef are fully cooked through on the stovetop, turn the heat down to low, sprinkle the shredded cheddar evenly over the top, then put a tight-fitting lid on the skillet for 3-4 minutes. The trapped gentle steam will melt the cheese into that stretchy, gooey layer with no broiler required.
8.How do I store and reheat leftovers so the potatoes stay crispy instead of soggy? ▾
Store leftover cheesy skillet in an airtight container in the fridge for up to 4 days. For the best texture, reheat portions in a dry skillet over medium-low heat for 5-6 minutes, stirring occasionally, rather than microwaving. Stovetop reheating crisps the potatoes back up and remelts cheese smoothly, instead of turning the dish mushy like the microwave does.

Comments (5)

2 days ago

OMG this was the easiest weeknight win ever! I threw this together after soccer practice last night and my three boys practically licked the skillet clean. I added a little extra crumbled bacon on top because we’re bacon obsessed, and the cheese pull was INSANE. 30 minute cook time is no joke, even when you’re rushing around with kid chaos. Will 100% be adding this to our regular dinner rotation!

1 day ago

So glad this was a hit with your boys! Adding bacon is such a smart, delicious upgrade—totally stealing that tip for my next skillet night. Appreciate you taking the time to leave a review!

1 day ago

Wait the bacon addition sounds chef’s kiss! I’m making this for our neighborhood potluck this weekend, I’m definitely tossing some in. Did you use regular hickory smoked or the maple kind?

5 days ago

Game changer for my tiny apartment kitchen! I don’t have a ton of fancy equipment, so one-skillet meals are my love language. This was so cheesy, perfectly savory, and I didn’t have a mountain of dishes to wash after. I will say I accidentally used sharp cheddar instead of mild and it still slapped, no notes.

3 days ago

Love that this works for small apartment kitchens! Sharp cheddar is actually a great swap, it adds such a nice tangy kick to the cheese blend. Happy you enjoyed it!

1 week ago

Made a big batch of this on Sunday for my weekly lunches, and it held up so well all week! I portioned it out with a side of roasted broccoli and it was just as good reheated in the office microwave as it was fresh out of the skillet. Easy, filling, and way cheaper than grabbing takeout for lunch every day. Only thing I’ll do different next time is add a dash of hot sauce for a little heat.

30 minutes ago

So happy I found this recipe! I swapped the regular pasta for gluten-free rotini and it worked perfectly, no weird texture at all. My husband who swears he hates gluten-free food went back for seconds. Perfect for our casual date night in, we ate it straight out of the skillet while watching our favorite show. SO good.

5 minutes ago

Yay, so happy the gluten-free swap worked out for you two! Date night in with a cheesy skillet sounds like the perfect evening to me. Thanks for sharing your tip!

yesterday

I made this for my office potluck yesterday and people were begging me for the recipe! I will say I overbaked the top a tiny bit because I got pulled into a work call right as I was supposed to pull it out, but even the slightly crispy edges were chef’s kiss. 10/10, will be making this for every family gathering from now on.

2 hours ago

Wait how big of a skillet did you use? I have a 10 inch cast iron at home, do I need to size up for a potluck portion?

30 minutes ago

So stoked this was a potluck hit! Those crispy cheesy edges are honestly my favorite part, no such thing as overbaked cheese in my book 😂 For a full potluck portion, a 12-inch skillet works best, but a 10-inch will work if you cut the recipe by about a quarter!



