
The Gobbler

title 1
The Gobbler
⏱️ cook time 12 minutes
🍽️ servings 4
⚡ Difficulty easy

intro

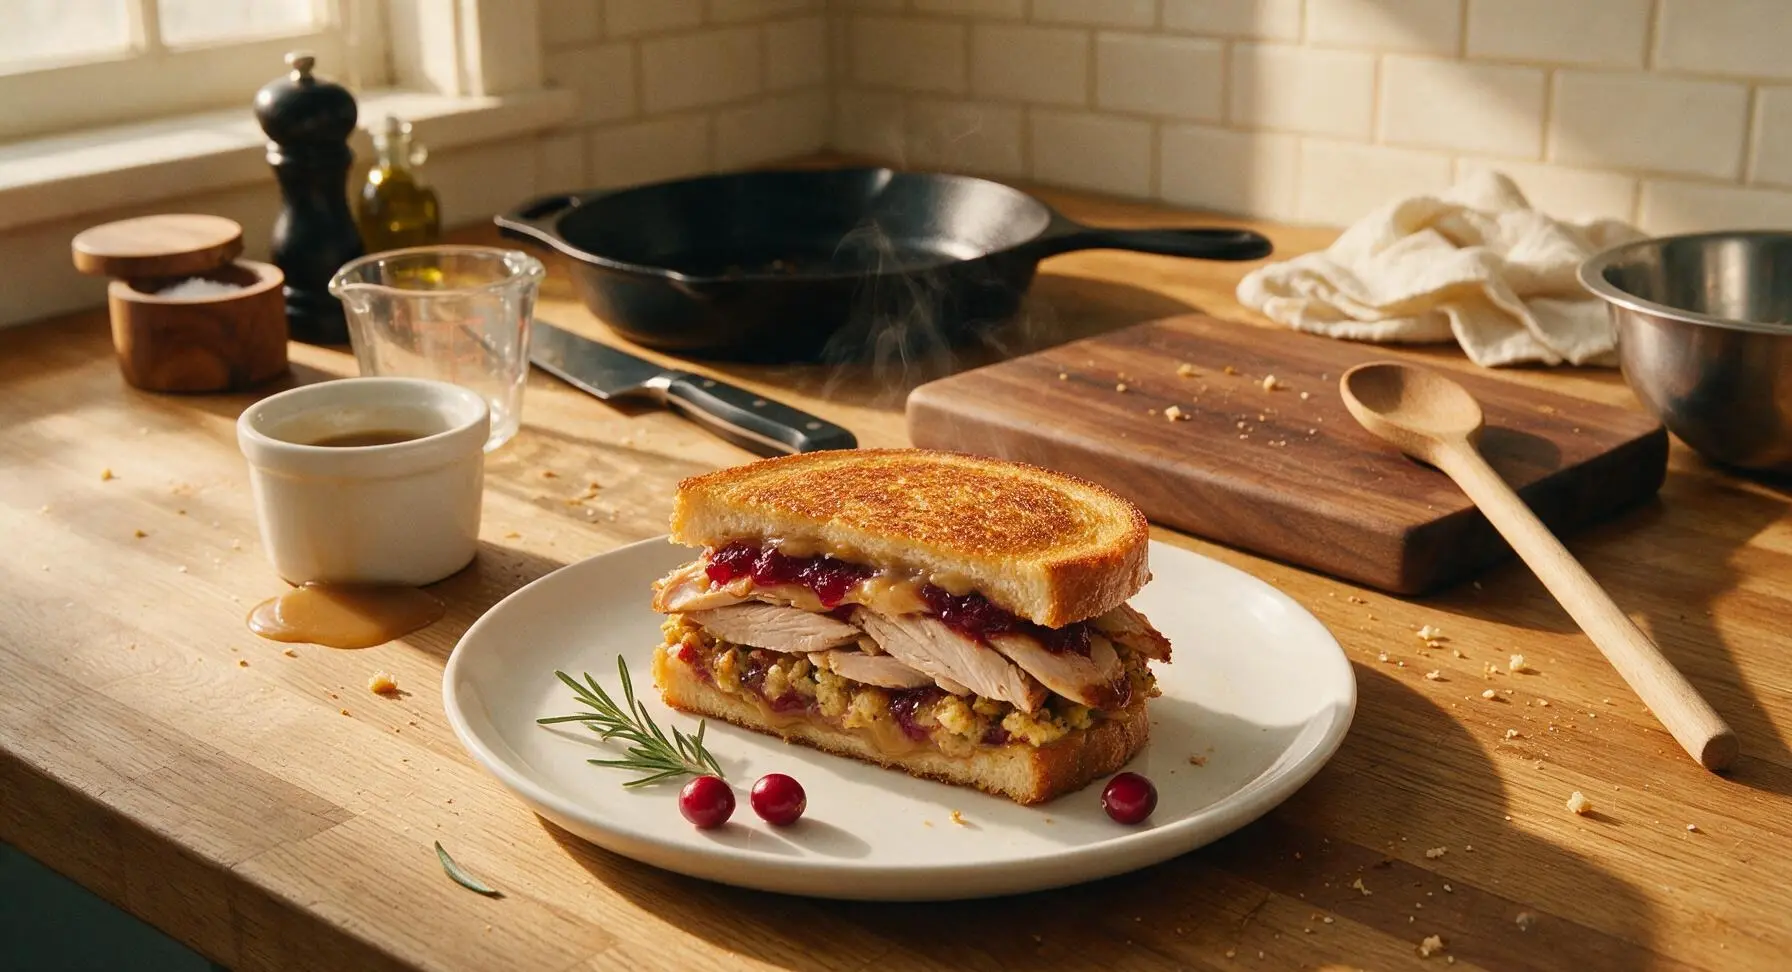
The iconic stacked Thanksgiving leftover sandwich, piled high with tender roasted turkey, tangy cranberry, savory stuffing, and gravy, pressed until golden crisp for cozy, nostalgic comfort.

Ingredients
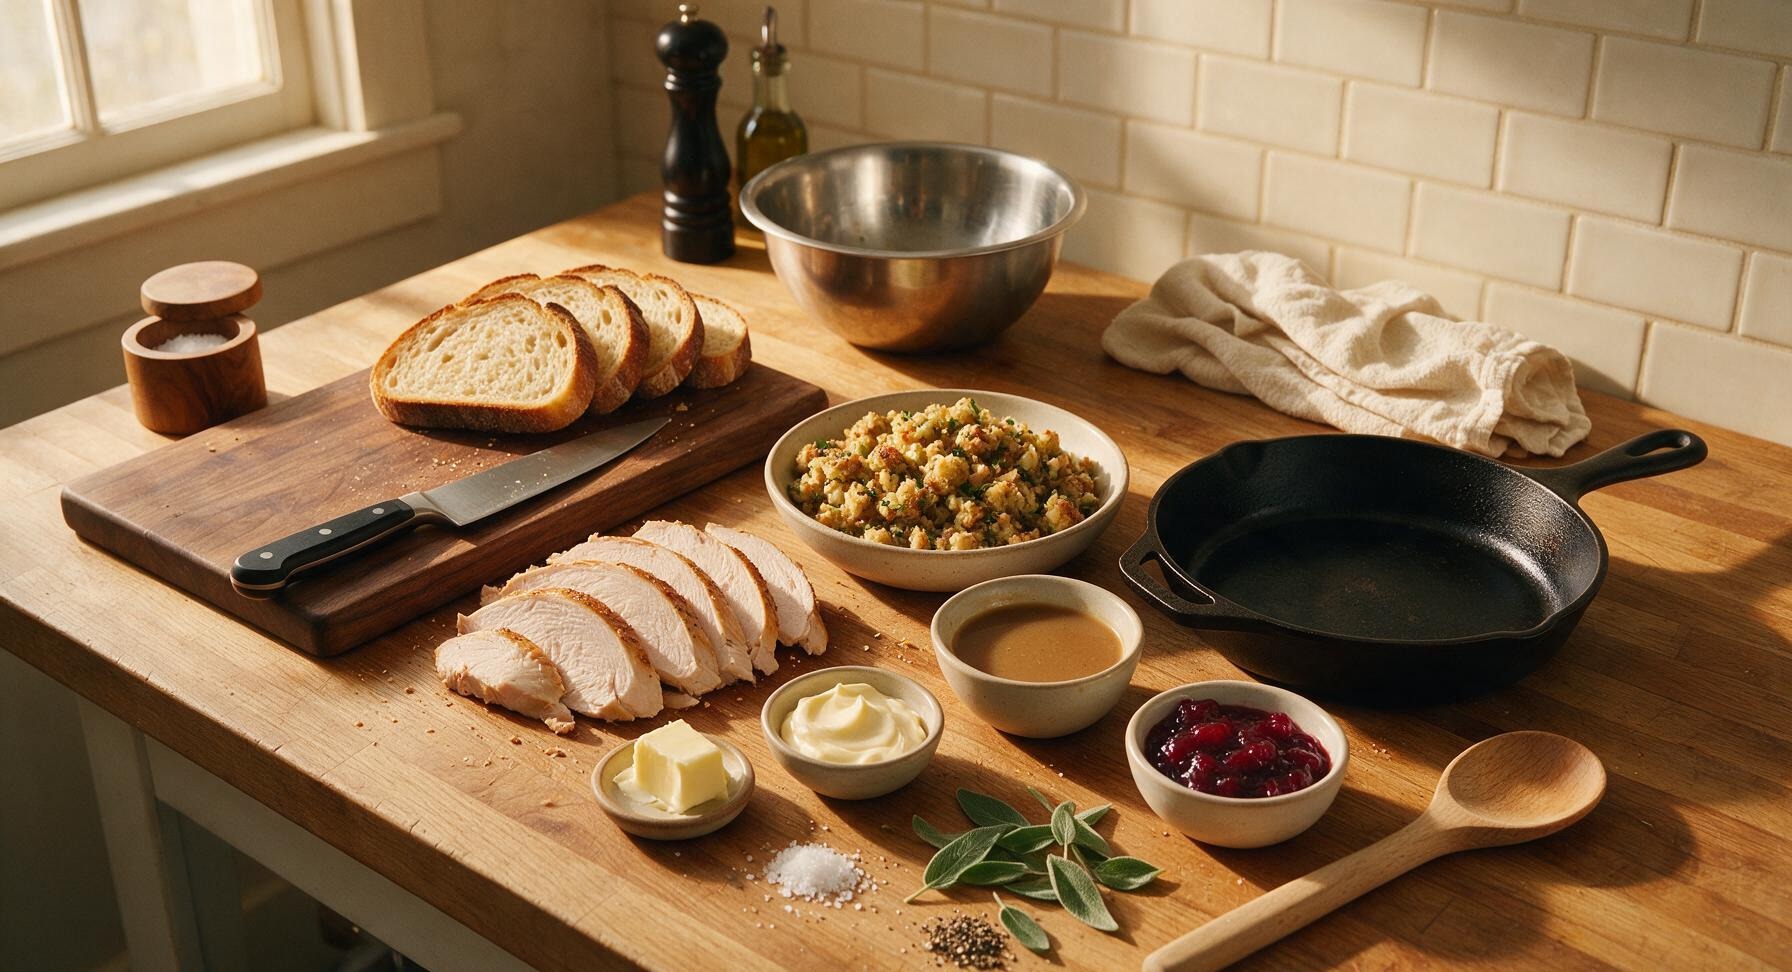
Sliced roasted turkey breast (leftover preferred) 450g (approx 2 cups, 1/4-inch thick slices)
Thick-cut sourdough bread 8 slices (1cm thick)
Leftover herb stuffing 240ml (1 cup, cooled)
Whole-berry cranberry sauce 120ml (1/2 cup)
Leftover turkey gravy 80ml (1/3 cup, warmed slightly)
Full-fat mayonnaise 60ml (4 tbsp)
Unsalted butter 2 tbsp, softened
Fresh sage leaves 12 leaves
Flaky sea salt 1/2 tsp
Freshly cracked black pepper 1/4 tsp

Steps

1

Prep Bread Bases

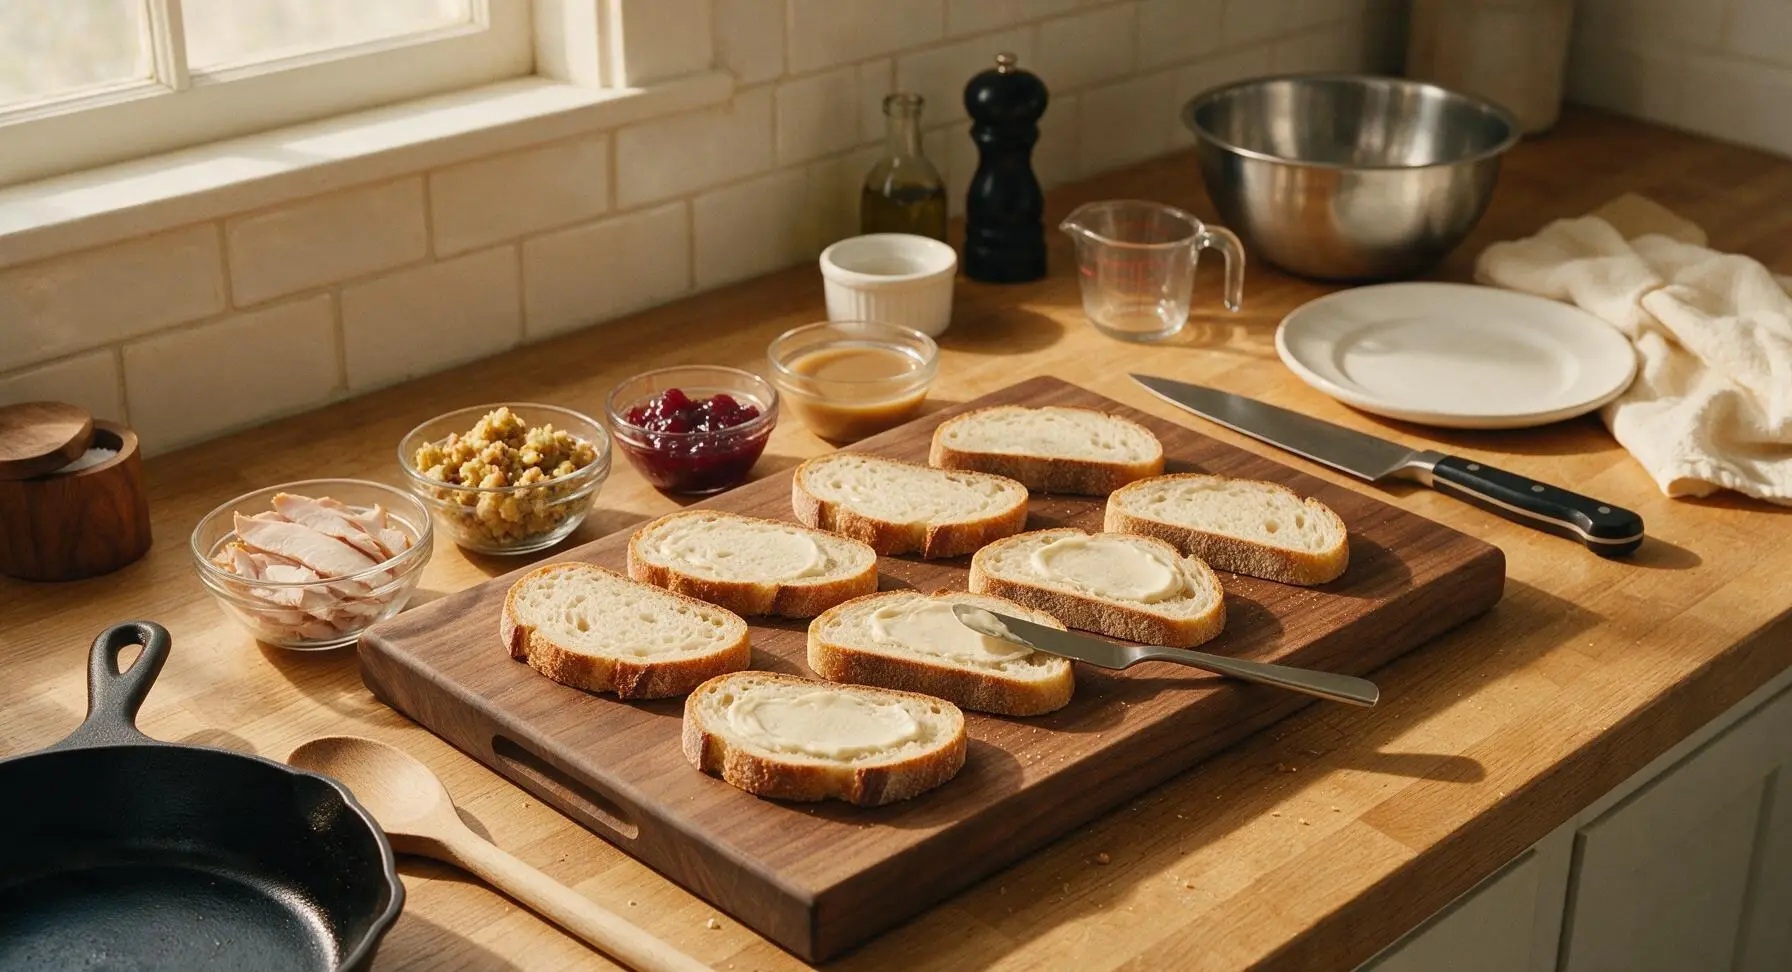
Lay all 8 sourdough slices flat on the central maple cutting board. Use the small stainless steel offset spatula to spread 1/2 tablespoon of mayonnaise evenly across one side of each bread slice, taking care to spread all the way to the crust edges. Sprinkle a tiny pinch of flaky sea salt and cracked black pepper over the mayonnaise-coated sides. Arrange 4 slices mayo-side up to act as sandwich bases, and set the remaining 4 slices aside, mayo-side down, to use as tops.
Step 1
step1:Prep Bread Bases
2

Layer Sandwich Fillings

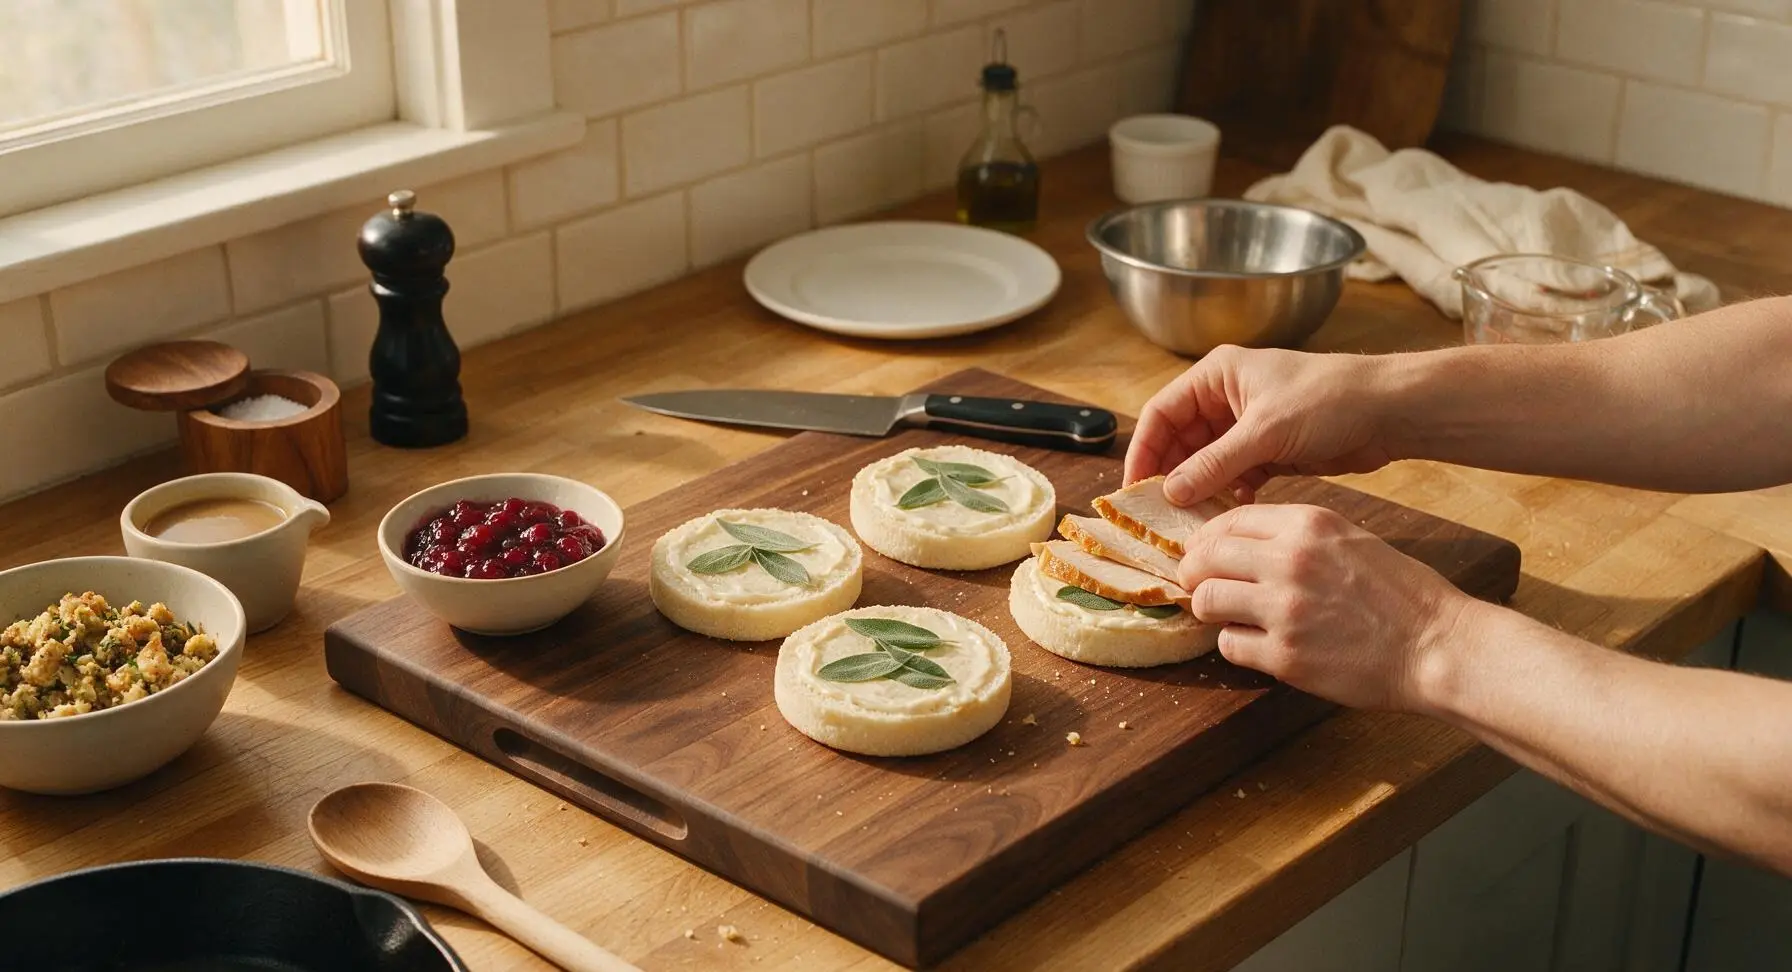
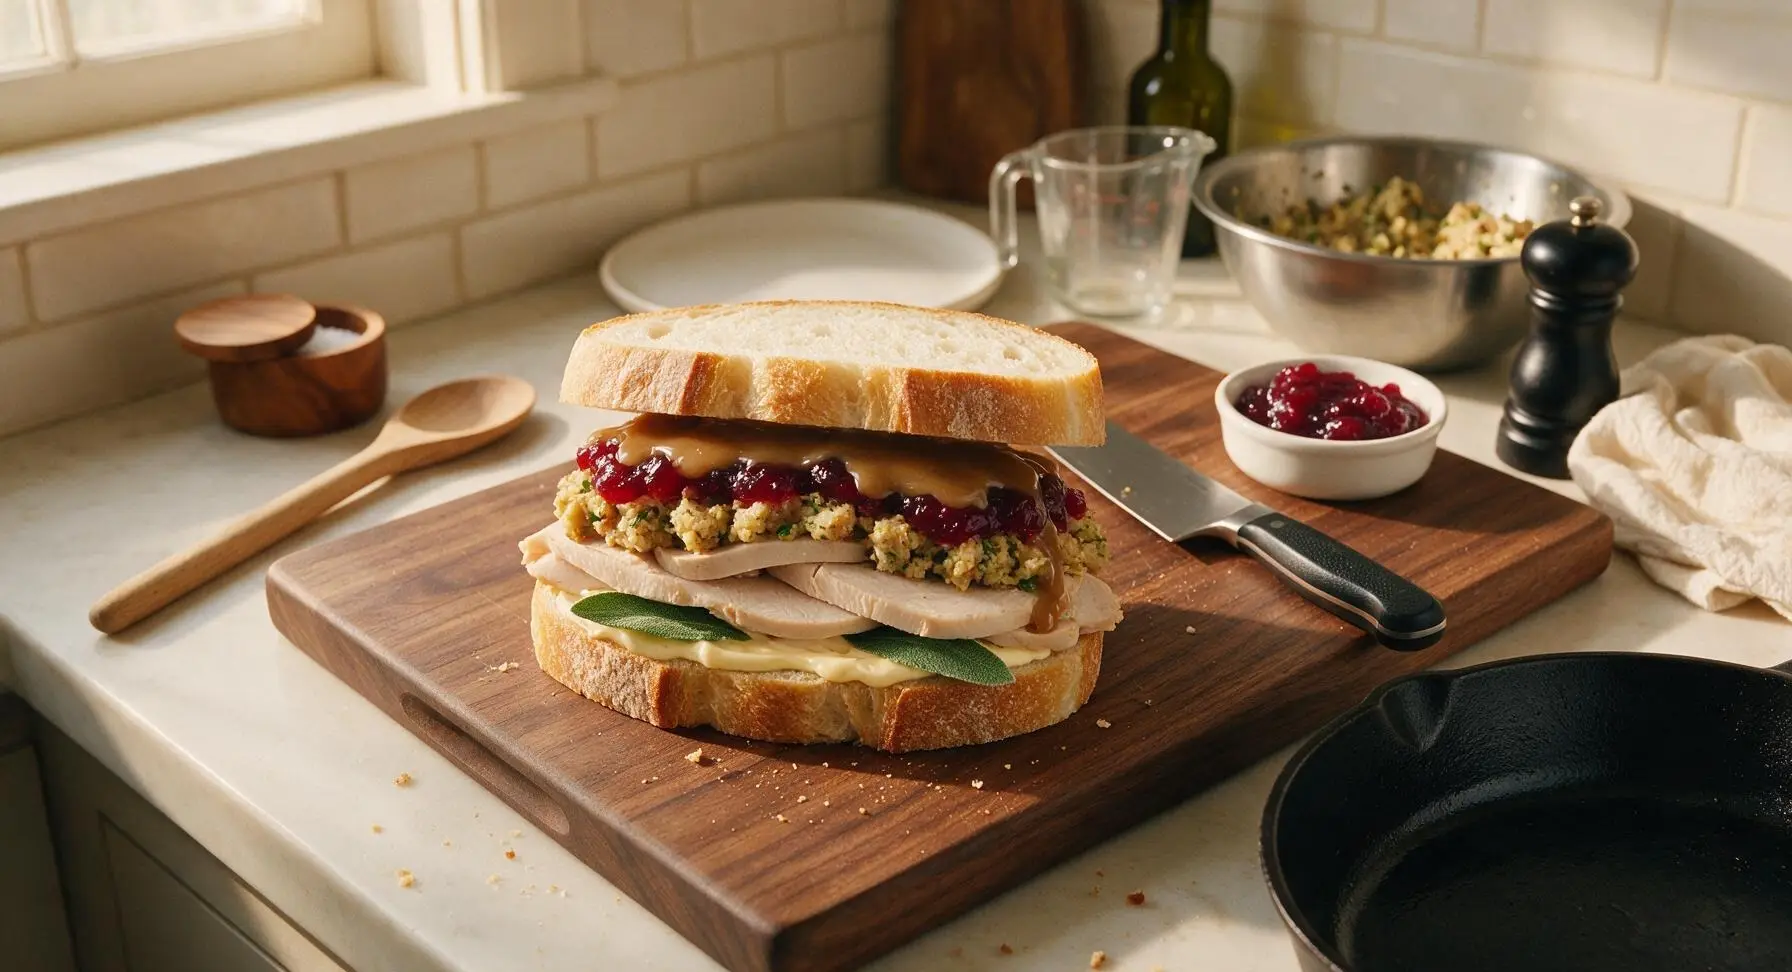
On each of the 4 mayo-side up base slices, layer ingredients in this exact order to prevent sogginess: first 2 fresh sage leaves, then 110g (approx 1/2 cup) of 1/4-inch thick sliced turkey, pressed down gently to create an even layer, then 1/4 cup of cooled herb stuffing crumbled into a uniform layer, then 2 tablespoons of whole-berry cranberry sauce spread gently over the stuffing, finished with a 1 tablespoon drizzle of slightly warm gravy over the cranberry. Leave a 1/4-inch border around the bread edges to prevent filling from squeezing out when pressed.
Step 2
step2:Layer Sandwich Fillings
Step 2
step2:Layer Sandwich Fillings
3

Seal Sandwich Tops

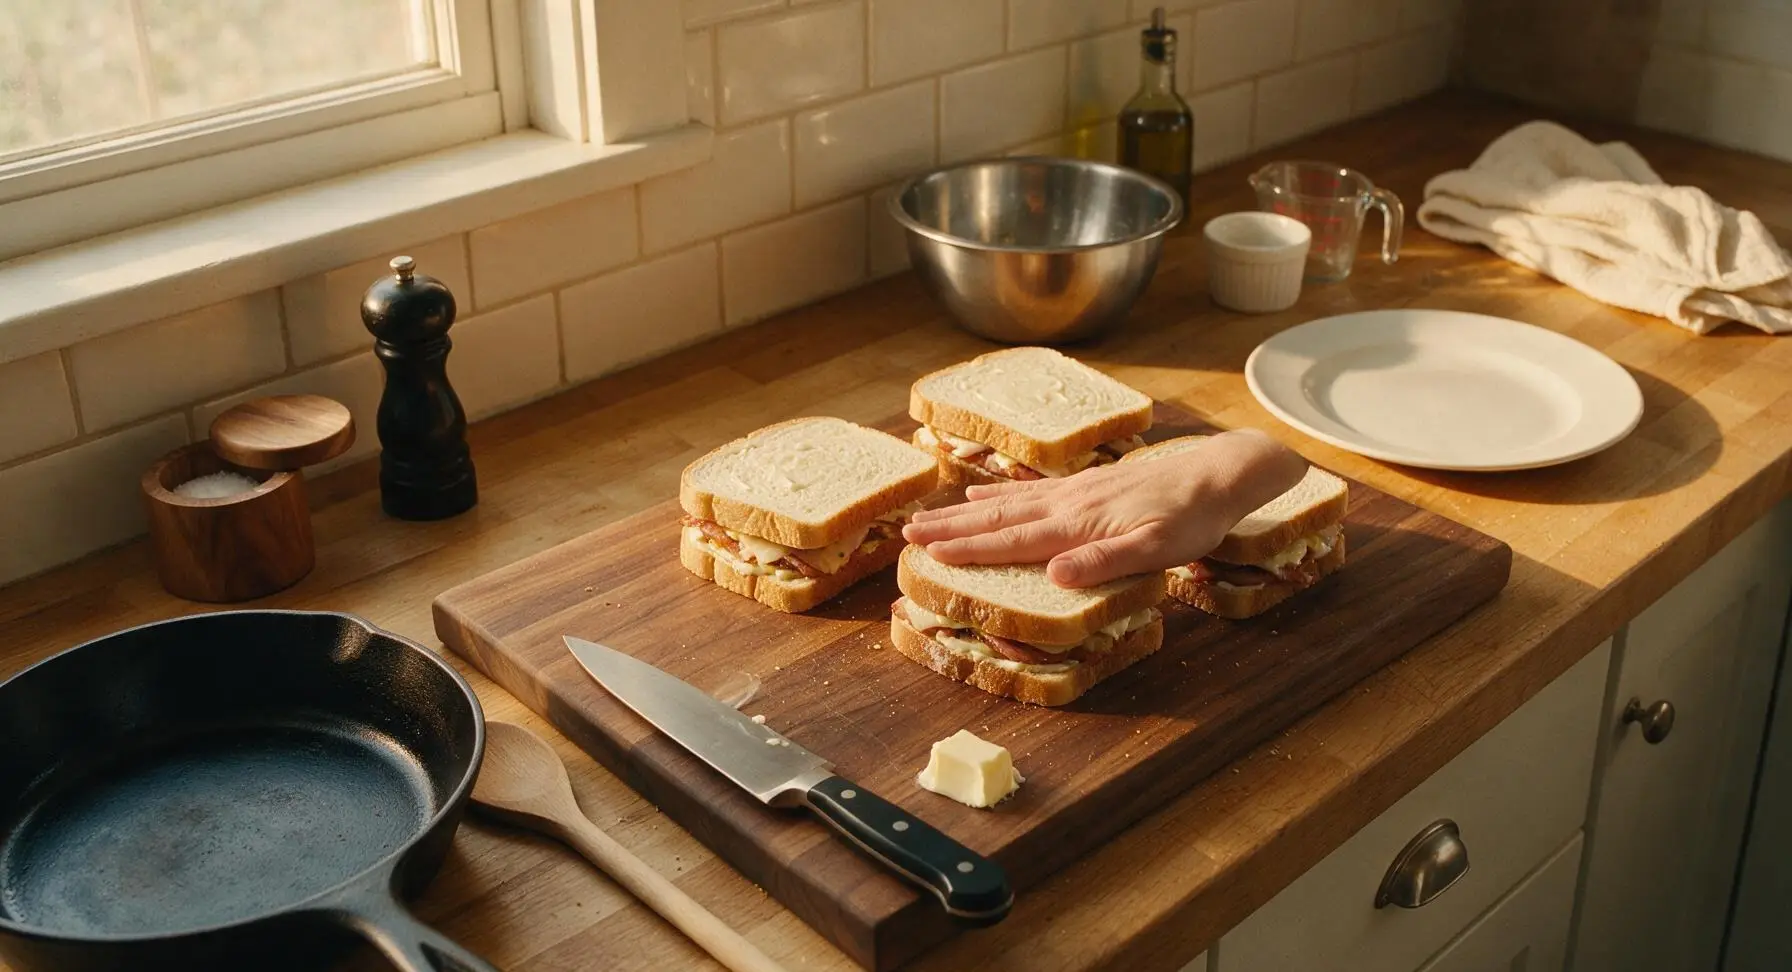
Place the remaining 4 bread slices mayo-side down on top of each filled base to form closed sandwiches. Press down gently with the palm of your hand to compact the layers slightly, so each sandwich holds its shape when moved. Spread 1/2 teaspoon of softened unsalted butter across the top outer surface of each sandwich, coating evenly all the way to the crust edges.
Step 3
step3:Seal Sandwich Tops
4

Preheat Cast Iron Skillet

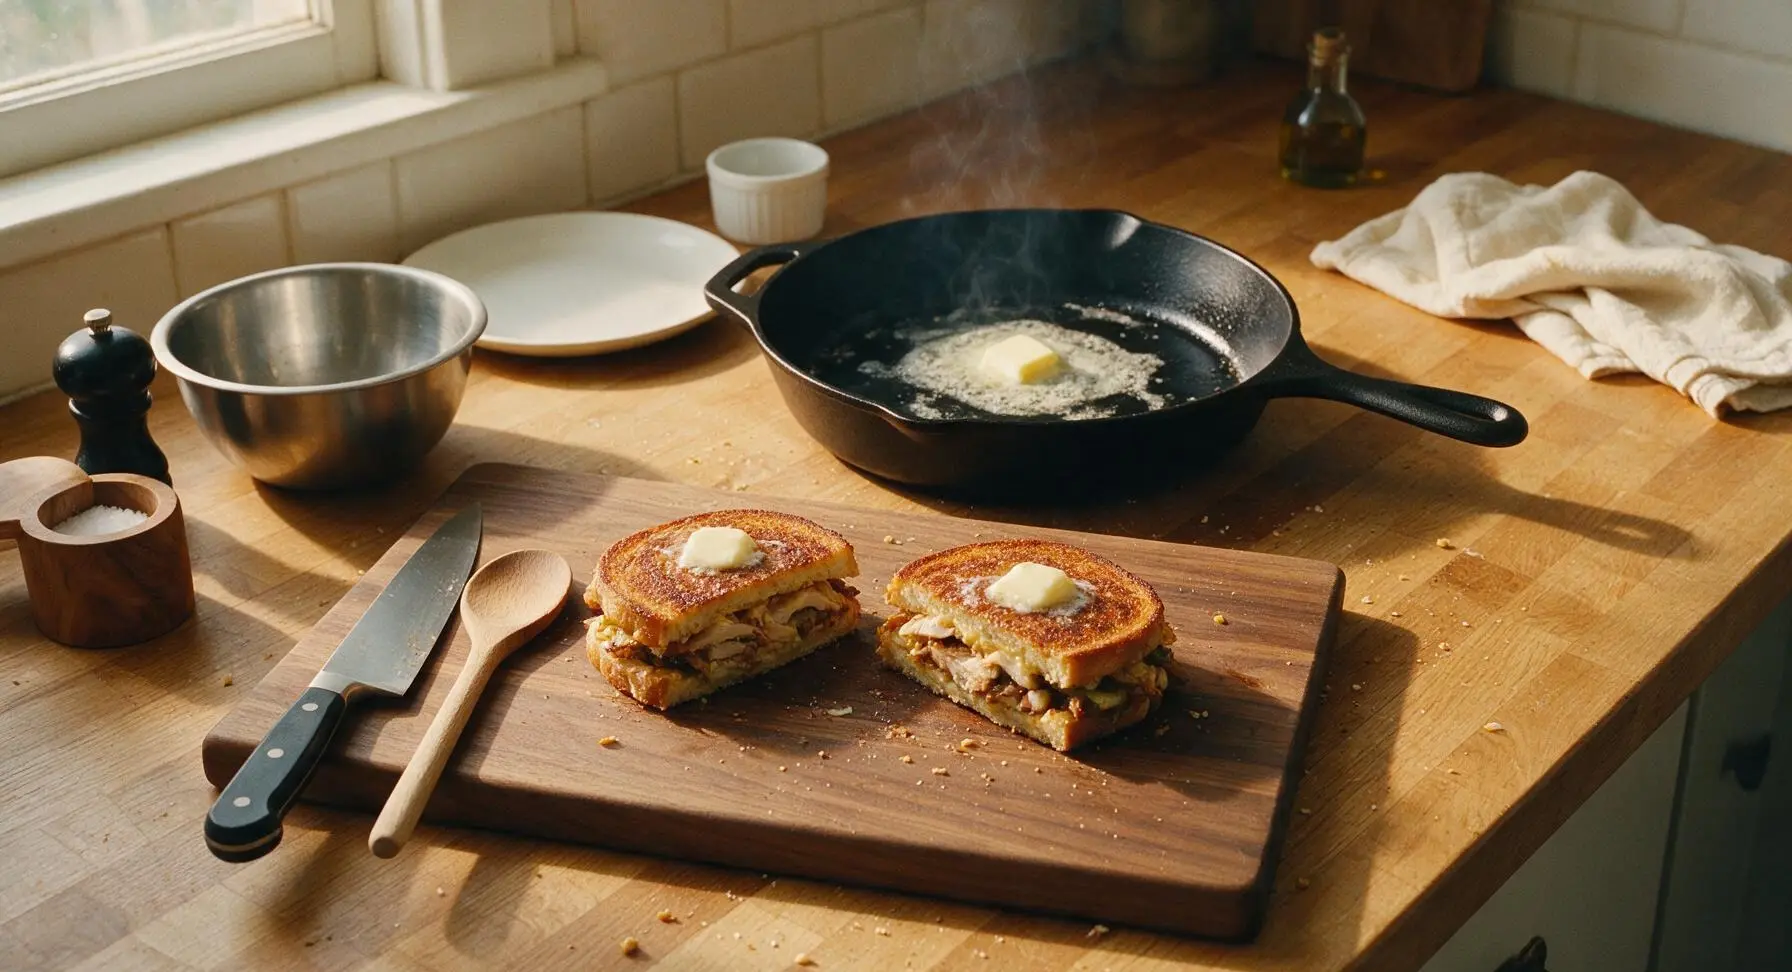
Move the 10-inch matte black cast iron skillet from its rear right storage position to the stovetop area just behind the cutting board. Heat over medium-low heat for 3 minutes, until the surface is evenly hot (test by sprinkling a drop of water: it should sizzle and dance across the surface immediately). Add 1 tablespoon of the remaining softened butter to the skillet, swirling to coat the bottom evenly as it melts and foams slightly.
Step 4
step4:Preheat Cast Iron Skillet
5

Cook First Sandwich Side

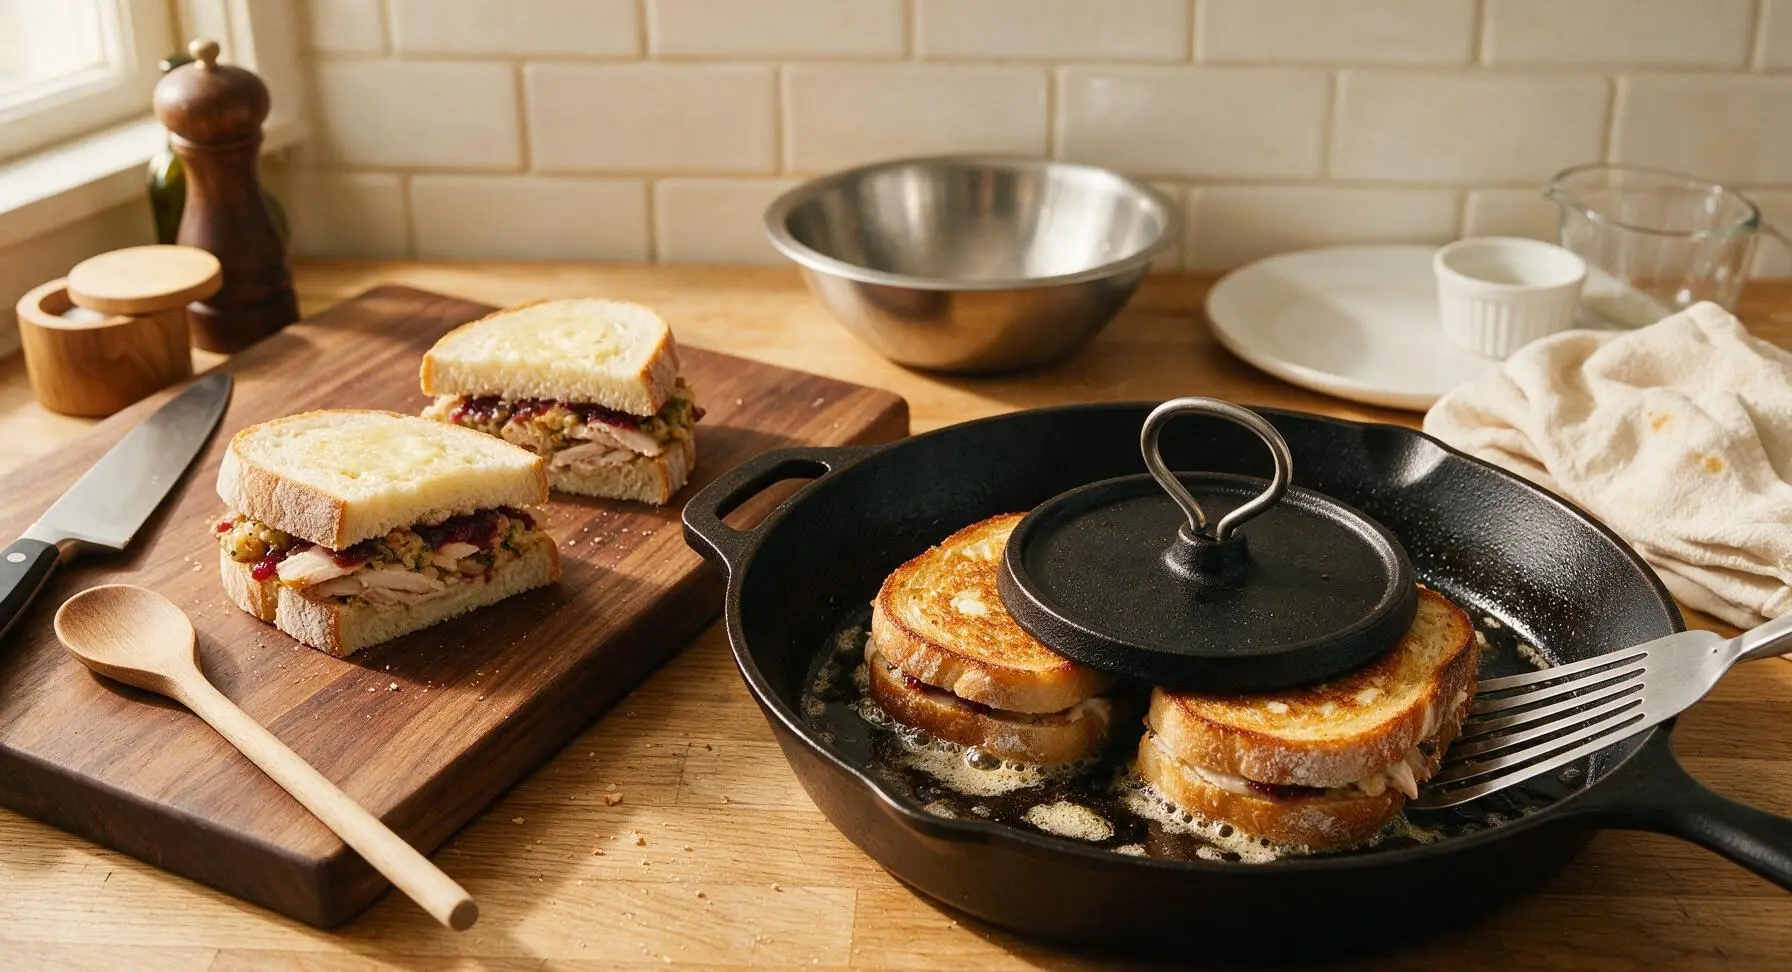
Use the slotted stainless steel sandwich turner to carefully lift 2 of the assembled sandwiches, placing them buttered-side down in the preheated, buttered skillet. Place the round cast iron sandwich press directly on top of the sandwiches to weigh them down evenly for uniform crisping. Cook for 3-4 minutes, until the bottom bread is deep golden brown and crisp, with no pale soft spots remaining. While the first side cooks, spread the remaining 1/2 teaspoon of softened butter on the uncoated top side of each sandwich in the skillet.
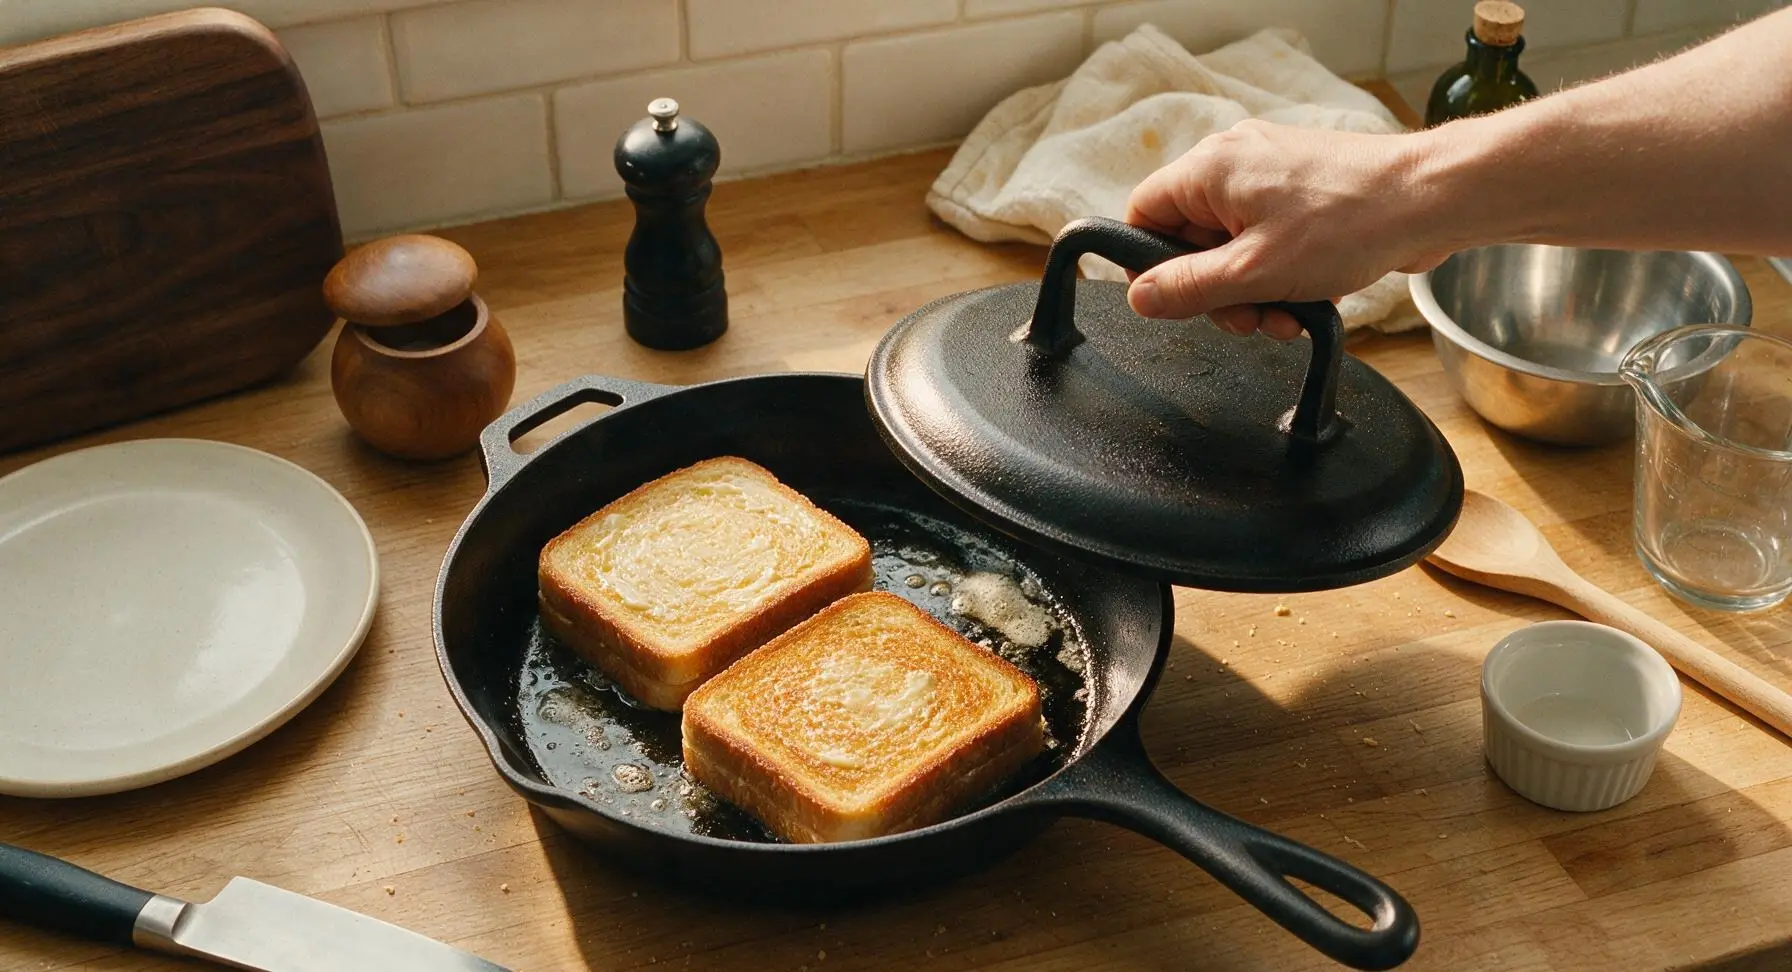
Step 5
step5:Cook First Sandwich Side
Step 5
step5:Cook First Sandwich Side
6

Flip and Cook Second Side

Lift the cast iron press off the sandwiches, use the slotted turner to carefully flip each sandwich so the newly buttered side faces down in the skillet. Replace the press on top of the sandwiches, and cook for another 3-4 minutes, until the second side is equally golden and crisp, and the fillings are warmed all the way through (look for tiny bubbles of gravy seeping out the sandwich edges as a visual cue they are ready). Transfer the first batch of cooked sandwiches to the stacked cream ceramic plates, then repeat the cooking process with the remaining 2 sandwiches.
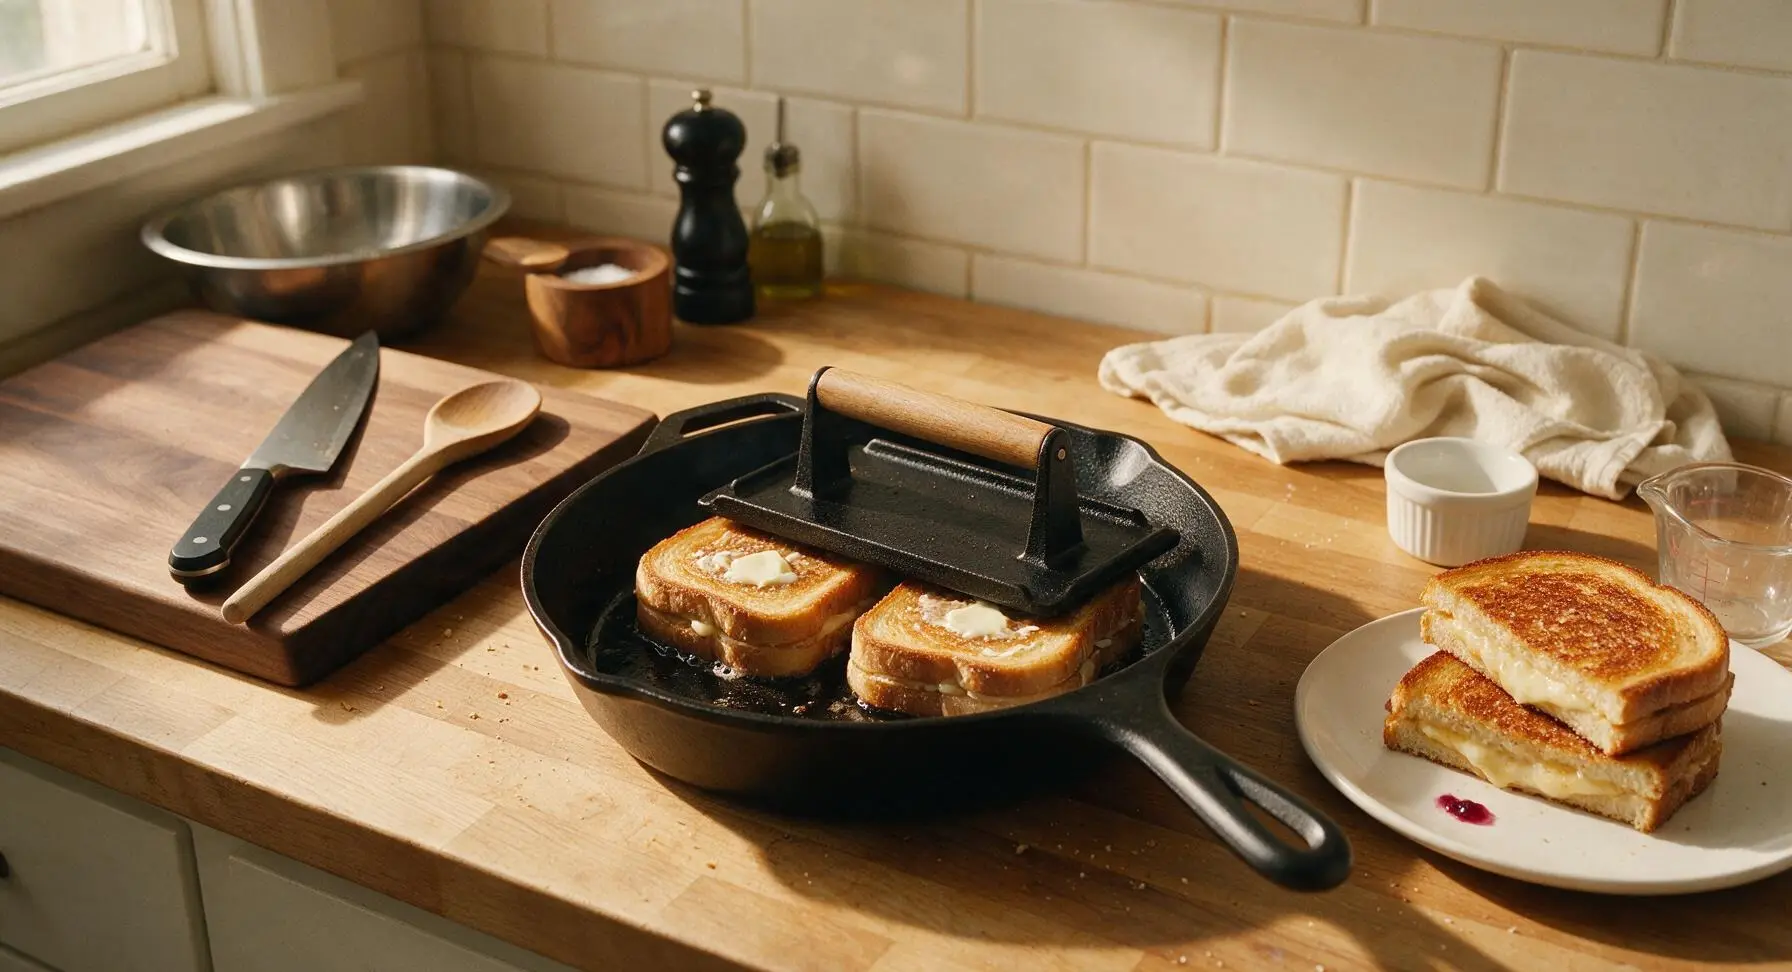
Step 6
step6:Flip and Cook Second Side
7

Rest and Slice Sandwiches

Once all sandwiches are cooked and transferred to plates, let them rest for 2 minutes to allow the fillings to set (this prevents ingredients from sliding out when cut). Use the 8-inch chef knife to cut each sandwich diagonally into two equal triangular halves, using a smooth, gentle sawing motion rather than pressing straight down to avoid squeezing filling out. Tuck one fresh sage leaf between the two halves of each sandwich for a bright, herby garnish.
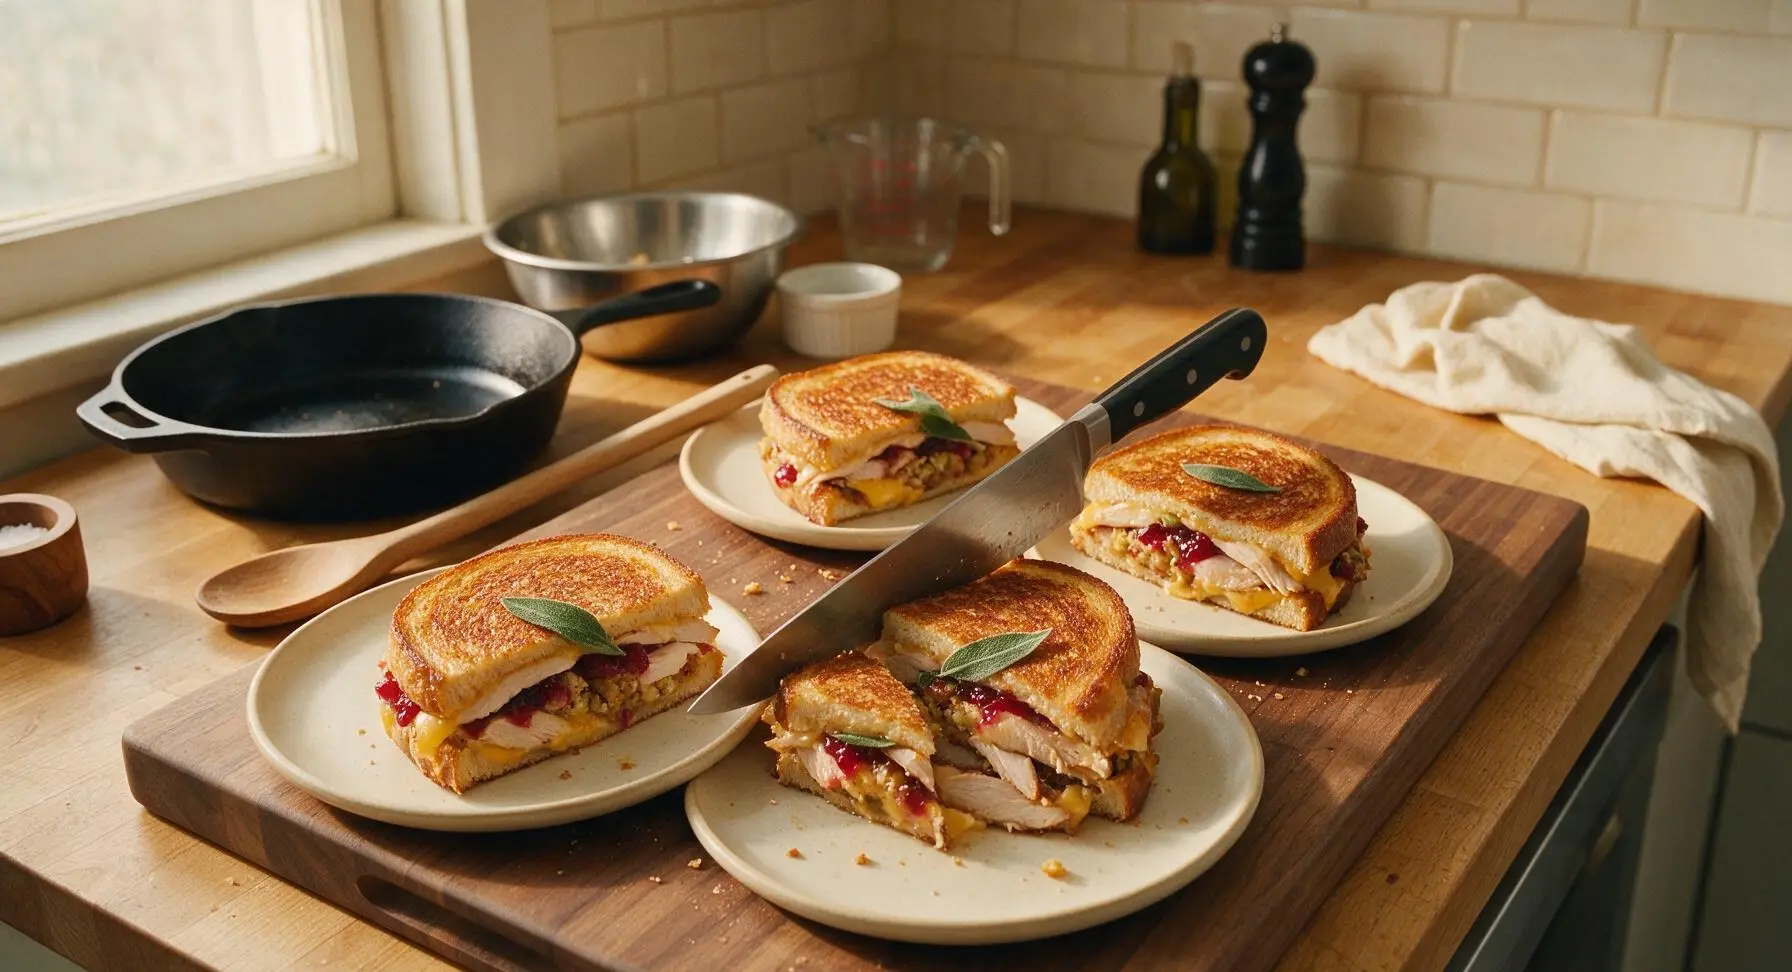
Step 7
step7:Rest and Slice Sandwiches

Tips

1.Layer gravy and cranberry sauce between the turkey and stuffing, not directly against the bread, to prevent soggy crust — the dense turkey and dry, porous stuffing act as a moisture barrier to keep bread crisp even as fillings warm through.
2.Stick to medium-low heat when cooking the sandwiches: high heat will burn the bread crust before the cold leftover fillings have a chance to heat all the way to the center, leading to cold fillings and bitter burnt bread.
3.Let the cooked sandwiches rest for a full 2 minutes before cutting and eating: this lets the melted butter, warm gravy, and soft cranberry sauce set slightly, so fillings don’t slide out the back of the sandwich when you take your first bite.


✨ You May Also Like

Main Course
🍜 United Kingdom

A showstopping classic of tender seared beef, savory mushroom duxelles, and crisp prosciutto wrapped in flaky golden puff pastry, baked to juicy perfection.

⏱️ 2 hours 1Main Course ★ 4.7
Main Course
🍜 India

Tender charred marinated chicken simmered in a rich, spiced creamy tomato sauce, this iconic Anglo-Indian curry pairs perfectly with basmati rice or warm naan.

⏱️ 50 minuteMain Course ★ 4.6
Main Course
🍜 Thailand

Classic tangy, sweet, and savory Thai stir-fried rice noodles with shrimp, tofu, and crunchy garnishes, balancing all five core Thai flavor profiles.

⏱️ 30 minuteMain Course ★ 4.5
Main Course
🍜 United Kingdom

Crispy golden beer-battered cod and fluffy double-fried chips, served with tangy tartar sauce and malt vinegar: the timeless, beloved British pub comfort classic.

⏱️ 45 minuteMain Course ★ 4.7
Main Course
🍜 Mexico

Smoky, chile-marinated pork tacos with caramelized pineapple, fresh cilantro, and lime: a beloved classic Mexican street food perfect for casual summer gatherings.

⏱️ 1 hour 45Main Course ★ 4.8
Main Course
🍜 United States

Crunchy Fritos corn chips layered with savory beef chili and melted cheddar, topped with cool, zesty fixings for a beloved, cozy Tex-Mex comfort food.

⏱️ 35 minuteMain Course ★ 4.8

The Gobbler:Frequently Asked Questions

1.Do I need a specialty panini press to make a properly pressed Gobbler sandwich? ▾
You absolutely don’t need fancy gear! Grab a heavy cast iron or regular nonstick skillet, and weigh the sandwich down with a foil-wrapped brick, a second heavy pan, or even a full canned good. Cook 3-4 minutes per side over medium-low heat until the bread is golden crisp and fillings are warmed through.
2.How do I keep the sandwich from getting soggy from cranberry sauce and gravy? ▾
Stop sogginess before it starts with two quick pro tips: First, blot whole-berry cranberry sauce lightly with a paper towel to remove excess loose juice before adding it. Second, tuck sturdier herb stuffing directly against the bread slices to act as a moisture barrier between wet fillings and the crust.
3.Can I prep these sandwiches ahead of time for Black Friday or post-holiday guests? ▾
You can prep unassembled components or un-pressed stacked sandwiches up to 24 hours ahead, stored tightly wrapped in the fridge, but wait to press until right before serving. Once pressed, the bread will turn soggy as it sits, so only cook as many sandwiches as you plan to serve immediately for the best crisp texture.
4.What can I use if I don’t have thick-cut sourdough bread for the recipe? ▾
Skip thin, soft standard sandwich bread—it will turn mushy under pressure and fall apart mid-bite. Sturdy substitutes include 1-inch-thick cut country white, hearty seeded rye, dense brioche, or even split leftover dinner rolls for mini slider-sized Gobblers, as long as slices are at least ¾-inch thick to hold up to hearty fillings.
5.Do I need to reheat all my Thanksgiving leftovers before stacking the sandwich? ▾
You don’t need to fully preheat leftovers, but pull cold turkey and stuffing out of the fridge 10 minutes before assembling to take the sharp chill off. The medium-low heat and firm pressing will warm fillings all the way through as the bread toasts—just don’t crank heat too high, or you’ll burn the crust before the center warms.
6.What simple add-ins work well without straying from classic Thanksgiving flavors? ▾
Thin layers of complementary extras work beautifully: a slice of brie or thin cream cheese spread cuts cranberry tang, a small handful of arugula adds bright peppery bite, or a thin smear of leftover mashed potatoes adds extra cozy savoriness. Just don’t overstuff, or the sandwich will fall apart when pressed.

Comments (11)

2 days ago

OMG this is the ultimate leftover hack! I had so much turkey and cranberry sauce sitting around after our family Thanksgiving dinner, I thought I’d be eating plain turkey plates for a week. Pressed it all up with some leftover stuffing and a slather of mayo on sourdough — game changer. My husband ate two in one sitting! Super easy too, even for someone who burns toast half the time lol.

yesterday

So glad you loved it, Katie! Pro tip: add a thin layer of leftover mashed potatoes between the turkey and stuffing for an extra creamy bite next time — trust me!

3 days ago

Wait, can I make this without a panini press? All I’ve got is a regular cast iron skillet, don’t wanna run out and buy a new gadget just for leftovers. The sandwich looks insane, just trying to figure out if I can pull it off with what I have.

2 days ago

Dude you totally can! I do this every year — just heat a little butter in the skillet, put the sandwich in, then set a heavy cast iron pot or a foil-wrapped brick on top to press it. Flip after 6 minutes, works exactly the same.

2 days ago

Great call from GrillDadMark! You don’t need any fancy equipment for this — any heavy, heat-safe weight works to get that crispy, pressed texture we love. Just make sure you don’t squish all the fillings out when you press down!

1 week ago

I swapped the turkey for leftover roasted portobello and the mayo for vegan aioli, and this still slapped! Such a versatile recipe, will be making this every post-holiday from now on. SO good.

yesterday

My kids go crazy for these! I cut them into little triangle dippers and served them with leftover gravy on the side for after-school snacks yesterday. Even my pickiest eater who turns up his nose at stuffing asked for seconds. 10/10, way better than the sad leftover containers I usually force myself to get through.

2 hours ago

Oh the gravy dipper idea is genius! I’ve been serving mine with cranberry sauce for dipping but gravy is next level, trying that tomorrow for my kid’s lunch.

5 days ago

Made these for our neighborhood post-Thanksgiving potluck and they were the first thing gone. People were asking for the recipe before I even got a second one for myself! Cook time was way shorter than I expected too, cranked out a dozen in like 40 minutes total.

3 days ago

Wait did you assemble them ahead of time? I’m hosting a leftover swap next weekend and was thinking of making a batch but don’t wanna be stuck cooking the whole time people are over.

3 days ago

You can absolutely prep the sandwich fillings ahead of time and assemble right before pressing! I don’t recommend pressing them more than 30 minutes before serving though, otherwise the bread can get soggy from the cranberry sauce and gravy.

1 week ago

Wait, is it crazy to add a slice of leftover green bean casserole in here? Don’t judge me, I love that stuff and feel like the crispy onions would add a great crunch. The base recipe sounds perfect, just want to load mine up with all the sides!

5 days ago

Not crazy at all! I did that last year plus a scoop of candied yams and it was insane. Sweet, savory, crispy — trust me, no judgment here, all leftovers belong in this sandwich.

5 days ago

No judgment from our corner! The best part of the Gobbler is that it’s totally customizable to whatever leftovers you have on hand. The crispy fried onions from green bean casserole add such a great textural pop — we’re big fans of that hack!

2 weeks ago

Made a batch of these on Sunday to take for work lunches all week, they held up way better than I thought they would! I wrapped them in parchment paper and reheated them in the office toaster oven for 3 minutes, tasted just as good as day one. Easy, quick, perfect for not letting food go to waste.

30 minutes ago

I used thick-cut sourdough like the recipe suggested and oof, that crispy buttered crust is *chef’s kiss*. I almost used regular sandwich bread and I’m so glad I didn’t, it held up to all the heavy fillings without getting soggy at all. 12 minute cook time is no joke too, had lunch on the table faster than takeout.

5 minutes ago

Thick, sturdy bread is the secret to not ending up with a soggy, falling-apart sandwich! So glad the sourdough worked out perfectly for you — that’s our go-to bread pick for this recipe too.

2 hours ago

Uh, total newbie question — do I need to heat up the leftovers before putting them in the sandwich? I don’t wanna end up with cold turkey in the middle when the bread is all crispy. Recipe looks super easy otherwise, can’t wait to try it!

30 minutes ago

Nah you don’t have to pre-heat! As long as you cook the sandwich for the full 6 minutes per side on medium heat, the fillings will get all warm and melty while the bread crisps up. I never preheat mine and it’s perfect every time.

30 minutes ago

Great question! You don’t need to preheat leftovers, but if you have extra cold fillings straight from the fridge, you can turn the heat down a touch and cook for an extra minute per side to make sure everything is heated all the way through without burning the bread.

1 week ago

I added a little drizzle of hot honey to mine and wow, that sweet heat with the salty turkey and tart cranberry? Life changing. I’ll never eat plain Thanksgiving leftovers again, this is going to be my new annual tradition. Even my sister who hates cranberry sauce loved it.

just now

Told my family this sandwich is so good it’s worth making a whole Thanksgiving dinner just to have the leftovers for it. They rolled their eyes but agreed after they took the first bite. Easy enough that I didn’t mess it up, which is saying something because my usual cooking move is setting off the smoke alarm.

just now

Hahaha same here! I managed to make these without any fire department visits, which is a new personal best for my post-holiday cooking. 10/10, foolproof even for us cooking-challenged folks.



