
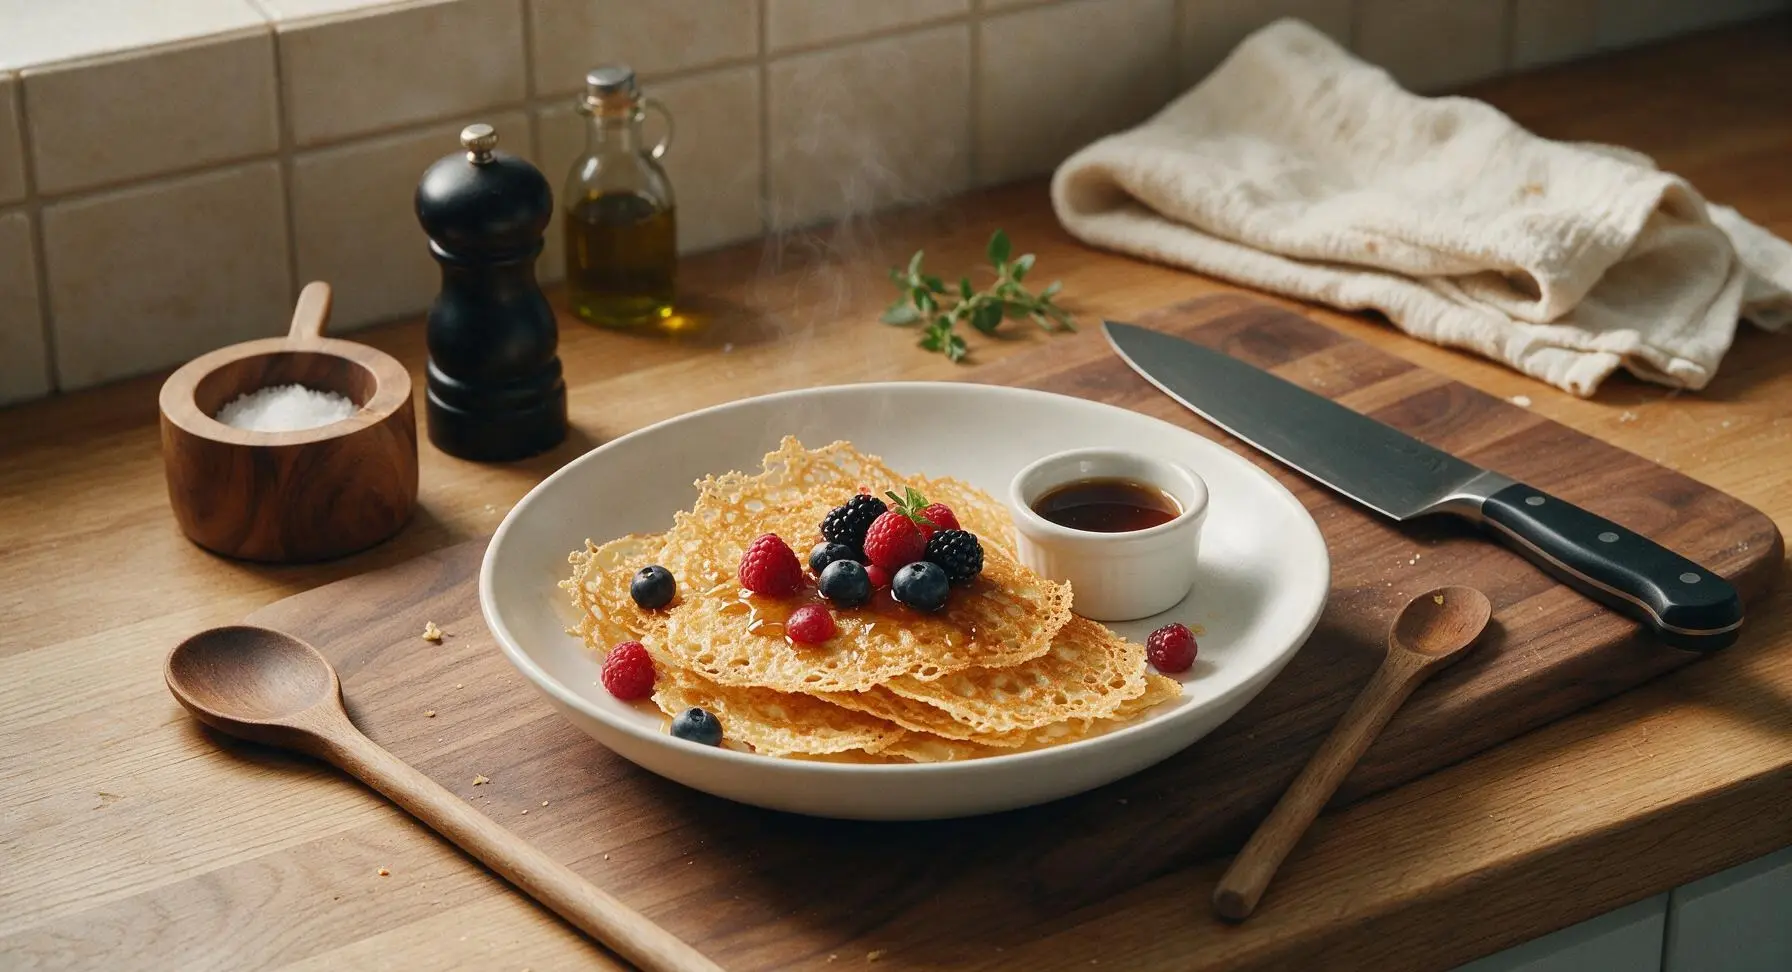
thin crispy waffles

title 1
thin crispy waffles
⏱️ cook time 15 minutes
🍽️ servings 4
⚡ Difficulty easy

intro

Shatteringly crisp, golden thin waffles with lacy edges, fast to mix and cook, perfect for topping with maple syrup and fresh spring berries for a satisfying quick meal.

Ingredients
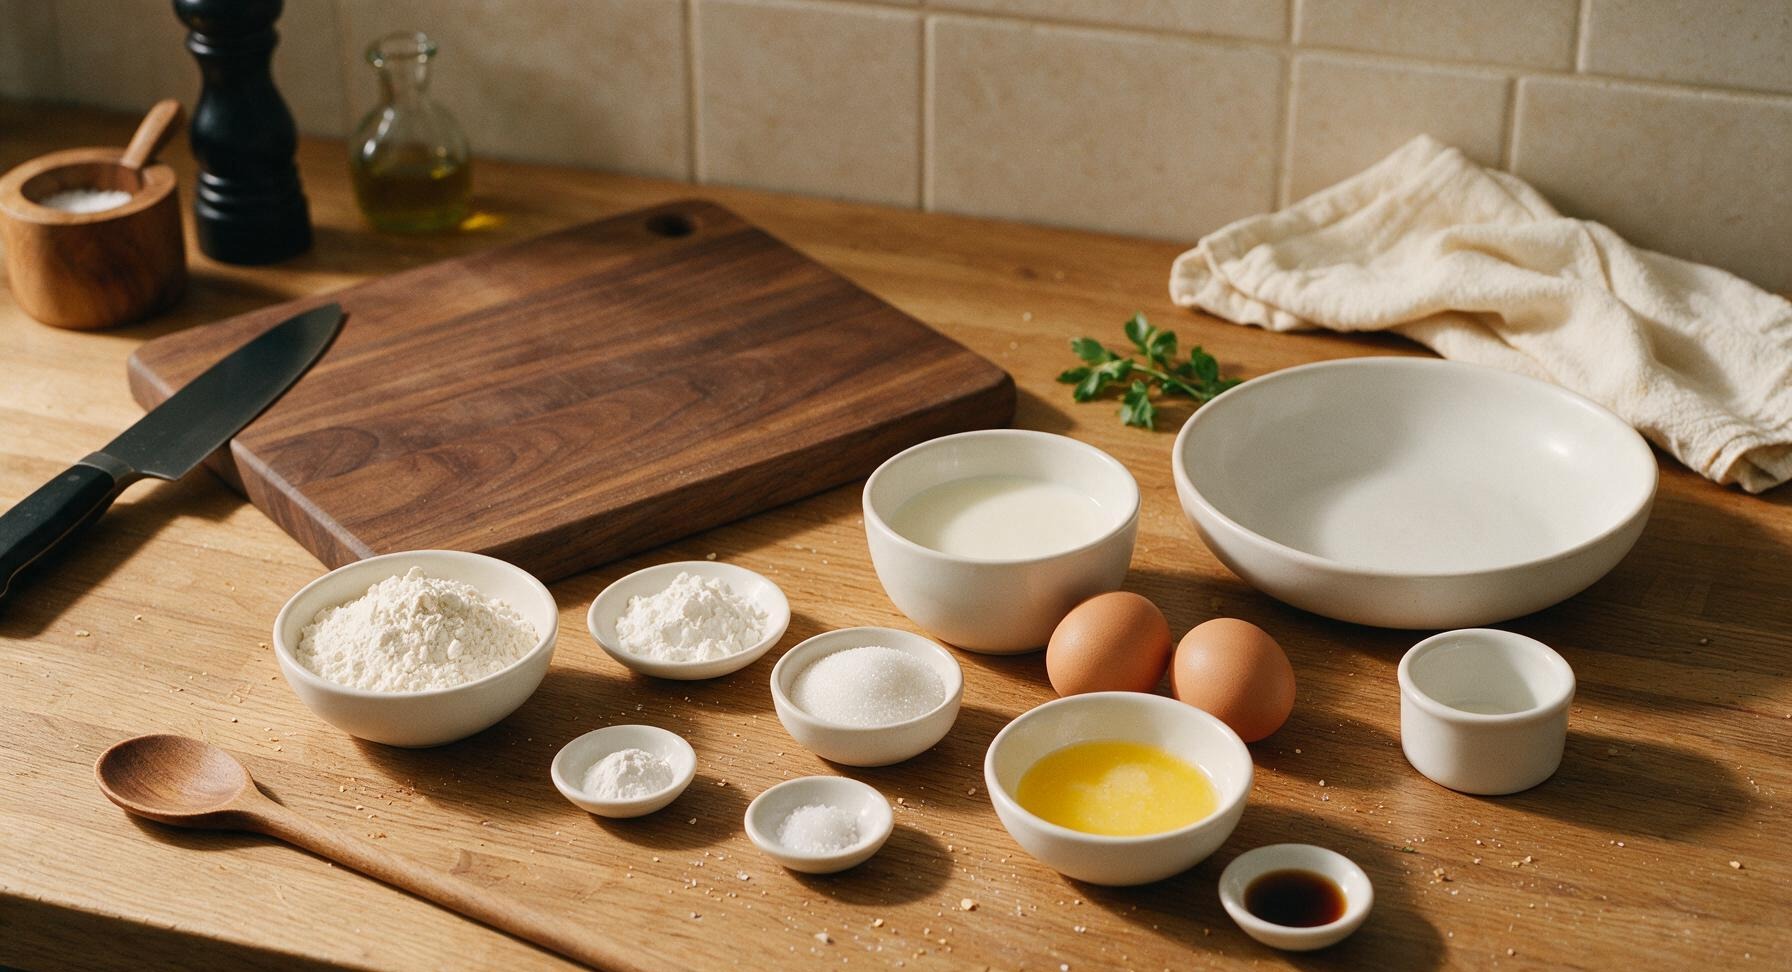
All-purpose flour 1 cup (120g)
Cornstarch 2 tbsp (16g)
Granulated sugar 2 tbsp (25g)
Baking powder 1 tsp
Fine sea salt 1/4 tsp
Whole milk 1 cup (240ml)
Large eggs 2 (100g)
Unsalted butter, melted and cooled 3 tbsp (42g)
Pure vanilla extract 1 tsp

Steps

1

Preheat Waffle Iron

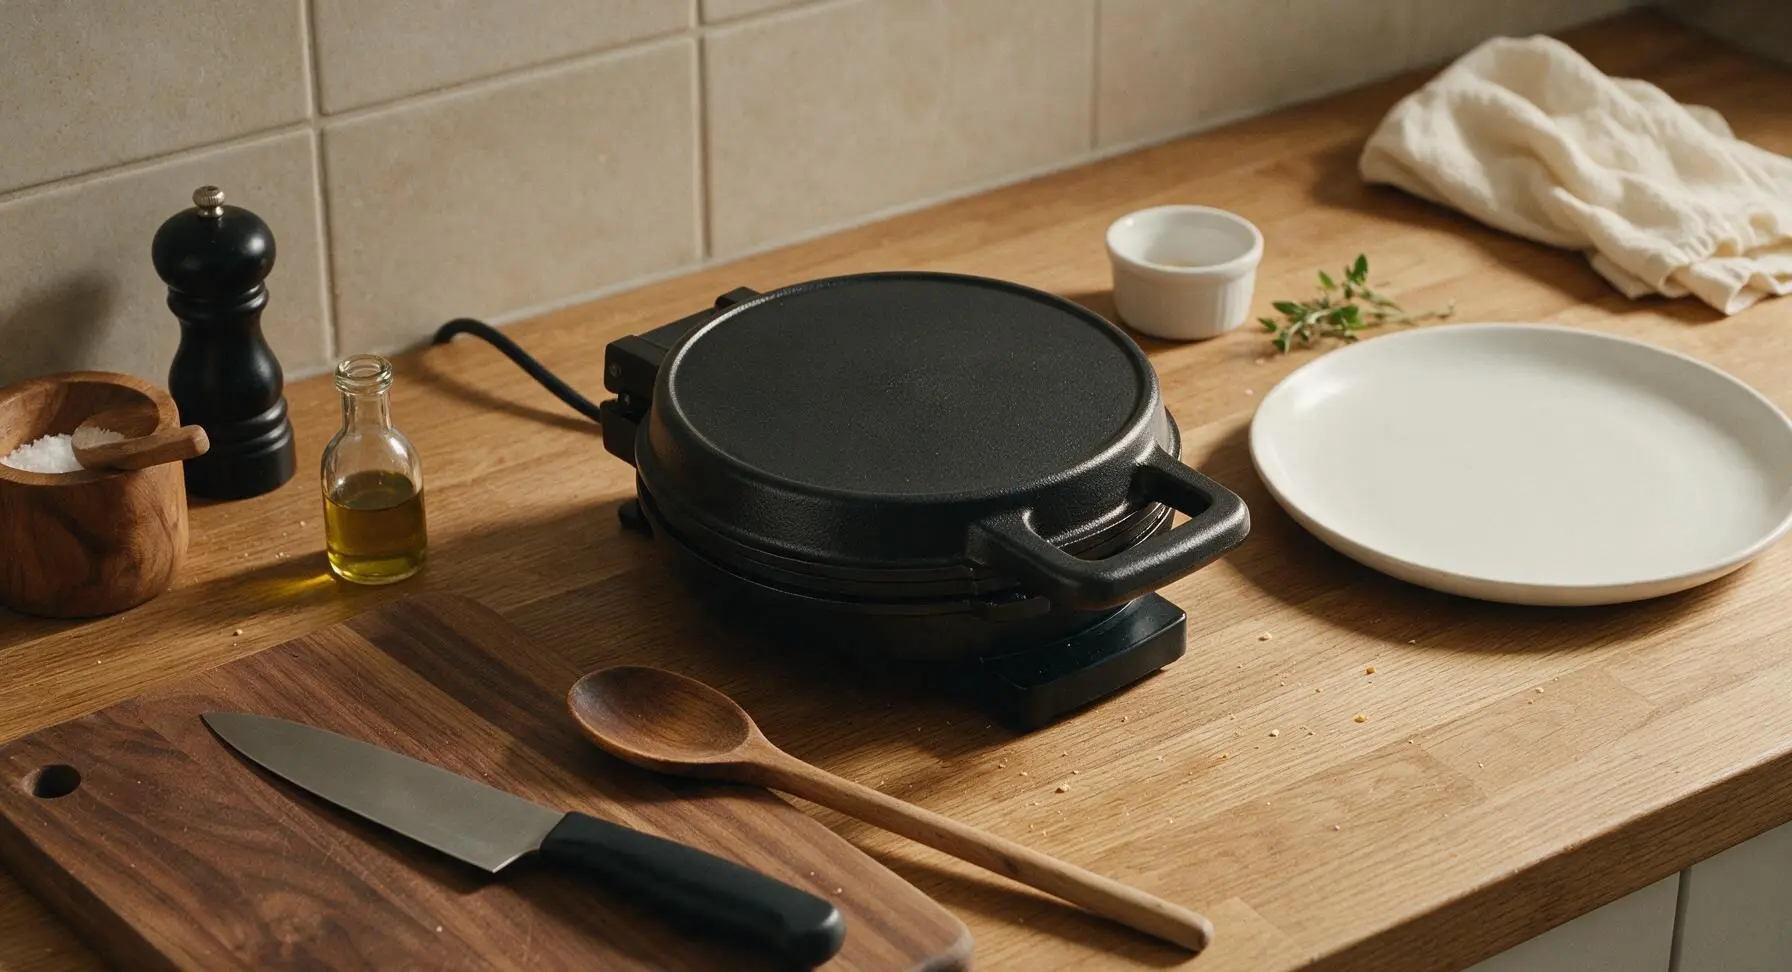
Retrieve the matte black cast aluminum waffle iron from lower cabinet storage and place it at the center of the counter. Preheat to medium-high heat (375°F / 190°C) for 5 minutes, until a drop of cold water flicked onto the grid sizzles and evaporates in exactly 2 seconds. Do not grease the grid at this stage; the butter content in the batter will prevent sticking on a well-seasoned iron.
Step 1
step1:Preheat Waffle Iron
2

Whisk Dry Ingredients

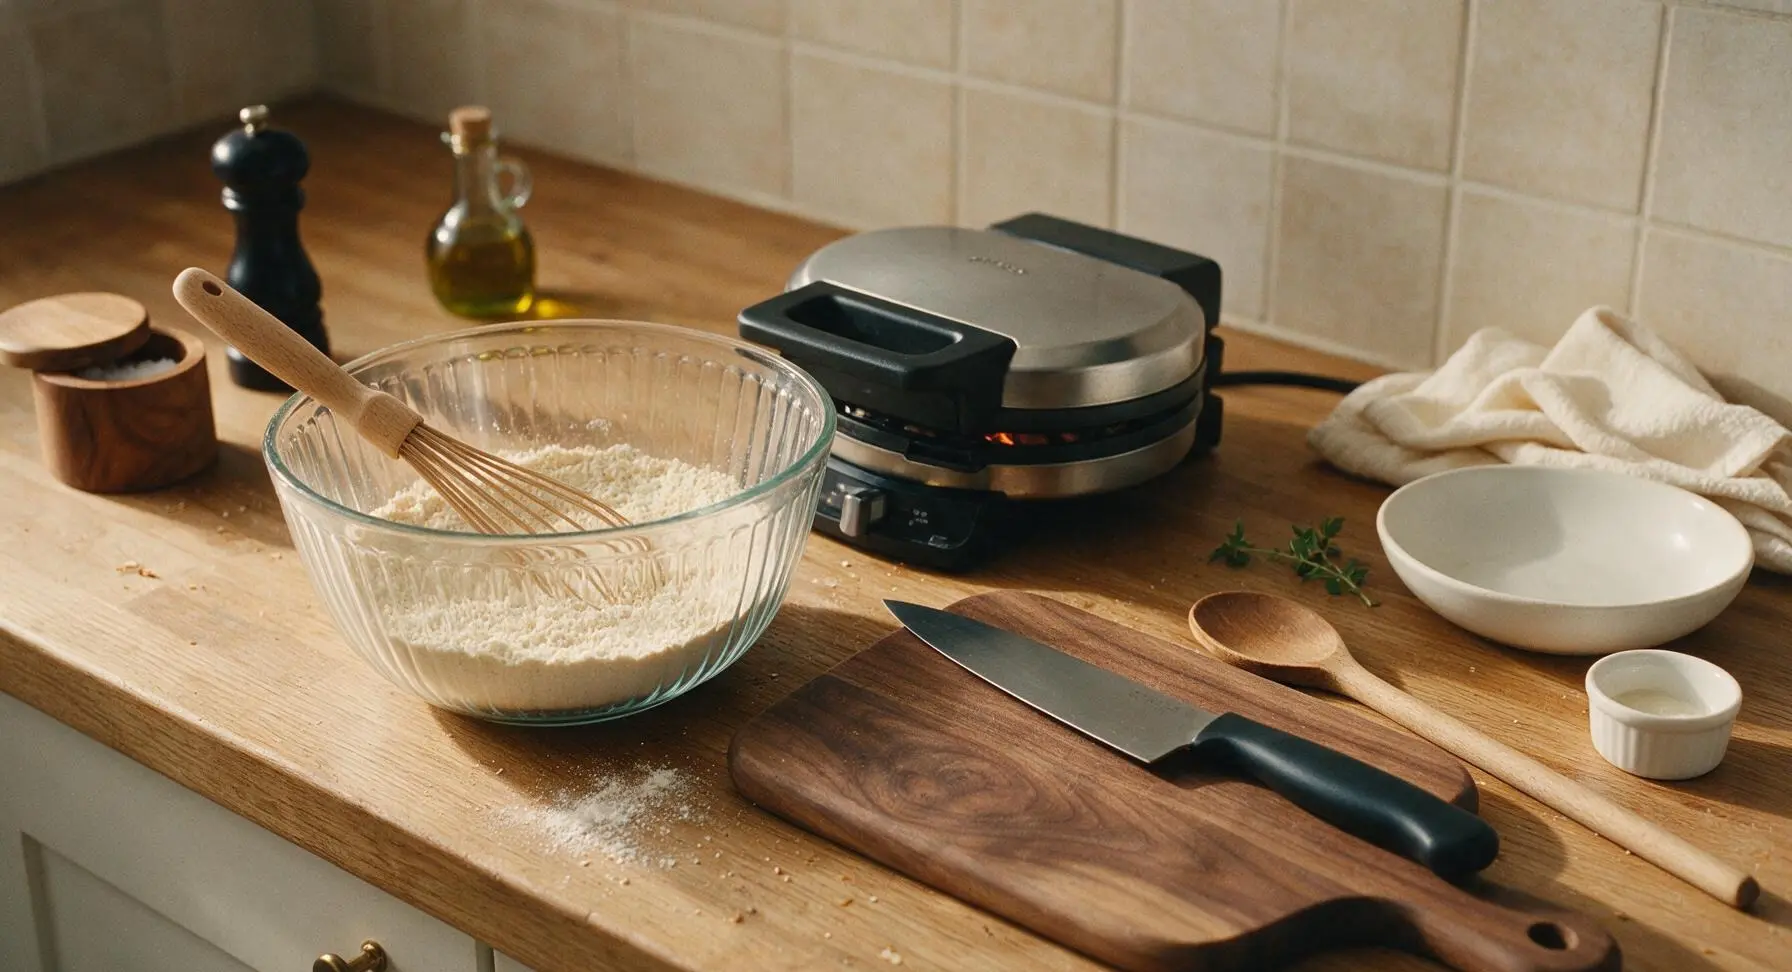
Retrieve the clear ribbed 1.5L glass mixing bowl from upper cabinet storage and set it at center-left counter. Add 1 cup (120g) all-purpose flour, 2 tbsp (16g) cornstarch, 2 tbsp (25g) granulated sugar, 1 tsp baking powder, and 1/4 tsp fine sea salt to the bowl. Take the beech wood whisk from its wall hook, and whisk the dry ingredients for 30 seconds until fully uniform, with no concentrated clumps of baking powder or salt visible.
Step 2
step2:Whisk Dry Ingredients
3

Combine Wet Ingredients

Use the whisk to push the mixed dry ingredients up the sides of the bowl to create a 4-inch wide well in the center. Pour 1 cup (240ml) whole milk, 2 lightly beaten large eggs, 3 tbsp (42g) cooled melted unsalted butter, and 1 tsp pure vanilla extract into the well. Do not stir at this stage to avoid premature gluten development.
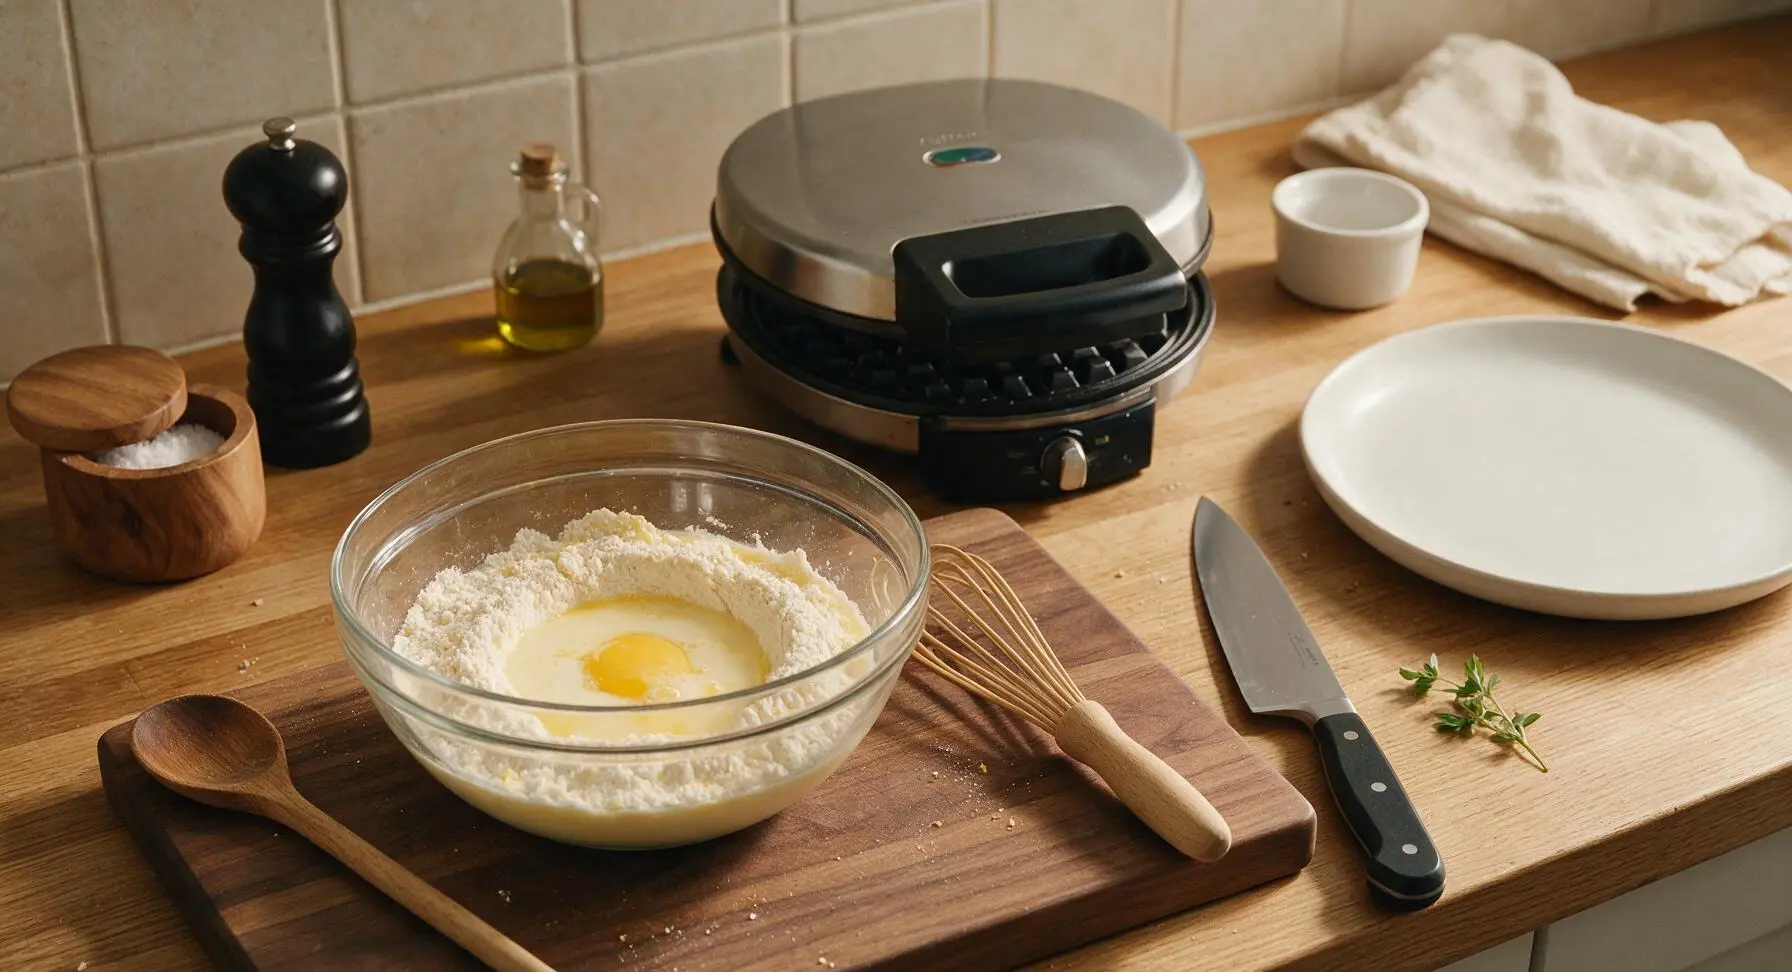
Step 3
step3:Combine Wet Ingredients
4

Whisk to Combine

Use the beech wood whisk to gently stir the wet and dry ingredients together in slow circular motions, mixing only until no large pockets of dry flour remain. Stop mixing immediately once the batter comes together; small pea-sized lumps are normal and desirable. The finished batter will be thin and freely pourable, with the consistency of heavy cream (not thick like pancake batter). Overmixing will develop gluten and result in tough, chewy waffles instead of crisp ones.
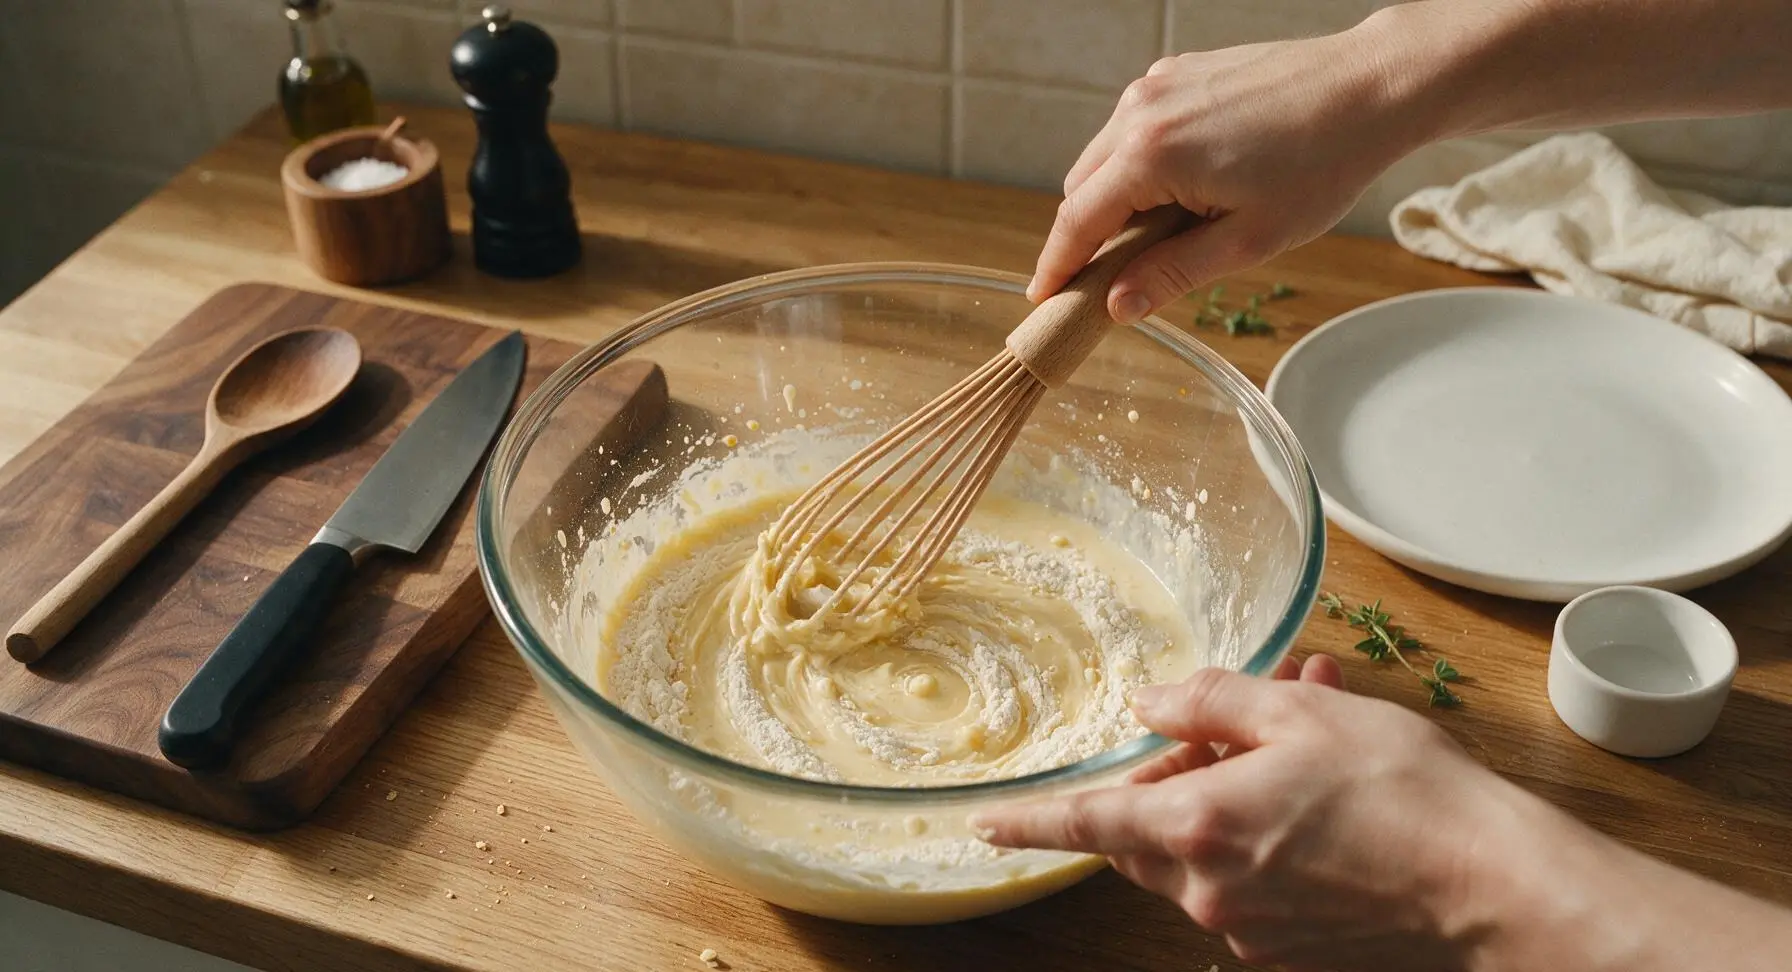
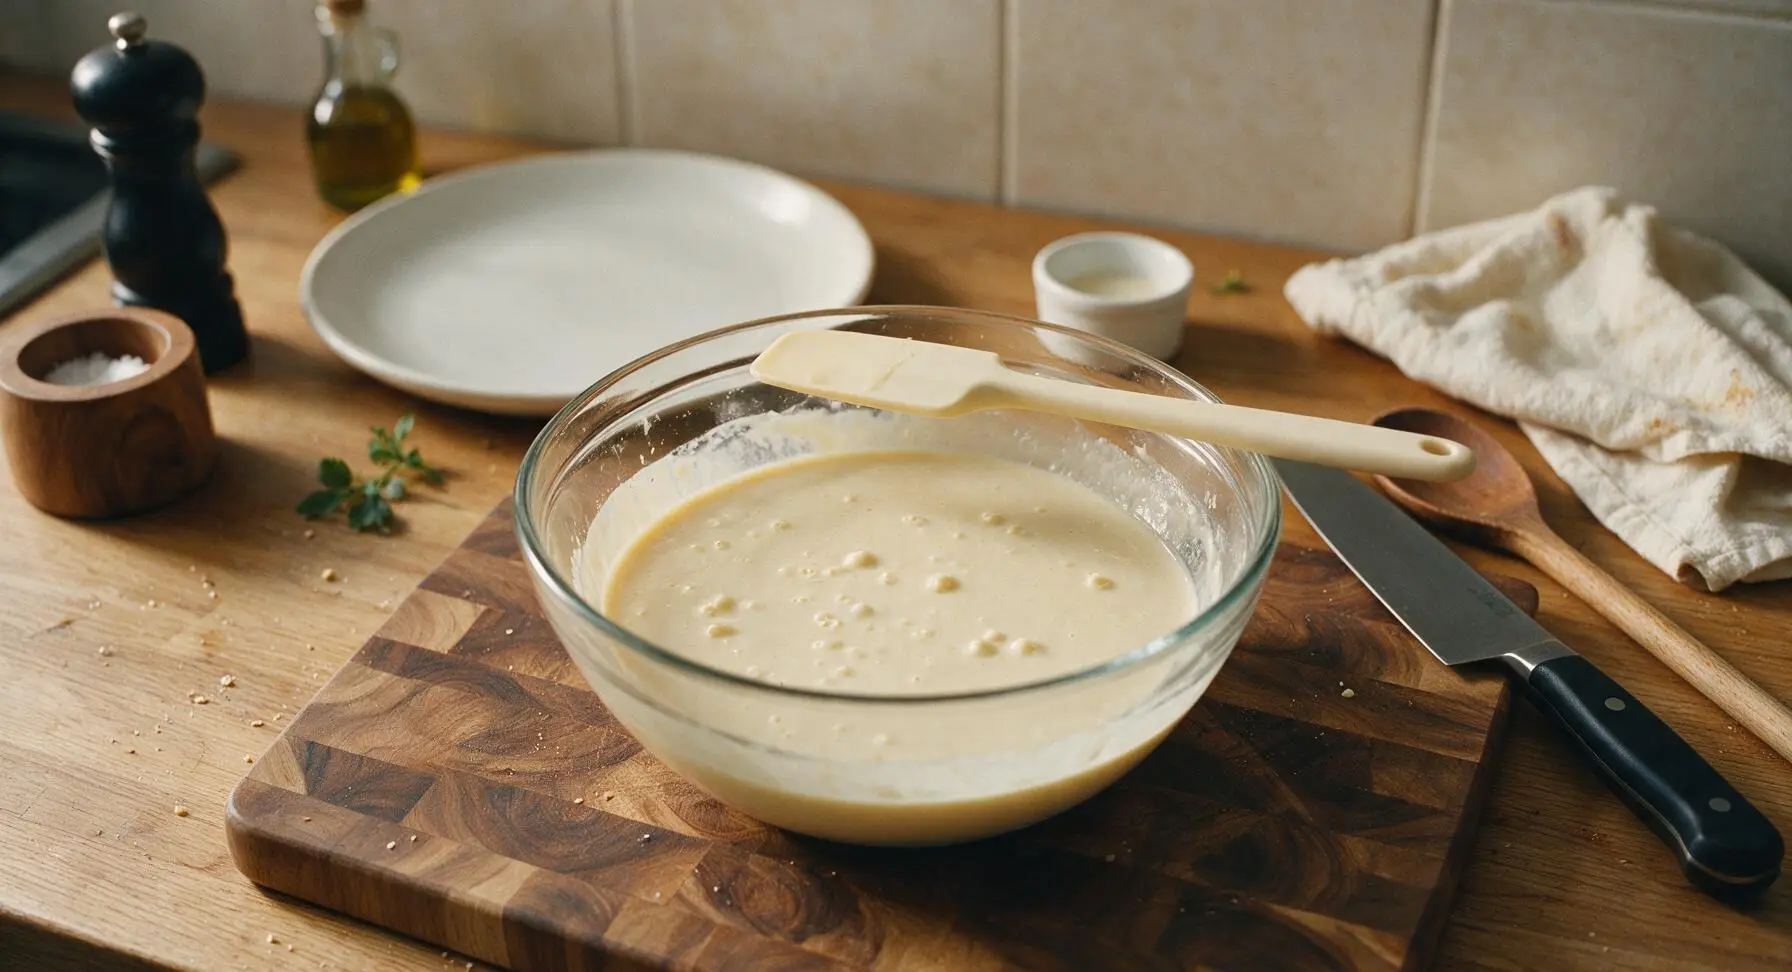
Step 4
step4:Whisk to Combine
Step 4
step4:Whisk to Combine
5

Pour Batter Evenly

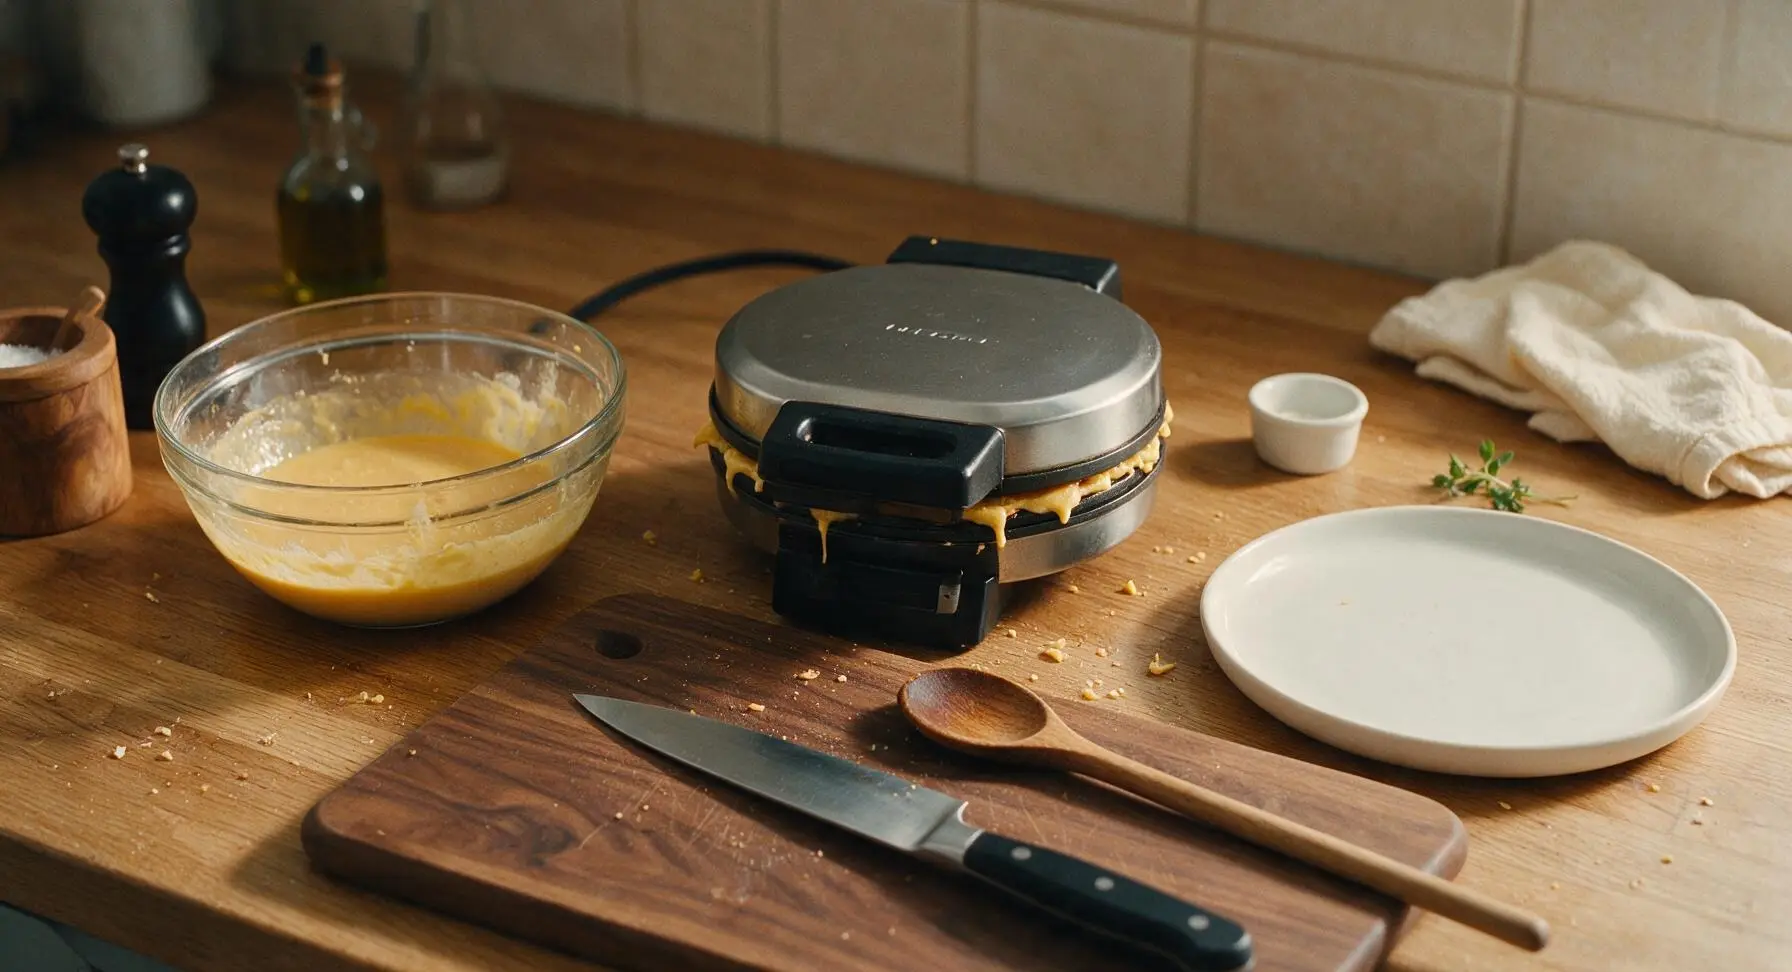
If your waffle iron is not well-seasoned, lightly brush the grids with a tiny amount of melted butter (excess grease will make waffles soggy). Pour exactly 1/3 cup of batter directly onto the center of the lower preheated grid. Do not spread the batter with a spatula; it will spread evenly into a thin layer across the grid when you close the lid. Close the waffle iron immediately and latch the handle securely.
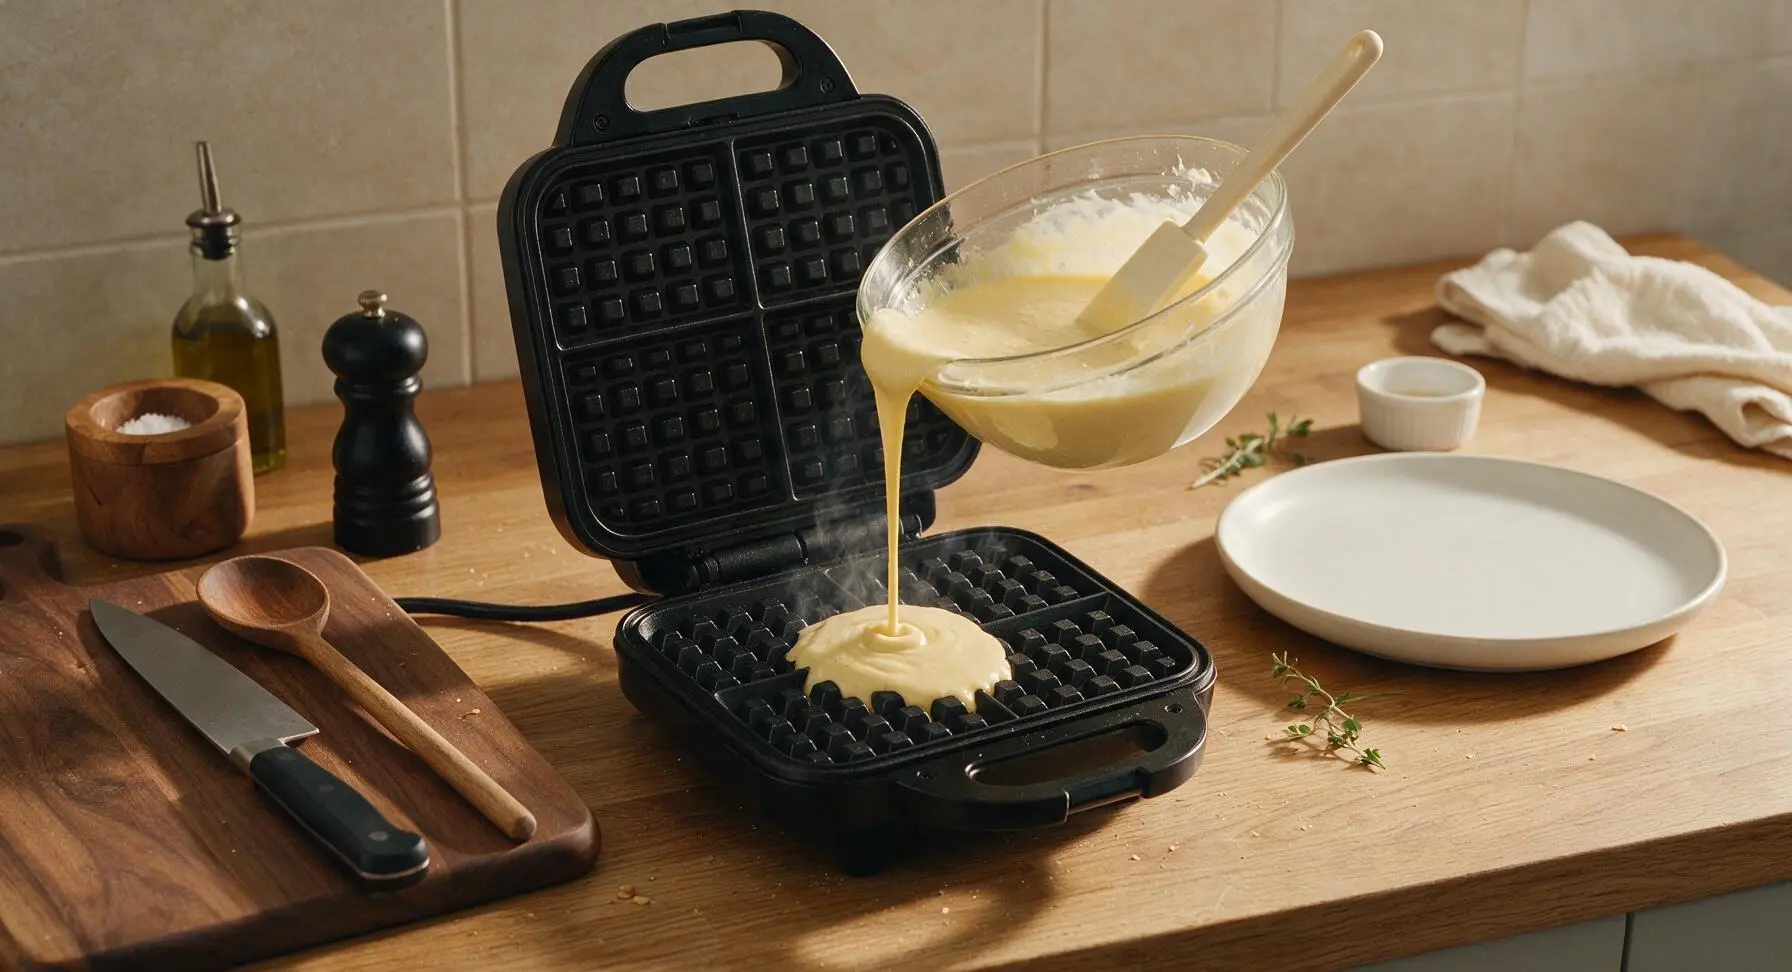
Step 5
step5:Pour Batter Evenly
Step 5
step5:Pour Batter Evenly
6

Cook Until Crisp

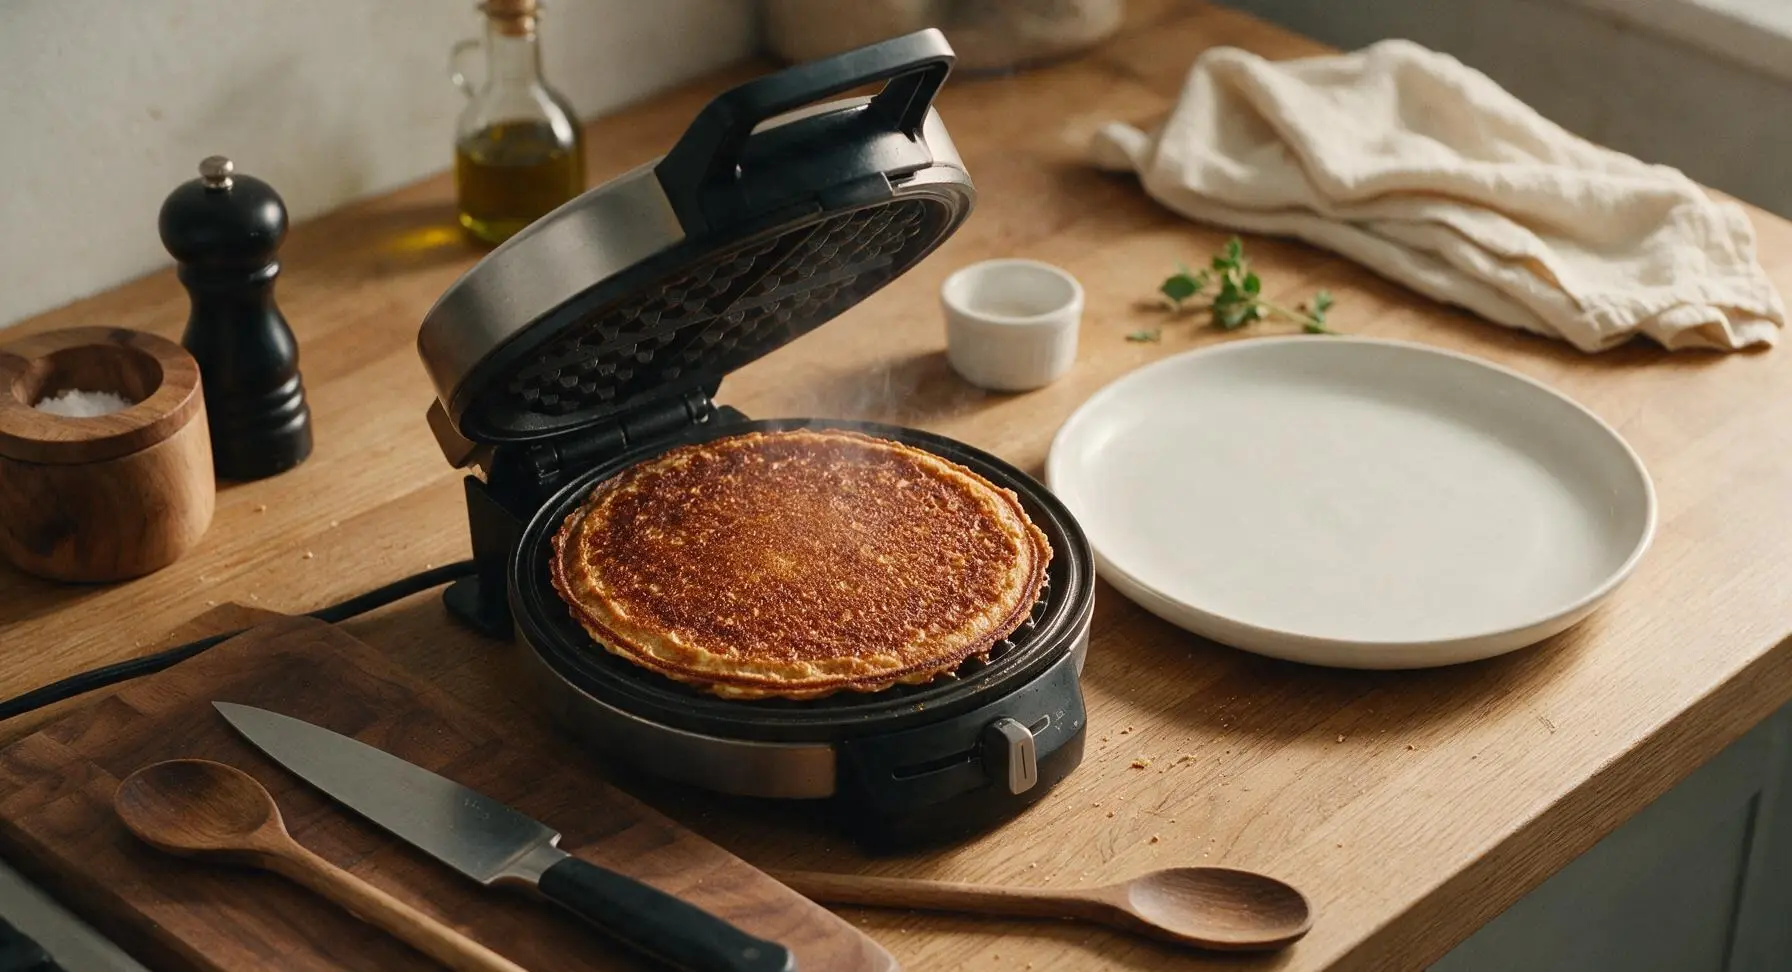
Cook the waffle for 2.5 to 3 minutes without opening the lid. Watch for steam escaping from the edges of the iron: when steam stops flowing entirely, the waffle is done. Resist the urge to peek early; opening the lid before the waffle is set will cause it to tear and stick. The finished waffle will be deep golden brown, with darker crisp lacy edges, not pale blond and soft.
Step 6
step6:Cook Until Crisp
7

Plate and Serve

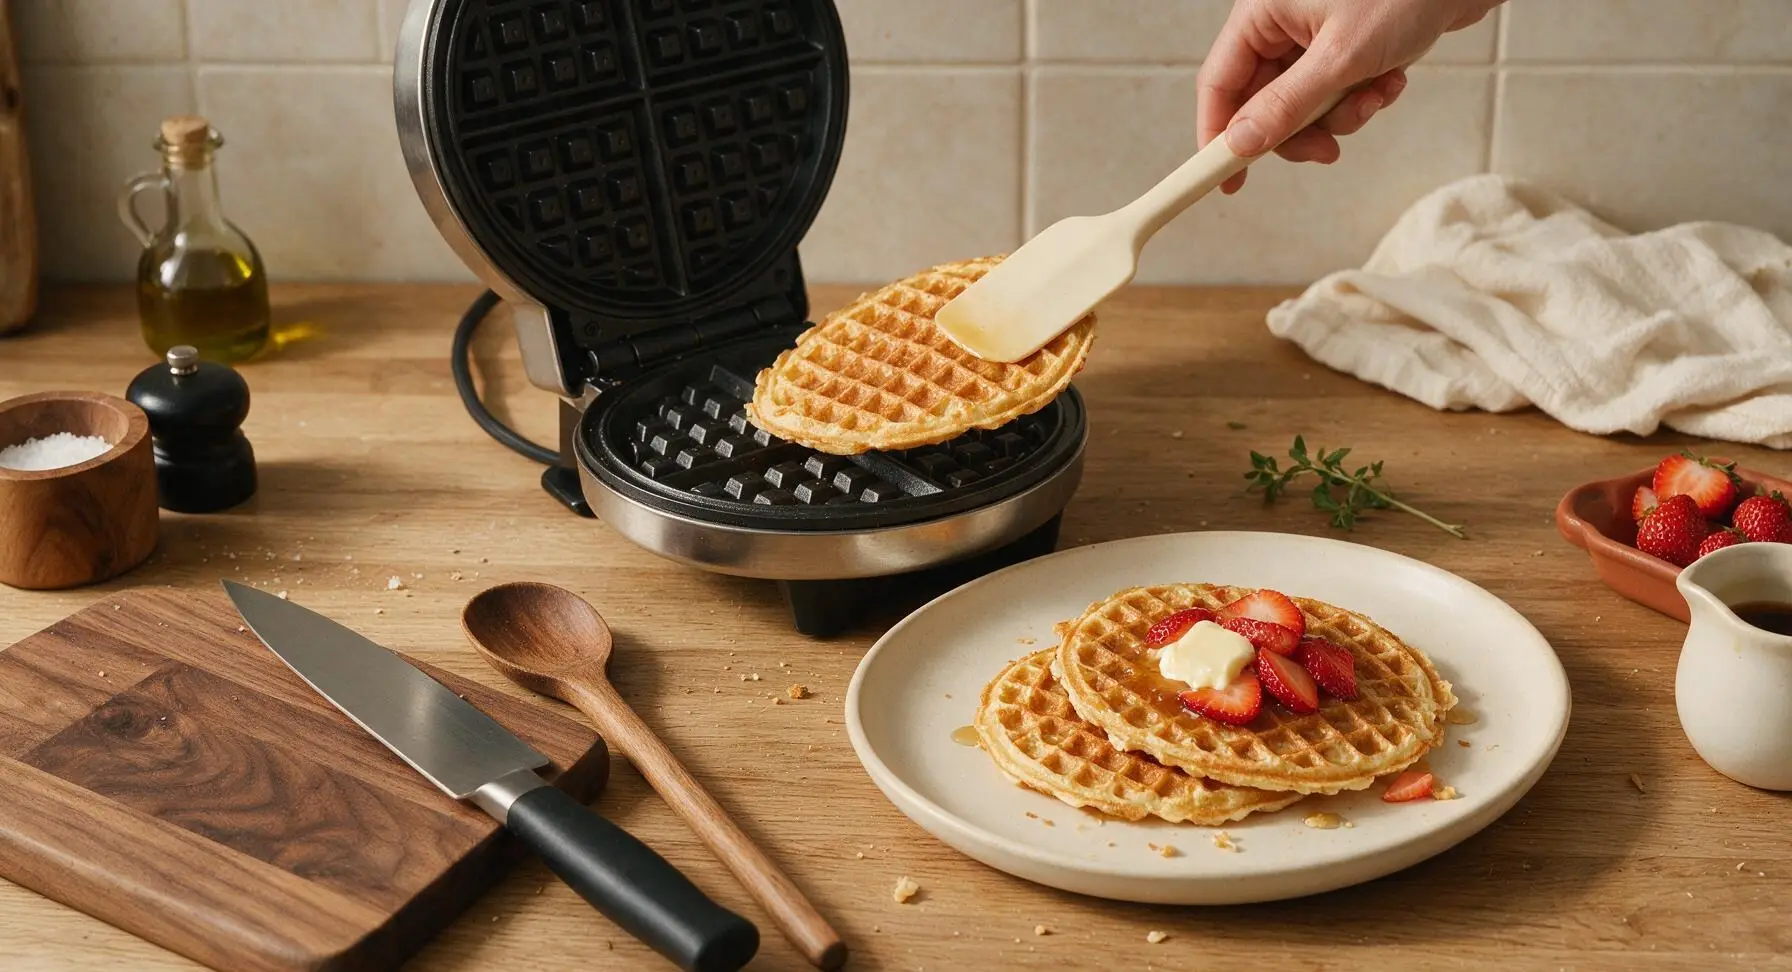
Use the cream silicone spatula to gently lift the cooked waffle from the grid, and transfer it to the waiting matte cream ceramic dinner plate. Repeat the cooking process with remaining batter, stacking waffles loosely on the plate (tight stacking traps steam, which softens crisp edges). Top with a 1 tsp pat of salted butter, a light 2 tbsp drizzle of maple syrup, and sliced fresh strawberries from the terracotta dish before serving immediately.
Step 7
step7:Plate and Serve

Tips

1.For maximum crispness when cooking batches, transfer cooked waffles to a wire rack set over a baking sheet in a 200°F (95°C) oven instead of stacking them on a plate. Air circulation around both sides of the waffle prevents sogginess from trapped steam.
2.Resist the urge to overmix the batter. Small, pea-sized lumps are completely normal and desirable; overmixing develops gluten in the flour, leading to tough, chewy waffles instead of delicate, shatteringly crisp ones.
3.Avoid using nonstick cooking spray on your waffle iron. The spray leaves a sticky, polymerized residue over time that causes waffles to stick, and excess oil soaks into the batter to create soft, greasy edges instead of dry, crisp ones. A tiny brush of melted butter on a well-seasoned iron is all you need.


✨ You May Also Like

Breakfast
🍜 United States

Crisp-edged, fluffy lard griddle cakes are a nostalgic homestyle staple, with rich savoriness from rendered lard, perfect topped with maple syrup or savory gravy.

⏱️ 25 minuteBreakfast ★ 4.8
Breakfast
🍜 United States

Flaky, buttery homemade buttermilk biscuits smothered in creamy, peppery pork sausage gravy: a beloved, hearty Southern American comfort food classic.

⏱️ 35 minuteBreakfast ★ 4.8
Breakfast
🍜 United States

Golden, custardy brioche stuffed with sweet cream cheese and fresh berries, pan-fried to crisp perfection. An indulgent, cozy breakfast perfect for slow weekend mornings.

⏱️ 30 minuteBreakfast ★ 4.7
Breakfast
🍜 United States

Flaky, buttery Southern-style biscuits stuffed with savory salty country ham, a portable, satisfying classic perfect for casual on-the-go meals.

⏱️ 25 minuteBreakfast ★ 4.8
Breakfast
🍜 United States

Iconic puffy baked pancake popularized in Seattle, with crisp golden edges and soft custardy center, served warm with classic sweet toppings.

⏱️ 35 minuteBreakfast ★ 4.6
Breakfast
🍜 United States

Fluffy, golden pancakes studded with juicy peak-summer mixed berries, drizzled with maple syrup for a bright, comforting, crowd-pleasing family breakfast.

⏱️ 25 minuteBreakfast ★ 4.7

thin crispy waffles:Frequently Asked Questions

1.Why does this recipe use cornstarch instead of relying only on all-purpose flour? ▾
Cornstarch cuts down on tough gluten development from all-purpose flour, which is critical for nailing that signature shatteringly crisp, lacy texture instead of chewy, dense, bready waffles. It also helps edges brown evenly to a perfect golden hue without making centers heavy, for consistent crispness across every single bite.
2.My waffles keep coming out soft instead of crispy—what am I doing wrong? ▾
Most often, this happens if you overmix the batter (which develops excess chewy gluten) or pour too much batter into the waffle iron, leading to thick, undercooked centers. Also, don't open the iron too early: wait until steam stops billowing out, that signals excess moisture has cooked off for that perfect crisp finish.
3.Can I make this waffle batter ahead of time for quick weekday breakfasts? ▾
This thin batter works best mixed right before cooking, because the baking powder starts activating as soon as it combines with wet ingredients. If you need to prep ahead, mix all dry ingredients in an airtight container the night before, then stir in wet ingredients in 30 seconds right before you're ready to cook for zero extra hassle.
4.How much batter should I pour per waffle to get that thin, lacy result? ▾
For most standard 7-inch round waffle irons, ¼ to ⅓ cup of batter is all you need. Pour it right in the center of the fully preheated iron, close the lid, and let it spread naturally. Adding too much batter will squeeze out over the edges and create thick, cakey waffles instead of the thin, crisp style this recipe targets.
5.Do I need to grease my waffle iron for these, even if it has a non-stick coating? ▾
Even with a high-quality non-stick waffle iron, a light coating of neutral oil (like canola or avocado oil) applied with a pastry brush right before pouring batter will help delicate lacy edges release cleanly and crisp up extra. Skip cooking spray here—it can leave a sticky, hard-to-clean residue on your iron plates over time.
6.Can I substitute a gluten-free flour blend for the all-purpose flour in this recipe? ▾
You can absolutely swap the all-purpose flour for a 1:1 gluten-free all-purpose blend that contains xanthan gum, keeping the cornstarch measurement exactly the same. You may need to add 1-2 extra tablespoons of milk if the batter feels overly thick, to keep it thin enough to spread into those signature lacy, crisp waffles.
7.How do I keep cooked waffles crisp while I make a whole batch for my family? ▾
Skip stacking waffles on a plate, which traps steam and turns them soggy fast. Instead, arrange cooked waffles in a single layer on a wire rack set over a baking sheet, and hold them in a 200°F oven while you cook the rest. This lets air circulate around each waffle to lock in that crisp texture until you're ready to serve.
8.What temperature should I set my waffle iron to for the best thin, crispy results? ▾
Set your waffle iron to the medium-high heat setting, and let it fully preheat for 3 to 5 minutes before pouring your first batch of batter. If the iron is too cool, waffles will stick and turn pale and soft; too high, and the delicate lacy edges will burn before the center has a chance to crisp up properly.
9.Can I freeze leftover waffles for quick reheating later? ▾
These waffles freeze beautifully! Let cooked waffles cool completely on a wire rack, then stack them between sheets of parchment paper and store in a sealed freezer bag for up to 3 months. Reheat directly from frozen in a toaster or toaster oven until crisp and warmed through—no thawing required for a quick, easy breakfast.

Comments (3)

2 days ago

OMG these are EXACTLY the thin crispy waffles I grew up eating at my grandma’s house! Every other waffle recipe I’ve tried turns out too dense and cakey, but these have that perfect shattery crisp edge I’ve been chasing for years. My kids devoured a whole batch in 10 minutes this past Saturday morning, even asking for seconds before they finished their first plate. They’re so easy to throw together too, no weird fancy ingredients required. Total game changer for our weekend breakfast rotation!

yesterday

Wait quick question — did you use melted butter or oil when you made these? I tried a test batch last night and mine came out a little soft instead of crispy, trying to figure out where I messed up!

2 hours ago

Great question, Jake! For maximum crispiness, make sure you’re using melted unsalted butter (not oil) and don’t overmix the batter — a few lumps are totally normal and totally okay! Also, be sure your waffle iron is fully preheated before pouring the batter in; that hot surface is key for getting that perfect crunchy, crispy texture right away.

5 days ago

Made these for our neighborhood block party potluck last weekend and everyone was begging for the recipe! I set up a little waffle bar with fresh berries, whipped cream, and real maple syrup, and people kept coming back for more. Love that the cook time is so quick, I was able to knock out two batches in half an hour before the party started. Only tiny tweak I made was adding a pinch of cinnamon to the batter, and *chef’s kiss* it took them to the next level.

3 days ago

That waffle bar setup sounds absolutely perfect for a block party! The pinch of cinnamon is such a smart, cozy add — I’m definitely going to test that out next time I make these for a group. So glad they were a hit with your neighbors!

1 week ago

SO good! I was worried an “easy” waffle recipe wouldn’t deliver on the thin, crisp factor I love, but these absolutely nailed it. I made a big batch on Sunday for meal prep, stored them in the fridge, and popped them in the toaster all week for quick breakfasts before work. They crisp right back up like they’re fresh off the iron! Way better than the frozen Eggo waffles I used to buy, and way cheaper too. 10/10, this will be my permanent go-to waffle recipe from now on.



