
thin sliced chicken breast
intro
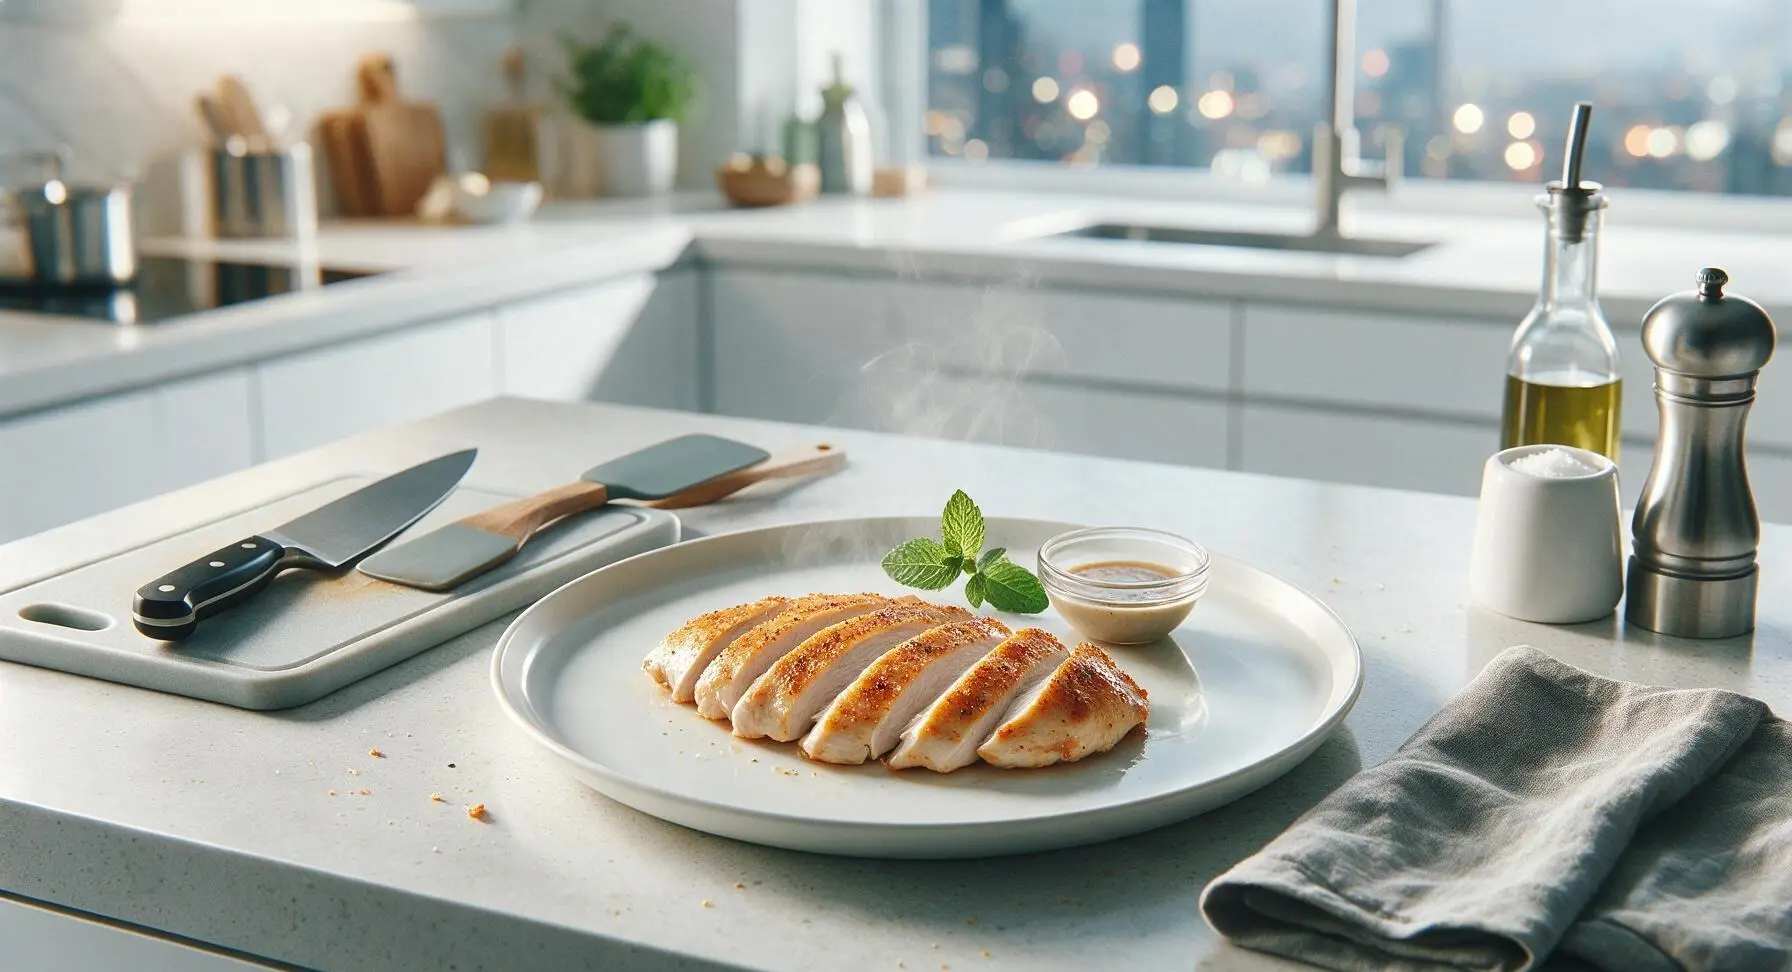
Juicy, evenly cooked thin-sliced chicken breast with a crisp golden seasoned crust—ready in under 20 minutes, a versatile, protein-packed staple for fast weeknight meals.
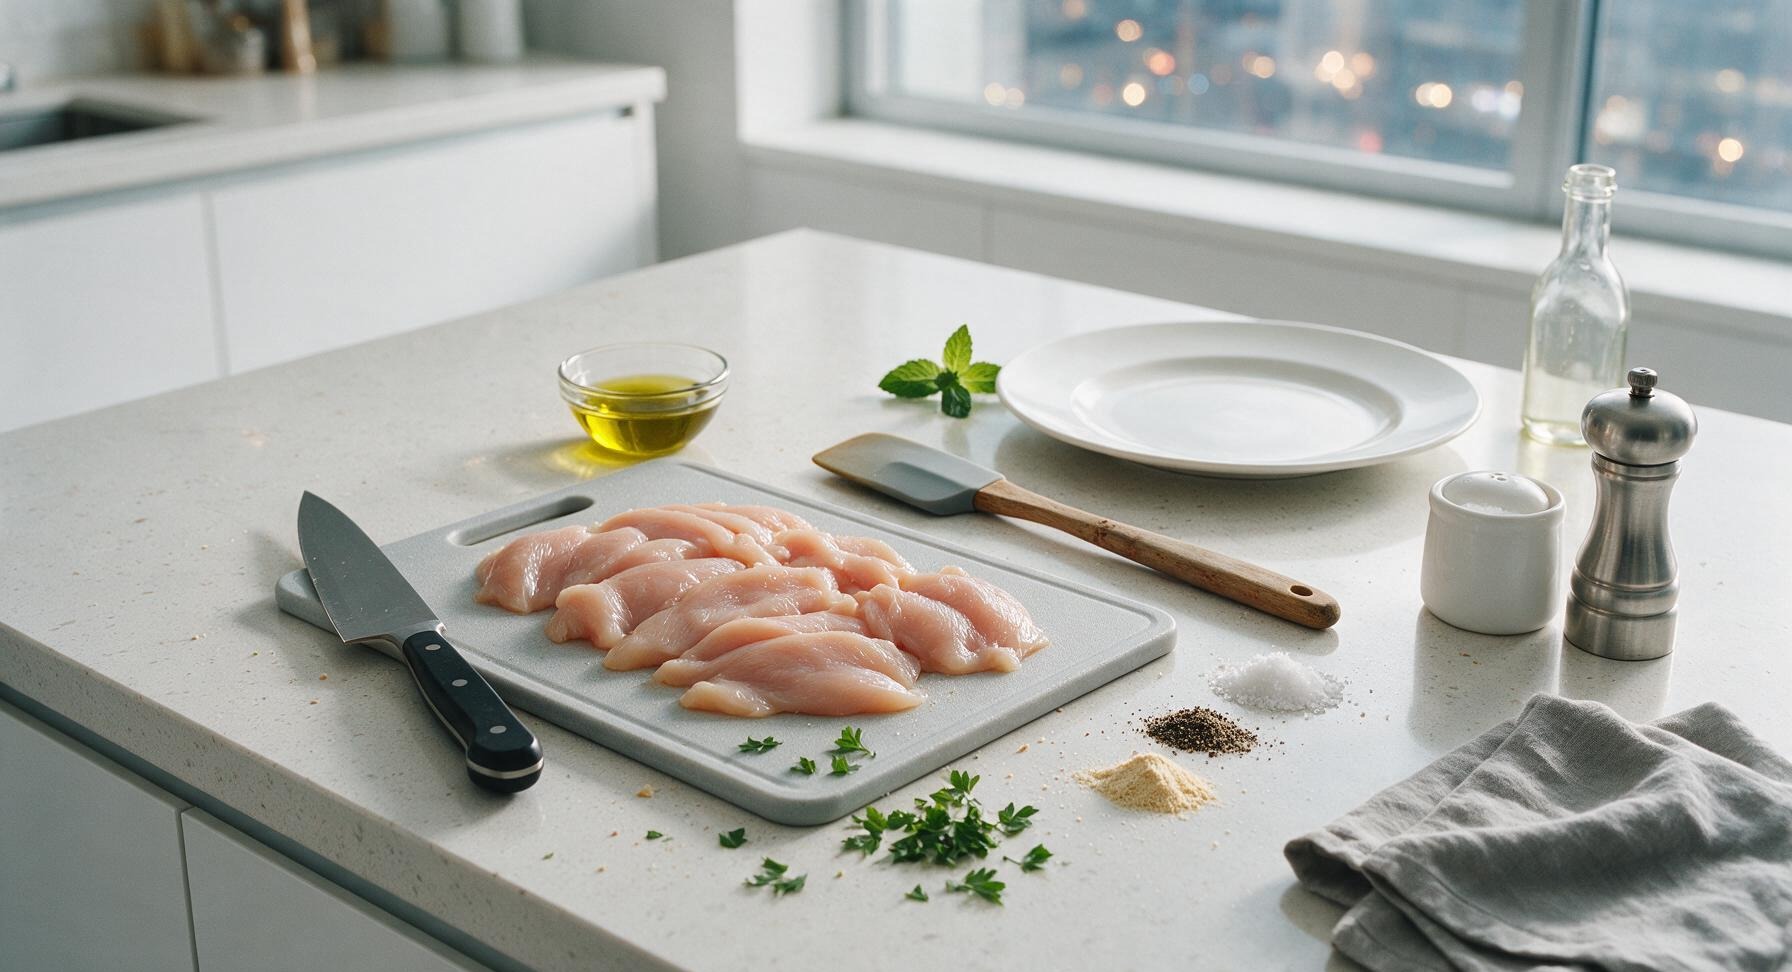
Ingredients
Steps
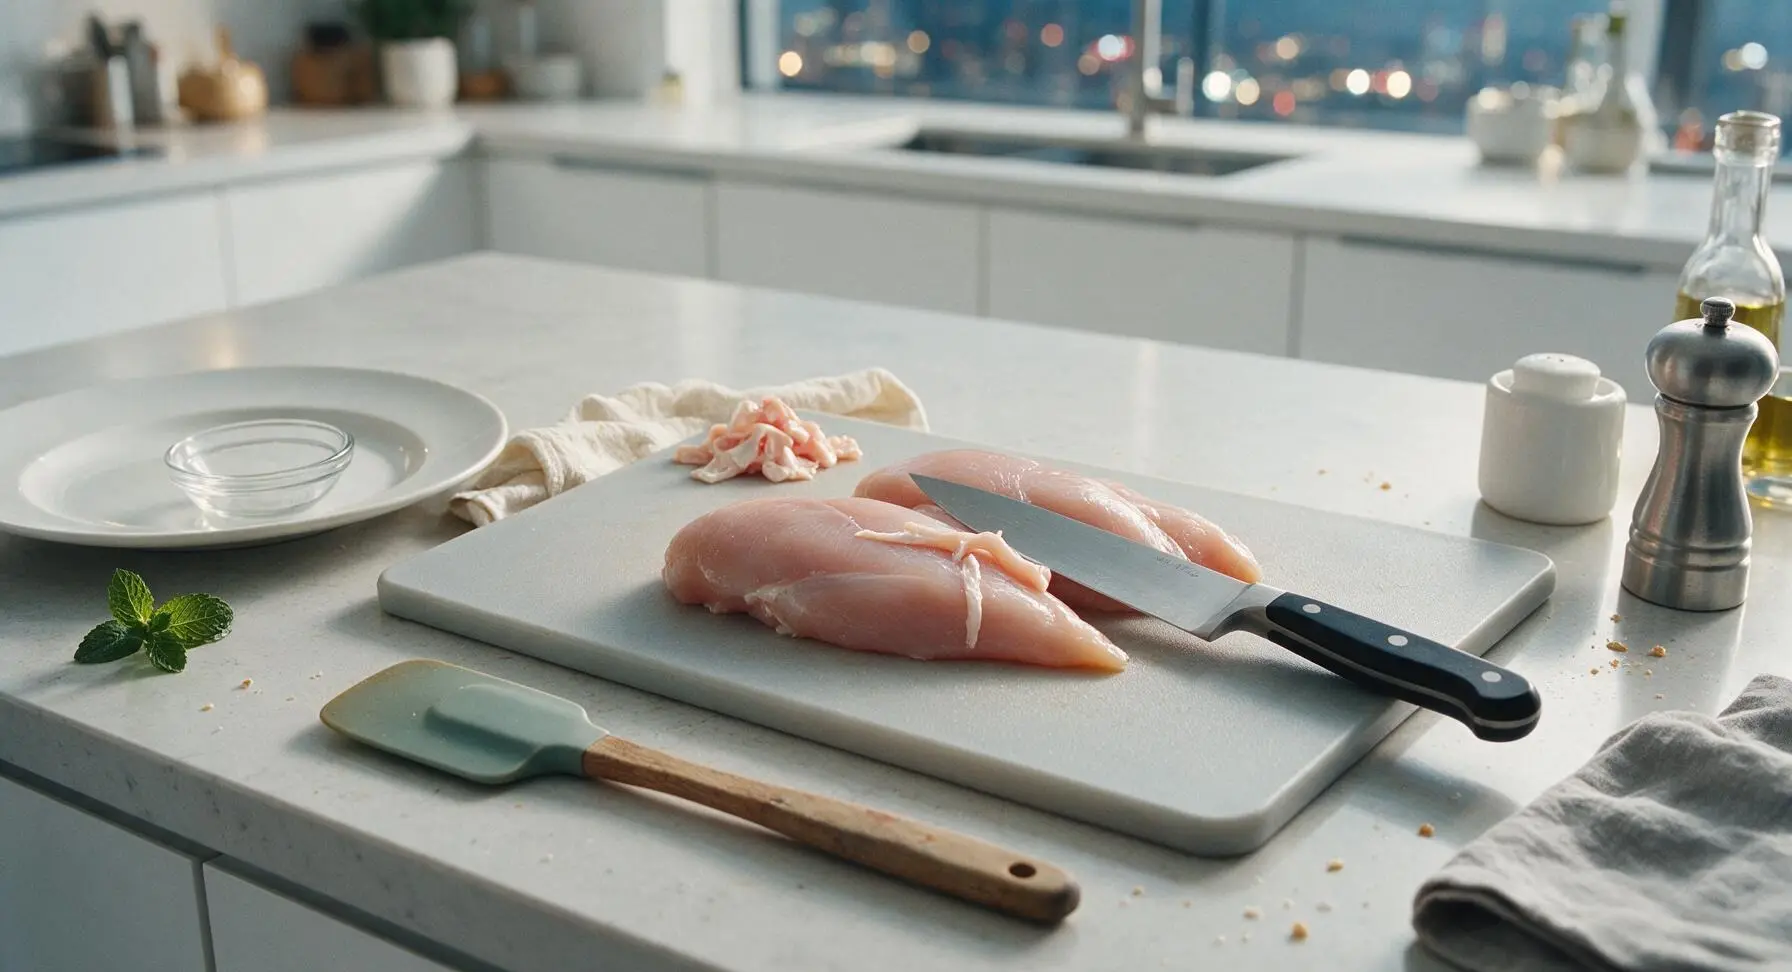
Trim raw chicken breasts
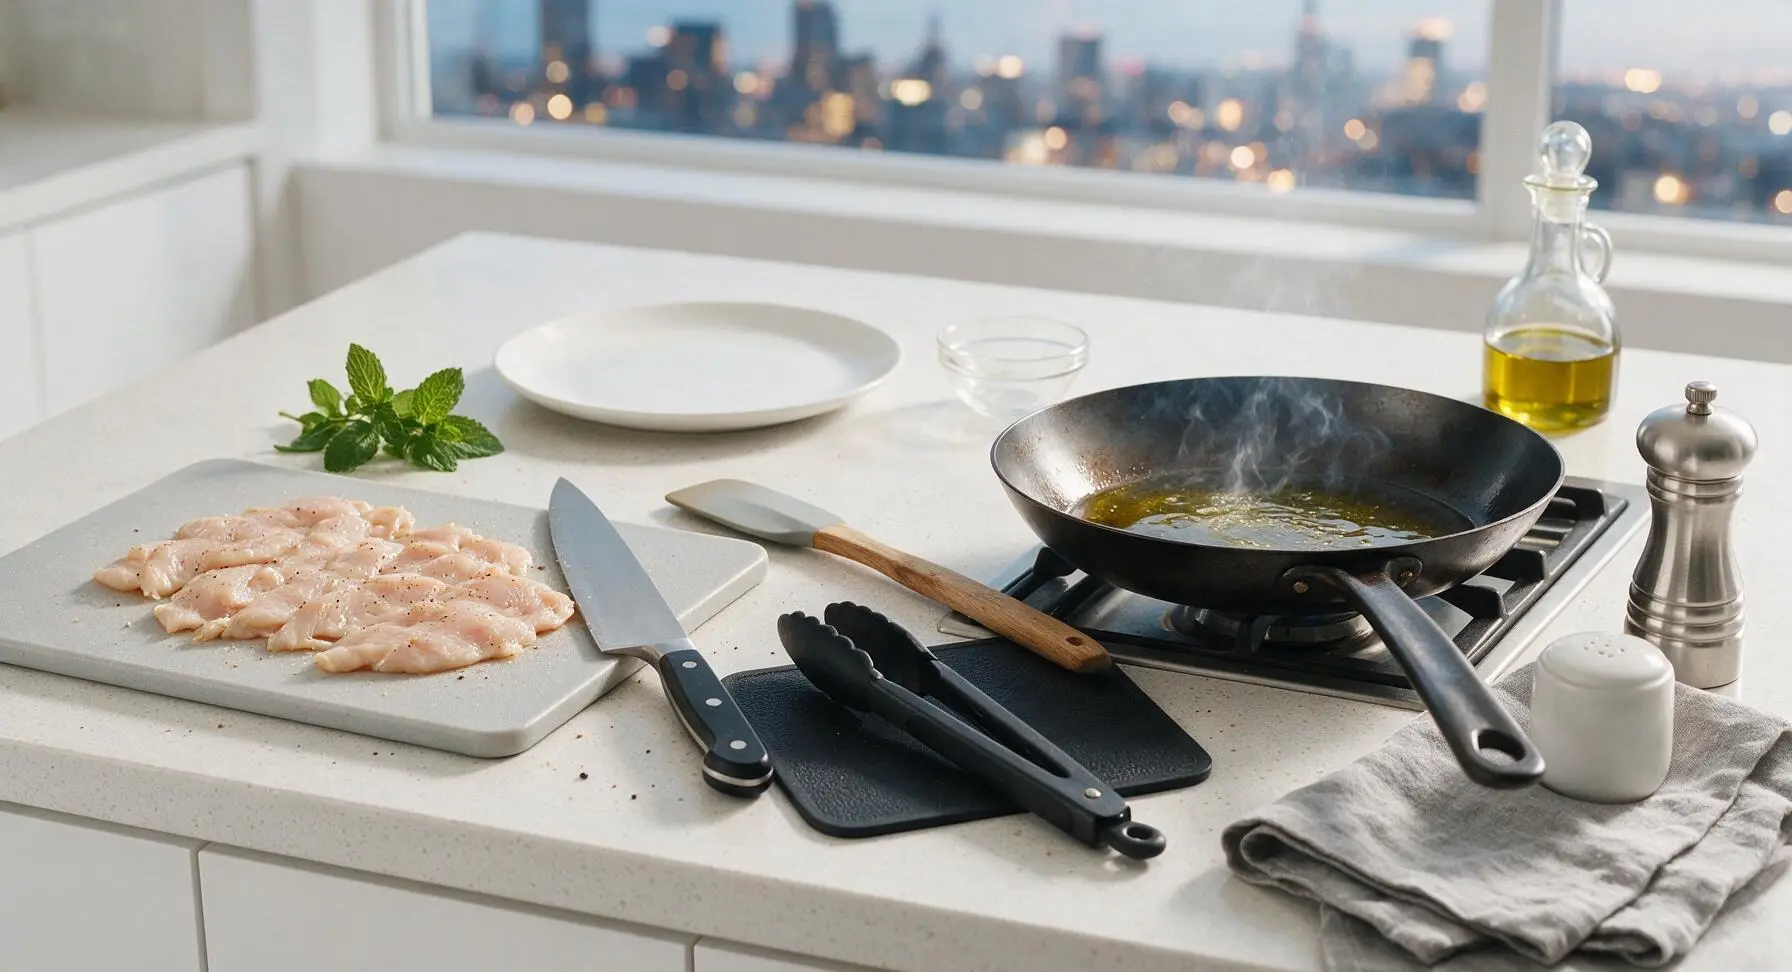
Place the raw boneless, skinless chicken breasts on the walnut cutting board. Use the 8-inch chef knife to trim away any visible excess fat, silver skin, or tough connective tissue from the chicken surface. Discard trimmings. Pat the chicken completely dry on all sides using a corner of the cream linen towel—dry surface ensures even slicing and better browning later.
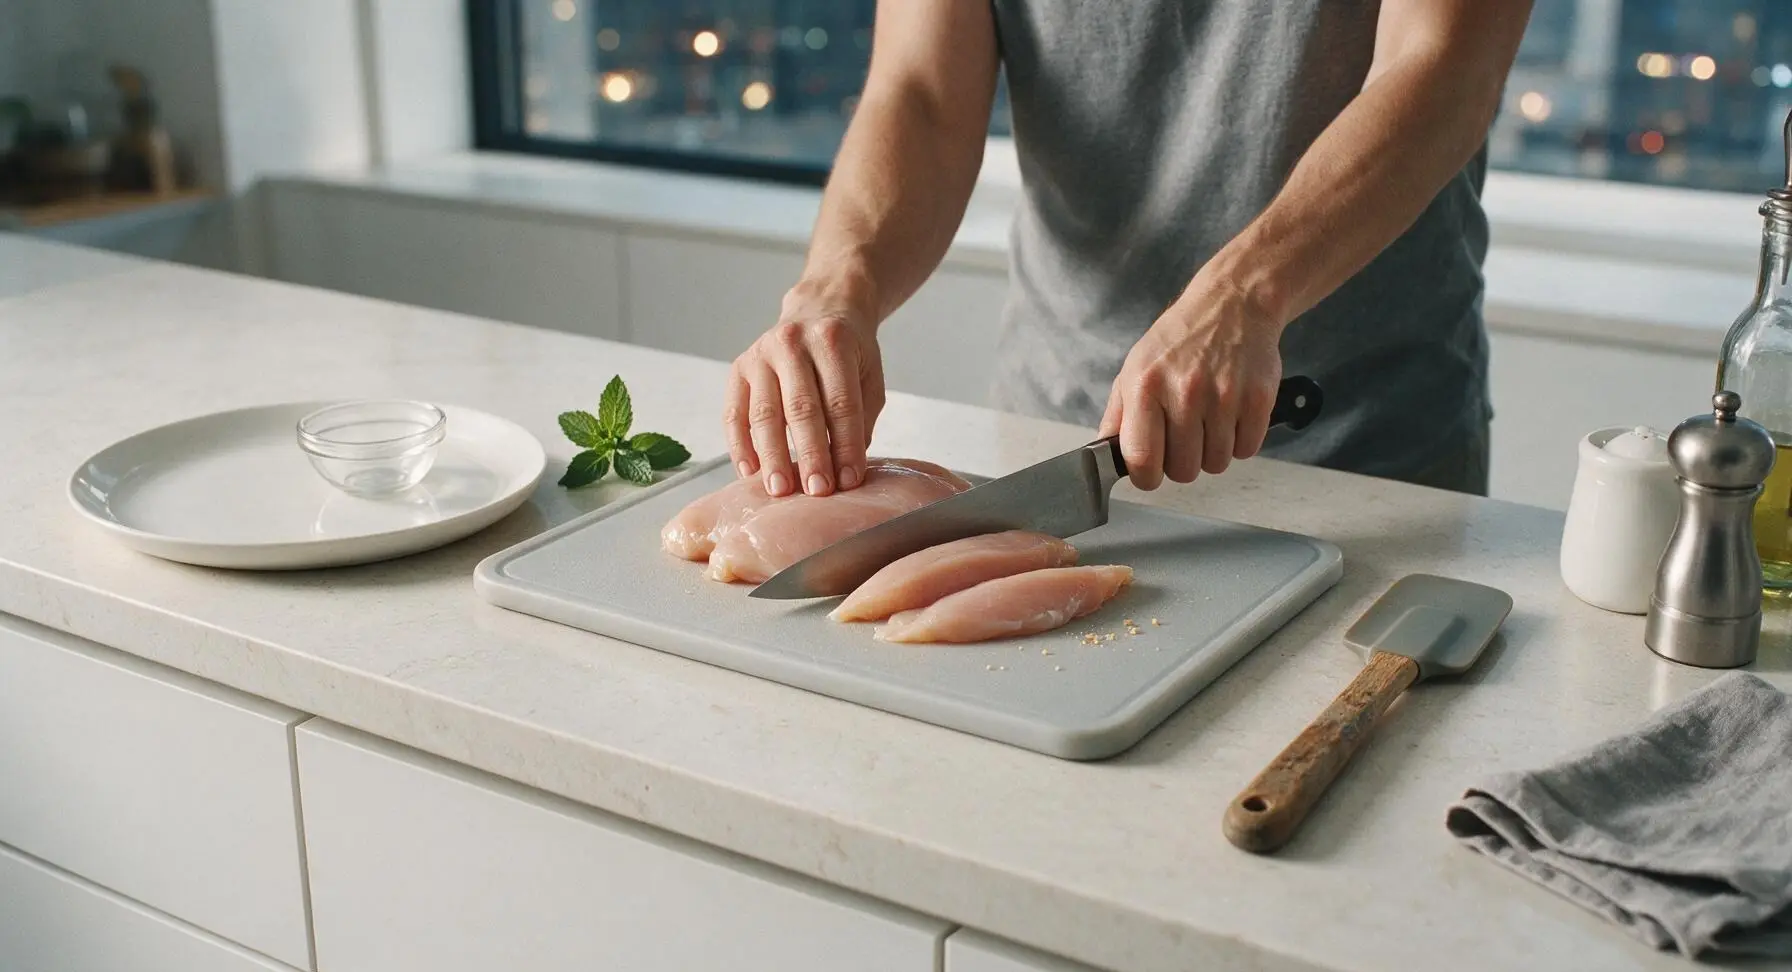
Slice into thin cutlets
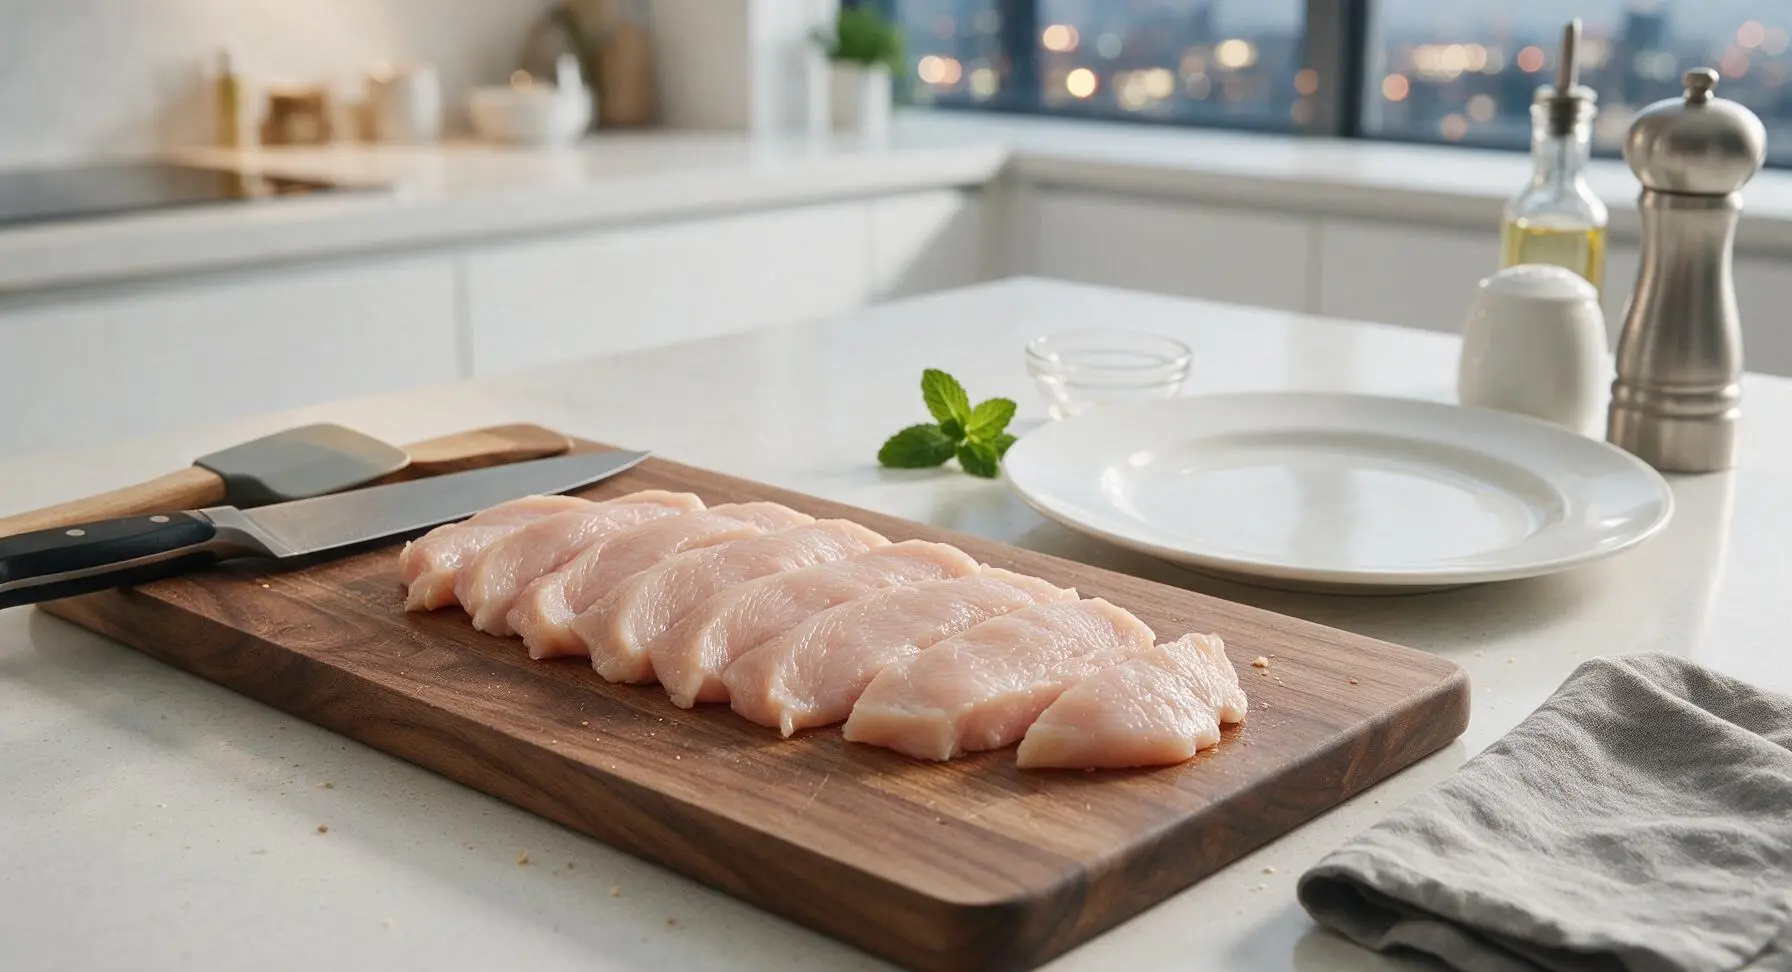
Hold the chef knife parallel to the cutting board. Slice each whole chicken breast horizontally into two even ½-inch thick cutlets, so each piece is of uniform thickness across its entire surface. For larger breasts, you may get three thin slices, but aim for consistent ½-inch thickness to ensure even cooking. Avoid uneven slices that will have overcooked thin edges and undercooked thick centers.
Pound for even thickness
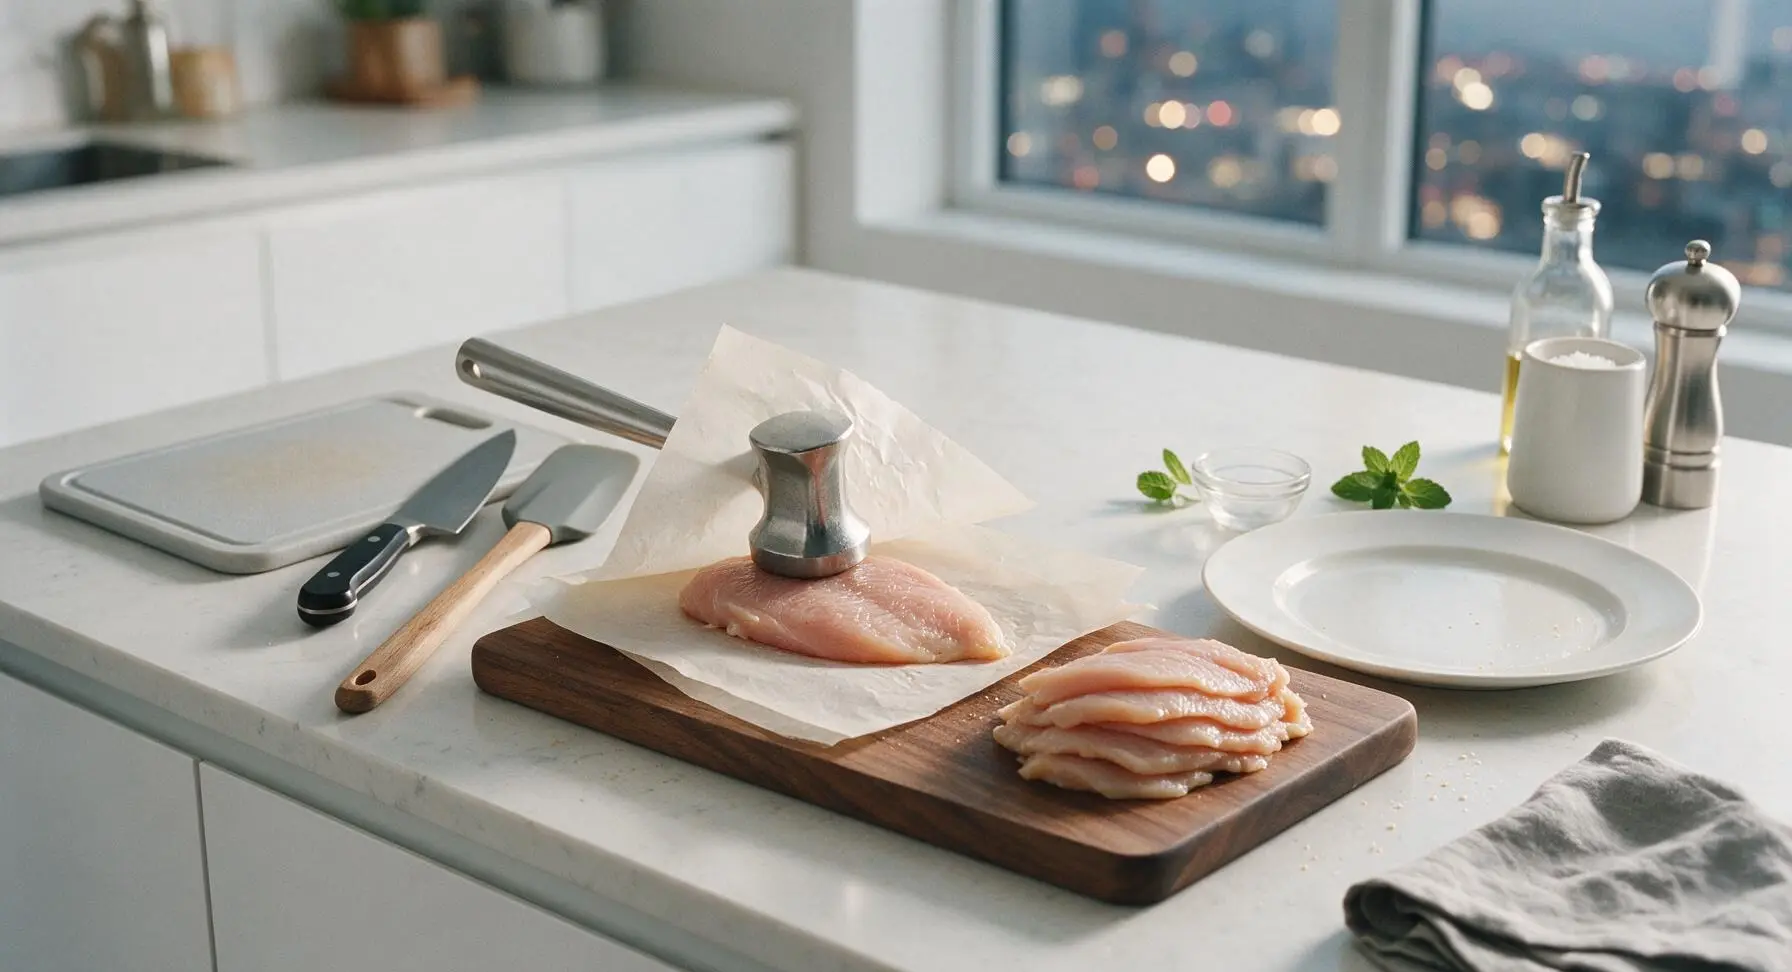
Place one sliced chicken cutlet between two sheets of parchment paper to prevent splatter and tearing. Use the flat face of the stainless steel meat pounder to gently pound the thicker end of each cutlet until the entire piece is a consistent ¼-inch thick. Do not pound so hard that the chicken tears or becomes paper-thin—1/4 inch is the ideal thickness for fast, even cooking without drying out.
Season both sides
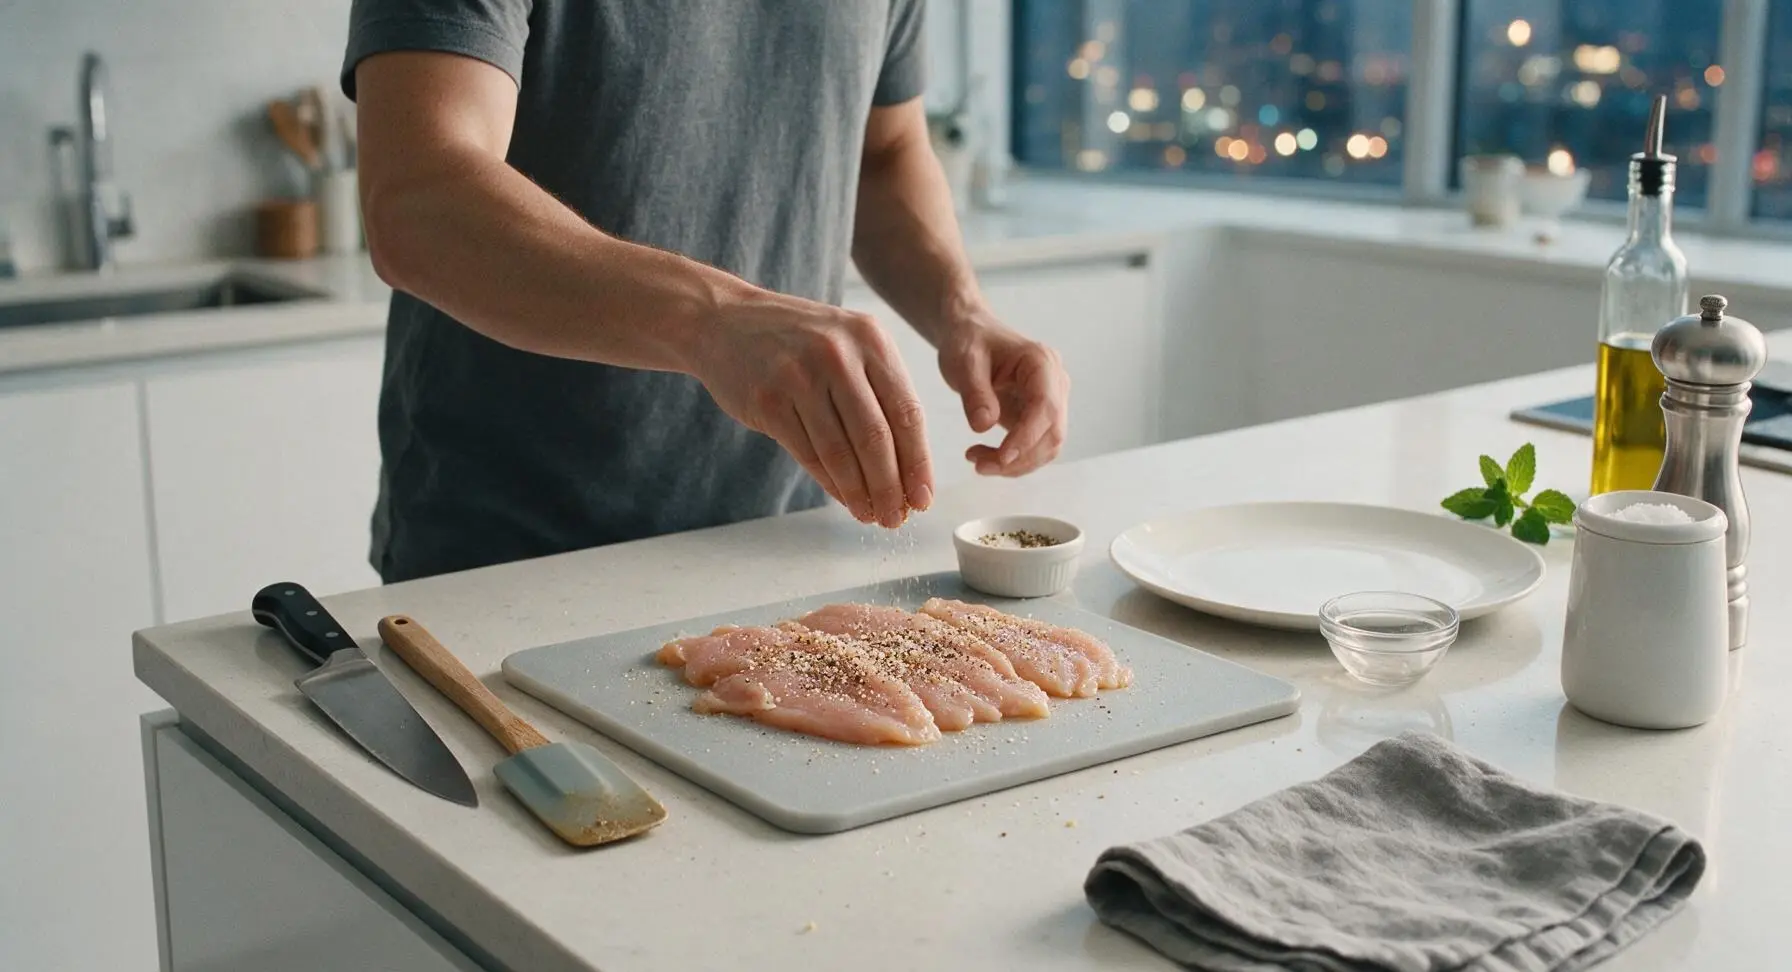
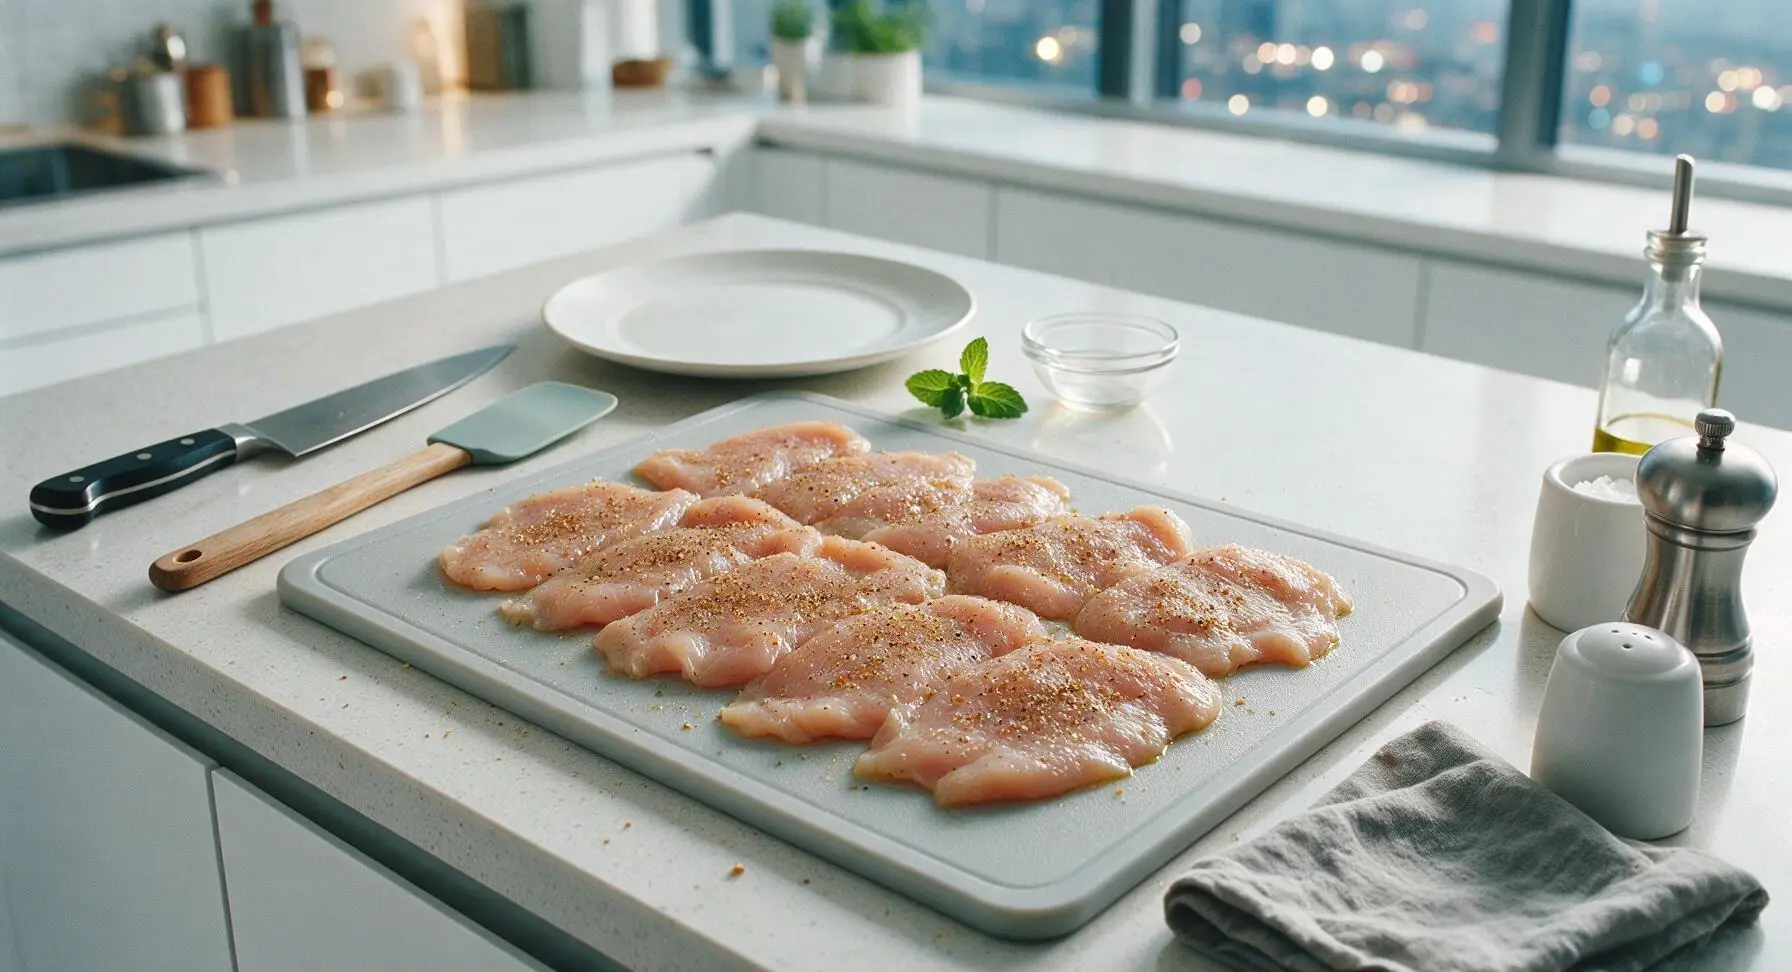
Drizzle 1 tablespoon of olive oil over the pounded chicken cutlets, then rub lightly to coat every surface. Combine the kosher salt, black pepper, and garlic powder in one of the small white ramekins, mix evenly with a finger, then sprinkle the seasoning blend evenly over both sides of every cutlet. Use approximately ⅔ of the seasoning on the top side first, then flip cutlets and apply the remaining seasoning to the second side. Let seasoned cutlets rest for 3 minutes at room temperature to allow seasoning to adhere.
Preheat carbon steel skillet
Place the 12-inch carbon steel skillet on the right-side gas burner over medium-high heat. Add the remaining 1 tablespoon of olive oil to the pan, and heat until the oil shimmers and just begins to send up faint wisps of smoke—this takes approximately 2 minutes. Do not let the oil burn or turn dark, as this will create a bitter flavor on the chicken. The black silicone-tipped tongs rest on the heat-resistant mat next to the skillet, ready for use.
Sear first chicken side
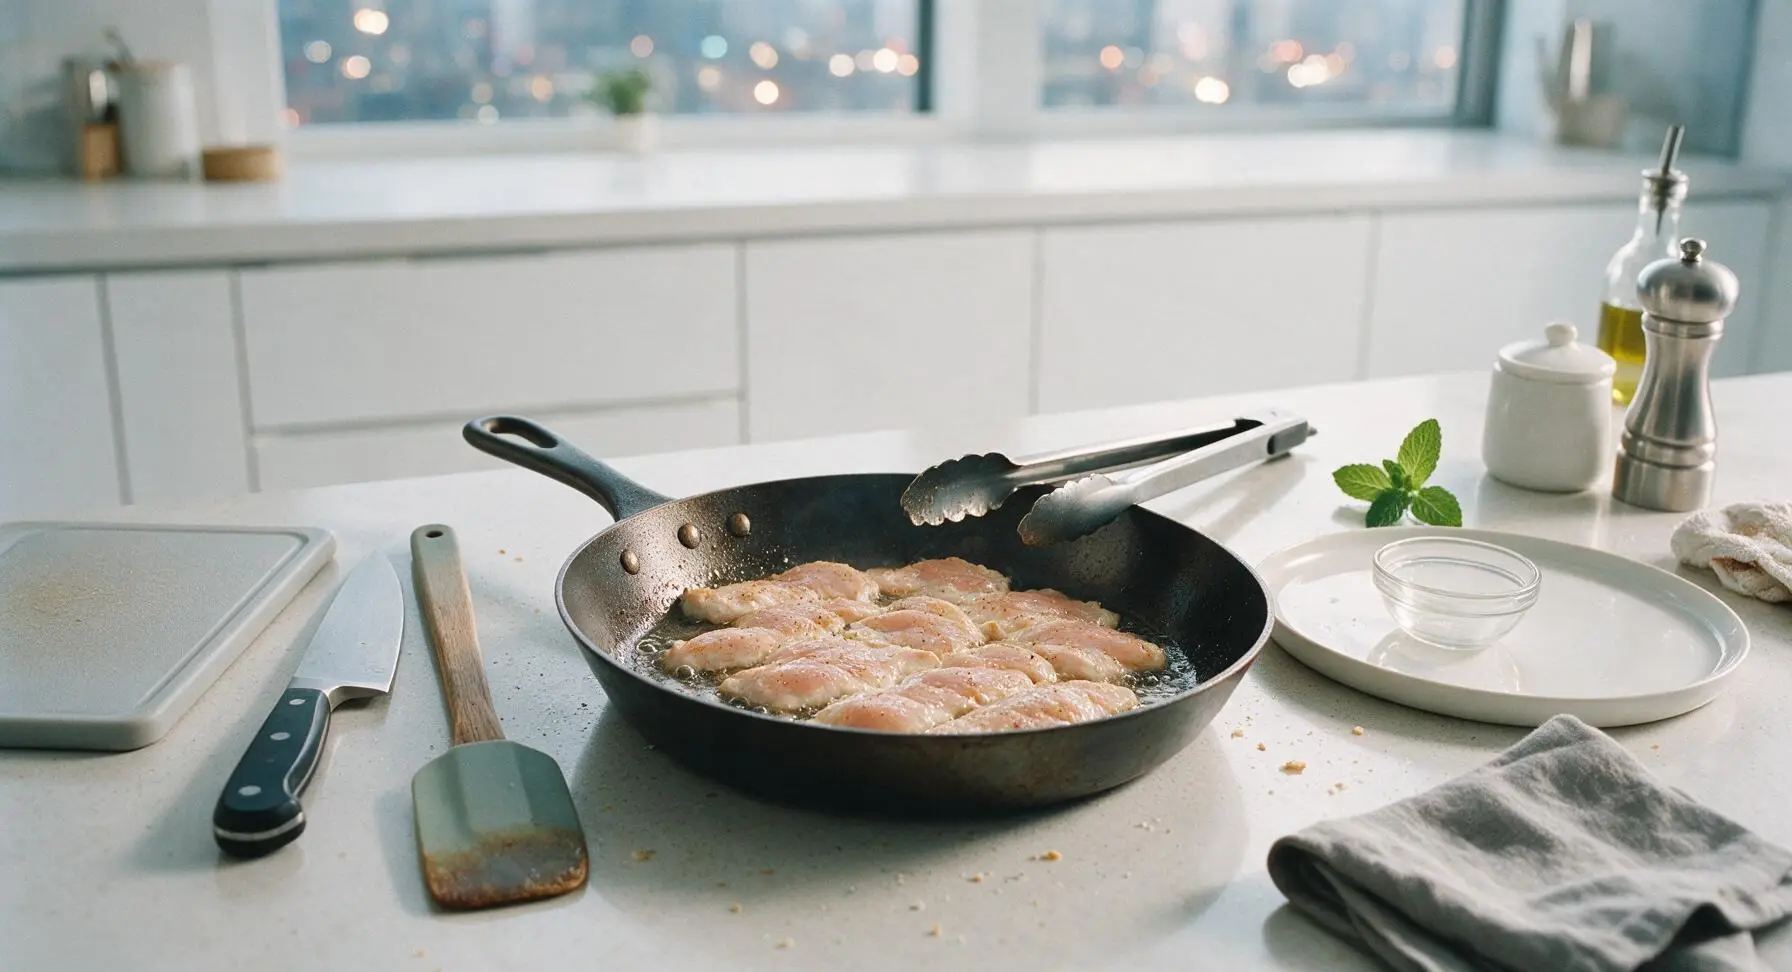
Use the tongs to carefully place the seasoned cutlets in the preheated skillet in a single layer—do not overcrowd the pan; cook in two batches if needed to avoid steaming the chicken. Let the first side cook undisturbed for 3 minutes, until the bottom develops a deep golden-brown crisp crust. Do not move, poke, or press the chicken during this time, as this will prevent proper crust formation and release juices.
Flip and cook through
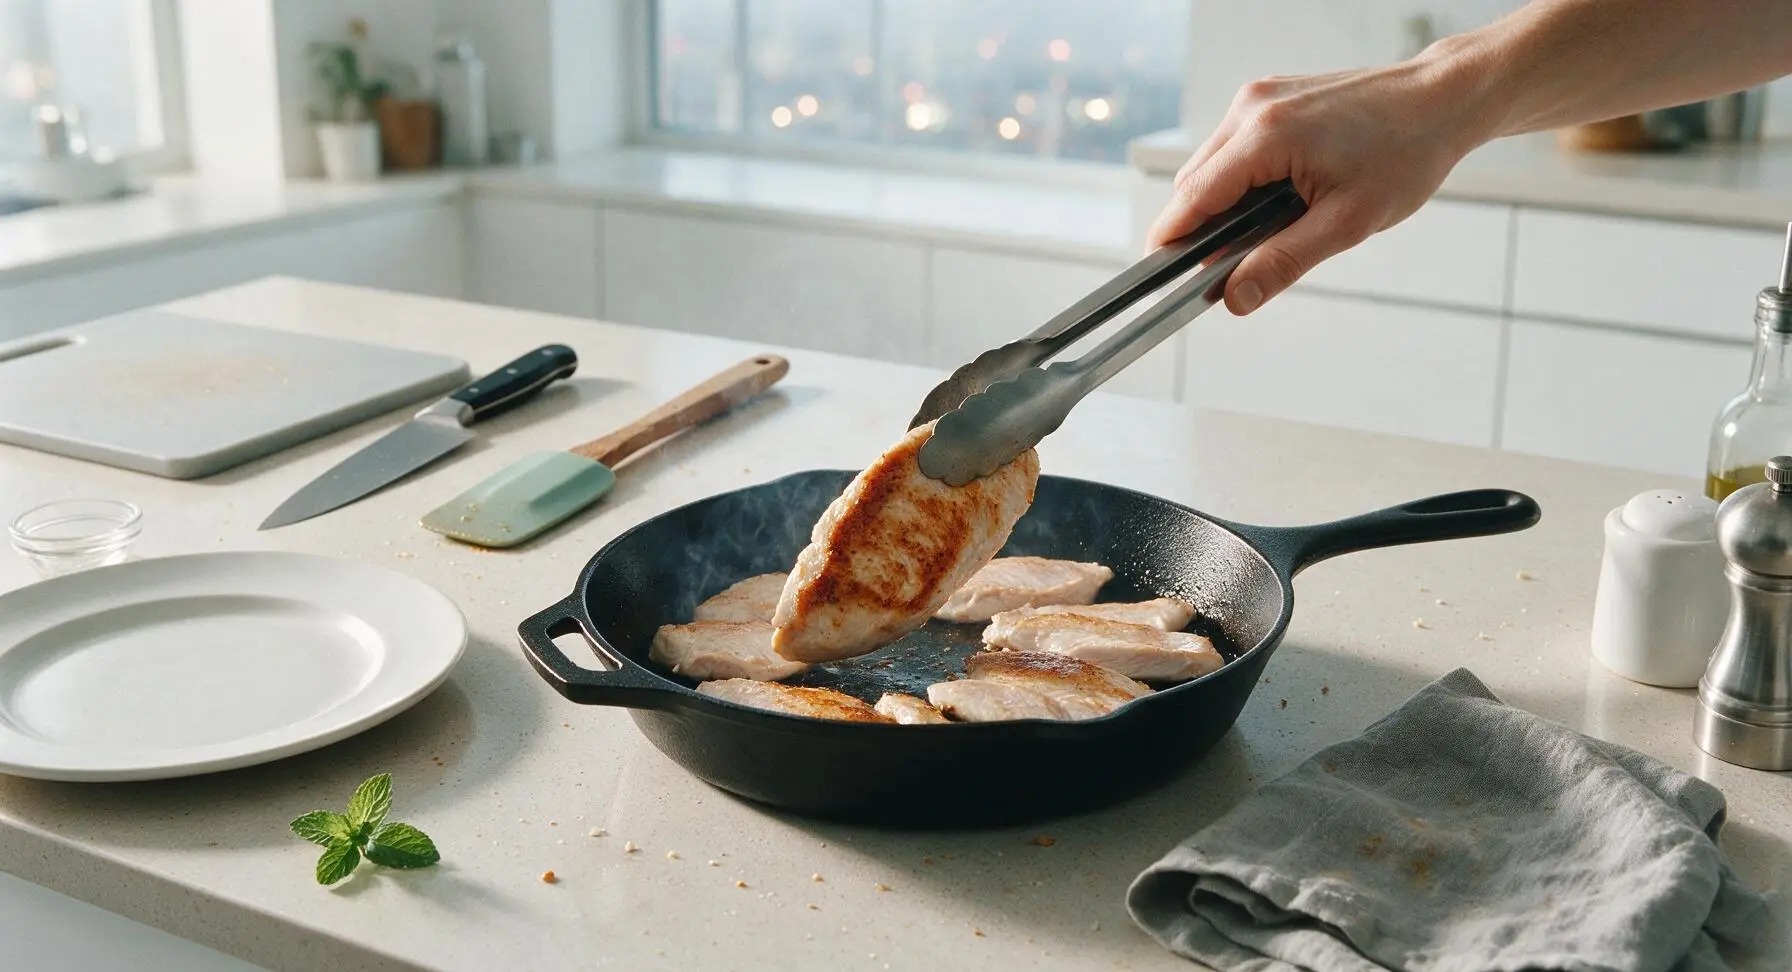
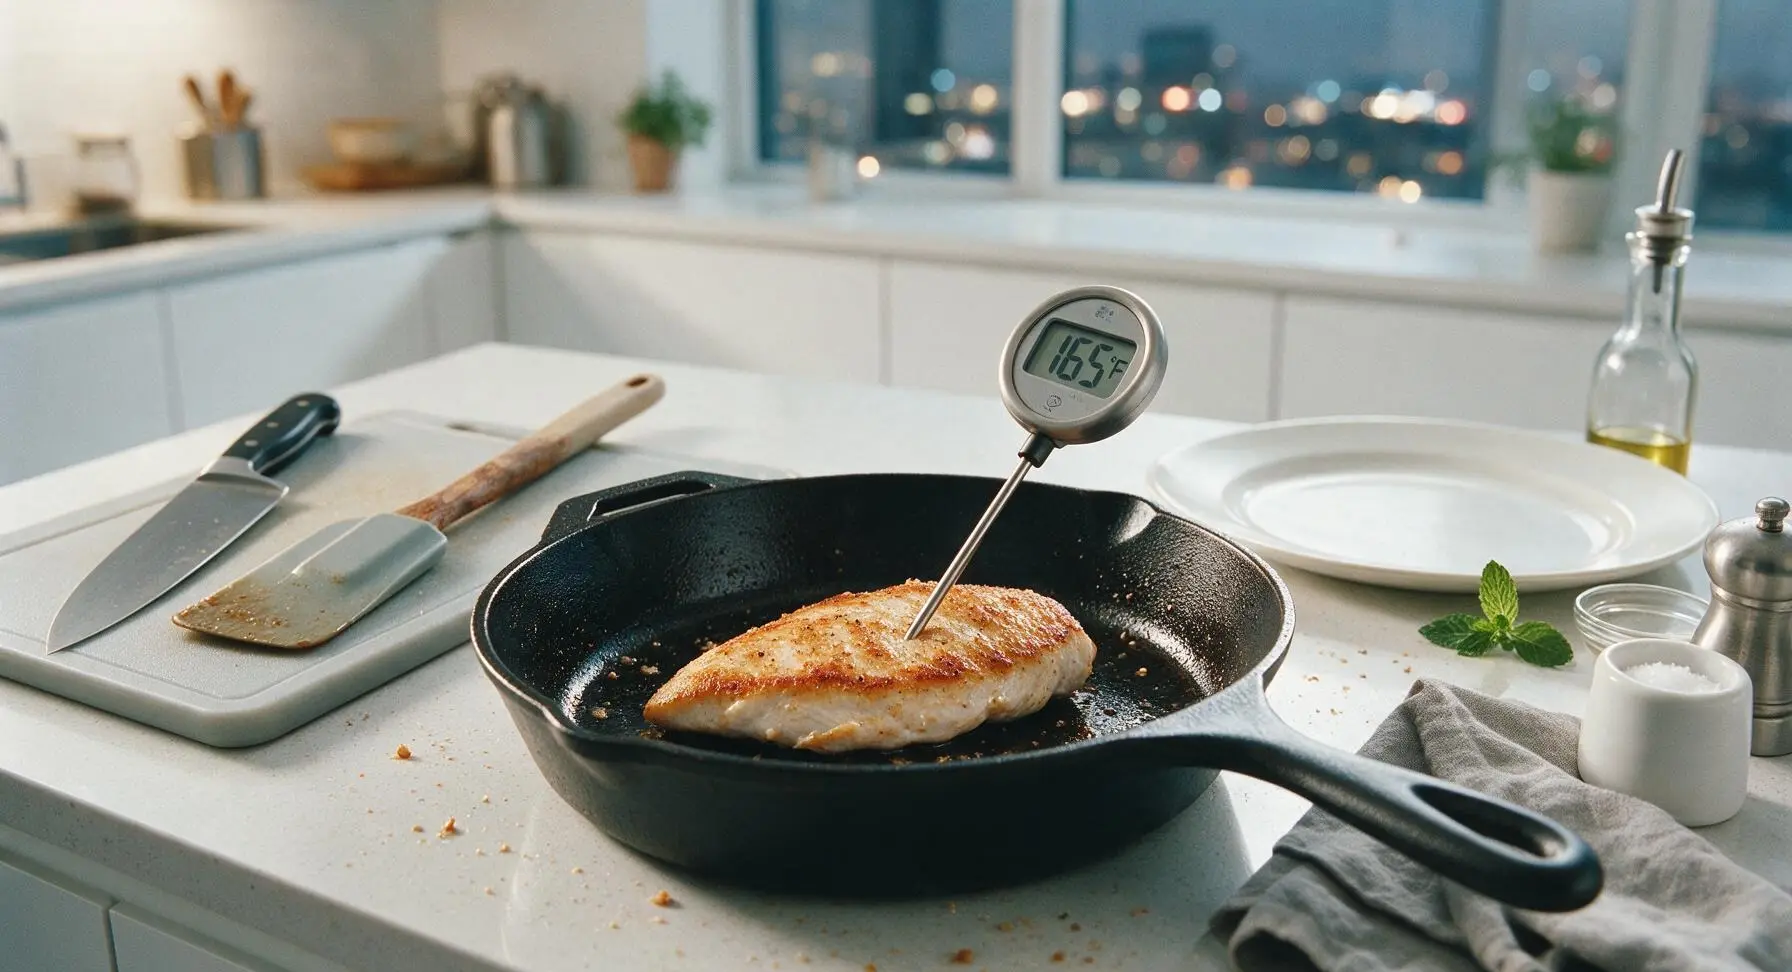
Use the tongs to flip each cutlet to the second side. Cook for an additional 2 to 3 minutes, until the second side is golden brown and the internal temperature of the thickest part of each cutlet reaches 165°F (74°C) when checked with the instant-read thermometer. Total cook time per batch is 5-6 minutes—do not overcook, as thin cutlets will dry out very quickly past temperature.
Rest before serving
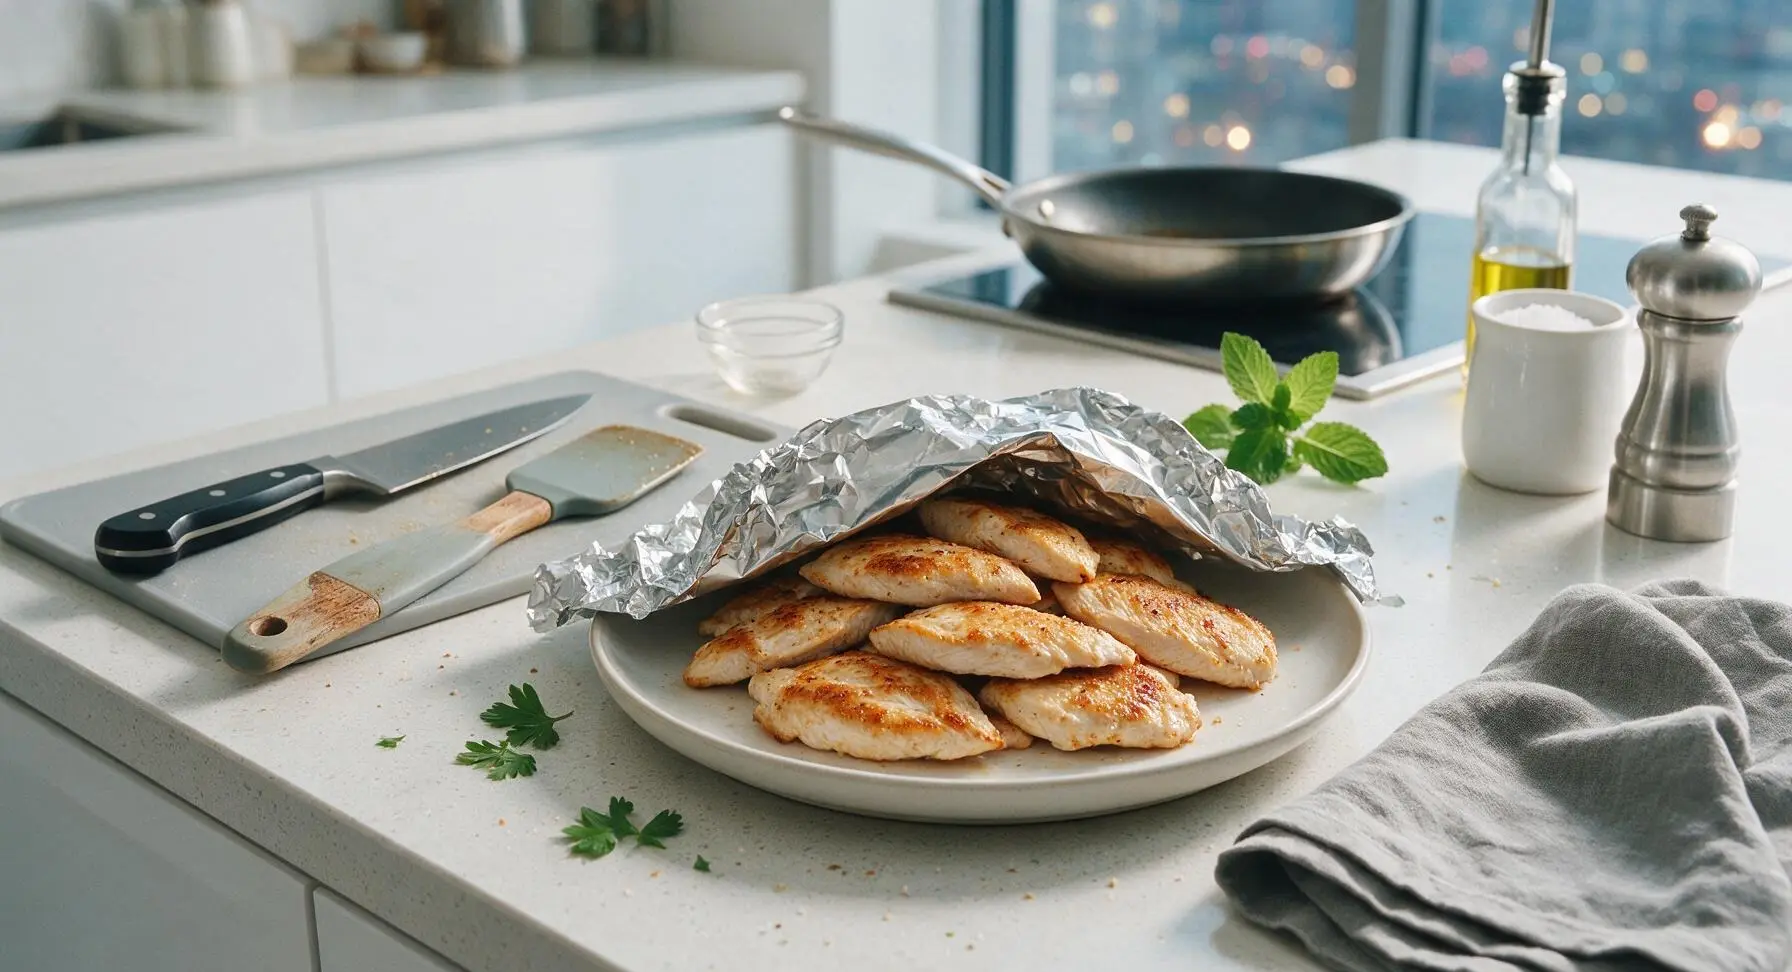
Use the tongs to transfer the cooked chicken cutlets to the matte warm white ceramic dinner plate. Loosely tent a small piece of aluminum foil over the top of the plate, and let the chicken rest for 2 minutes to allow juices to redistribute through the meat instead of running out when cut. Sprinkle with a pinch of extra flaky salt from the salt cellar and top with torn fresh parsley leaves before serving.
Tips
2.Avoid overcrowding the skillet when searing: if cutlets are placed too close together with no space between them, the pan temperature drops rapidly, causing the chicken to steam instead of sear, resulting in pale, soggy crusts instead of crisp, golden edges. Cook in two batches if your skillet is too small to hold cutlets with ½ inch of space between each piece.
3.Resist the urge to press, poke, or move the chicken while it sears on the first side: pressing cutlets with tongs or a spatula squeezes out precious internal juices, leading to dry, tough chicken, and moving the chicken too early breaks the forming crust before it can crisp and brown evenly.






OMG this is such a game changer! I always overcook thin chicken breast until it’s rubbery and dry, but following this method it came out perfectly juicy in 8 minutes flat. Served it with roasted broccoli and mashed potatoes for family dinner last night, my kids asked for seconds! SO good.
Super easy recipe! Cook time was spot on, though I added a little garlic powder and paprika to the seasoning because I like extra flavor. Will definitely be making this again for quick weeknight meals.
Added this to my weekly meal prep rotation! It’s so fast to make, holds up great in the fridge for 4 days, and doesn’t get that weird reheated rubbery texture other chicken recipes get. Total win for busy work weeks.
Made a big batch of this for our neighborhood potluck last weekend and everyone was asking for the recipe! It was juicy, flavorful, and didn’t dry out even when it sat on the buffet table for an hour. Can’t beat that.
Wait, quick question—my chicken stuck a little to the pan even when I heated the oil first, did I do something wrong? It still tasted good but I lost that nice crispy sear on one side.
SO good! I’m usually terrible at cooking chicken on the stove, I always either burn the outside or leave the inside raw, but this step-by-step was so easy even I couldn’t mess it up. My partner said it’s better than the chicken we get at our local casual diner, total win!