
thin waffle

intro
Crisp, golden-edged thin waffles with a light, tender crumb—ready in minutes, perfect for topping with butter and maple syrup for a quick, satisfying meal.
Ingredients
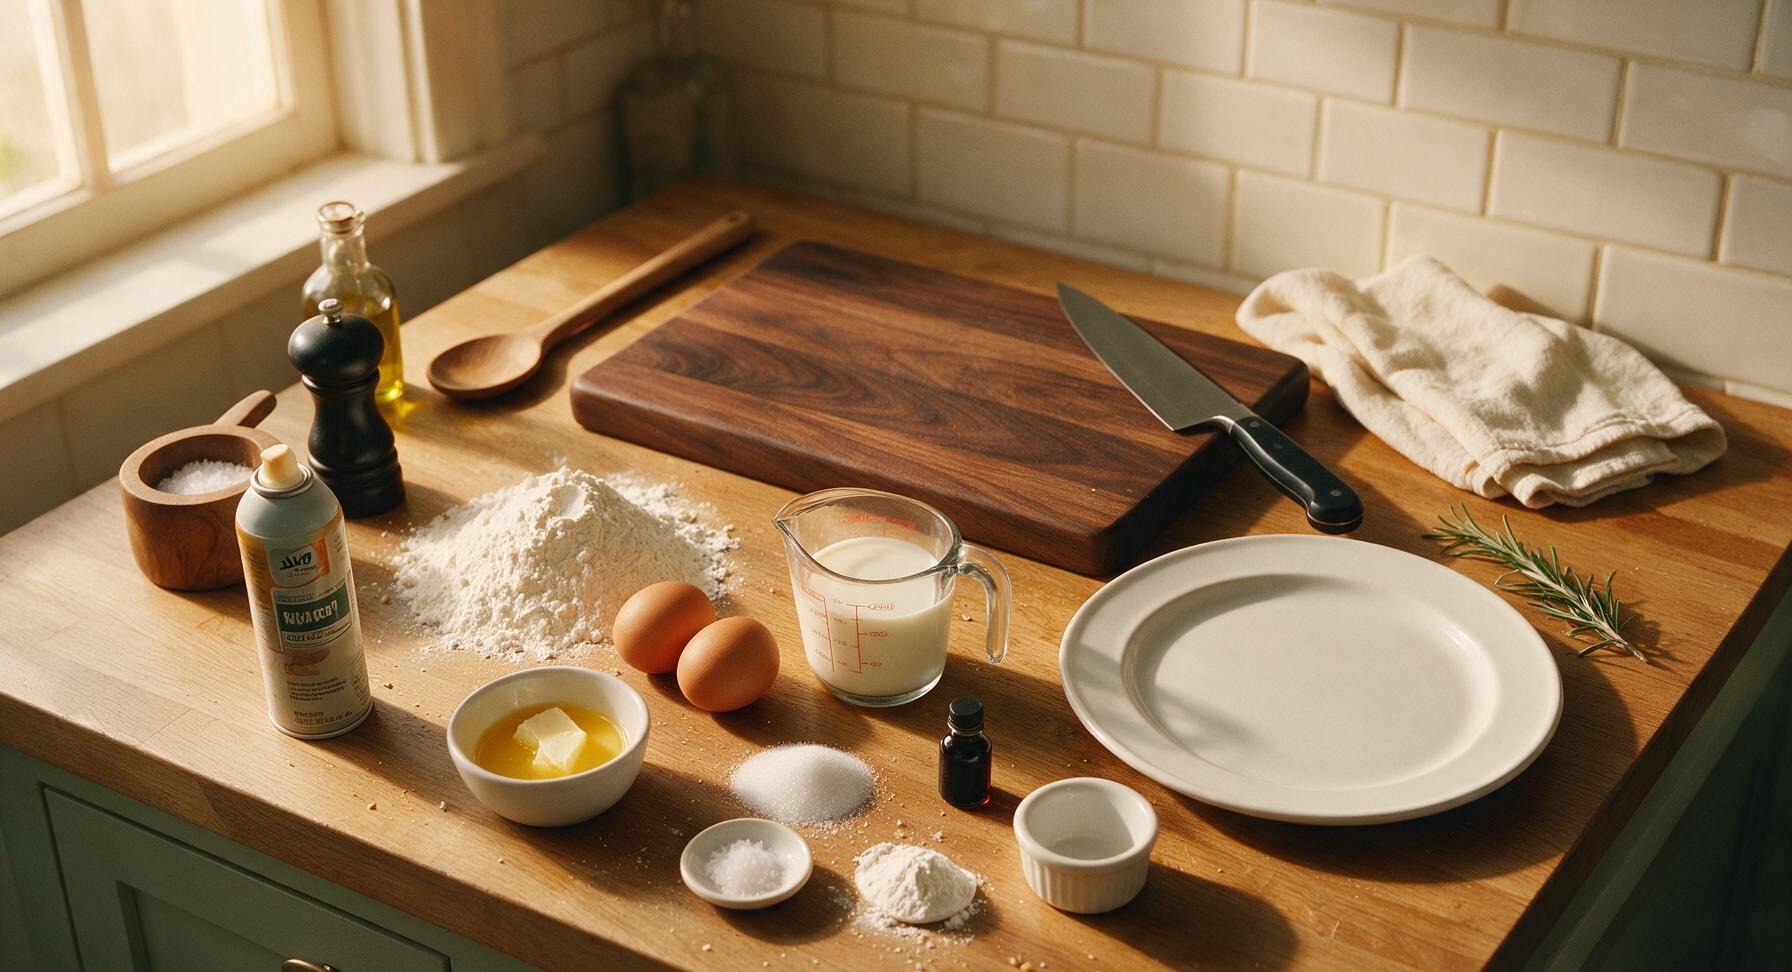
Steps
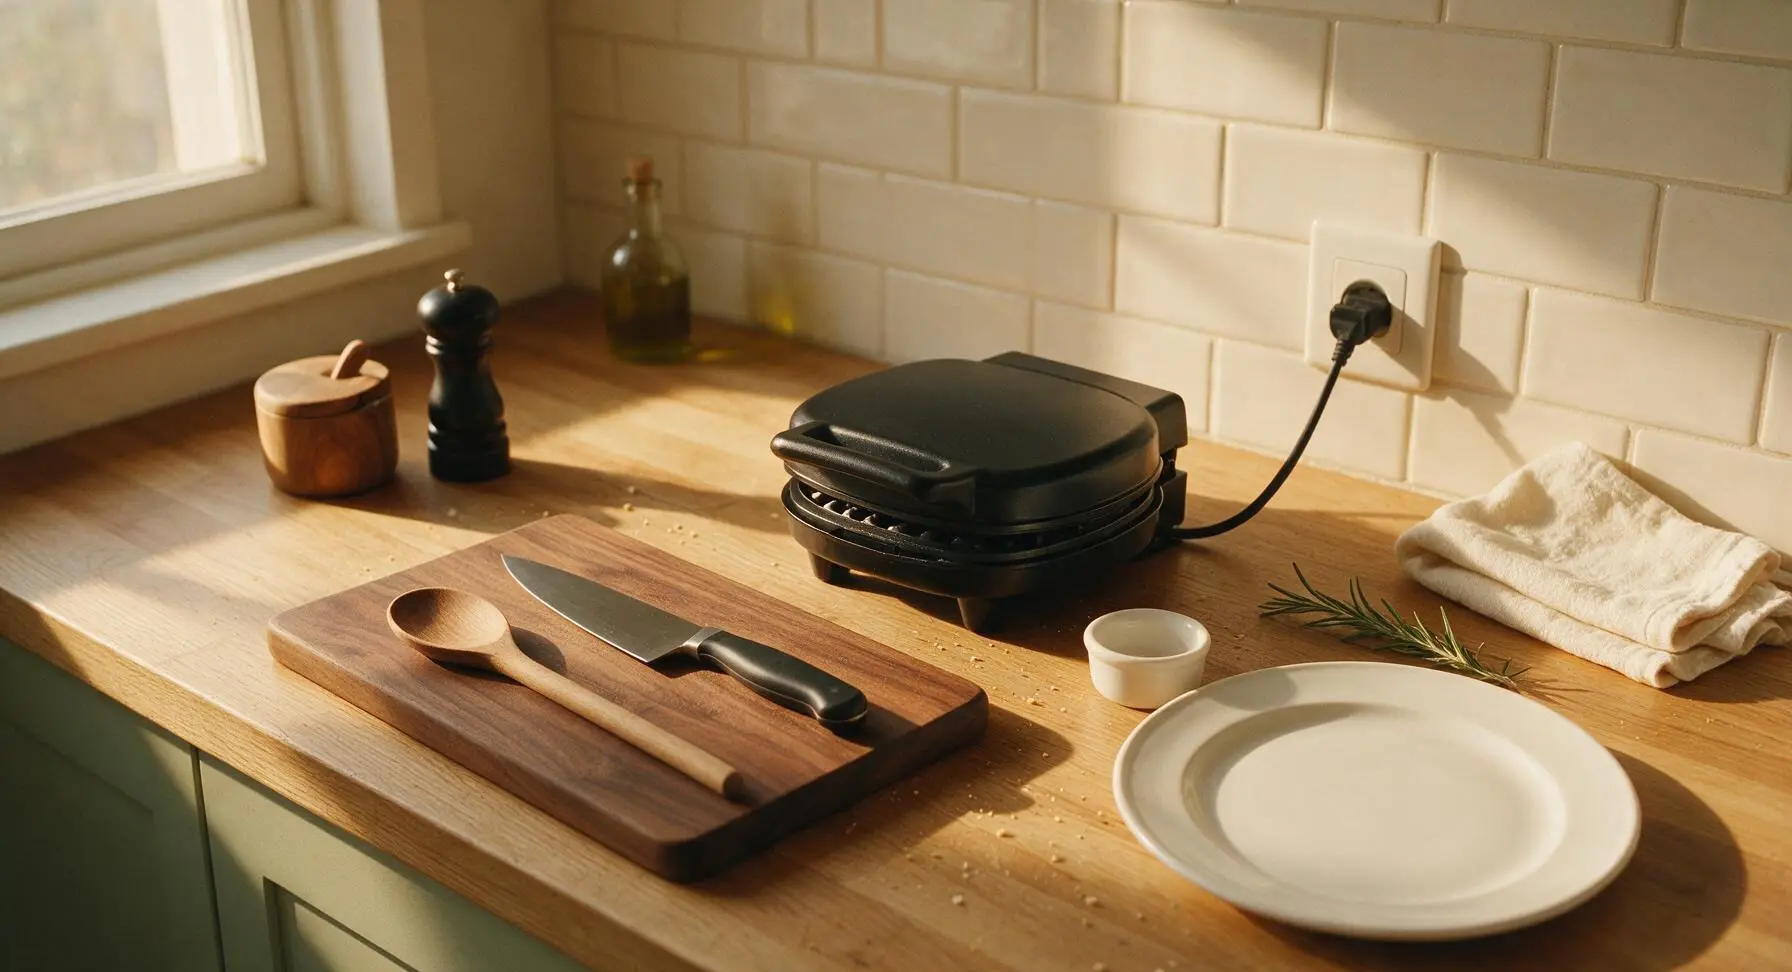
Preheat the Waffle Iron
Plug in the matte black thin waffle iron and set it to medium-high heat (375°F/190°C). Allow it to preheat fully for 5 minutes; the iron is ready when a drop of water flicked onto the plate sizzles and evaporates in 2 seconds. Do not grease the plates yet.
Combine Dry Ingredients
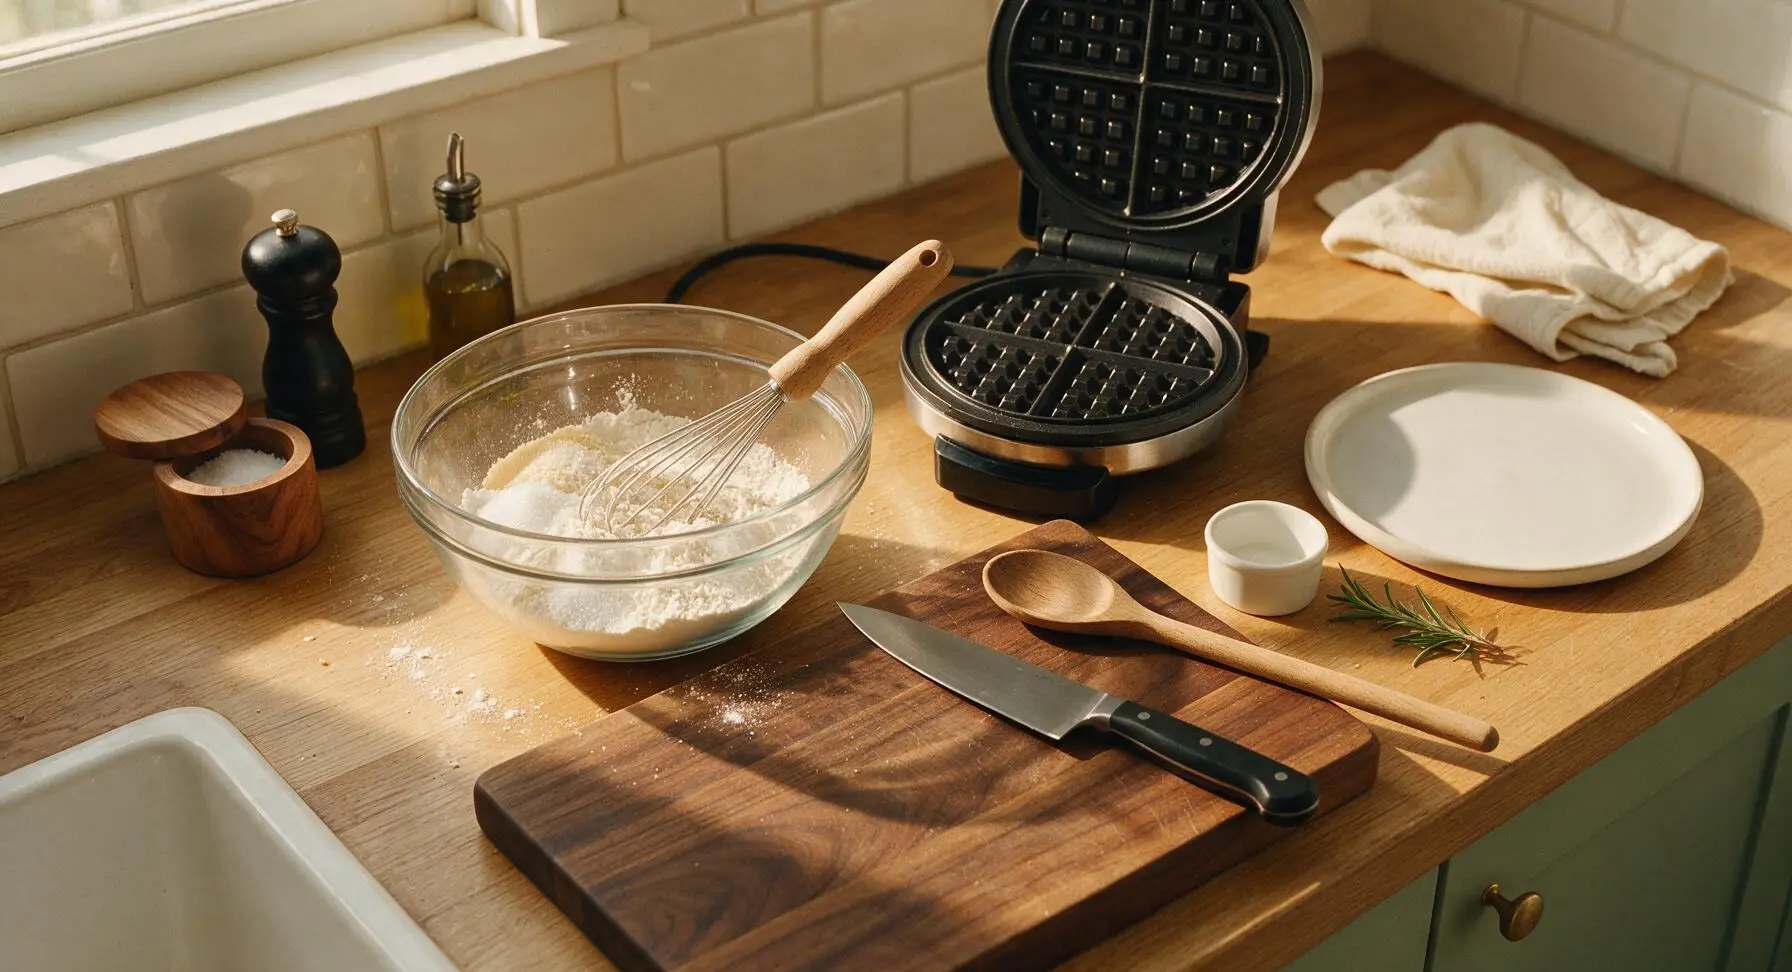
Place the clear glass mixing bowl on the center-left of the counter. Add 1.5 cups (180g) all-purpose flour, 1 tablespoon granulated sugar, 1 teaspoon baking powder, and 1/4 teaspoon fine sea salt to the bowl. Use the stainless steel whisk with beech wood handle to stir the dry ingredients for 30 seconds until fully combined, with no clumps of baking powder visible.
Mix In Wet Ingredients
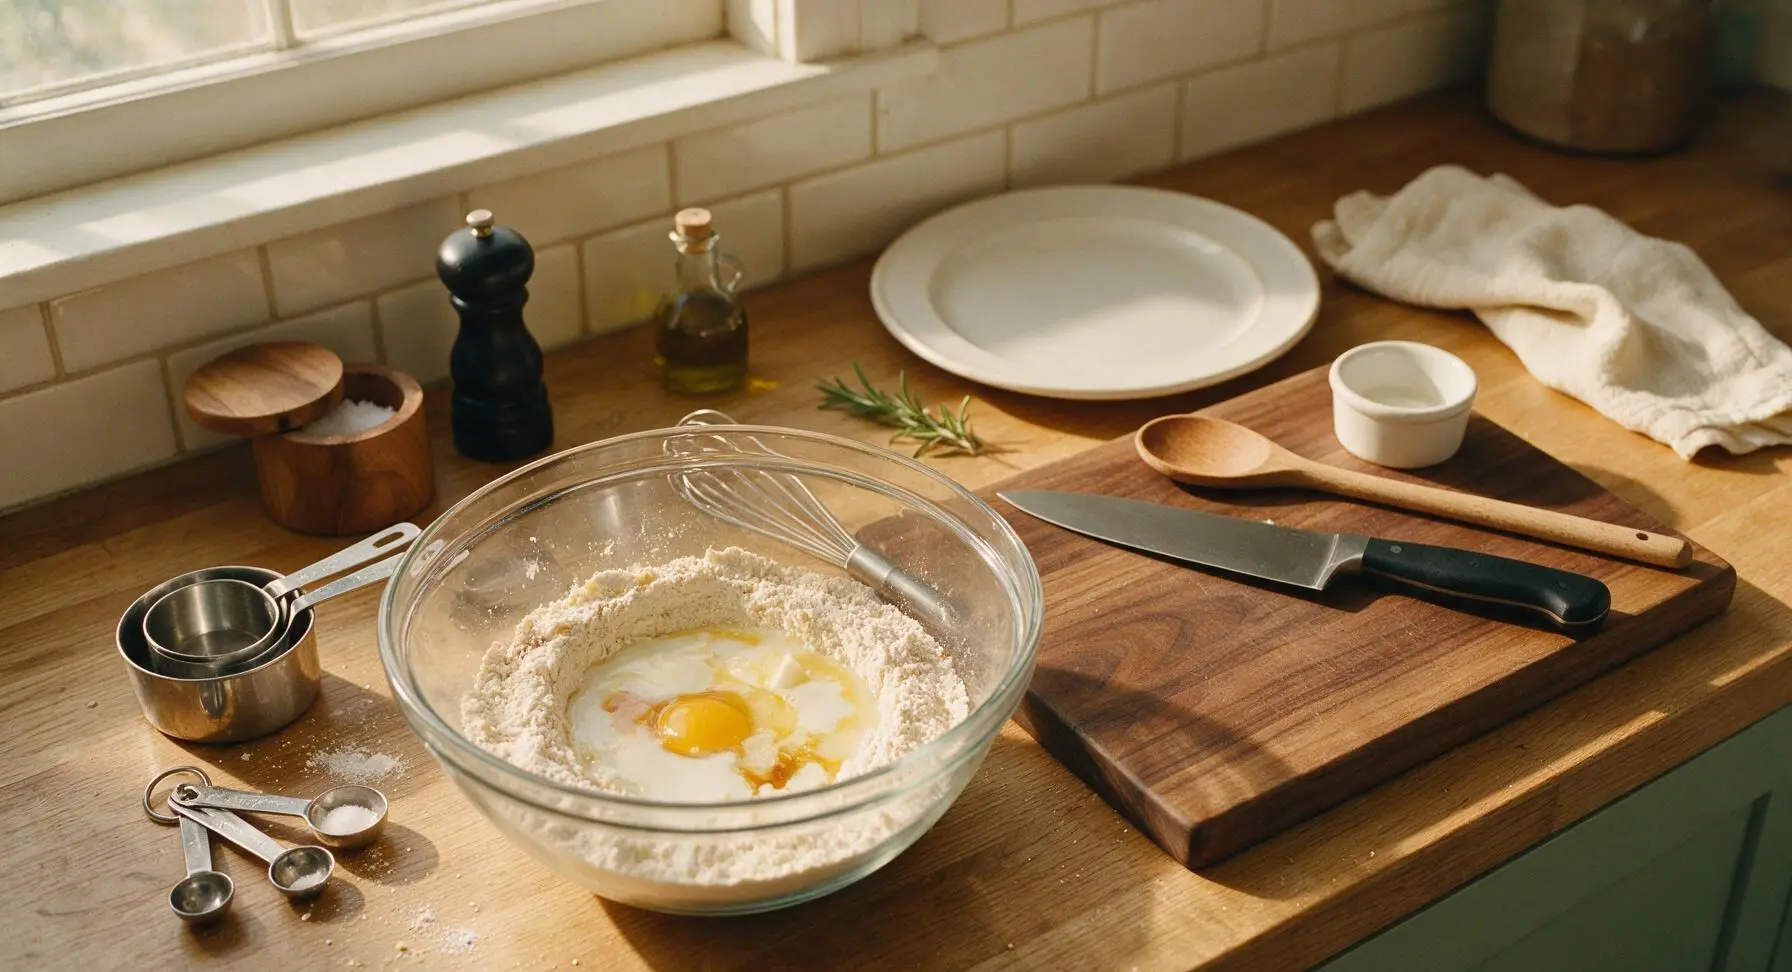
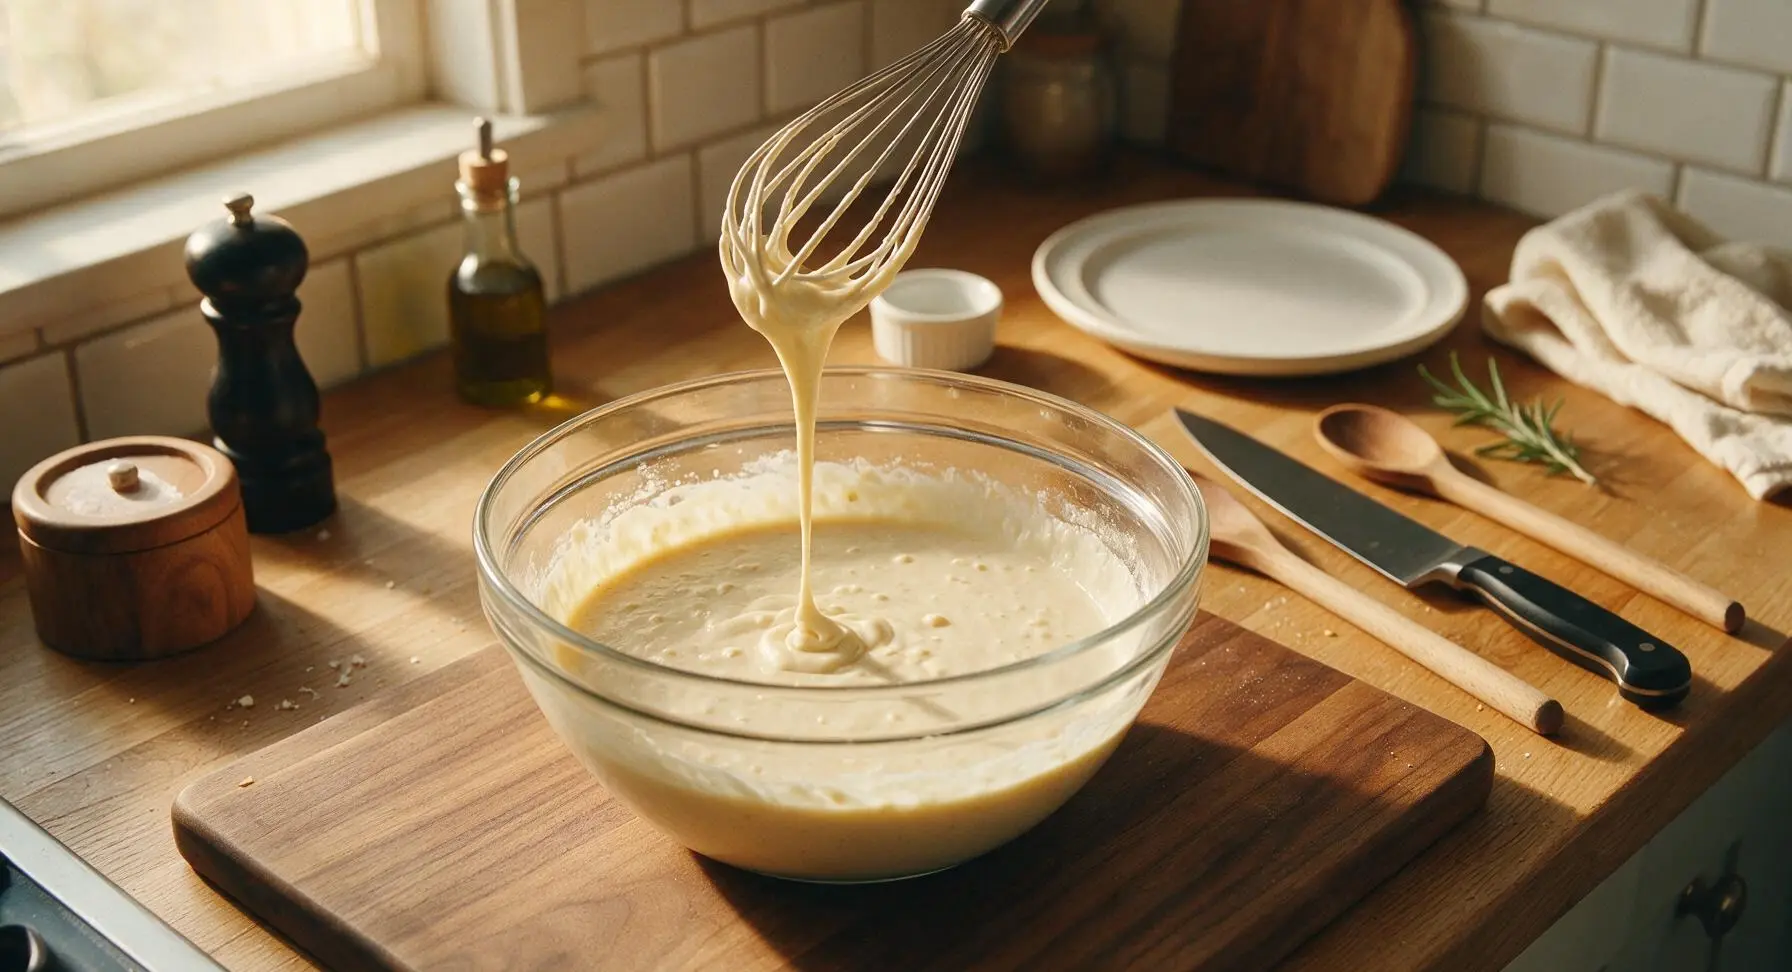
Make a small well in the center of the dry ingredient mixture. Crack the 2 large eggs into the well, then pour in 1.25 cups (300ml) whole milk, 2 tablespoons melted cooled unsalted butter, and 1/2 teaspoon vanilla extract. Whisk slowly at first to incorporate the wet ingredients, then increase speed slightly, mixing just until no large dry flour clumps remain—small lumps in the batter are normal and will prevent tough waffles; do not overmix. The finished batter will be thin and pourable, similar to heavy cream consistency.
Grease Hot Waffle Plates
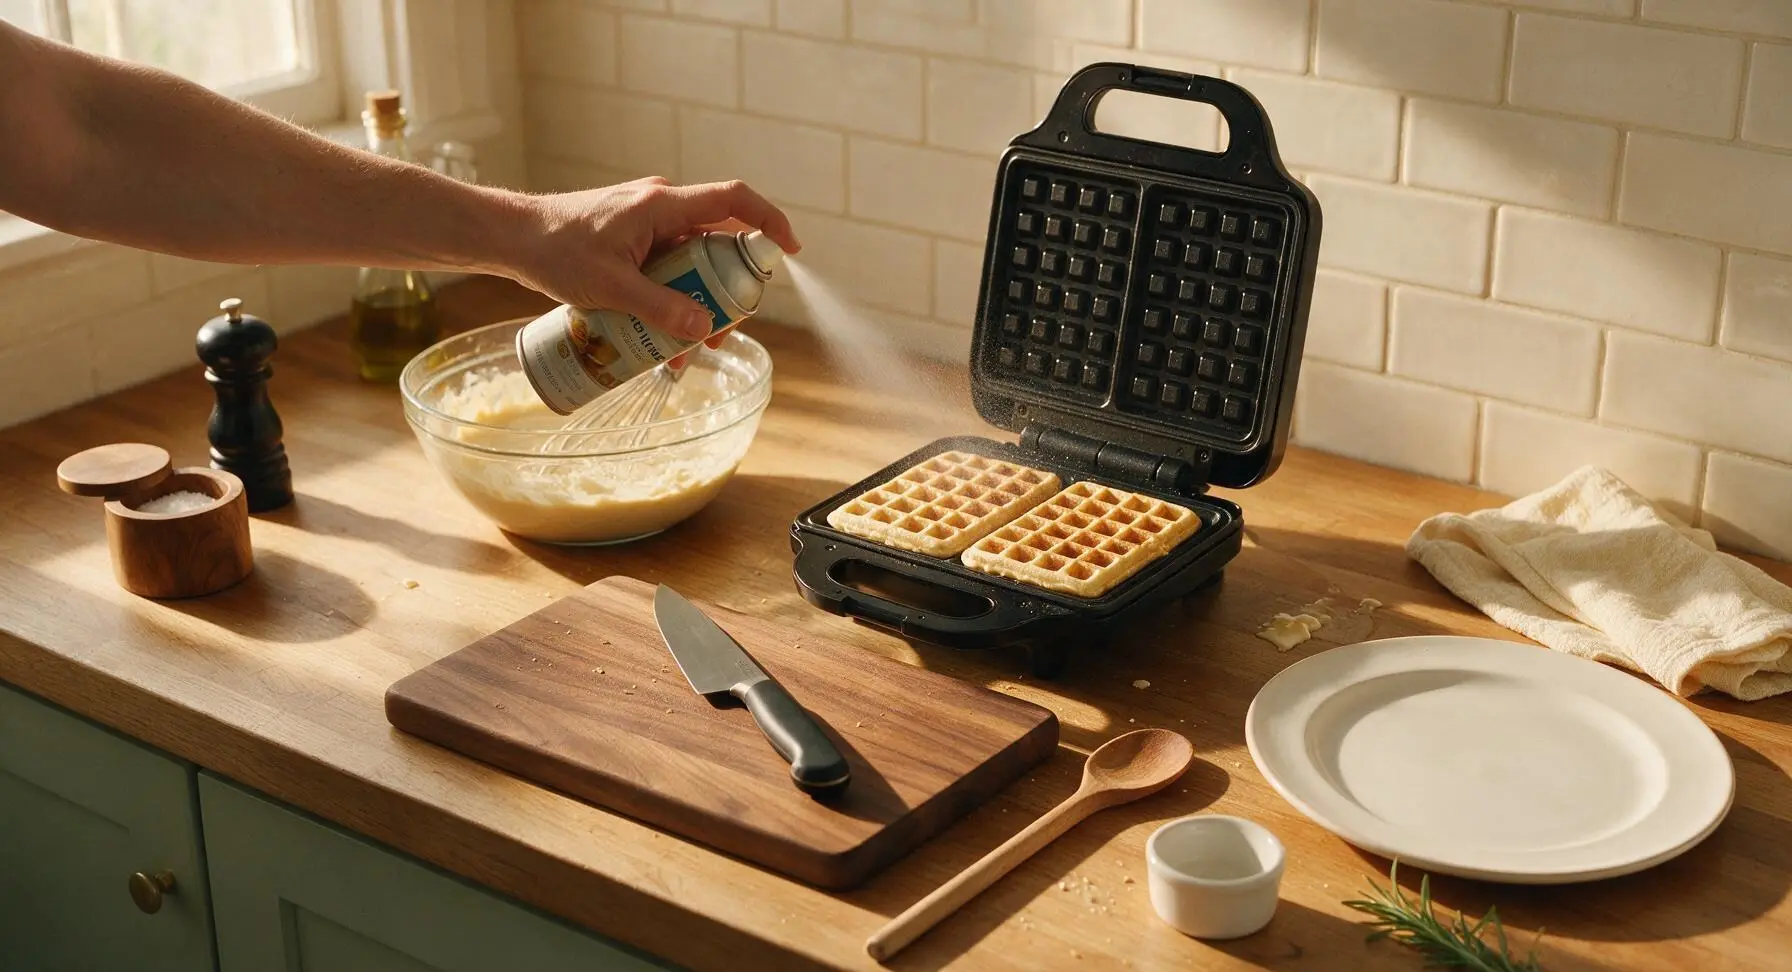
Once the waffle iron is fully preheated, open the lid and lightly coat both top and bottom cooking plates with a 1-second spray of non-stick cooking spray. Wipe any excess spray from the exterior of the iron with the edge of the pale yellow linen towel to prevent burning.
Cook Waffles Until Crisp
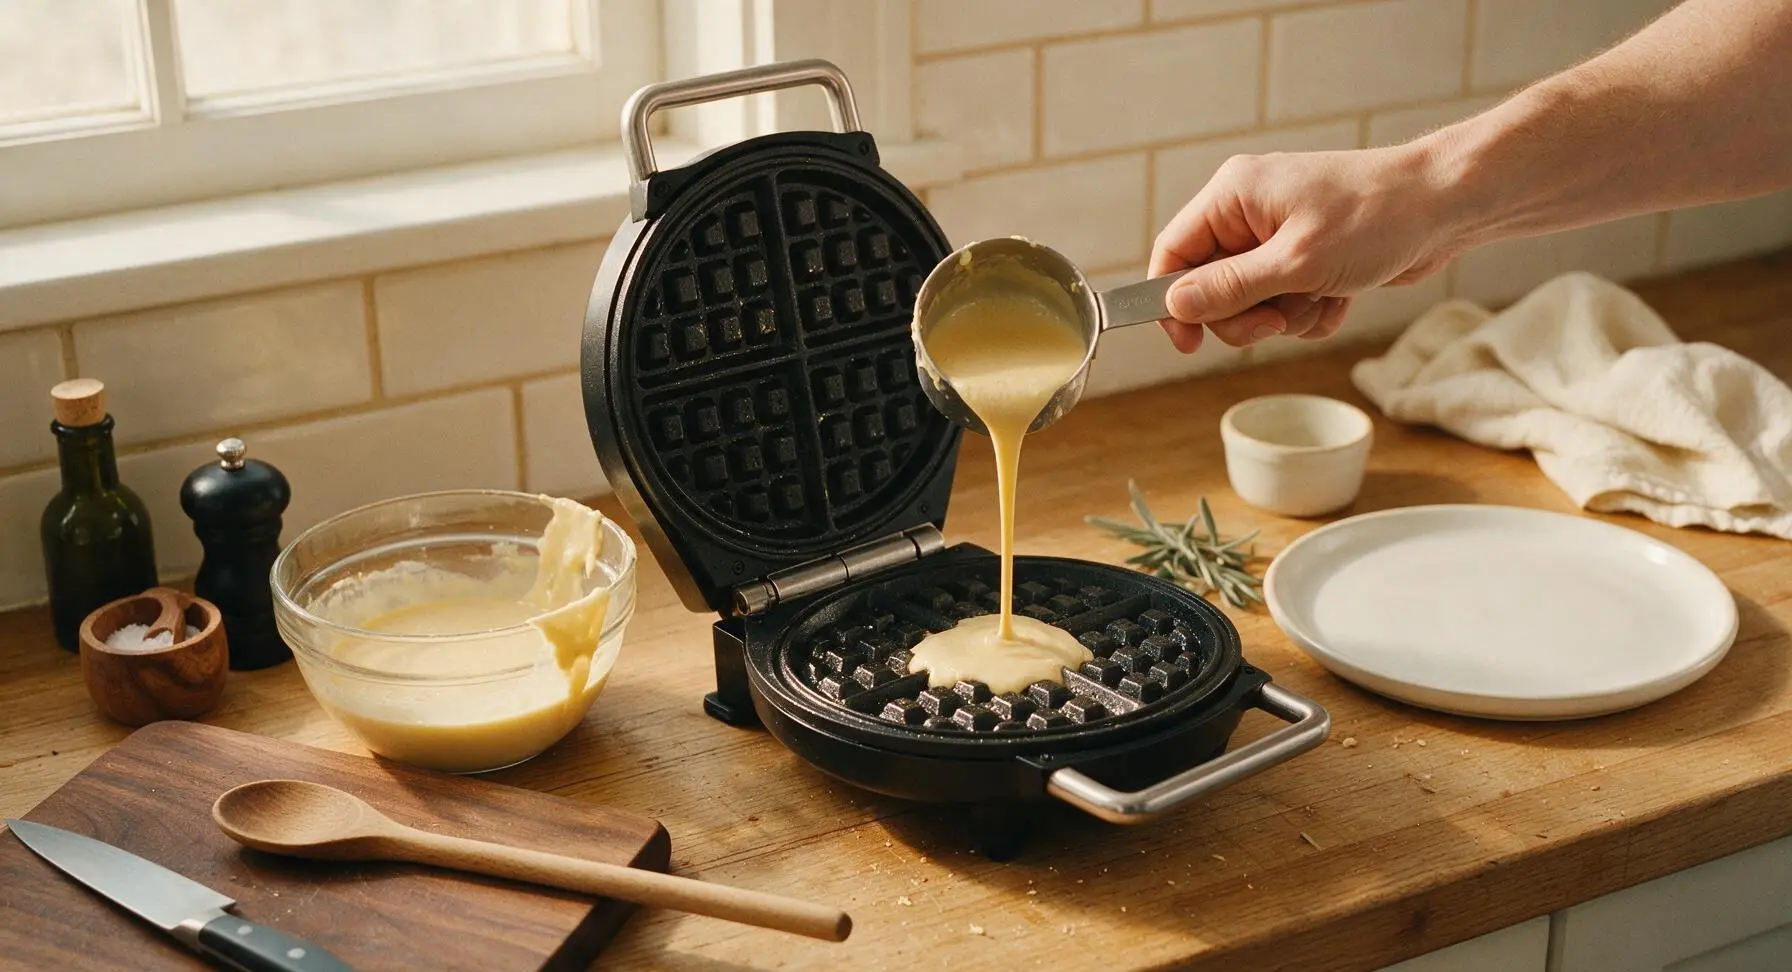
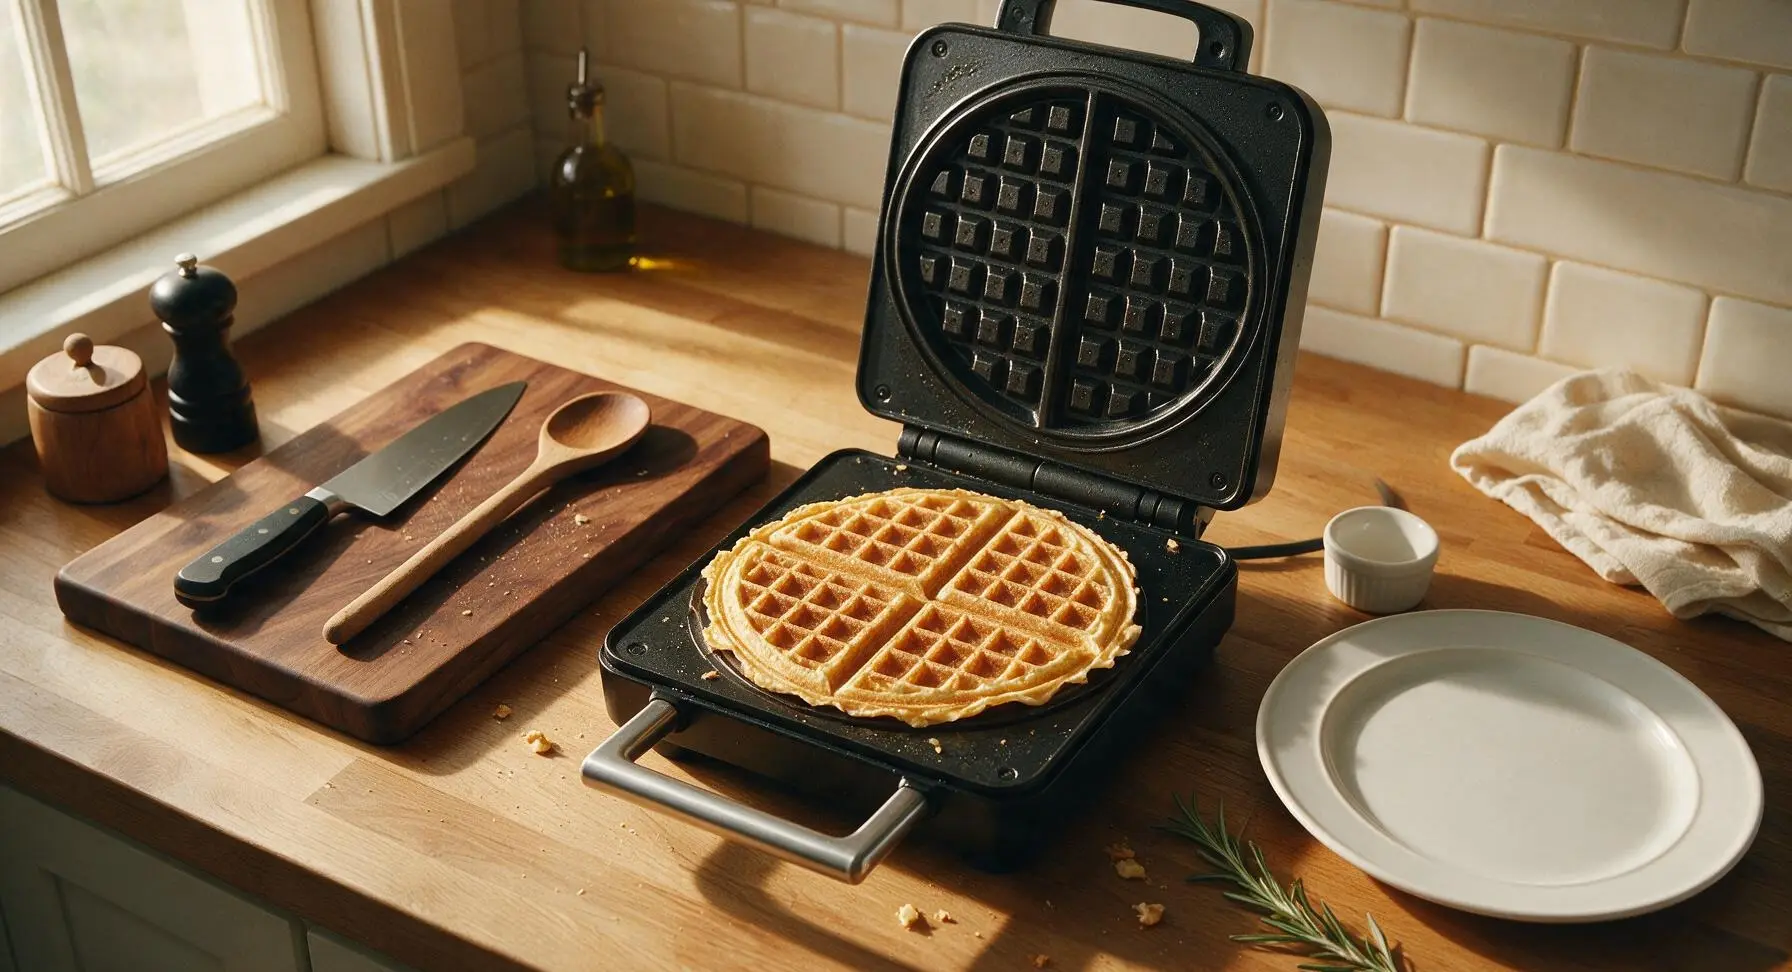
Use the 1/3 cup stainless steel measuring cup to pour exactly 1/3 cup of batter onto the center of the lower waffle plate. Close the lid immediately and cook for 2 to 2 1/2 minutes, until steam stops escaping from the edges of the iron and the waffle is deep golden brown and crisp to the touch. Do not open the lid early, as this will tear the waffle. Repeat to cook 3 more waffles, greasing the plates lightly between each batch.
Rest Waffles On Rack
Use the pale sky blue silicone spatula to gently lift the cooked waffle from the iron, and transfer it to the chrome wire cooling rack placed to the right of the waffle iron. Do not stack waffles directly on top of each other while hot, as this will make them soggy; keep them in a single layer on the rack while cooking the remaining 3 waffles, repeating the greasing, pouring, and cooking process for each.
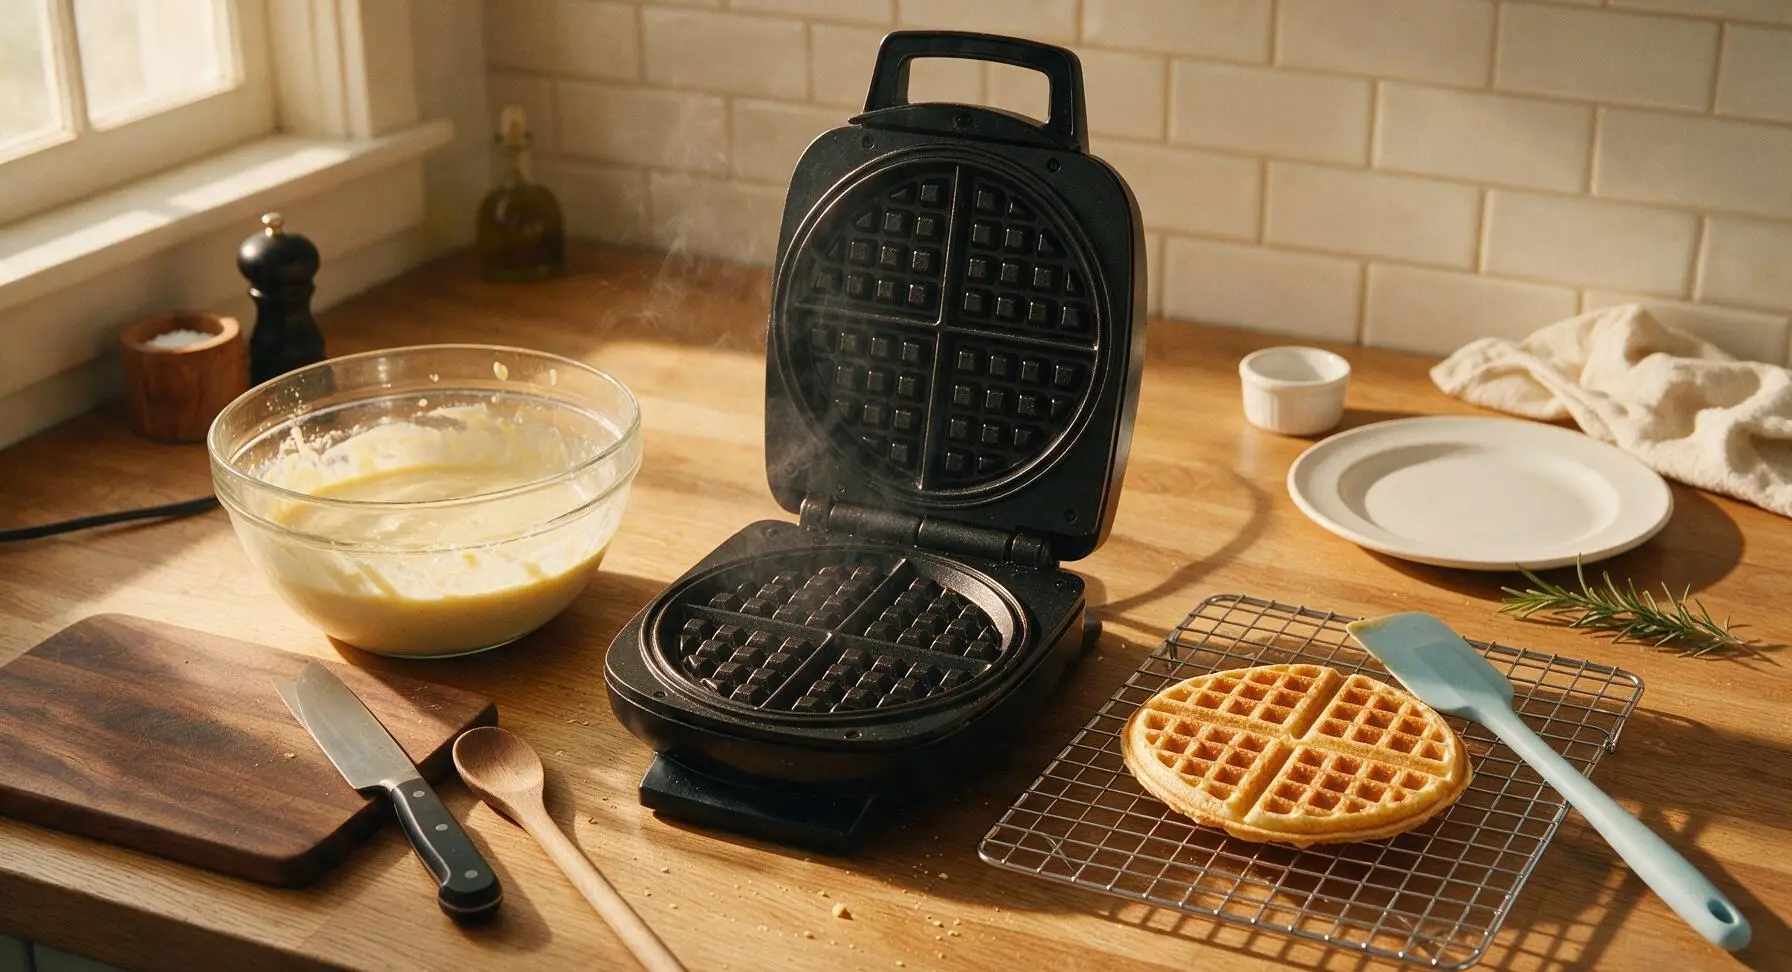
Plate Warm Waffles
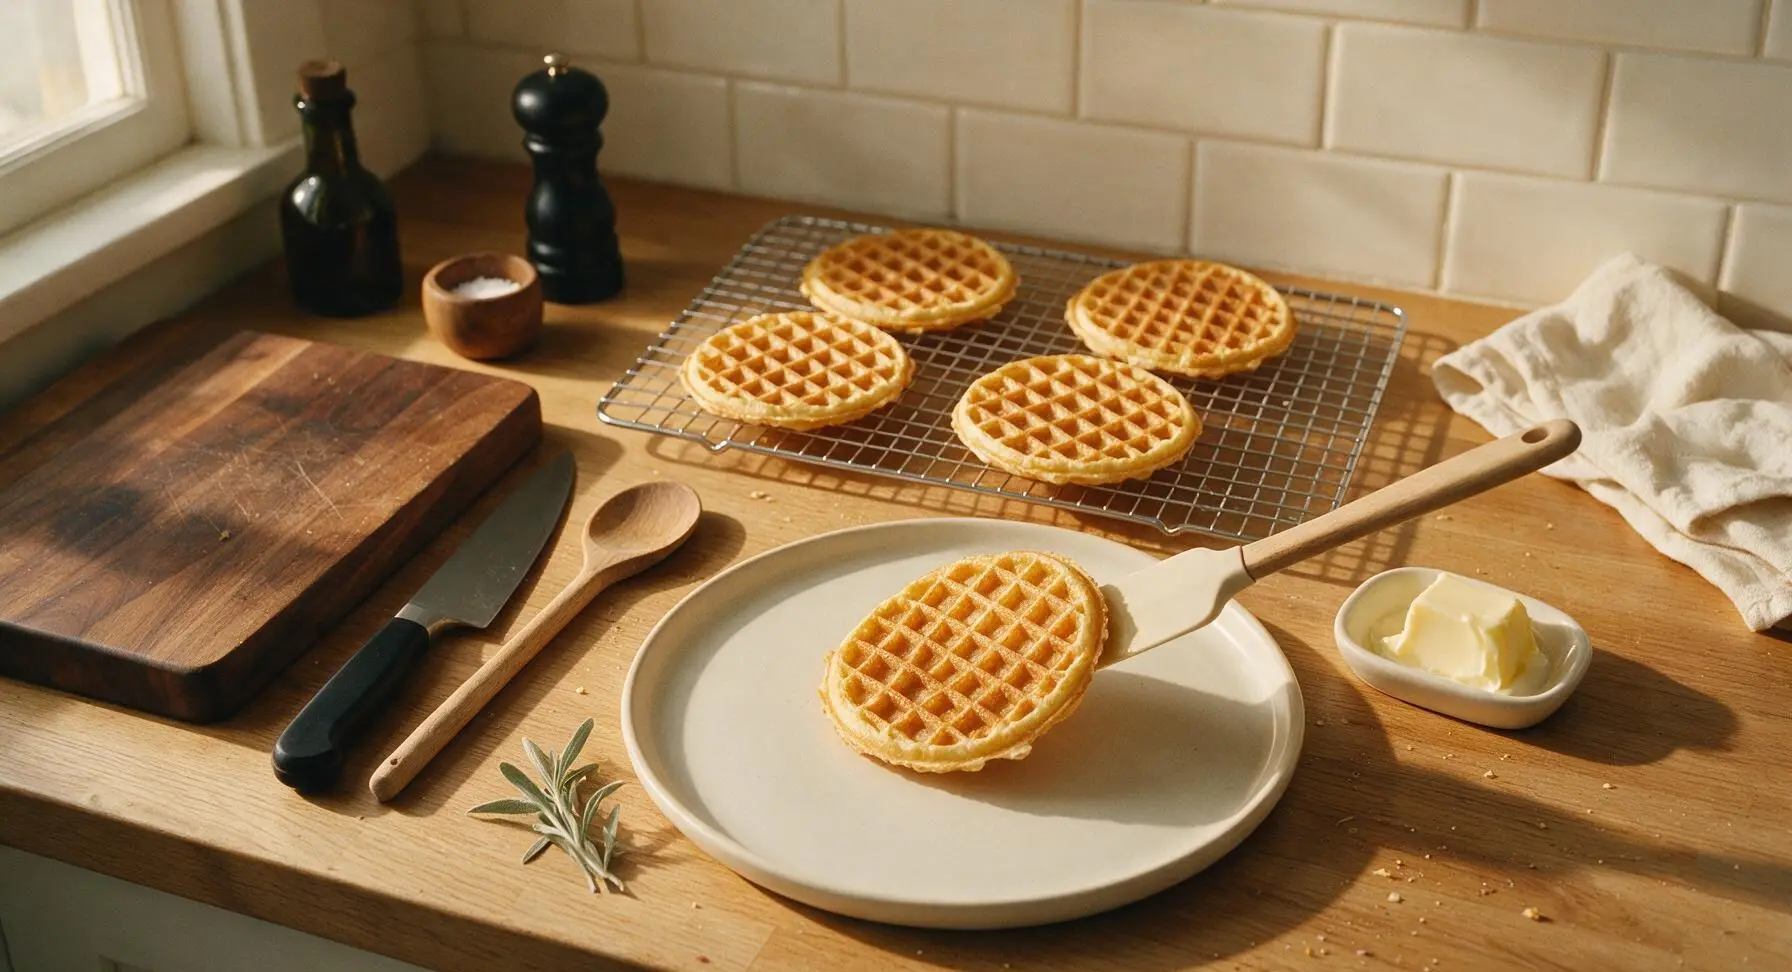
Once all 4 waffles are cooked and held on the wire rack, place one warm waffle on the matte cream white ceramic dinner plate, centered. Add a thin pat of softened salted butter from the matching cream butter dish to the center of the waffle, letting it melt into the warm grid pockets.
Add Syrup and Garnish
Drizzle 2 tablespoons of pure maple syrup from the small clear glass syrup pitcher over the waffle, letting it fill the grid pockets and drip slightly down the edges. Pluck a single tiny sprig of fresh thyme from the back-right potted plant and place it at the 2 o'clock position on the waffle as a light, fresh garnish. Serve immediately while the waffle is hot and crisp.

Tips
2.Rest cooked waffles on a wire rack instead of a plate or stacked pile: trapping hot waffles on a solid surface or under other waffles locks in steam, which softens the crisp exterior and leads to soggy waffles in as little as 2 minutes.
3.Let melted butter cool for 2 minutes before adding it to the batter: pouring hot melted butter directly into cold milk and eggs can partially cook the eggs on contact, creating small, unwanted lumps of cooked egg in the finished batter.






OMG these are EXACTLY the waffles I grew up getting at our small town diner every Saturday! I’ve tried so many copycat recipes that came out too thick or soggy, but these crisp up perfect in 12 minutes flat. My kids devoured a whole batch before I even got to sit down with my syrup. SO good, already added to our weekly weekend rotation!
Game changer for Sunday brunch! I brought these to my buddy’s potluck last weekend and everyone was asking for the recipe. Super easy to whip up even when you’re half asleep before coffee, and they hold their crisp way better than the fluffy Belgian waffle recipes I usually make. Only note: I added a tiny dash of cinnamon to the batter and it slapped.
Wow, these are perfect for quick weekday breakfasts too! I made a big batch on Sunday, let them cool fully, then popped them in the toaster all week and they got just as crisp as when they were fresh. 10/10, way better than the frozen waffles I used to buy, and way cheaper too.
Okay, I was convinced thin waffles couldn’t be as good as the thick fluffy ones, but my partner begged me to make these and I stand corrected. They’re so crisp around the edges, the little grids hold syrup perfectly without getting soggy immediately. Only reason I’m not giving 5 stars is I wish the recipe made a bigger batch — we ran out after 3 people!
So easy even I can’t mess this up lol. I don’t have a fancy waffle maker, just the cheap $20 one I got at Target move-in week, and these still came out perfectly crisp. Dusted them with powdered sugar and added some strawberries, my roommate thought I ordered takeout from the diner down the street.
I swapped the all-purpose flour for a 1:1 gluten free baking flour and these still came out so crisp and delicious! I’ve been missing diner waffles since I went gluten free 3 years ago, and this hit the spot so hard I almost cried. Topped with a little whipped cream and blueberries, chef’s kiss.
Made these for my kids before their early soccer practice this morning, and there were zero complaints (a miracle in our house). The oldest even asked if we can have them for dinner tomorrow night too. Easy, fast, no weird ingredients I had to run to three stores to find — total keeper.