

thin waffles

title 1
thin waffles
⏱️ cook time 12 minutes
🍽️ servings 4
⚡ Difficulty easy

intro

Crisp, lacy-edged golden thin waffles with a tender light crumb, ready in 22 minutes. Perfect topped with butter, maple syrup, and fresh spring berries for a quick, satisfying meal.

Ingredients
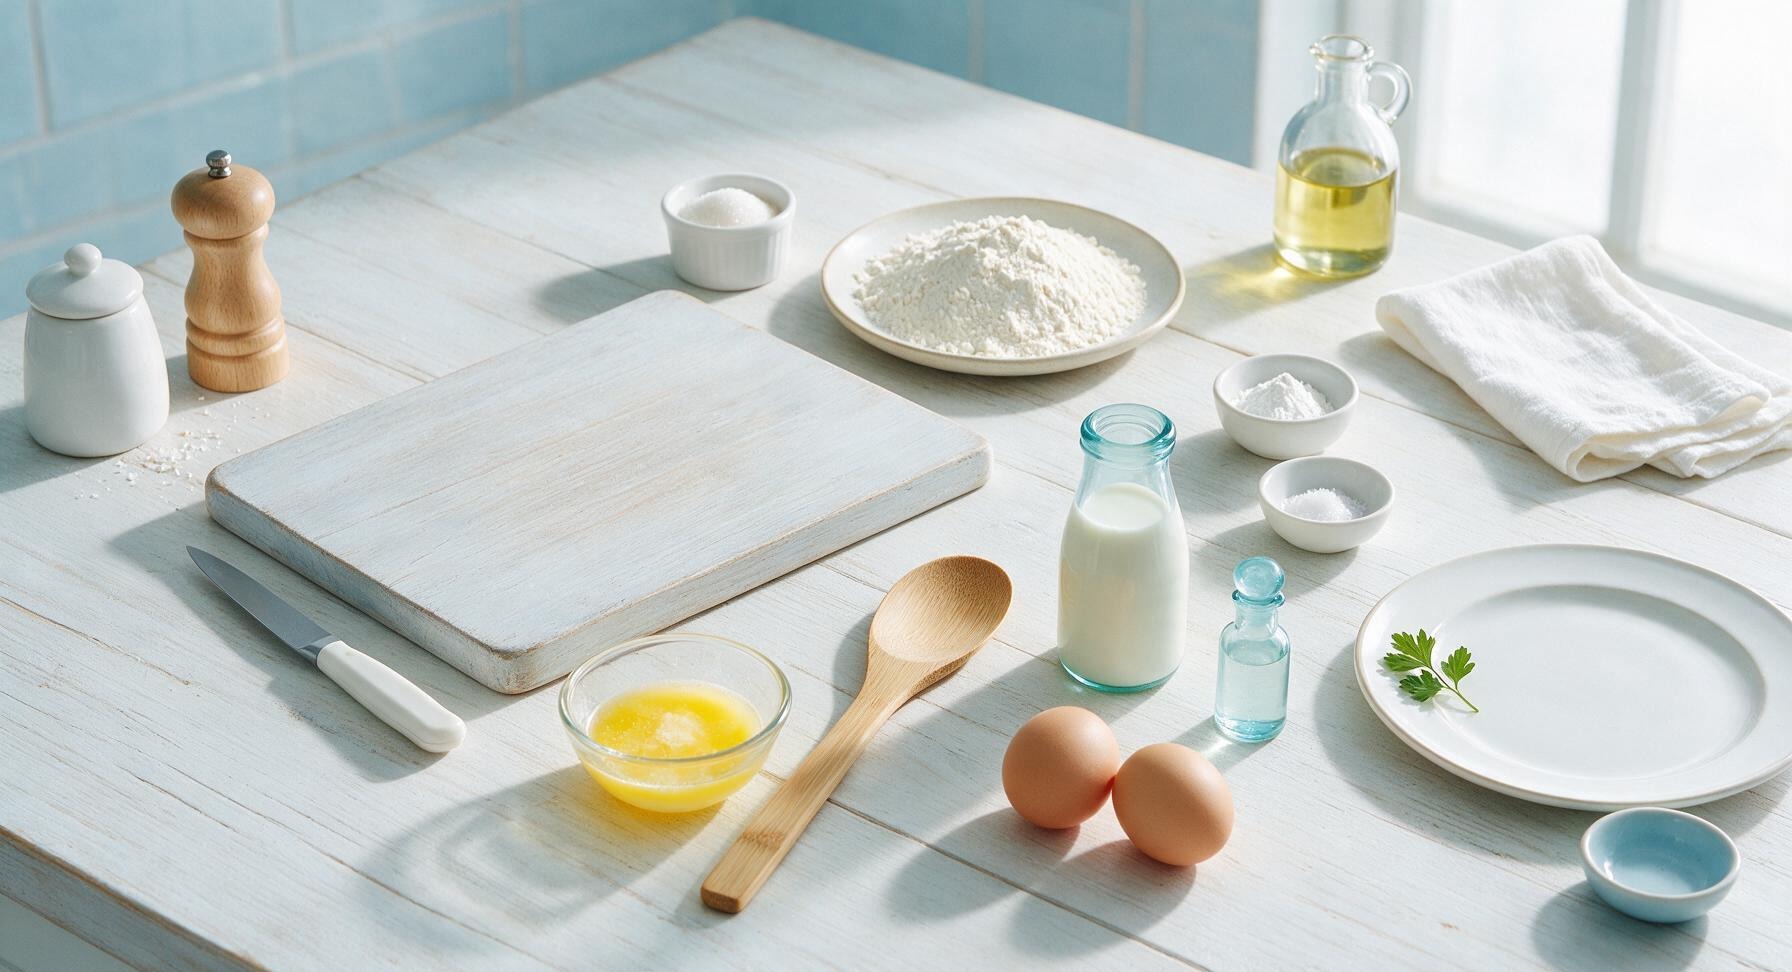
All-purpose flour 1 1/2 cups (180g)
Whole milk 1 1/4 cups (300ml)
Large eggs 2
Unsalted butter, melted and cooled 1 1/2 tbsp (21g)
Granulated sugar 1 tbsp (12g)
Baking powder 1 tsp
Fine sea salt 1/4 tsp
Pure vanilla extract 1 tsp

Steps

1

Preheat Waffle Maker

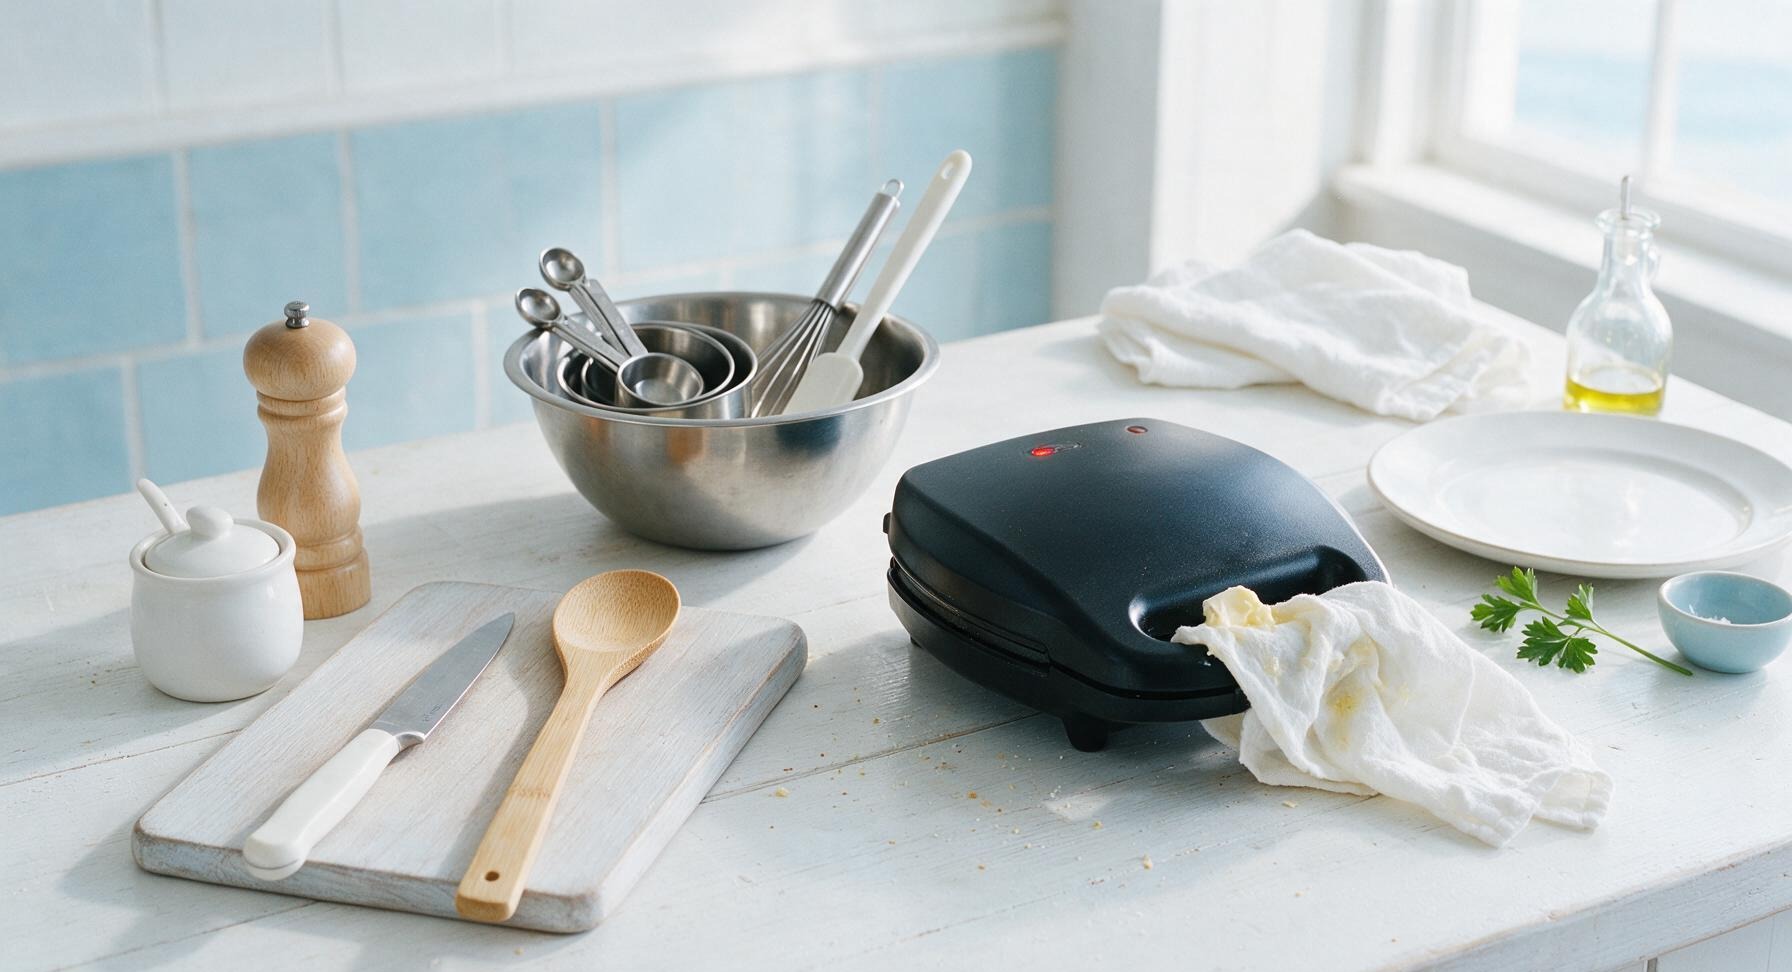
Set the matte black thin waffle maker in its permanent center-right counter position. Preheat to 375°F (190°C, medium-high setting) until the built-in ready indicator light illuminates, approximately 3 minutes. Tear a small corner from the pale linen napkin, dip it in a tiny amount of melted butter set aside from the measured batter portion, and lightly wipe both nonstick cooking plates to coat; avoid excess grease, which will cause soggy, dark-edged waffles. Do not use aerosol cooking spray, as it leaves a sticky residue that builds up on the plates over time.
Step 1
step1:Preheat Waffle Maker
2

Mix Dry Ingredients

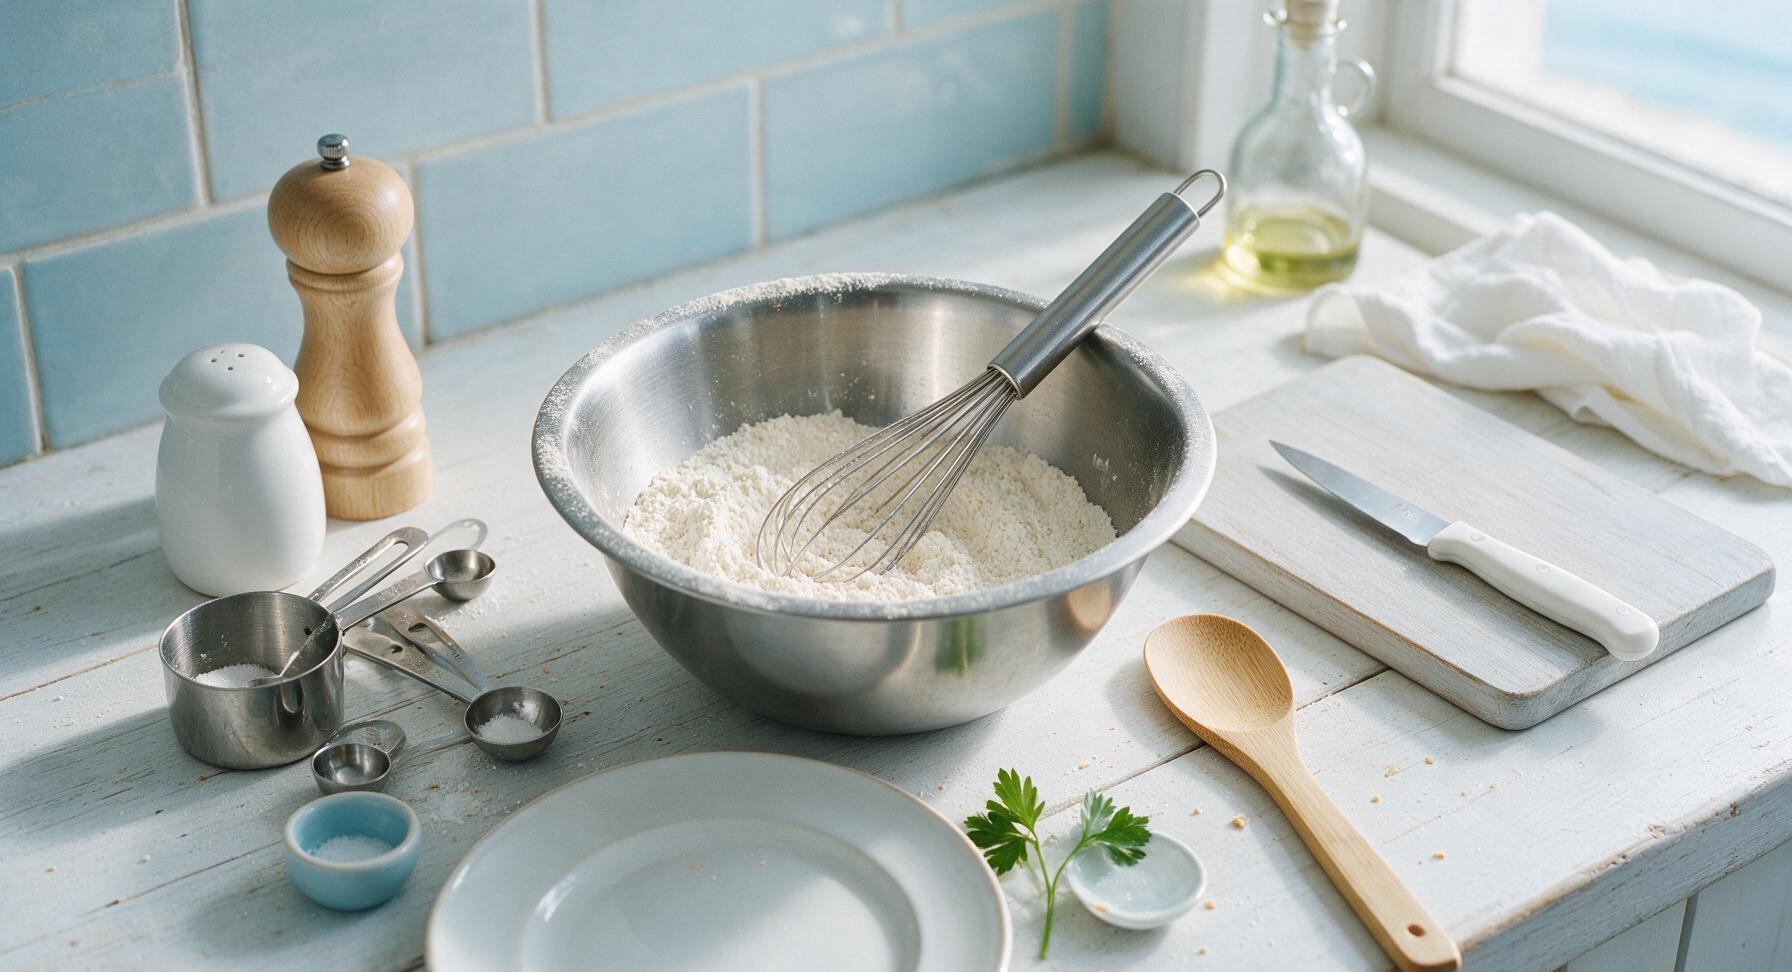
Add 1 1/2 cups (180g) all-purpose flour, 1 tbsp (12g) granulated sugar, 1 tsp baking powder, and 1/4 tsp fine sea salt to the medium stainless steel mixing bowl. Use the stainless steel wire whisk to stir the dry ingredients for 30 seconds, until fully combined with no visible clumps of baking powder. The finished dry mixture will be a uniform pale off-white color.
Step 2
step2:Mix Dry Ingredients
3

Whisk Wet Ingredients

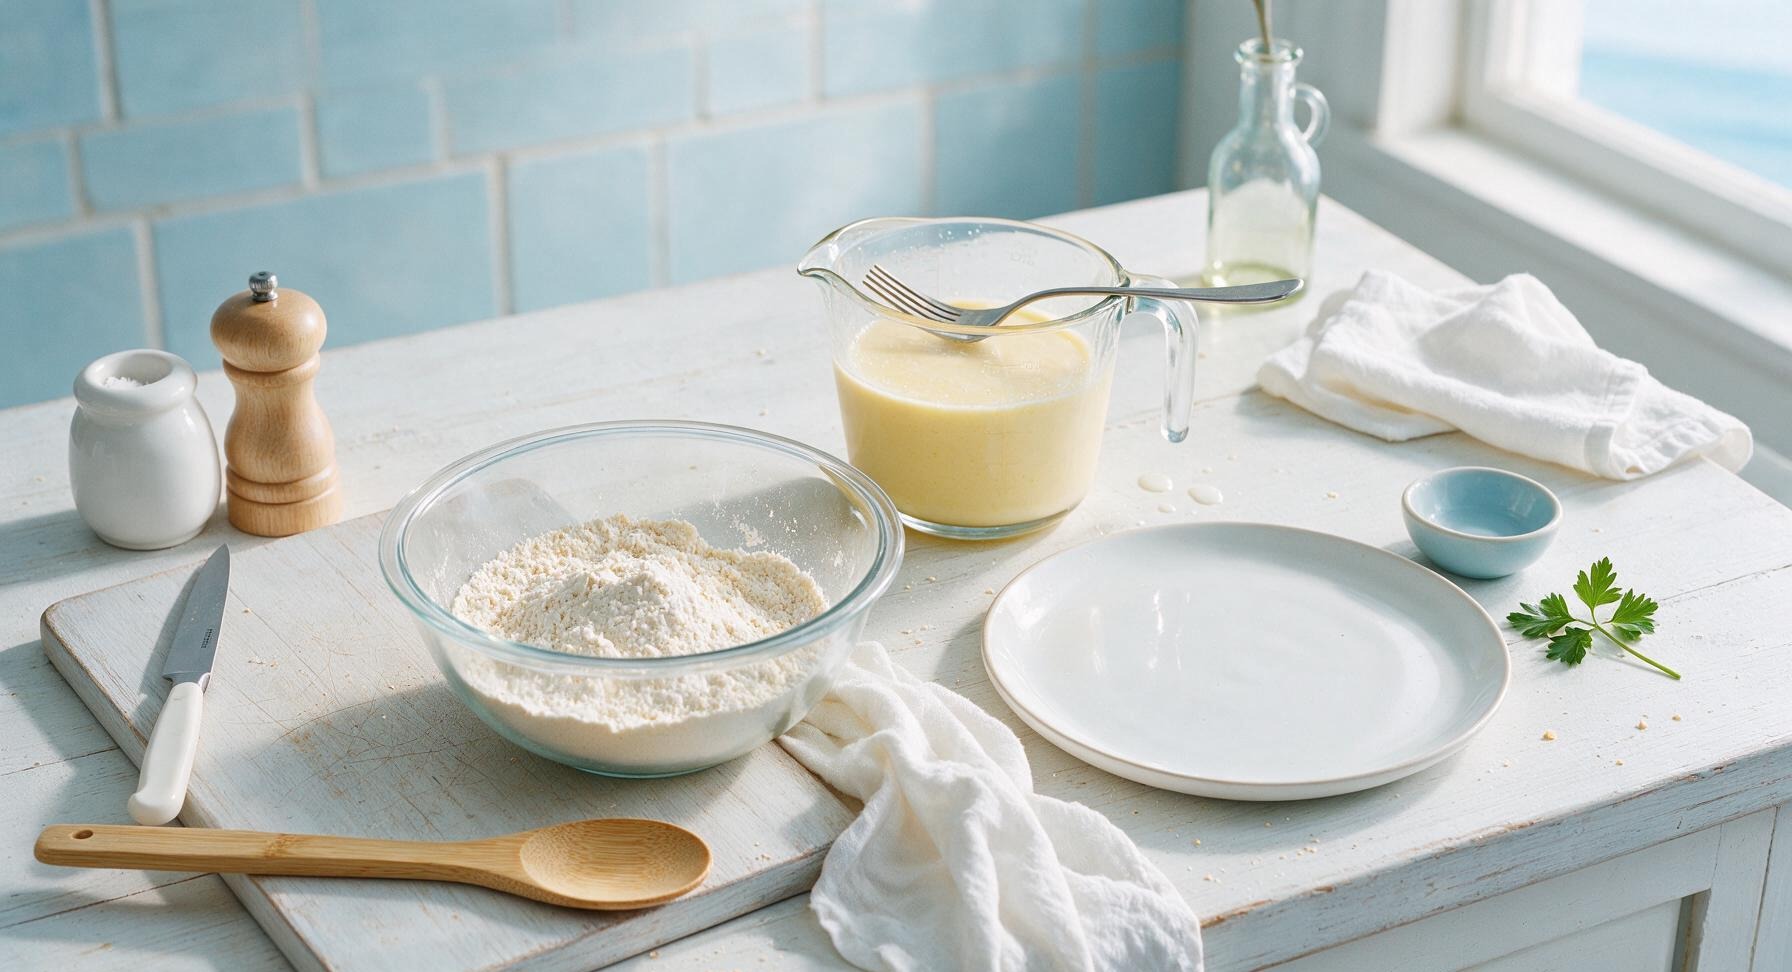
Crack the 2 large eggs into the clear glass 2-cup measuring cup, and beat lightly with a fork until yolks and whites are fully combined with no streaks of clear egg white remaining. Stir in 1 1/4 cups (300ml) whole milk, the remaining cooled melted butter, and 1 tsp vanilla extract, mixing until smooth. Do not overbeat, as excess air will cause waffles to rise too thick and lose their signature thin, crisp texture.
Step 3
step3:Whisk Wet Ingredients
4

Mix Thin Batter

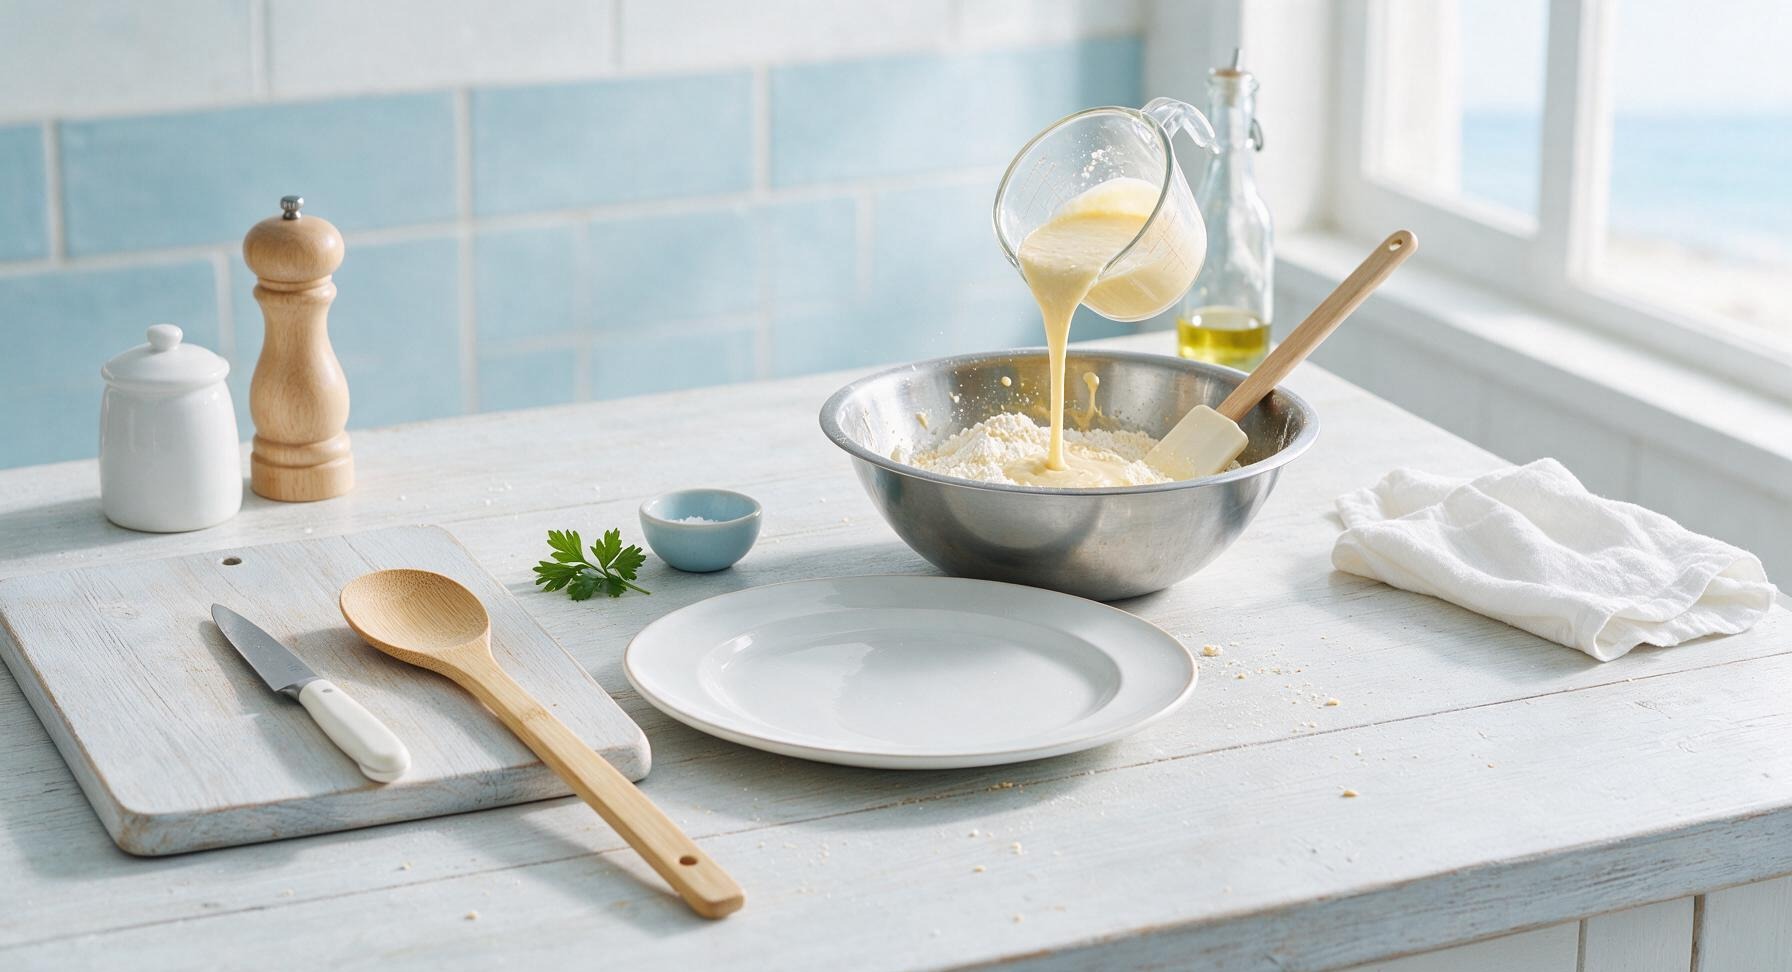
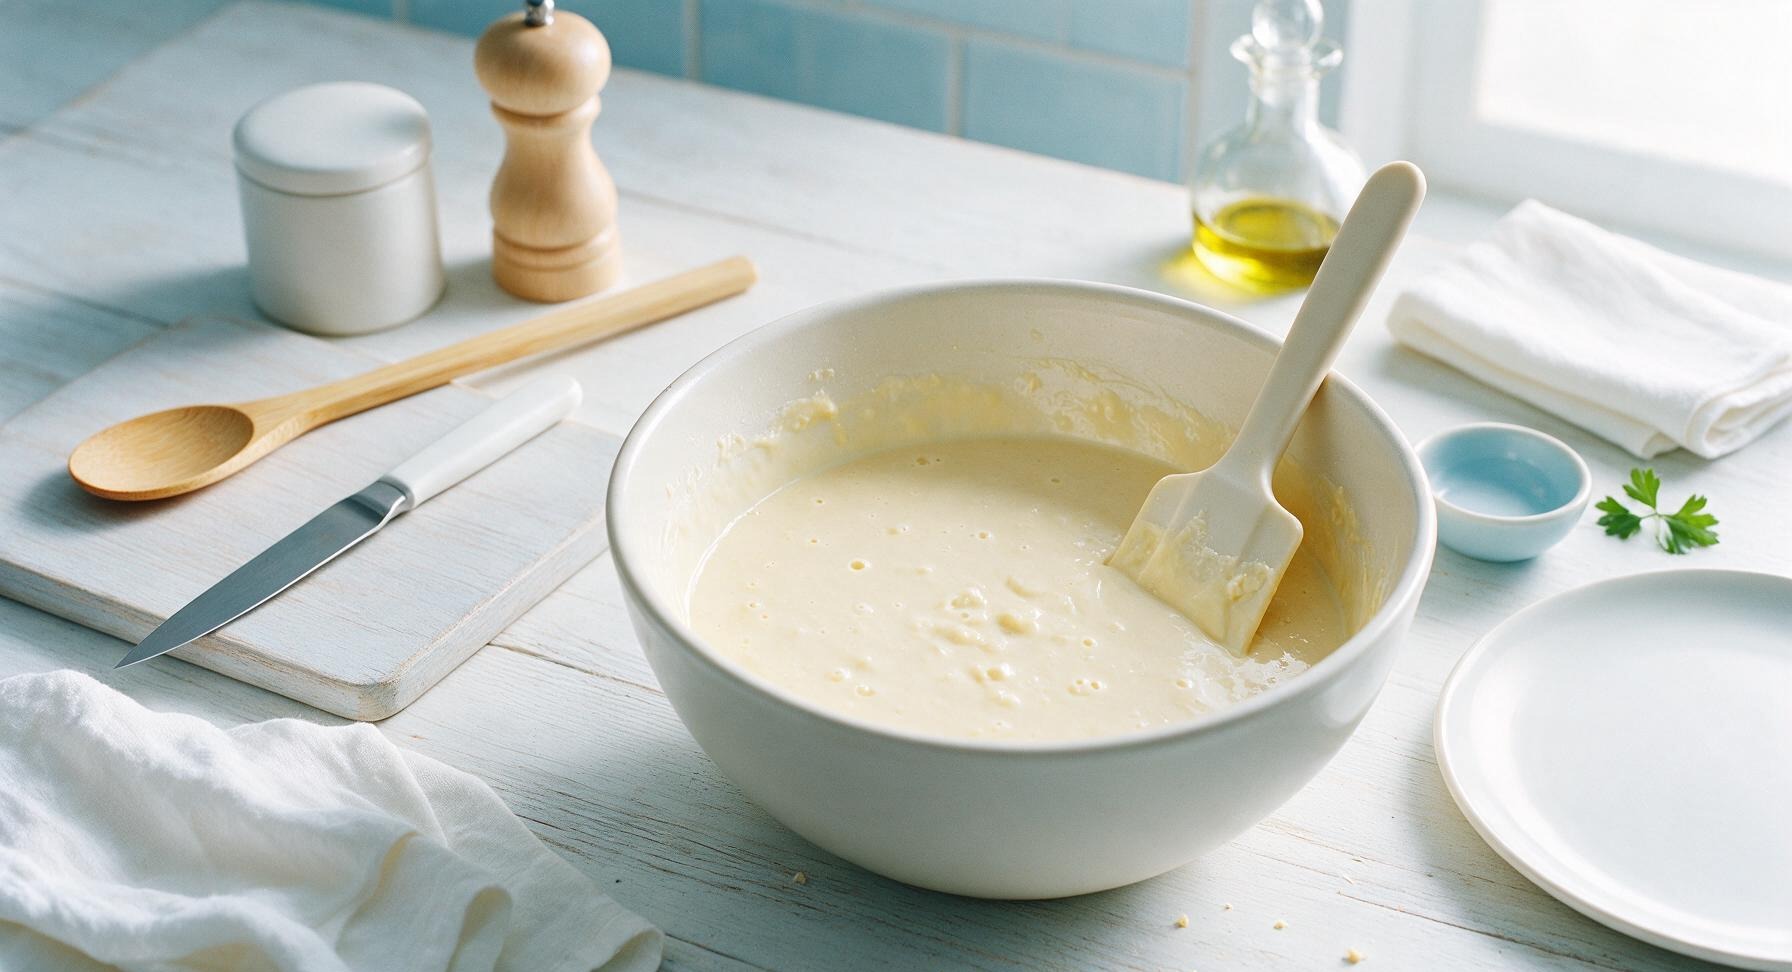
Pour the entire wet ingredient mixture into the bowl of dry ingredients. Use the off-white silicone spatula to gently fold the ingredients together, stirring only until no large dry flour streaks remain. The finished batter will be thin (consistency of heavy cream), slightly lumpy, and pour easily. Let the batter rest for 2 minutes to allow the baking powder to activate; tiny bubbles will appear across the surface when it is ready to cook. Do not overmix, as overstirring develops gluten and creates tough, chewy waffles.
Step 4
step4:Mix Thin Batter
Step 4
step4:Mix Thin Batter
5

Pour Batter Evenly

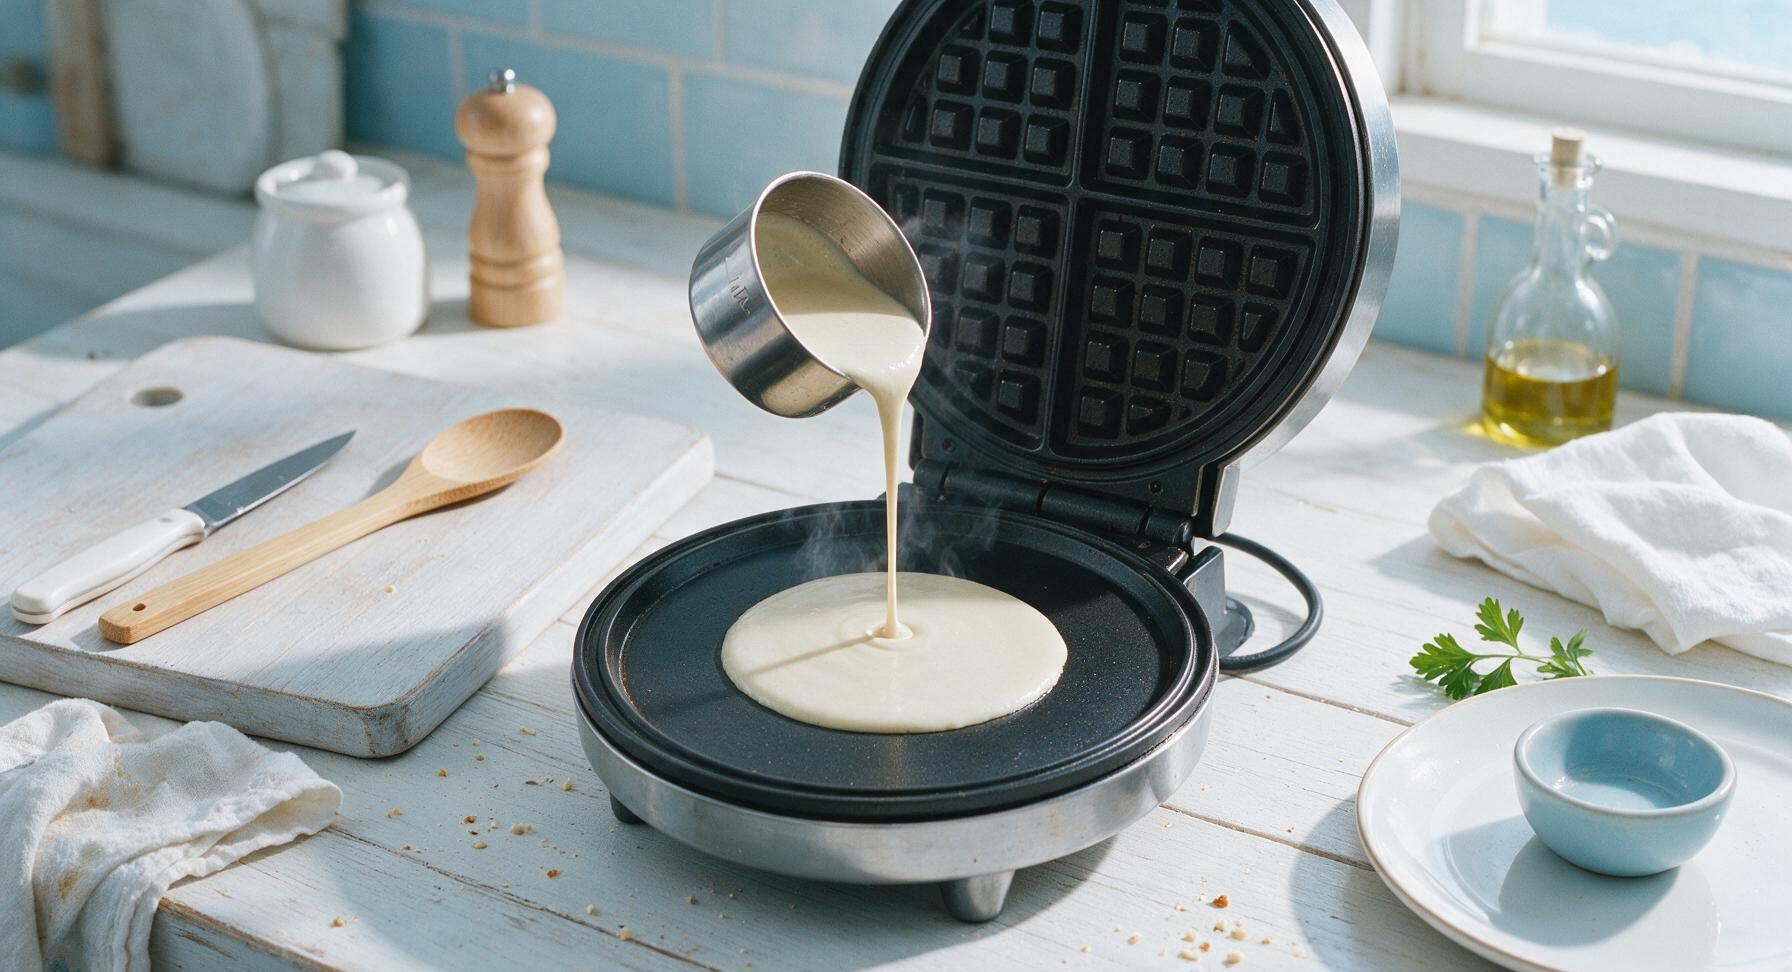
Scoop 1/2 cup of batter with the stainless steel 1/2 cup measuring cup, and pour it directly onto the center of the preheated waffle maker's bottom cooking plate. The batter will spread quickly across the hot surface to fill the 20cm round plate; do not spread it manually with a spatula, as this will create uneven, thin spots. Close the waffle maker lid immediately after pouring.
Step 5
step5:Pour Batter Evenly
6

Cook Until Golden Crisp

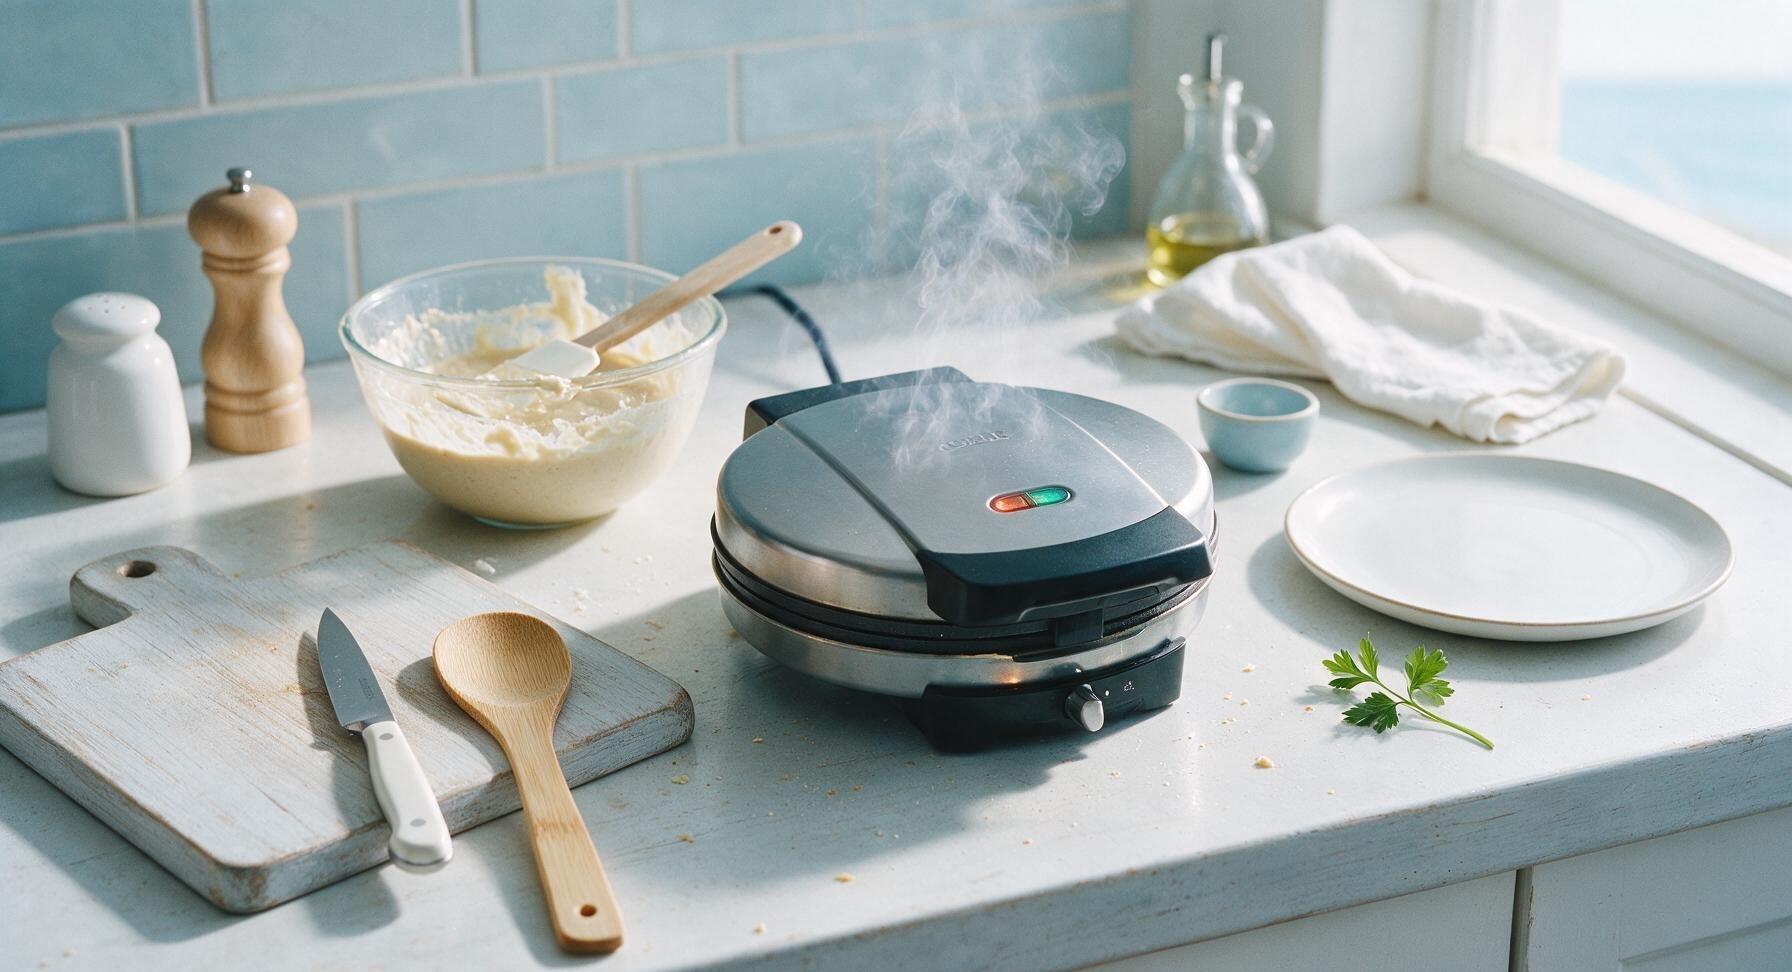
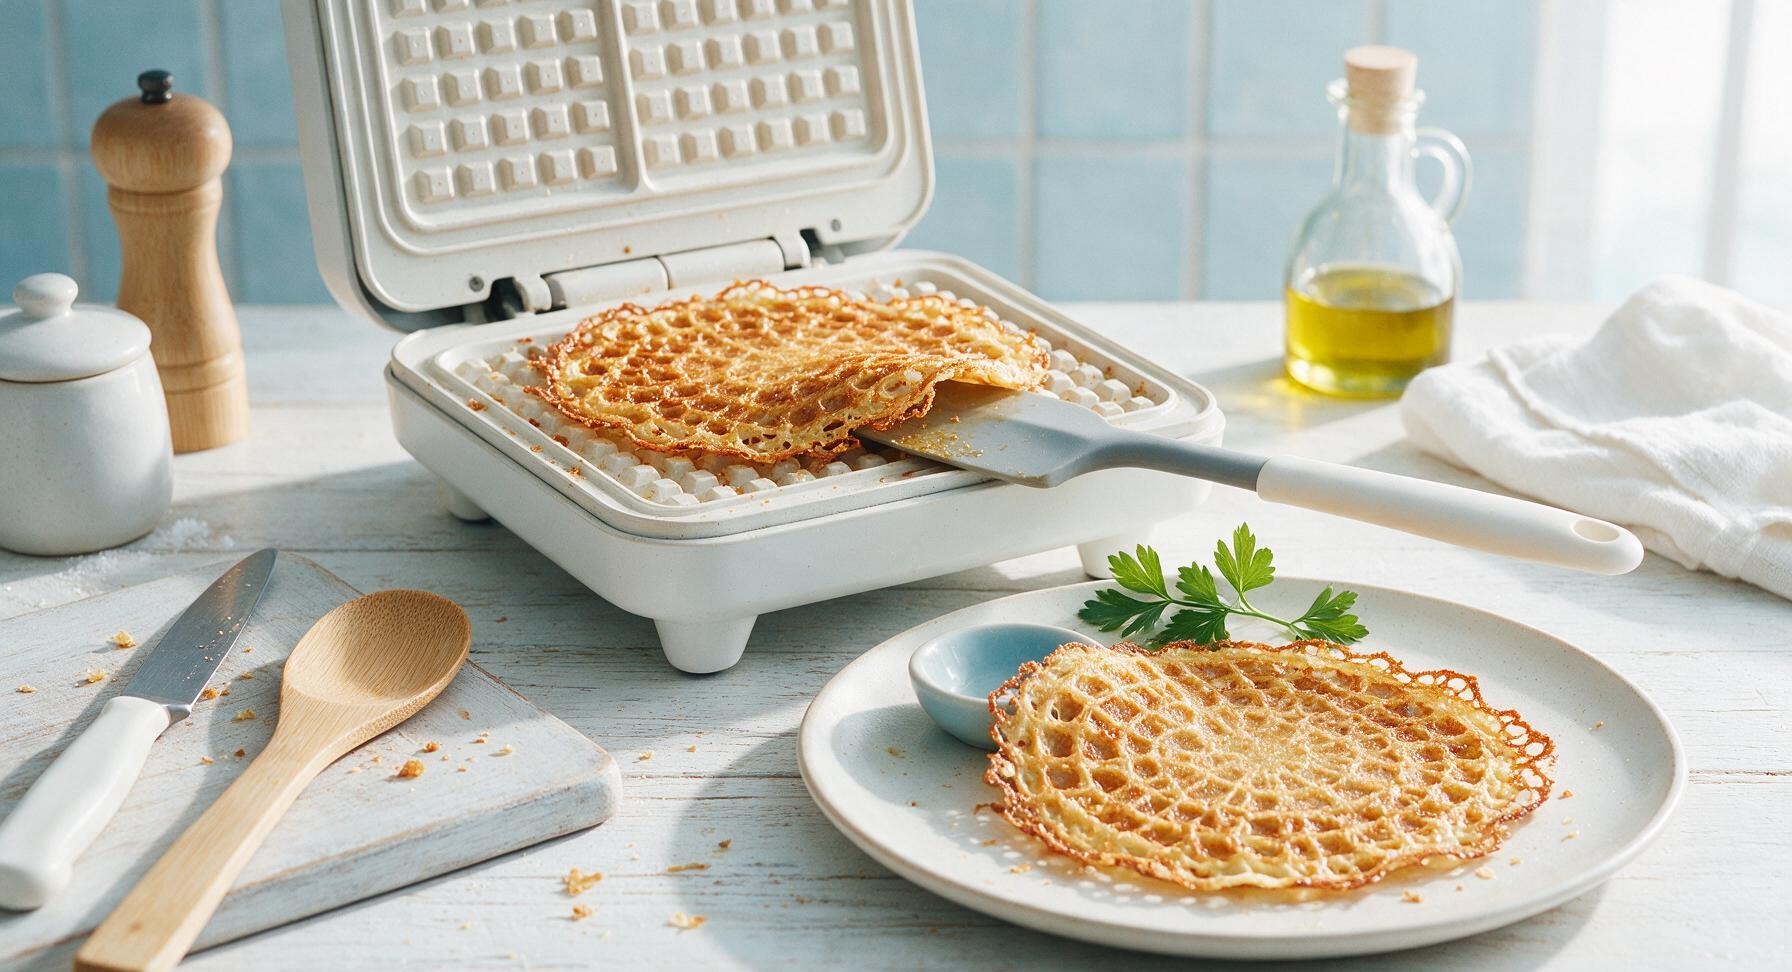
Close the waffle maker lid and cook for 2 to 2 1/2 minutes, until steam stops escaping from the edges of the iron and the waffle is deep golden brown with lacy, darker caramelized edges. Do not open the lid early, as this will tear the soft, partially set thin waffle. Once done, lift the waffle out with the silicone spatula and transfer it to the waiting off-white ceramic plate. Repeat the pouring and cooking process with the remaining batter to make 4 total waffles, stacking them loosely on the plate as you go to keep edges crisp.
Step 6
step6:Cook Until Golden Crisp
Step 6
step6:Cook Until Golden Crisp
7

Plate and Serve Hot

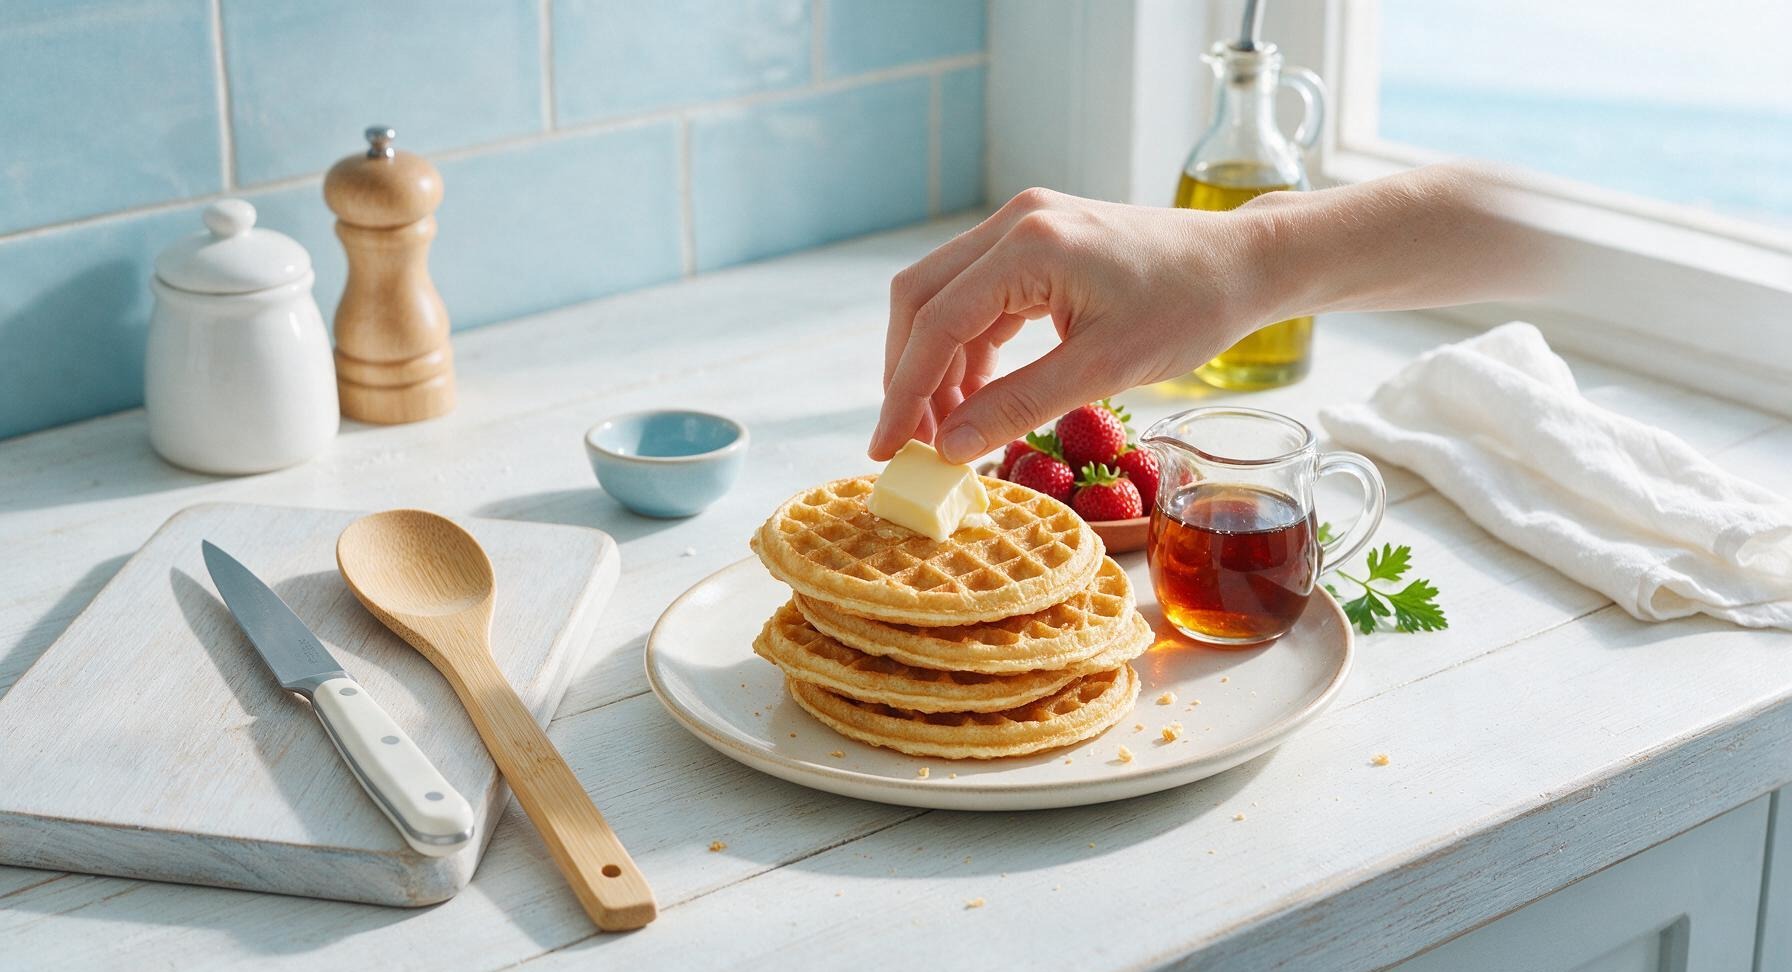
Once all waffles are cooked, arrange them in a loose stack centered on the off-white ceramic plate. Top with a 1 tbsp pat of unsalted butter, and serve immediately with warm maple syrup from the glass pitcher and fresh strawberries from the terracotta dish on the side. Thin waffles lose their crisp texture within 3 minutes of cooking if left to sit, so serve right away.
Step 7
step7:Plate and Serve Hot

Tips

1.Skip aerosol cooking spray when prepping your waffle maker: spray leaves a hard, sticky residue on nonstick plates over time and causes uneven browning. A light wipe of melted butter on the plates creates perfectly crisp, evenly golden waffles without buildup.
2.Resist the urge to open the waffle maker early to check doneness: thin waffles are very delicate when partially cooked, and opening the lid before steam stops escaping will cause the waffle to split, stick, or cook unevenly. Wait for steam to slow to a near stop before peeking.
3.Keep cooked waffles crisp by stacking them loosely instead of wrapping them in a towel or piling them tightly: tight stacking traps steam from the hot waffles, which softens the lacy crisp edges in seconds. Loosely stacked waffles allow air flow to keep edges crisp for the 2-3 minutes it takes to cook the remaining batter.


✨ You May Also Like

Breakfast
🍜 United States

Crisp-edged, fluffy lard griddle cakes are a nostalgic homestyle staple, with rich savoriness from rendered lard, perfect topped with maple syrup or savory gravy.

⏱️ 25 minuteBreakfast ★ 4.8
Breakfast
🍜 United States

Flaky, buttery homemade buttermilk biscuits smothered in creamy, peppery pork sausage gravy: a beloved, hearty Southern American comfort food classic.

⏱️ 35 minuteBreakfast ★ 4.8
Breakfast
🍜 United States

Golden, custardy brioche stuffed with sweet cream cheese and fresh berries, pan-fried to crisp perfection. An indulgent, cozy breakfast perfect for slow weekend mornings.

⏱️ 30 minuteBreakfast ★ 4.7
Breakfast
🍜 United States

Flaky, buttery Southern-style biscuits stuffed with savory salty country ham, a portable, satisfying classic perfect for casual on-the-go meals.

⏱️ 25 minuteBreakfast ★ 4.8
Breakfast
🍜 United States

Iconic puffy baked pancake popularized in Seattle, with crisp golden edges and soft custardy center, served warm with classic sweet toppings.

⏱️ 35 minuteBreakfast ★ 4.6
Breakfast
🍜 United States

Fluffy, golden pancakes studded with juicy peak-summer mixed berries, drizzled with maple syrup for a bright, comforting, crowd-pleasing family breakfast.

⏱️ 25 minuteBreakfast ★ 4.7

thin waffles:Frequently Asked Questions

1.Why do my thin waffles turn out soggy instead of crisp? ▾
This almost always traces back to three easy fixes: First, preheat your waffle iron fully—test it with a drop of water, which should sizzle and evaporate in 2 seconds. Second, don’t overmix the batter; small lumps are totally fine. Third, skip stacking waffles straight off the iron—set them on a wire rack for 1 minute before serving to lock in crisp edges.
2.Can I make this batter ahead of time for quick morning waffles? ▾
Absolutely! Mix your dry ingredients in one sealed container and wet ingredients (cooled melted butter, milk, beaten eggs) in another, and store both in the fridge for up to 24 hours. Stir them together just before cooking to keep the light, tender crumb; pre-mixed batter gets dense and won’t form those signature lacy crisp edges.
3.What waffle iron setting works best for these thin, crisp waffles? ▾
Skip deep, thick Belgian waffle plates if you have interchangeable options—use standard thin waffle plates set to medium-high heat. You want a golden brown cook time of 2 to 2.5 minutes per waffle; if your iron has numbered browning settings, start at level 4 and adjust up if edges aren’t lacy and crisp after that window.
4.Can I use low-fat or plant-based milk instead of whole milk? ▾
Whole milk gives the richest, most tender crumb and helps edges crisp evenly, but you can swap in 2% milk in a pinch without major texture issues. If using unsweetened oat or almond milk, add 1 extra teaspoon of melted butter to replace lost milk fat, or your waffles may turn out dry and less crisp at the edges.
5.Why do my waffles stick to the iron even when I use a nonstick model? ▾
Sticking almost always happens if your iron isn’t fully preheated, or if you added melted butter that was still hot when mixing the batter. You don’t need extra cooking spray for a properly seasoned nonstick iron, but if issues persist, wipe plates lightly with a butter-dipped paper towel before the first batch only.
6.How do I keep waffles crisp when cooking multiple batches for a crowd? ▾
Skip the common trick of keeping waffles in a low oven on a plate—trapped steam will make them soggy fast. Instead, set your oven to 200°F, place a wire rack over a baking sheet, and set cooked waffles in a single layer on the rack as you finish batches. They’ll stay perfectly crisp for up to 20 minutes this way.
7.Can I freeze leftover cooked waffles for quick meals later? ▾
These thin waffles freeze beautifully! Let cooked waffles cool completely to room temperature on a wire rack, then stack them between small squares of parchment paper to prevent sticking, and seal in a freezer-safe bag for up to 3 months. Reheat directly from frozen in a toaster on medium for crisp, fresh-tasting results.
8.Do I have to sift the all-purpose flour for this recipe? ▾
You don’t need to sift the flour, but I do recommend whisking it together with the sugar first to break up any large clumps before adding wet ingredients. Overmixing to get rid of lumps after adding wet ingredients develops gluten and makes waffles tough, so pre-whisking dry ingredients cuts down on needed stirring later.
9.Why do I need to cool melted butter before adding it to the batter? ▾
Hot melted butter will partially cook the eggs when you stir them into the wet mix, creating tiny, lumpy egg curds that lead to uneven, dense waffles. It only takes 3 to 4 minutes for melted butter to cool to room temperature—you’ll know it’s ready when you can touch the butter bowl without it feeling warm.
10.Can I reduce the amount of sugar in this recipe for a less sweet waffle? ▾
You can cut the granulated sugar by half without ruining the texture, but don’t eliminate it entirely. The small amount of sugar here doesn’t just add sweetness—it helps those signature lacy, golden edges caramelize as the waffle cooks, which is key to getting that perfect crisp bite instead of pale, soft edges.
11.How thick should the batter be for these thin waffles? ▾
This batter should be noticeably thinner than thick Belgian waffle batter, with a pourable consistency similar to heavy cream. It should flow easily off your mixing spoon in a thin, steady stream; if it’s thick like pancake batter, stir in 1 to 2 extra tablespoons of whole milk, a teaspoon at a time, until it pours smoothly.
12.Why are my waffles coming out tough and chewy instead of tender? ▾
Tough, chewy waffles are almost always caused by overmixed batter. When you stir wet and dry ingredients together, stop as soon as you no longer see streaks of dry flour—small, pea-sized lumps in the batter are totally desirable. Overstirring develops gluten in the flour, leading to dense, chewy waffles instead of light, tender ones.
13.Can I add mix-ins like chocolate chips or blueberries to this batter? ▾
You can absolutely add small mix-ins, but use a light hand to keep waffles thin and crisp. Stick to ¼ cup total of mini chocolate chips, finely chopped berries, or toasted pecans per batch, and sprinkle them directly on batter right after pouring it on the iron—don’t stir them into the whole bowl, or they’ll sink and cause sticking.
14.How long do I need to cook these waffles for the perfect crisp texture? ▾
Most standard thin waffle irons will cook these perfectly in 2 to 2.5 minutes at medium-high heat. Resist the urge to lift the lid before the 2-minute mark, as that can tear the waffle and let steam escape. The waffle is done when steam stops billowing from the iron edges, and the surface is deep golden lacy brown.
15.Can I use salted butter instead of unsalted butter in this recipe? ▾
You can swap salted butter for unsalted if that’s what you have on hand; the small amount of extra salt won’t throw off the balanced, classic flavor. Be sure to still let the melted salted butter fully cool before mixing it into wet ingredients, to avoid accidentally cooking the raw eggs as you stir.
16.What are the best toppings to serve with these classic thin waffles? ▾
These light, crisp waffles pair beautifully with simple toppings that don’t weigh them down. A pat of melted salted butter, pure maple syrup, and fresh spring berries (strawberries, raspberries, or blueberries) are my go-to, but you can also use a dollop of whipped cream, light lemon curd, or a dusting of powdered sugar for a fun treat.
17.Why are my waffles pale and not lacy even after cooking the full recommended time? ▾
Pale, soft, non-lacy waffles mean your waffle iron isn’t running hot enough, or your batter is too thick. First, give your iron an extra 2 to 3 minutes to preheat fully before pouring the next batch. If that doesn’t fix it, stir 1 tablespoon of whole milk into remaining batter to thin it slightly, so it spreads thin and crisps into those signature golden lacy edges.

Comments (5)

30 minutes ago

OMG these are SO good! I’ve been searching forever for a thin, crispy waffle recipe that doesn’t turn soggy 2 minutes after you pour syrup on it. Cooked up perfect in my old hand-me-down waffle iron in right around 12 minutes total for a whole batch for me and my roommate. Already saved this to my weekly breakfast rotation! Total game changer, fr.

yesterday

Super easy recipe, even for someone who burns toast half the time lol. Only thing I did different was add a tiny dash of cinnamon to the batter, and they came out chef’s kiss. My kids loved it, asked for seconds before they even finished their first waffle. Will be making these for our weekend brunch potluck with the neighbors next week!

2 hours ago

So glad the whole family loved them! The cinnamon addition sounds amazing — that warm, cozy note pairs perfectly with maple syrup and fresh berries. Hope they’re a total hit at the potluck!

3 days ago

Took a chance on this because my usual waffle recipe makes those thick, fluffy Belgian ones and my partner has been begging for the thin, crisp diner-style waffles he grew up with. Absolute home run! He said they taste exactly like the ones his grandma used to make at their lake house. Only note: make sure your waffle iron is fully preheated before pouring batter, otherwise they don’t get that crisp edge.

2 days ago

Thanks for the preheat tip! I made these last week and they were a little soft the first round, I bet that’s why. Gonna try again this Saturday!

2 weeks ago

Meal prepped a batch of these on Sunday and popped them in the toaster all week for quick breakfasts before school drop off. They crisp right back up perfectly, no weird soggy texture like the frozen waffles from the grocery store. Saved me so much time on busy weekday mornings! Only gave 4 stars because I wish the recipe made a couple more waffles, I have 3 hungry teens so the batch was gone in 2 days lol.

1 week ago

Pro tip! Double the batter and freeze the extra cooked waffles between sheets of parchment paper — they last for up to 3 months in the freezer and toast up perfect. I do this for our camping trips!

1 week ago

Thanks for the honest feedback! We’re so glad these worked for your busy weekday mornings. If you’re feeding a crew, definitely double (or even triple!) the recipe — it scales really well without any adjustments needed.

5 days ago

Made these for our Sunday family dinner breakfast-for-dinner night last week and everyone went crazy for them! Topped them with fresh strawberries, whipped cream, and a drizzle of chocolate syrup for the kids, and they kept asking when we can have waffle night again. So easy to throw together, I didn’t even have to run to the store for ingredients — all stuff I already had in the pantry. 10/10!

3 days ago

Wait breakfast for dinner night is such a good idea! I’ve been in a total dinner rut lately, I’m totally stealing that. These waffles sound perfect for it.

2 days ago

We love a good breakfast-for-dinner night! So happy these were a hit with the whole family. Those topping combinations sound absolutely delicious, too.



