1.Why does this recipe specifically call for Tillamook Sharp White Cheddar instead of other sharp cheddar brands?
▾
Tillamook Sharp White Cheddar has a bright, well-balanced tang that isn’t overly bitter, and it melts into an ultra-smooth, velvety sauce without the grainy texture some mass-produced sharp cheddars develop. Aged just long enough to cut through butter and milk richness, it delivers that iconic Pacific Northwest comfort food flavor without feeling heavy.
2.Can I use pre-shredded Tillamook cheddar instead of shredding a block myself?
▾
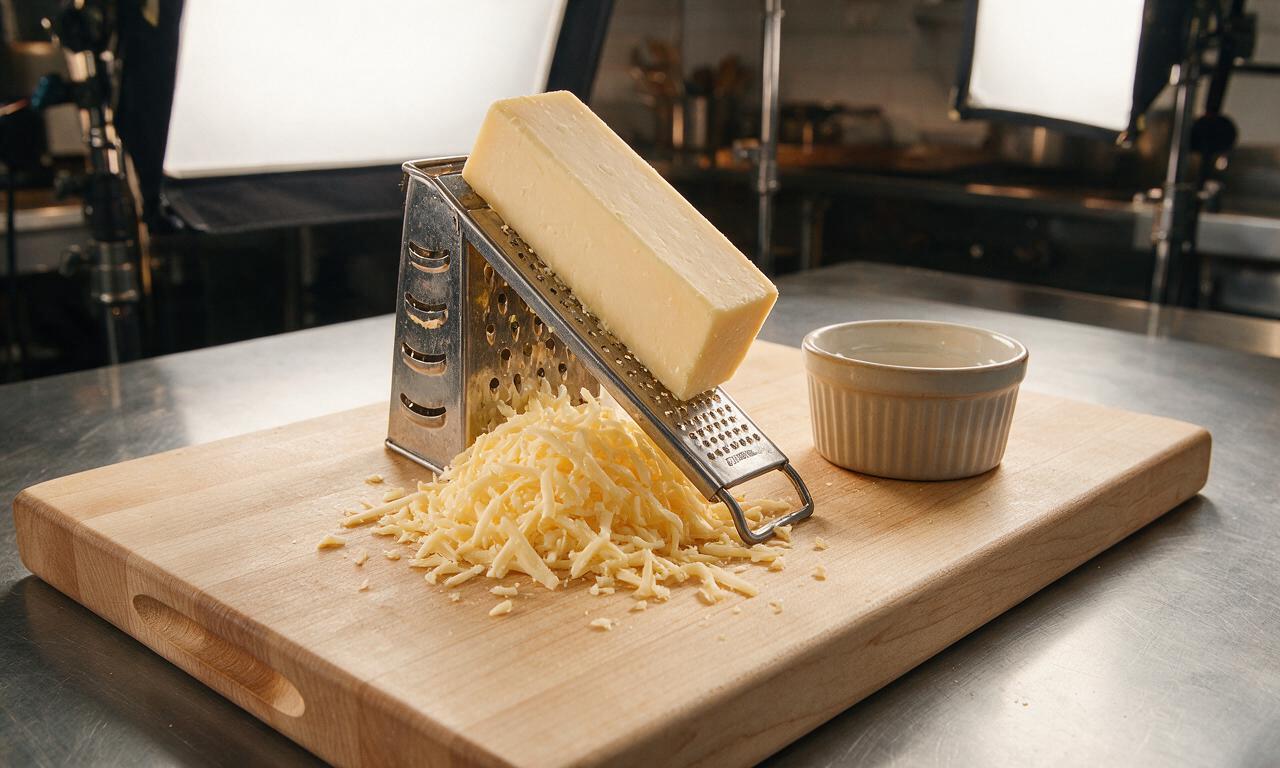
I don’t recommend it for the creamiest results. Pre-shredded cheese is coated in potato starch and anti-caking agents to prevent clumping, which keeps it from melting fully into a silky sauce. If you’re short on time it will work in a pinch, but shredding a cold block of Tillamook takes 2 minutes and delivers far better texture and flavor.
3.Do I have to use whole milk for the sauce, or can I swap in lower-fat milk?
▾
Whole milk gives the richest, creamiest base that won’t separate or thin out during baking. You can use 2% milk if that’s what you have on hand, but avoid skim or low-fat non-dairy milks—they tend to make sauce watery or grainy, and don’t carry that sharp cheddar flavor as well. For extra luxury, swap ¼ cup milk for heavy cream.
4.How firm should I cook the elbow macaroni before baking it in the cheese sauce?
▾
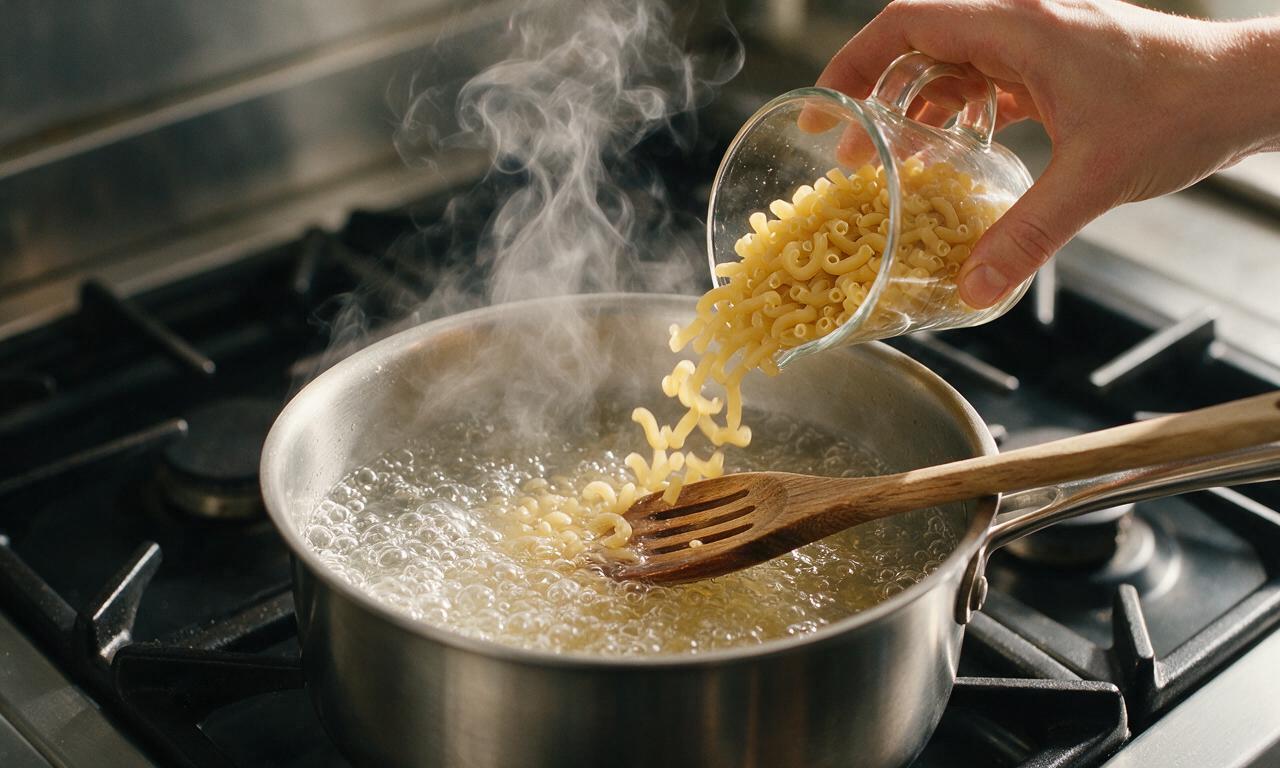
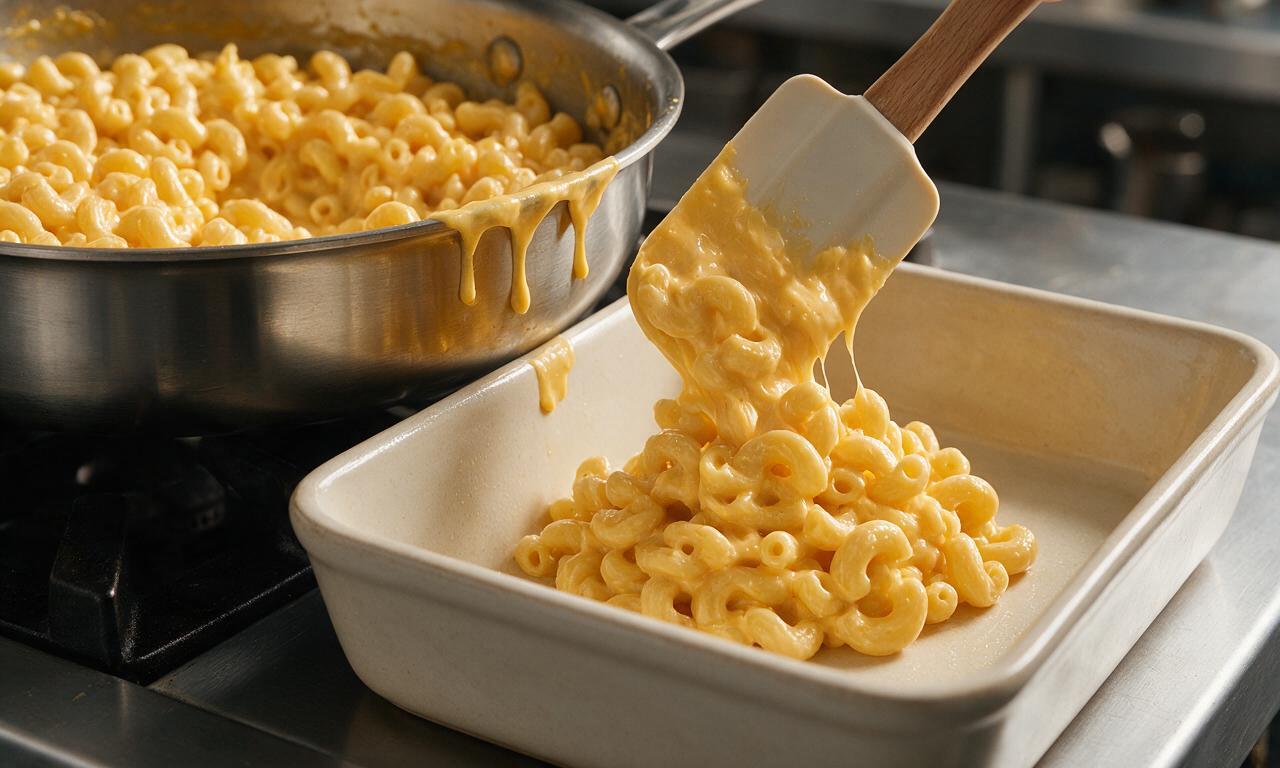
Cook dry elbow macaroni 2 minutes less than the package directs for al dente, so it’s still firm to the bite with a tiny white core in the center. It will finish cooking as it absorbs sauce and bakes, and this step prevents mushy, overcooked pasta. Don’t forget to salt the pasta water generously—it’s your only chance to season the noodles themselves.
5.Why does my homemade cheese sauce sometimes turn out grainy instead of smooth?
▾
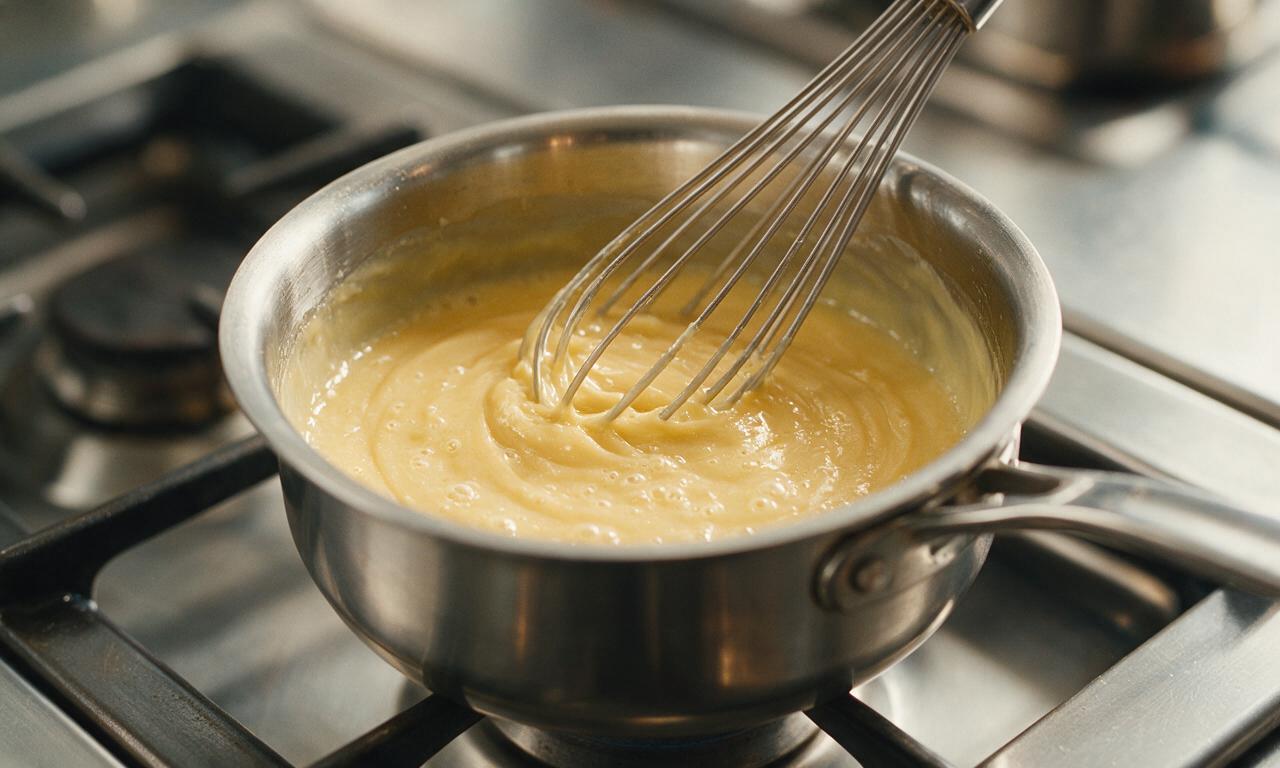
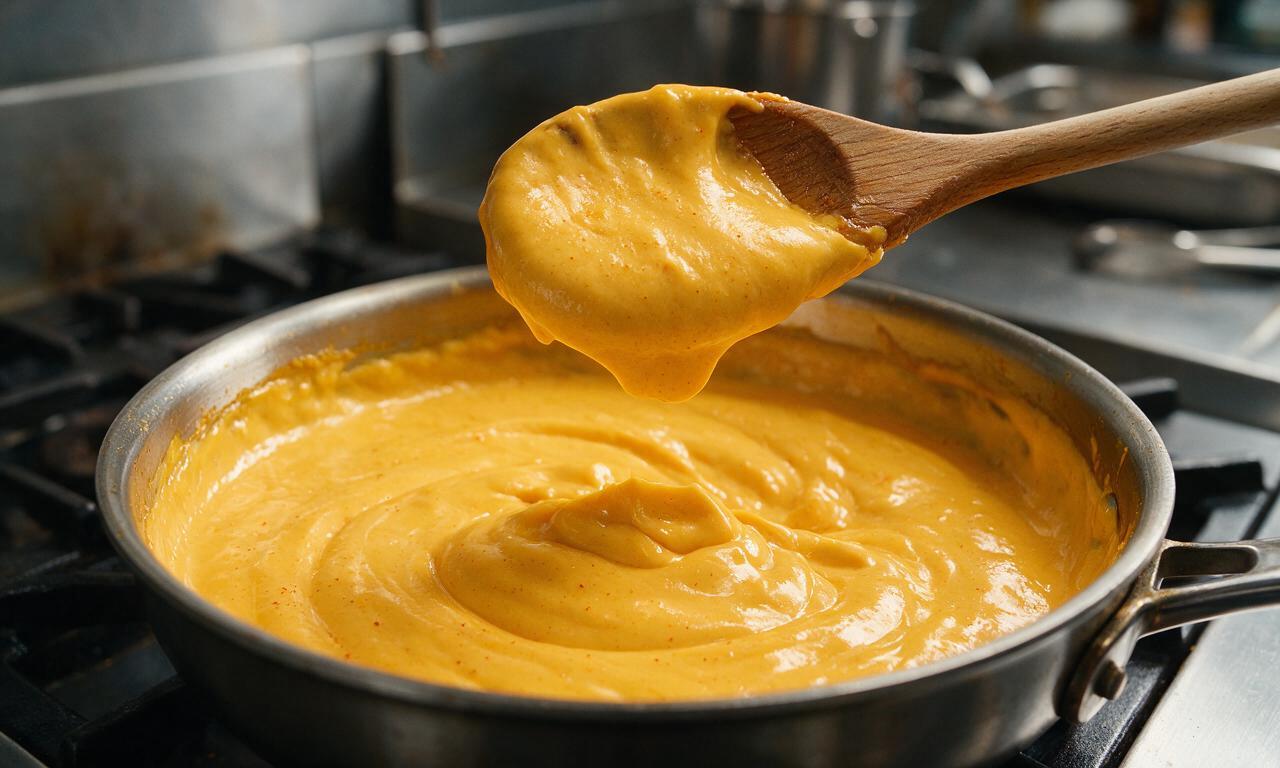
Grainy sauce almost always comes from overheating the cheese once you add it. After you make your roux with butter and flour and whisk in warm milk to make a smooth béchamel, take the pan off the heat before stirring in shredded Tillamook. If the sauce is boiling when you add cheese, milk proteins curdle and cheese separates, creating that gritty texture.
6.How do I get that shatteringly crisp panko topping without burning it?
▾
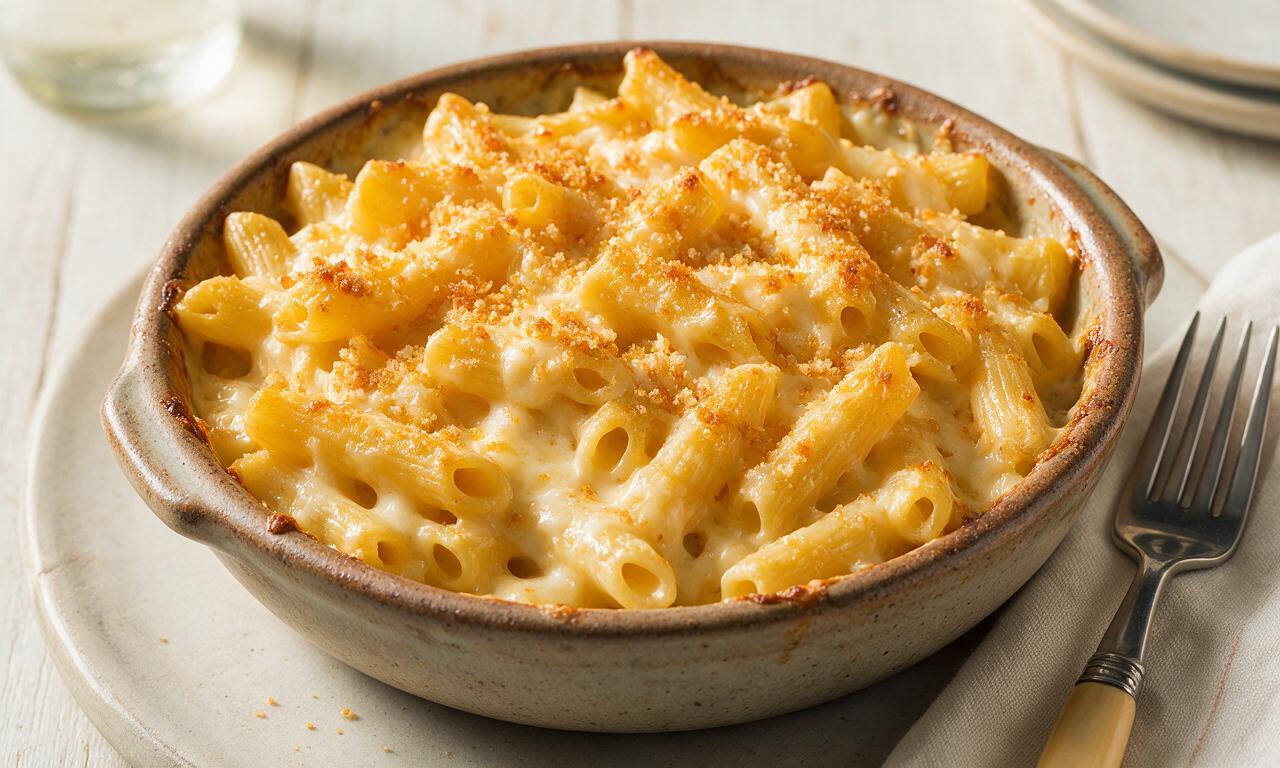
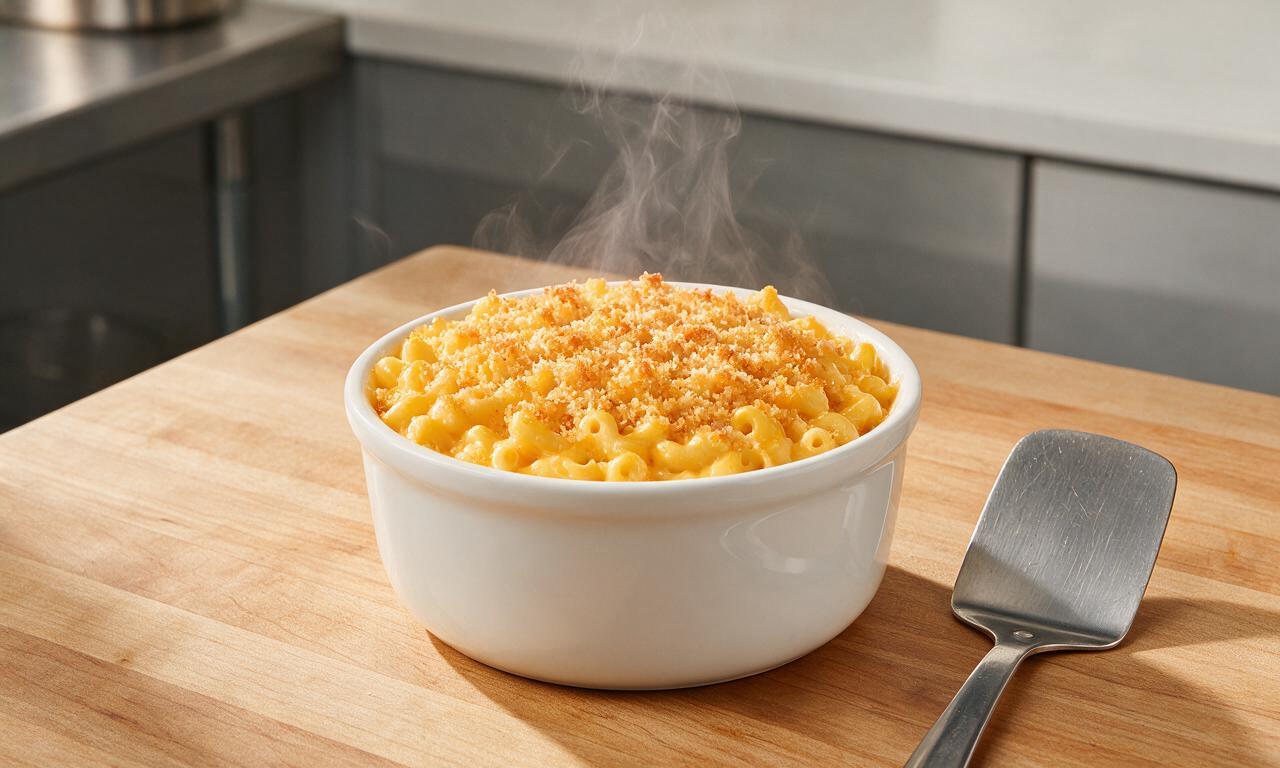
Toss panko crumbs with 2 tablespoons of melted unsalted butter first, then spread them in an even layer over the mac and cheese before baking. Cook uncovered on the middle oven rack, and if you want extra golden browning in the last 2 minutes, flip the broiler to low—watch it closely, as panko burns in seconds under direct high heat.
7.Can I add mix-ins like bacon, broccoli, or hot sauce to this recipe?
▾
Absolutely, this recipe is super customizable! Crispy crumbled bacon, steamed chopped broccoli, diced caramelized onions, a dash of hot sauce, or smoked paprika all pair beautifully with sharp Tillamook cheddar. Just pat any vegetable add-ins fully dry before stirring them in, so excess water doesn’t thin out your creamy sauce during baking.
8.What size baking dish works best for a standard batch of this mac and cheese?
▾
A 9x13 inch glass or ceramic baking dish is ideal for a batch made with 1 pound of dry elbow macaroni. It gives the perfect ratio of creamy, cheesy center to crispy edge pieces, and leaves just enough room for the panko crust without bubbling over in the oven. For extra crispy edges, split the batch between two 8x8 dishes instead.
9.What oven temperature and bake time gives the best results?
▾
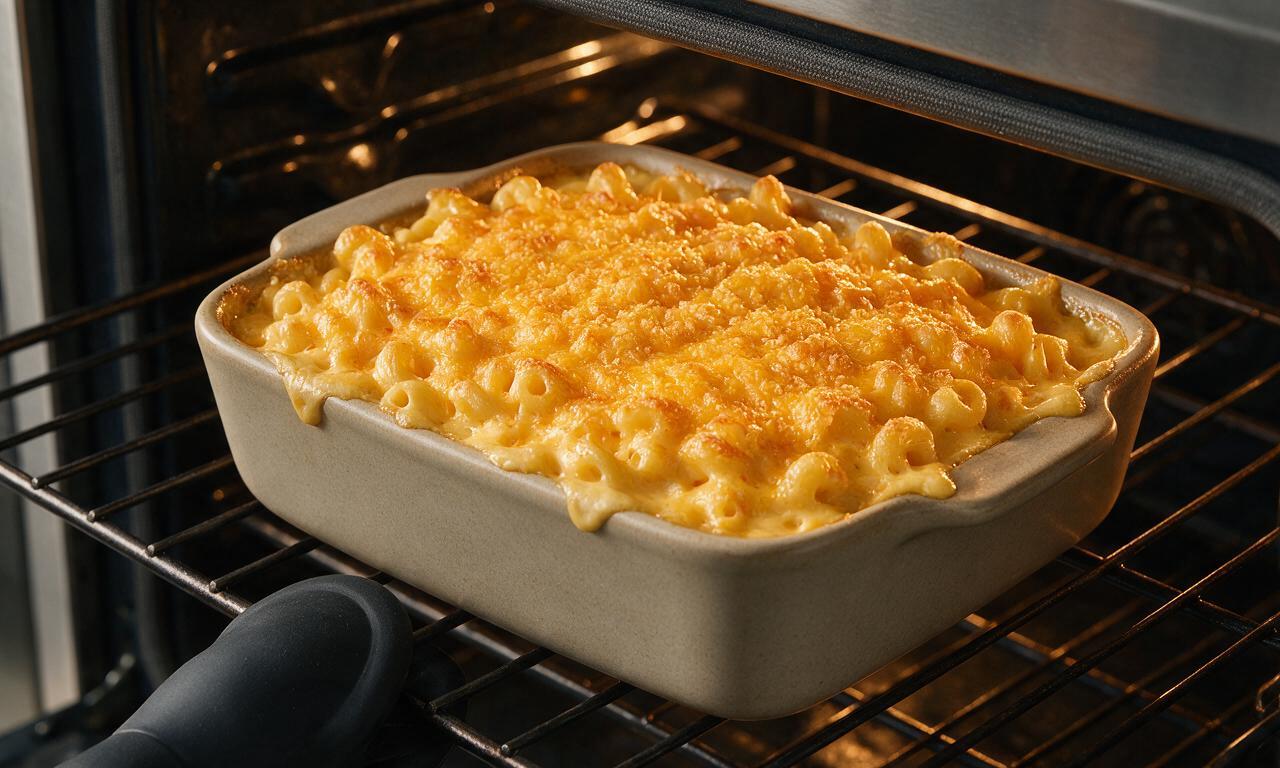
Bake at 375°F for 25 to 30 minutes, until the sauce is bubbling around the dish edges and the panko top is deep golden brown. If your oven runs hot, tent the top loosely with foil for the first 15 minutes to keep panko from browning too fast before the center heats through. Let it rest 5 minutes before serving so the sauce sets.
10.Can I make this mac and cheese ahead of time for a potluck or weekly meal prep?
▾
You can assemble the full dish (hold the panko topping) up to 2 days ahead, stored tightly covered in the fridge. When you’re ready to bake, add the butter-tossed panko, then add 10 to 12 minutes to the total bake time since it will be cold going into the oven. Leftovers stay creamy for up to 4 days in sealed airtight fridge containers.
11.My cheese sauce is too thick after I make the roux—how do I fix that?
▾
If your béchamel base is too thick before adding cheese, simply whisk in a splash more warm whole milk, 1 tablespoon at a time, until it reaches a smooth, heavy cream consistency. Remember the sauce will thin a little as macaroni releases starch during baking, so err slightly on the thicker side to avoid a runny final dish.
12.What roux ratio makes a stable cheese sauce that won’t break or turn greasy?
▾
For a standard 1-pound pasta batch, use equal parts butter and flour (¼ cup of each) to make your roux, cooked for 2 minutes to remove raw flour taste, then whisk in 4 cups of warm whole milk. This ratio creates a stable béchamel that coats noodles perfectly and won’t separate when baked with Tillamook cheddar.
13.Can I use Tillamook Sharp Yellow Cheddar instead of the white sharp cheddar called for?
▾
Absolutely! Tillamook Sharp Yellow Cheddar has the exact same tangy, well-aged flavor and smooth melting quality as their white sharp cheddar—it just includes annatto for that classic golden cheddar color. It swaps 1:1 perfectly in this recipe, and gives your mac and cheese that nostalgic, bright orange hue many people grew up with.
14.Why do so many mac and cheese recipes recommend warming milk before adding it to the roux?
▾
Warming your milk (either in a small saucepan or microwave for 1 minute) before whisking it into the cooked roux prevents lumps from forming in your béchamel. Cold milk hitting hot butter and flour causes flour starch to seize up instantly, leading to clumpy sauce that takes lots of extra whisking to smooth out. It’s a small step that makes a huge difference.
15.How do I reheat leftover baked mac and cheese without it turning dry or greasy?
▾
Reheat individual portions in the microwave at 50% power, stirring every 30 seconds, and add a tiny splash of whole milk to loosen the sauce back up. For larger portions, reheat in a 350°F oven covered with foil for 15 to 20 minutes, until heated through. Avoid high heat when reheating, as it can make cheddar separate and turn greasy.
16.Can I make this recipe gluten-free without losing that classic creamy, crispy texture?
▾
You can easily make this gluten-free by swapping dry elbow macaroni for your favorite gluten-free elbow pasta, and replacing all-purpose flour in the roux with a 1:1 gluten-free all-purpose blend (look for one with xanthan gum for structure). Use gluten-free panko for the topping, and you’ll get the same sharp cheddar flavor and crunchy top as the original.







OMG this baked mac and cheese is a GAME CHANGER for weeknight dinners! My two super picky boys went back for seconds AND thirds, no complaints at all. I used exactly the Tillamook sharp cheddar the recipe called for and that tang is *chef’s kiss*. 10/10 will be making this for our next neighborhood potluck too!
I brought this to my office potluck yesterday and people were begging me for the recipe before lunch even ended! The Tillamook sharp cheddar doesn’t get that weird grainy texture a lot of baked macs get, which I was so happy about. Only tweak I made was adding a tiny pinch of smoked paprika on top for a little extra warmth.
SO creamy, so cheesy, exactly the comfort food I was craving on that random cold snap we had last week. I love that it’s only 40 minutes total, I didn’t have to spend half my evening in the kitchen after work. The Tillamook sharp is non-negotiable, don’t skimp and use that generic pre-shredded stuff y’all!
Wait as someone who burns toast 50% of the time, this recipe was so easy to follow! I was nervous making baked mac for my dorm floor get-together, but the Tillamook sharp cheddar made it taste so fancy even with my basic cooking skills. My only question—can I make this ahead of time and reheat it for meal prep throughout the week?
Made this after a long rainy hike this weekend and it hit every single spot. I added a handful of crispy bacon bits because I had some leftover from breakfast, and it paired so well with the tangy Tillamook sharp cheddar. Will definitely be adding this to my regular post-adventure meal rotation.
I usually only man the grill in my house but I offered to make dinner when my wife was working late and picked this recipe. I grabbed the Tillamook sharp cheddar like the recipe said, and let me tell you, even my teen who turns her nose up at everything I cook said this was “actually not bad” which is basically a 5 star review from her. Win in my book.
My kid has texture issues with most mac and cheese (weird, I know) but he ate an entire bowl of this without picking at it! The only thing I did differently was use gluten-free elbows because of his sensitivity, and the creamy Tillamook sharp cheddar sauce still turned out amazing. Wondering if I can swap in some pepper jack for half the cheddar next time for a little kick?
Made this for our weekly family Sunday dinner and everyone raved. I loved that the ingredient list was super simple, no weird fancy stuff I had to run to three different grocery stores to find. Tillamook is my go-to cheese anyway so this was a no brainer.
Served this as a side with my smoked brisket last weekend and it was the perfect pairing. The tangy sharpness of the Tillamook cheddar cut through the richness of the brisket so well. All my BBQ buddies said it’s the new mandatory side for our summer cookouts.
Uh, help? I followed the recipe exactly but my Tillamook cheese sauce came out a little lumpy? Did I do something wrong? It still tasted good but I want to make it for my partner’s birthday next week and want it to be perfect.
I’ve been making my grandma’s mac and cheese recipe for 40 years and decided to give this one a try to switch things up. Let me tell you, the Tillamook sharp cheddar makes such a difference, it’s so much more flavorful than the mild cheddar I usually use. My grandkids asked for seconds before they even finished their first helping!
Meal prepped this on Sunday for the kids’ post-practice dinners this week and it’s been a lifesaver. No fighting, no complaining, just happy kids shoveling that creamy Tillamook cheddar pasta after long practice days. Easy to make, easy to reheat, 10/10 for busy sports parents.
Pro tip: double the recipe if you’re bringing this to any group event. I made a single batch for our team lunch last week, made with that tangy Tillamook sharp cheddar, and it was gone in 10 minutes flat, people were scraping the edges of the baking dish to get the crispy cheesy bits. 100% worth every minute.
As someone who eats gluten free, I’m always nervous to try baked mac recipes because they can turn out mushy with GF pasta. I followed the tip I saw in another comment to use brown rice pasta and it turned out perfectly, no mush at all! The Tillamook sharp cheddar sauce is so flavorful I didn’t even miss the regular pasta.
Took this to my weekly veteran’s group potluck last week and got more compliments on this mac than I did on my famous chili! Who knew a simple baked mac with Tillamook sharp cheddar could be such a showstopper. I added a little extra cheese on top like the recipe said and that golden crust was perfect.
This is so much cheaper and tastier than the store-bought frozen mac and cheese I used to buy! The ingredients are all super affordable, especially if you grab the Tillamook when it’s on sale at the grocery store. Perfect for when you’re on a tight budget but still want a good, filling meal.
Y’all, I am a mac and cheese connoisseur, I’ve tried every recipe under the sun, and this is hands down the best baked mac I’ve ever made at home. The Tillamook sharp cheddar has that perfect tang that doesn’t get lost when you bake it, and the sauce is so velvety. I will never use another mac recipe again!
I was worried this would be too much work for a weeknight but it was so easy! The steps are straightforward, no fancy techniques, and it was on the table in 40 minutes just like the recipe said. The Tillamook sharp cheddar makes it taste way more indulgent than the effort it takes, and I served it with some roasted broccoli for a little balance. It felt like a proper fancy dinner without all the work.