
toast on pan
intro
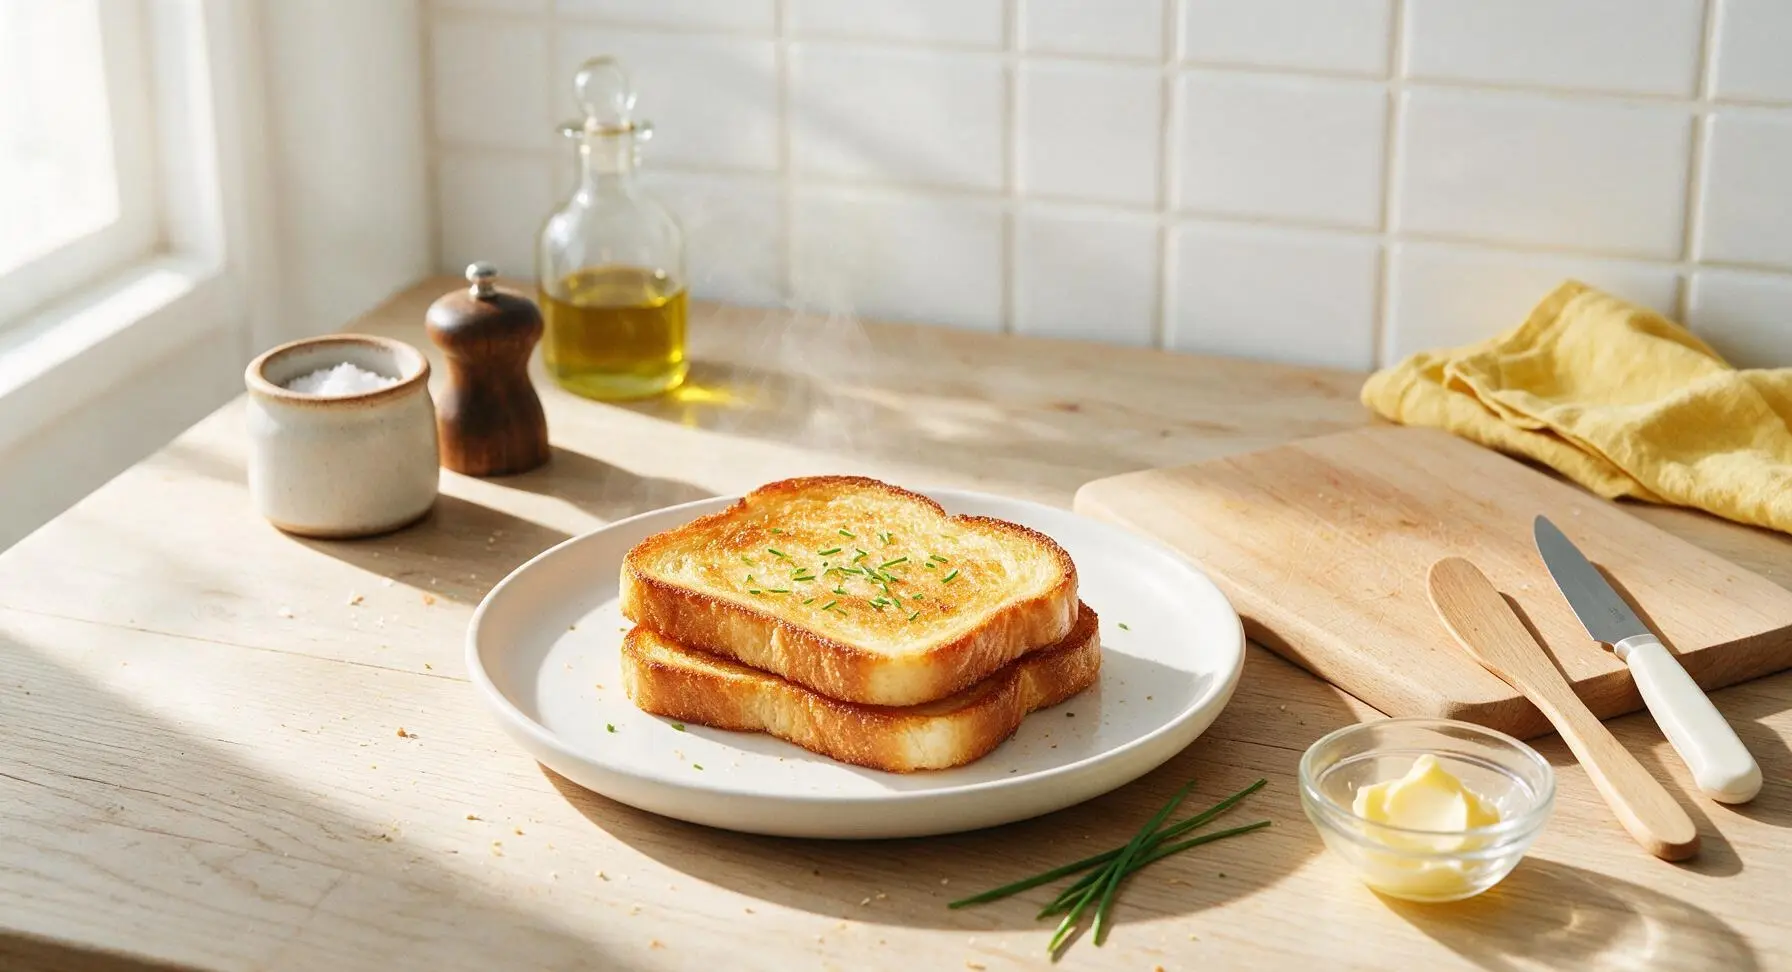
Golden, crispy-edged pan toast with a soft, fluffy center, made without a toaster for rich, buttery flavor. Ready in minutes for quick, cozy meals any time of day.
Ingredients
Steps
Prep Bread and Butter
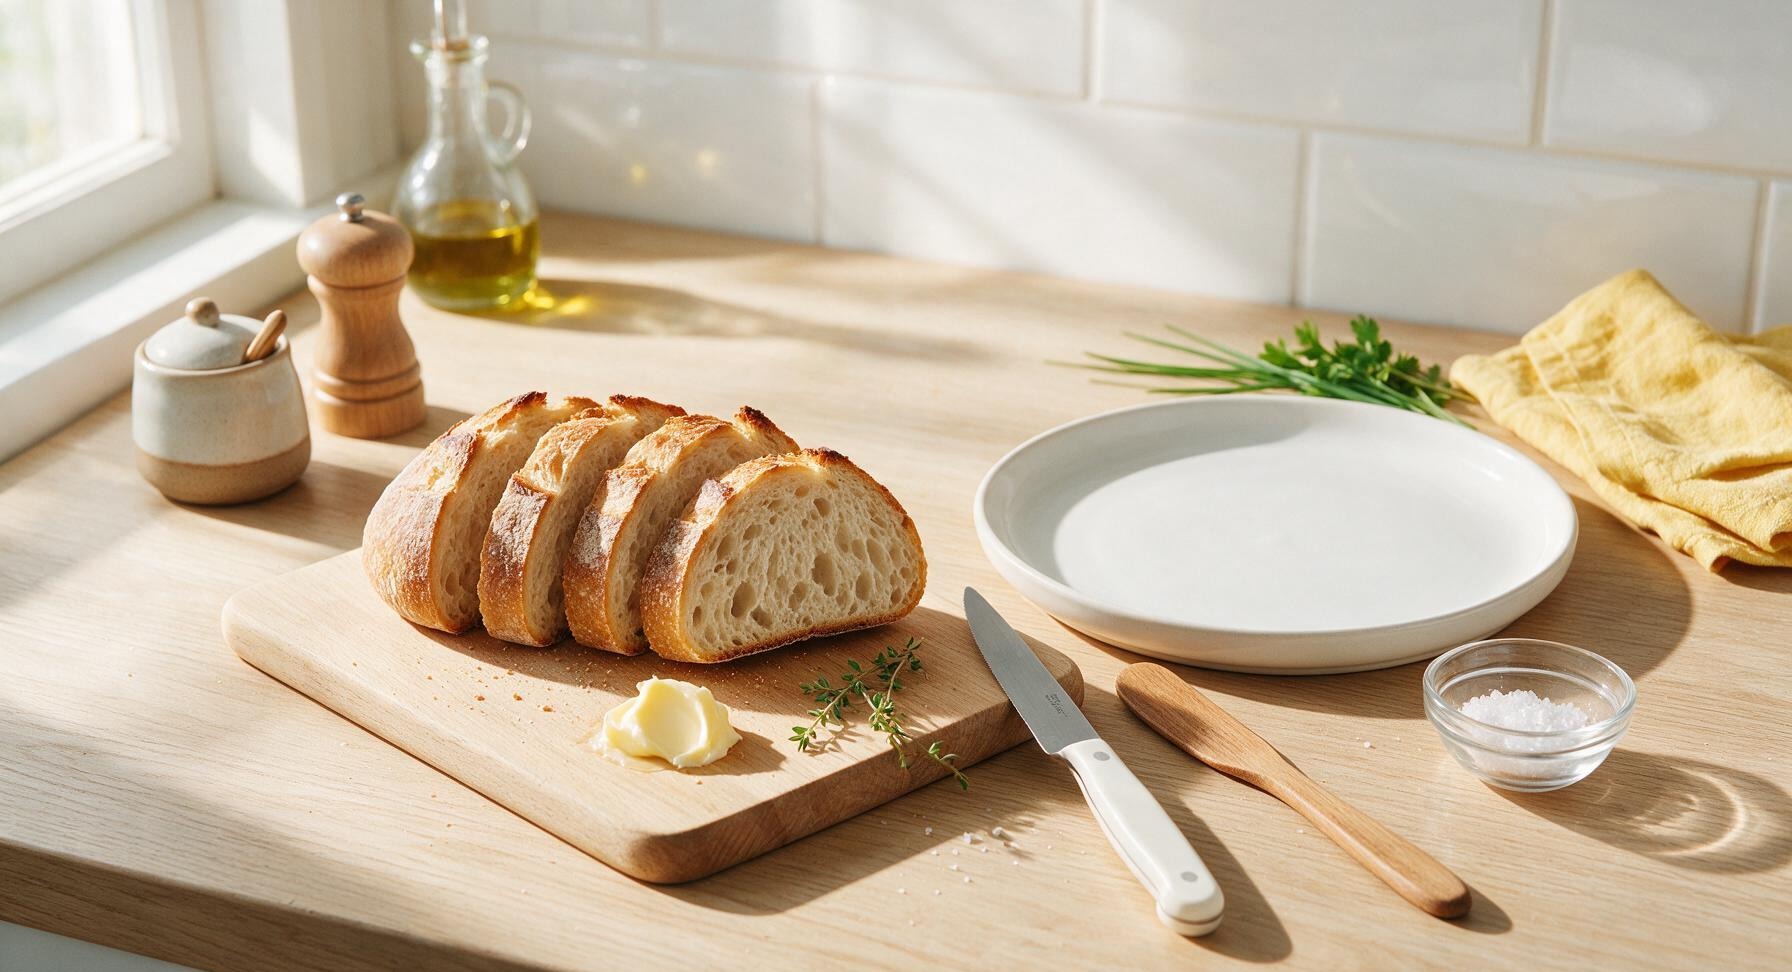
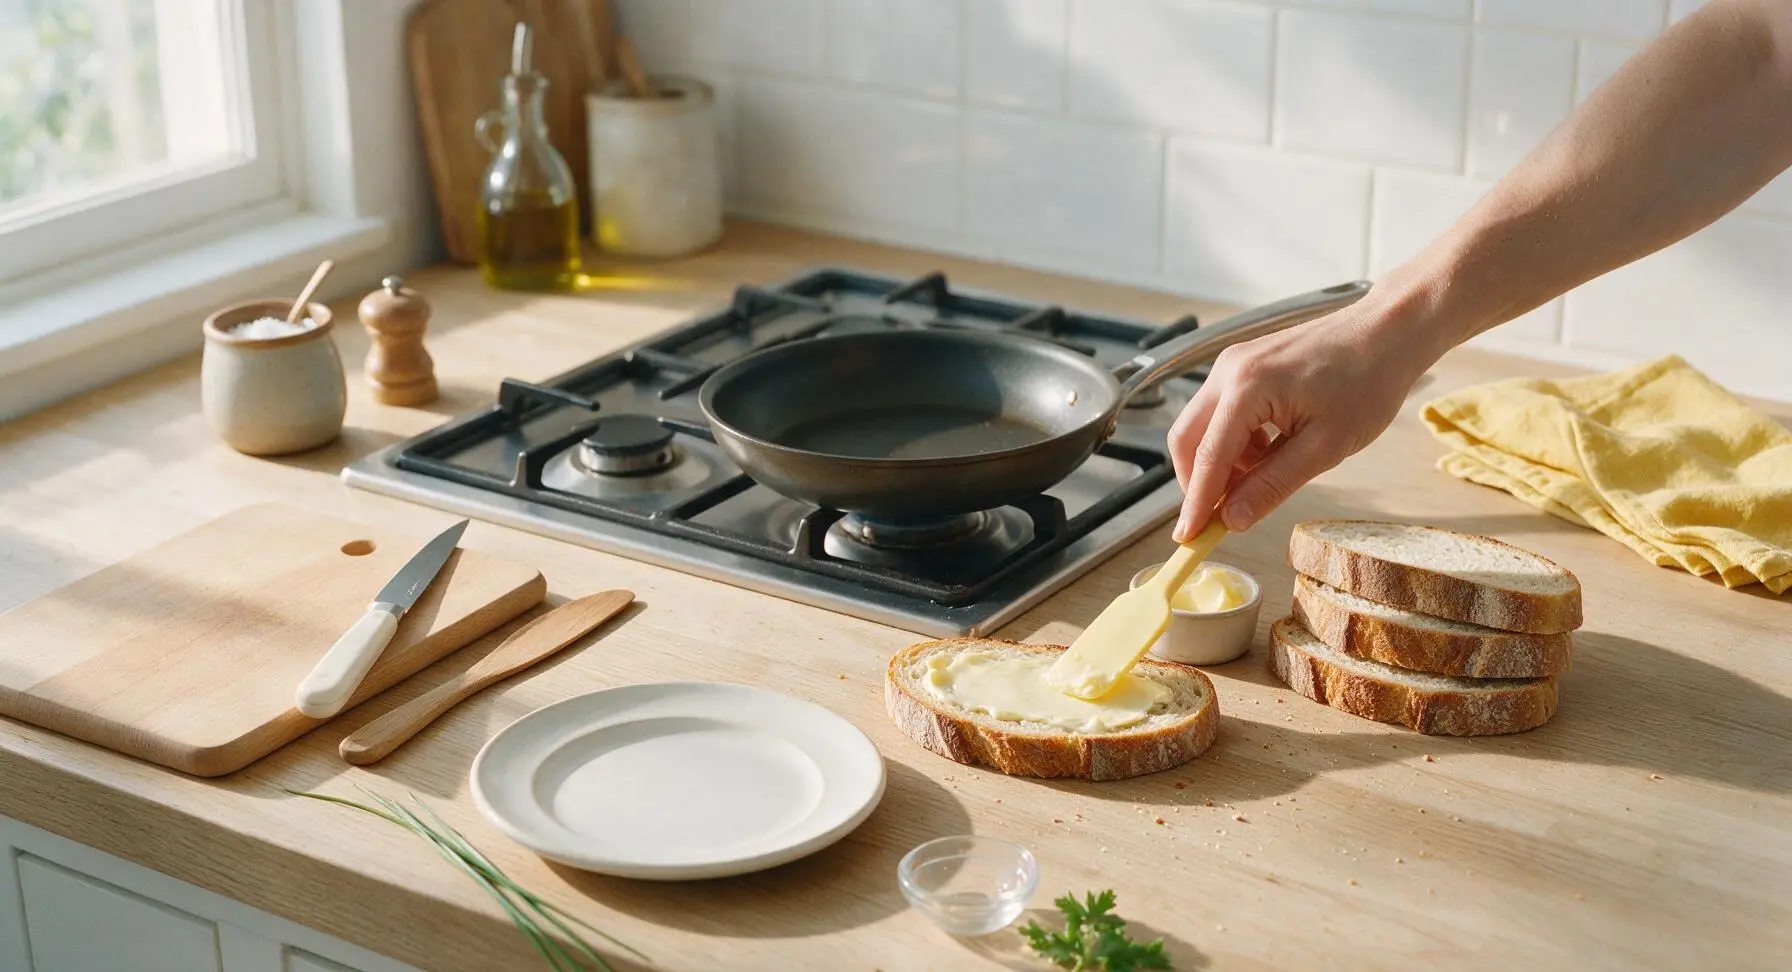
If using a whole loaf of sourdough, use the serrated bread knife to cut four even 1.5-inch thick slices, taking care to make straight cuts to avoid torn, crumbly edges. Measure 1 tablespoon of softened unsalted butter into the small matte white ramekin, letting it rest for 1 minute at room temperature so it spreads smoothly without tearing bread crumbs.
Preheat the Skillet
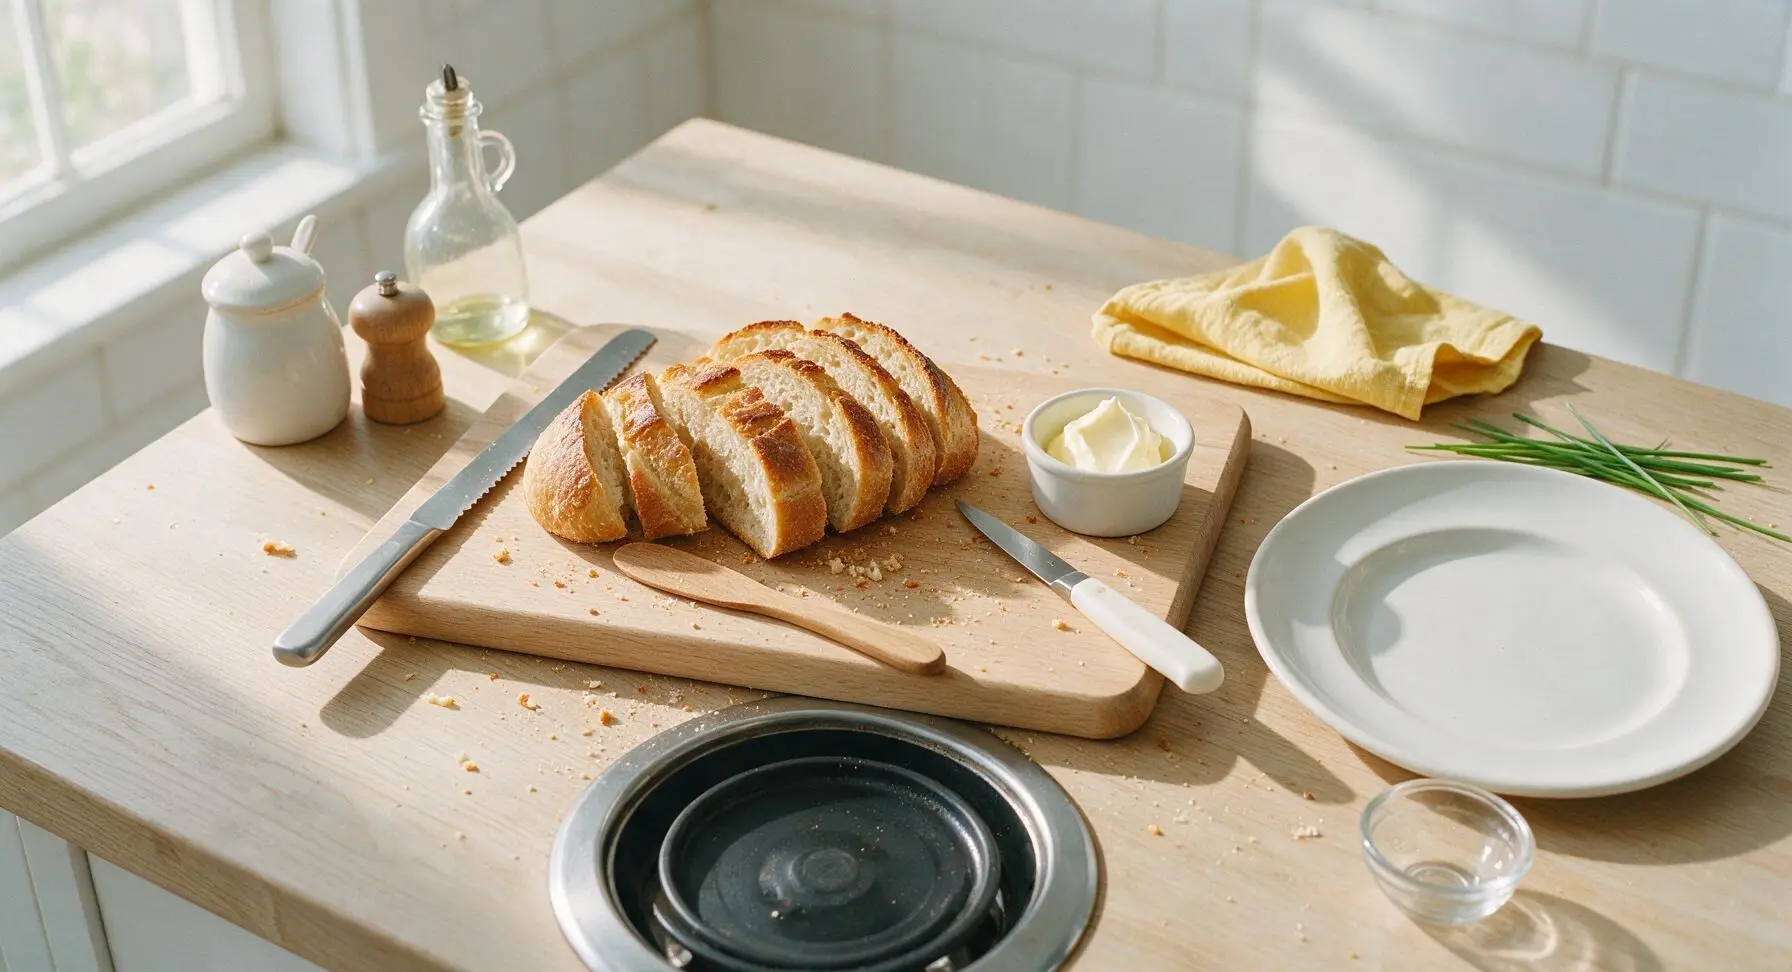
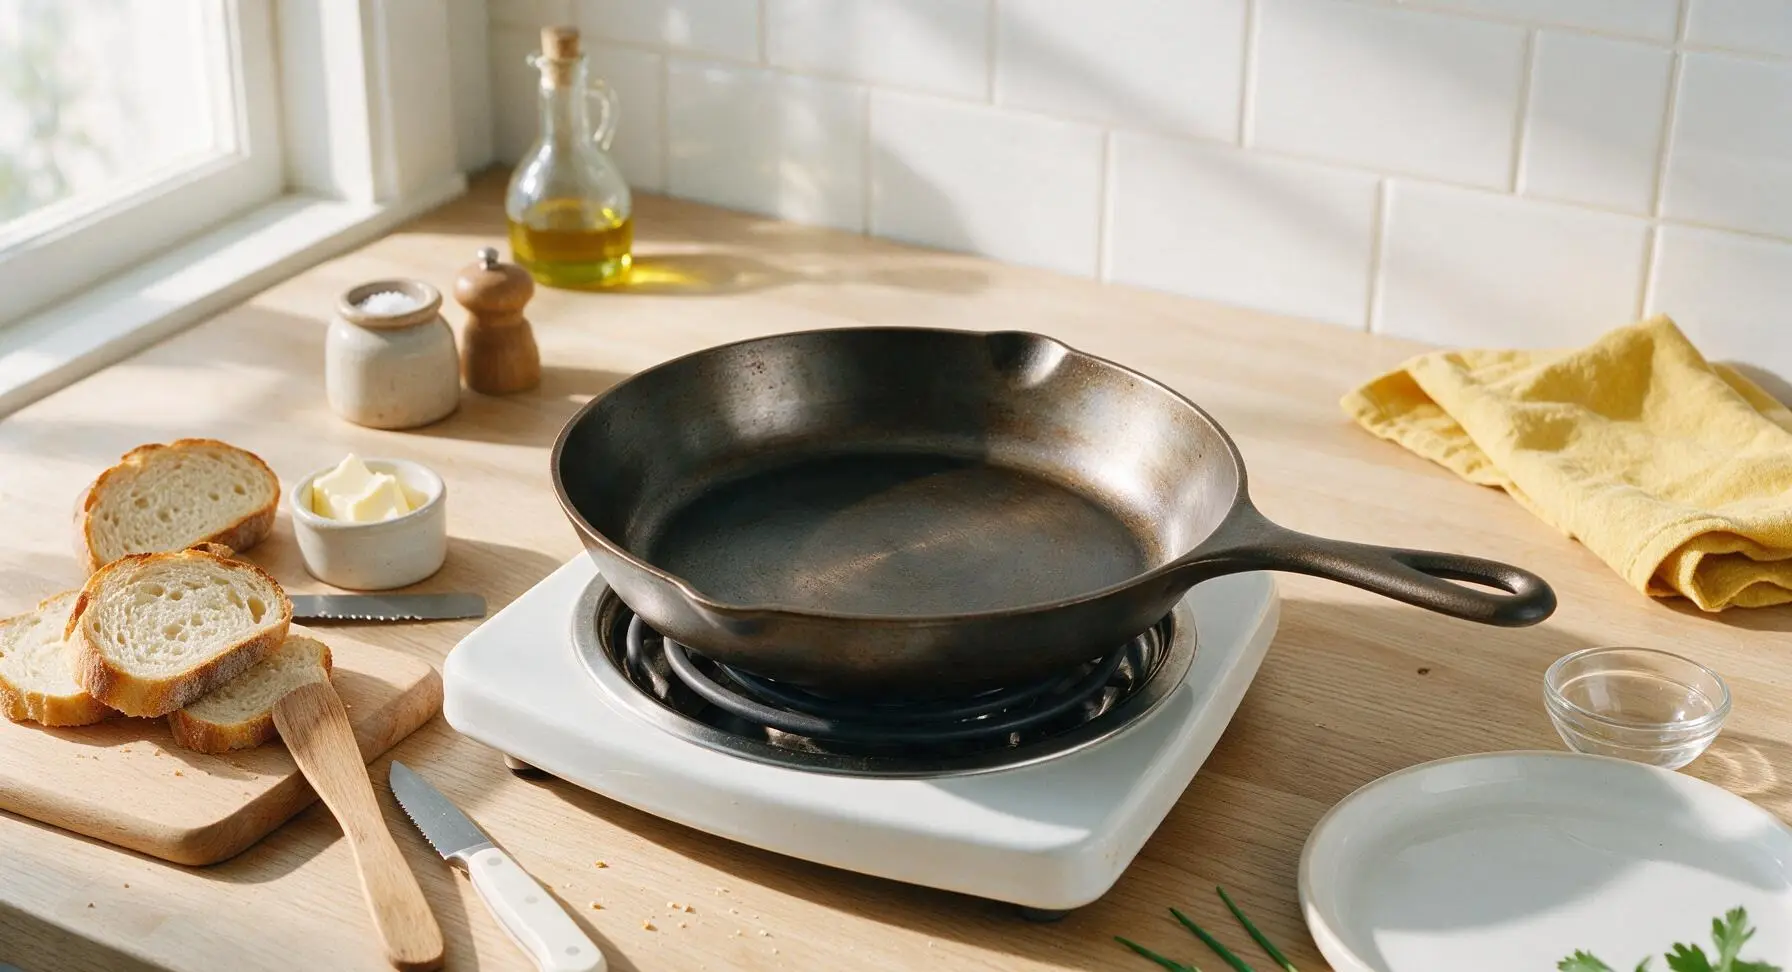
Place the 10-inch seasoned carbon steel skillet directly on the center flush electric burner, set heat to medium-low (3/10 power on most electric ranges). Let the pan preheat for 2 full minutes, testing temperature by flicking a single drop of water onto the surface: the water should dance across the pan and evaporate in 3-4 seconds. Do not heat the pan until it smokes, as this will burn butter instantly.
Butter Bread Slices
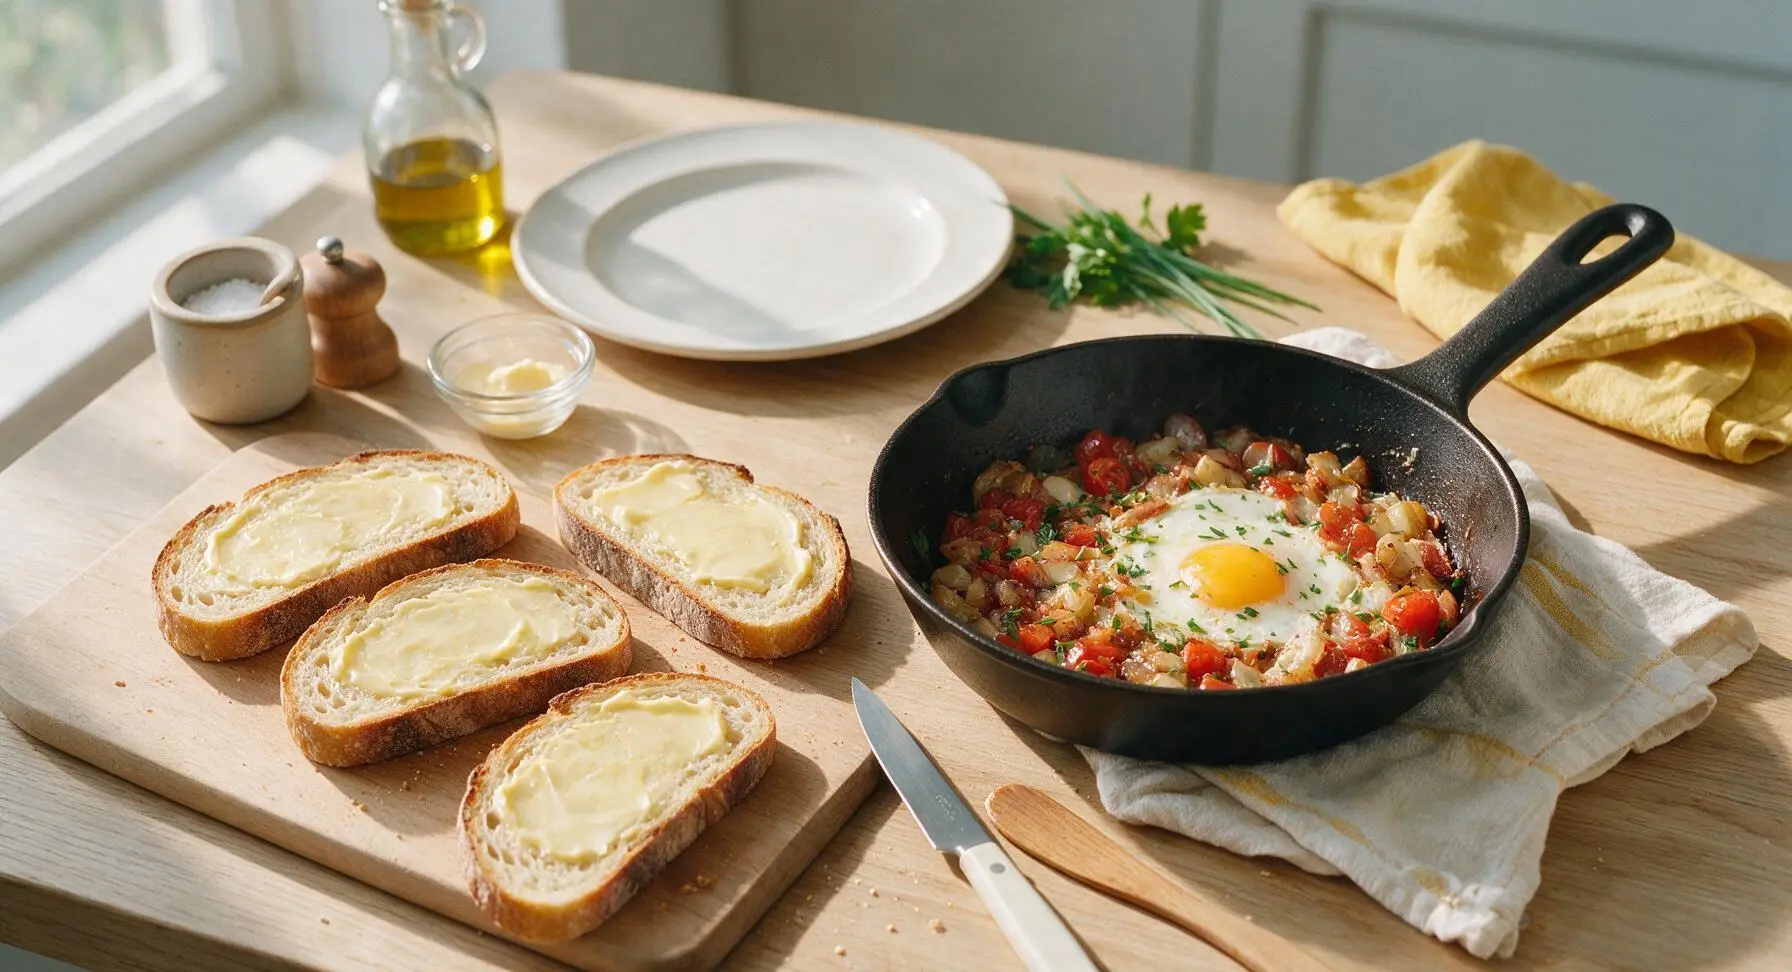
Use the tip of the pale yellow silicone spatula to spread a thin, even layer of softened butter (roughly 1/4 teaspoon per slice) across one full side of each sourdough slice, spreading all the way to the crust edges to ensure uniform crisping. Avoid applying thick clumps of butter, as excess will pool in the pan and burn rather than crisp the bread surface.
Toast First Side
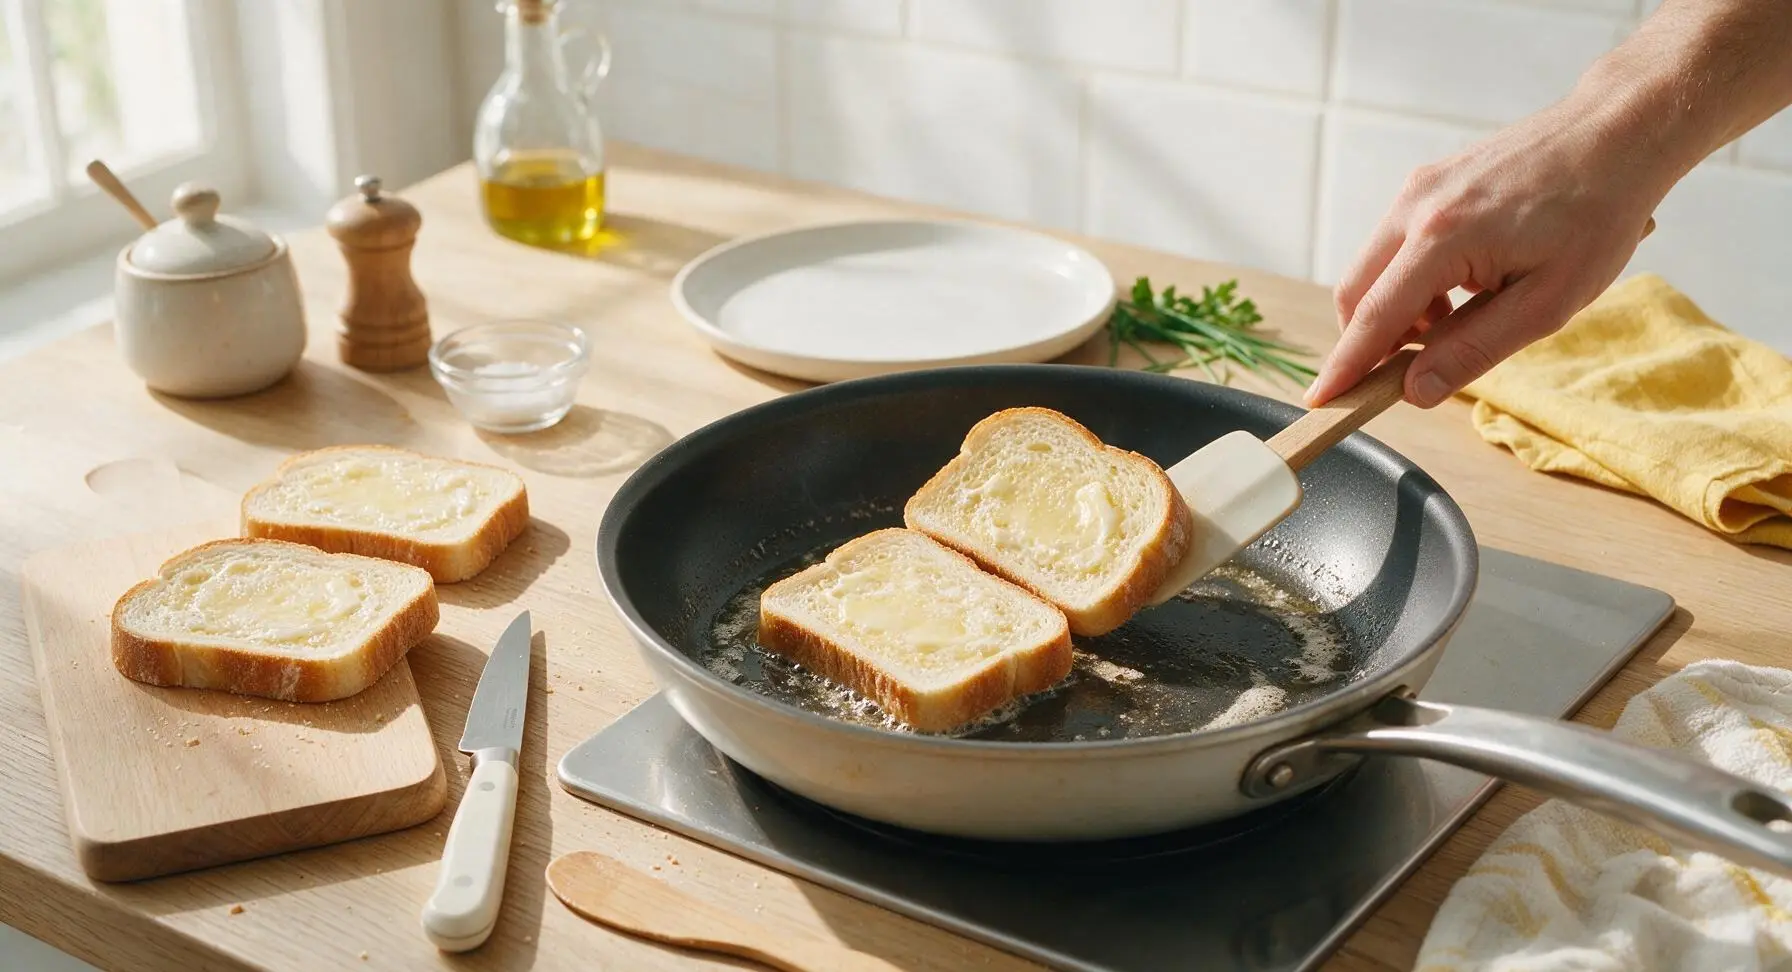
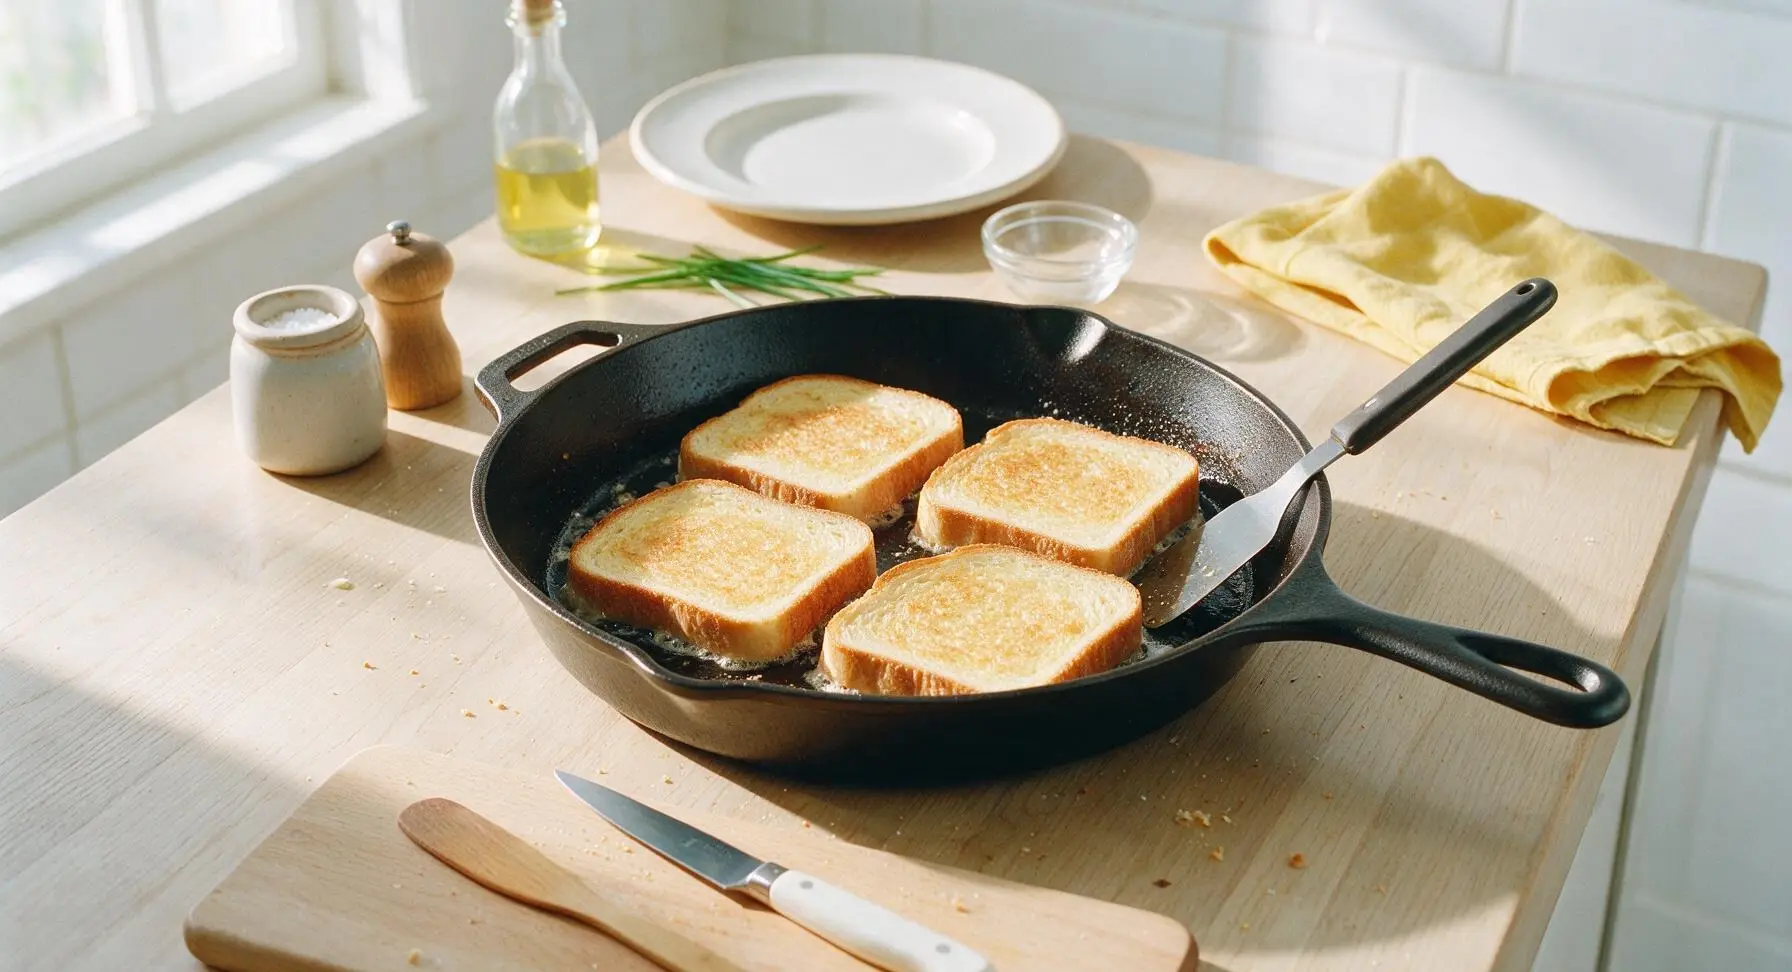
Carefully place bread slices buttered-side down in the preheated skillet, working in batches of two if needed to leave 1cm of space between slices (crowding traps steam and makes toast soggy). Cook undisturbed for 2 full minutes on medium-low heat, until the down-facing surface is deep golden brown with darker, caramelized crispy edges.
Flip Toast to Finish
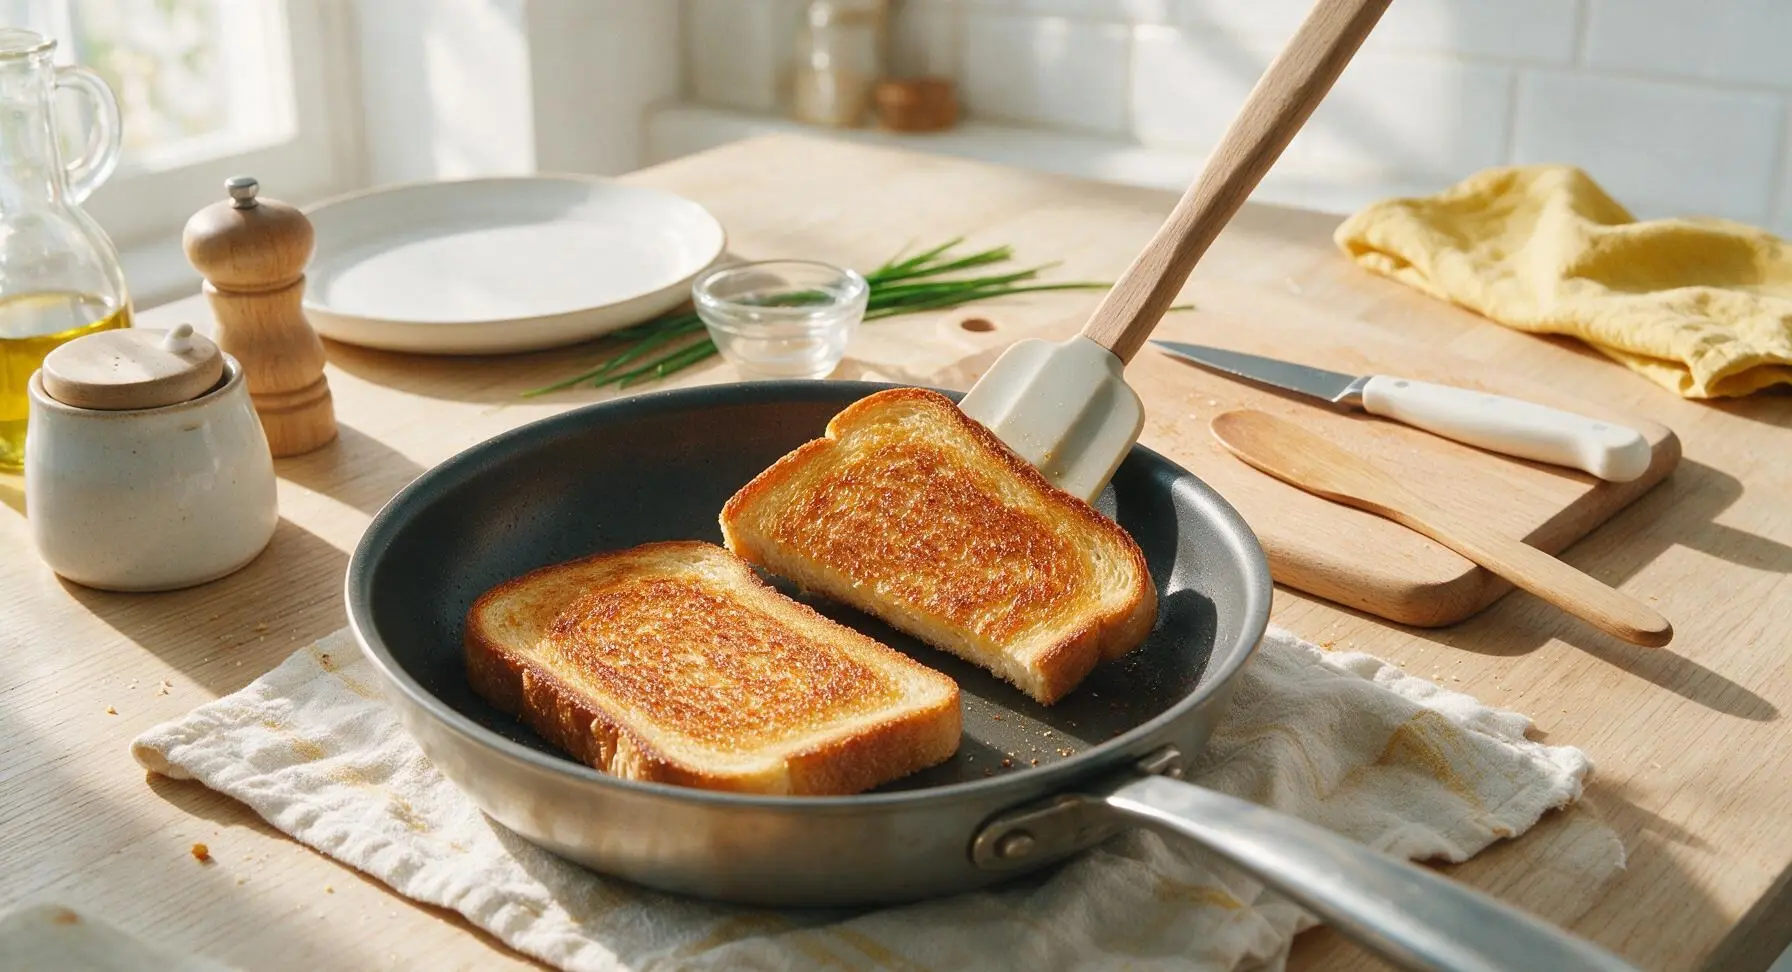
Use the silicone spatula to flip each toast slice to its unbuttered second side. Cook for an additional 1.5 to 2 minutes, until the second side is evenly golden brown and the edges feel crisp when tapped lightly with the spatula. For extra crunch, add 30 seconds of cook time per side, watching closely to avoid burning.
Season and Serve
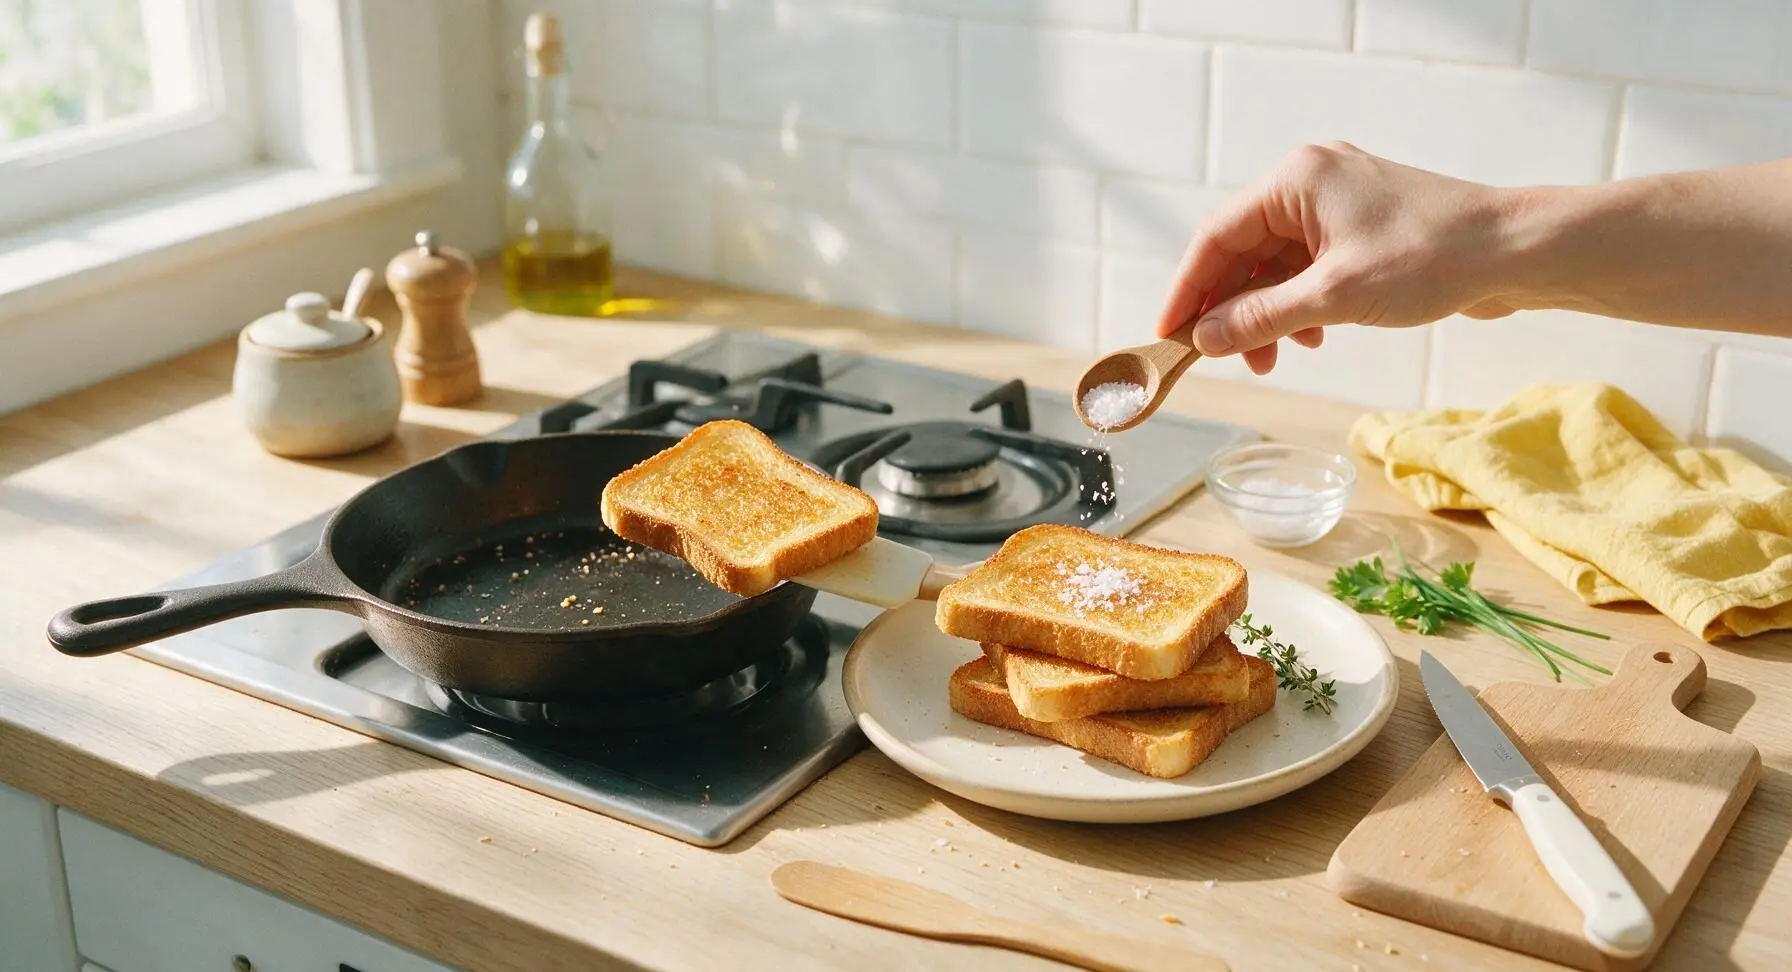
Transfer finished hot toast to the matte cream ceramic dinner plate, stacking slices in two slightly offset pairs. Immediately sprinkle a tiny pinch of flaky sea salt across the warm toast surface, and tuck a small sprig of fresh thyme next to the stack for subtle herbal aroma if desired. Let rest 30 seconds before serving to let the crust set, rather than softening from trapped steam.
Tips
2.Keep heat set to medium-low: High heat will char the bread surface before the center warms through, leaving burnt edges and a cold, soft middle. Low, steady heat creates a crisp crust and fluffy, evenly warmed center.
3.Avoid crowding the pan: If your skillet is too small to fit all slices with 1cm of space between them, toast in two batches. Crowding traps steam between slices, resulting in soggy rather than crispy toast.






OMG this is such a game changer! I’ve been making sad soggy toast in the toaster for years and can’t believe how crispy and buttery this turns out in 4 minutes flat. My kids devoured two slices each before school this morning, will be adding this to our weekly breakfast rotation for sure!
Super easy recipe, perfect for meal prep! I made a batch of these on Sunday to top with avocado and red pepper flakes for quick workday breakfasts, they hold up way better than regular toast even when I store them in an airtight container. Only note is I used a little less butter than suggested and it still got perfectly crispy.
Brought a platter of these cut into strips to our neighborhood potluck last weekend and people were asking for the recipe left and right! I served them with a side of honey butter dip and they were gone in 10 minutes. Who knew simple pan toast could be such a hit?
Wait, is it normal that my first batch burned a little? I had the heat on medium like the recipe said but my stovetop runs super hot, I guess. Any tips for getting that perfect golden crisp without the charred edges?
SO good! I’ve been paying $8 for fancy crispy toast at the coffee shop down the street and now I can make it at home in less time than it takes me to walk there. Tastes exactly the same, if not better because I can load it up with as much jam as I want.
Tried this for a quick late night snack after my kid’s baseball game and wow, way better than I expected. Used sourdough bread instead of the regular white I had in the pantry and the crunch was unreal. Even my picky teen said it was better than the toaster version.
This works so well with gluten free sourdough! I was worried GF bread would get too crumbly in the pan but it crisped up perfectly, no sogginess at all. 4 minutes is exactly the right cook time, no more waiting around for the toaster to finish two cycles for GF bread.
Literally the first thing I’ve made in my new apartment that didn’t turn out terrible lmao. I don’t even own a toaster yet so this was perfect, only needed a pan, some butter, and bread. So crispy, so buttery, 10/10 for us non-toaster owners.