
Toasted Coconut Waffles

title 1
Toasted Coconut Waffles
⏱️ cook time 15 minutes
🍽️ servings 4
⚡ Difficulty easy

intro

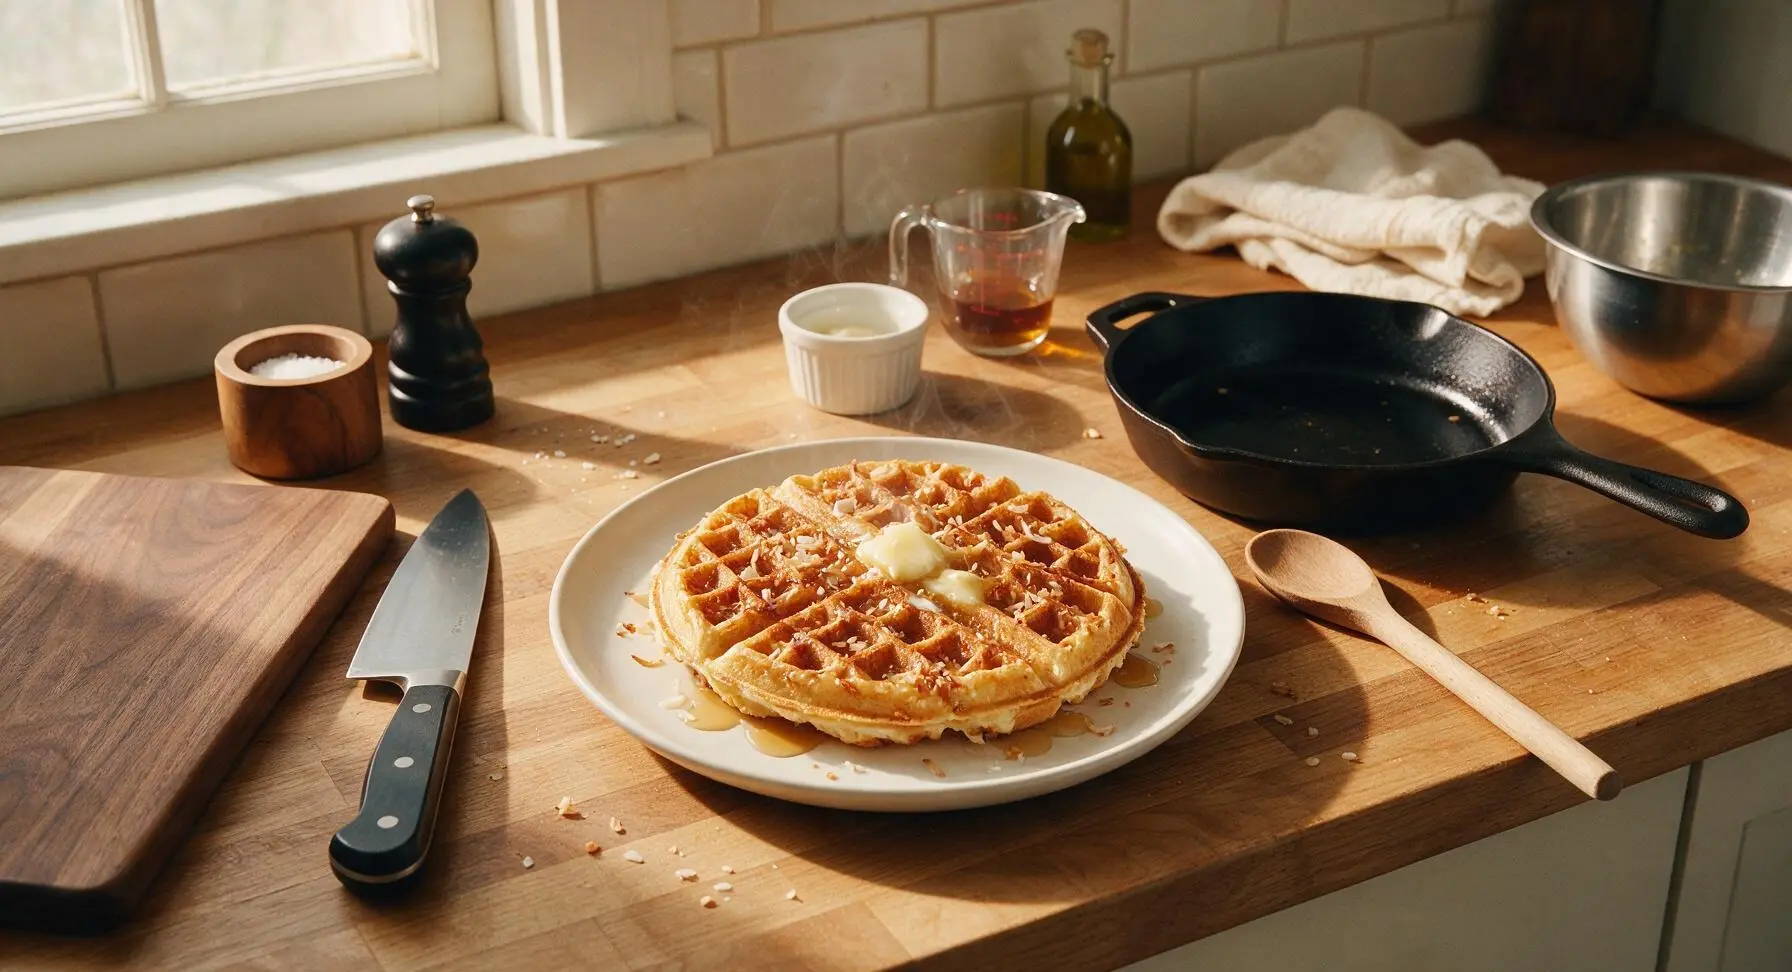
Crisp golden waffles packed with nutty toasted coconut, fluffy inside, finished with maple syrup and butter for a cozy, bright family-friendly meal.

Ingredients
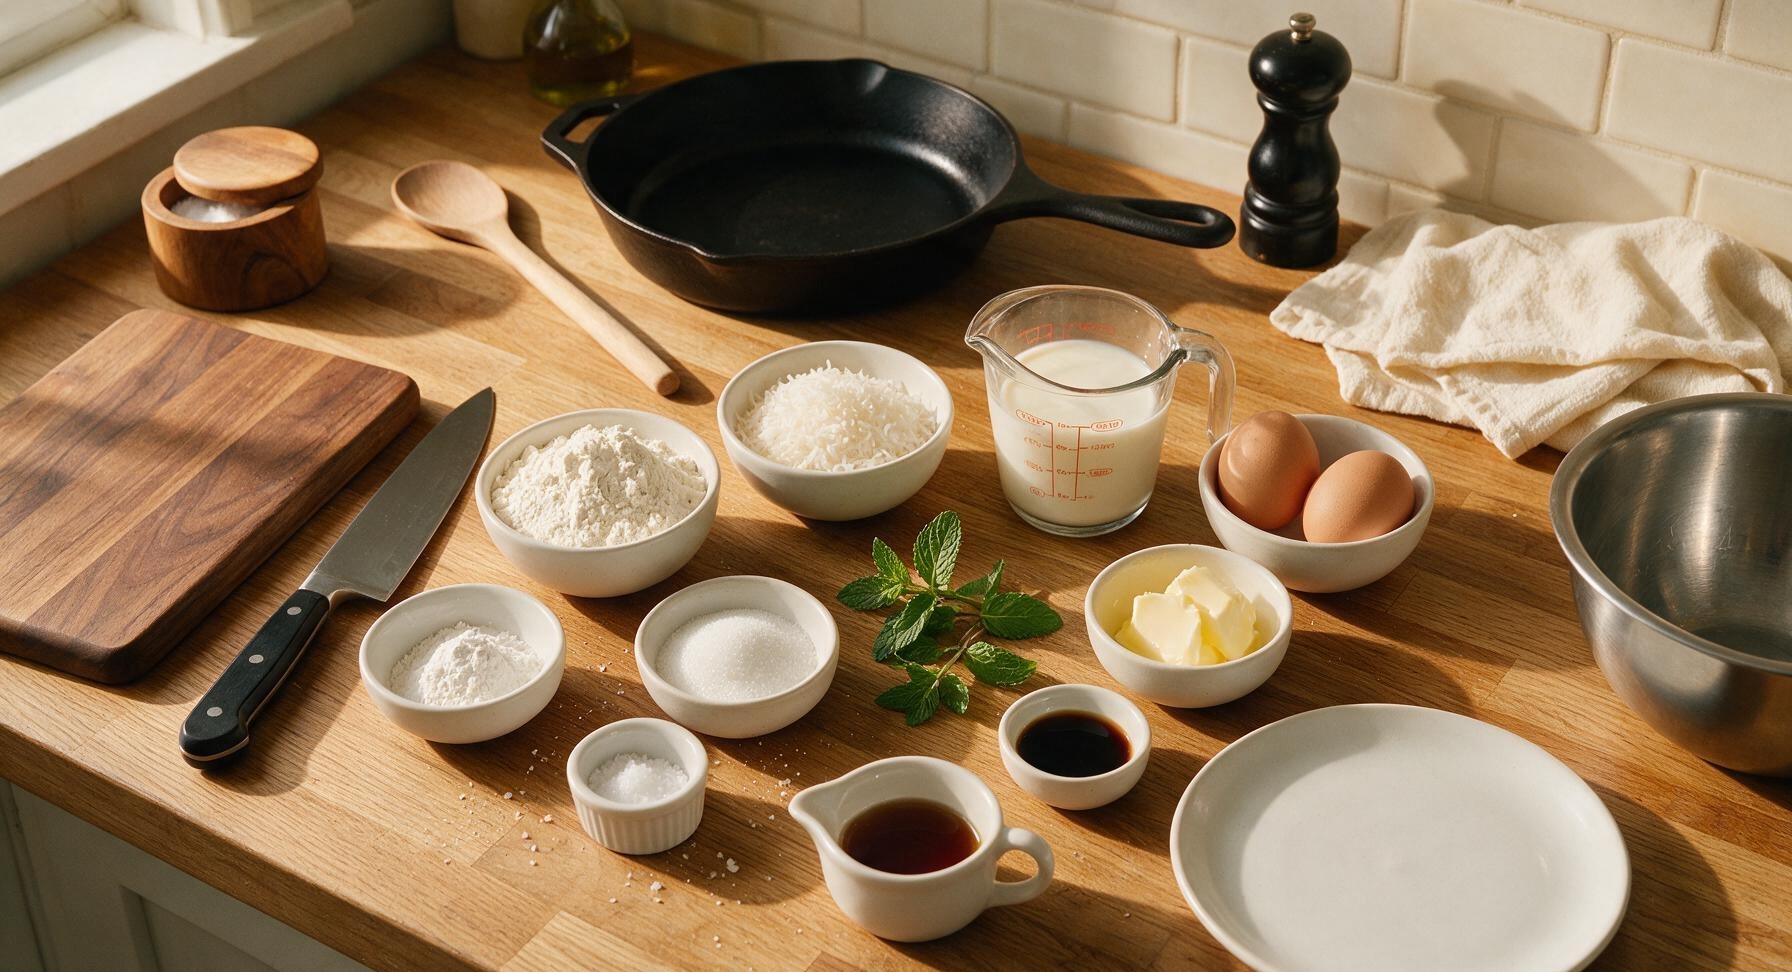
All-purpose flour 1 ½ cups (180g)
Sweetened shredded coconut 1 cup (80g)
Baking powder 2 teaspoons
Granulated sugar 2 tablespoons
Fine sea salt ½ teaspoon
Whole milk 1 ¼ cups (300ml)
Large eggs 2
Unsalted butter (melted, cooled) 4 tablespoons (57g)
Pure vanilla extract 1 teaspoon
Salted butter (for serving) 2 tablespoons (28g)
Pure maple syrup (for serving) ¼ cup (60ml)
Fresh mint sprigs (for garnish) 3-4 sprigs

Steps

1

Toast the Coconut

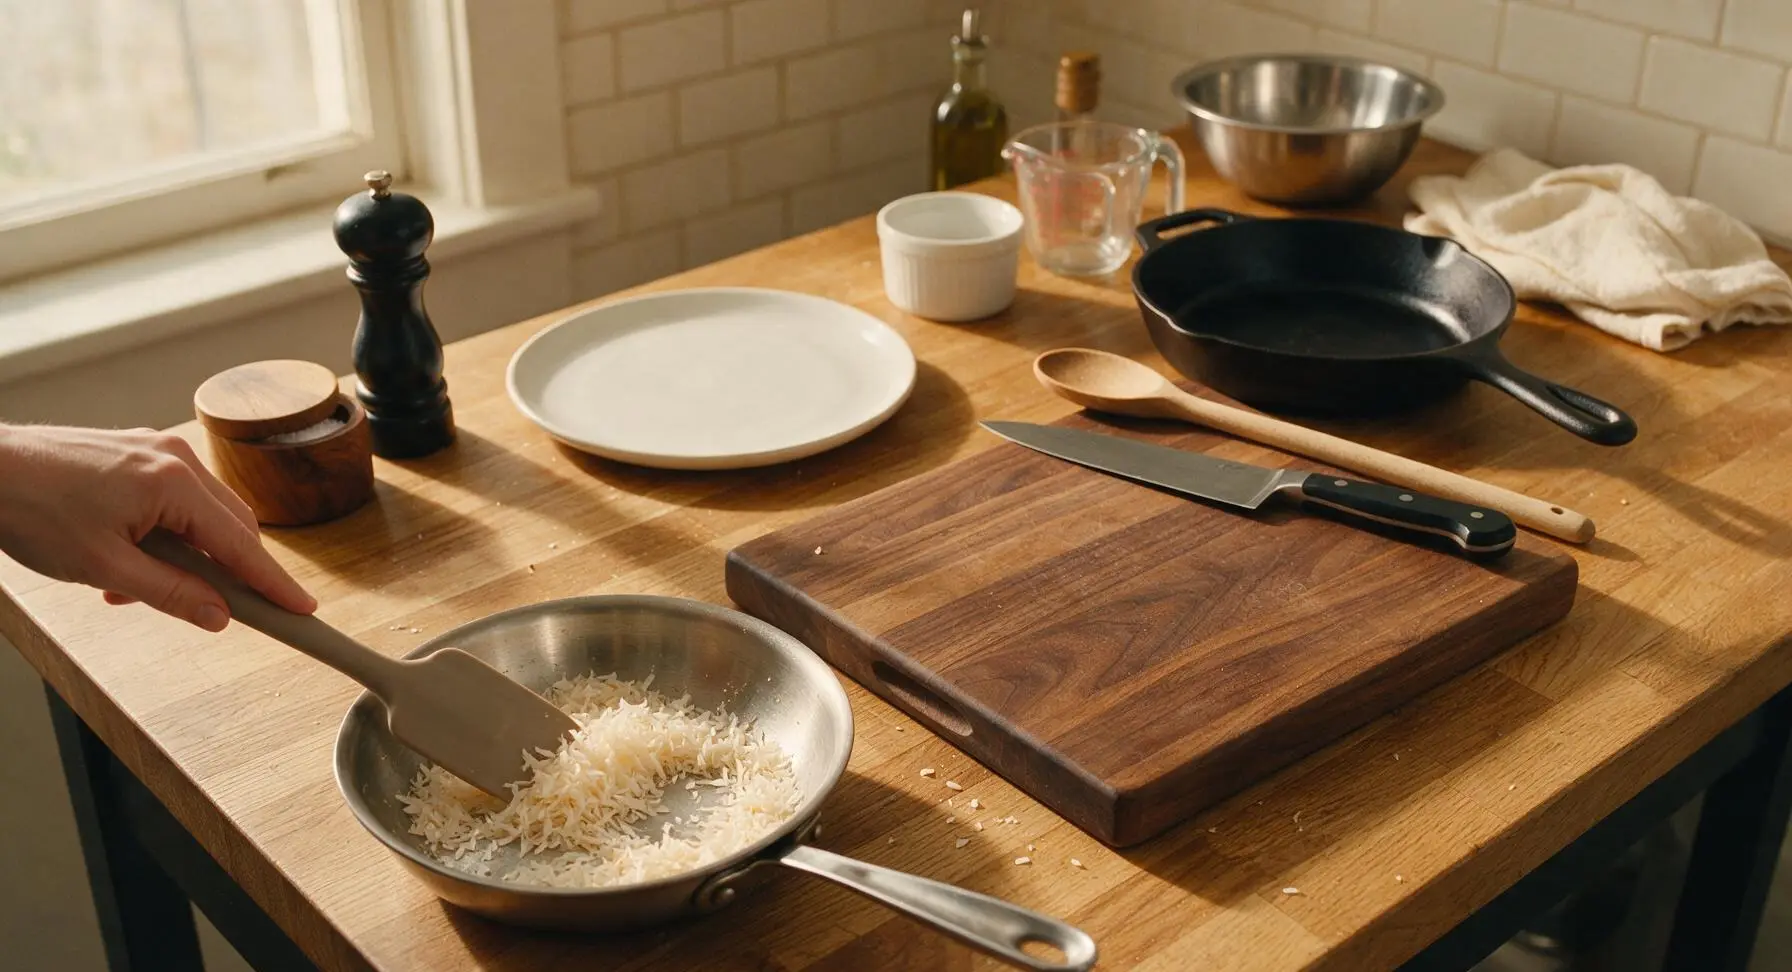
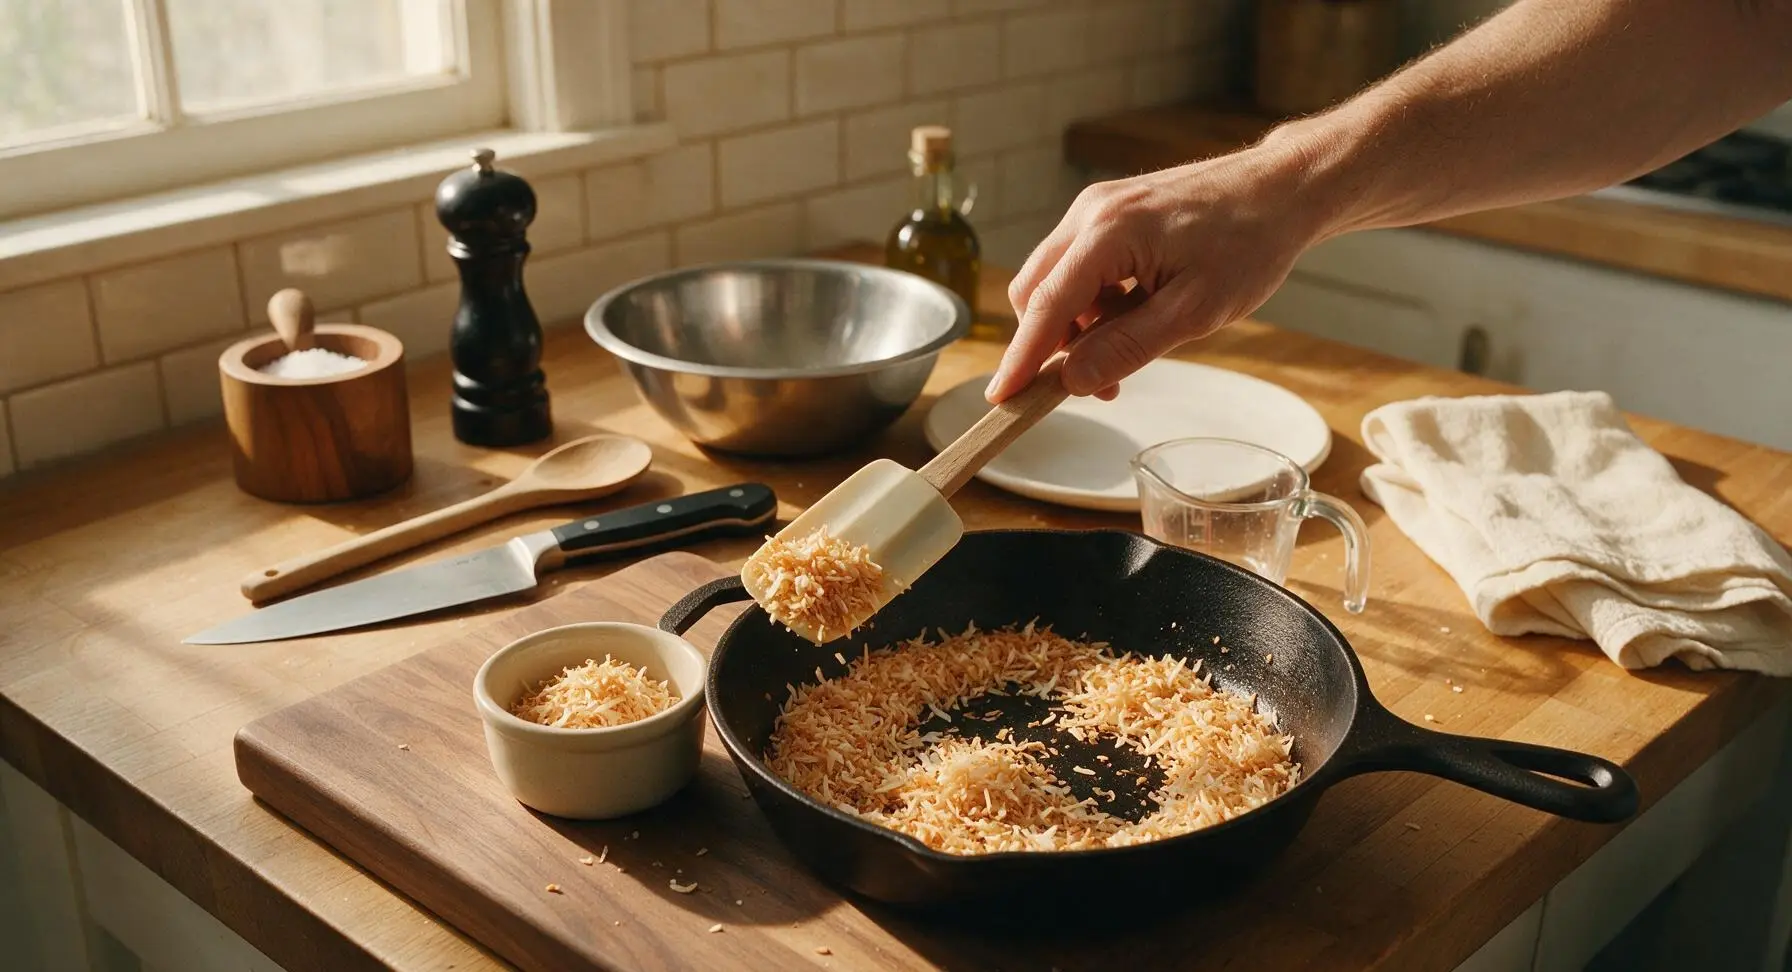
Place the small stainless steel skillet over medium-low heat. Add 1 cup of sweetened shredded coconut, stirring constantly with the silicone spatula for 3-4 minutes until the flakes turn a light golden brown and smell nutty and fragrant. Watch closely, as coconut burns in as little as 30 seconds once hot. Transfer ¼ cup of the toasted coconut to a small cream ramekin to reserve for garnish, and set the remaining ¾ cup aside to cool for 5 minutes.
Step 1
step1:Toast the Coconut
Step 1
step1:Toast the Coconut
2

Mix Dry Ingredients

In the medium stainless steel mixing bowl, combine 1 ½ cups all-purpose flour, 2 teaspoons baking powder, 2 tablespoons granulated sugar, and ½ teaspoon fine sea salt. Use the silicone whisk to stir the dry ingredients together for 30 seconds until fully combined, with no clumps of baking powder visible. Create a small well in the center of the dry mixture to hold wet ingredients later.
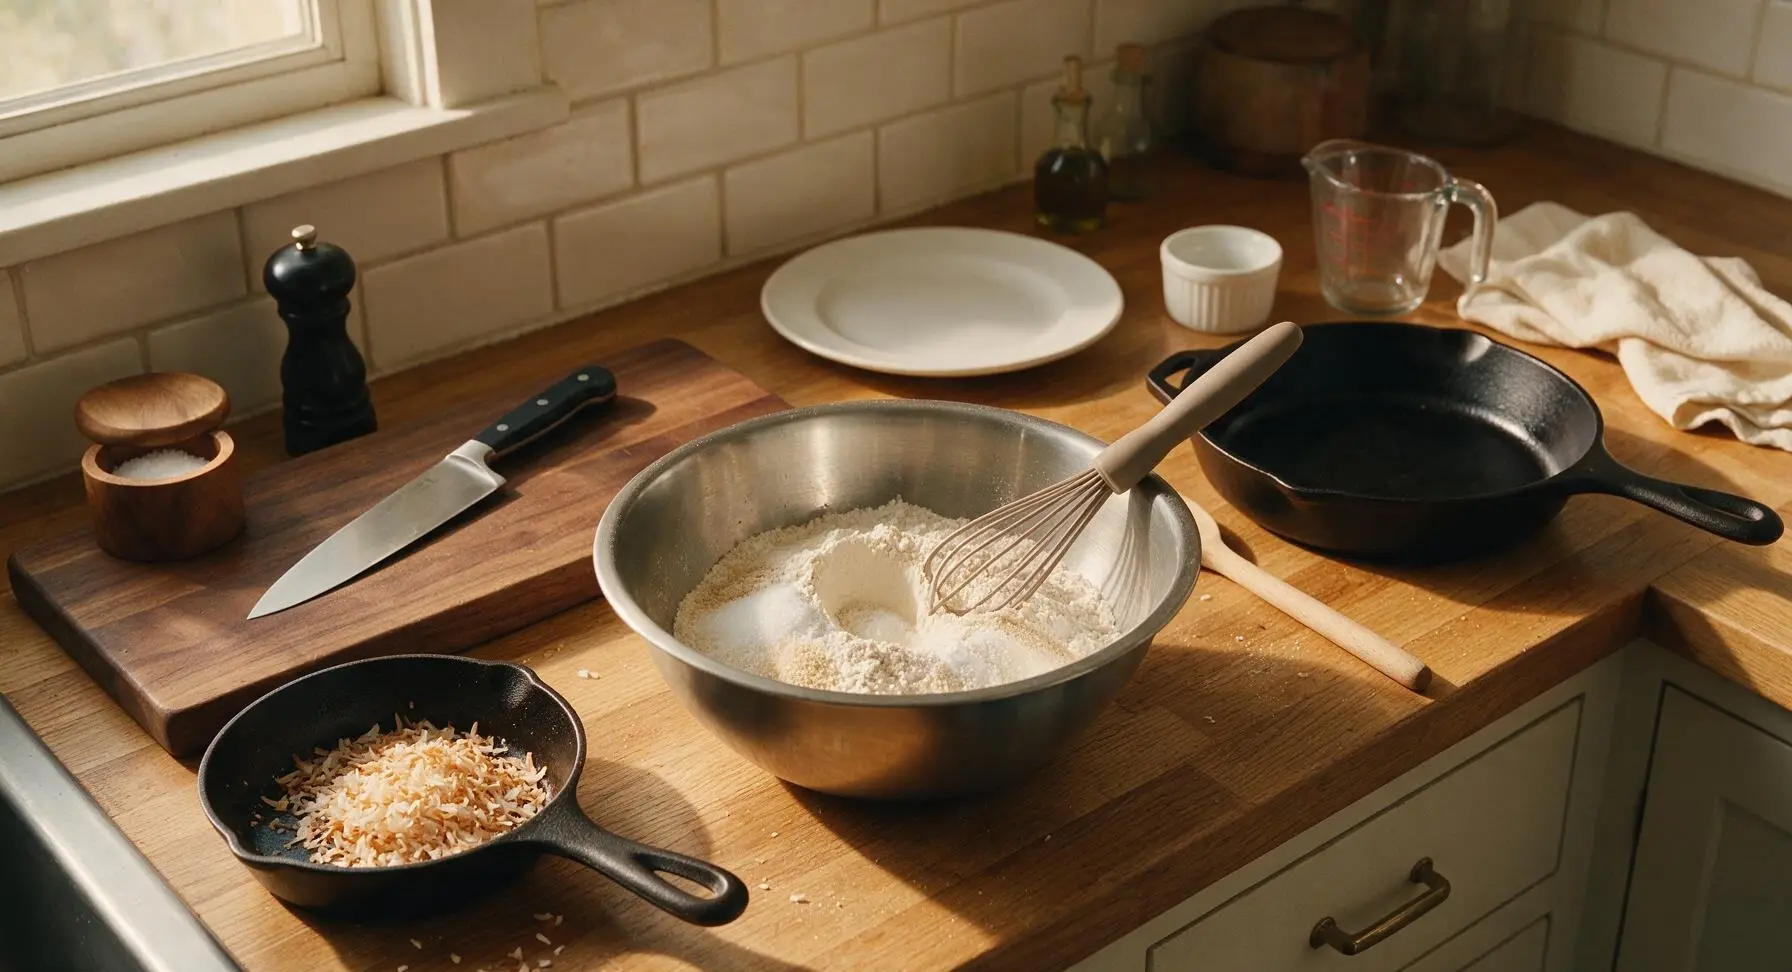
Step 2
step2:Mix Dry Ingredients
3

Whisk Wet Ingredients

In the small stainless steel mixing bowl, crack 2 large eggs, then add 1 ¼ cups whole milk, 4 tablespoons melted cooled unsalted butter, and 1 teaspoon pure vanilla extract. Whisk with the same silicone whisk for 45 seconds until the mixture is completely smooth, with no streaks of egg visible, and a pale uniform yellow color.
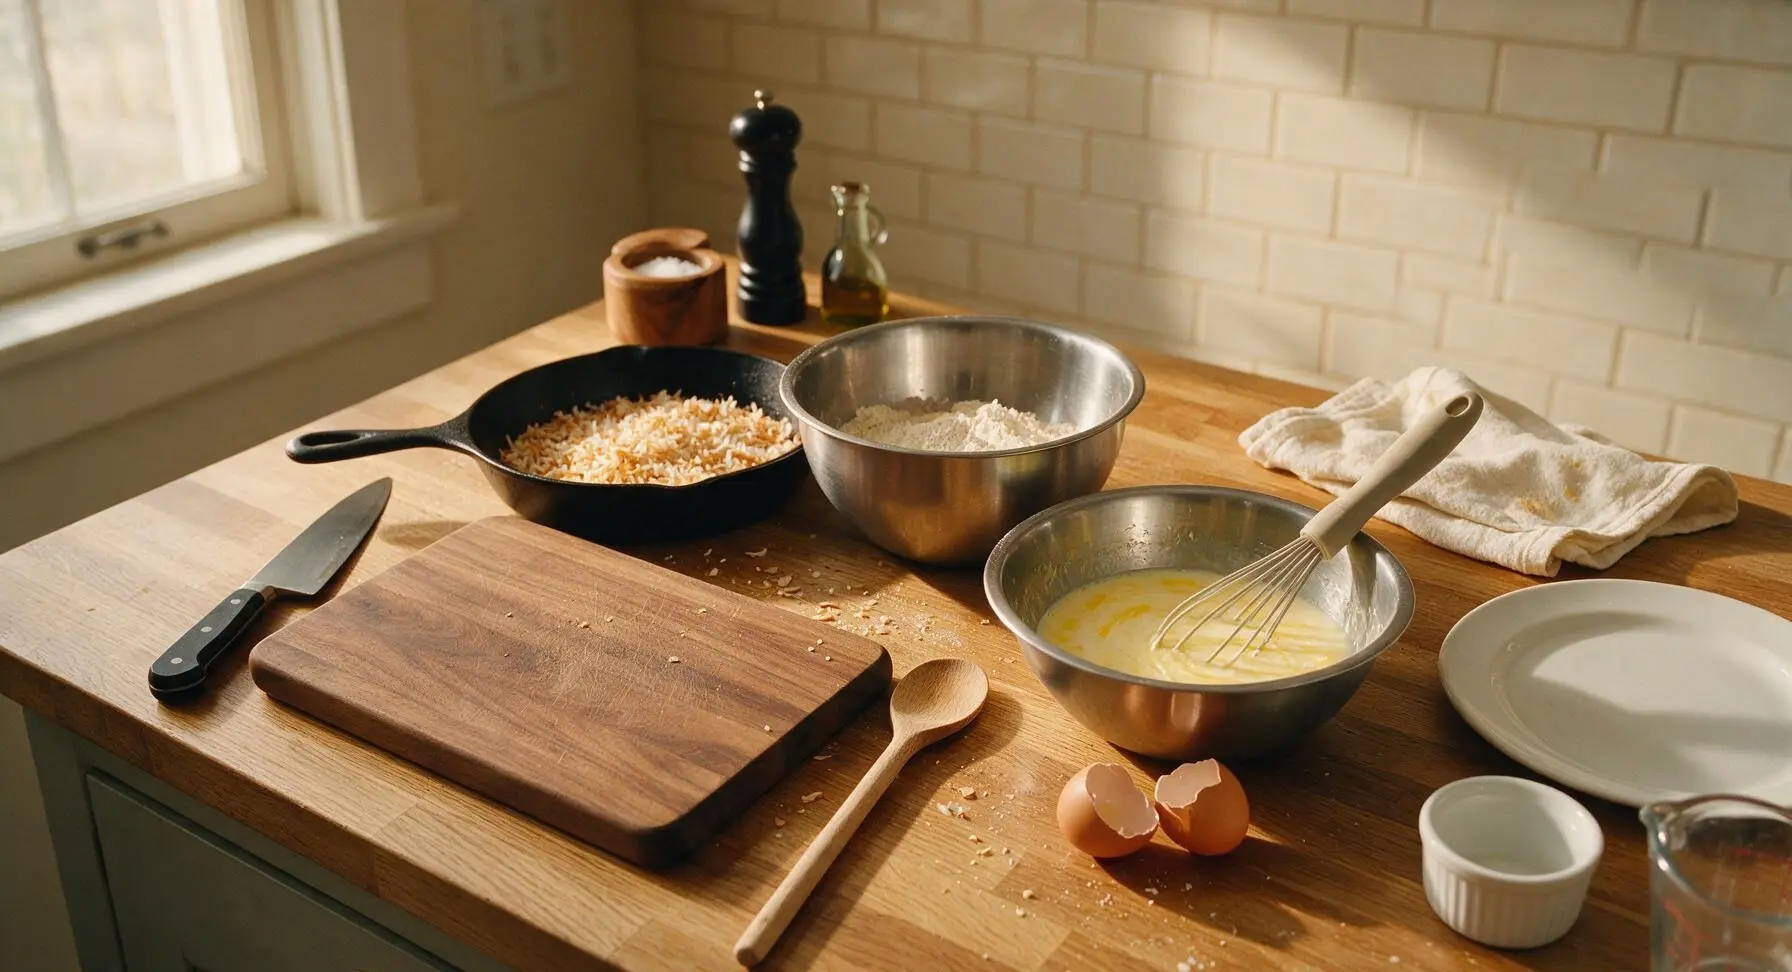
Step 3
step3:Whisk Wet Ingredients
4

Combine Batter Base

Pour the entire wet ingredient mixture into the well in the dry ingredient bowl. Use the silicone spatula to gently fold the ingredients together, stirring only just until no large pockets of dry flour remain. The batter will be slightly lumpy—do not overmix, as overstirring will create tough, dense waffles.
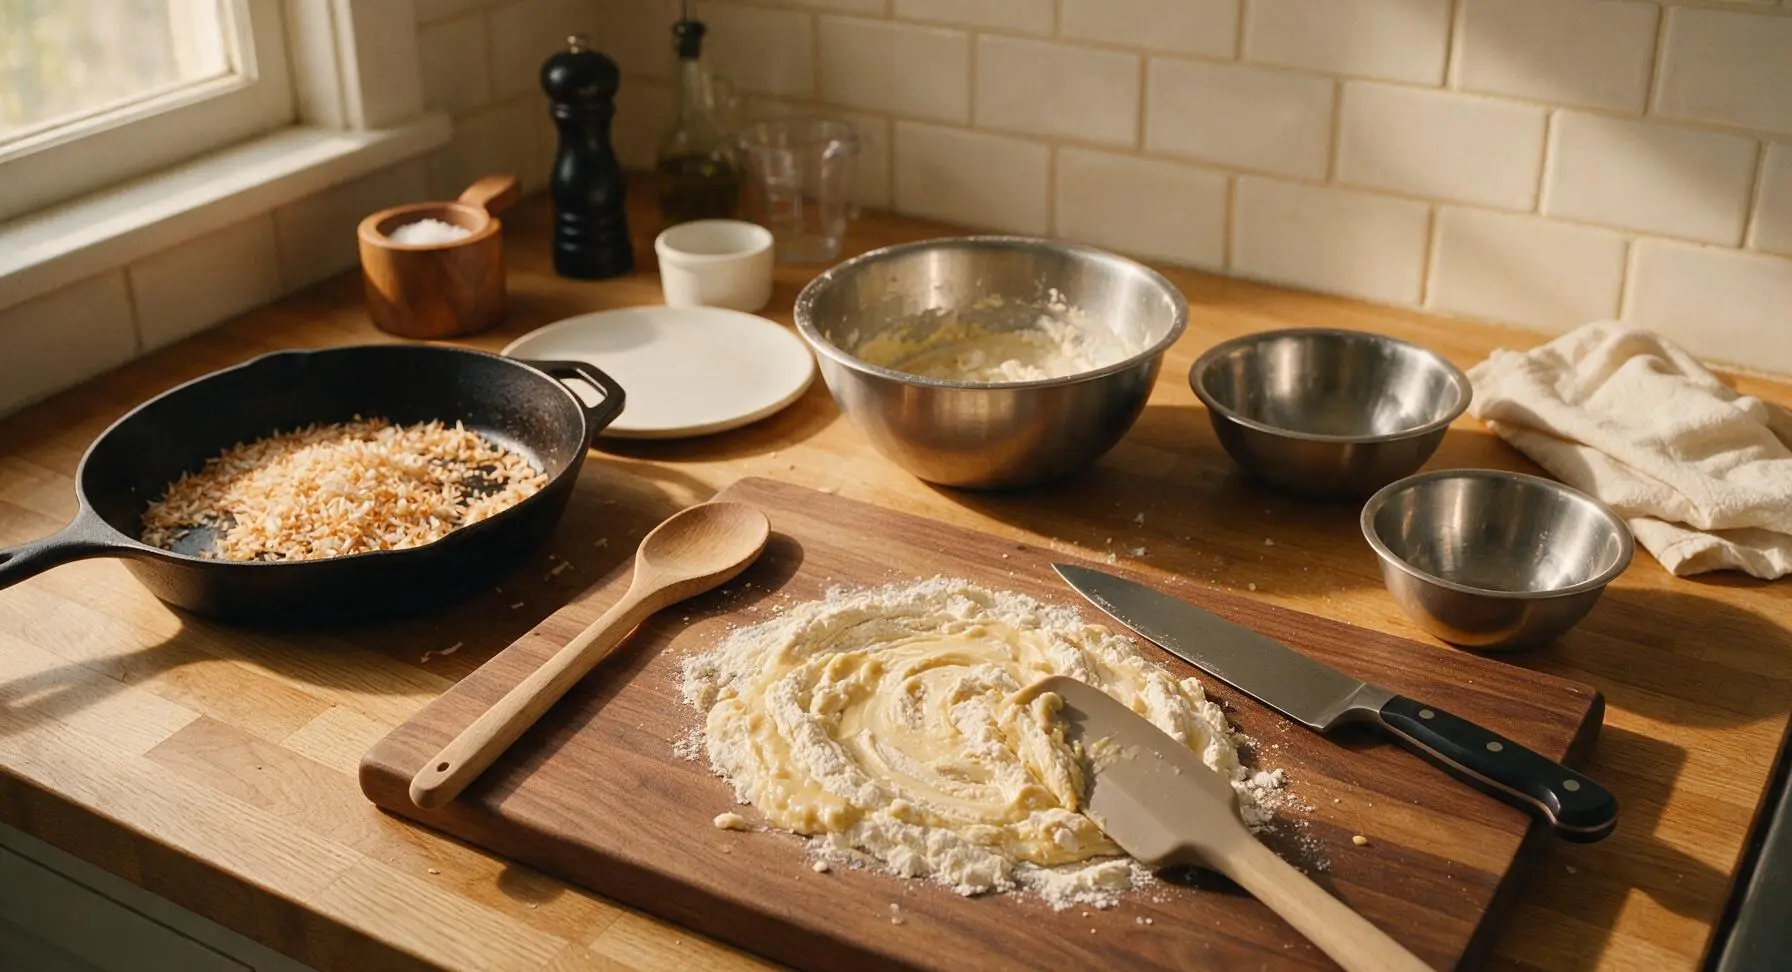
Step 4
step4:Combine Batter Base
5

Fold in Coconut

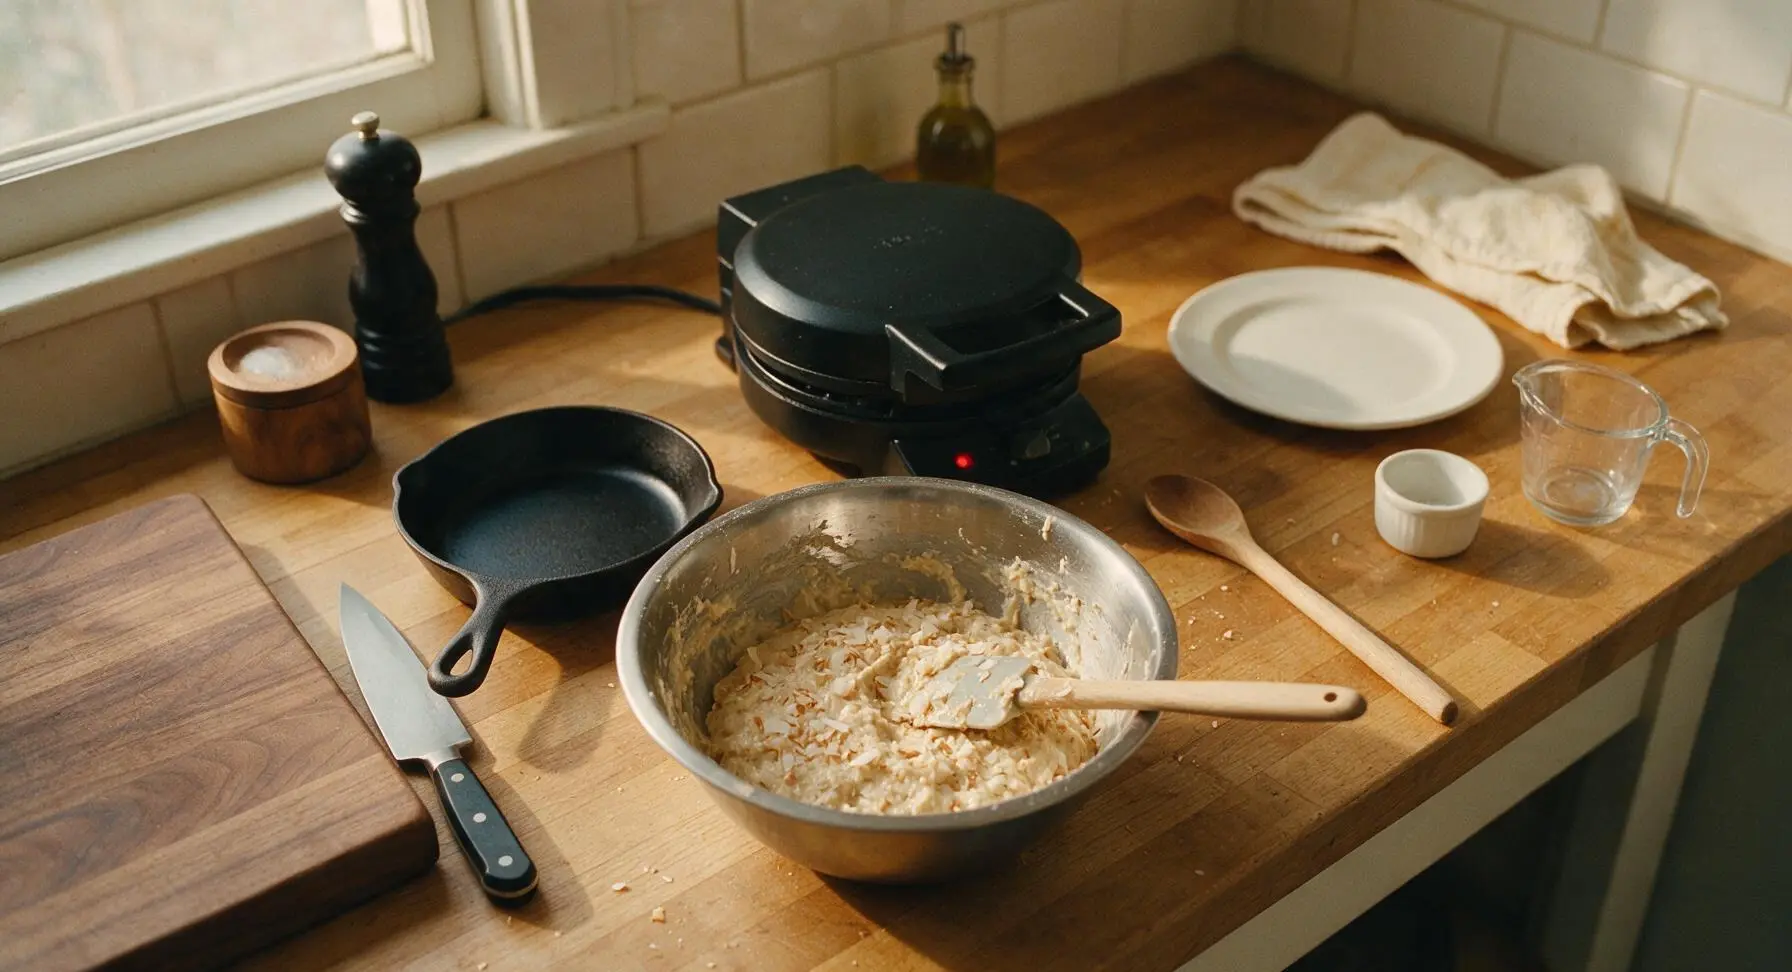
Add the ¾ cup cooled toasted coconut (the portion not reserved for garnish) to the lumpy batter. Use the silicone spatula to fold the coconut evenly through the batter with 3-4 gentle turns, distributing the flakes without overworking the batter. Let the batter rest for 5 minutes while the waffle iron preheats to 375°F (190°C), or until the indicator light shows it is ready for cooking.
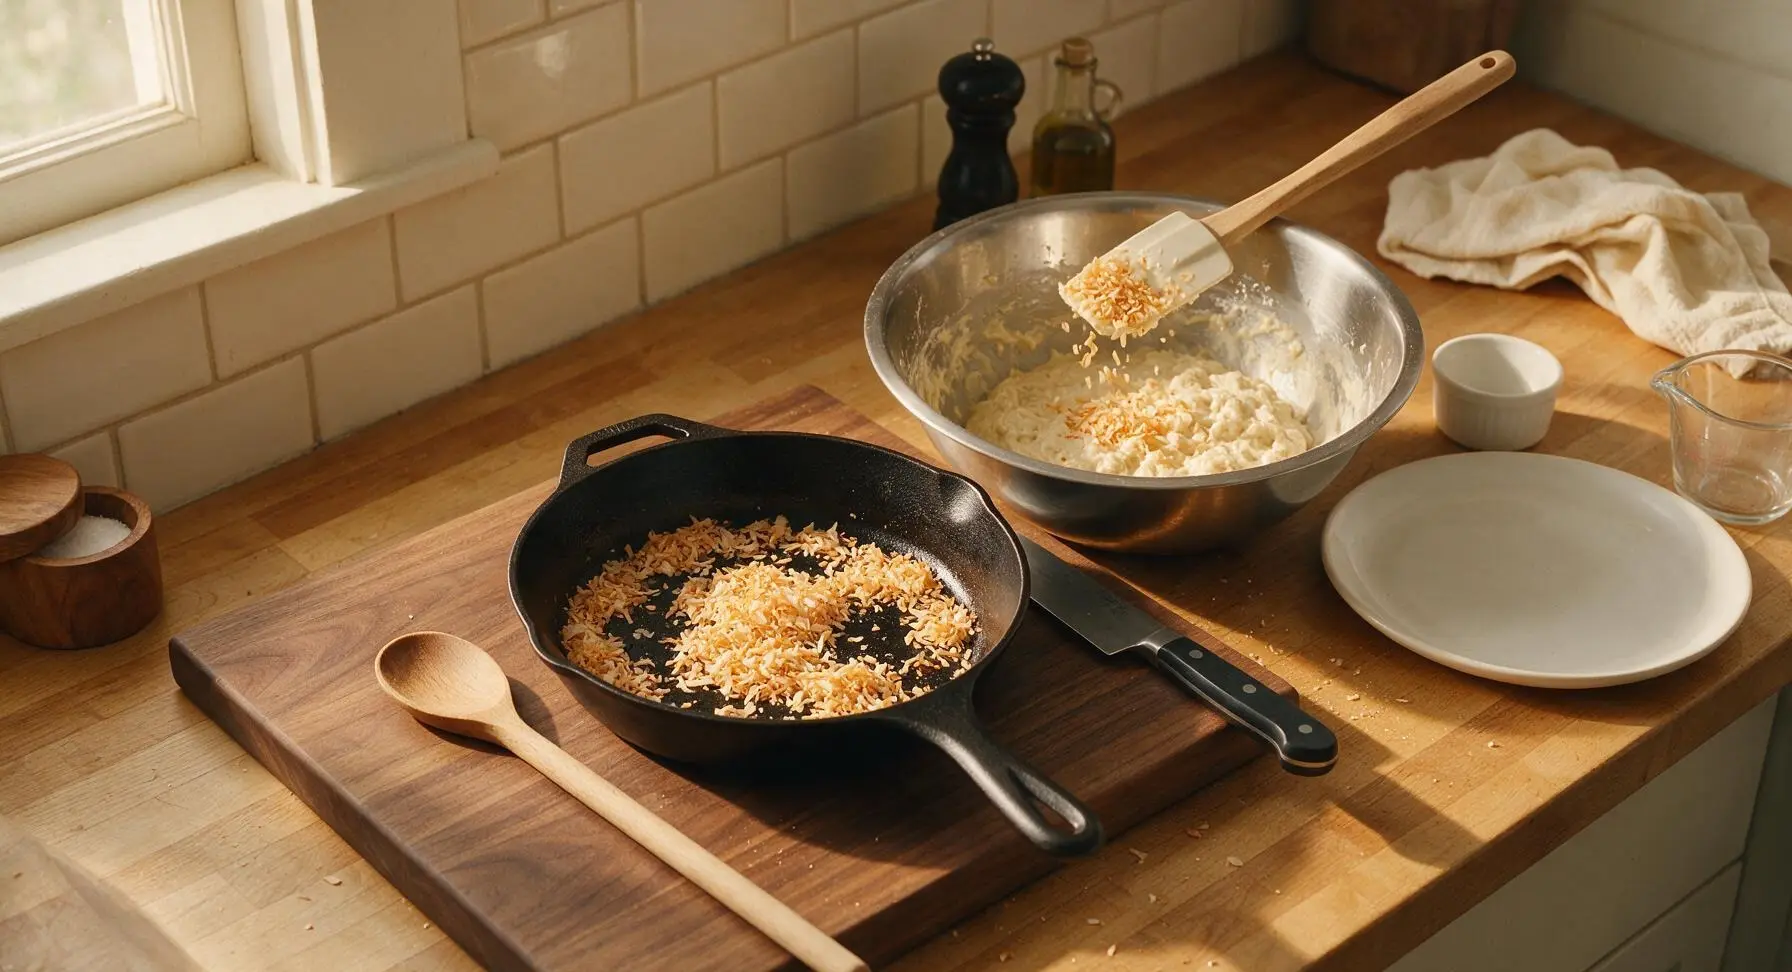
Step 5
step5:Fold in Coconut
Step 5
step5:Fold in Coconut
6

Cook Waffles Until Crisp

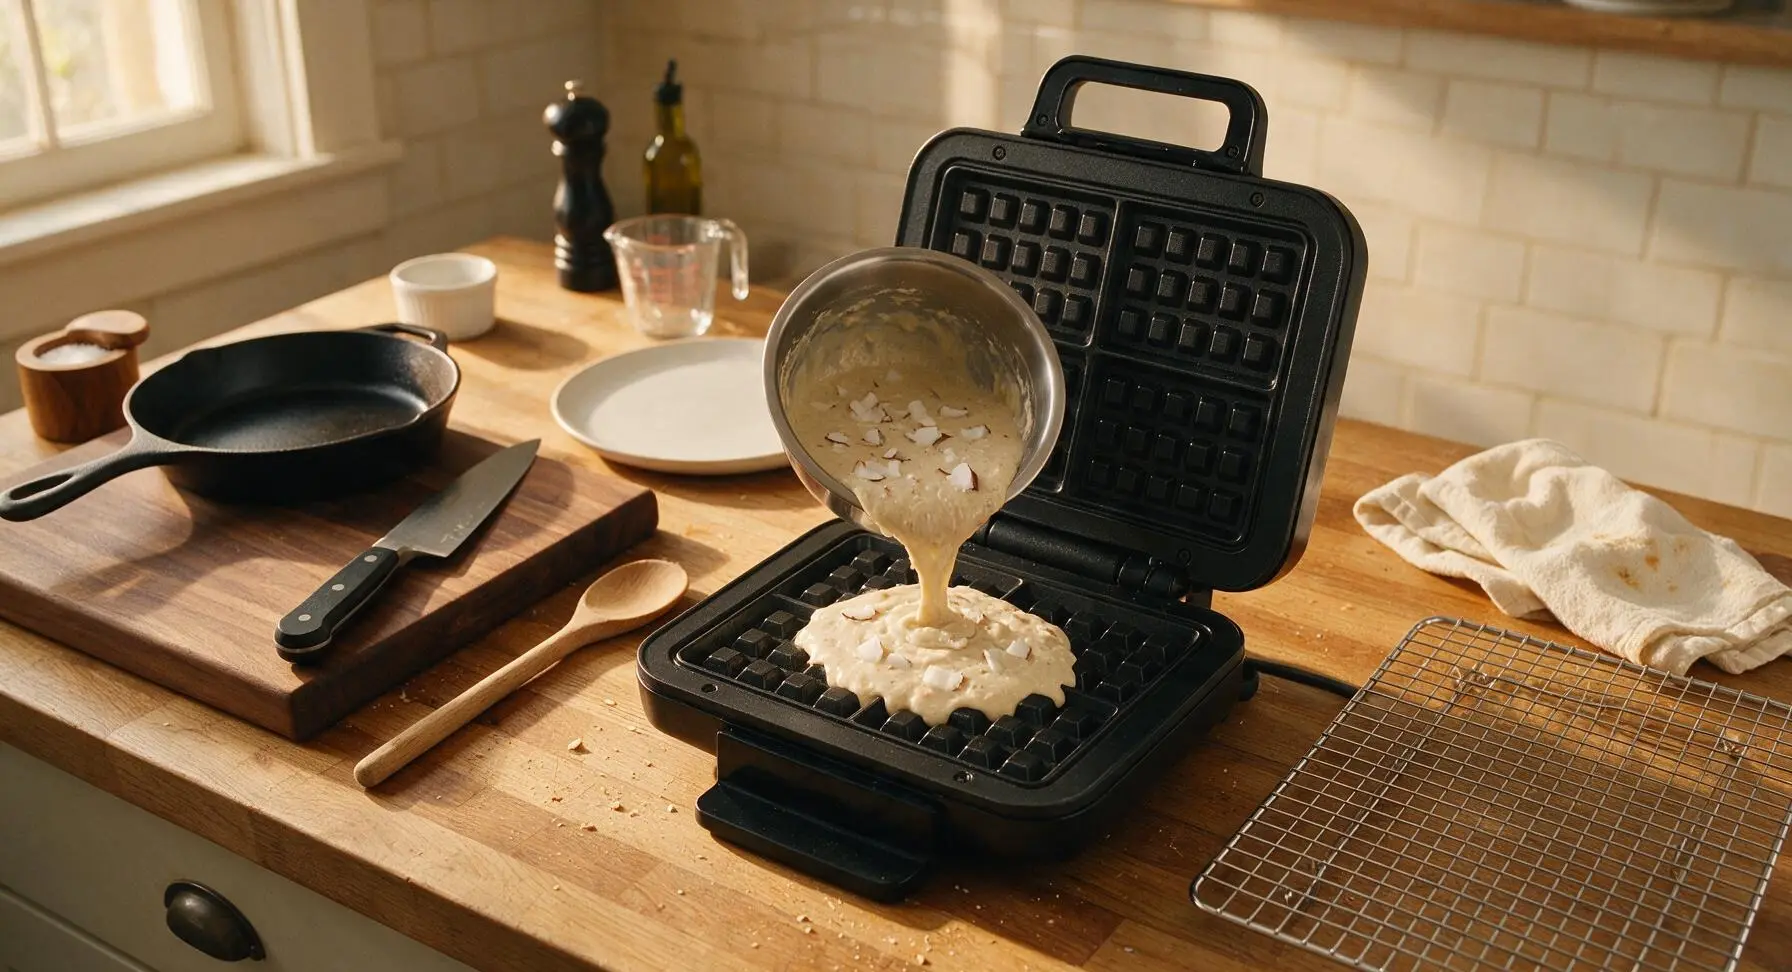
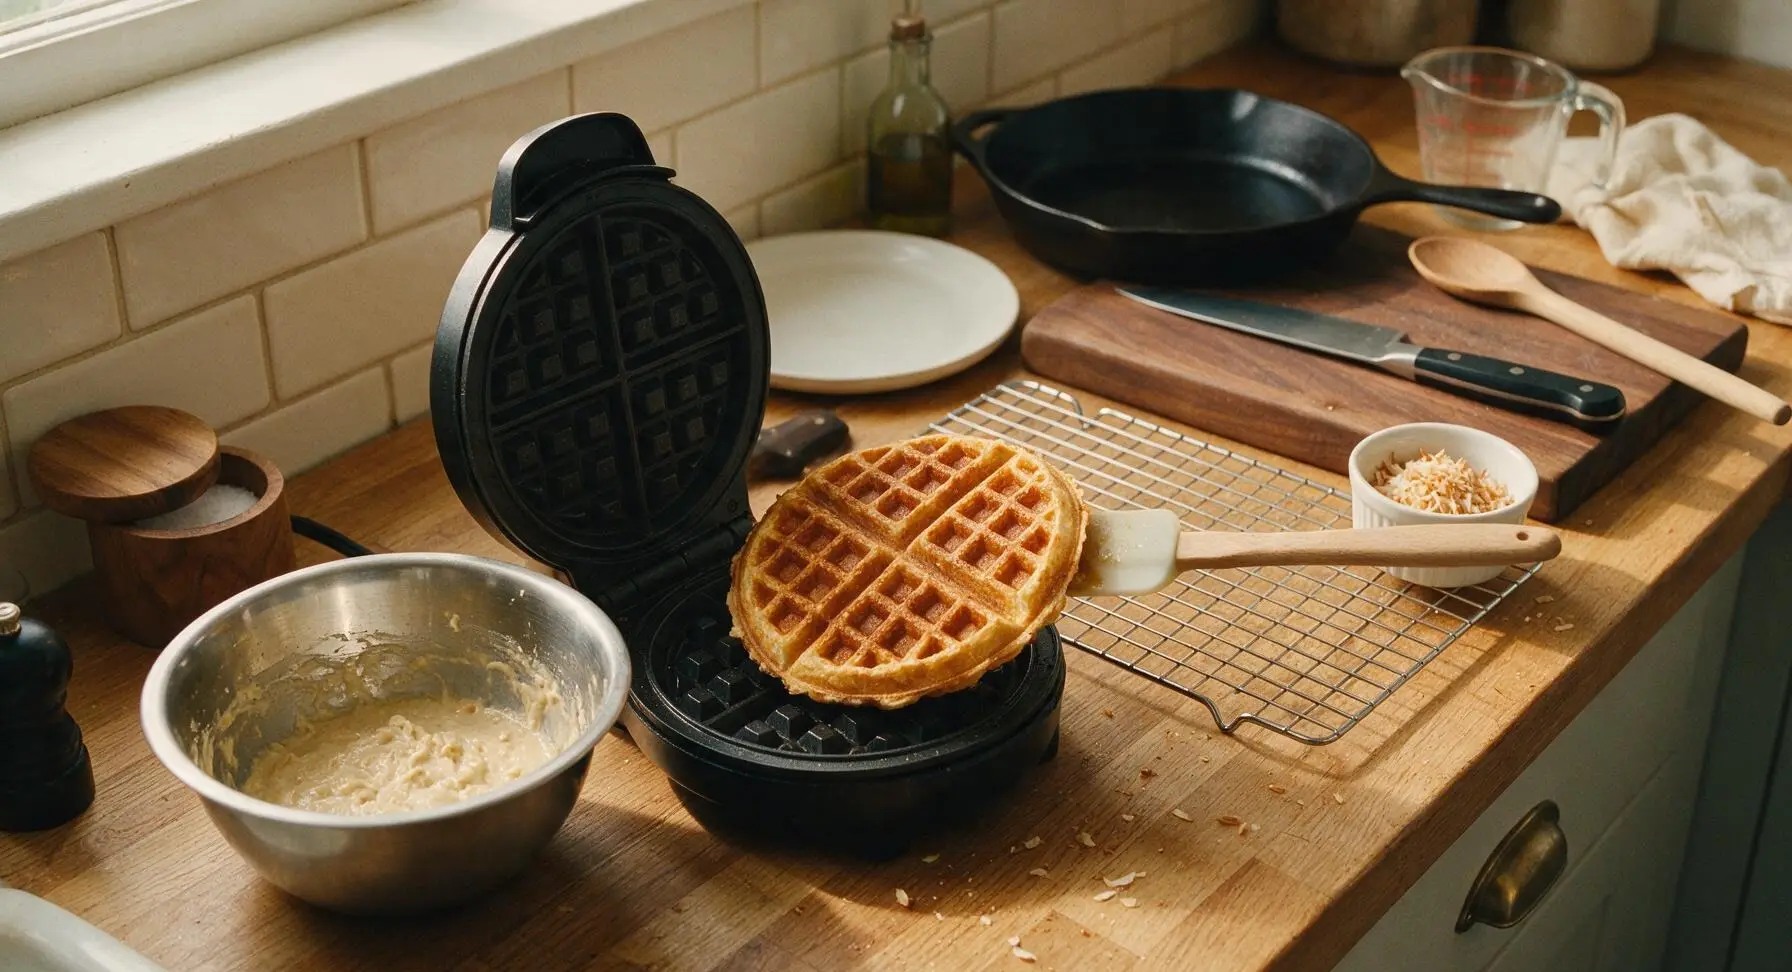
Once the waffle iron is preheated, lightly coat the grid plates with a small amount of extra melted butter if needed to prevent sticking. Pour ¾ cup of batter evenly into the center of the lower waffle grid, close the lid, and cook for 3-4 minutes, until the waffle is deep golden brown, crisp on the outside, and no steam escapes from the edges of the iron. Transfer the cooked waffle to the chrome wire cooling rack (set to the right of the waffle iron) to rest for 1 minute—this keeps waffles crisp instead of soggy. Repeat with remaining batter to make 4 total waffles.
Step 6
step6:Cook Waffles Until Crisp
Step 6
step6:Cook Waffles Until Crisp
7

Plate and Garnish Waffles

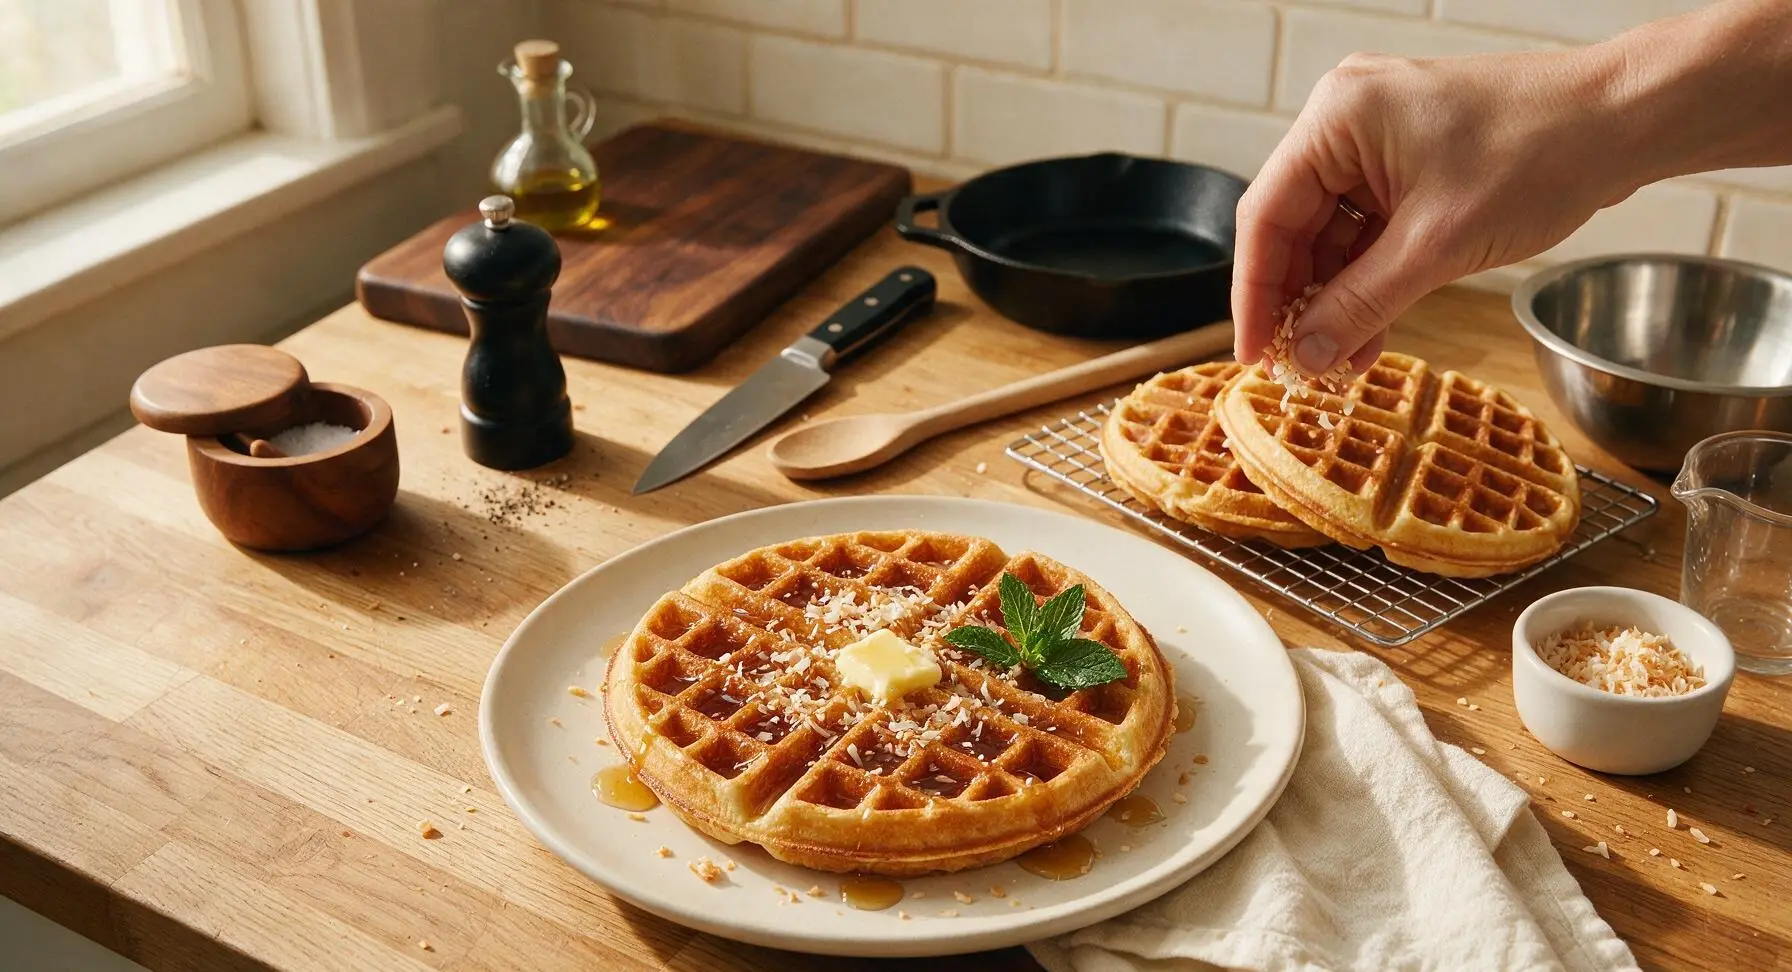
Place one warm crisp waffle centered on the matte cream ceramic dinner plate. Top with a ½ tablespoon pat of salted butter, allowing it to melt slightly in the waffle grids, then drizzle with 1 tablespoon of pure maple syrup. Sprinkle generously with the reserved toasted coconut, and garnish with 2-3 fresh mint leaves before serving immediately while warm.
Step 7
step7:Plate and Garnish Waffles

Tips

1.Never overmix the waffle batter: lumps are completely normal and desirable, as overstirring develops gluten in the flour and leads to tough, dense waffles instead of light, fluffy ones with crisp edges.
2.Rest cooked waffles on a wire rack instead of stacking them on a plate: stacking traps hot steam between waffle layers, which softens the crisp outer crust, while air circulation around the rack keeps waffles crisp for 10-15 minutes before serving.
3.Toast coconut over medium-low heat and stir constantly: shredded coconut has high natural oil content, so it can go from perfectly golden and nutty to burnt and bitter in as little as 30 seconds if left unattended.


✨ You May Also Like

Breakfast
🍜 United States

Crisp-edged, fluffy lard griddle cakes are a nostalgic homestyle staple, with rich savoriness from rendered lard, perfect topped with maple syrup or savory gravy.

⏱️ 25 minuteBreakfast ★ 4.8
Breakfast
🍜 United States

Flaky, buttery homemade buttermilk biscuits smothered in creamy, peppery pork sausage gravy: a beloved, hearty Southern American comfort food classic.

⏱️ 35 minuteBreakfast ★ 4.8
Breakfast
🍜 United States

Golden, custardy brioche stuffed with sweet cream cheese and fresh berries, pan-fried to crisp perfection. An indulgent, cozy breakfast perfect for slow weekend mornings.

⏱️ 30 minuteBreakfast ★ 4.7
Breakfast
🍜 United States

Flaky, buttery Southern-style biscuits stuffed with savory salty country ham, a portable, satisfying classic perfect for casual on-the-go meals.

⏱️ 25 minuteBreakfast ★ 4.8
Breakfast
🍜 United States

Iconic puffy baked pancake popularized in Seattle, with crisp golden edges and soft custardy center, served warm with classic sweet toppings.

⏱️ 35 minuteBreakfast ★ 4.6
Breakfast
🍜 United States

Fluffy, golden pancakes studded with juicy peak-summer mixed berries, drizzled with maple syrup for a bright, comforting, crowd-pleasing family breakfast.

⏱️ 25 minuteBreakfast ★ 4.7

Toasted Coconut Waffles :Frequently Asked Questions

1.How do I toast the shredded coconut for these waffles without burning it? ▾
Toast your sweetened shredded coconut in a dry skillet over medium-low heat, stirring constantly, for 3 to 5 minutes until evenly light golden. Sweetened coconut burns very quickly due to its added sugar, so pull it off the heat the second you smell that rich nutty aroma, and transfer it to a cool plate immediately to stop carryover cooking.
2.Can I make these waffles gluten-free without ruining their fluffy, crisp texture? ▾
Absolutely! Swap the all-purpose flour for a 1:1 gluten-free baking blend that contains xanthan gum for the closest texture match. Keep all other ingredient measurements the same, and let the batter rest 5 minutes before pouring to let the flour absorb moisture, so your waffles stay fluffy inside and crisp outside, no gritty texture.
3.Why do my waffles turn out soggy instead of crisp on the outside? ▾
Soggy waffles almost always trace back to two easy-to-fix mistakes: your waffle iron isn’t fully preheated, or you’re lifting the lid too early. Let your iron heat fully until the indicator light triggers, don’t lift the lid for the first 2 minutes of cooking, and only fill ¾ of the grid to avoid steamy, undercooked edges.
4.Can I prep this waffle batter ahead for quick weekday breakfasts? ▾
You can mix the dry ingredients (flour, baking powder, granulated sugar, fine sea salt, pre-toasted coconut) up to 1 month ahead, stored in an airtight pantry container. For fully mixed wet-and-dry batter, keep it in the fridge for up to 24 hours—give it a gentle stir before cooking, and add a tiny pinch of extra baking powder if it looks flat to preserve fluff.
5.Can I use unsweetened shredded coconut instead of sweetened? ▾
You can absolutely use unsweetened shredded coconut if you prefer lower sugar, but I recommend upping the granulated sugar in the batter by 1 tablespoon to balance the deep coconut nuttiness. Keep a close eye while toasting, too—unsweetened coconut browns about 1 minute faster than sweetened, since it has no added sugar slowing browning.
6.How do I keep cooked waffles crisp while making a full batch for my family? ▾
Never stack freshly cooked waffles on a plate—trapped steam will turn them soggy in minutes. Instead, arrange cooked waffles in a single layer on a wire rack set over a baking sheet, and hold them in a 200°F oven while you cook the rest. This keeps every waffle crisp outside and fluffy inside, even for a big family.
7.Do these waffles freeze well for quick future meals? ▾
These toasted coconut waffles freeze beautifully! Let fully cooked waffles cool completely, then layer them between sheets of parchment paper in a freezer-safe zip-top bag for up to 3 months. When you’re ready to eat, pop them straight from the freezer into your toaster on medium—no thawing needed, and they crisp up just like fresh.
8.What are the best toppings to serve with these waffles? ▾
The classic finish of salted butter and warm pure maple syrup lets the nutty toasted coconut flavor shine, matching the recipe’s cozy, family-friendly vibe. You can also dress them up with coconut whipped cream, extra toasted coconut, fresh mango or pineapple, or a drizzle of coconut caramel for a fun tropical brunch twist.

Comments (5)

2 hours ago

OMG these toasted coconut waffles are a GAME CHANGER for my weekend brunch rotation! I made them for my kids this Saturday and they begged for seconds before they even finished their first plate. The coconut toasts up so nutty and fragrant, I didn’t even need extra syrup! 10/10, so easy to throw together even when I’m half-asleep making breakfast.

3 days ago

Made these for a potluck brunch with my coworkers last week and everyone was asking for the recipe! I added a tiny drizzle of coconut caramel on top and it was chef’s kiss. Only thing is my waffle iron runs a little hot, so I had to knock 30 seconds off the cook time to avoid burning the coconut. Super easy recipe though, will definitely make again.

2 days ago

So glad these were a hit at your potluck, Jake! Great tip about adjusting cook time for hotter waffle irons—we’ll add that note to the recipe card! The coconut caramel drizzle sounds incredible, we’ll have to try that next time we test these.

1 week ago

I made these last weekend for my partner and they were SO good—total coconut flavor without being overly sweet! I want to make a double batch this Sunday for weekday meal prep, but I’m worried the toasted coconut will get soggy if I freeze and reheat them in the toaster. Has anyone tried that yet? Any tips?

5 days ago

I freeze these all the time! I let them cool completely first, then stick them in a freezer bag with parchment paper between each waffle so they don’t stick. Pop them in the toaster on medium for 2 minutes and they’re just as crispy as the day you make them—the coconut stays perfectly toasty, no sogginess at all!

4 days ago

Sam’s tip is spot on, Lila! Letting the waffles cool fully before freezing is key to keeping the coconut crisp. We usually make a big batch on Sundays too—they reheat beautifully for quick weekday breakfasts!

yesterday

My three boys are OBSESSED with these! I’ve made them three times in the last two weeks, which is saying something because my middle kid is the pickiest eater on the planet and he asks for ‘coconut waffles’ every single morning now. I swapped half the flour for whole wheat to make them a little more filling and nobody even noticed. 10/10, new family staple.

30 minutes ago

Oh the whole wheat swap is such a good idea! My kid is also super picky, I’m definitely going to try that next time I make these—thanks for the tip!

5 minutes ago

Tried these this morning and they were just okay for me? I love coconut so I was really excited, but I think I messed up toasting the coconut—mine came out a little bitter, and the waffles stuck really bad to my waffle iron even though I sprayed it with nonstick. Any ideas what I did wrong?

just now

Oh no, bitter coconut usually means you toasted it a little too long! I toast mine on a dry pan over medium low for just 2-3 minutes, stirring constantly, and take it off right when it starts to smell fragrant—it keeps browning a little even after you take it off the heat. As for sticking, make sure your waffle iron is fully preheated before you pour the batter in! That’s been my trick for no-stick waffles every time.

just now

Sorry these didn’t turn out perfectly for you, Tyler! The user above is totally right about toasting coconut—it goes from golden to burnt super fast, so keep a close eye on it. For sticking, we also recommend brushing the iron with a little melted coconut oil instead of just nonstick spray for extra insurance, especially if your iron is older. Hope you give them another try!



