
toasting sourdough bread

title 1
toasting sourdough bread
⏱️ cook time 5 minutes
🍽️ servings 2
⚡ Difficulty easy

intro

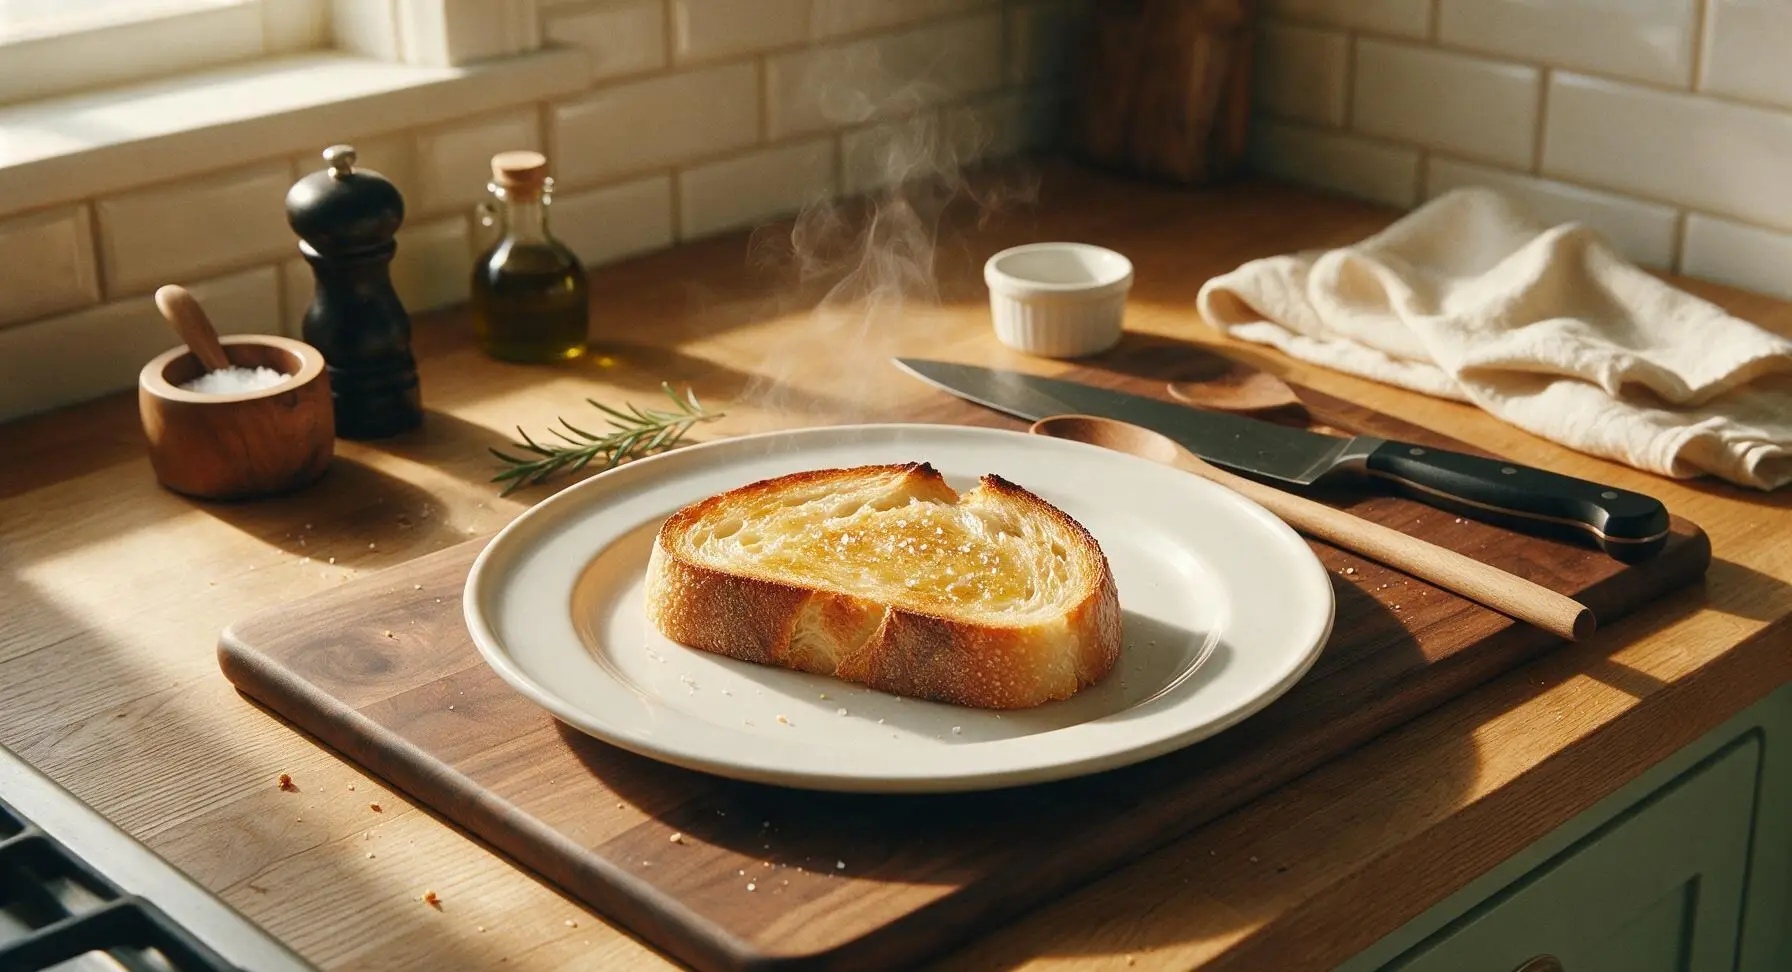
Perfectly crisp, golden sourdough toast with a soft, tangy chewy center, kissed with melted butter and a hint of flaky salt—simple, satisfying, and ready in under 10 minutes.

Ingredients
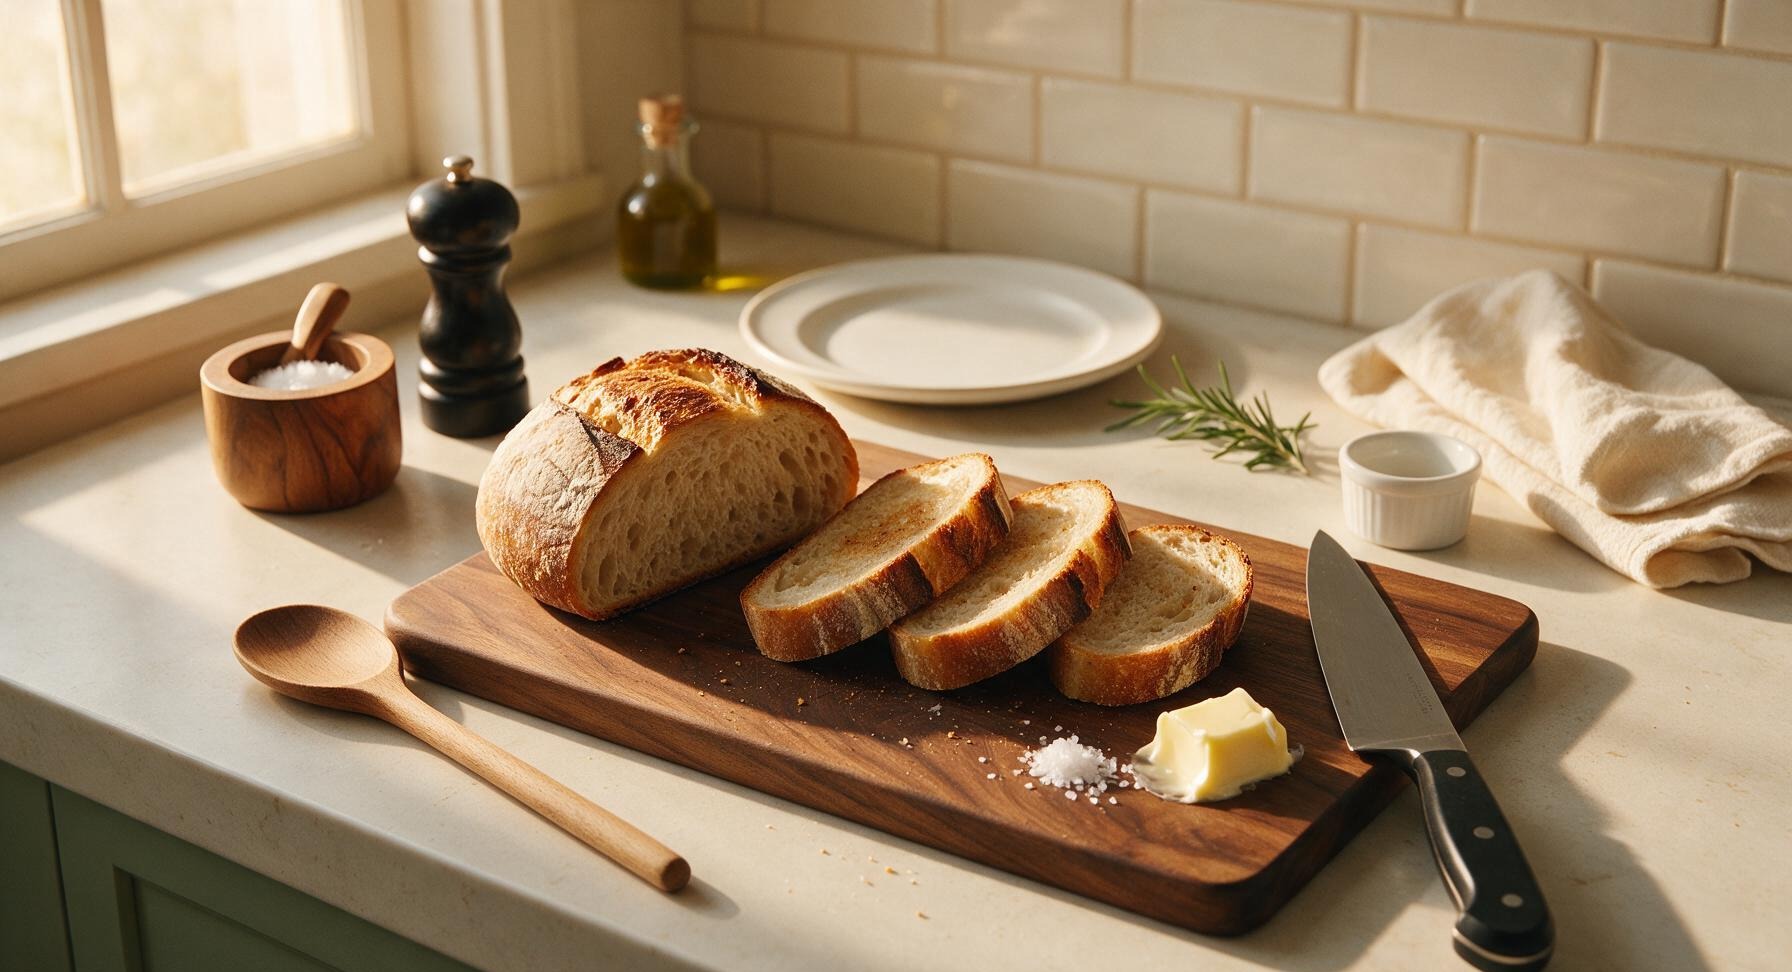
Rustic sourdough loaf 200g (4 x 1-inch thick slices)
Unsalted butter 1 tablespoon (14g), softened
Flaky sea salt 1/4 teaspoon

Steps

1

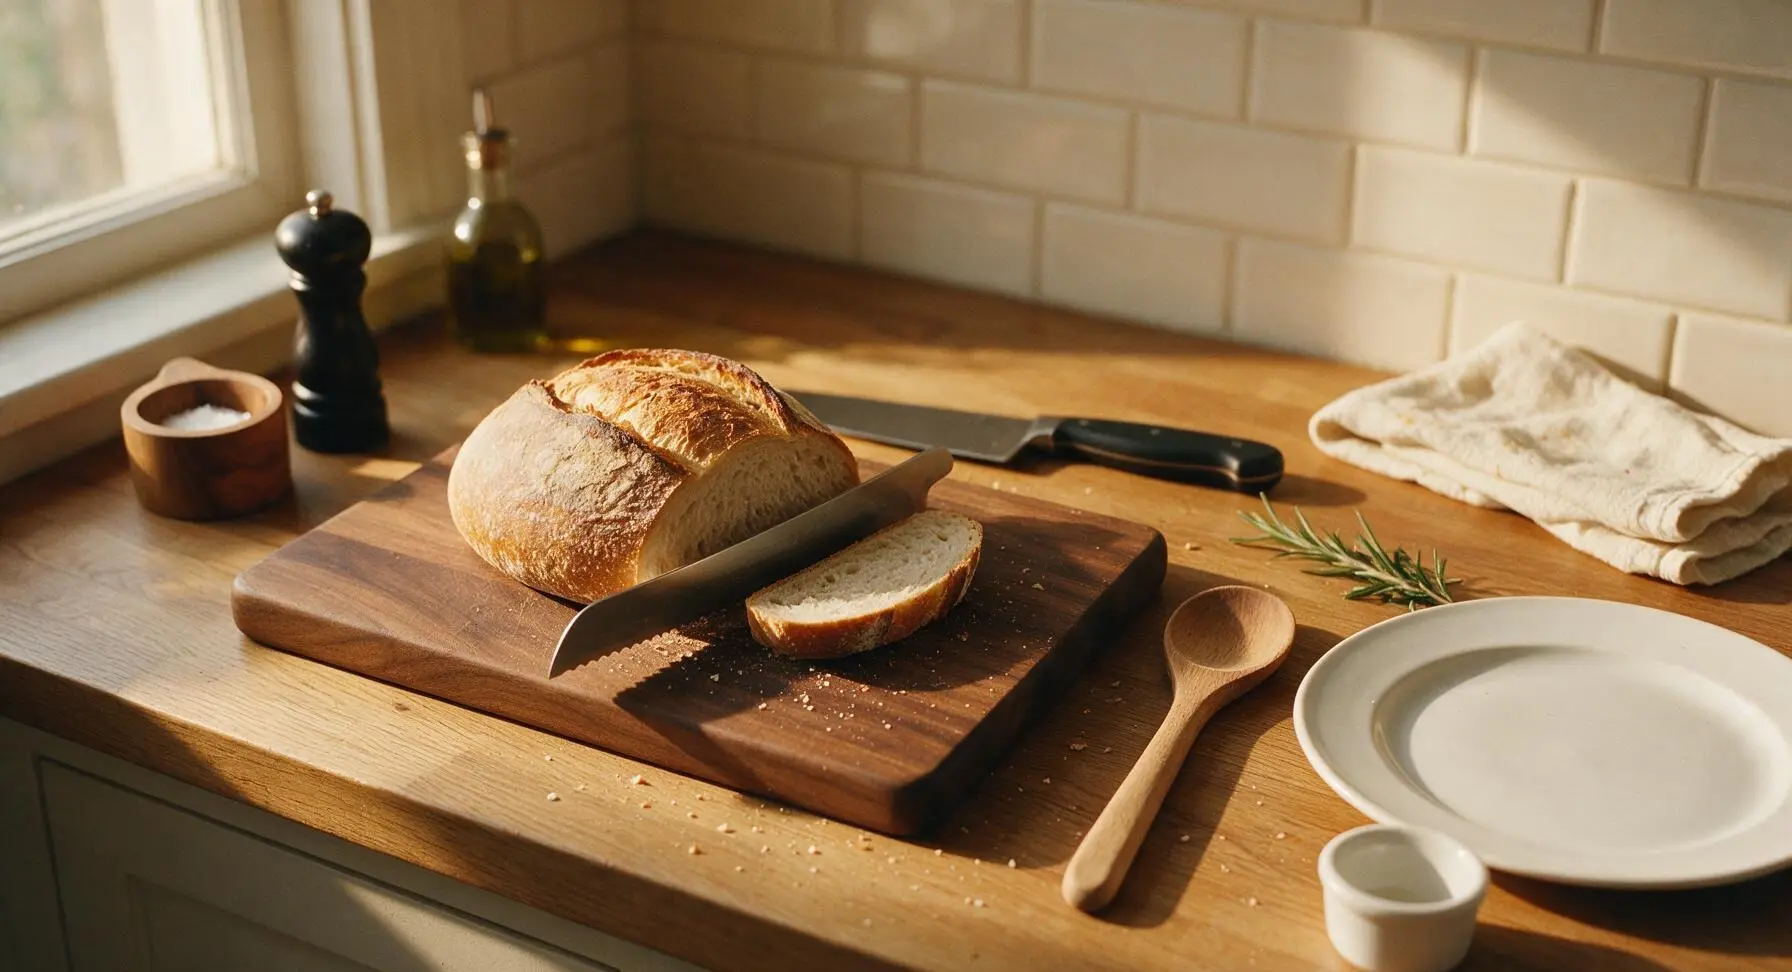
Slice Sourdough Evenly

Place the whole sourdough loaf on the acacia wood cutting board. Use the serrated bread knife to cut 4 even 1-inch (2.5cm) thick slices, cutting with a gentle sawing motion to avoid compressing the soft, airy crumb. Set crusty end pieces aside for breadcrumbs or snacking if desired. Each slice should hold its shape without squishing when set flat.
Step 1
step1:Slice Sourdough Evenly
2

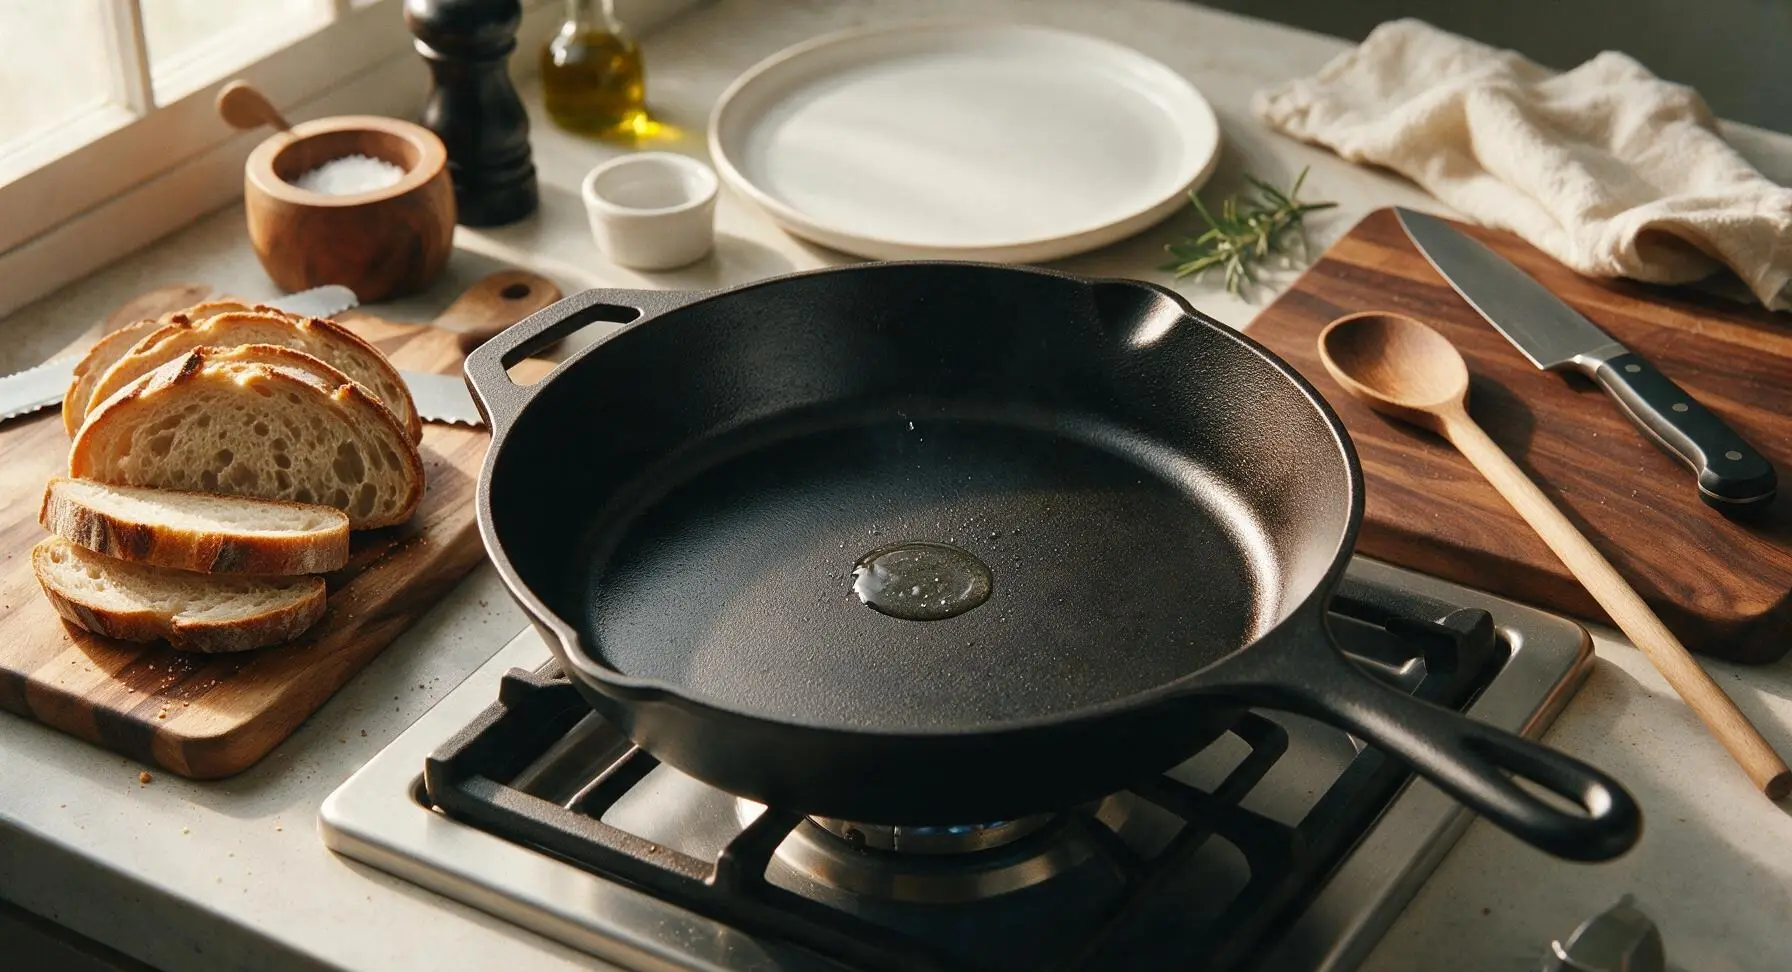
Preheat Dry Skillet

Place the 12-inch cast iron skillet on the center gas burner over medium-low heat (target pan surface temperature 325°F / 160°C). Let it preheat for 3 full minutes with no oil or butter added. Test heat by sprinkling a single drop of water on the pan surface: it should dance across the pan and evaporate in 3-4 seconds. If it vaporizes instantly, the pan is too hot and will burn the bread before the center warms through.
Step 2
step2:Preheat Dry Skillet
3

Toast First Side Dry

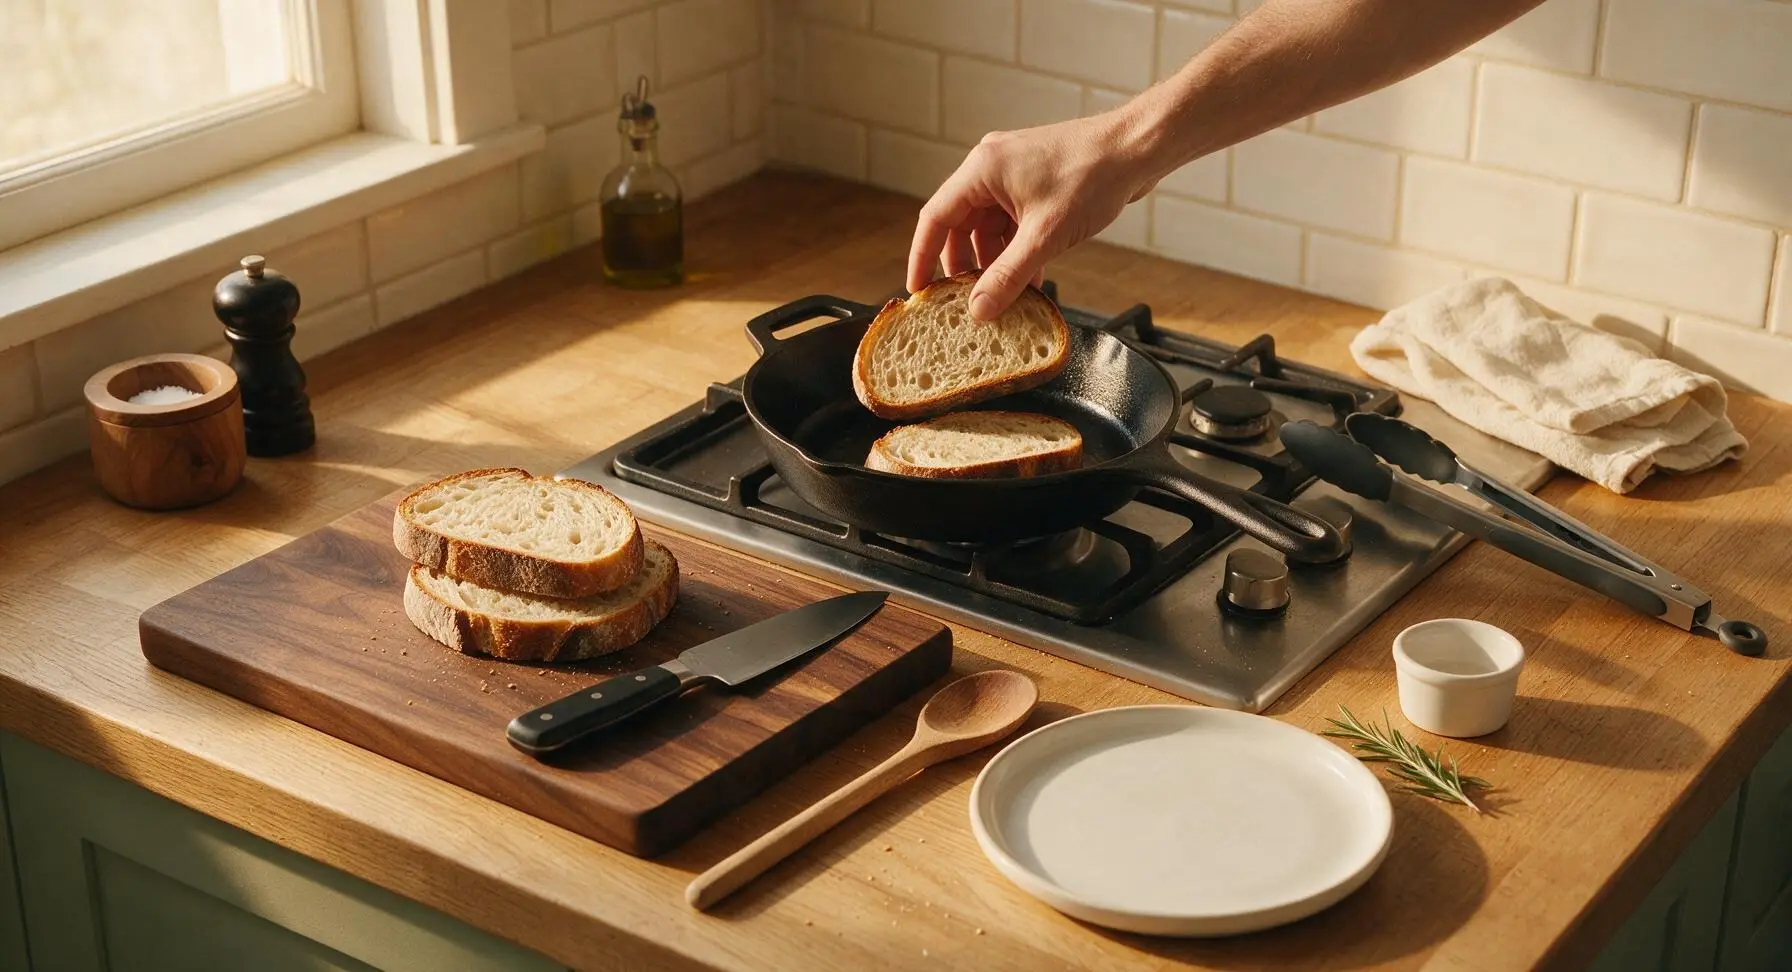
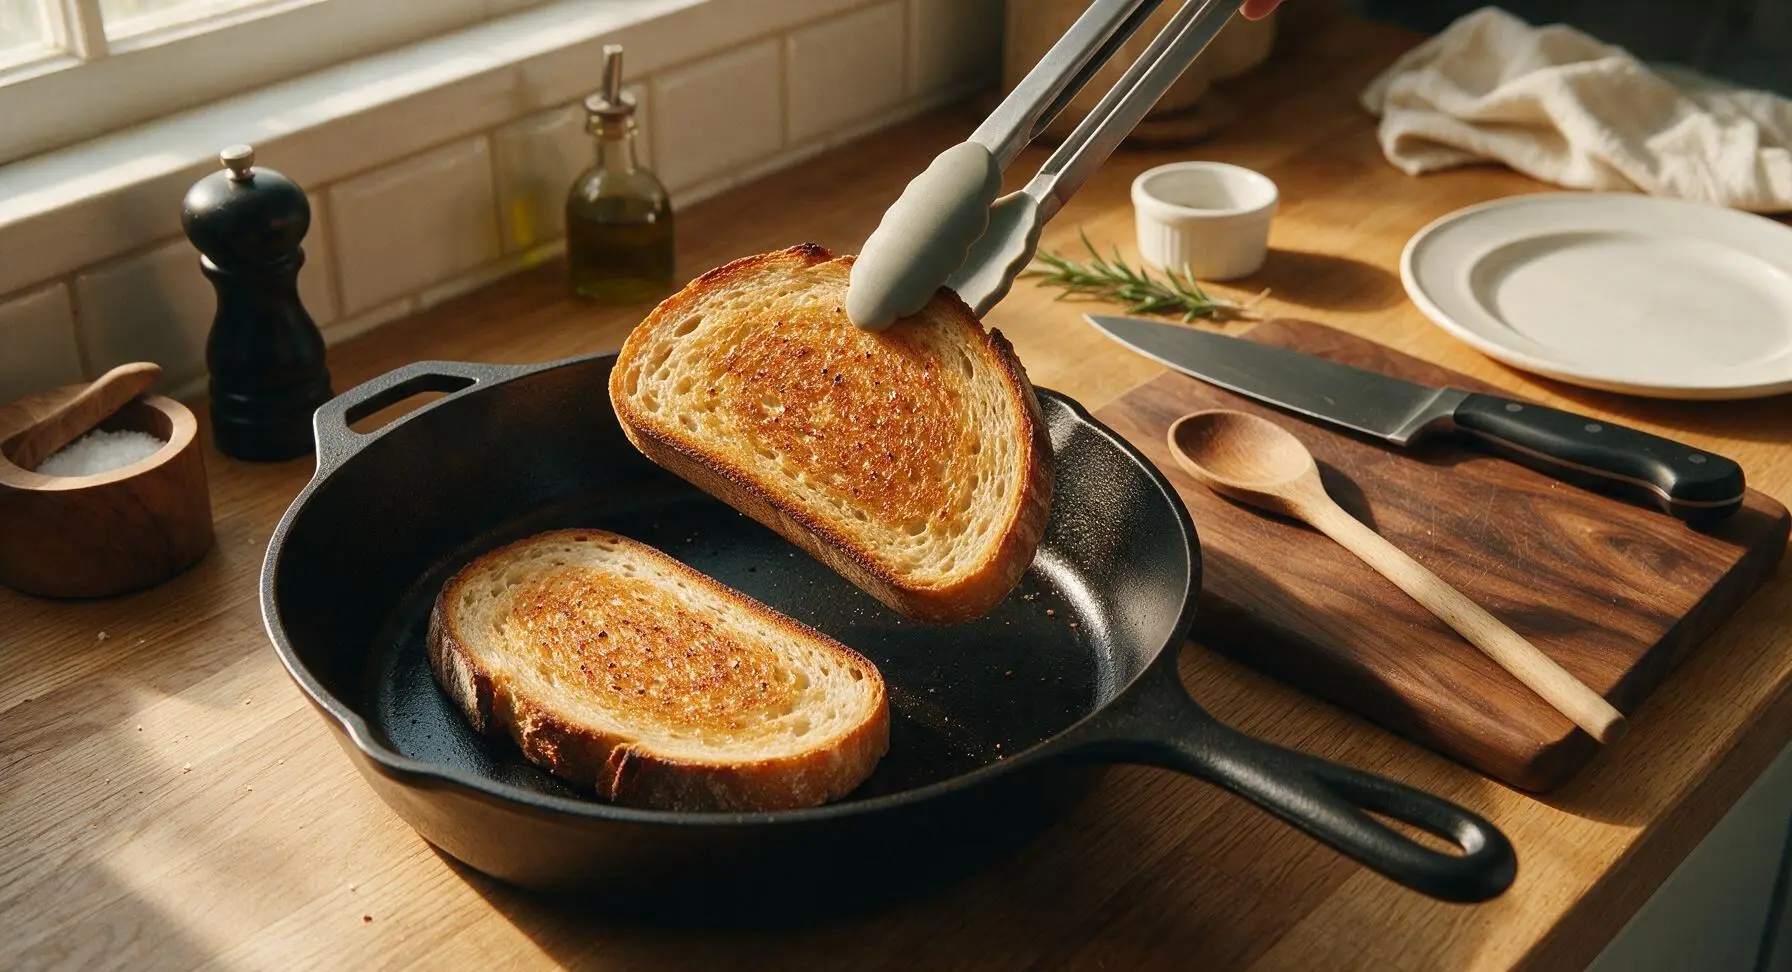
Lay the sourdough slices in a single layer in the dry preheated skillet, working in 2-slice batches if your skillet is too small to fit all 4 without crowding. Toast for 2 to 2.5 minutes without moving or lifting the slices, until the contact surface develops a deep golden brown crust with faint, evenly distributed darker toasted flecks. Avoid pressing down on the bread with a spatula, as this squeezes out moisture and creates a tough, dry texture.
Step 3
step3:Toast First Side Dry
Step 3
step3:Toast First Side Dry
4

Flip and Butter Second Side

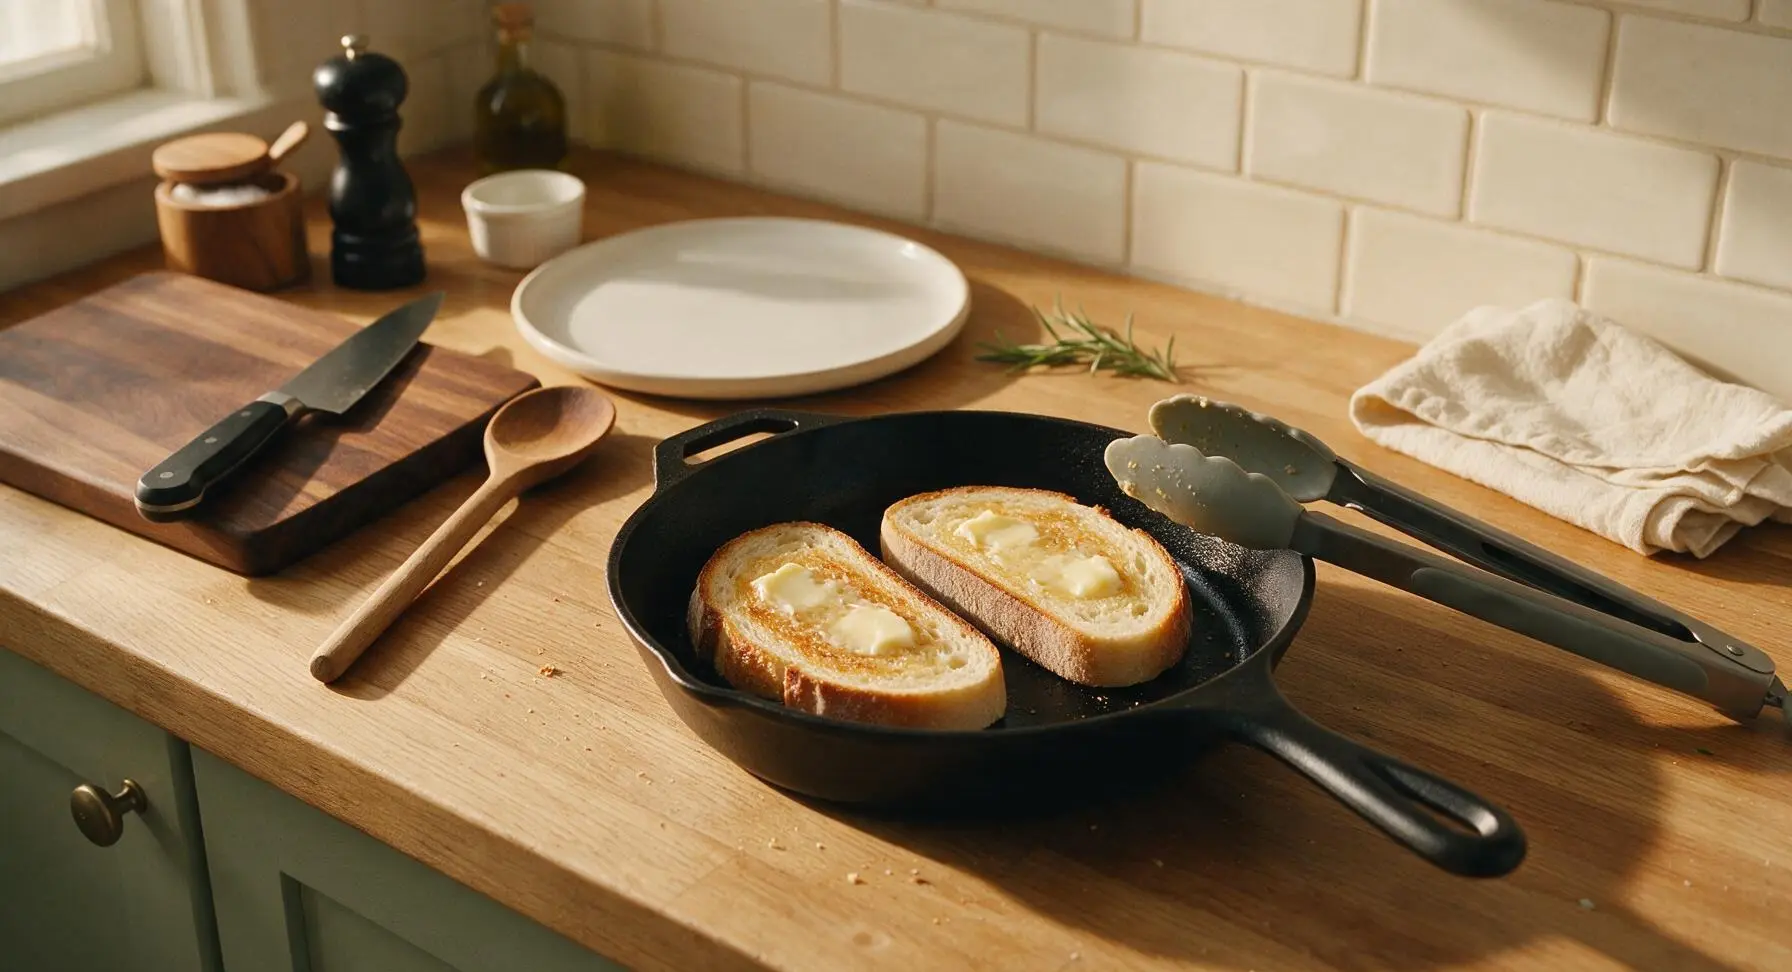
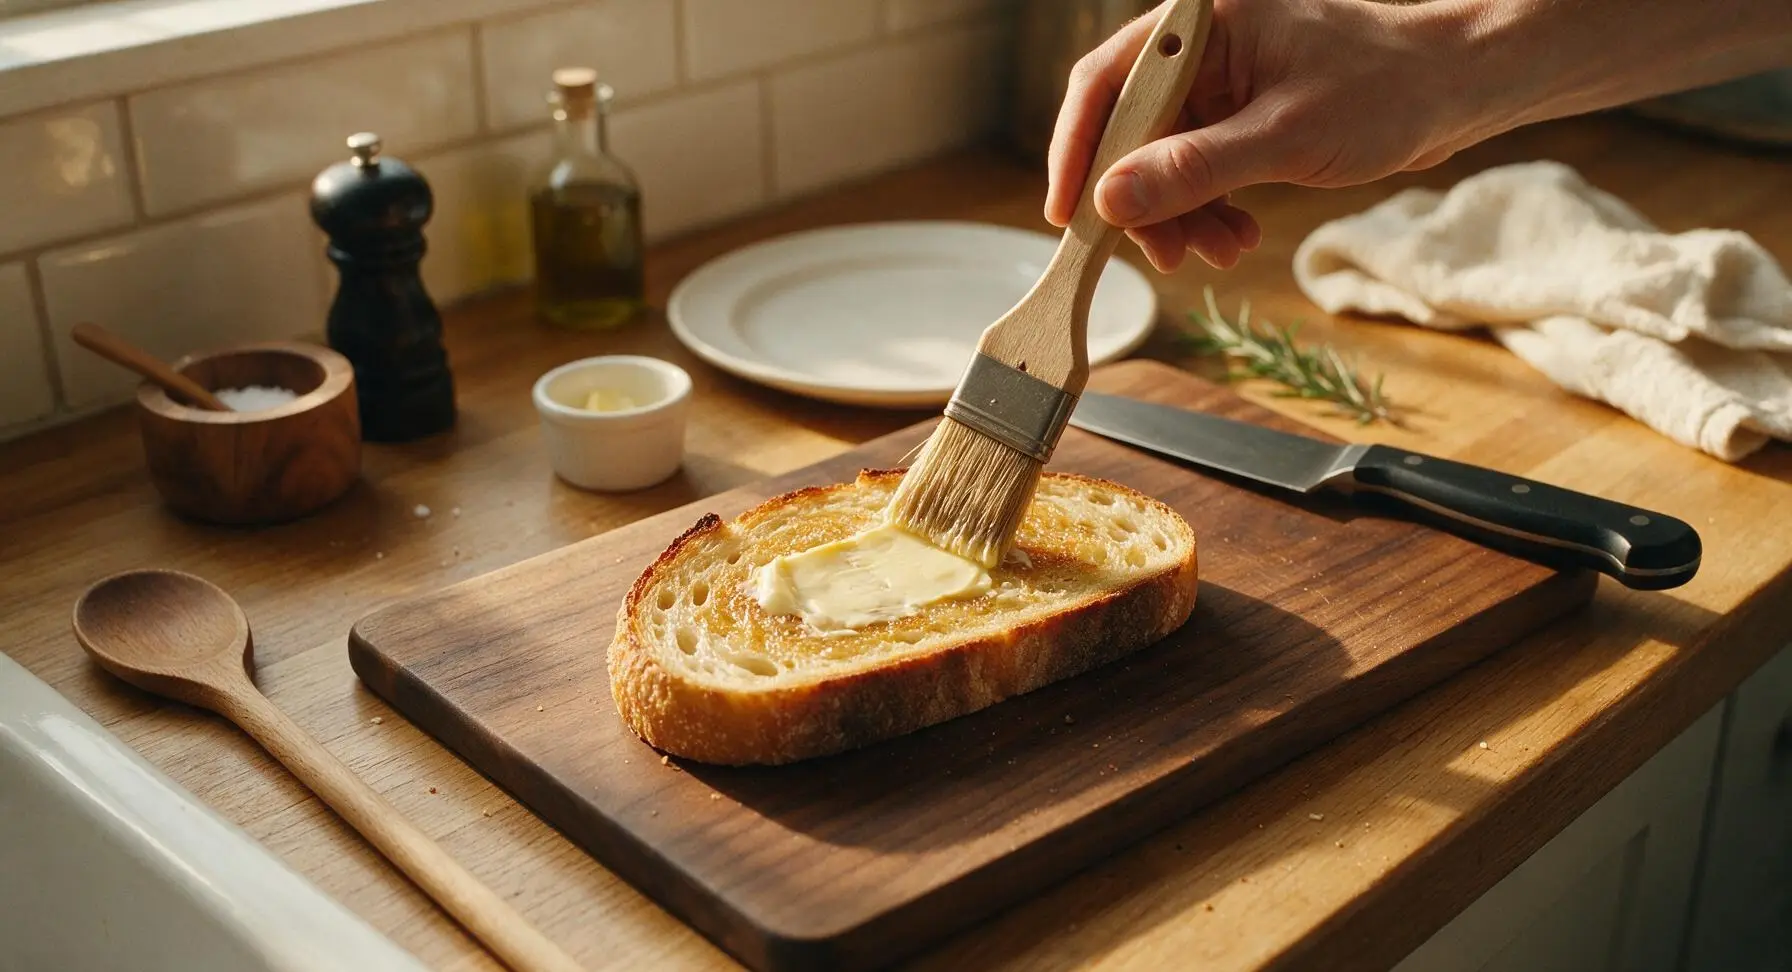
Use the silicone-tipped tongs to flip each slice to its second side. Immediately use the boar bristle pastry brush to spread 1/4 teaspoon of softened unsalted butter evenly across the already toasted top surface of each slice, letting the butter melt and seep slightly into the porous crumb. Toast the second side for 1.5 to 2 minutes, until it matches the golden color of the first side.
Step 4
step4:Flip and Butter Second Side
Step 4
step4:Flip and Butter Second Side
5

Verify Even Doneness

Lift each slice with the tongs to check doneness on the second side: it should have the same crisp, deep golden crust as the first side, with a firm outer layer that gives slightly when pressed gently at the center, revealing the soft, chewy, tangy inner crumb. If any pale, soft spots remain, toast for an additional 30 seconds, turning heat down to low if edges start to turn dark brown or black.
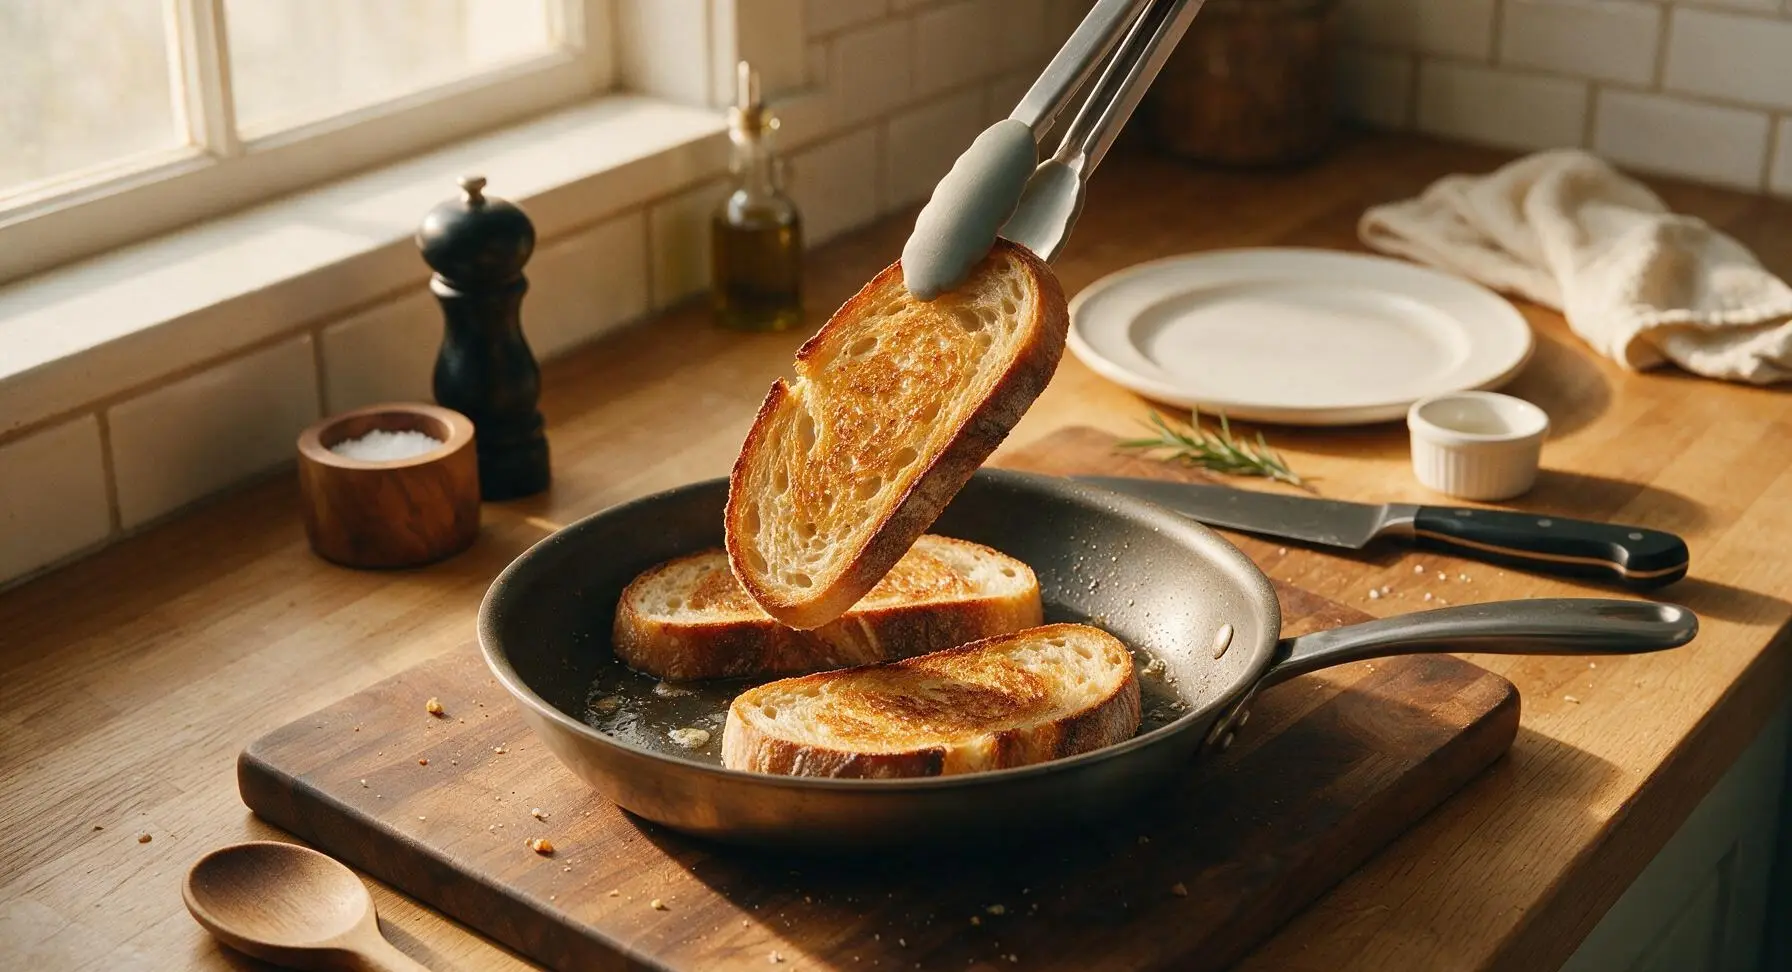
Step 5
step5:Verify Even Doneness
6

Plate and Season Lightly

Transfer the hot toasted slices to the cream white stoneware plate positioned center-right of the counter. Sprinkle a tiny pinch (about 1/16 teaspoon per slice) of flaky sea salt evenly across the buttered surface of each slice to amplify the sourdough’s natural tang and the butter’s rich, creamy flavor. Let the toast rest for 30 seconds before adding toppings or serving, so the crust sets and stays crisp instead of turning soggy.
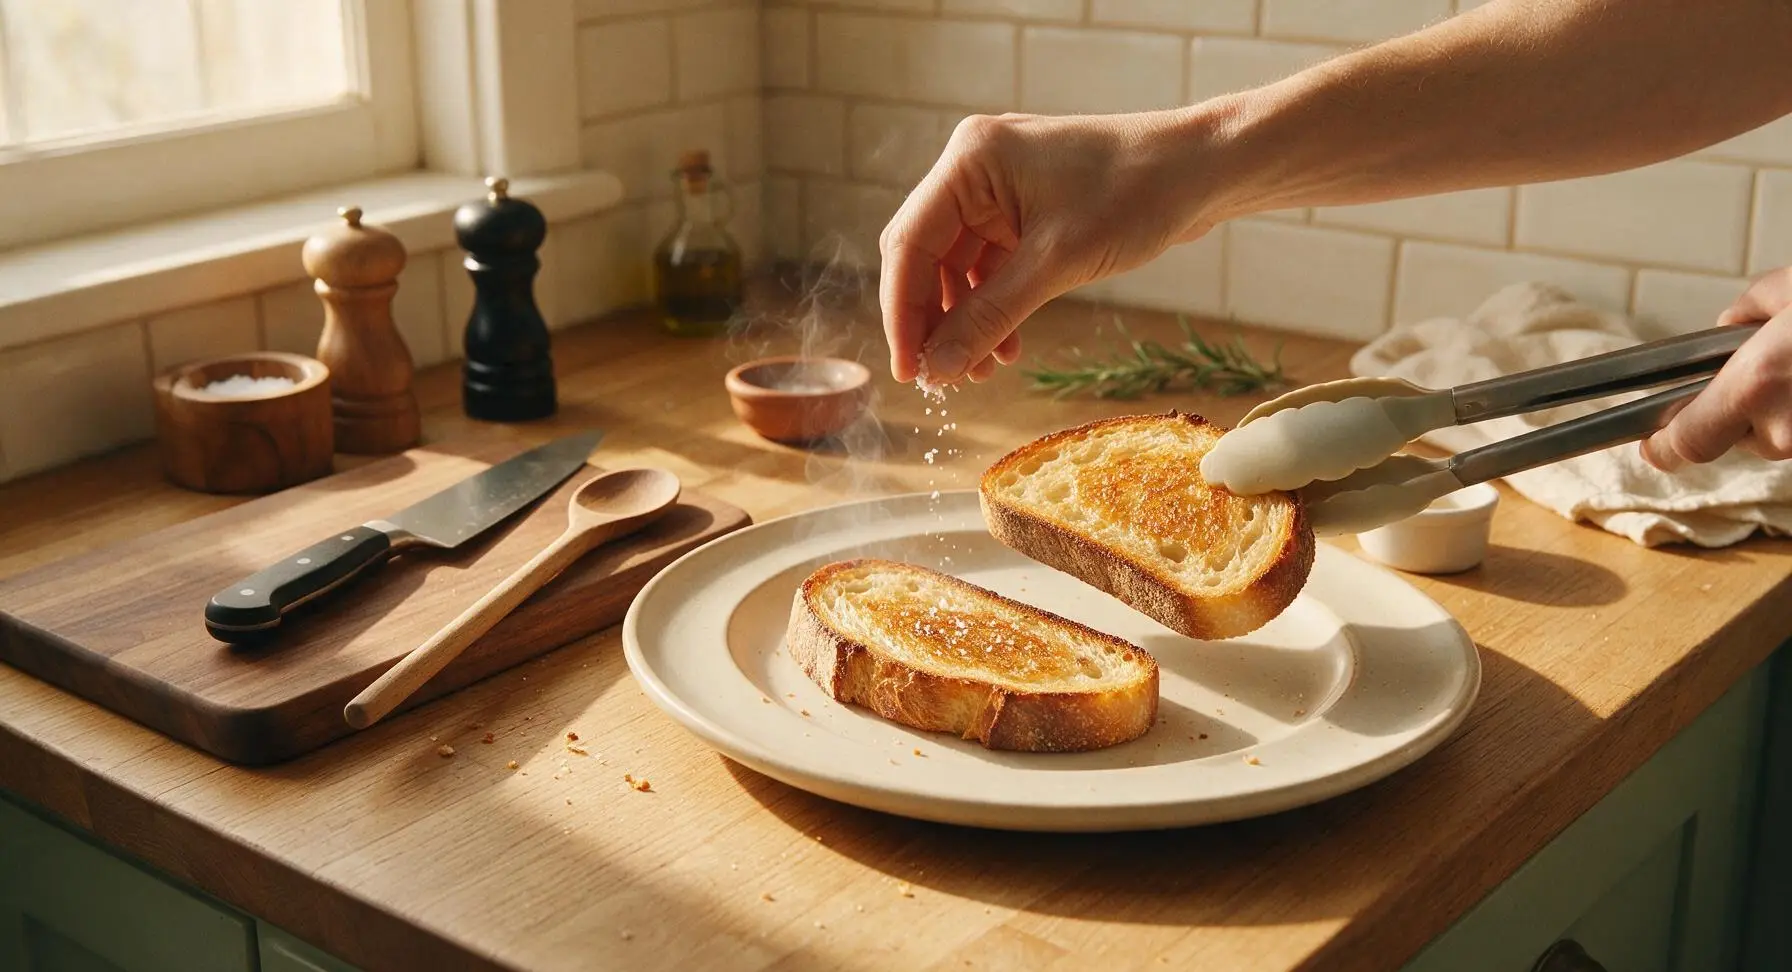
Step 6
step6:Plate and Season Lightly

Tips

1.Toast the first side of the sourdough in a completely dry pan before adding butter: adding butter to a cold or preheating pan causes the bread to soak up excess grease, leading to soggy, heavy toast instead of a light, crisp crust. The dry initial toasting creates a moisture barrier that lets just enough butter absorb for rich flavor without sogginess.
2.Skip the standard pop-up toaster for thick artisanal sourdough: pop-up toasters have fixed, high heat that often burns the rough crust before the dense center warms through, and they cannot deliver the even, deep golden crust you get from low, steady skillet heat. A countertop toaster oven works as a suitable alternative if you don’t have a cast iron skillet: set it to 350°F (175°C) and toast slices for 3 minutes per side directly on the oven rack.
3.Let refrigerated sourdough come to room temperature for 10 minutes before toasting: cold bread requires longer toasting time, which leads to burnt edges and a cold, dense center. For the best long-term crust texture, store sourdough in a loose paper bag at room temperature instead of an airtight plastic bag, which softens the crust over time.


✨ You May Also Like

Breakfast
🍜 United States

Crisp-edged, fluffy lard griddle cakes are a nostalgic homestyle staple, with rich savoriness from rendered lard, perfect topped with maple syrup or savory gravy.

⏱️ 25 minuteBreakfast ★ 4.8
Breakfast
🍜 United States

Flaky, buttery homemade buttermilk biscuits smothered in creamy, peppery pork sausage gravy: a beloved, hearty Southern American comfort food classic.

⏱️ 35 minuteBreakfast ★ 4.8
Breakfast
🍜 United States

Golden, custardy brioche stuffed with sweet cream cheese and fresh berries, pan-fried to crisp perfection. An indulgent, cozy breakfast perfect for slow weekend mornings.

⏱️ 30 minuteBreakfast ★ 4.7
Breakfast
🍜 United States

Flaky, buttery Southern-style biscuits stuffed with savory salty country ham, a portable, satisfying classic perfect for casual on-the-go meals.

⏱️ 25 minuteBreakfast ★ 4.8
Breakfast
🍜 United States

Iconic puffy baked pancake popularized in Seattle, with crisp golden edges and soft custardy center, served warm with classic sweet toppings.

⏱️ 35 minuteBreakfast ★ 4.6
Breakfast
🍜 United States

Fluffy, golden pancakes studded with juicy peak-summer mixed berries, drizzled with maple syrup for a bright, comforting, crowd-pleasing family breakfast.

⏱️ 25 minuteBreakfast ★ 4.7

toasting sourdough bread:Frequently Asked Questions

1.What thickness should I slice my sourdough for the best stovetop toast? ▾
Aim for slices that are ¾ to 1 inch thick for ideal texture. Slices thinner than ½ inch will turn overly brittle and dry out before you get that nice chewy center, while slices thicker than 1 inch may end up with a doughy, unheated middle even after the outside is fully golden and crisp.
2.Do I need a special pan to make stovetop sourdough toast? ▾
No fancy equipment is required! A heavy-bottomed cast iron, carbon steel, or stainless steel skillet works best, as these materials distribute heat evenly to prevent patchy browning. You can use a nonstick skillet if that’s what you have, just avoid cranking the heat too high to protect the pan’s coating.
3.Should I butter the pan or the bread directly for even toasting? ▾
For the most consistent, non-greasy crunch, spread softened unsalted butter directly on both cut sides of the bread instead of melting it in the pan. This lets the butter seep just slightly into the sourdough crumb, prevents soggy pooled butter spots, and helps a uniform golden crust form across the whole slice.
4.What heat setting should I use to avoid burning my toast? ▾
Stick to medium-low heat for the whole process. High heat will char the outer surface of the bread before the center softens and warms through, while heat that’s too low will dry the bread out instead of toasting it. Give your pan 2 to 3 minutes to preheat first so the temperature is consistent across the surface.
5.How long do I toast each side to get that perfect texture? ▾
Plan for 2 to 3 minutes per side, adjusting slightly based on your stove’s unique heat output. You’ll know it’s ready when you see a deep golden, crisp outer layer dotted with tiny, evenly browned flecks, and the center is soft, chewy, warm, and full of that signature sourdough tang, not rock hard.
6.Can I use salted butter instead of unsalted for this recipe? ▾
You absolutely can, just hold off on adding the flaky sea salt finish until you taste the fully toasted slice first. Salted butter has widely variable salt content across brands, so adding extra salt upfront could lead to overly salty toast that overpowers the bright, tangy flavor of the sourdough.
7.Why does my stovetop toast turn out soggy instead of crisp? ▾
Soggy toast usually traces back to one of three easy-to-fix issues: your pan wasn’t fully preheated, you used too much butter, or your heat was too low. Stick to 1 teaspoon of softened butter per slice, wait until a drop of water sizzles immediately on the pan surface, and use steady medium-low heat for reliable crisping.
8.What kind of sourdough loaf works best for this recipe? ▾
Reach for a rustic, crusty sourdough loaf with a moderately open, holey crumb, ideally from a local bakery if you can. Skip ultra-soft, pre-sliced sandwich-style sourdough from the grocery store bread aisle—it has added softeners that prevent a crisp crust and will turn gummy when toasted on the stovetop.
9.Do I need to put a lid on the pan while toasting? ▾
You don’t need a lid for standard ¾-inch slices, but if your cuts are over 1 inch thick, cover the pan for the first 30 seconds of toasting on each side. The trapped gentle steam helps warm the center of thick slices all the way through without burning the outer surface, so you avoid cold, doughy middles.
10.When is the best time to add the flaky sea salt? ▾
Sprinkle flaky sea salt on immediately after you pull the toast off the hot pan, while the butter is still fully melted and warm. The slight heat helps the salt crystals adhere to the buttered surface so they don’t slide off when you pick up the toast, giving you that perfect pop of salty contrast to the tangy bread.
11.Can I make this toast without butter for a dairy-free version? ▾
Definitely! Swap the unsalted butter for an equal amount of softened refined coconut oil, extra-virgin olive oil, or your favorite plant-based butter stick. Just note that unrefined coconut oil will add a mild coconut flavor, so pick a fat that complements sourdough’s tang rather than overpowering it if that’s not your preference.
12.How do I keep toast warm if I’m making multiple batches for a group? ▾
Never stack finished toast on a plate—this traps steam and turns crisp crust soggy in minutes. Instead, set toasted slices in a single layer on a wire rack set over a baking sheet in a 200°F oven while you cook the rest. This keeps the exterior crisp and centers soft for up to 20 minutes as you work.
13.My sourdough is a little stale—will this recipe still work well? ▾
Stale sourdough actually works wonderfully for stovetop toast! The butter and gentle heat will rehydrate the outer crumb slightly while crisping the exterior, bringing a days-old loaf back to life. If your bread is extra dry (3+ days old), brush it with a tiny splash of water before buttering to help soften the center as it toasts.
14.Can I add toppings while the toast is still in the pan? ▾
If you’re adding meltable toppings like sliced cheese, add them during the last 30 seconds of toasting on the second side, and cover the pan briefly to help them melt evenly. Wait to add non-melting toppings like jam, avocado, or honey until after you pull the toast off the heat, so they don’t burn or make the crust soggy.
15.Why is my toast browning unevenly across the surface? ▾
Uneven browning almost always comes from stovetop hot spots or a warped pan that doesn’t sit flat on the burner. Fix this by giving the bread a gentle press with a spatula every 30 seconds as it toasts, and rotate the slice 90 degrees halfway through toasting each side so every part gets equal heat exposure.
16.How do I get extra-crisp toast without drying out the center? ▾
For extra crunch, use slightly firmer (not fully room-temperature soft) butter, and toast each side for an extra 30 to 45 seconds on medium-low heat. Resist the urge to crank the heat to speed things up—that will burn the outside before the crisp can set, leaving a dry, tough center instead of a chewy one.
17.Can I use this stovetop toasting method for other types of bread besides sourdough? ▾
Absolutely! This method works beautifully for other crusty artisan loaves like country white, rye, or whole wheat. Just note that softer, thinner sandwich breads will toast much faster (1 to 2 minutes per side) so adjust your timing accordingly to avoid burning or over-drying those more delicate crumbs.

Comments (5)

2 days ago

OMG this is such a game changer! I’ve been messing up my sourdough toast in the toaster forever—either it’s too pale or burnt to a crisp, and this stovetop method gives the perfect crispy outside and chewy middle every single time. My kids devoured a whole loaf this morning with jam and soft scrambled eggs. 10/10, will be making this for weekend breakfasts from now on!

yesterday

Wait do you use butter or olive oil in the pan? I tried this last week with salted butter and it was good but I felt like the butter burned a little before the bread toasted fully.

2 hours ago

Great question! If you’re using butter, I recommend melting it over medium-low heat instead of medium to prevent burning, or you can do a mix of half butter half olive oil for that rich butter flavor without the burnt edges. Hope that helps next time you make it!

3 days ago

SO good, so easy! I make a batch of these every Sunday to go with my weekday soup and salad meal preps. It takes literally 5 minutes, no fancy toaster needed, and the toast stays way crispier than when I make it in the toaster oven for some reason? Even my picky roommate asked for the recipe last night. Only note is I like to sprinkle a tiny bit of flaky sea salt on top right after it comes off the pan, chef’s kiss.

2 days ago

Love the flaky sea salt tip! That’s one of my favorite little upgrades too—adds such a nice pop of flavor. So happy this works so well for your weekly meal prep routine!

2 hours ago

Wait why did I never think to toast sourdough on the stovetop before? I’ve been wasting so much time fighting with my janky old apartment toaster that only toasts one side. This came out perfectly golden on the first try, I topped mine with avocado and red pepper flakes for lunch and it hit different. Zero complaints, super straightforward even for someone who burns toast 90% of the time like me.

1 week ago

Made this to go with our potluck chili last weekend and everyone was raving about the toast! I thought people were crazy for getting excited about plain sourdough toast but nope, the stovetop method gives it this nice buttery crunch that regular toast just doesn’t have. Ended up giving the recipe out to three of our neighbors before the night was over.

5 days ago

Oh this is such a good potluck idea! I’m hosting a soup night next month and I was stressing about how to make enough toast for everyone without standing over the toaster the whole time. Gonna test this method this weekend!

5 days ago

Made this last night to go with our pot roast family dinner and everyone went back for seconds! I used homemade sourdough from my starter and it toasted up so evenly on the stovetop, way better than my fancy countertop toaster that cost me a fortune. My teen son even asked if we can have it with every dinner from now on, that’s how good it is!



