
top chicken
intro
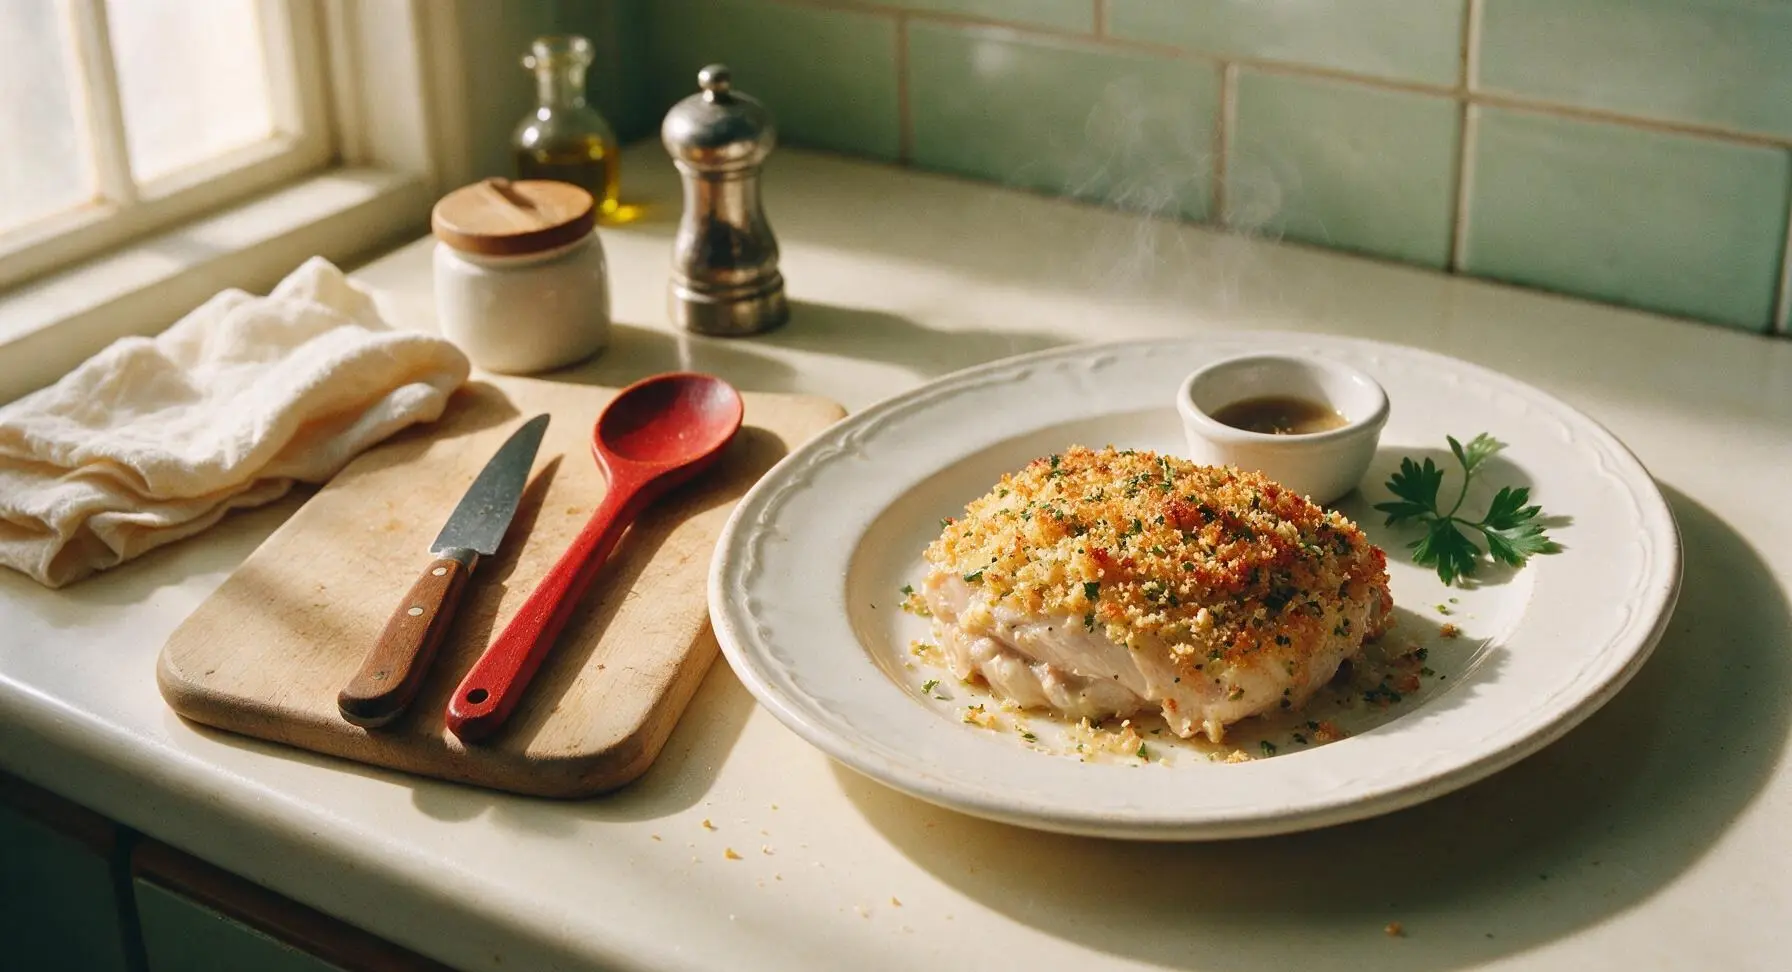
Juicy, tender chicken baked under a crispy golden parmesan-herb panko top—simple, flavorful, and satisfying, with minimal cleanup for a no-fuss weeknight meal.
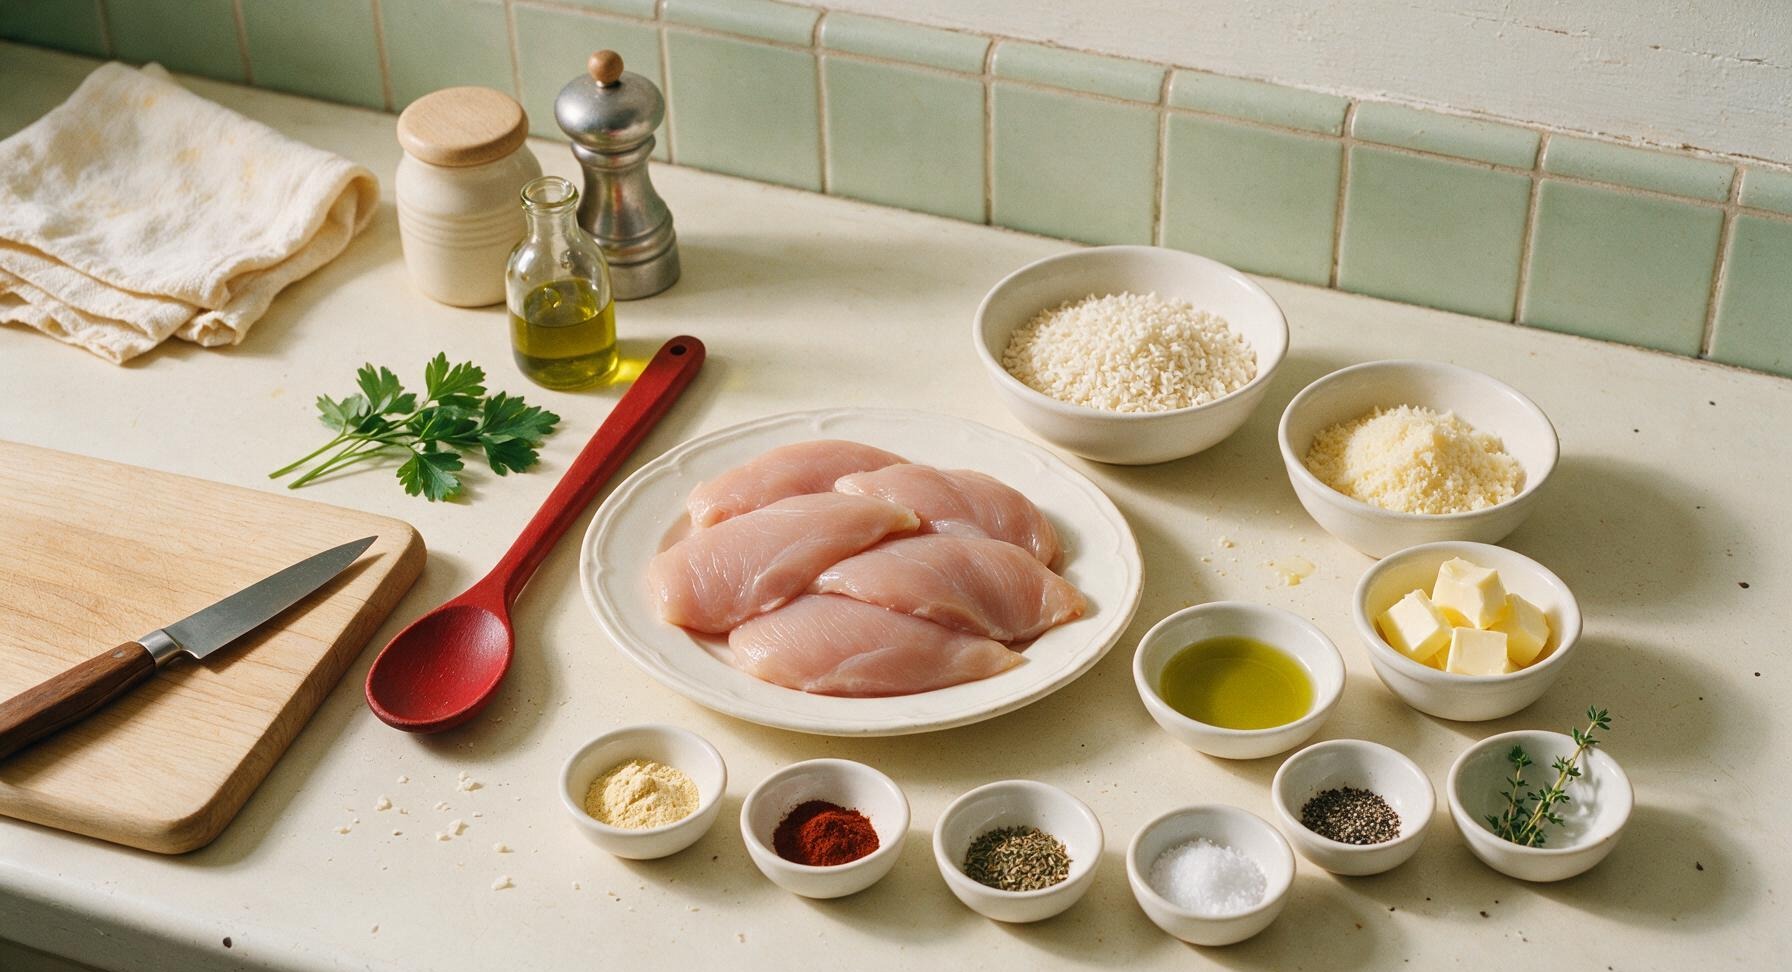
Ingredients
Steps
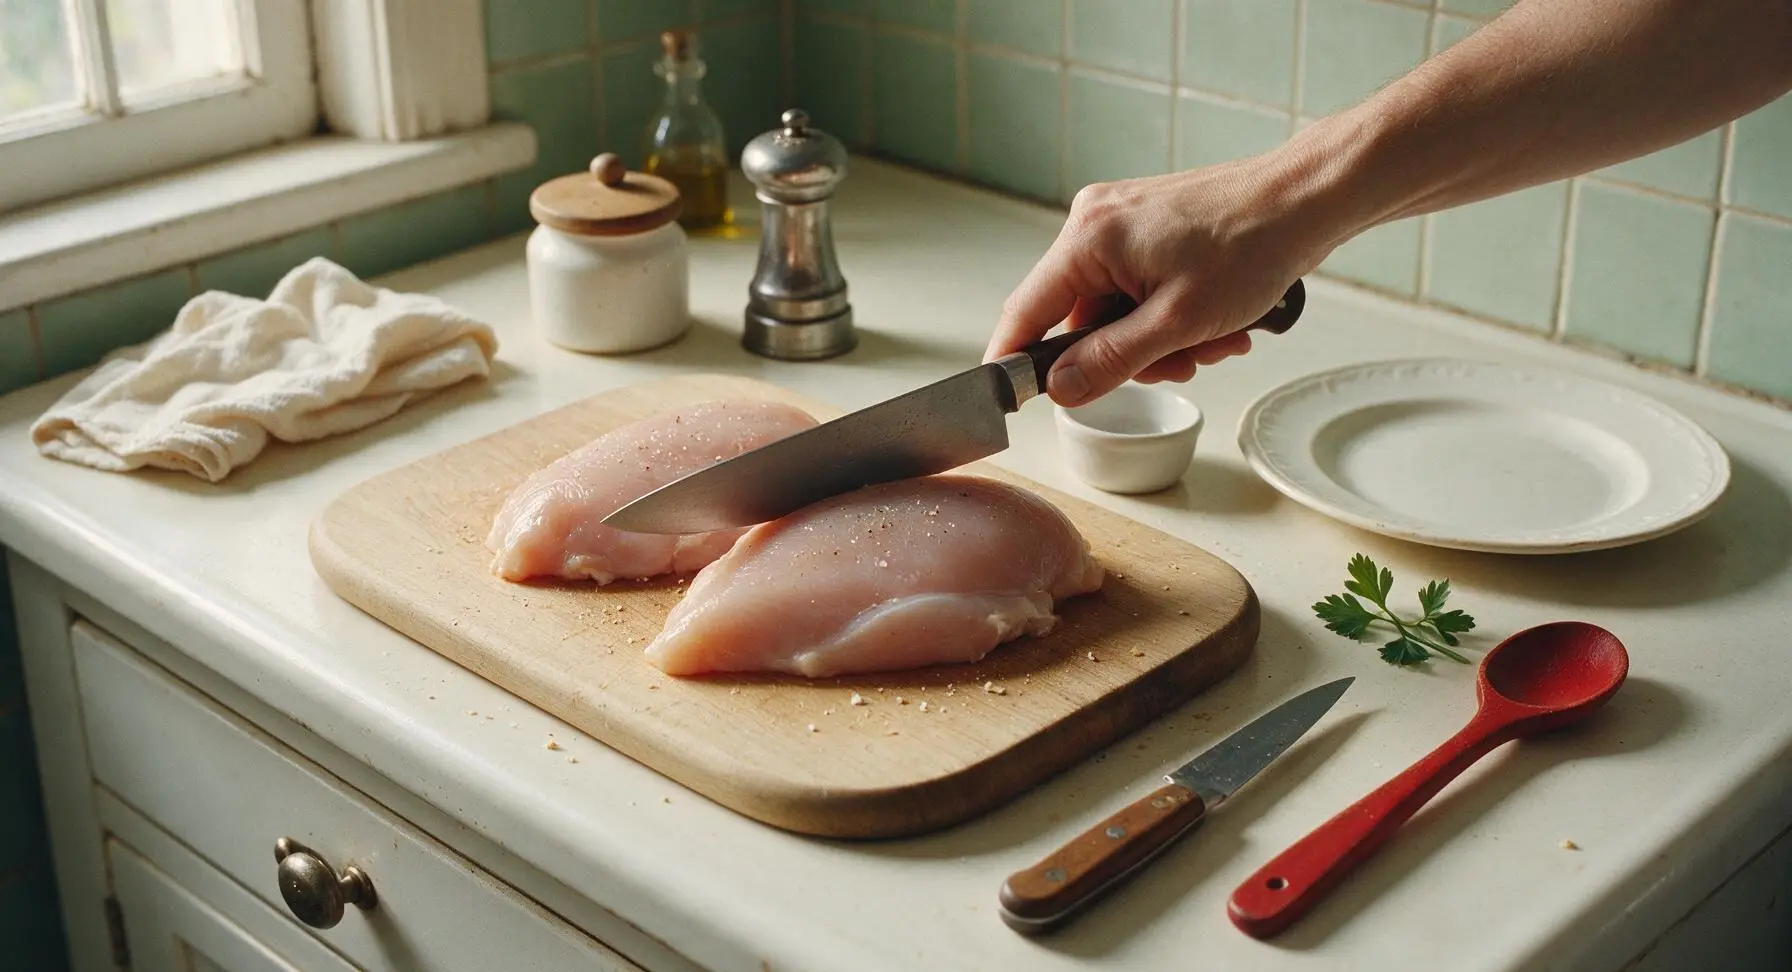
Pound Chicken Evenly
Pat the chicken breasts completely dry with paper towels, then place them on the honey maple cutting board. Gently pound the thicker end of each breast with the flat side of the chef’s knife to create a uniform 1-inch thickness across every piece. Season all sides evenly with 3/4 tsp kosher salt and 1/4 tsp black pepper. Even thickness ensures the chicken cooks at the same rate, with no dry thin edges or undercooked thick centers.
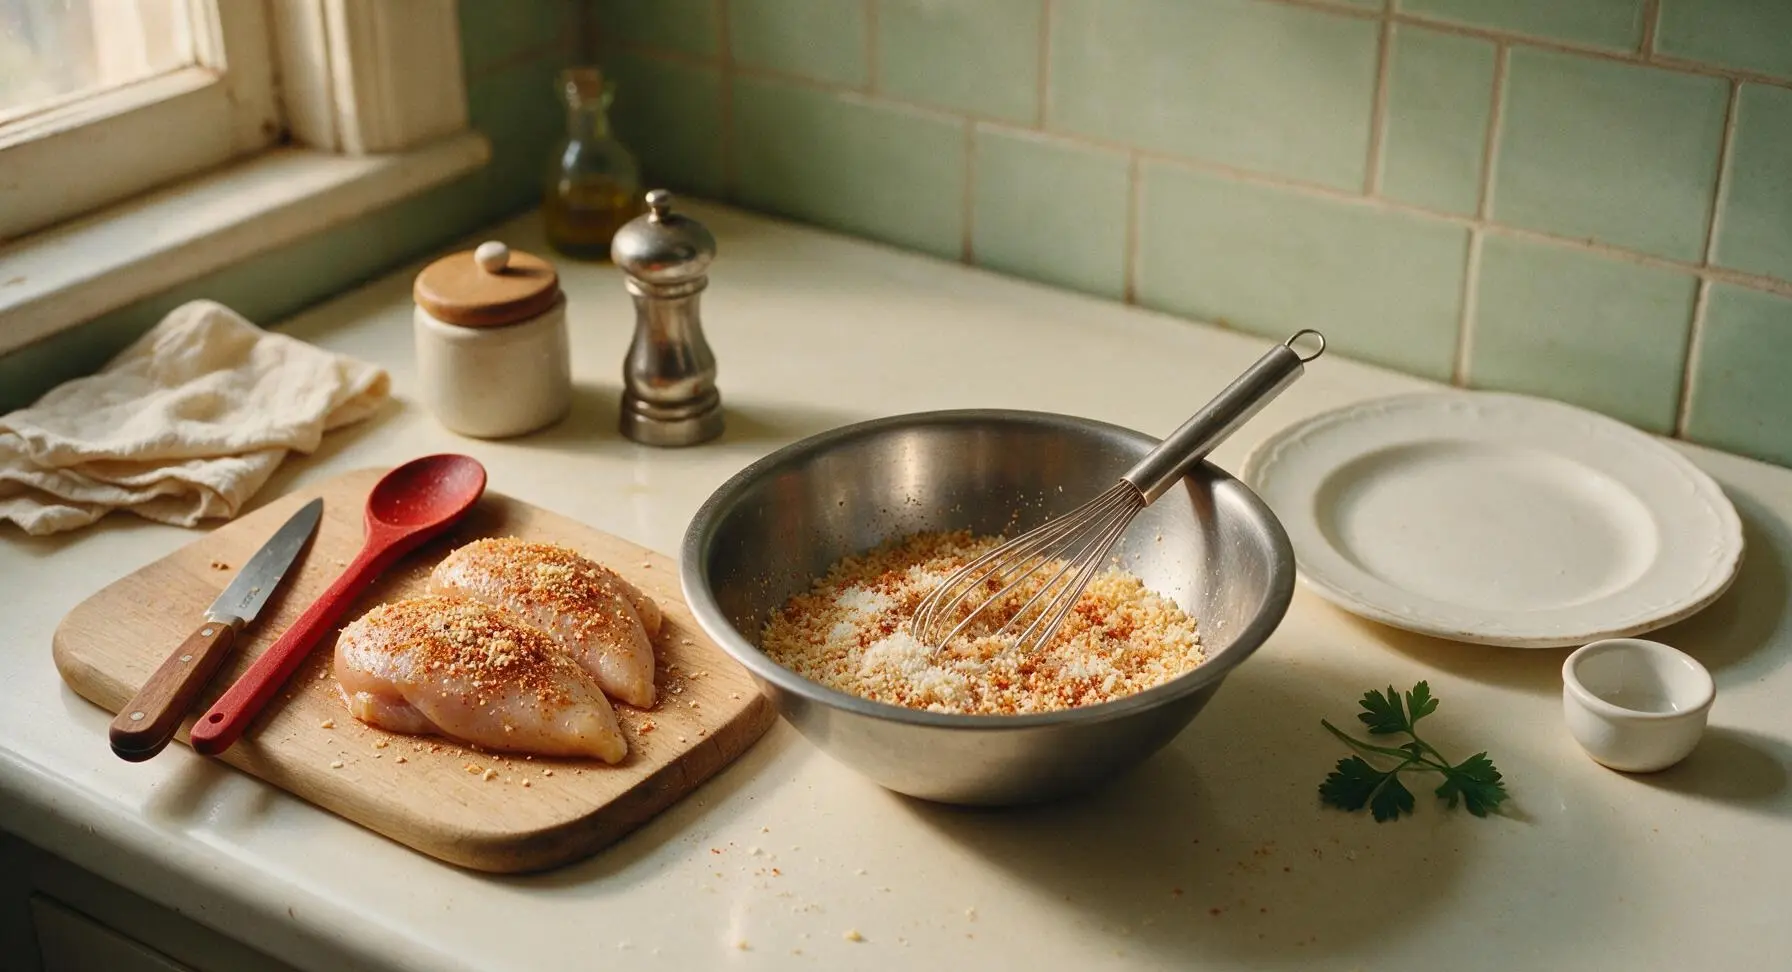
Combine Breadcrumb Topping
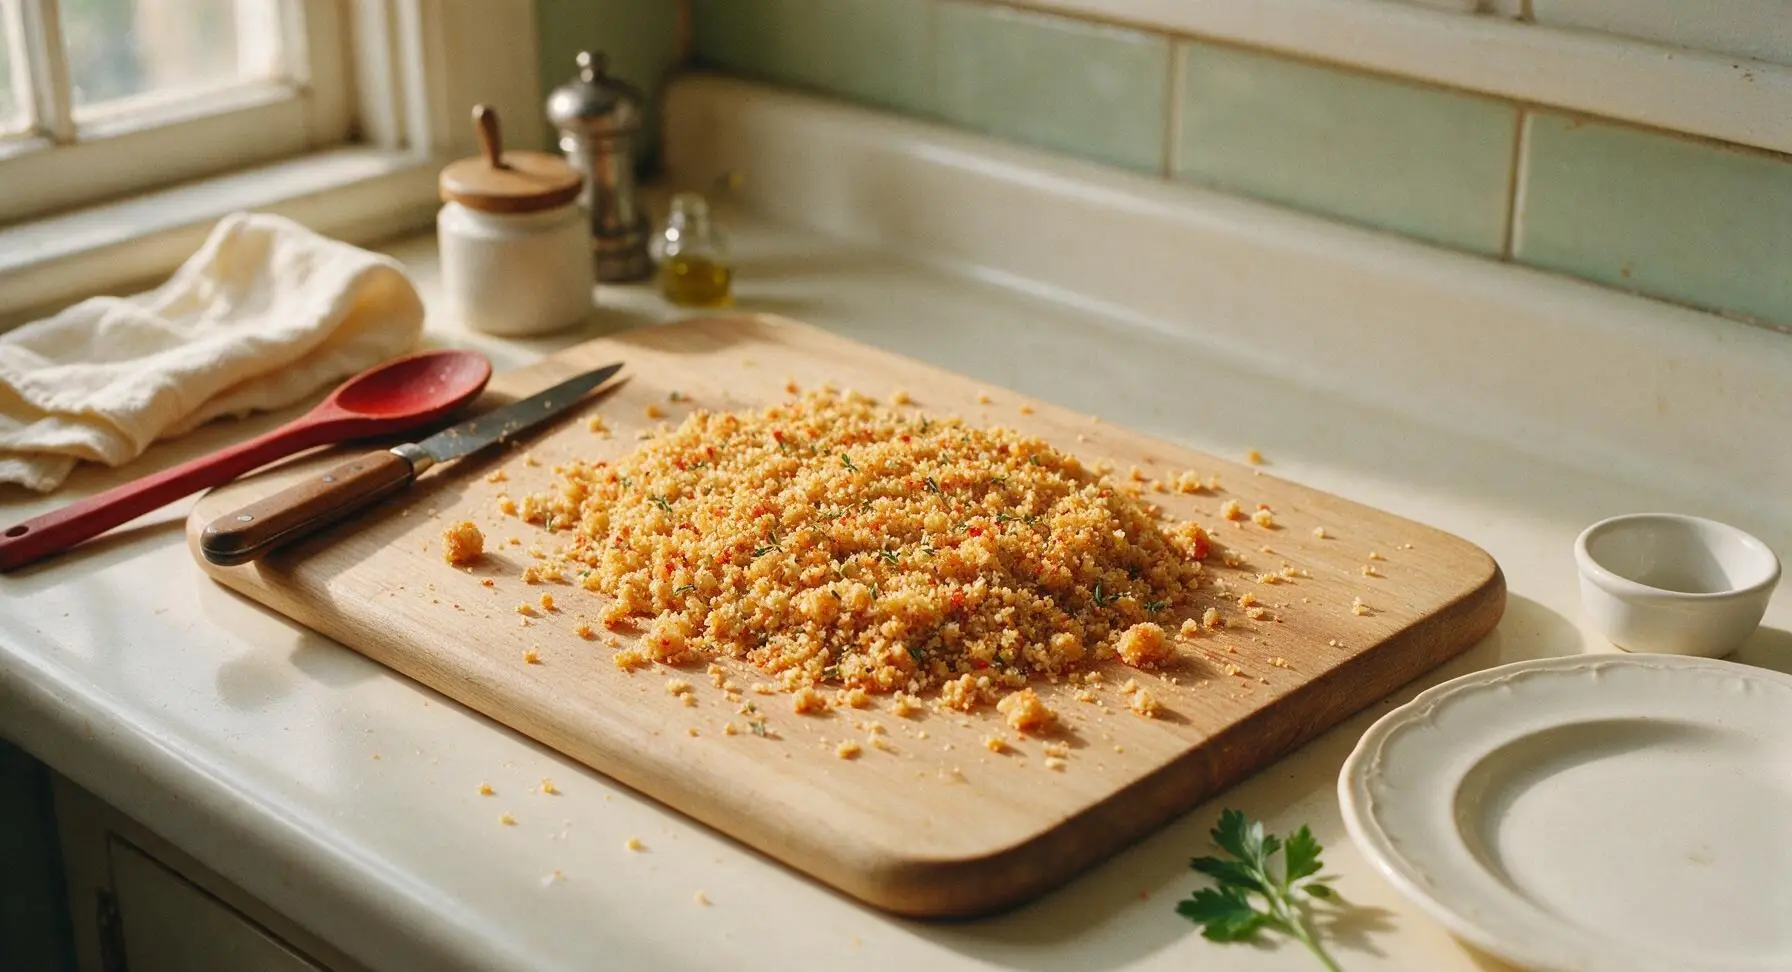
In the medium matte stainless steel mixing bowl, add 1 cup panko breadcrumbs, 1/2 cup finely grated parmesan, 1 tsp garlic powder, 1/2 tsp smoked paprika, 1/2 tsp dried thyme, remaining 1/4 tsp salt, and remaining 1/4 tsp black pepper. Use the stainless steel wire whisk to stir the mixture until fully combined, with no clumps of parmesan or spice visible.
Stir in Melted Butter
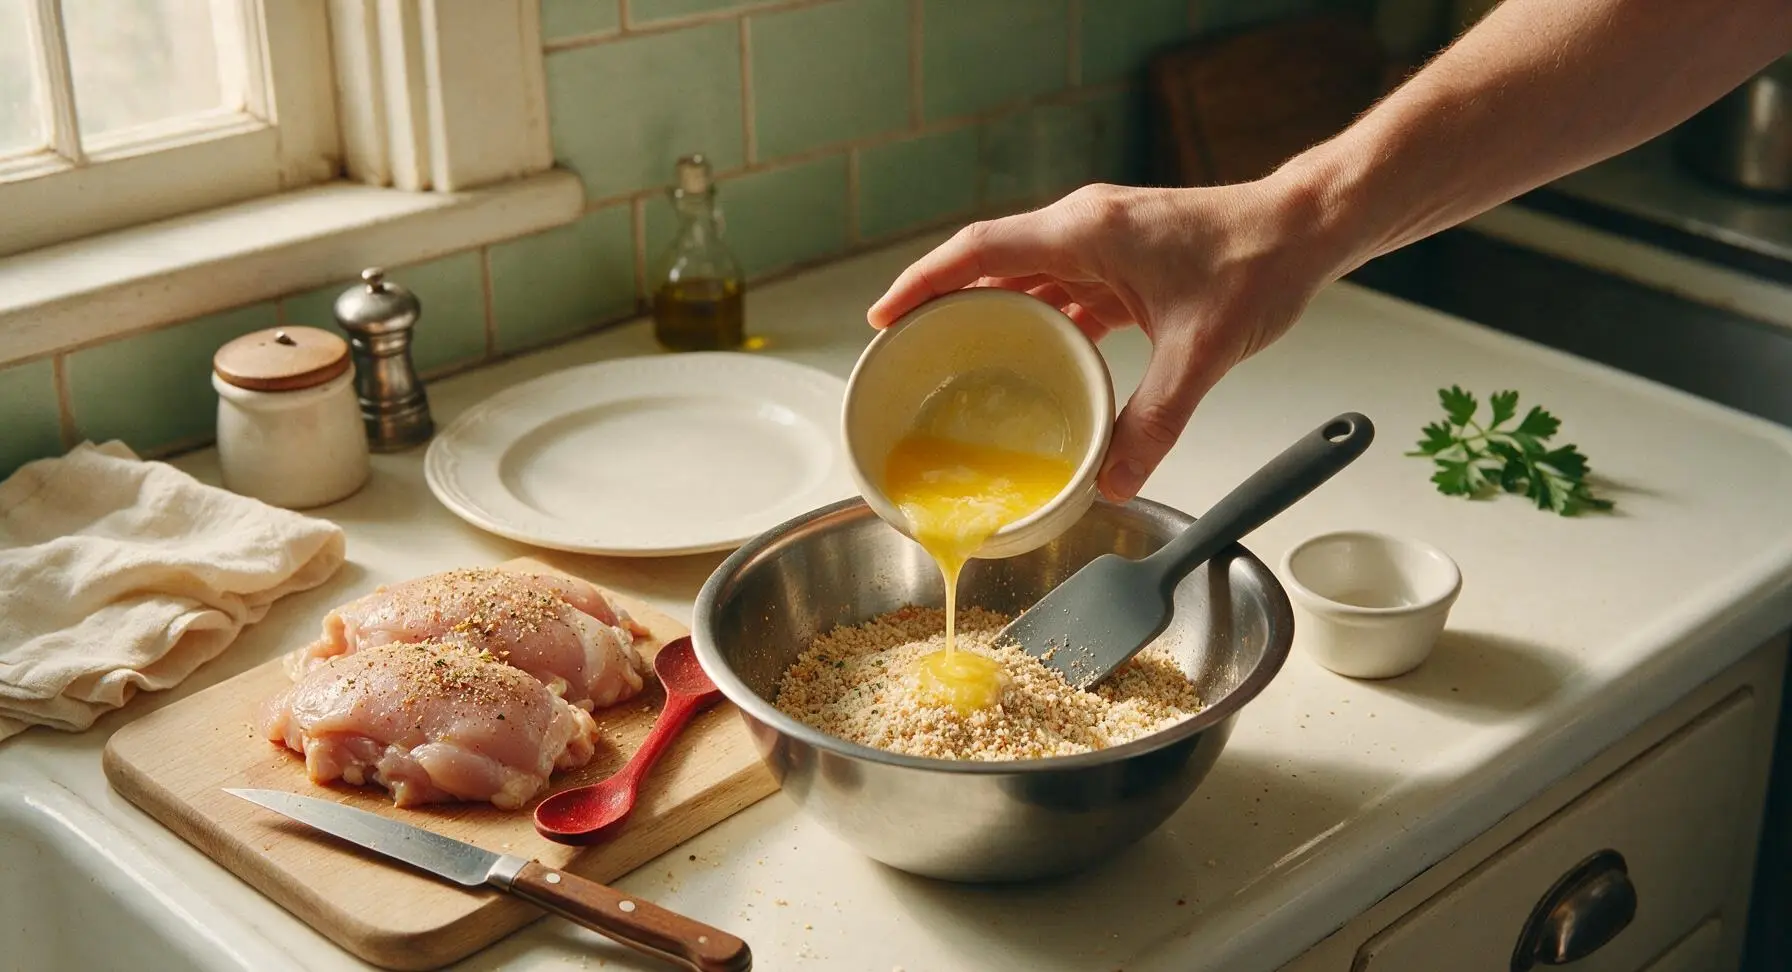
Melt the 4 tbsp unsalted butter in 10-second increments in the microwave until fully liquid, then pour it into the breadcrumb mixture. Use the charcoal gray silicone spatula to toss the crumbs until every piece is evenly coated in butter, creating a clumpy, moist topping that holds together when squeezed gently.
Grease Baking Dish
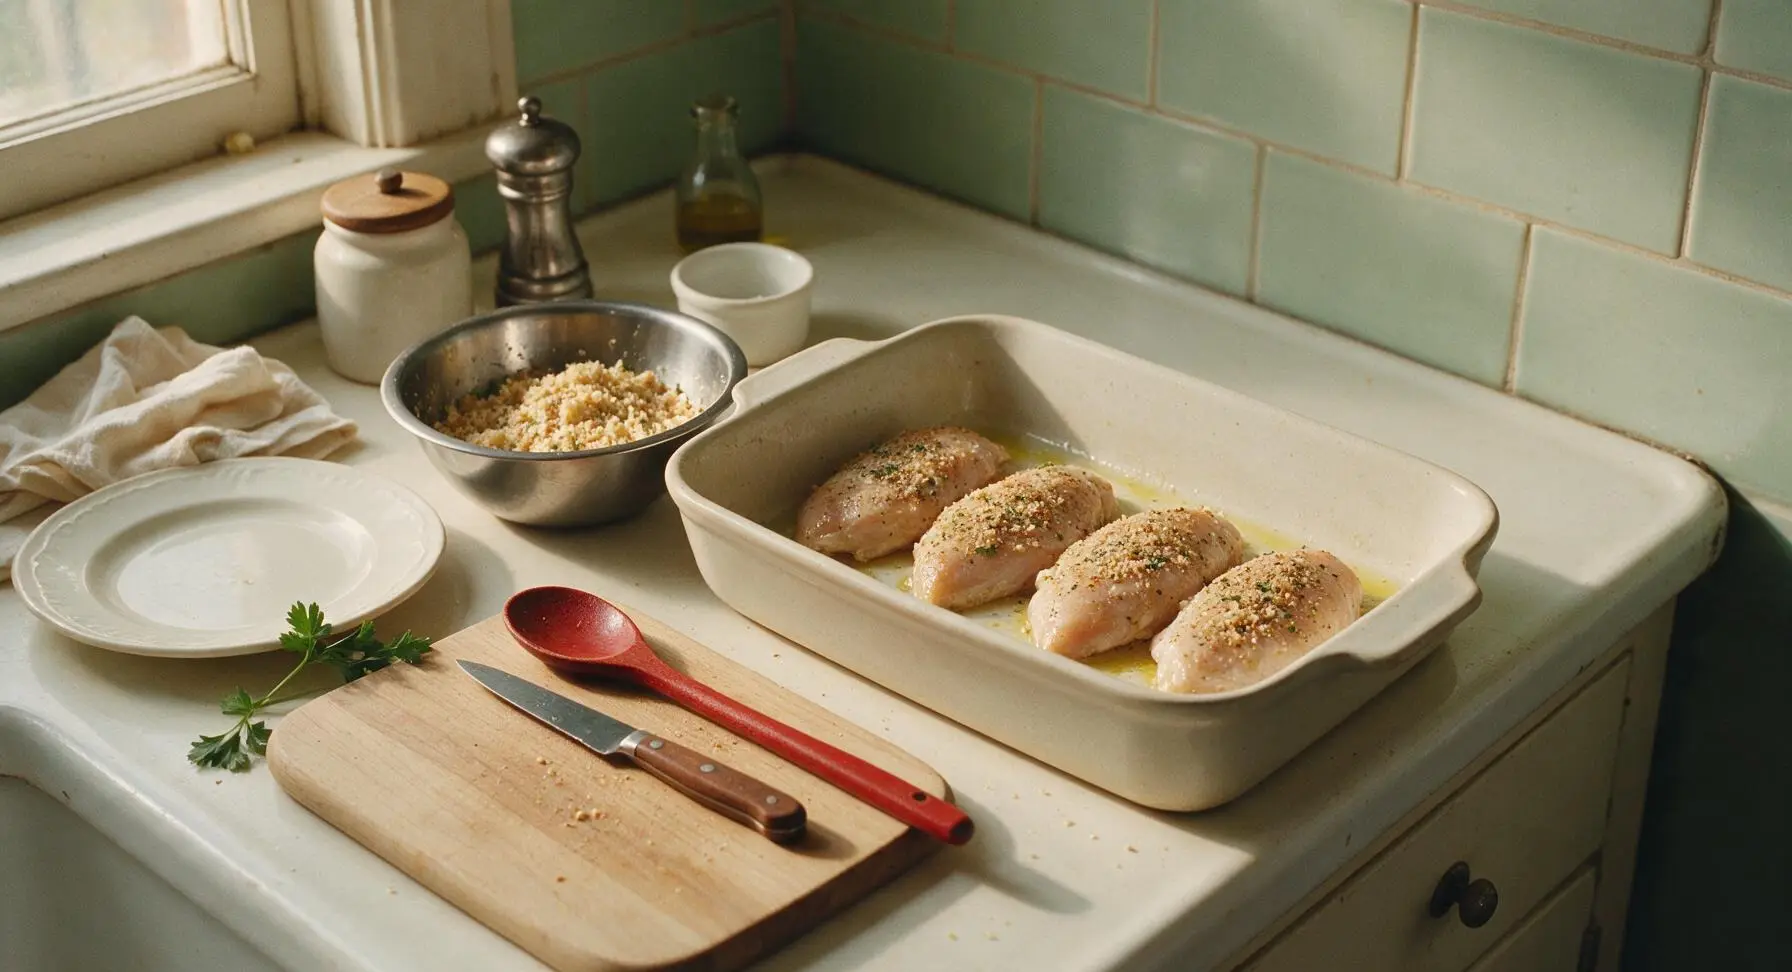
Drizzle 1 tbsp extra-virgin olive oil into the 9x13 inch matte off-white ceramic baking dish. Use a small piece of parchment paper to rub the oil across the entire bottom and 1/2 inch up the sides of the dish, creating a non-stick surface. Arrange the pounded, seasoned chicken breasts in a single even layer in the dish, leaving small gaps between each piece for air flow.
Add Crispy Topping
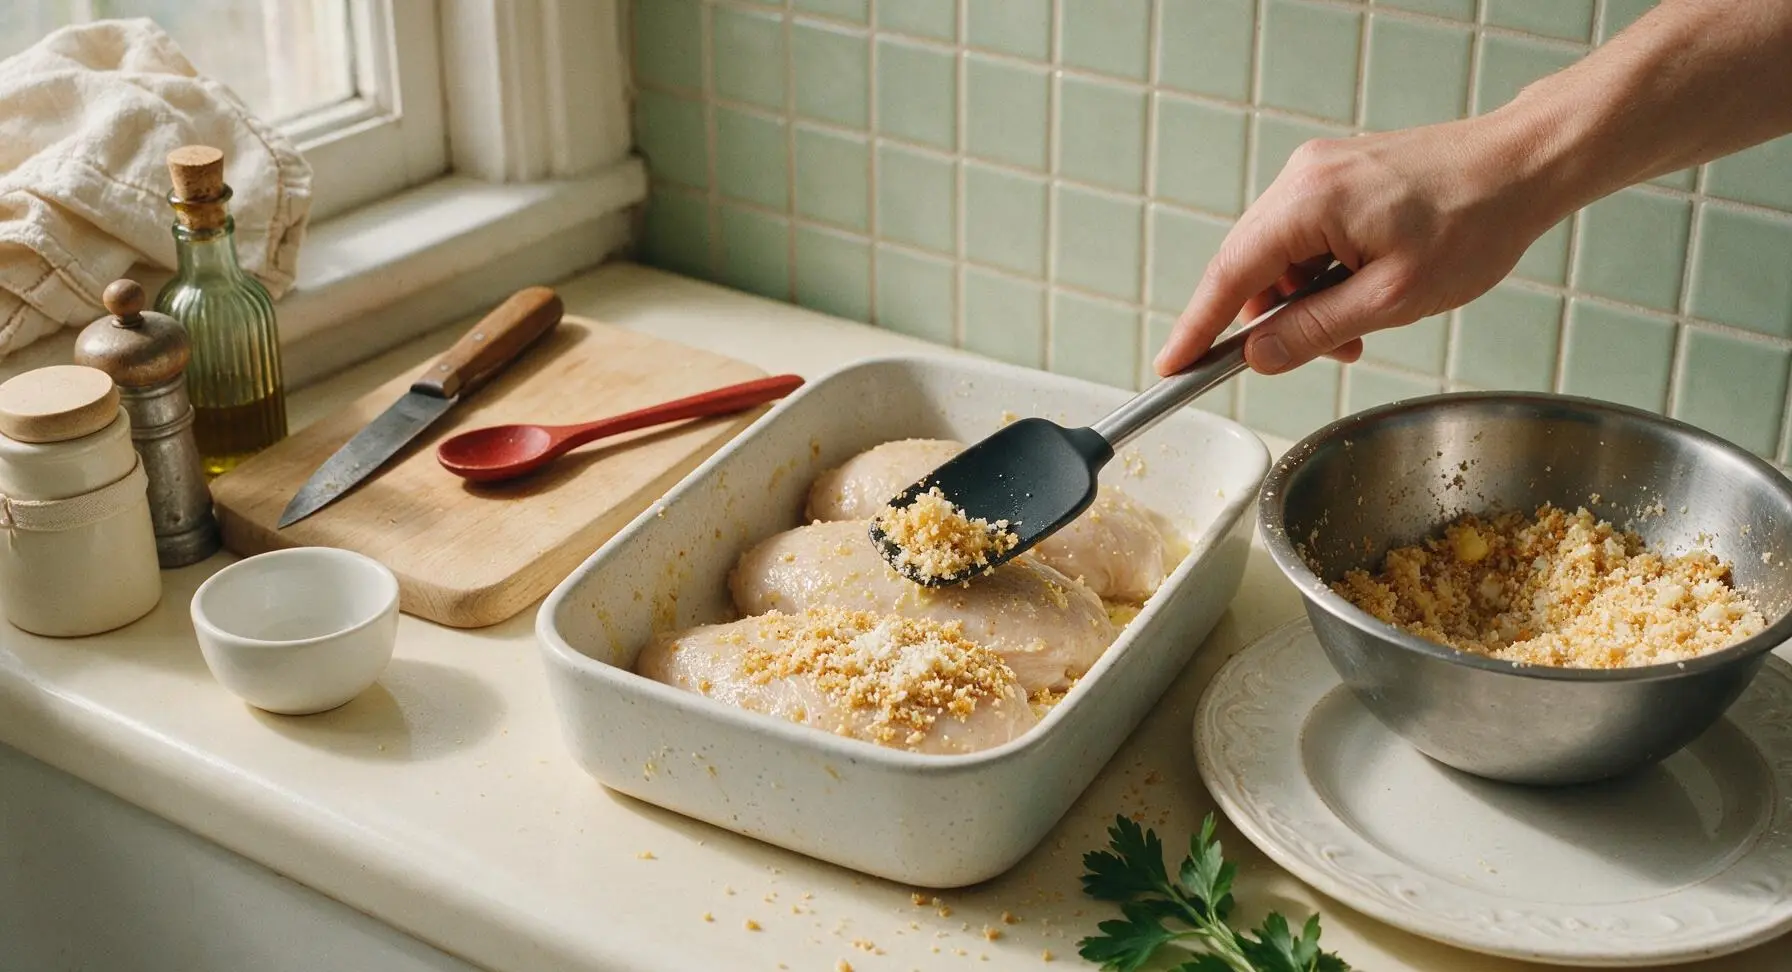
Scoop the buttered breadcrumb and parmesan mixture evenly over the top of each chicken breast, using the silicone spatula to press the crumbs gently into an even 1/4-inch thick layer across every piece. Do not pile crumbs too thickly, or the center of the topping will not crisp up during baking. Leave the small gaps between chicken pieces clear of crumbs to prevent burning.
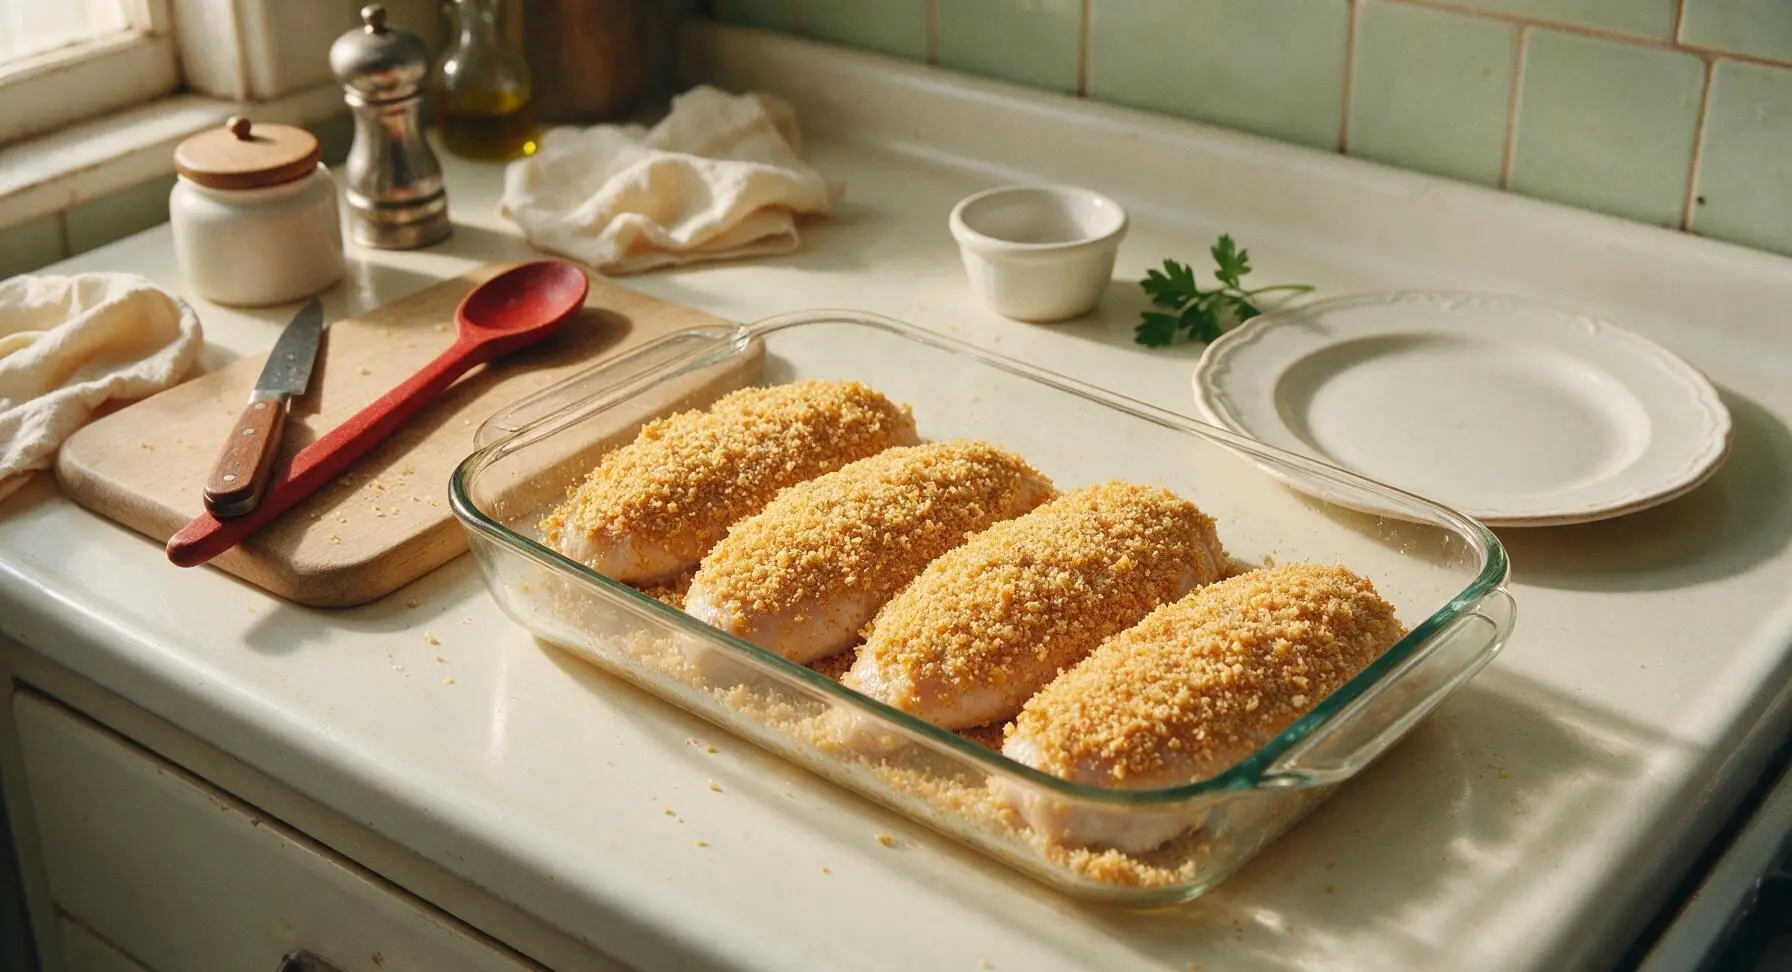
Bake Until Crisp
Place the baking dish in a preheated 400°F (200°C) oven on the middle rack. Bake for 22-25 minutes, until the topping is deep golden brown and crispy, and the internal temperature of the chicken reaches 165°F (74°C) when checked with the digital instant-read meat thermometer. Do not cover the dish while baking, as this will make the topping soggy instead of crisp.
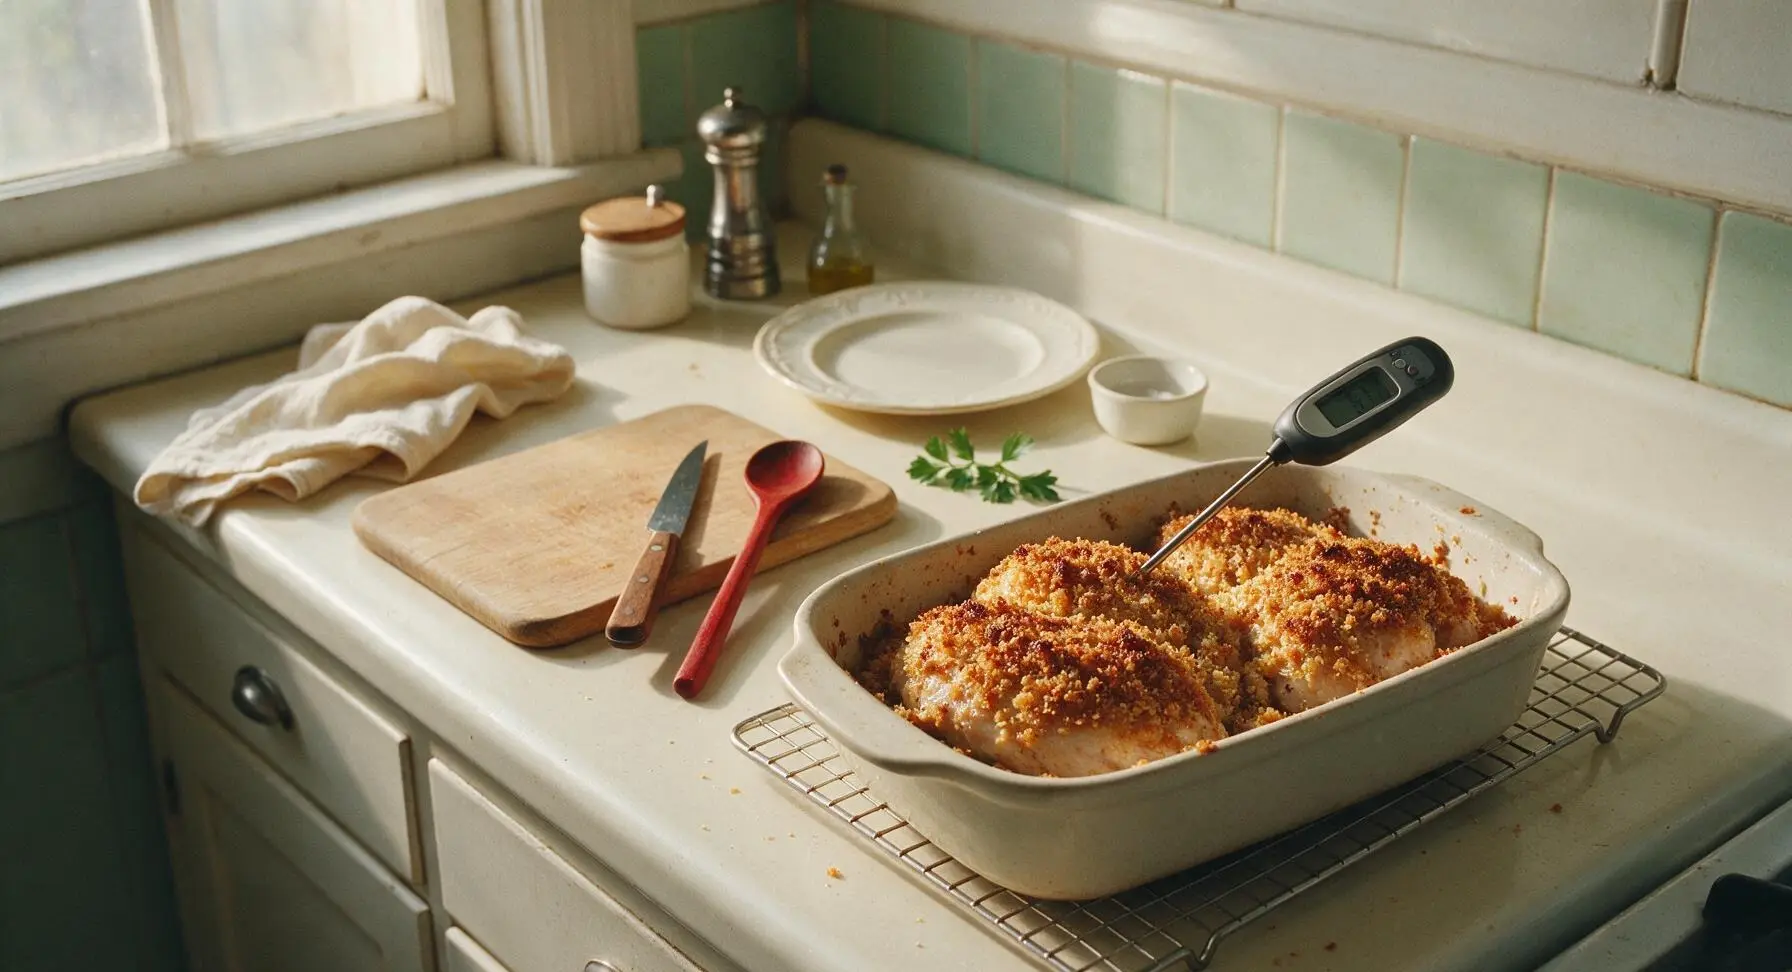
Let Chicken Rest
Allow the chicken to rest in the baking dish for 5 minutes after removing it from the oven. This lets the juices redistribute through the meat, so every bite is juicy instead of having juice run out when you cut into it. Do not tent the dish with foil during resting, as trapped steam will soften the crispy top.
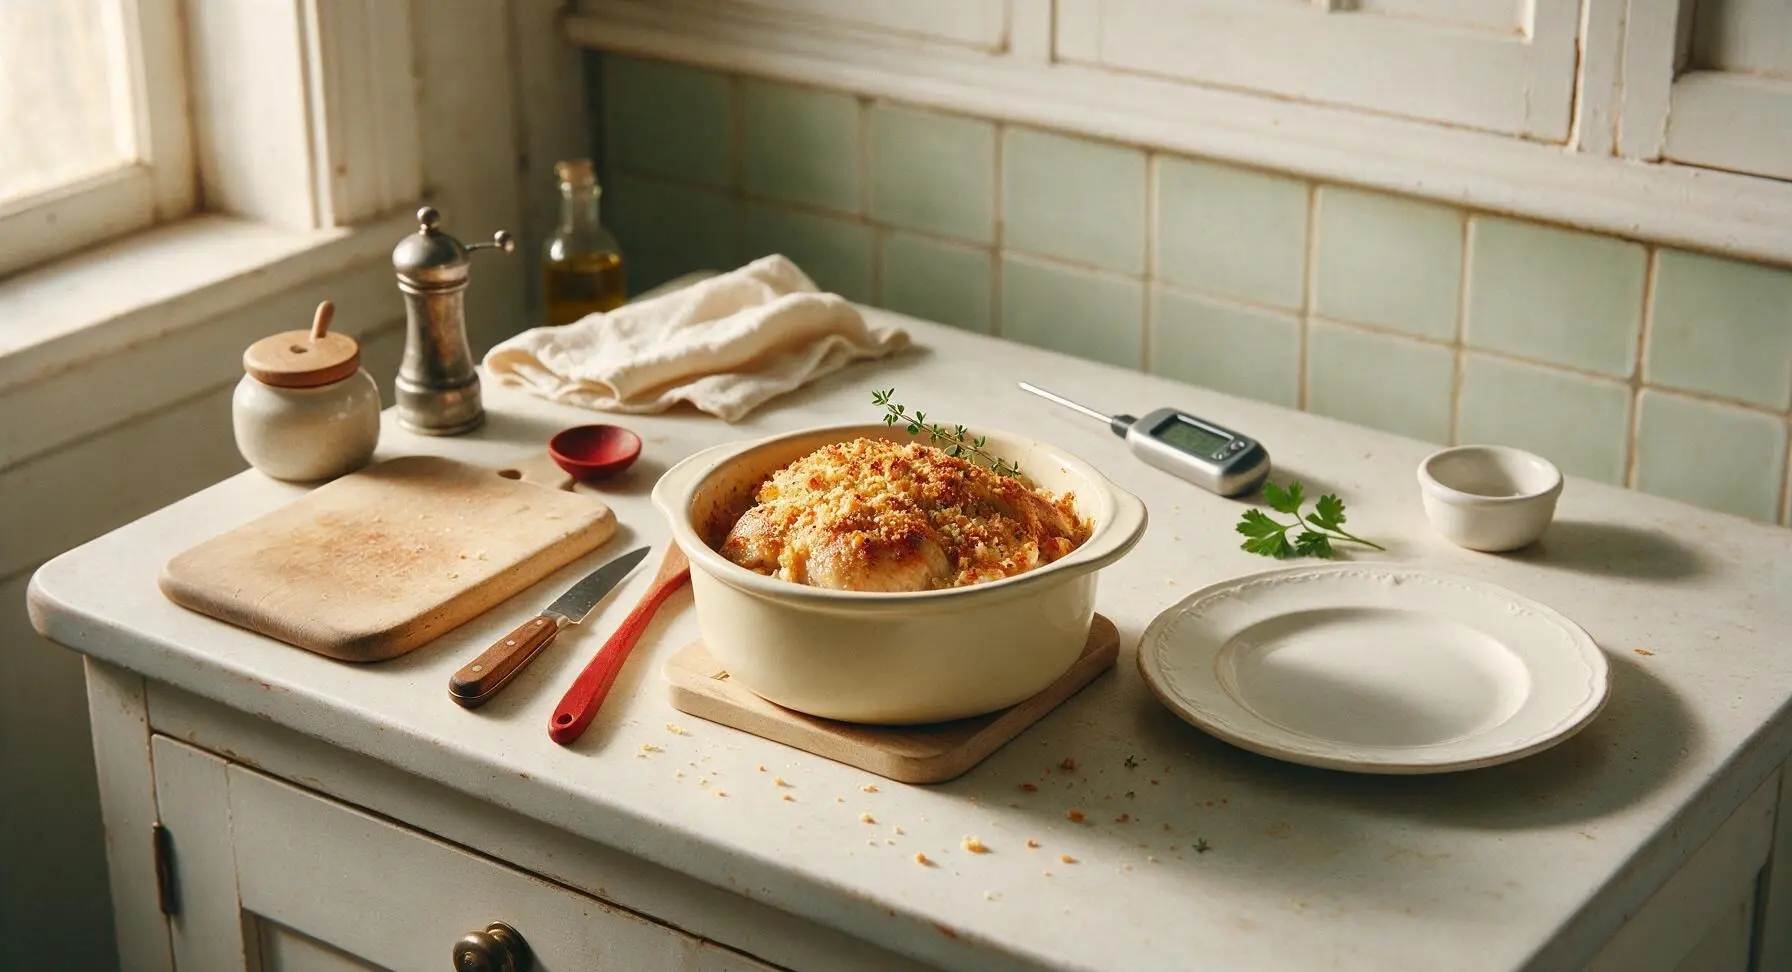
Slice and Plate
Transfer one chicken breast to the fixed matte oat-white stoneware dinner plate. Slice it diagonally into 4 even 1-inch thick slices, fanning them slightly to show the tender white cooked chicken under the crispy golden top. Garnish with a small fresh thyme sprig before serving.
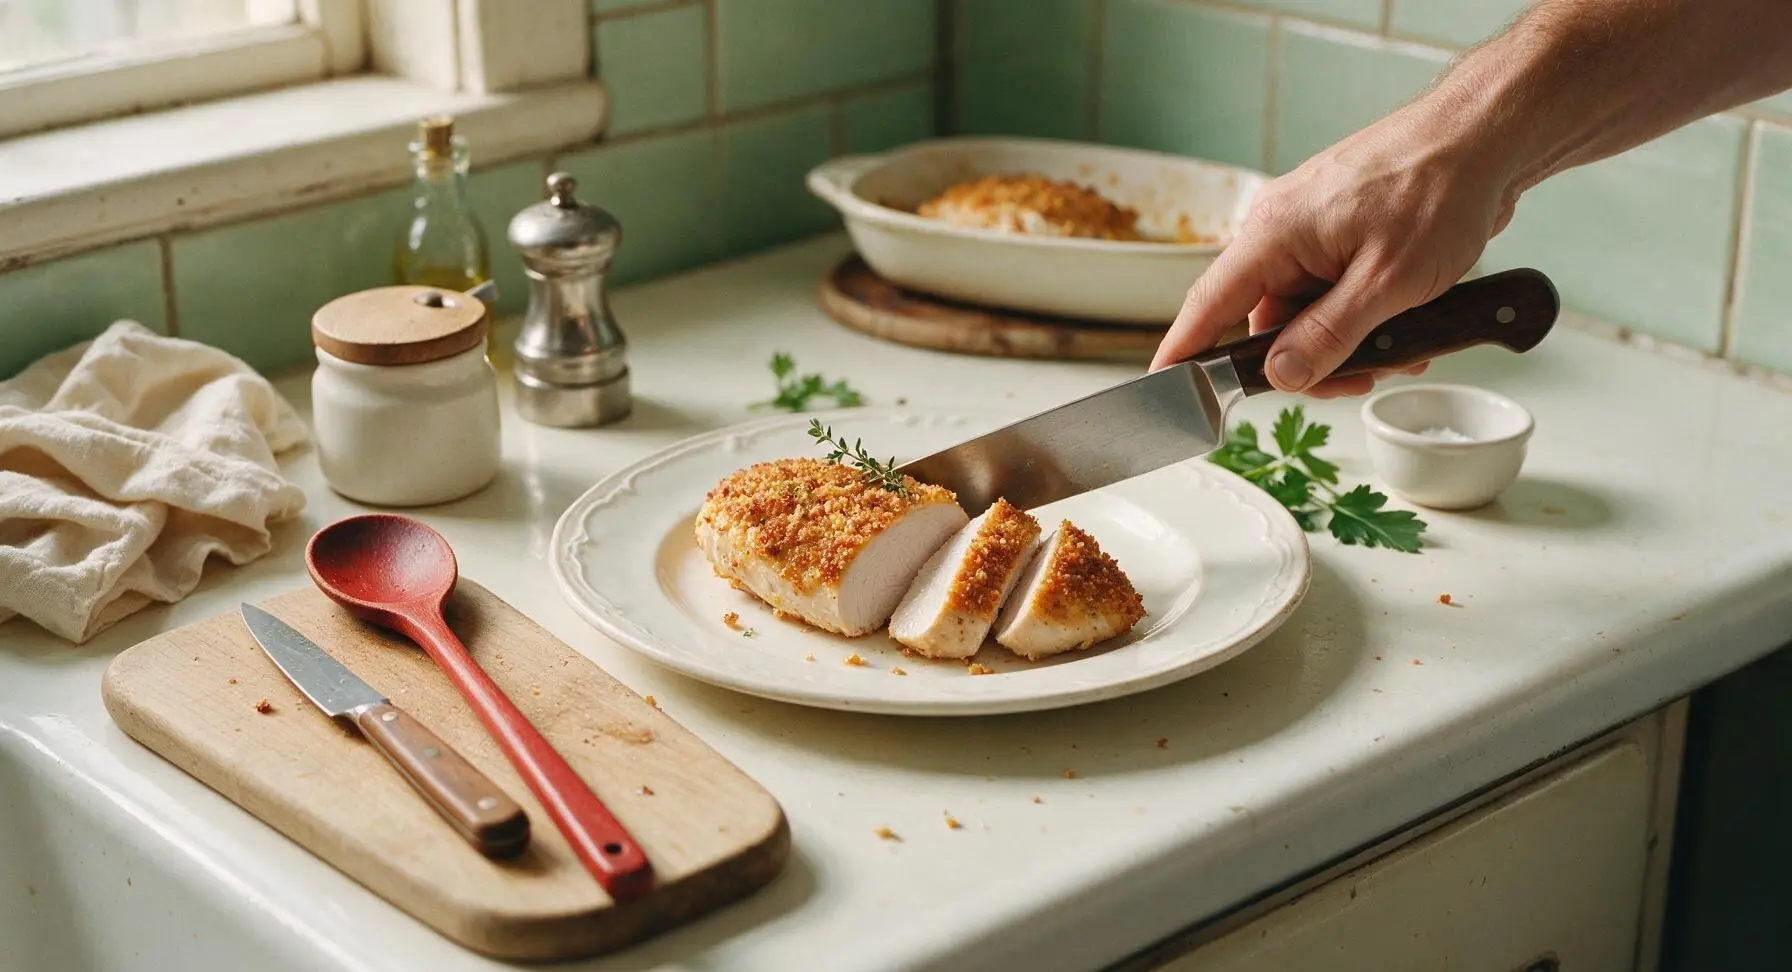
Tips
2.Use finely grated parmesan (not pre-shredded store-bought) for the topping: finely grated cheese melts evenly into the breadcrumbs to create a cohesive, crispy crust, while pre-shredded cheese is coated in anti-caking agents that create clumpy, uneven, greasy spots on the top.
3.Resist the urge to cover the baking dish at any point during cooking or resting: trapped steam from the hot chicken will soften the crispy panko topping, undoing the baked crisp texture you worked to create.






Wait, how is this so easy AND so flavorful?? I was convinced crispy chicken like this required a million steps and a deep fryer, but nope — 25 minutes in the oven and that top is shatteringly crisp. SO good. I served it with roasted broccoli and mashed potatoes for my partner’s birthday dinner last night and he raved the whole time.
Made this for our neighborhood potluck last weekend and people were hounding me for the recipe all night! I was worried it would get soggy sitting out for a bit, but that crispy top held up way better than I expected. Only note: I added a little extra paprika because we love a smoky kick, would highly recommend that tweak.
Solid easy weeknight recipe. Cook time was exactly as advertised, which is a huge win for meal prep Sundays. I portioned this out with rice and green beans for 4 days of lunches, and even reheated in the air fryer for 3 minutes the top got crispy again. No sad soggy chicken here! Would make again.
First time cooking chicken that didn’t come out dry!! I’m a total beginner in the kitchen and OMG this recipe was so straightforward I didn’t mess it up once. The crispy top is insane, I ate two pieces straight off the baking sheet oops.
My kids loved it!! I’ve been in such a dinner rut lately, scrolling for easy recipes that don’t require a grocery run for fancy ingredients, and this checked every box. The crispy top reminded me of that fried chicken my grandma used to make but way less work. 10/10.
Swapped the regular breadcrumbs for gluten free panko and this still came out perfectly crispy on top! I was worried the texture would be off, but my whole family didn’t even notice the difference. Such a great easy recipe to adapt for dietary needs, will be making this on repeat.
Made these as crispy chicken sliders for the football watch party last Sunday and they were gone in 10 minutes flat. I cut the chicken into smaller slider-sized pieces, toasted the buns, added a little pickles and mayo, chef’s kiss. Will absolutely be making these for the next game day.
Okay I’ve tried so many ‘crispy baked chicken’ recipes that end up soggy on the bottom and barely crisp on top, so I went into this super skeptical. LET ME TELL YOU — the top is actually crispy!! Like, properly crunchy, no sad soft breading here. My only gripe is I wish I made more, because my roommate ate half the pan.
Tried making this in my air fryer instead of the oven and it turned out amazing! 12 minutes at 390, flip halfway, and the top got even crispier than when I make it in the oven. Game changer for quick weeknights when I don’t want to heat up the whole oven.
I was worried the leftovers wouldn’t hold up, but I stored the chicken separate from my roasted veggies and crisped it up in the toaster oven for lunch today and it tasted just as good as it did when I made it for dinner last night. The seasoning is perfectly balanced — not too salty, just enough garlic and herb flavor to make every bite tasty. Such a quick, easy recipe that doesn’t require fancy skills or ingredients, I’m already planning to make it again next week.