
top round roast
intro
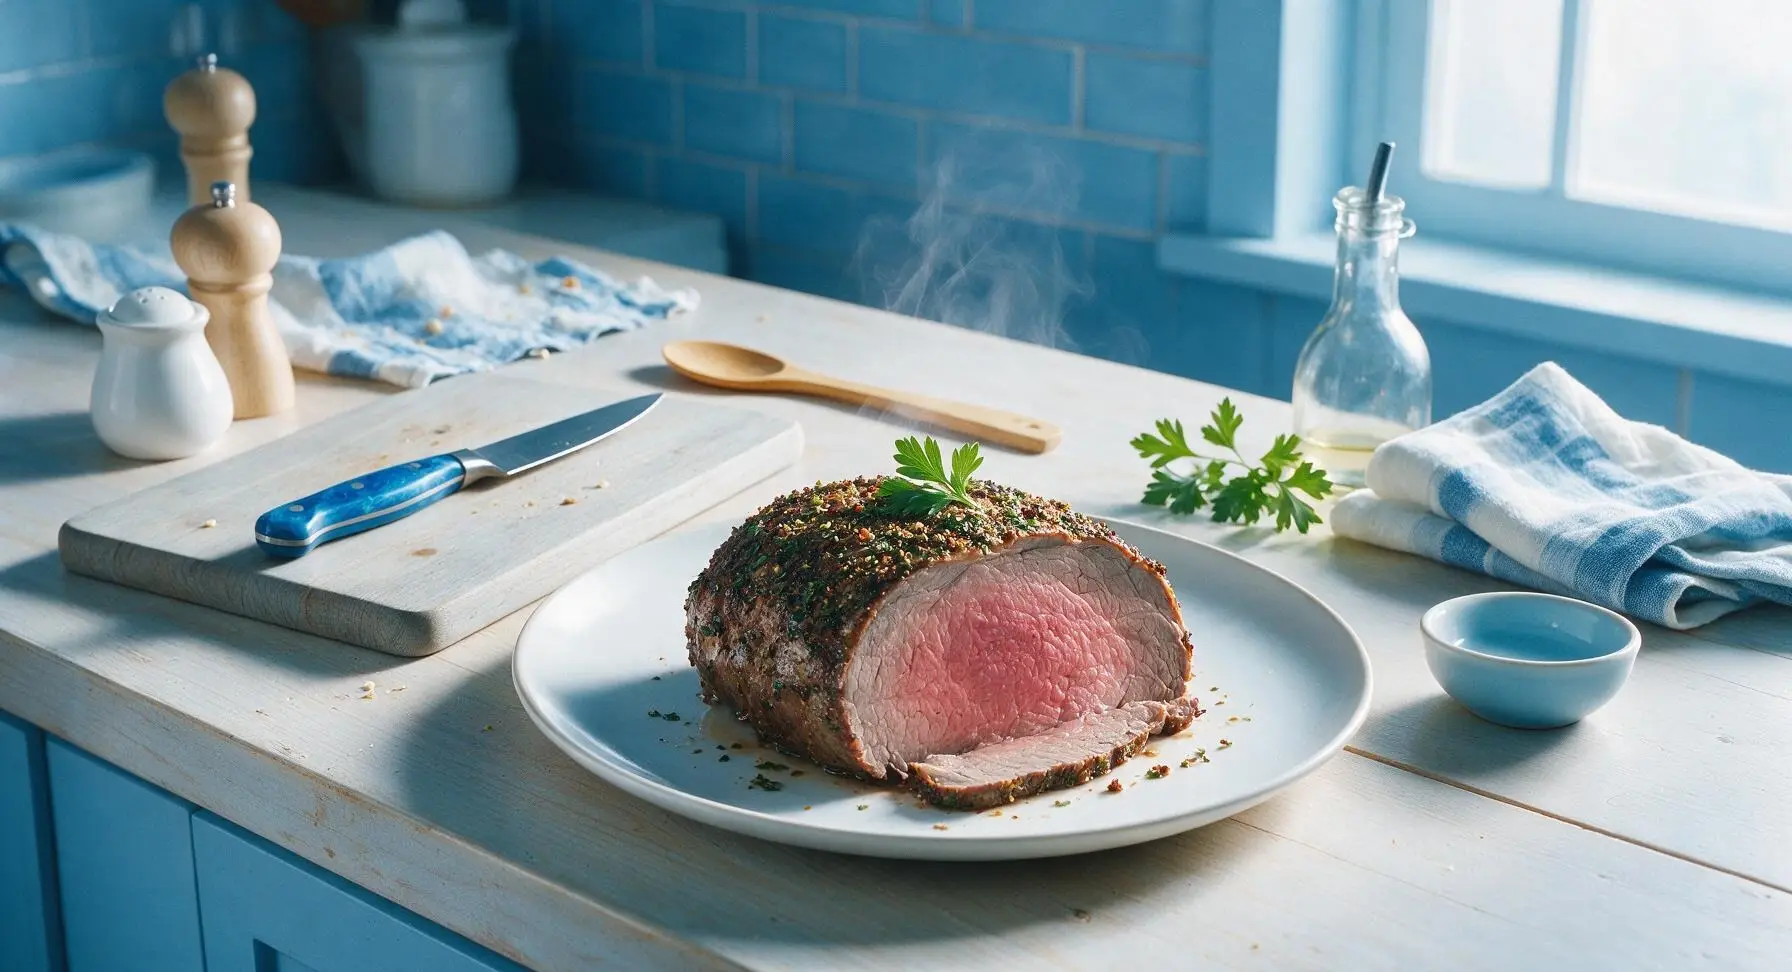
Juicy, herb-crusted top round roast with crisp savory edges and a tender pink medium-rare center, ideal for cozy, low-fuss family gatherings.
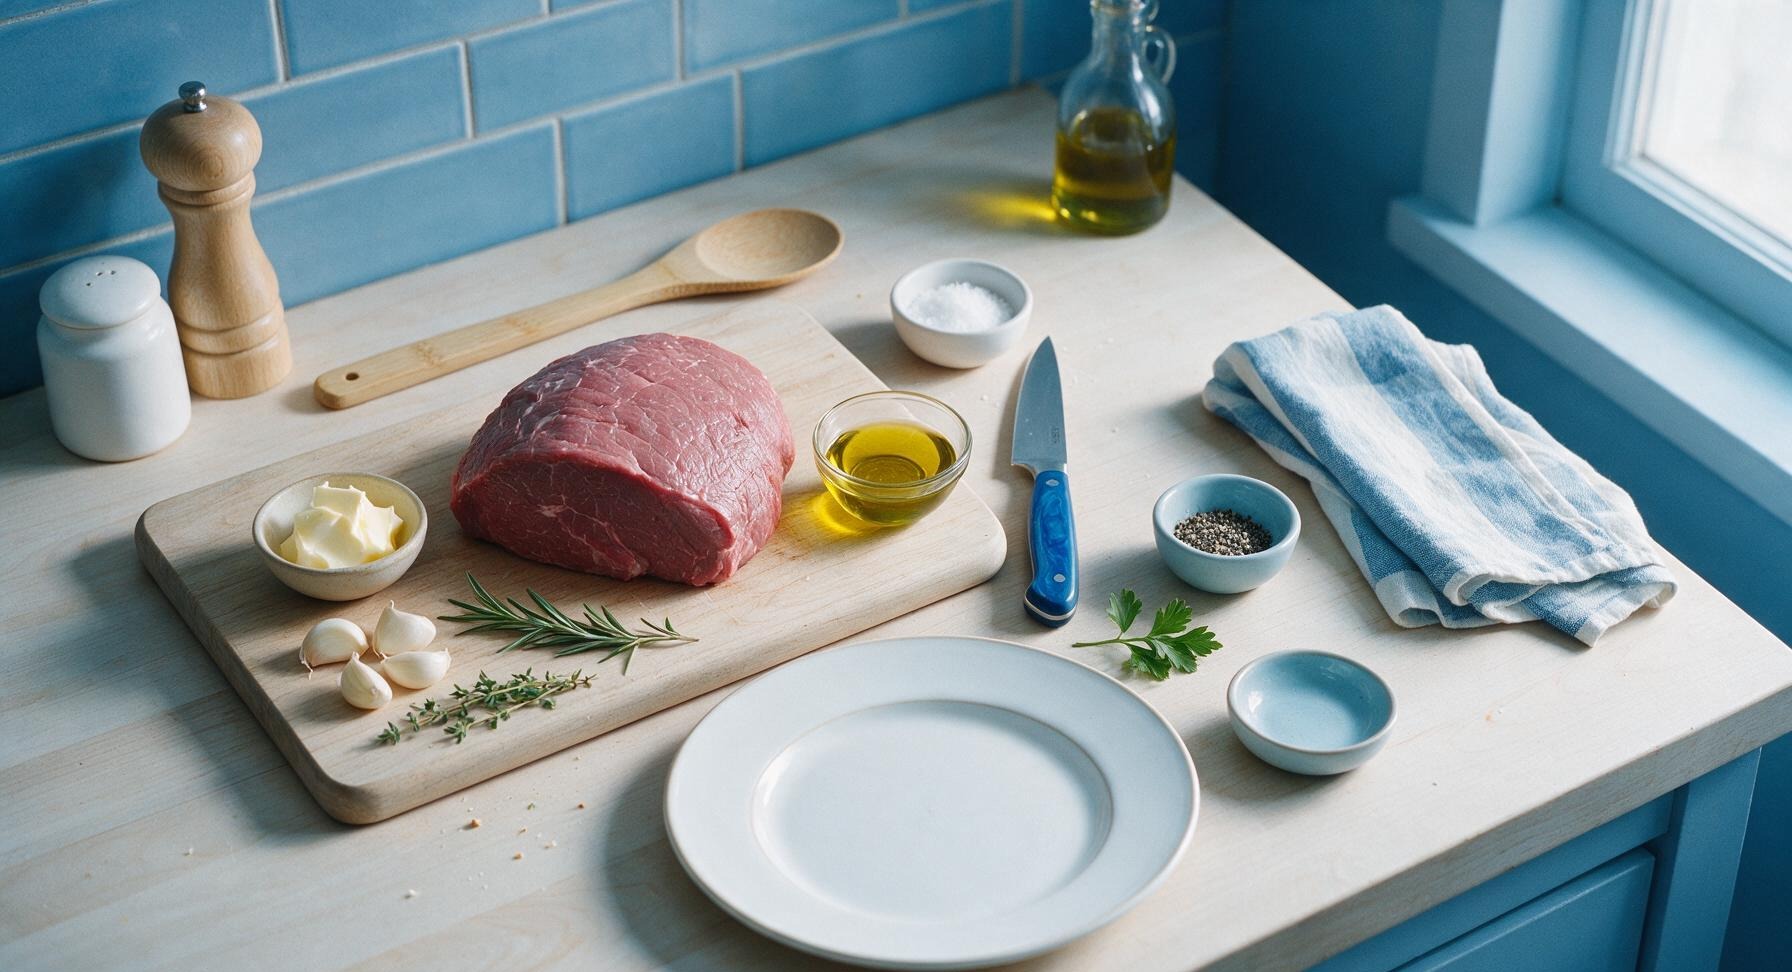
Ingredients
Steps
Bring Roast to Room Temp
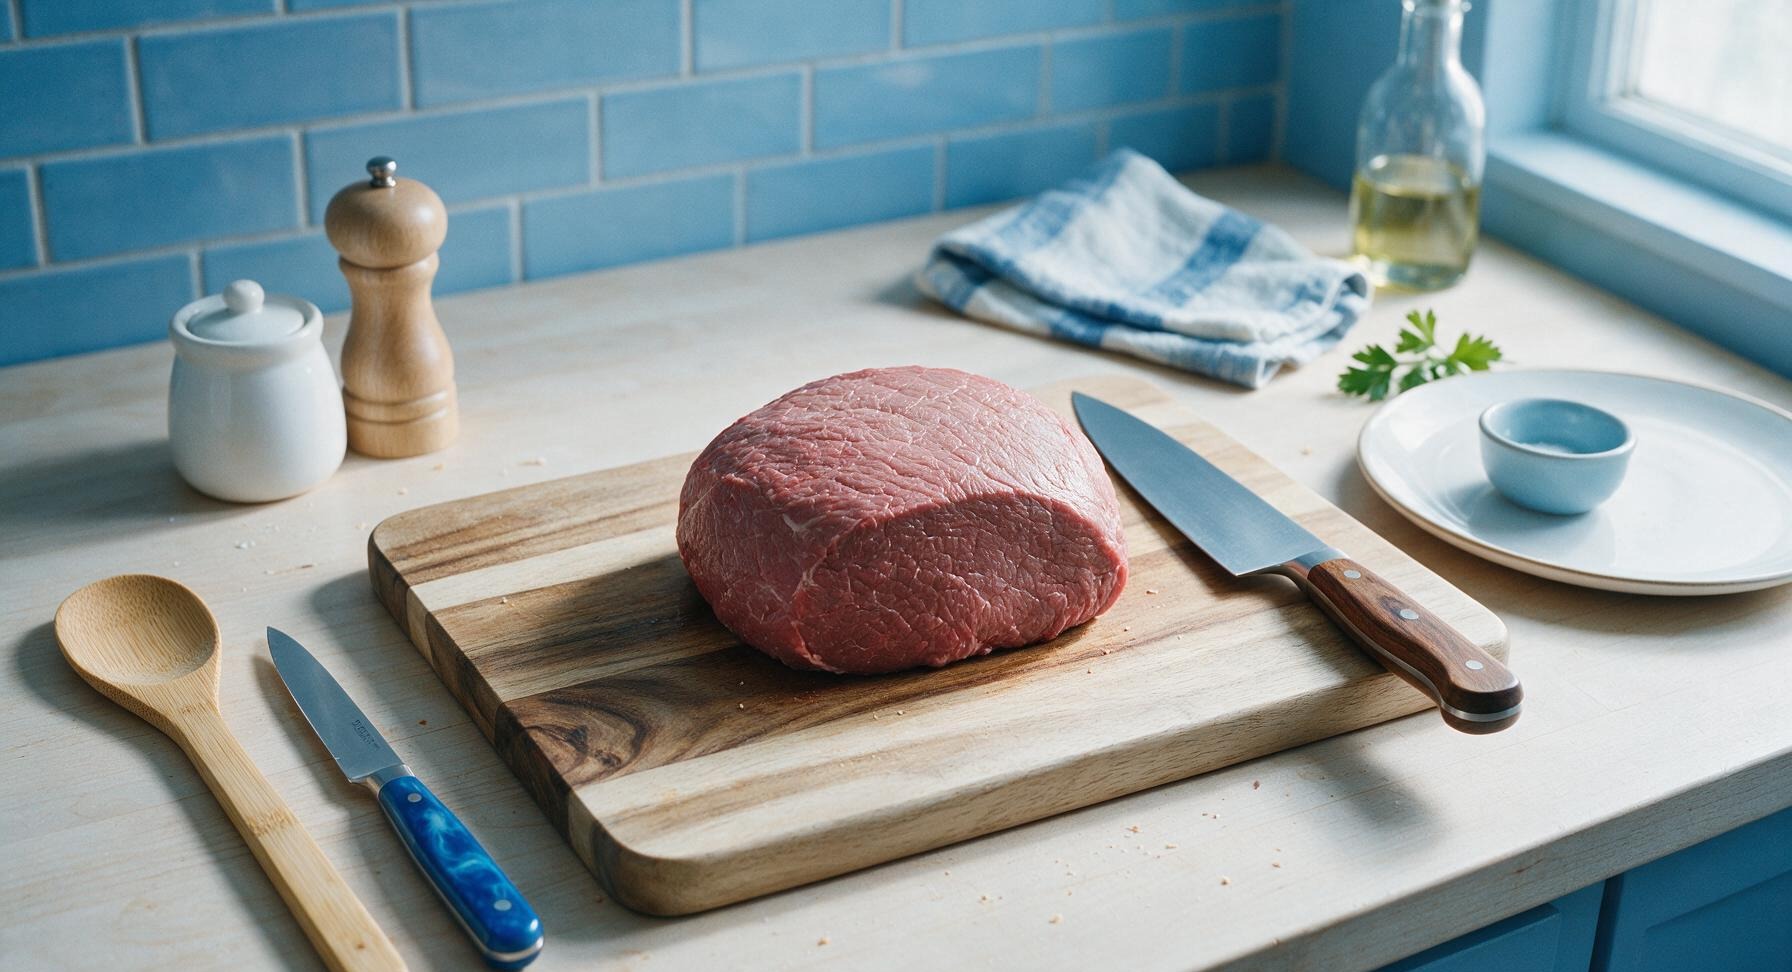
Remove the 3lb boneless top round roast from packaging, pat completely dry on all sides with paper towels, and set it on the acacia wood cutting board. Let it rest at room temperature for 45 minutes to 1 hour, until it no longer feels cold to the touch. This ensures even cooking throughout the roast, rather than a well-done outer layer and undercooked center.
Make Garlic Herb Butter
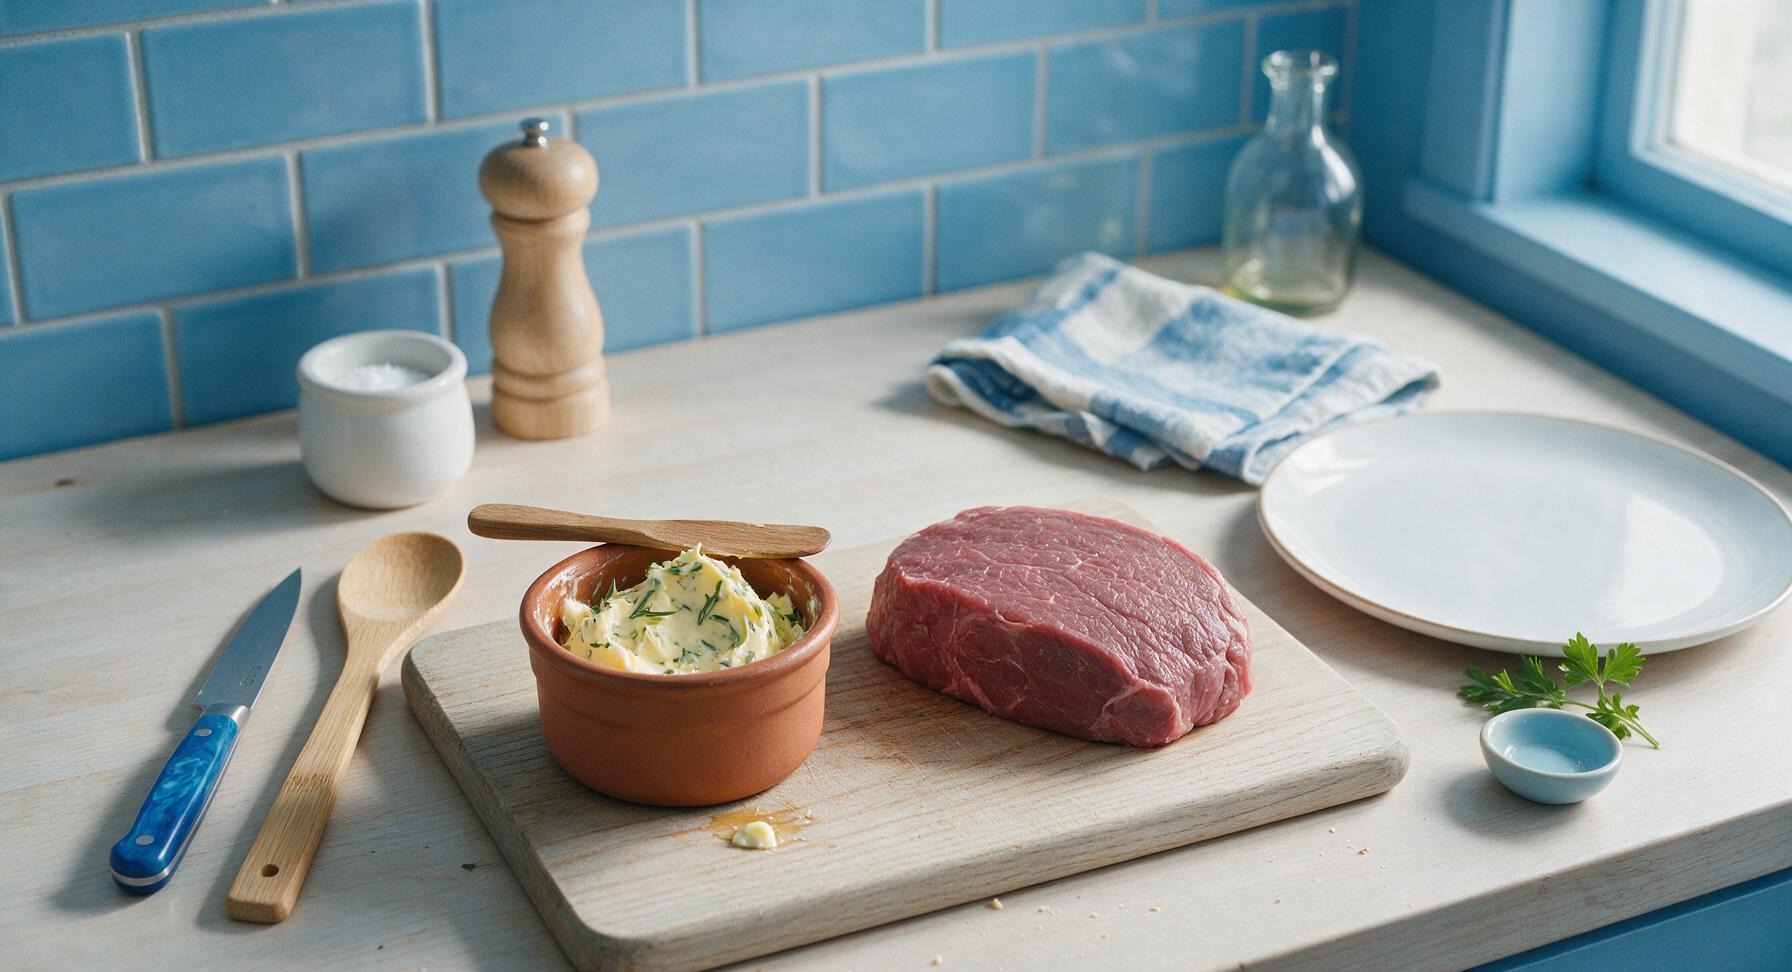
While the roast rests, place 4 tbsp softened unsalted butter in the small terracotta ramekin. Mince 2 garlic cloves, strip 1 tbsp chopped rosemary leaves and 1 tsp chopped thyme leaves from their sprigs, and mix into the butter along with ½ tsp black pepper until fully combined. Set aside at room temperature.
Tie and Season Roast
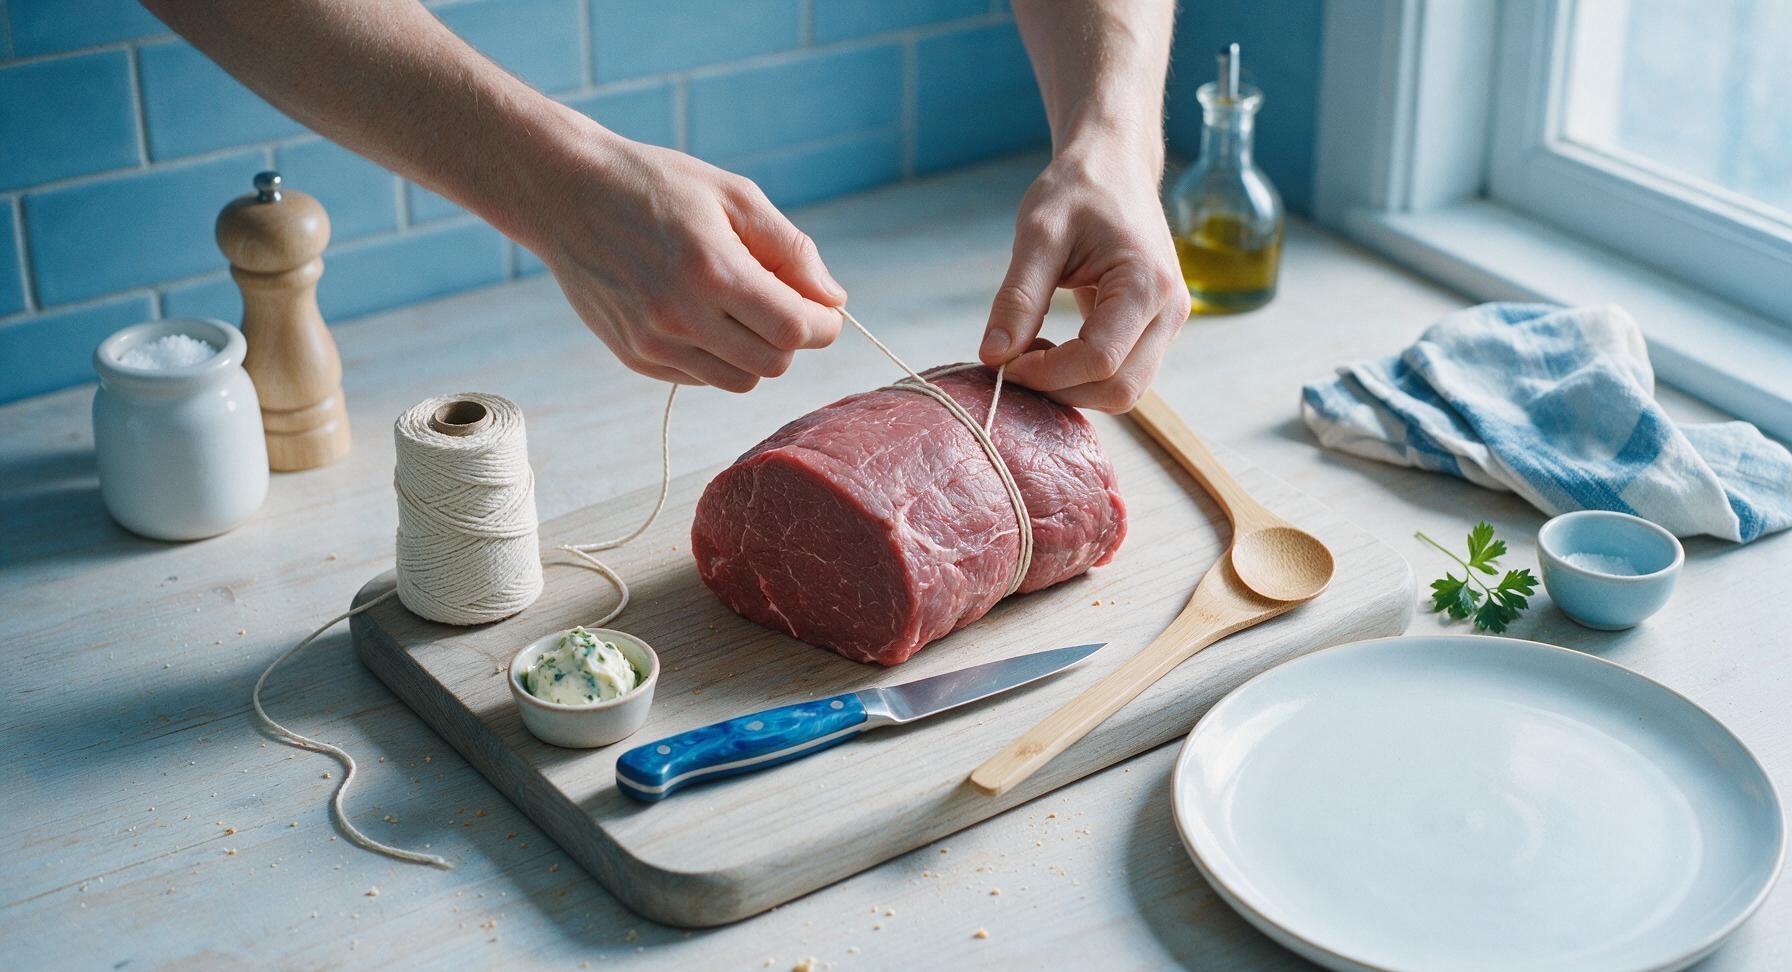
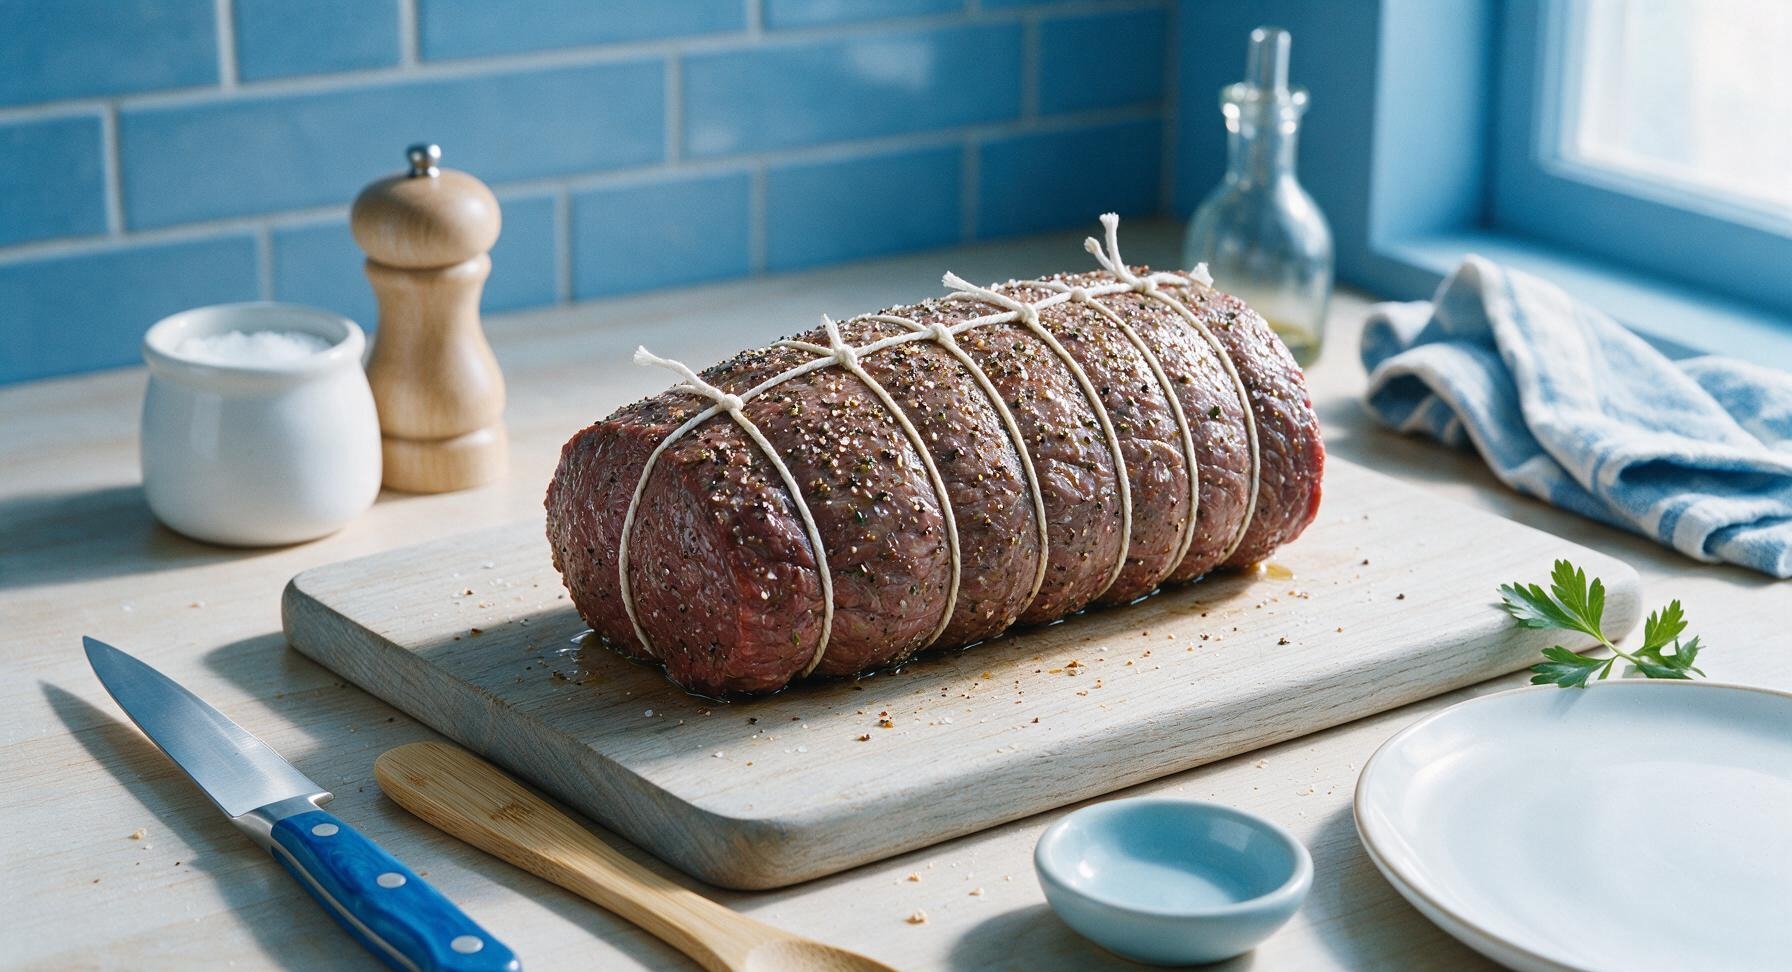
After the roast has reached room temperature, cut 3 12-inch lengths of butcher's twine, and tie them snugly around the roast at 2-inch intervals to hold its uniform shape during cooking. Drizzle the roast with 1 tbsp olive oil, rubbing it over all surfaces. Sprinkle the entire roast evenly with 1 tbsp kosher salt and remaining ½ tsp black pepper, pressing the seasoning gently into the meat so it adheres.
Sear Roast on All Sides
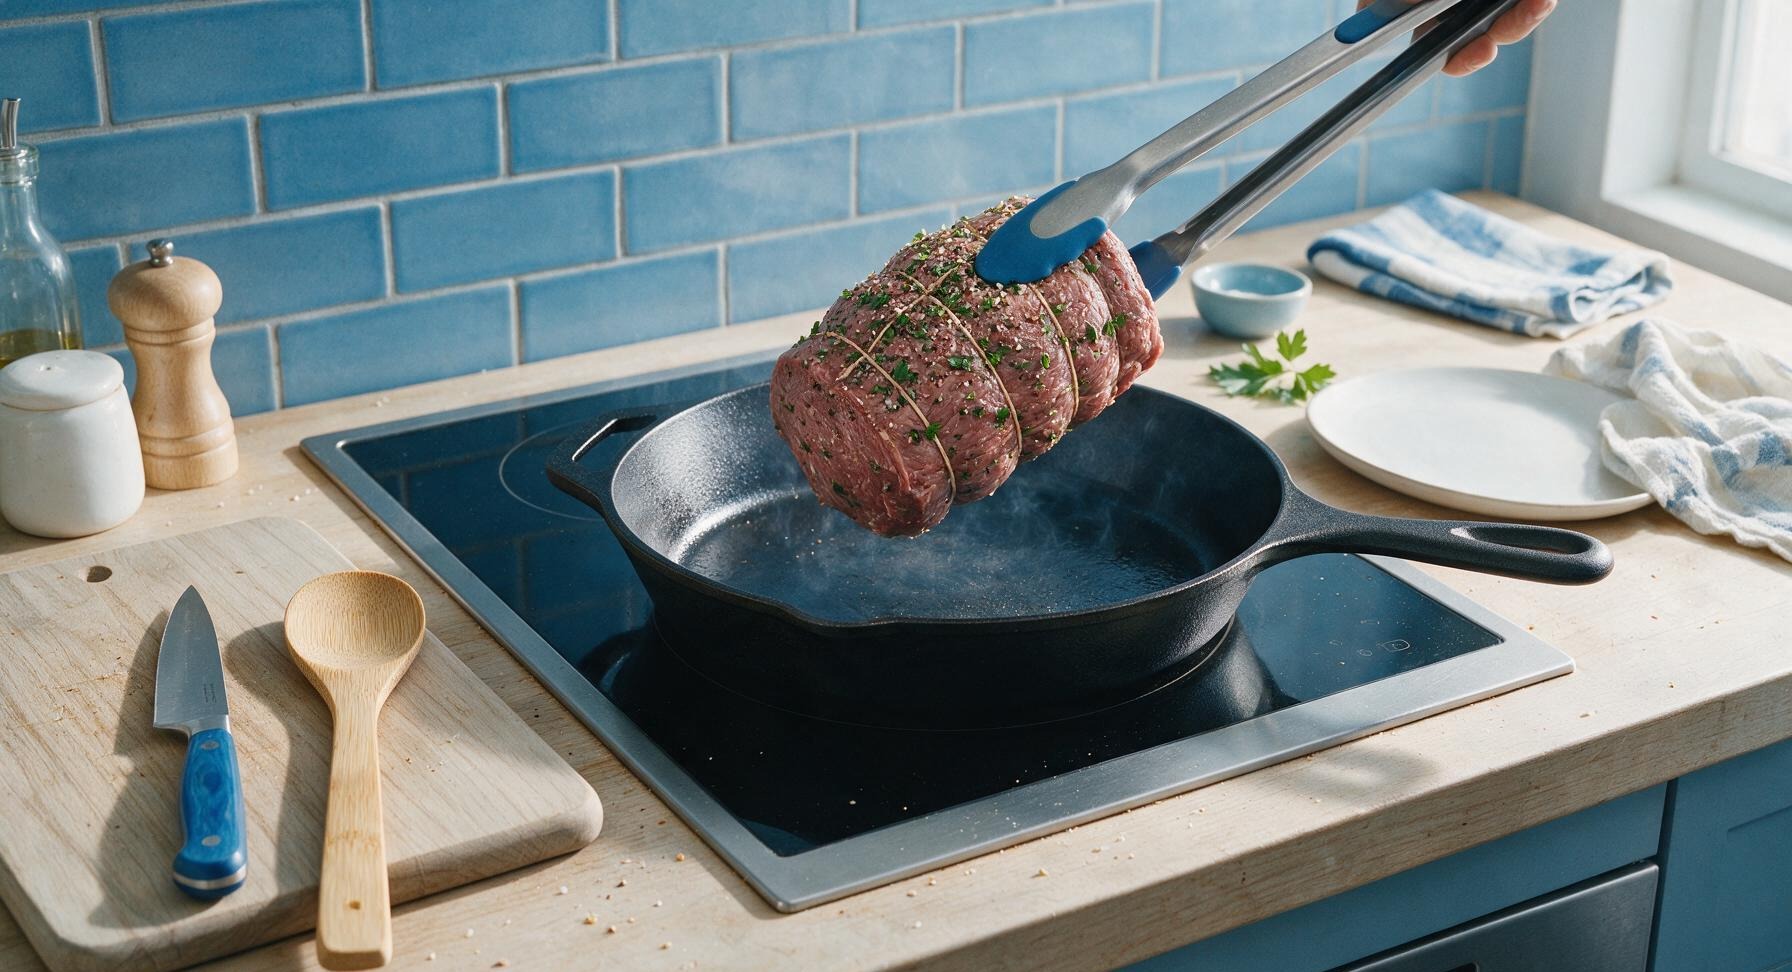
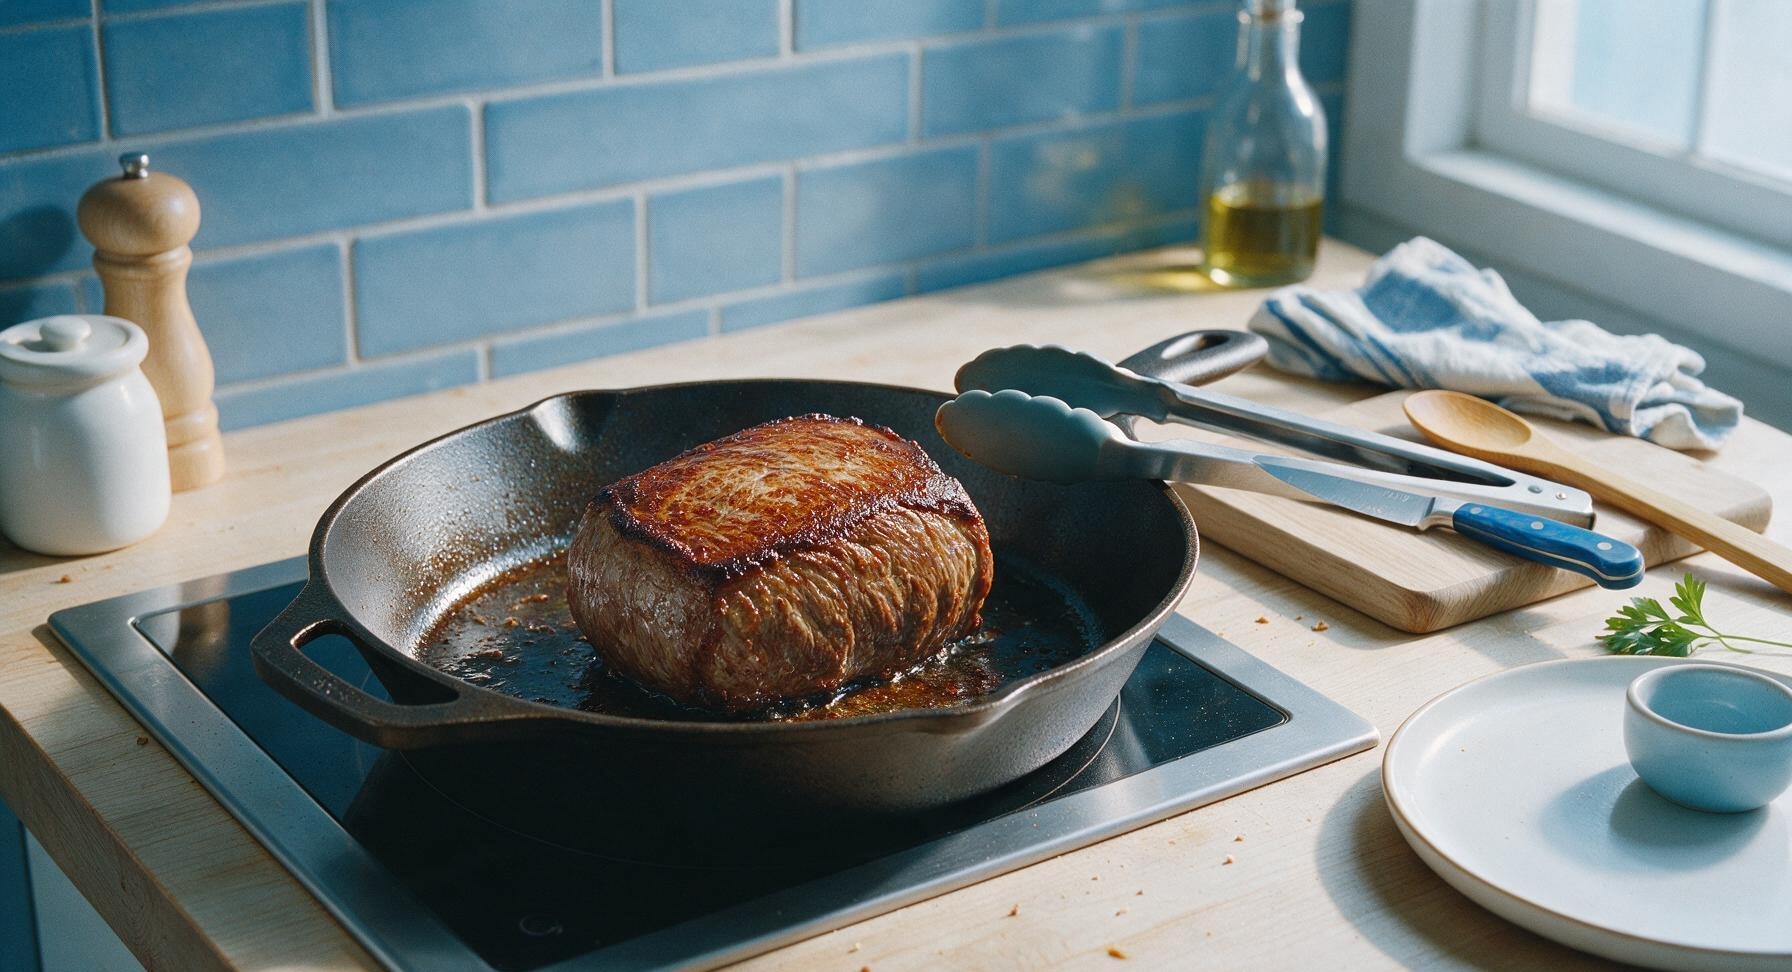
Place the 12-inch cast iron skillet on the induction cooktop over medium-high heat, and let it preheat for 3 minutes until it is very hot. Use the silicone-tipped tongs to set the roast in the dry skillet, searing each side for 2-3 minutes until a deep, rich brown crust forms across every surface, including the ends. Total searing time is 10-12 minutes; do not move the roast while each side sears to build a crisp, flavorful crust.
Roast to Medium-Rare
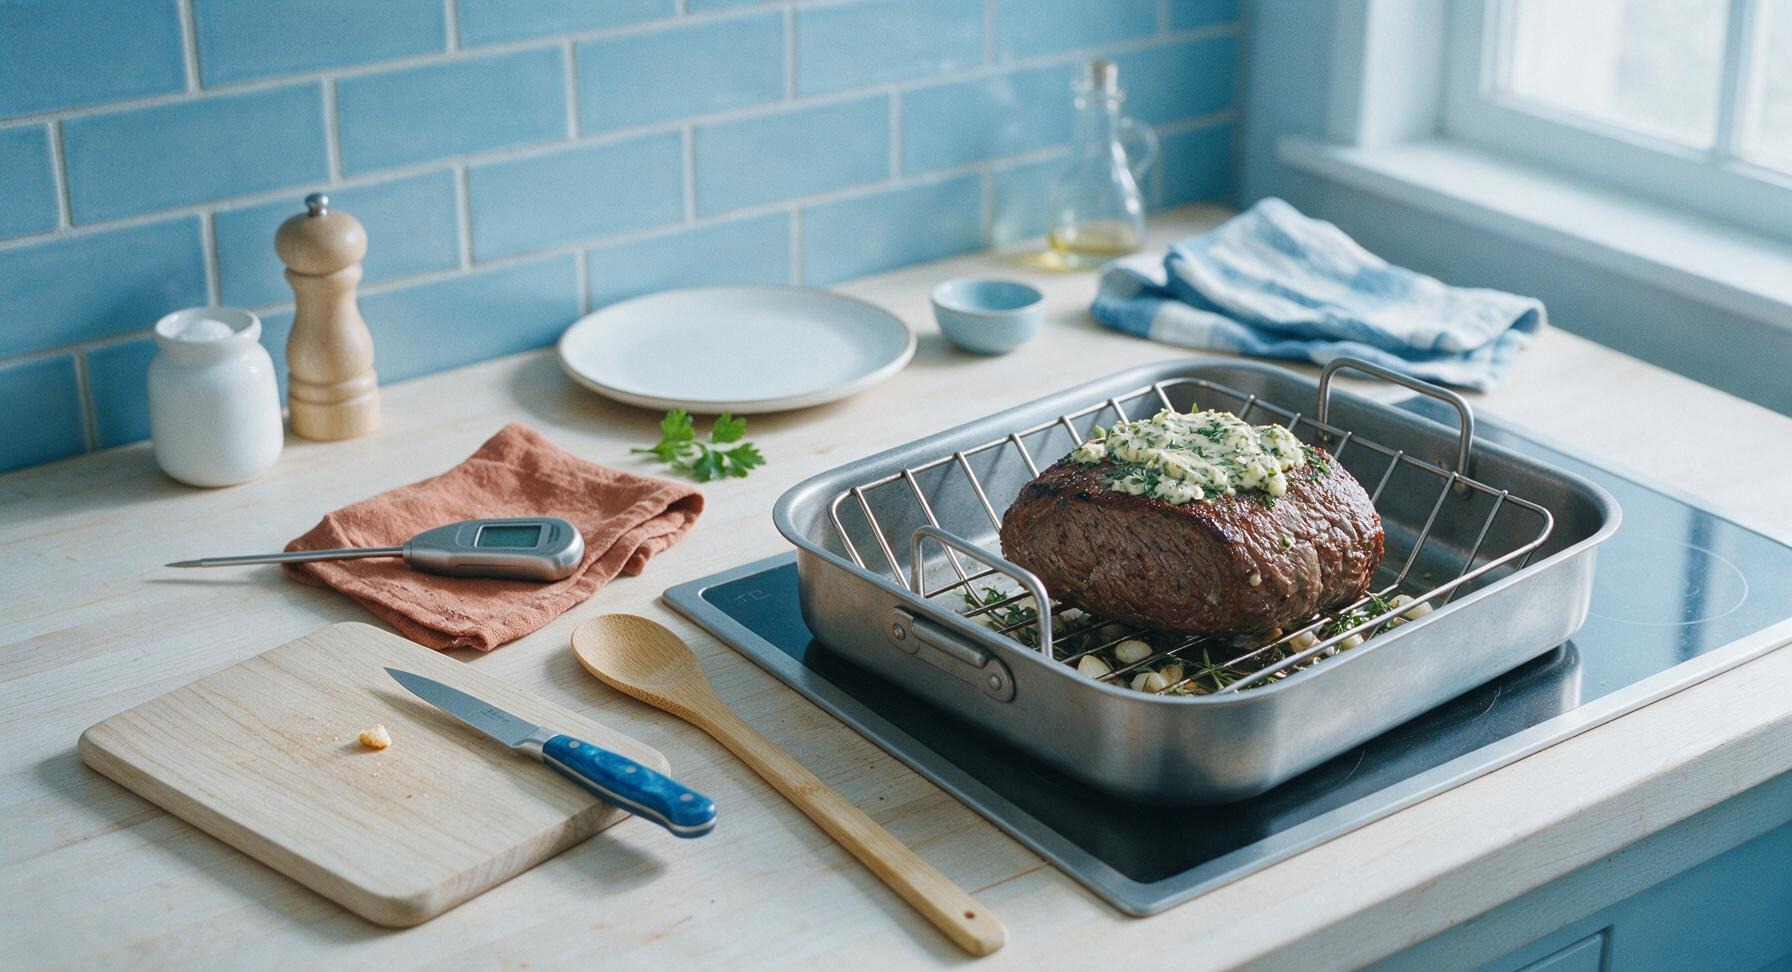
Transfer the seared roast to the V-shaped wire rack set inside the stainless steel roasting pan. Spread the prepared garlic herb butter evenly over the top surface of the roast, and tuck the remaining whole garlic cloves and herb sprigs under the rack in the pan. Place the pan in a preheated 325°F (165°C) oven, and roast until the instant-read thermometer inserted into the thickest part of the roast reads 125°F (52°C) for medium-rare, approximately 50-60 minutes. Avoid opening the oven unnecessarily to keep temperature consistent.
Rest Roast Properly
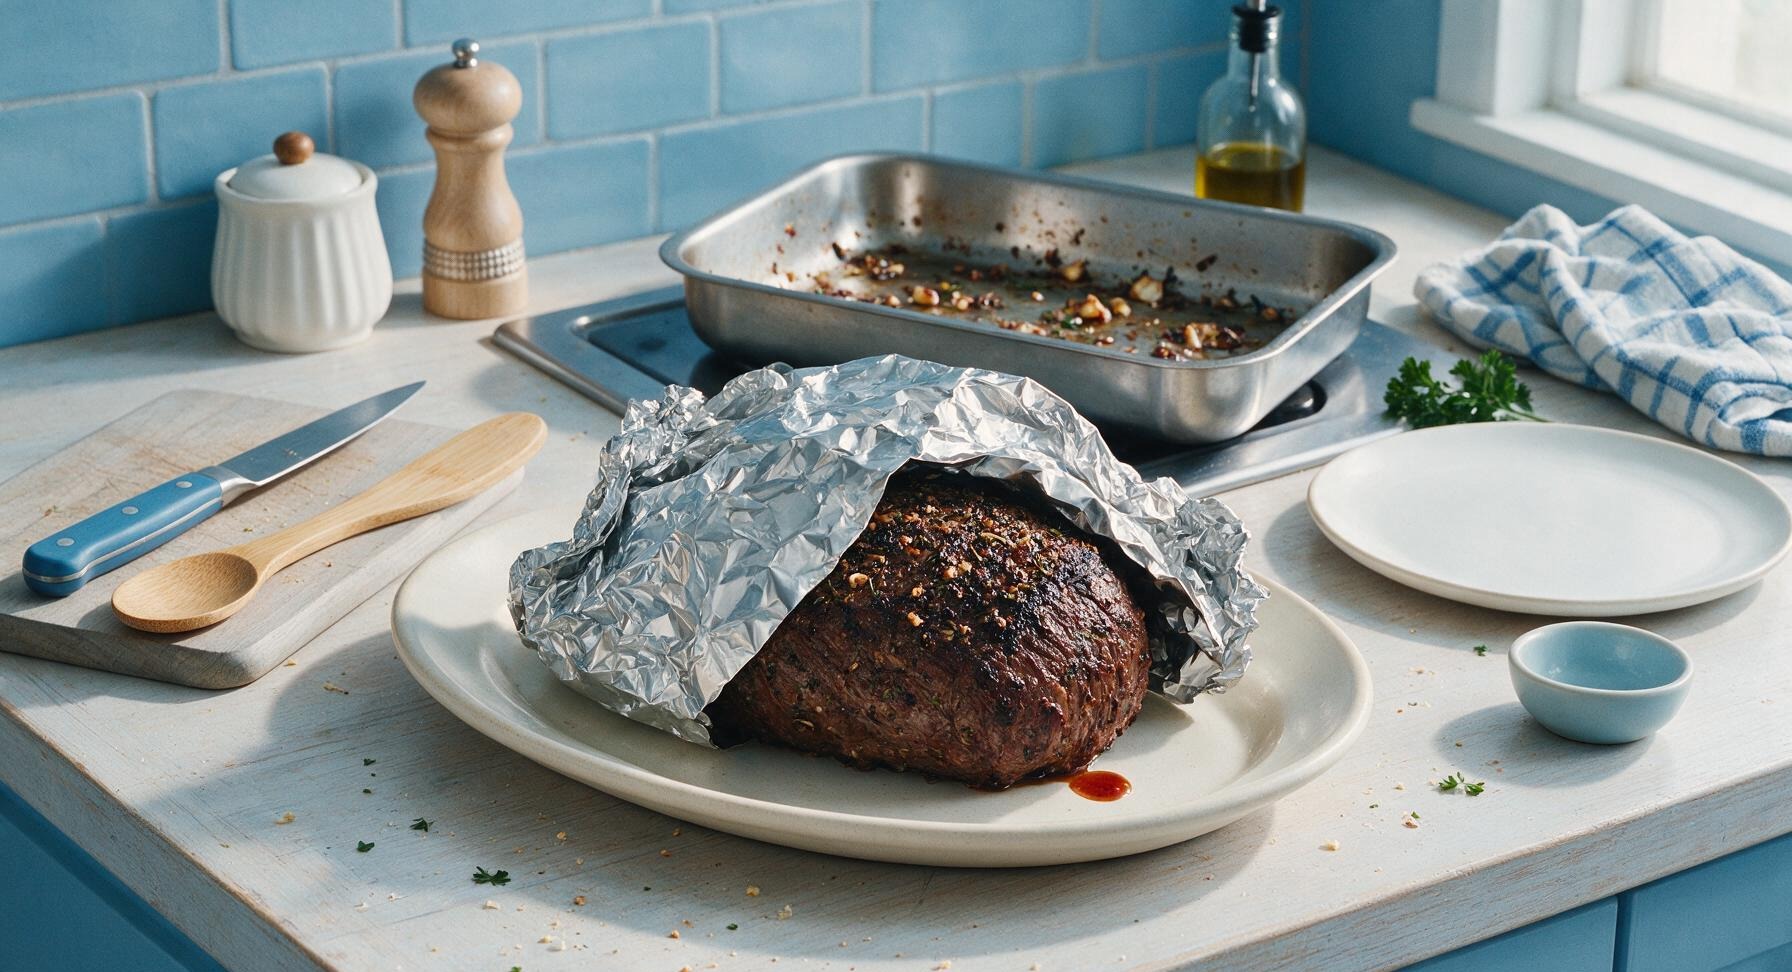
Once the roast reaches 125°F internal temperature, remove it from the oven, and transfer it to the waiting matte cream white ceramic serving platter. Tent the platter loosely with a sheet of aluminum foil, and let the roast rest for 20 full minutes before slicing. During this time, the internal temperature will rise 5-10°F (carryover cooking) to reach a perfect 135°F medium-rare, and juices will redistribute through the meat instead of running out when sliced.
Slice Against the Grain
After resting, remove the foil tent and snip off the butcher's twine with the tip of the chef knife. Identify the direction of the meat grain (the long parallel muscle fibers), and slice the roast into ¼-inch thick slices, cutting directly across the grain to ensure maximum tenderness. Slice only what you plan to serve immediately to keep leftover meat juicy.
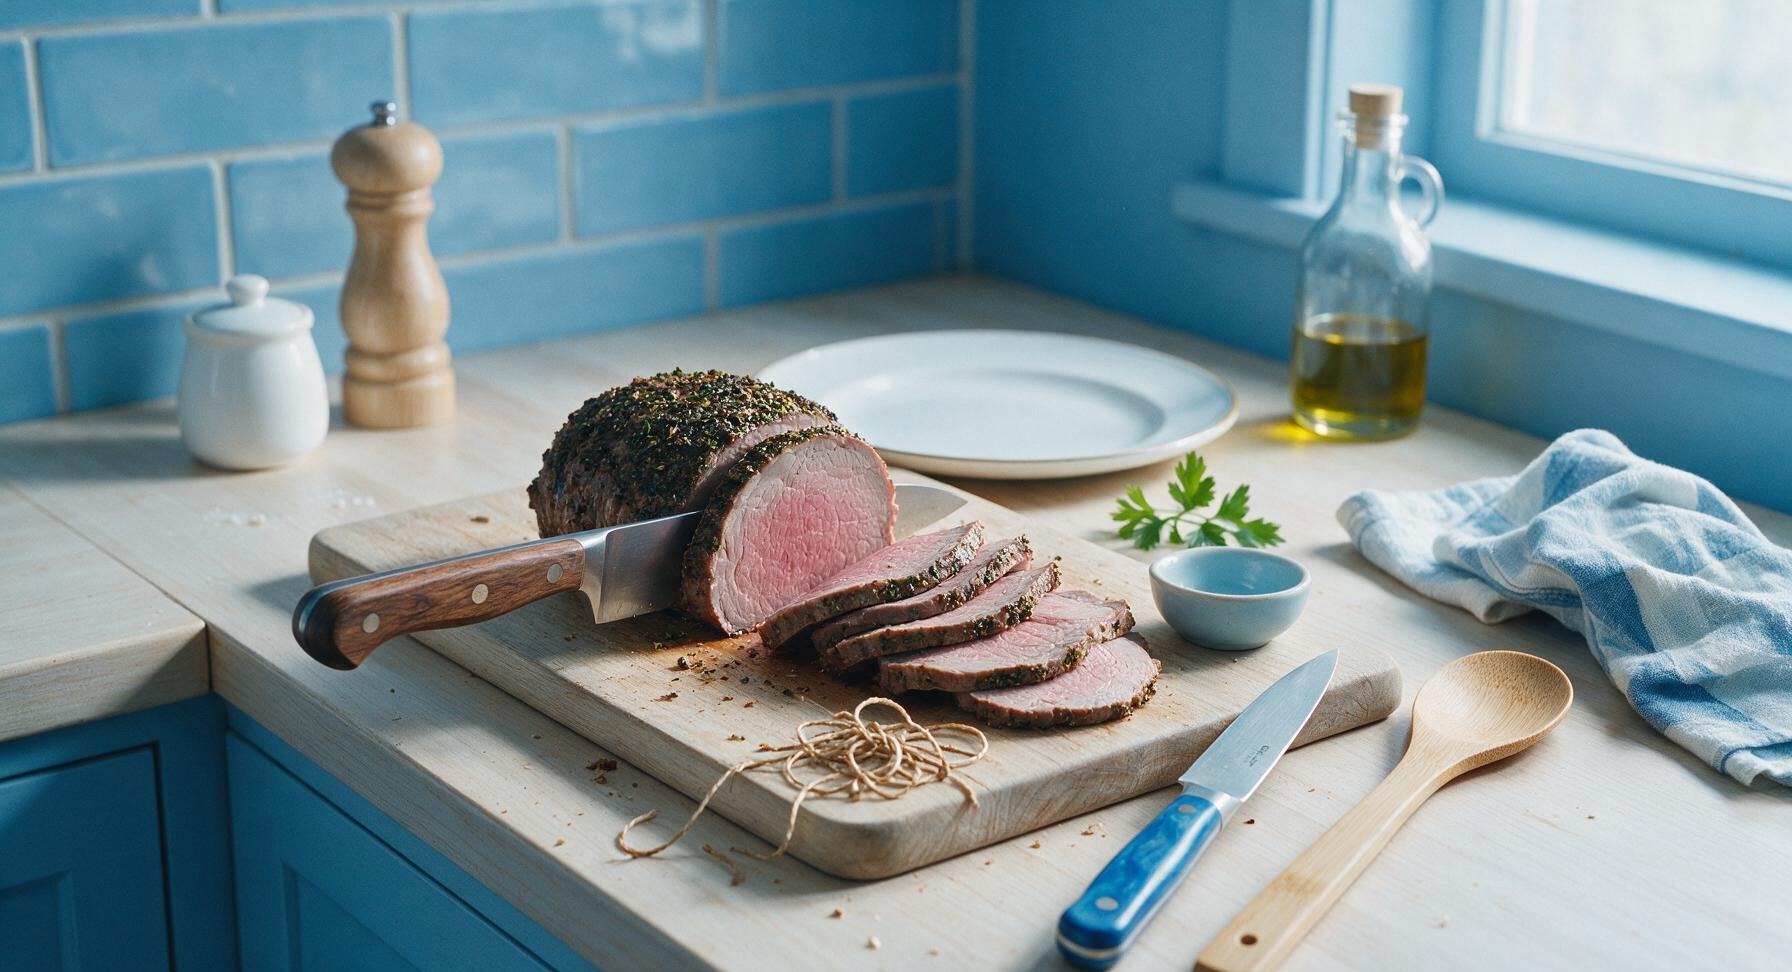
Plate and Serve
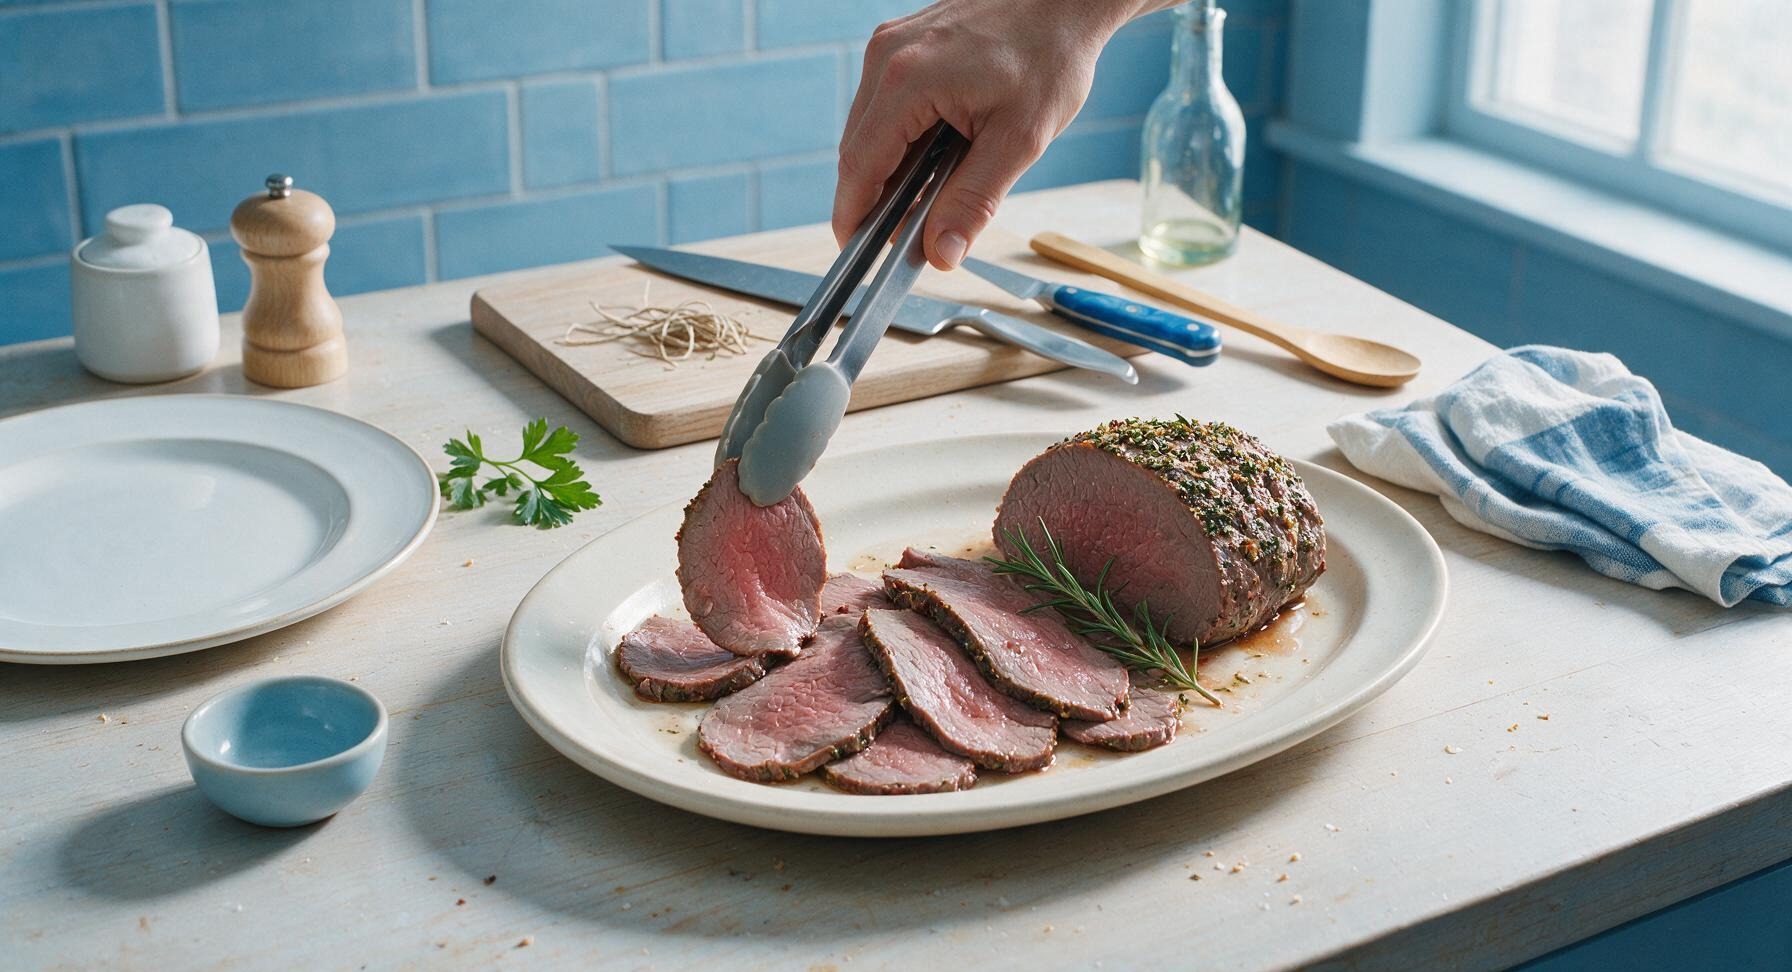
Fan the sliced roast across the center of the cream white ceramic serving platter, spoon any collected juices from the cutting board and resting platter over the top of the slices. Garnish with a fresh sprig of rosemary, and serve immediately with your favorite side dishes.
Tips
2.Never skip the full 20-minute rest period after cooking: slicing the roast immediately out of the oven will cause hot, free-flowing muscle juices to run out onto the platter, leaving the meat dry and tough instead of juicy and tender as the juices reabsorb into muscle fibers.
3.Slice the roast as thinly as possible, directly against the direction of the long muscle grain: top round is a lean, well-exercised cut with tough, long muscle fibers, so thin cross-grain cuts shorten these fibers and create a far more tender eating experience than thick slices cut with the grain.






Made this for my kid’s soccer team potluck last weekend and people were begging me for the recipe! The herb crust gets so crispy and fragrant, I was worried a top round would be too tough but it was melt-in-your-mouth tender when I let it rest like the recipe said. 10/10
Solid weeknight roast option! Cook time was exactly as listed, which is a huge win for me since I’m usually rushing to get dinner on the table after work. I subbed dried thyme because I didn’t have fresh and it still turned out great. Perfect for meal prep too, I sliced up the leftovers for roast beef sandwiches all week.
Took me a minute to get the herb rub to stick right, but once I patted the roast super dry like the tip said? *Chef’s kiss.* My whole family raved, even my teen who turns his nose up at anything that isn’t takeout. Will be making this for Easter dinner this year no cap.
Tasty, but I overcooked mine a little because my oven runs hot. Next time I’ll drop the temp by 25 degrees and check the temp earlier. The flavor of the crust was unreal though, even with the slightly overdone meat! Definitely worth a second try.
Brought this to my office potluck yesterday and it was the first dish gone! I served it with a little horseradish cream on the side and people were going back for thirds. So easy to prep ahead too, I mixed the herb rub the night before so I just had to pop it in the oven when I got home from work. 10/10 will make again.
First time ever making a roast of any kind and I was so nervous it would turn out tough! This recipe was so easy to follow, and my roast came out looking like it came from a fancy steakhouse. Quick question though — can I use this same herb crust on a pork tenderloin too?
This is now my go-to Sunday meal prep staple! I make one every Sunday, slice it thin, and use it for sandwiches, salads, and quick protein bowls all week. The herb flavor gets even better as it sits in the fridge tbh.
The herb blend on this is INSANE. I used fresh rosemary, thyme, and oregano from my backyard garden and it made the whole house smell like a fancy restaurant while it cooked. My only note is that I wish the recipe specified how long to let the roast rest after cooking — I only waited 5 minutes and a bunch of juices ran out when I sliced it.
Top round is such an affordable cut, I was shocked how fancy this tasted! Total game changer for my grocery budget, I can feed my family of 4 for under $15 with this recipe and we have leftovers. No more expensive takeout on Sundays!
Made this for my anniversary dinner with my partner and they were so impressed they thought I ordered it from a local bistro! I paired it with roasted garlic mashed potatoes and roasted asparagus, total perfect date night meal. Is there a way to make the crust a little more garlicky without throwing off the herb balance?
I’ve been making roasts for 40+ years and this herb crust is one of the best I’ve tried. Pro tip for new cooks: make sure you sear the roast on all sides first before putting it in the oven to get that crust extra crispy, it makes a world of difference.
So happy this recipe is naturally gluten free! I have celiac and so many roast recipes use breadcrumbs in the crust, but this herb-only crust is perfect. It was so flavorful I didn’t even miss the breaded crust I grew up eating. My kids loved it too!
Made this for our Super Bowl watch party and it was a total hit! Sliced it thin, put out some slider buns, horseradish, and au jus, and people were making roast beef sliders all night. Only issue was I ran out way too fast! Next time I’m making two roasts.
Full transparency: I hate most herb blends because they taste like grass to me, but my husband begged me to make this so I caved. Y’all… it was SO good. The herbs are balanced so well, no weird overpowering sage or anything, just savory, crispy perfection. Even I went back for seconds.
Has anyone tried making this on a pellet smoker instead of the oven? I usually smoke all my roasts but the herb crust on this looks so good I want to make sure I don’t mess it up.
This recipe says medium difficulty but as someone who barely cooks, I was able to pull it off! It only took 10 minutes of prep, then I just popped it in the oven and set a timer. My kids ate two servings each and asked when we can have it again. Total mom win.
I followed the recipe exactly and my crust was a little soggy? What did I do wrong? I used fresh herbs like it said, patted the roast dry, everything. The meat itself was perfectly cooked, just the crust didn’t crisp up like the photos.
How long do the leftovers stay good in the fridge? I’m making this for a dinner party on Saturday and was wondering if I can make it a day ahead to save time, or if it’s better fresh.