
traditional waffle

intro
Crisp golden on the outside, light and fluffy inside, these traditional waffles are a cozy, crowd-pleasing breakfast, perfect topped with melted butter and warm maple syrup.
Ingredients
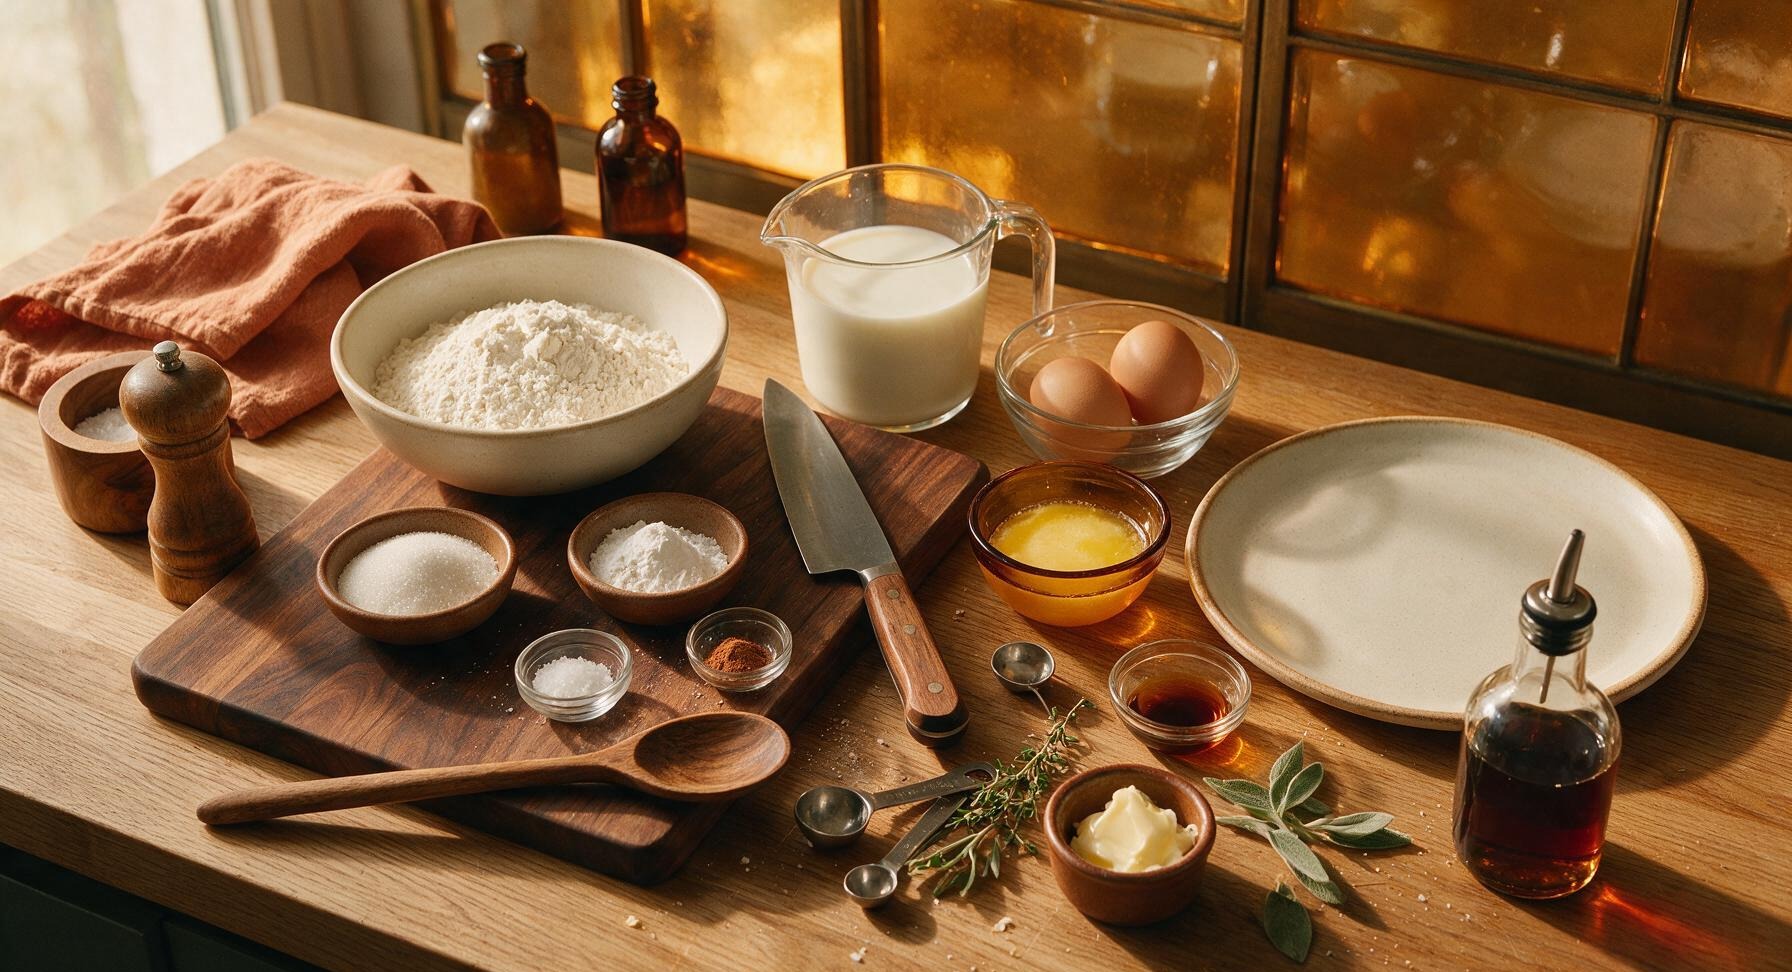
Steps
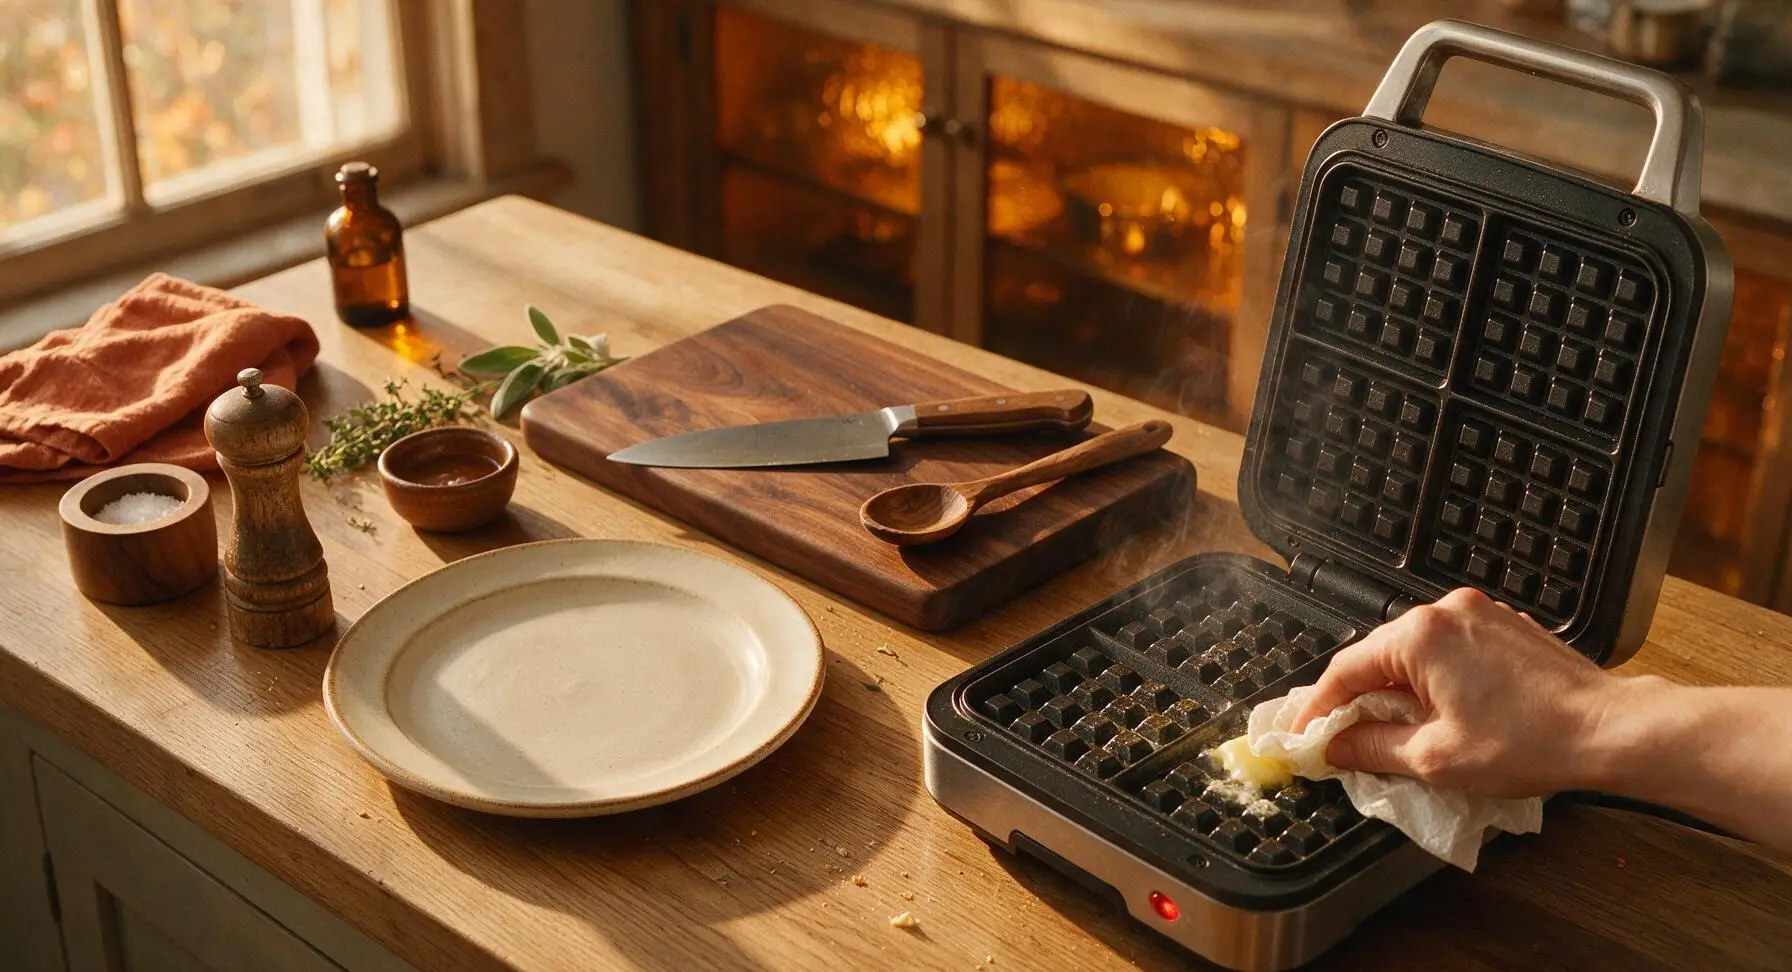
Preheat Waffle Iron
Plug in the matte stainless steel waffle iron and set it to medium-high heat (375°F / 190°C). Allow it to preheat fully for 5 minutes; the built-in ready indicator light will turn off when it reaches cooking temperature. Lightly coat the top and bottom grids with a thin layer of melted butter using a crumpled paper towel, wiping away any excess butter to prevent burning or smoking during cooking.
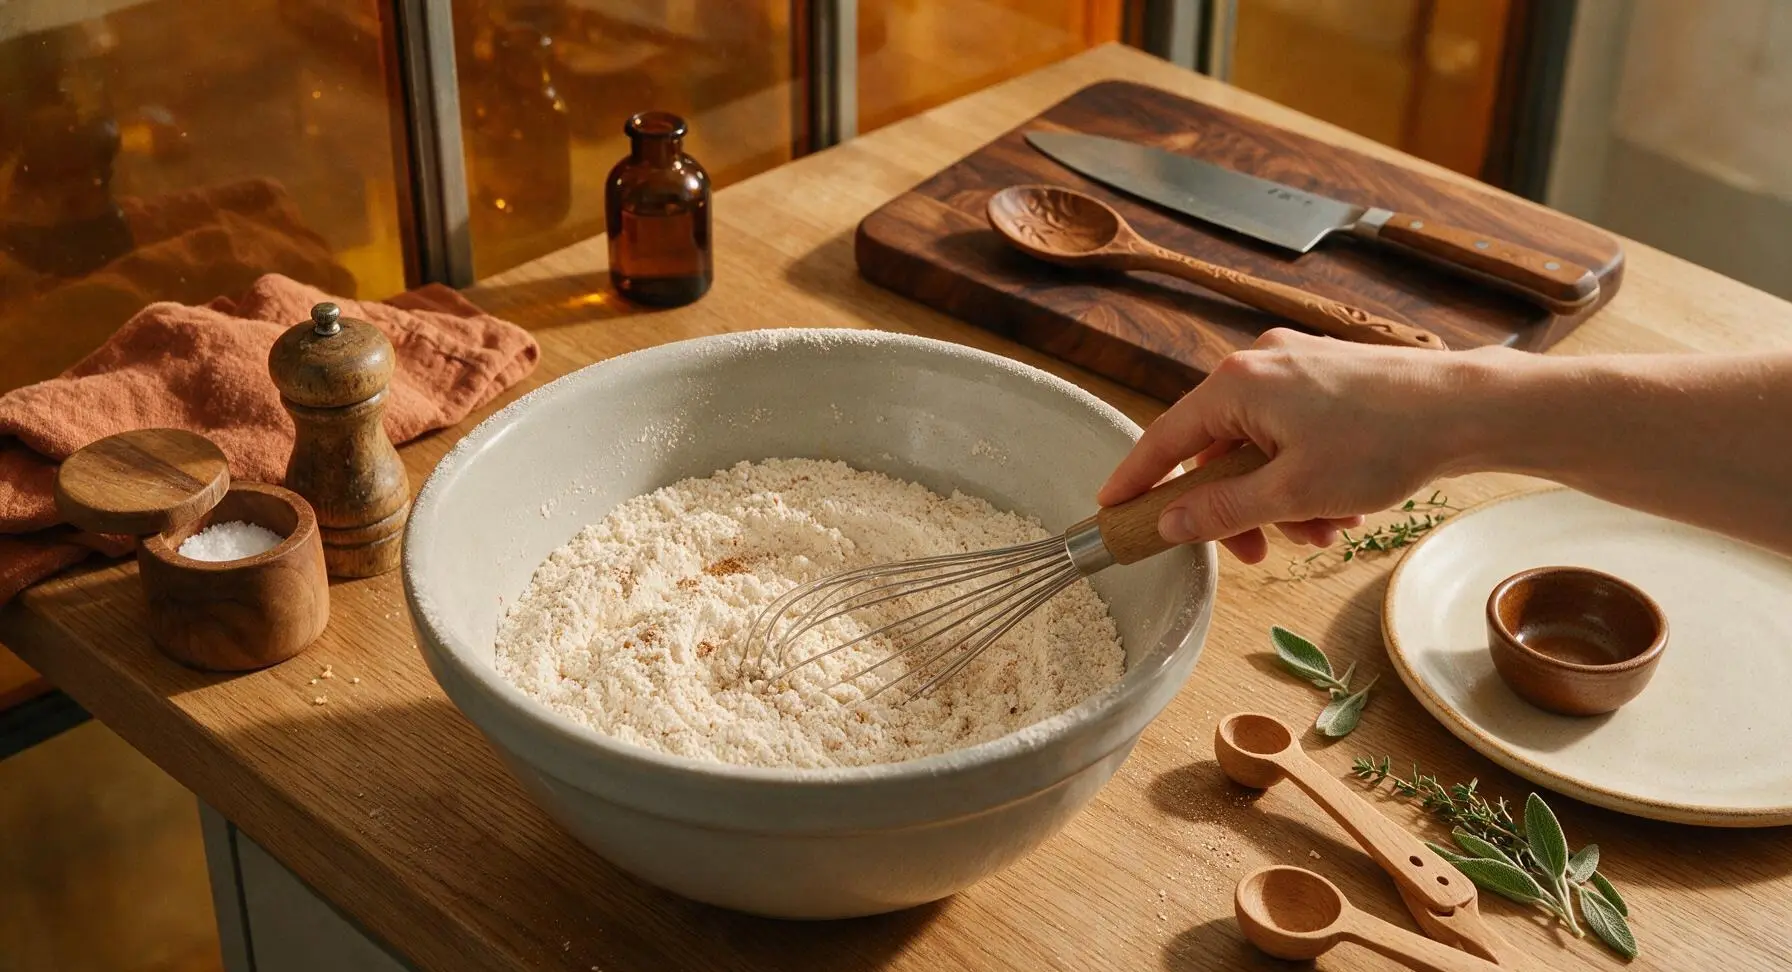
Combine Dry Ingredients
Pull the large light-grey ceramic mixing bowl from its stacked upper-left storage position to the center work area. Add the measured all-purpose flour, granulated sugar, baking powder, fine sea salt, and optional ground cinnamon to the bowl. Use the stainless steel wire whisk (with beech wood handle) to stir the dry ingredients for 30 seconds until fully combined, breaking up any small lumps of baking powder, until the mixture is a uniform pale off-white color with no darker spice streaks.
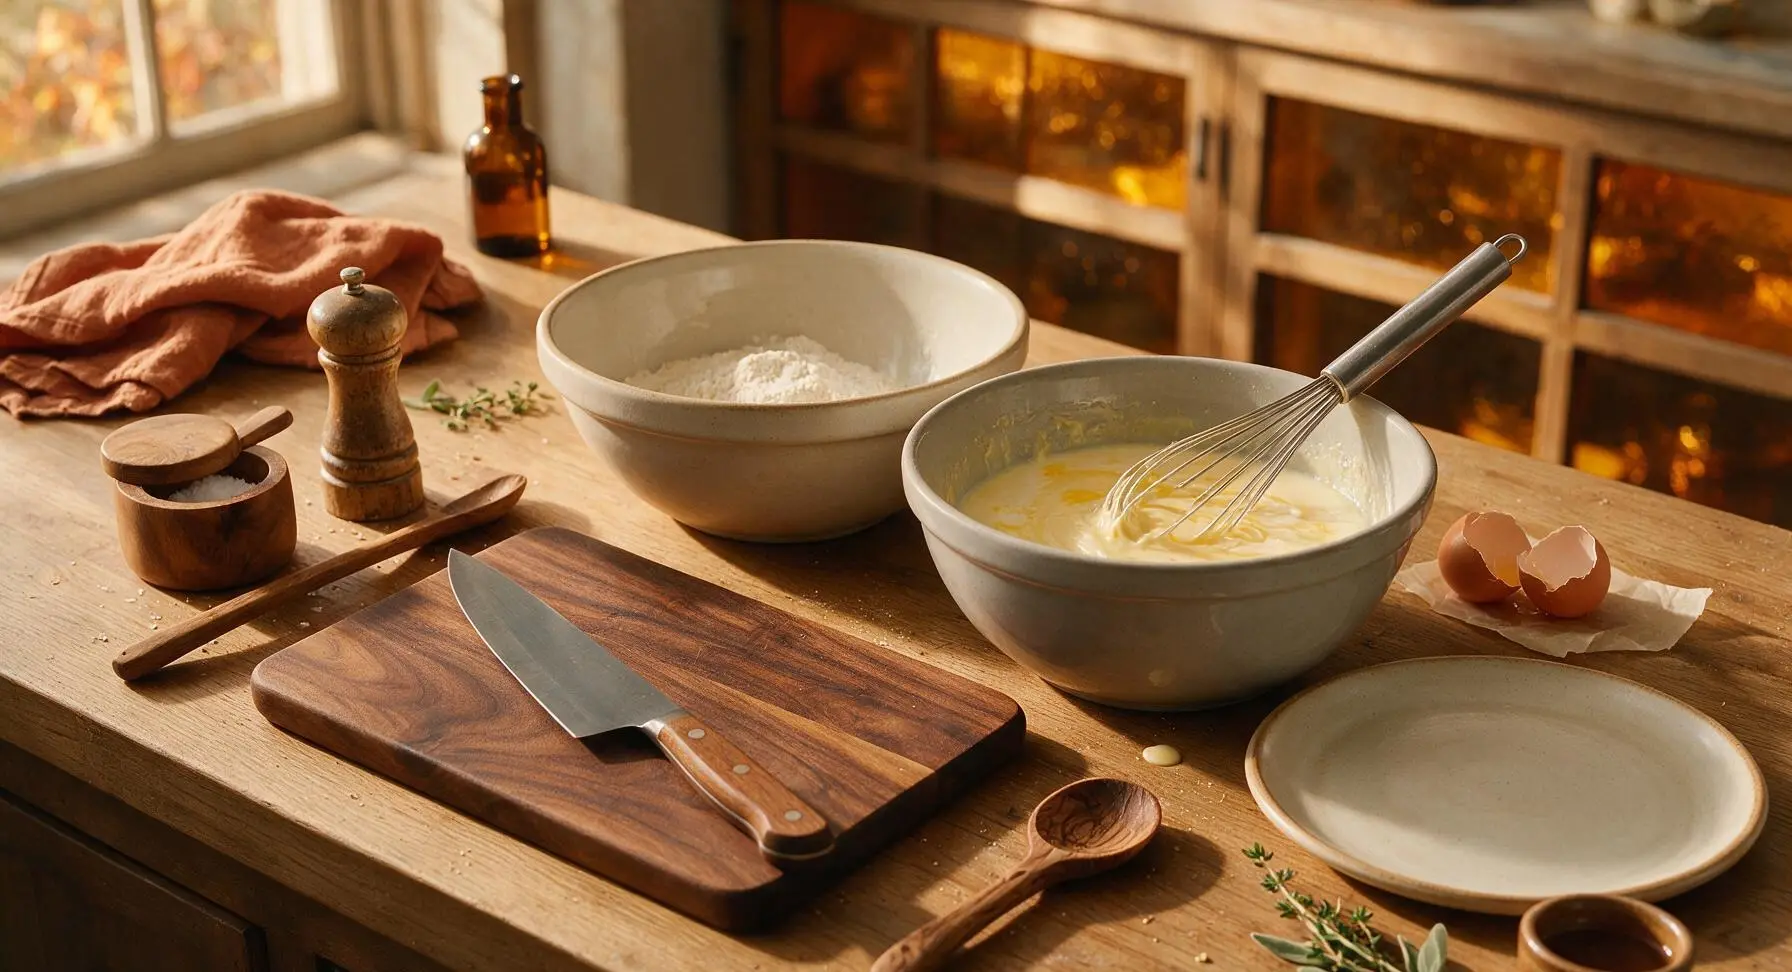
Whisk Wet Ingredients
Pull the medium light-grey ceramic mixing bowl from the stacked upper-left storage to the work area beside the dry ingredient bowl. Crack the two large eggs into the medium bowl, taking care not to drop any shell fragments into the mixture. Whisk lightly for 20 seconds until the yolks and whites are fully combined and a uniform pale yellow. Add the whole milk, slightly cooled melted butter, and pure vanilla extract, then whisk for another 30 seconds until the mixture is completely smooth, with no streaks of separated egg visible on the surface.
Fold Batter Gently
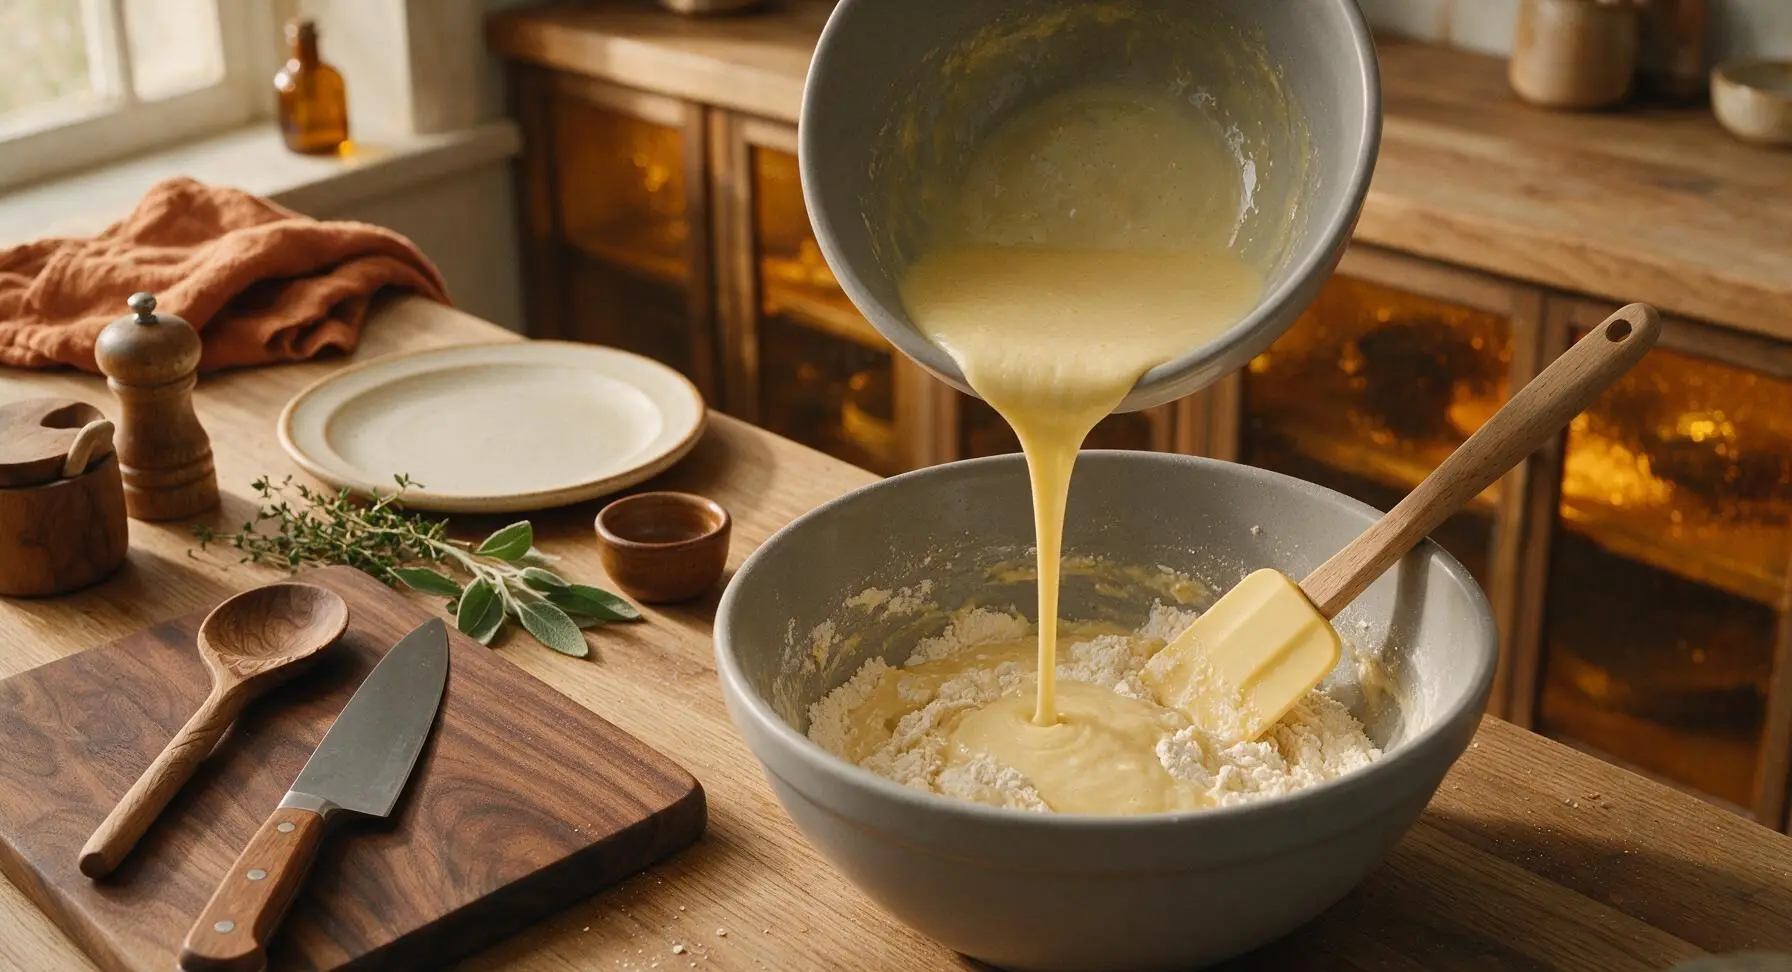
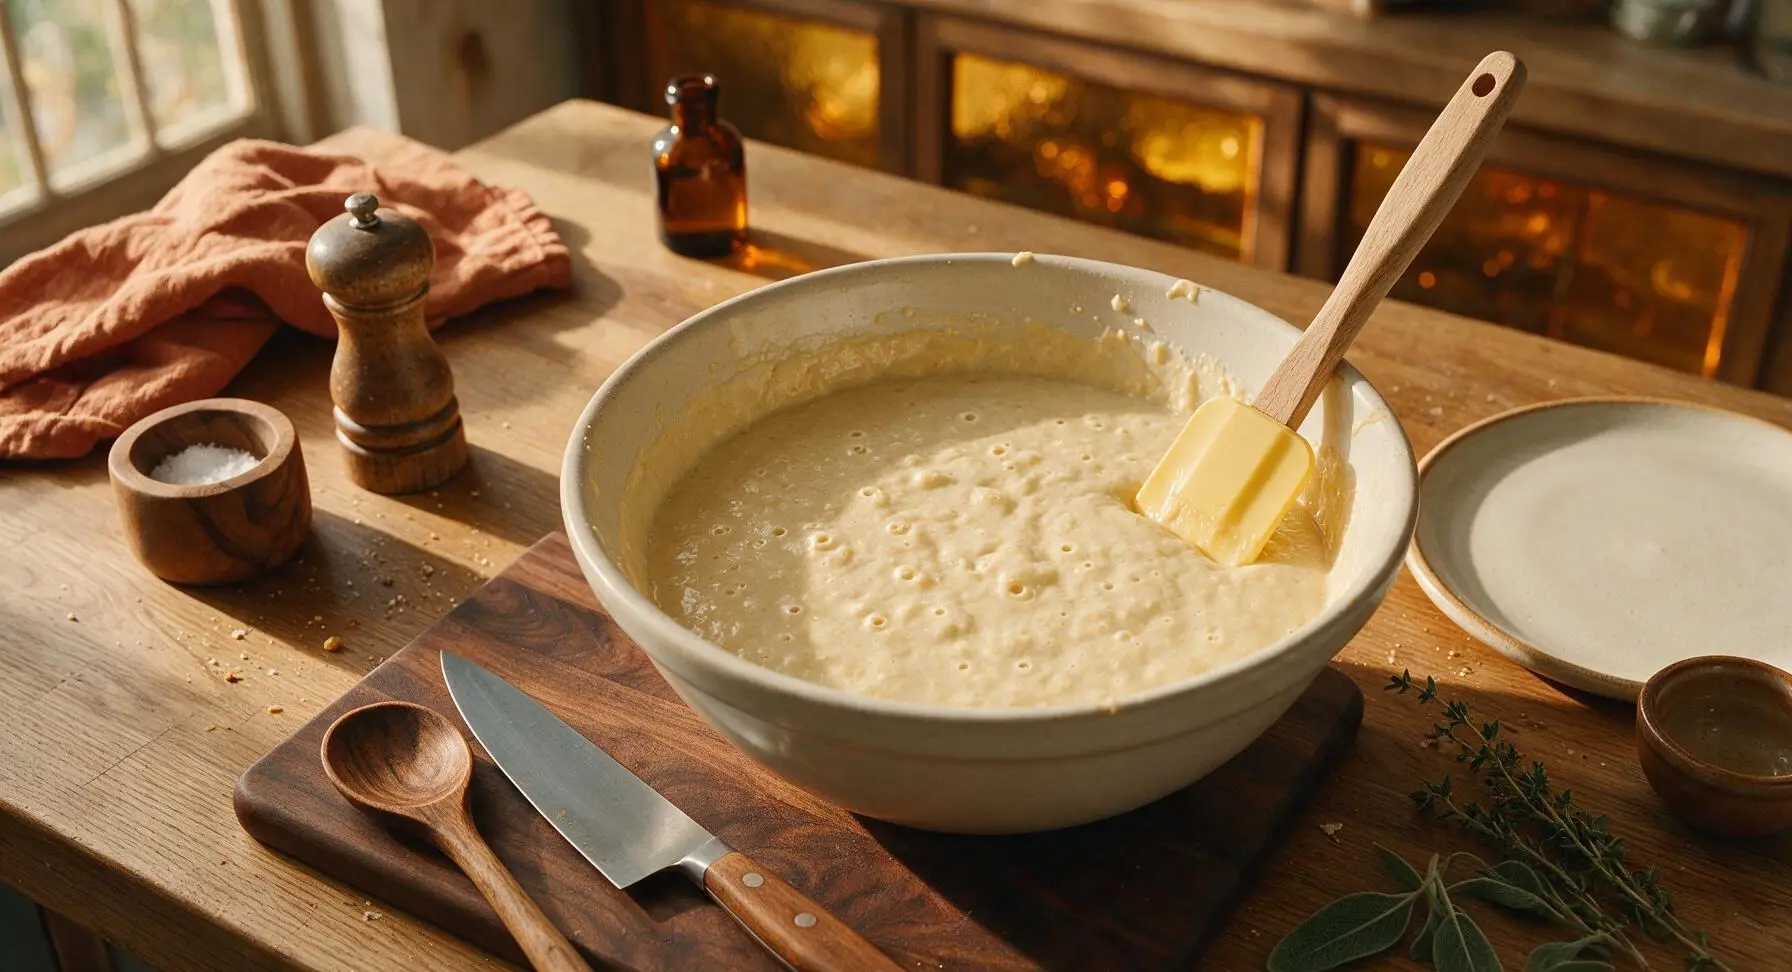
Pour the entire wet ingredient mixture into the large bowl with the dry ingredients. Use the pale butter-yellow silicone spatula (with beech wood handle) to fold the ingredients together, scraping the bottom and sides of the bowl to incorporate hidden pockets of dry flour. Stop mixing as soon as no large dry flour patches remain; the batter will be thick and slightly lumpy, and overmixing (which develops gluten) will result in tough, dense waffles. Let the batter rest for 5 minutes at room temperature to allow the baking powder to activate; you will see small bubbles start to pop across the batter surface when it is ready.
Cook Waffle Batter
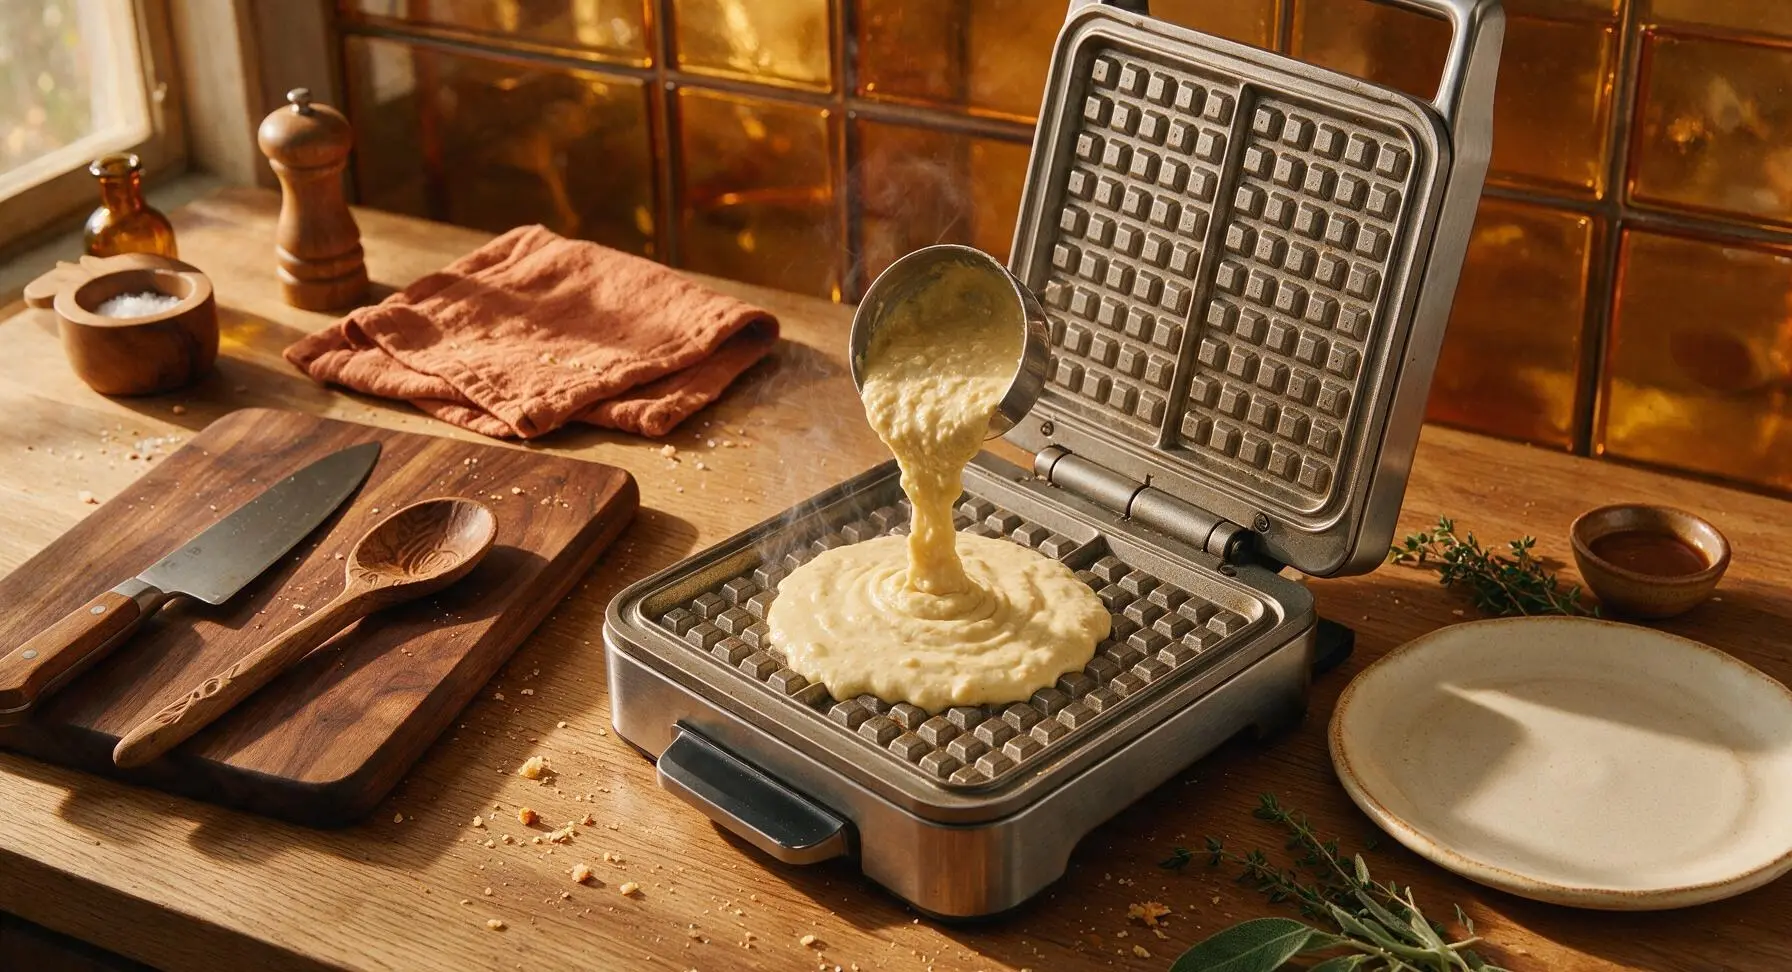
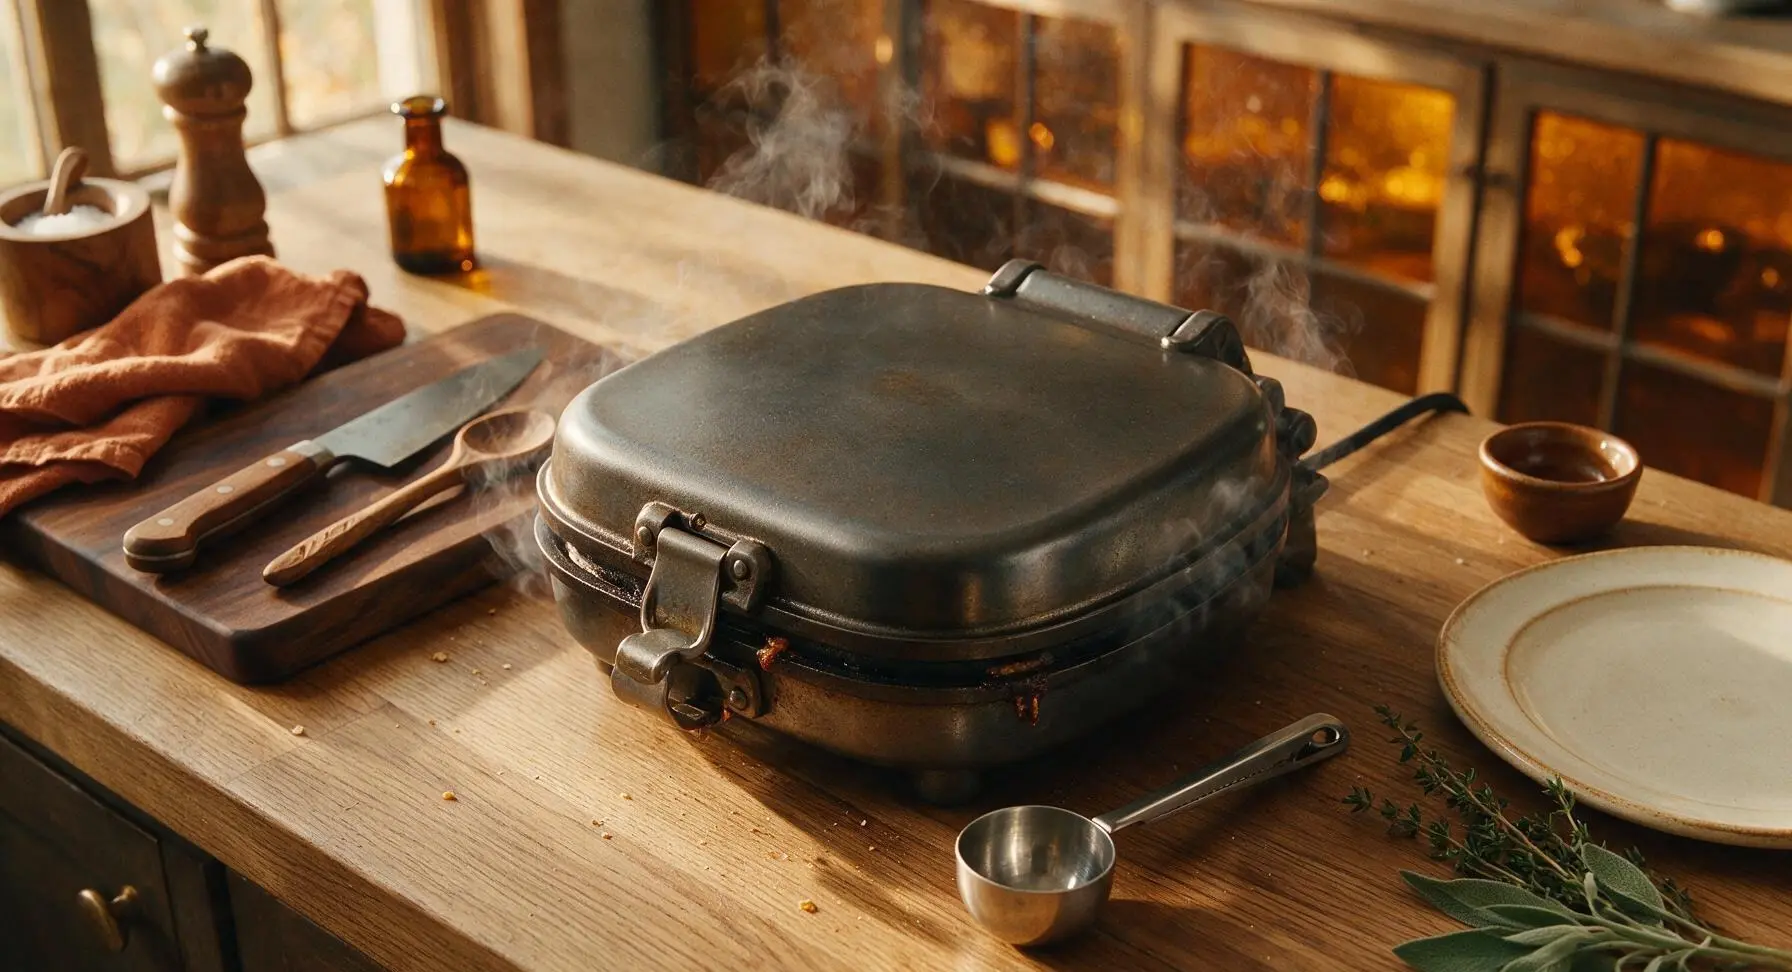
Once the waffle iron is fully preheated and the batter has rested, use the 120ml (1/2 cup) stainless steel measuring scoop to pour batter directly onto the center of the lower waffle grid. Do not spread the batter or overfill the grid: the batter will spread evenly as the lid closes, and excess will leak out the iron edges and burn. Close the waffle iron lid immediately and secure the latch. Cook for 3 to 4 minutes, until no more visible steam escapes from the gaps between the iron lid and base. Do not open the lid before the 3-minute mark, as this will cause the partially set waffle to tear and stick.
Remove Golden Waffle
Open the waffle iron lid carefully once steam stops escaping. Use the silicone spatula to gently lift the edge of the waffle, checking that it is evenly deep golden brown and crisp across the entire surface, with no pale, soft undercooked spots near the grid edges. Transfer the cooked waffle to the cream white ceramic dinner plate, and repeat the cooking process with the remaining batter. Stack cooked waffles loosely on the plate; do not cover them with a towel or wrap tightly in foil, as trapped steam will soften the crisp exterior.
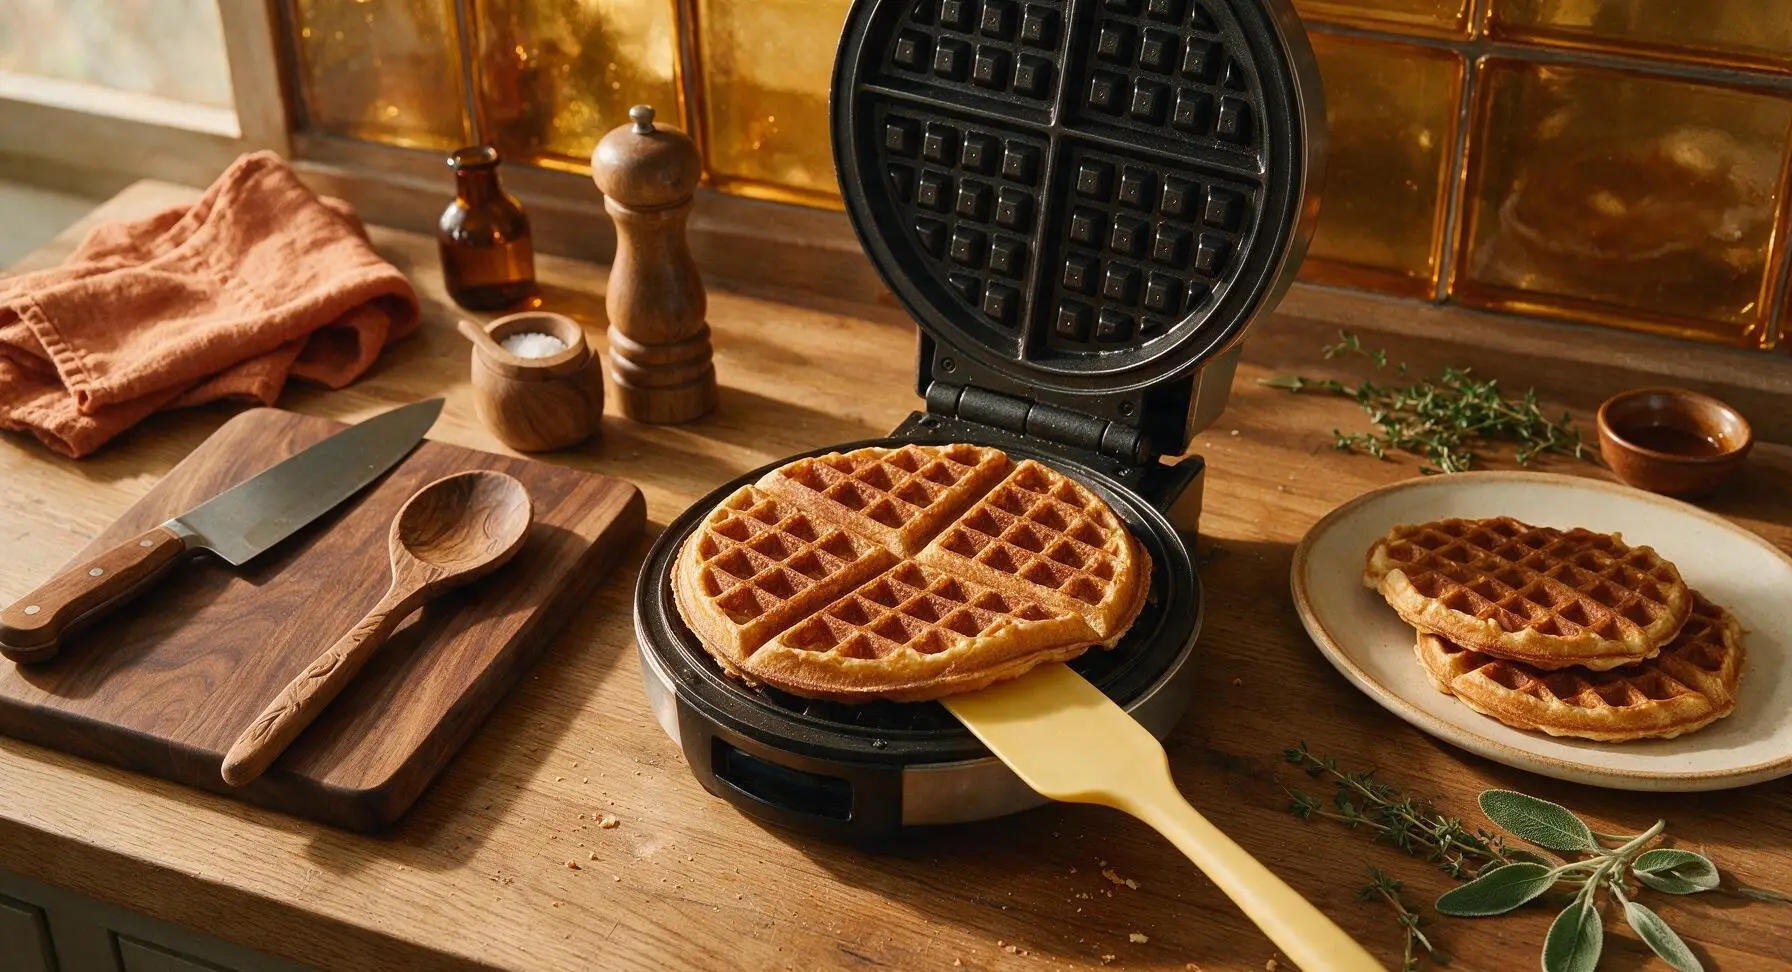
Plate and Serve
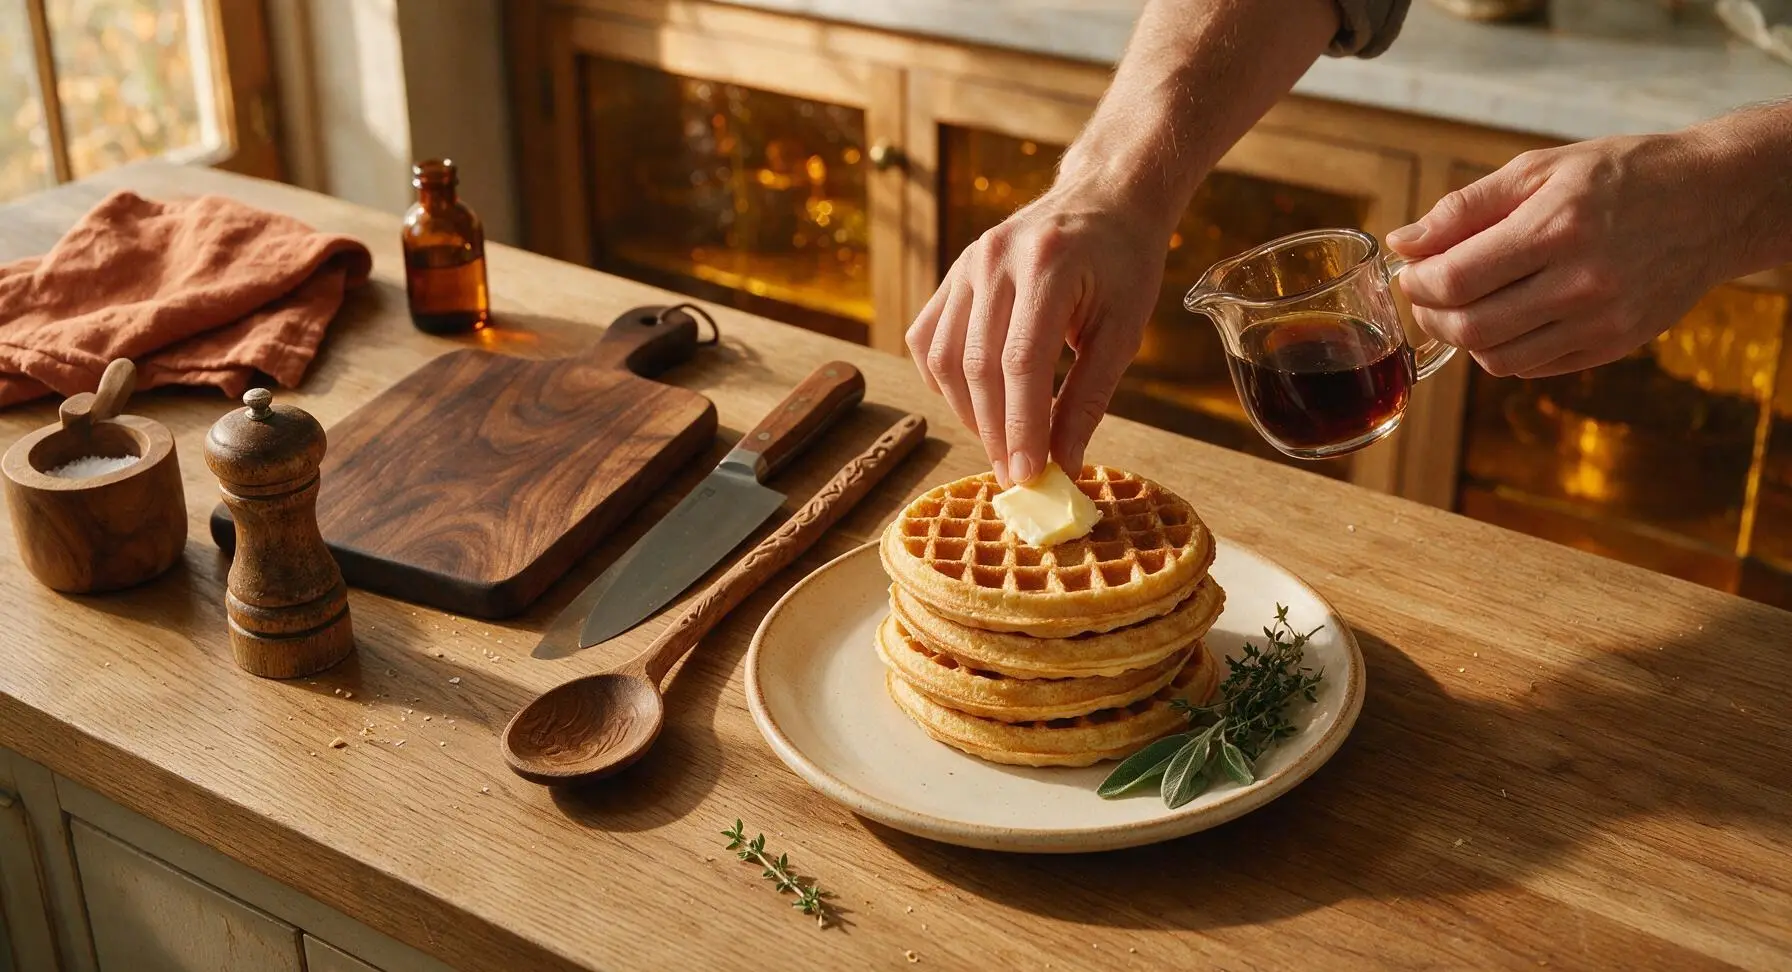
Once all waffles are cooked (about 8 total waffles, 2 per serving), arrange them in a neat four-waffle stack on the cream white ceramic dinner plate. Top the stack with 2 tablespoons of softened unsalted butter, allowing it to melt slightly into the warm waffle grids, then drizzle 120ml of warm pure maple syrup over the top so it runs slowly down the waffle sides. Tuck a single small sprig of fresh thyme from the countertop potted plant at the edge of the stack for a subtle earthy garnish, if desired. Serve immediately while the waffles are hot and crisp.
Tips
2.Keep cooked waffles crisp while making batches by placing them on a wire rack set over a baking sheet in a 200°F (95°C) oven, rather than stacking them directly on a plate. Air circulation around the waffles prevents trapped steam from softening their crisp outer crust.
3.Wait until steam stops escaping from the waffle iron before opening the lid: escaping steam means the waffle is still cooking and setting, and opening the lid too early will cause the soft, partially cooked waffle to tear and stick to the grids.






OMG these are PERFECT!!! I’ve been chasing that crisp outside, fluffy inside waffle texture for YEARS and every other recipe either comes out soggy or dense as a brick. Made these for Sunday brunch with my in-laws and everyone went back for seconds. Even my super picky 7 year old asked for thirds! Only swap I did was add a splash of vanilla extract because I can’t help myself. 10/10 will be my go-to waffle recipe from now on.
Super easy recipe, turned out way better than the boxed mix I usually grab for quick weekday breakfasts! My only note is that my first waffle came out a little paler and softer than I wanted — turned out I just needed to let my waffle iron preheat a couple minutes longer than I thought. The rest were perfectly crisp and fluffy, total game changer for busy school mornings. My kids loved it so much they asked for waffles for dinner too lol.
Made these for a post-hike brunch with my trail crew last weekend and they were a massive hit! I prepped the dry mix ahead of time in a mason jar so I could just whisk in the wet ingredients when we got back to the cabin — zero fuss, and the 15 minute cook time was totally accurate. Served them with fresh berries and maple syrup, and there wasn’t a single crumb left. SO good, will absolutely be making these for every group trip from now on.
I was skeptical waffles could reheat well but these are incredible for meal prep! I made a big batch on Sunday, popped them in the toaster during the week, and they got just as crisp as when I first made them. Saved me so much time on my morning commute, and they taste way better than the frozen ones from the grocery store. Absolute game changer.
Brought these to my neighborhood potluck last weekend and people were literally asking me for the recipe before they even finished their first bite! I set up a little waffle bar with whipped cream, chocolate chips, caramel sauce, and sliced bananas, and these waffles held up perfectly even when I kept them warm in the oven for 20 minutes while people arrived. No sogginess at all, which is usually my biggest waffle pet peeve. Can’t recommend enough!