
Tuna Brown Rice Casserole
intro
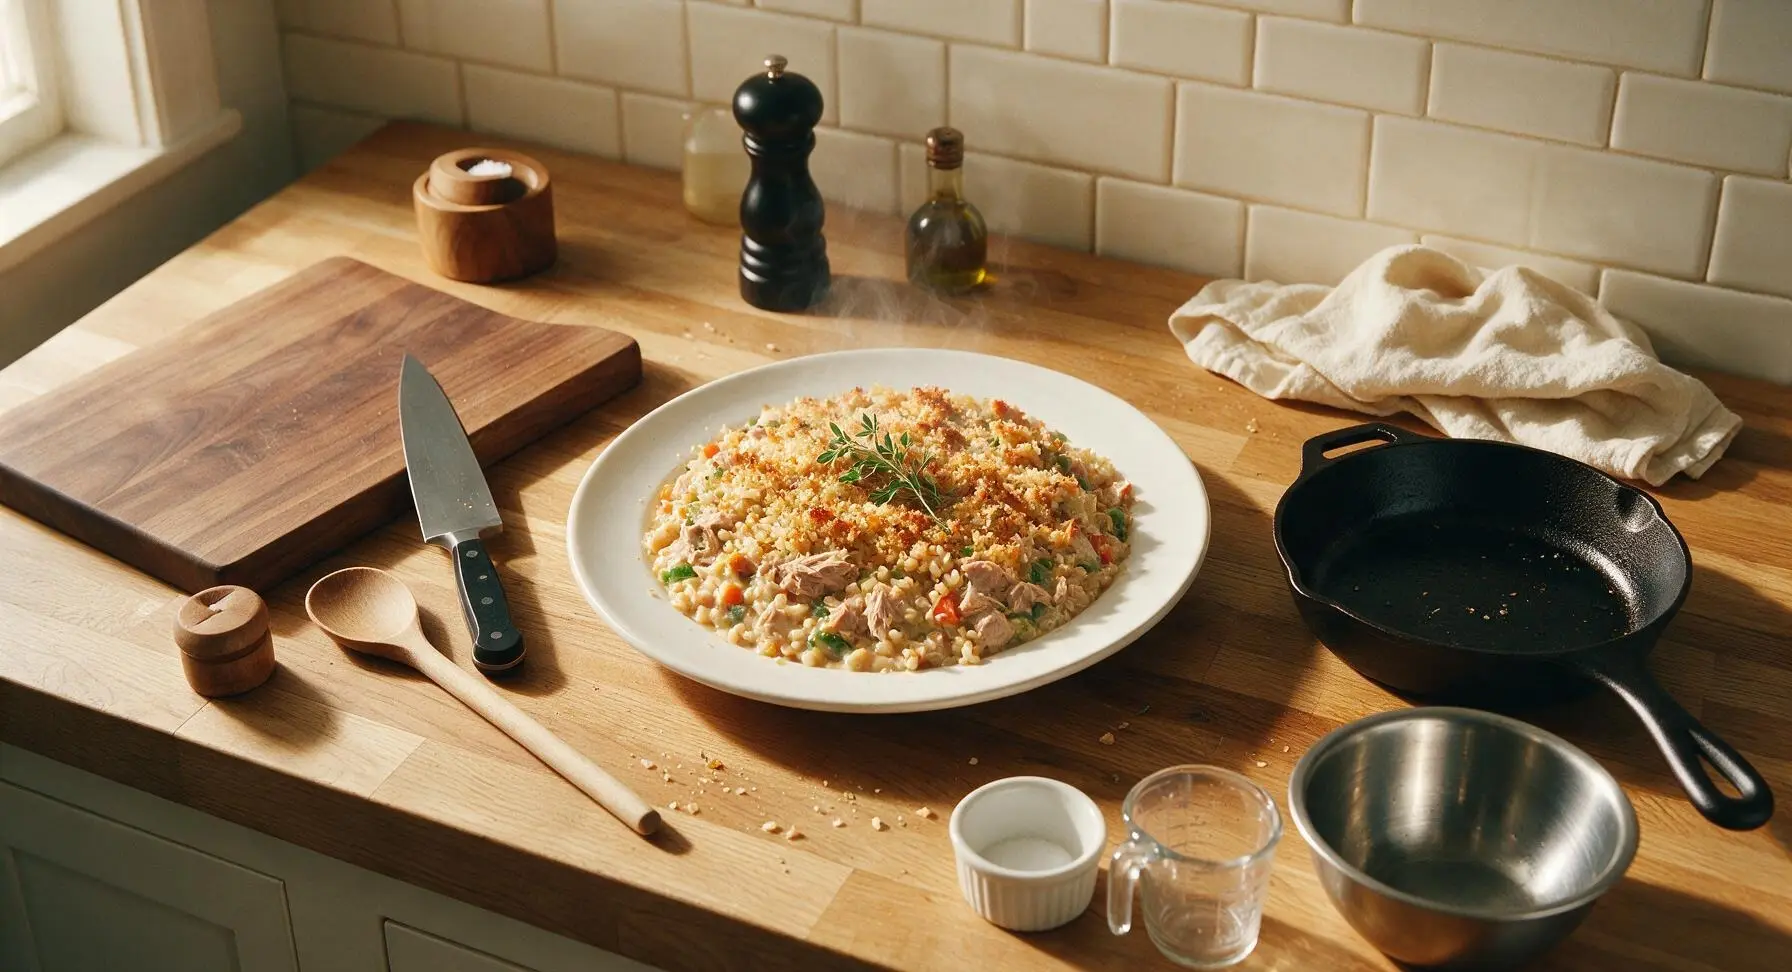
Creamy, pantry-friendly baked casserole loaded with flaky tuna, nutty brown rice, crisp veggies, and a crispy breadcrumb top—cozy, balanced weeknight comfort.
Ingredients
Steps
Preheat Oven, Prep Veggies
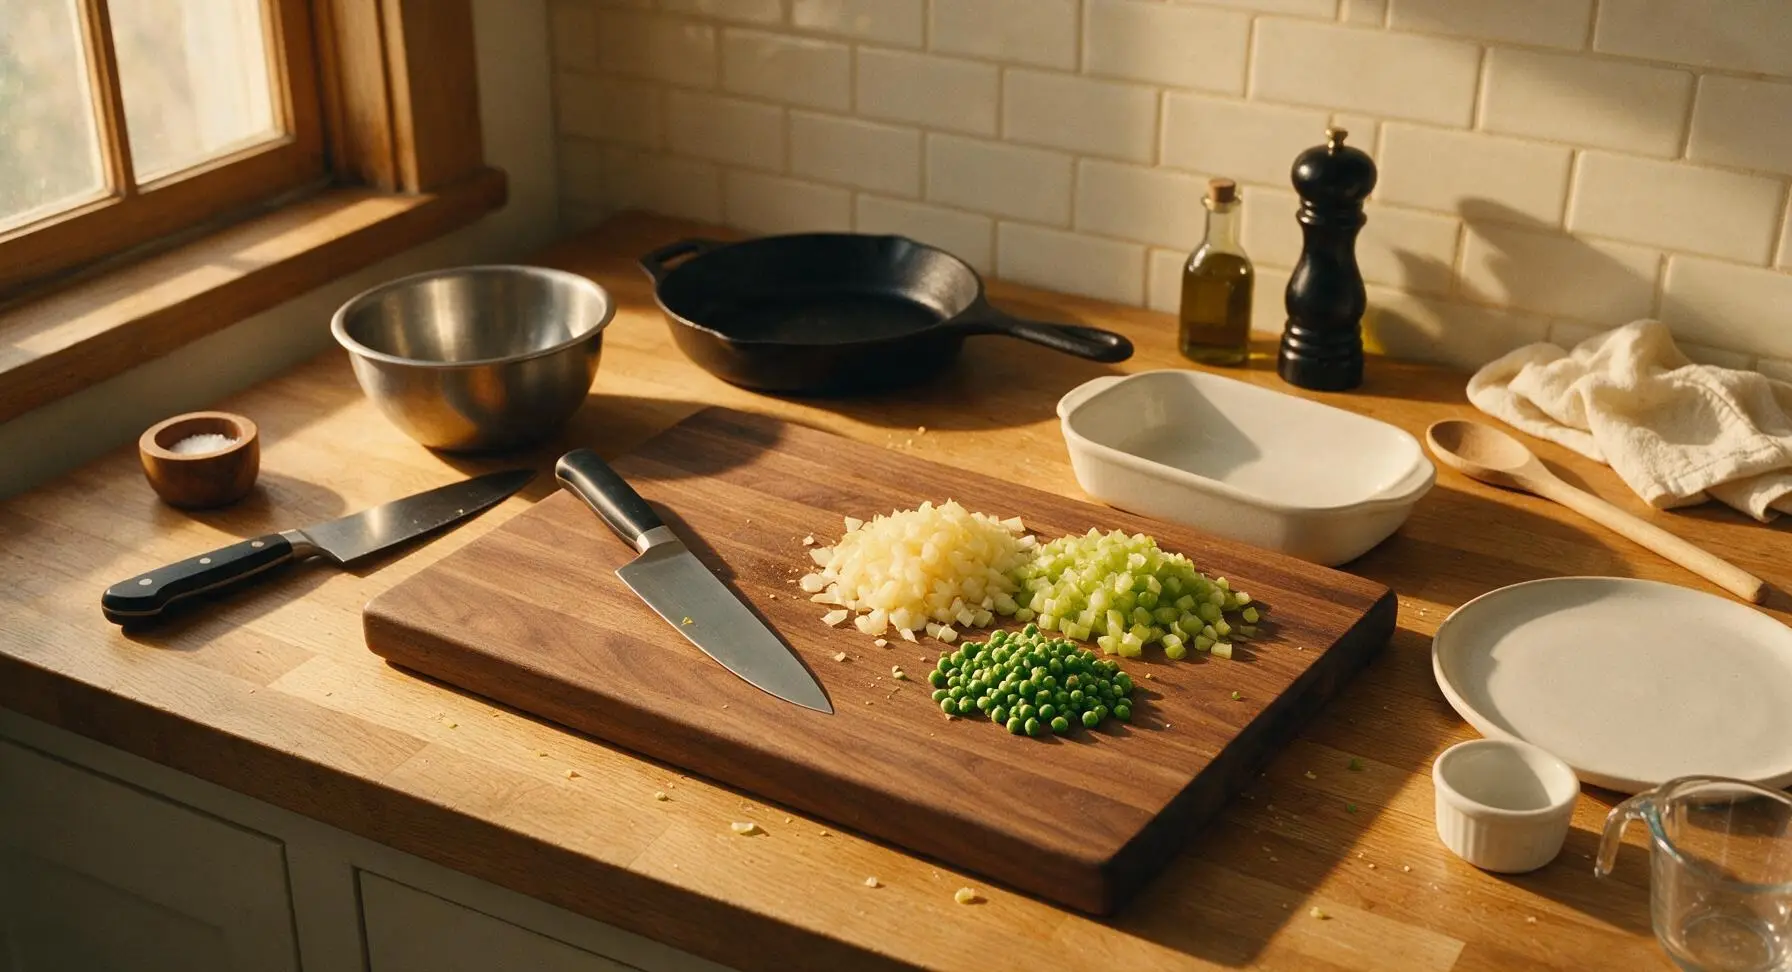
Adjust oven rack to the middle position and preheat oven to 375°F (190°C). Place the large bamboo cutting board on the central counter work zone. Using the 7-inch santoku knife, finely dice 1 small yellow onion and 2 celery stalks into uniform ¼-inch pieces, and set them in a small pile on the edge of the cutting board. Measure ½ cup frozen peas and set them next to the diced veggies to thaw slightly at room temperature. Brush any stray vegetable bits from the cutting board edge to keep the workspace tidy.
Toast Panko Topping
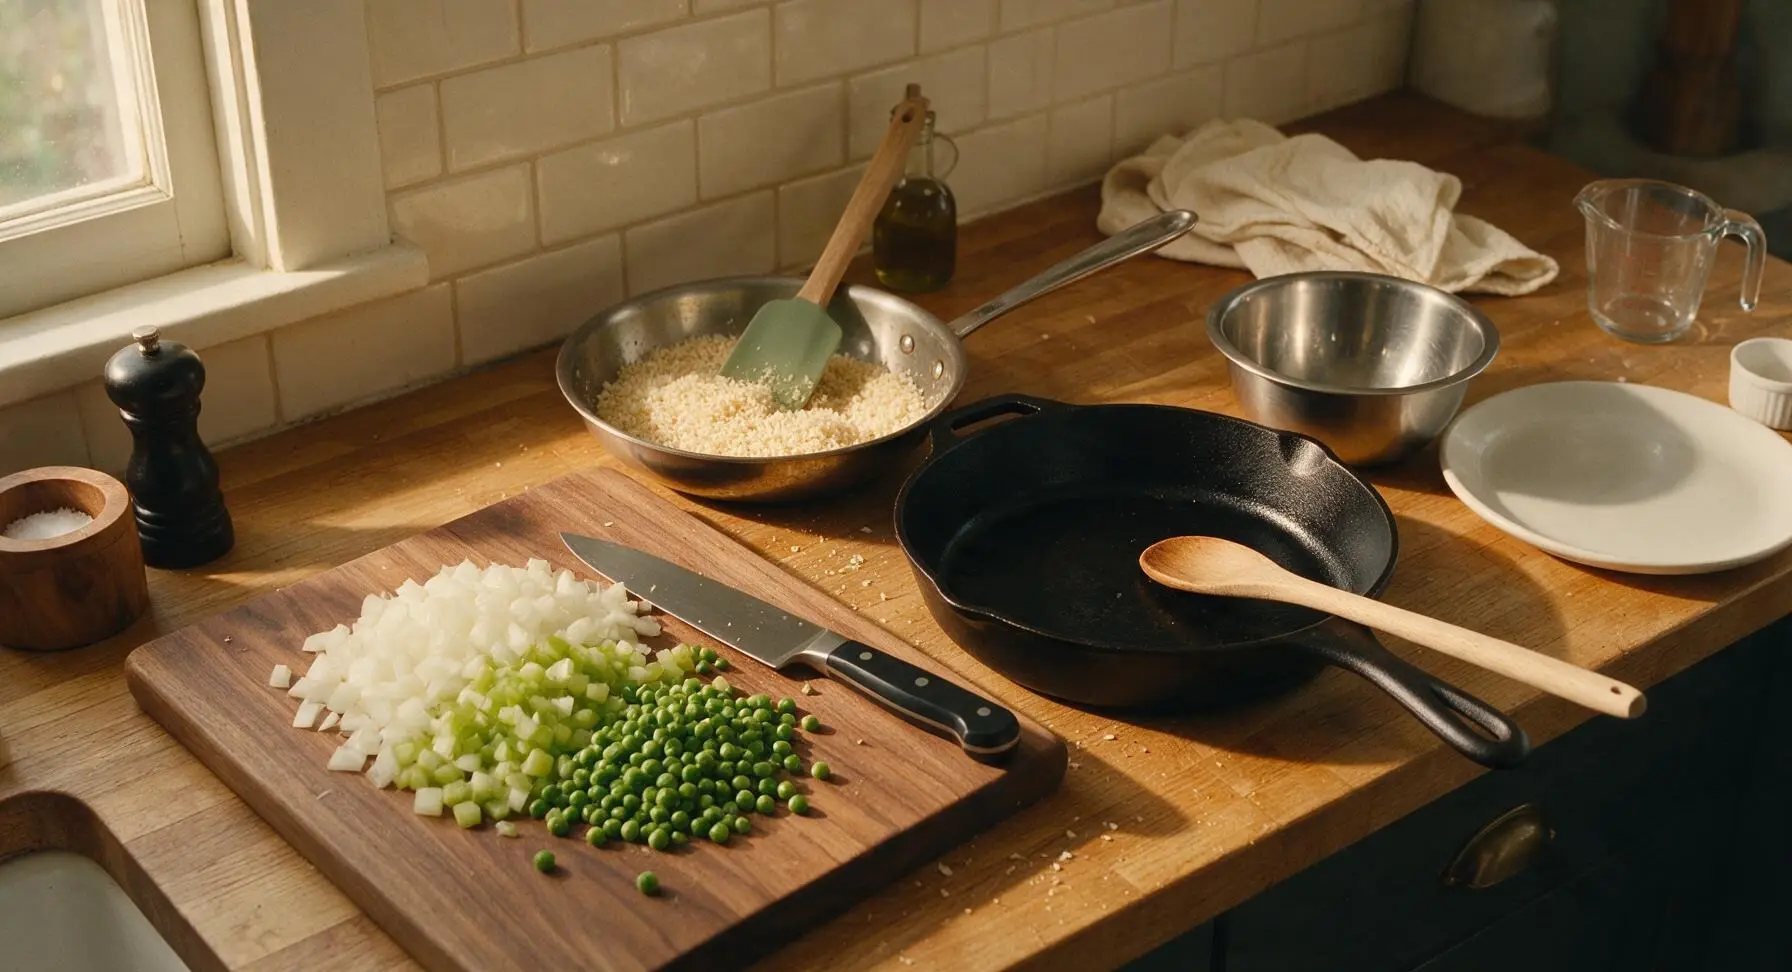
Place the small stainless steel skillet over medium-low heat. Add 1 tsp extra-virgin olive oil, then pour in ¼ cup panko breadcrumbs. Toast for 2-3 minutes, stirring constantly with the sage green silicone spatula, until the panko turns an even light golden brown and releases a nutty, toasty aroma. Immediately remove the skillet from heat to prevent burning, transfer the toasted panko to one of the small clear glass ramekins, stir in 2 tbsp grated parmesan cheese, and set aside.
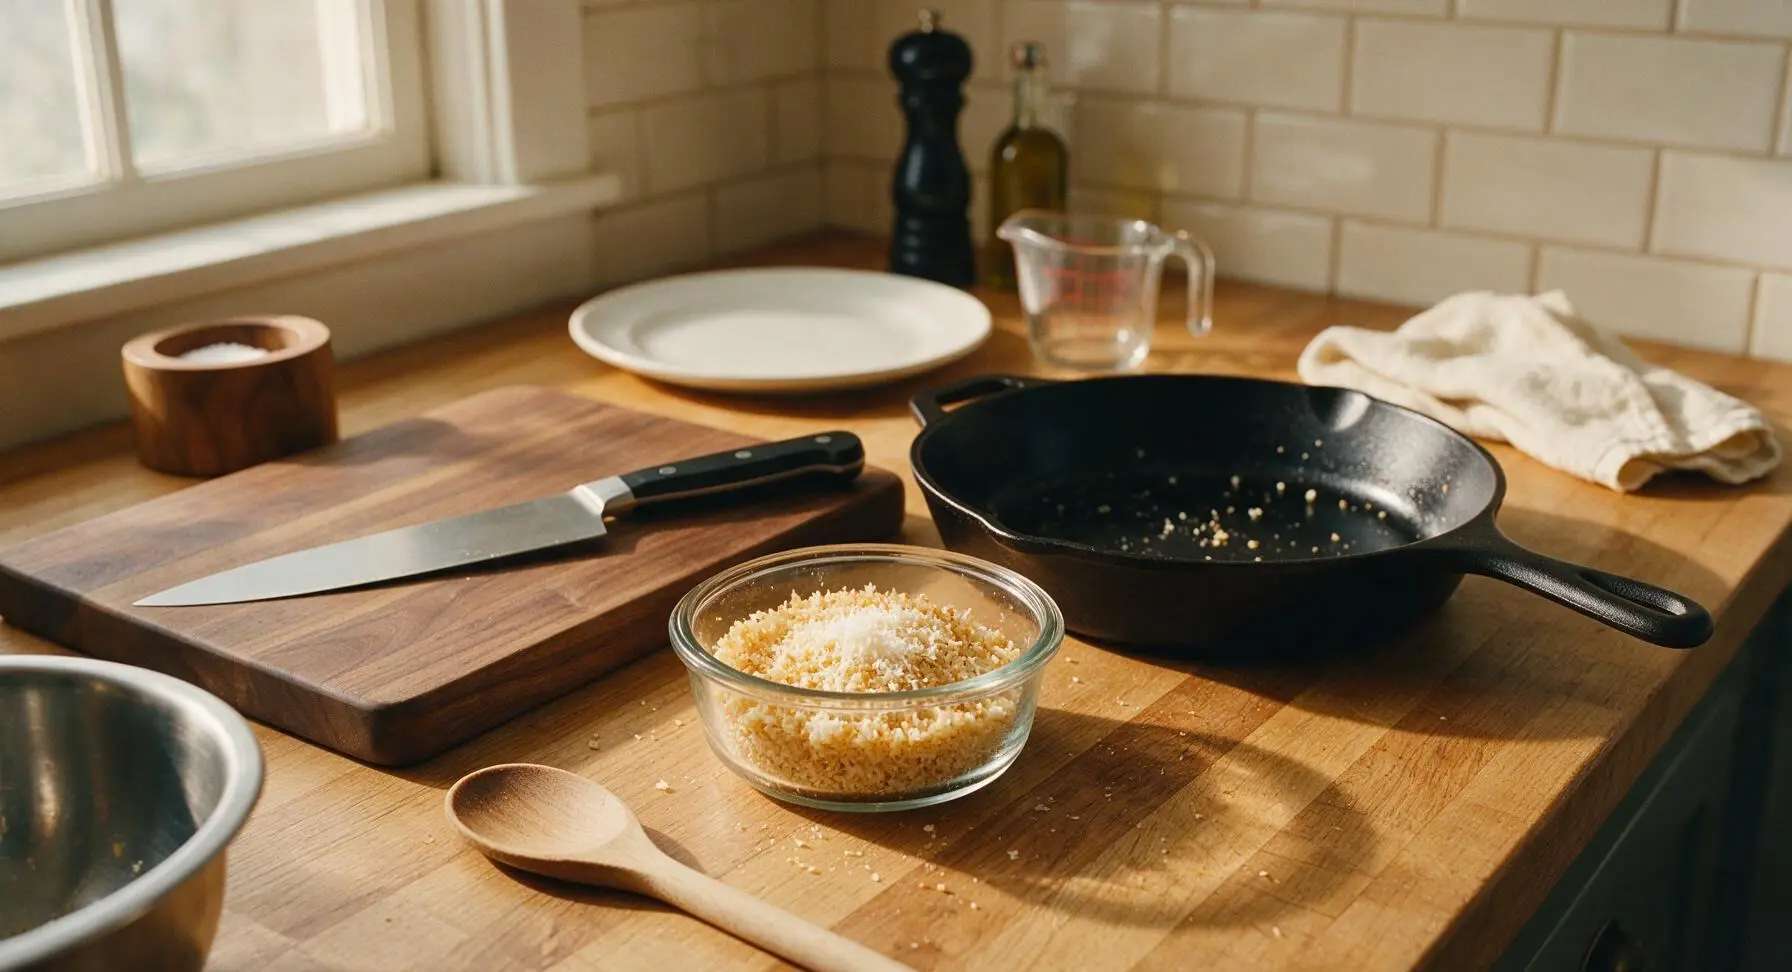
Mix Casserole Filling
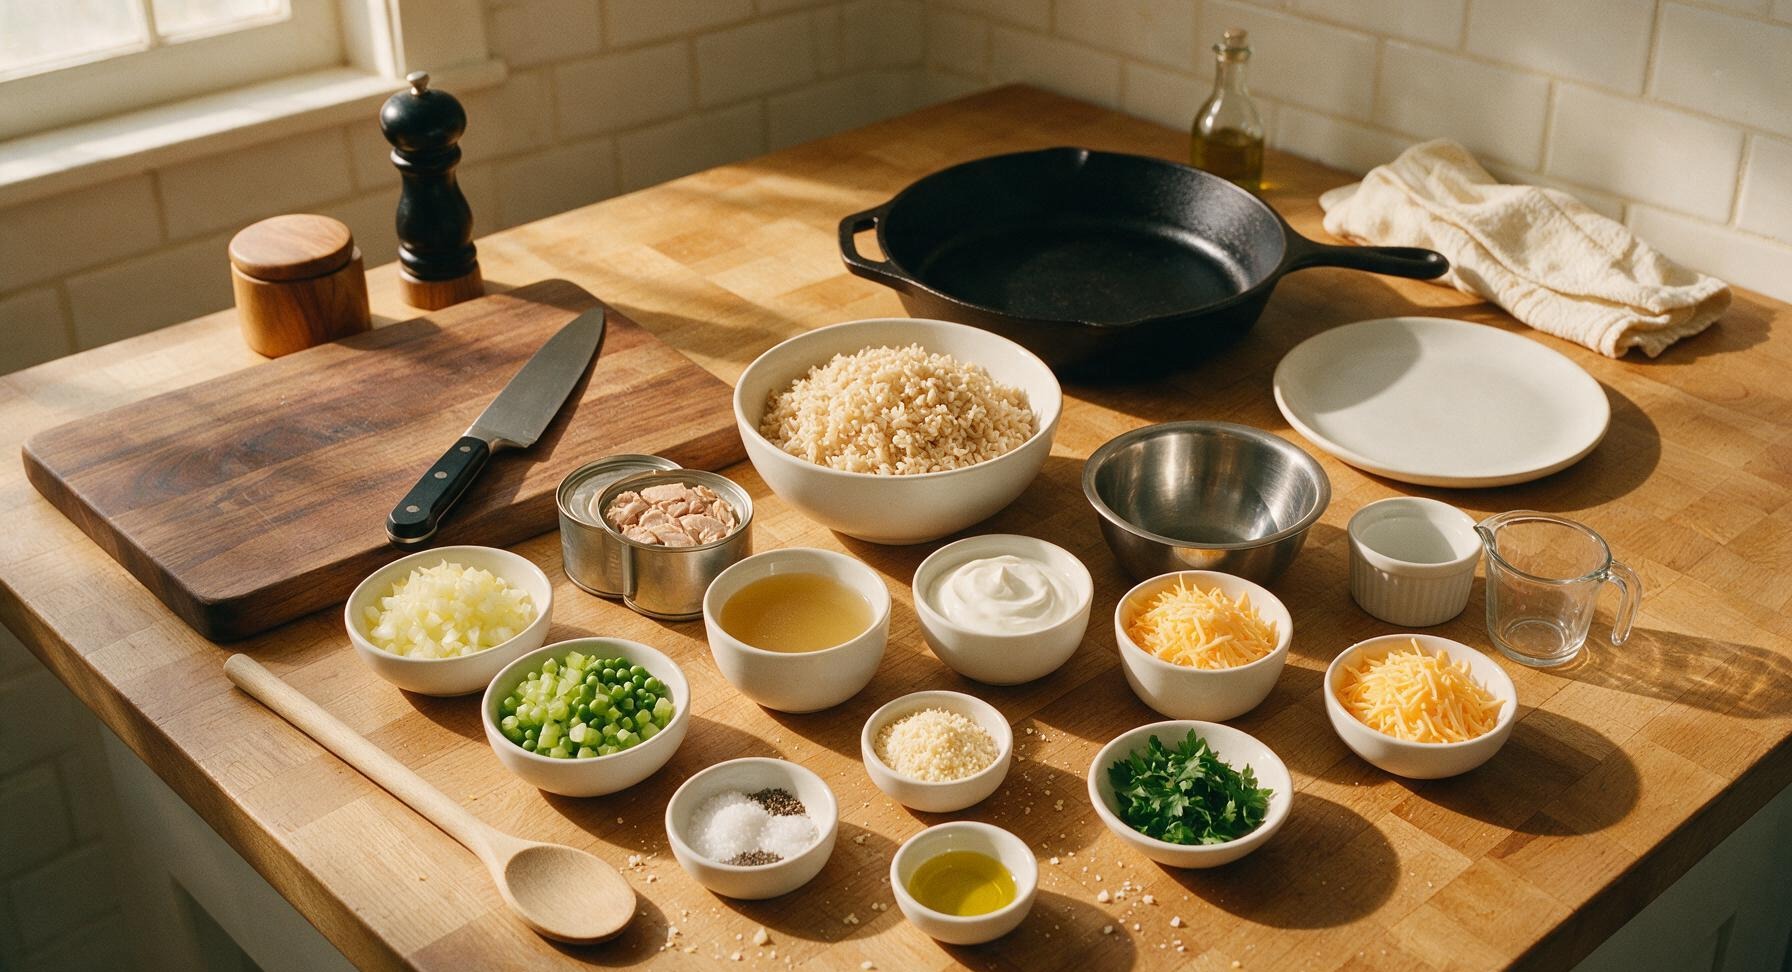
In the medium brushed stainless steel mixing bowl, combine the 3 cups cooked brown rice, drained flaked tuna, diced onion, diced celery, thawed peas, ½ cup low-sodium chicken broth, ½ cup plain Greek yogurt, ¼ cup of the shredded sharp cheddar, 1 tsp garlic powder, ½ tsp kosher salt, and ¼ tsp black pepper. Stir thoroughly with the silicone spatula until all ingredients are evenly coated in the light creamy sauce, with no dry clumps of rice or large clumps of flaked tuna remaining.
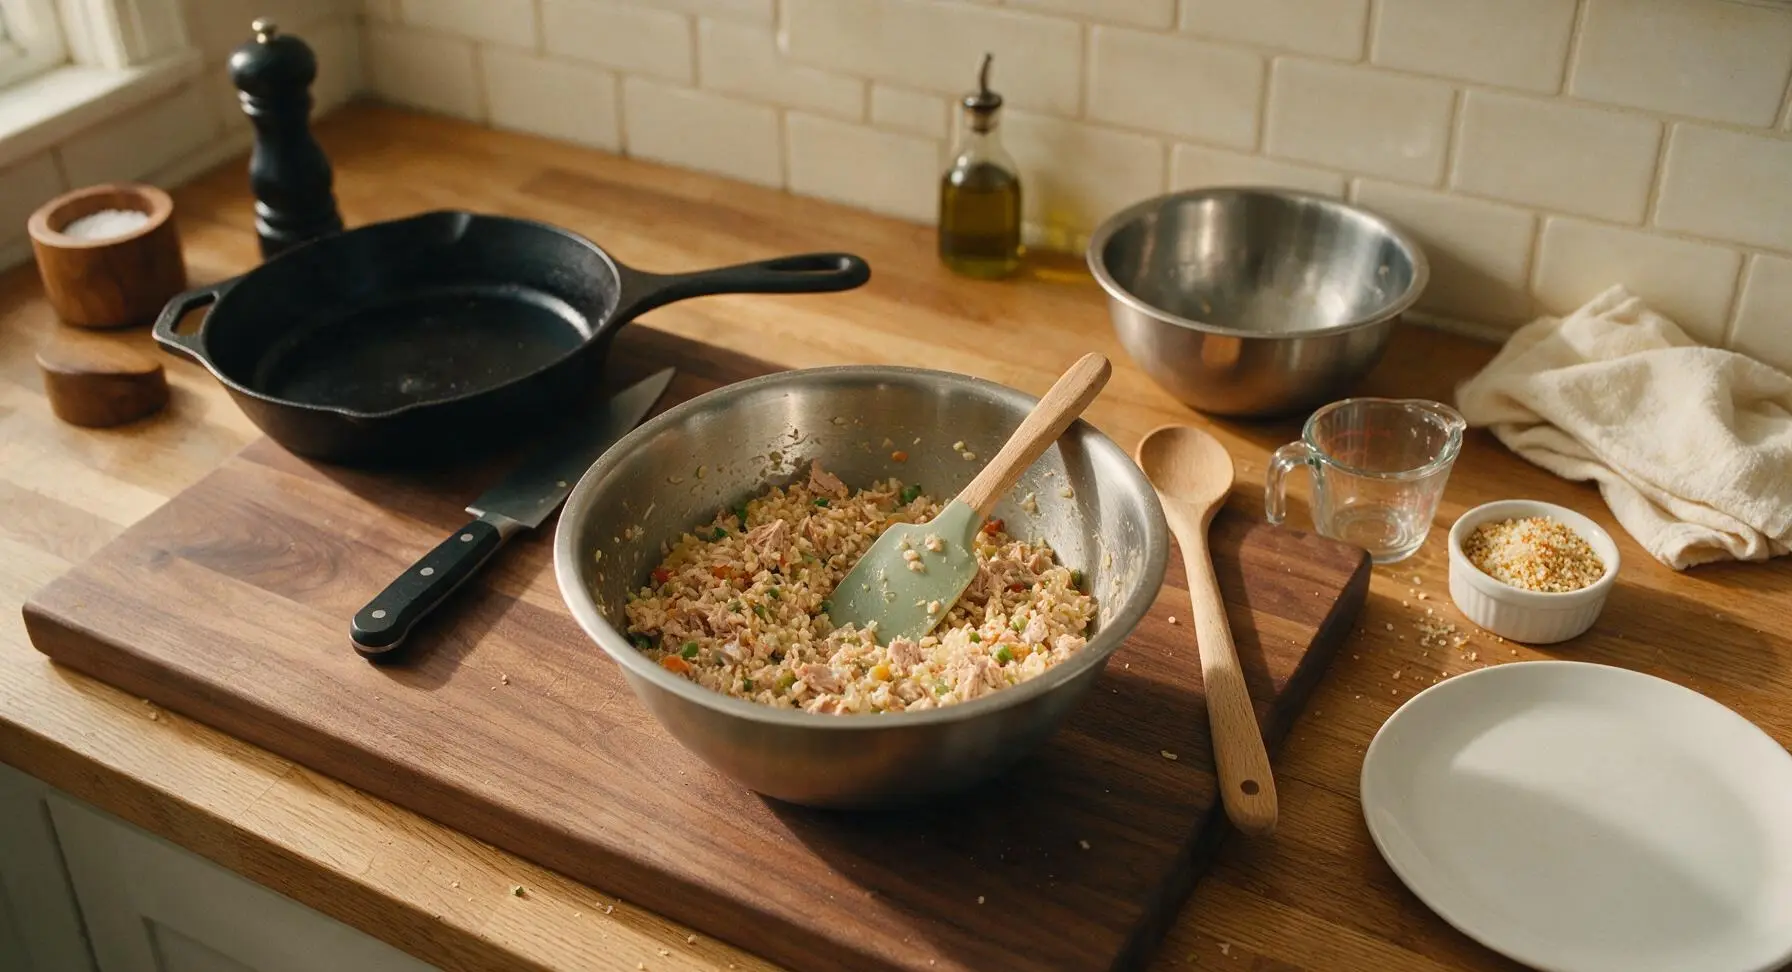
Fill Baking Dish Evenly
Lightly coat the interior of the 2-quart matte white ceramic baking dish with a thin swipe of olive oil, using a corner of the folded cream linen towel to spread it evenly. Scrape all of the filling mixture from the mixing bowl into the baking dish, using the silicone spatula to spread it into a smooth, flat, even layer across the dish, pressing gently to eliminate trapped air pockets.
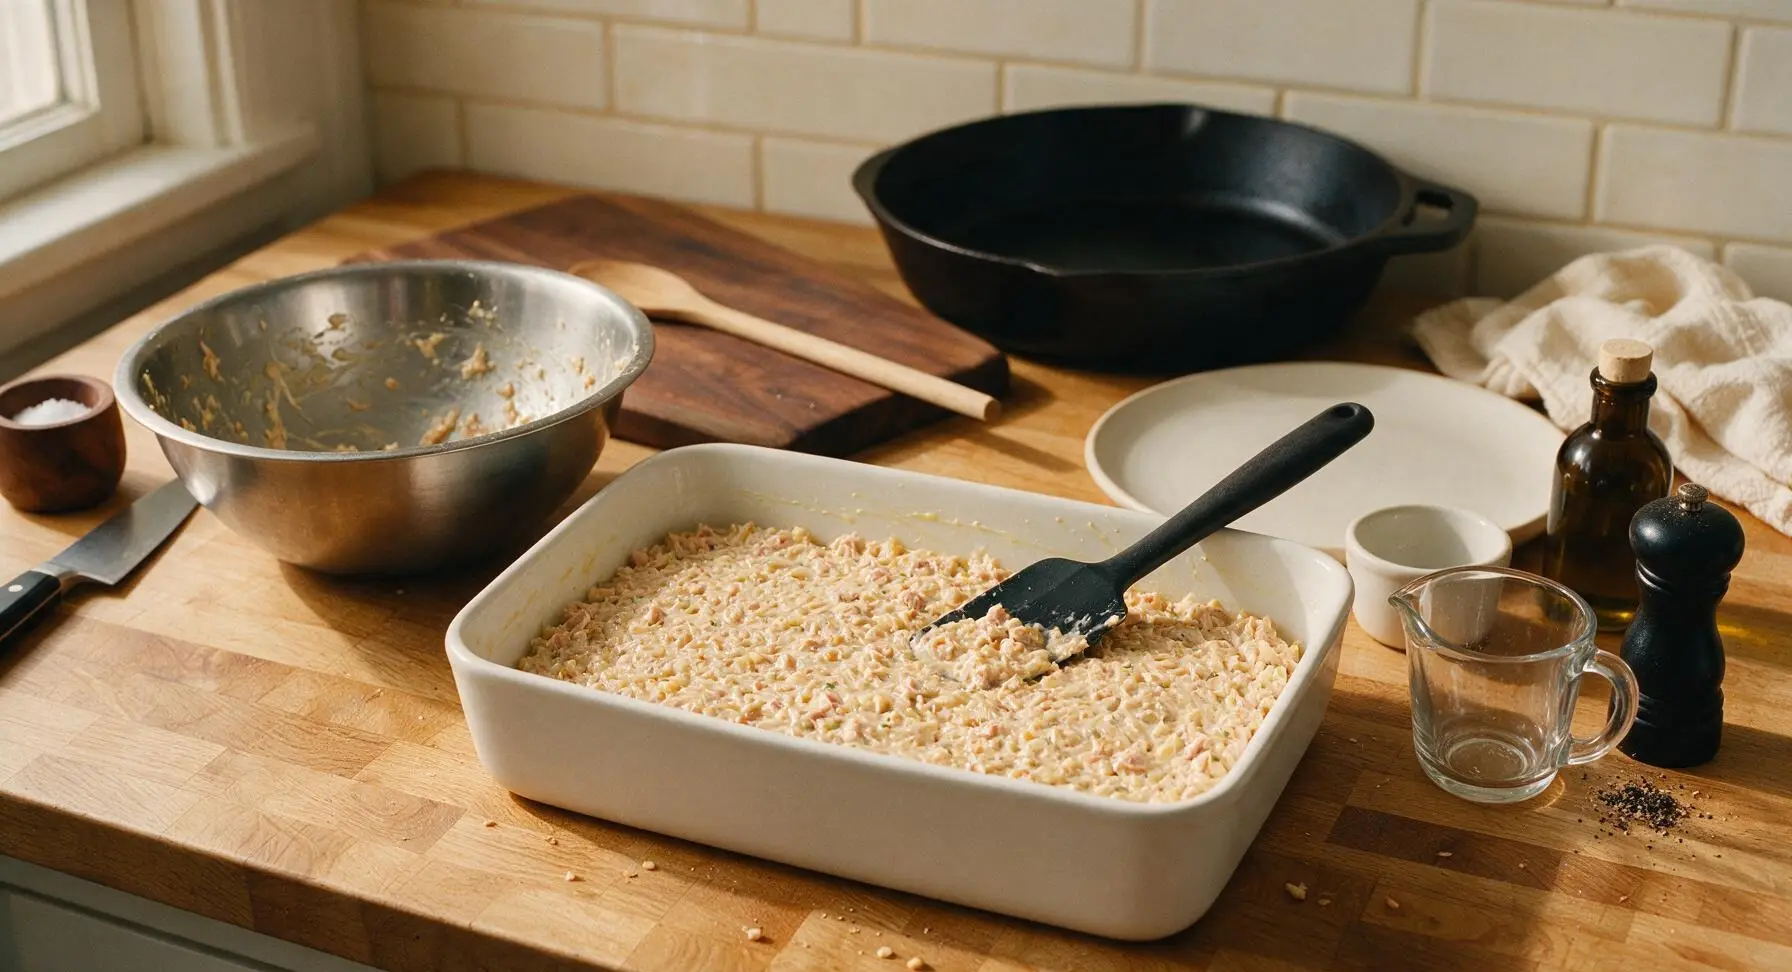
Add Cheese and Crumb Top
Sprinkle the remaining ¼ cup shredded sharp cheddar cheese in an even layer over the top of the filling, then spread the toasted panko-parmesan mixture in a thin, uniform layer over the cheese. Check the surface to ensure no patches of filling are left exposed, which will prevent even browning during baking.
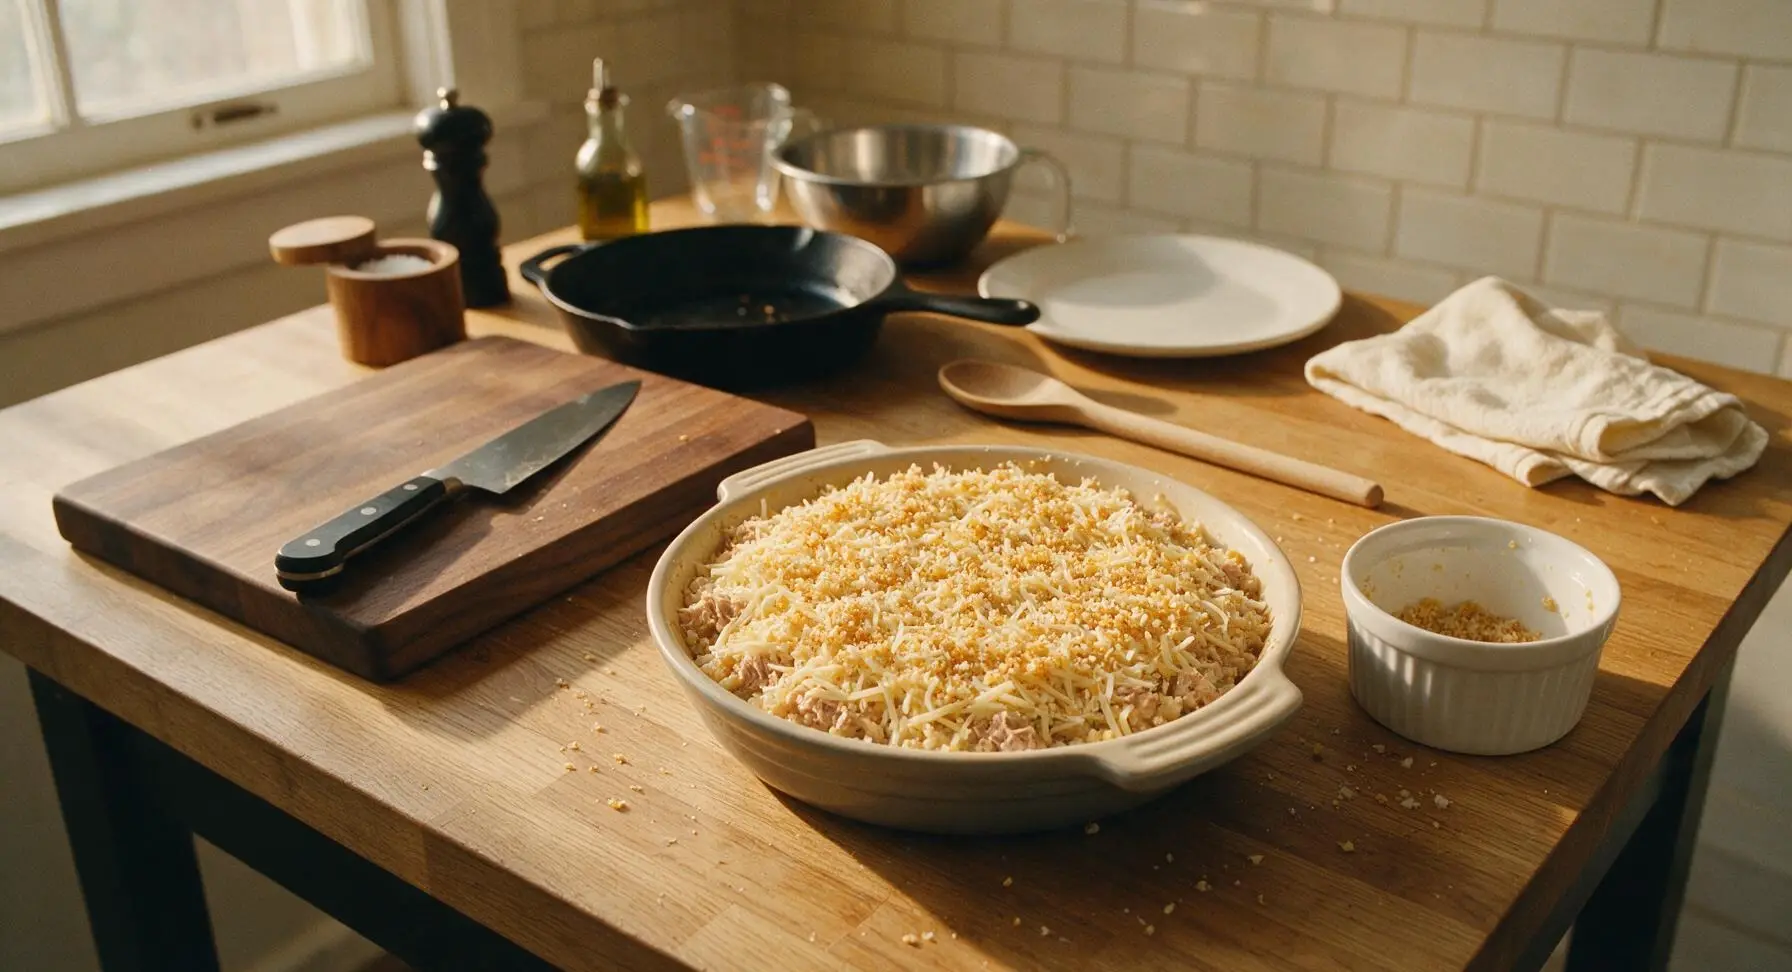
Bake Until Bubbly
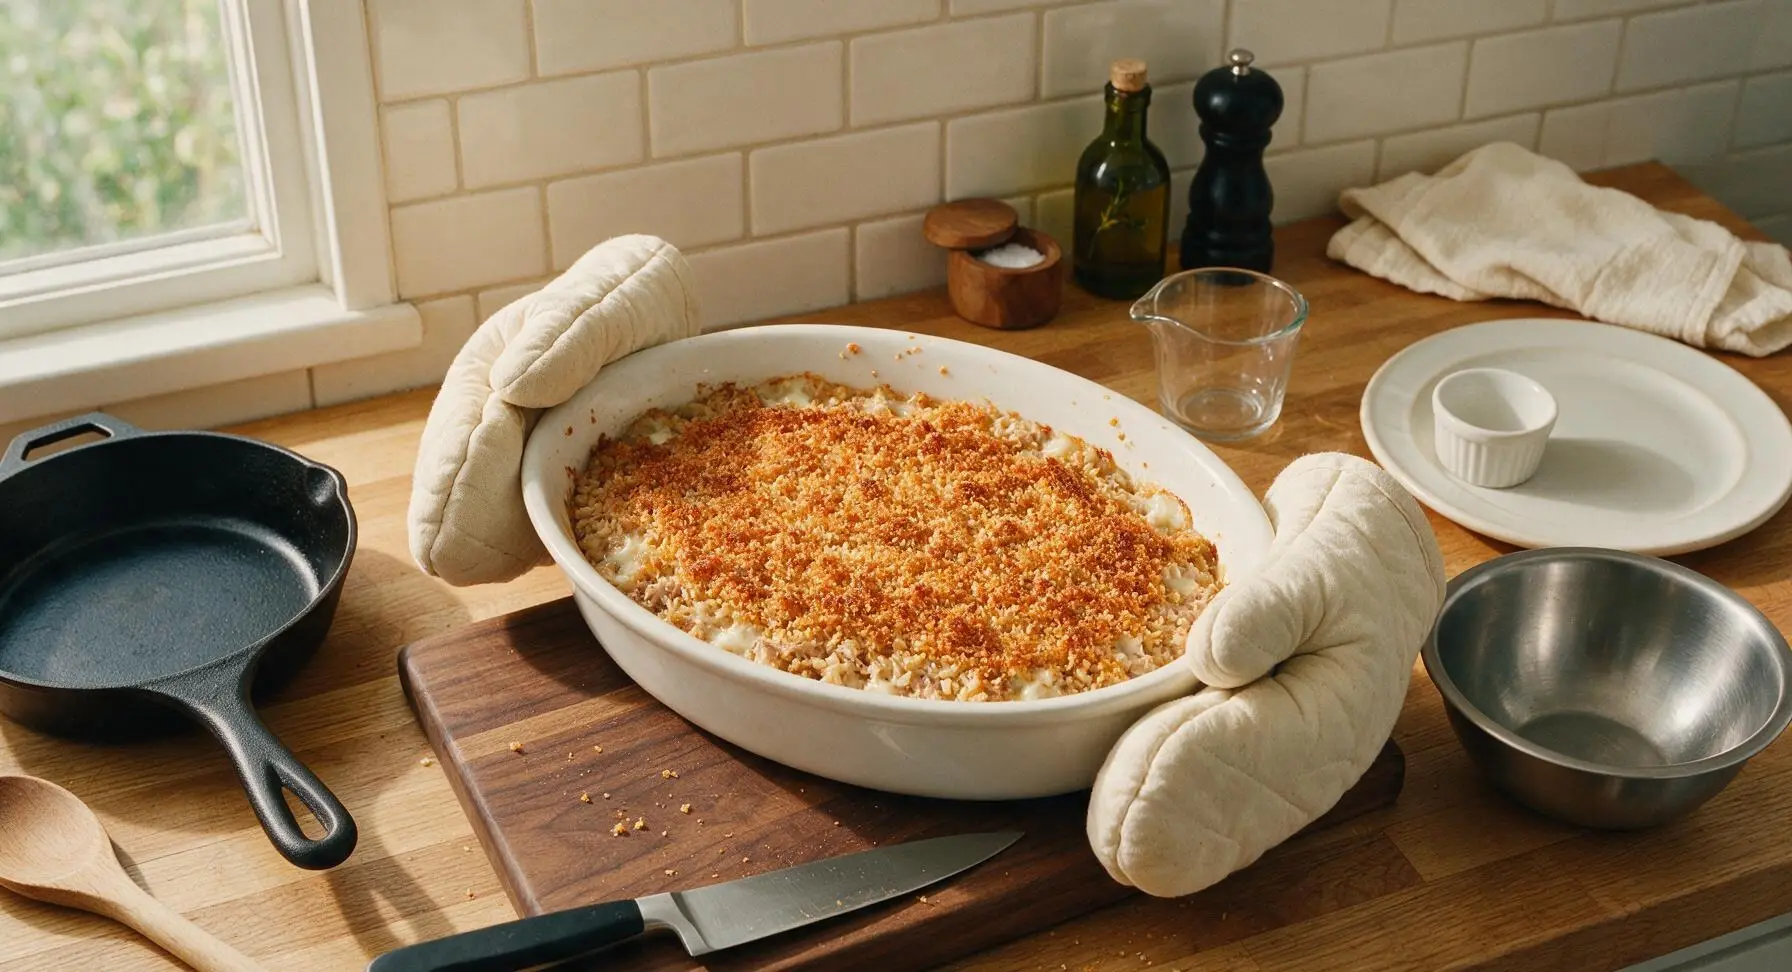
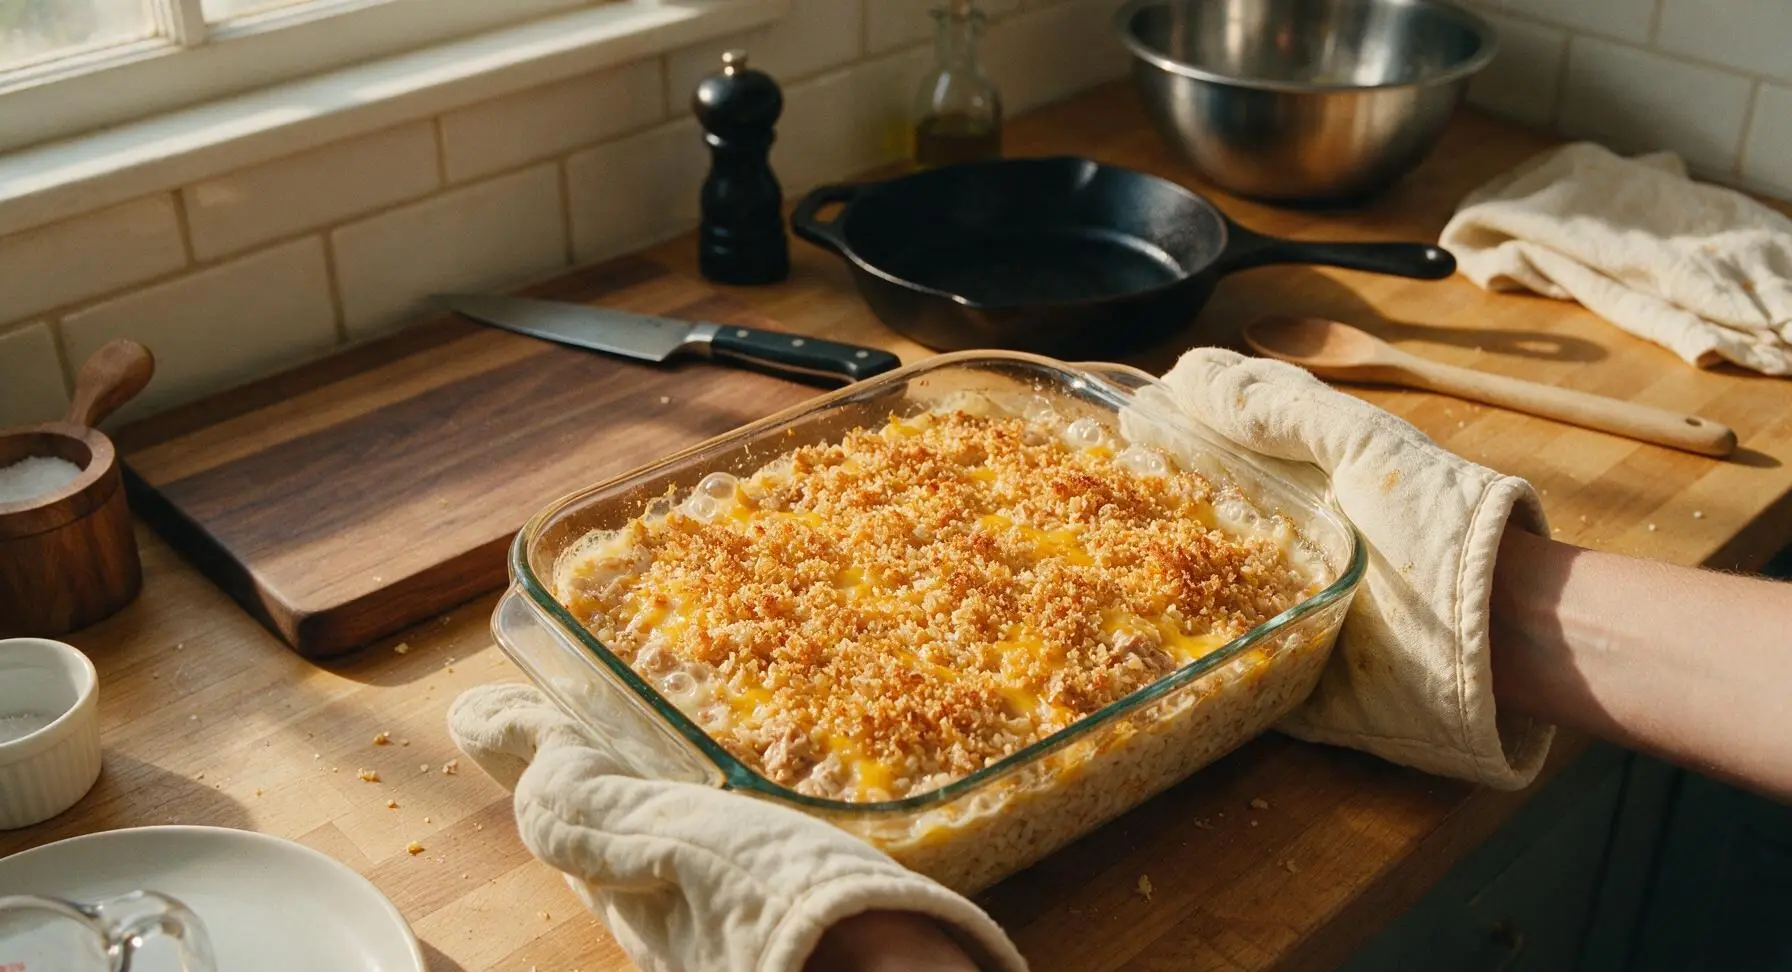
Carefully place the assembled baking dish on the middle oven rack. Bake for 25-30 minutes, until the edges of the casserole are bubbling vigorously and the panko top is a deep golden brown and crisp. Use the cream cotton oven mitts to carefully remove the hot dish from the oven, and let it rest for 5 minutes at room temperature to allow the filling to set before serving.
Garnish and Serve
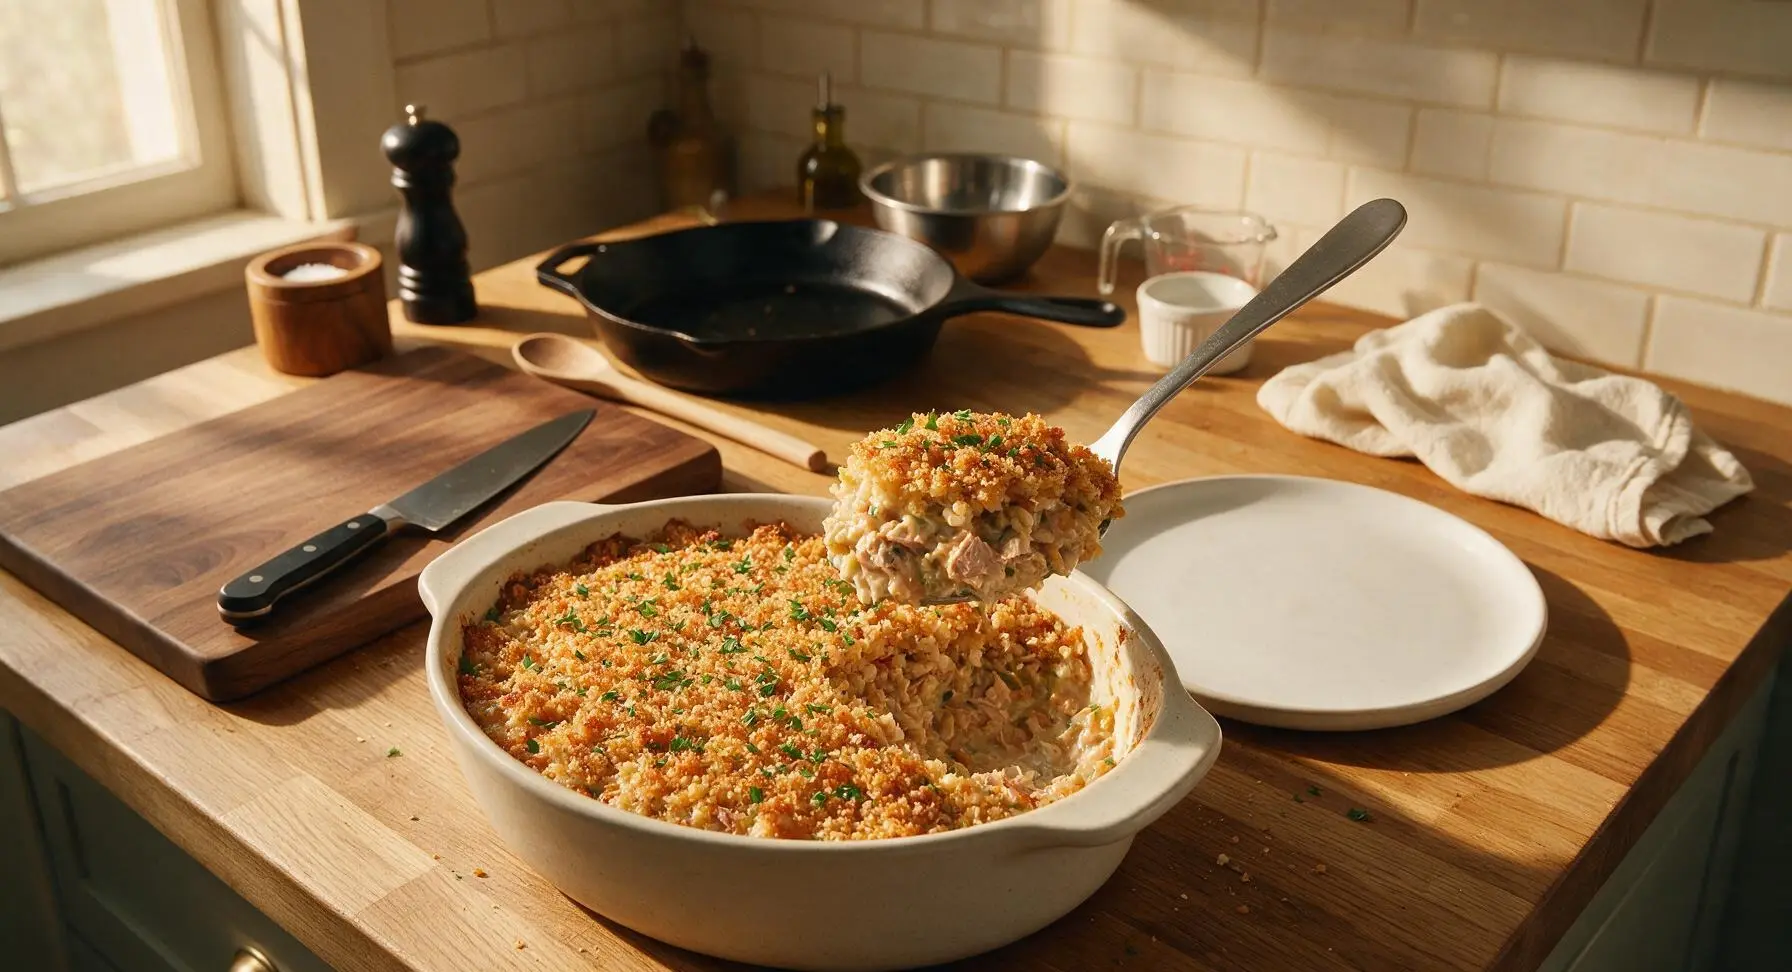
Sprinkle the top of the rested casserole with 1 tbsp chopped fresh flat-leaf parsley. Use the stainless steel serving spoon to scoop a generous 1.5-cup portion onto a matte white ceramic dinner plate, making sure to include a section of the crispy crumb top with every serving. Serve warm.
Tips
2.Avoid over-toasting the panko on the stovetop: the crumbs will continue to brown and crisp for 30 minutes in the oven, so toasting them only to a light golden color before baking prevents the topping from turning dark and bitter before the filling is fully heated through.
3.Drain canned tuna extremely well before adding it to the filling: press the can lid firmly against the flaked tuna to squeeze out all trapped water, as excess liquid will thin the creamy sauce and leave the casserole watery instead of rich and cohesive.






OMG this was such a game changer for weeknight dinners! My 7 and 9 year old usually turn their noses up at anything with tuna, but they both asked for seconds. I added a little extra shredded cheddar on top because my kids are cheese obsessed, and it baked up perfectly in 30 minutes just like the recipe says. 10/10 will be adding this to our regular rotation!
Brought this to my office potluck last week and people were hounding me for the recipe! It’s hearty, not too fishy, and held up great even after I had to commute 45 minutes with it in an insulated carrier. I swapped the regular brown rice for a microwavable pre-cooked pouch to cut down on prep even more, total game day saver.
So happy I found this! I used gluten free panko for the topping instead of regular breadcrumbs and it turned out absolutely perfect. The brown rice adds such a nice nutty depth that regular white rice tuna casserole just doesn’t have. SO good.
As someone who can barely boil water without messing it up, this recipe was so easy to follow! All the ingredients are cheap and easy to grab at the campus grocery store, and it made enough leftovers for me to eat for 3 days. 10/10 for broke college students looking for something that isn’t ramen.
Made this for my grandkids when they came to visit last weekend, and even my teenage grandson who only eats pizza and chips went back for a third helping. I added a little frozen pea and carrot mix like I used to in my old tuna casserole recipe, and it paired perfectly. Great recipe, easy on the joints too since I don’t have to stand over the stove for hours.
This is perfect for my post-workout meal prep! High protein from the tuna, fiber from the brown rice, and it doesn’t taste like boring “diet food” at all. I skipped the crispy topping to cut a few calories and it was still delicious, even eaten cold straight from the meal prep container at the gym. Will make again.
Wait, why did I sleep on brown rice in casseroles for so long? I’ve been making the same old white rice tuna casserole for 10 years, and this version is way more flavorful without being extra work. The cook time is exactly 30 minutes too, no guesswork, which I appreciate on nights when I get home late from work.
Uh oh, I think I messed this up? I used canned tuna in oil instead of water, and it came out a little greasier than I expected. It still tasted good, but is there a way to fix that next time I make it? Flavor was 10/10, texture was just a little off for me.
Y’all, this is the easiest weeknight casserole I’ve made in months! I added a dash of hot sauce on top of my serving, and it gave it the perfect little kick. The crunchy breadcrumb top is *chef’s kiss*, no canned condensed soup needed which is a huge win for me because I never have that in my pantry.
Made this last night for the family after my kid’s soccer practice, and it was on the table in literally 30 minutes like the recipe said. No fancy ingredients, no complicated steps, just good, hearty food. My wife said it’s better than the tuna noodle casserole her mom makes — don’t tell my mother in law that though 😂
Wait a second, can I freeze this? I make big batches of food on Sundays to last me through the work week, and I’m wondering if this freezes well or if the rice gets mushy when I reheat it. Flavor was amazing when I made a test batch last night, just wanna know if it’s freezer friendly!
This recipe is so wallet friendly! I already had a can of tuna in the pantry, a bag of brown rice, and some cheese in the fridge, so I only had to pick up a couple things at the store for under $5. It made 6 big servings, which comes out to less than a dollar per serving. Absolute steal for anyone trying to save money on groceries right now.