
Tuna Dijon & Chive Casserole
intro
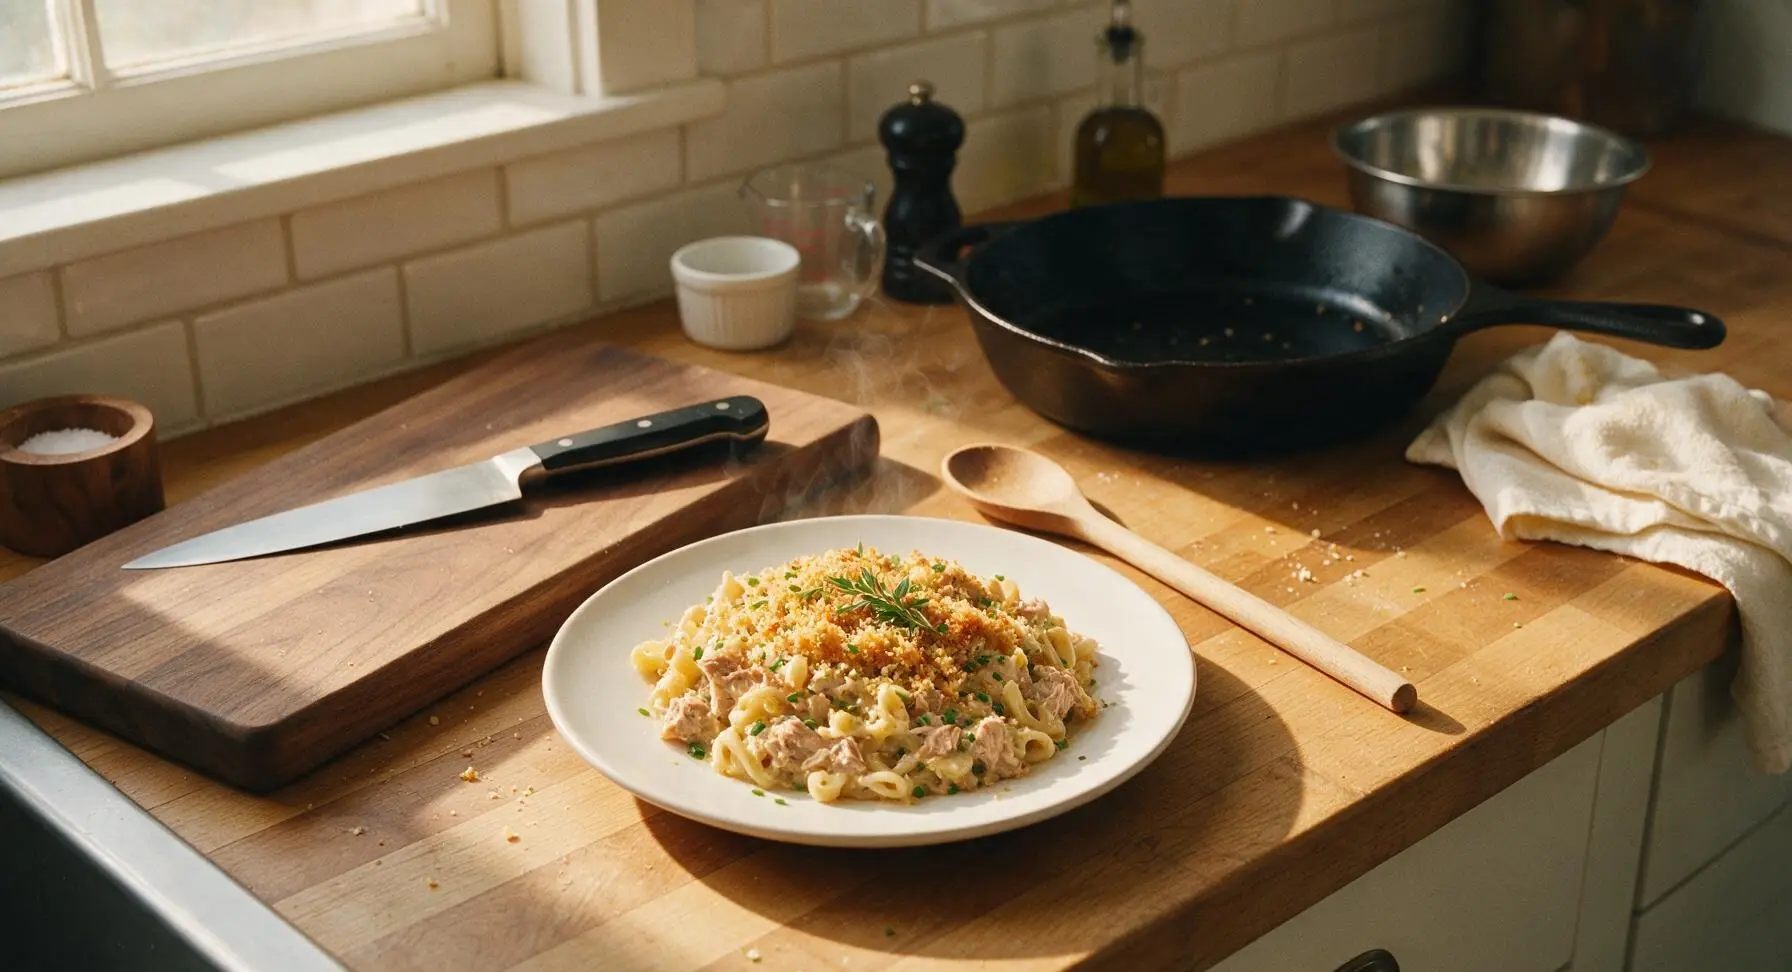
Creamy, briny tuna tossed with tender pasta, sharp Dijon, bright chives, and a crisp breadcrumb top—this nostalgic, cozy casserole comes together fast for satisfying weeknight meals.
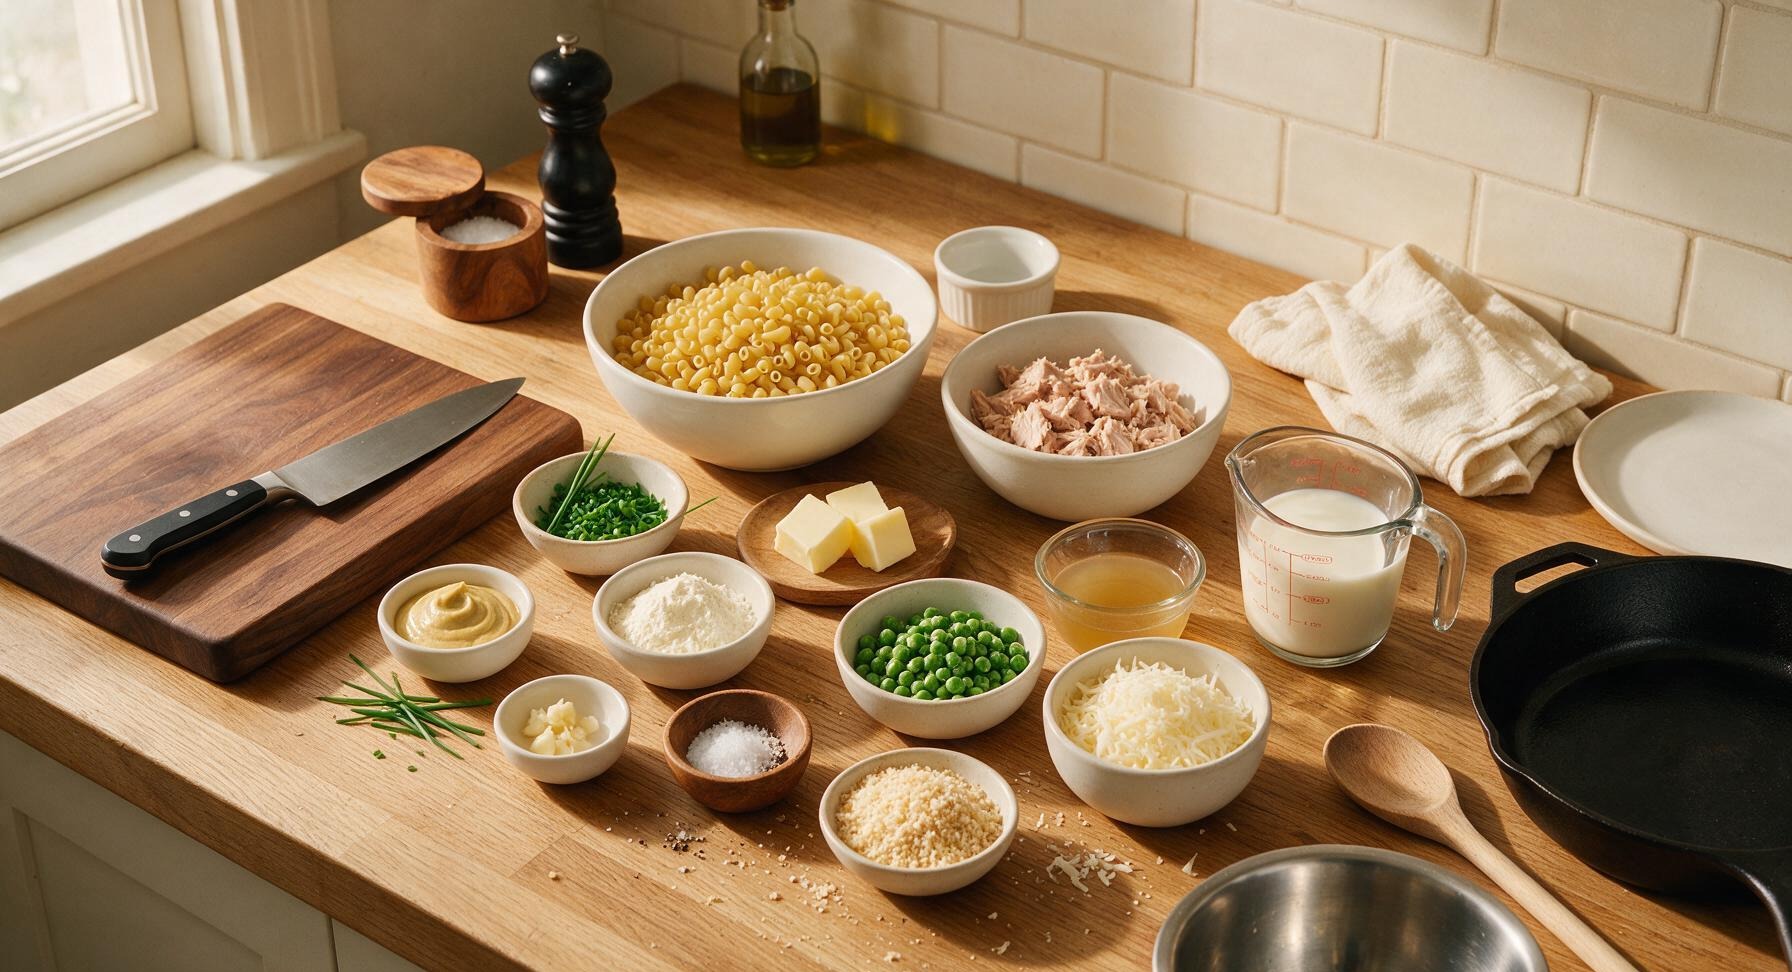
Ingredients
Steps
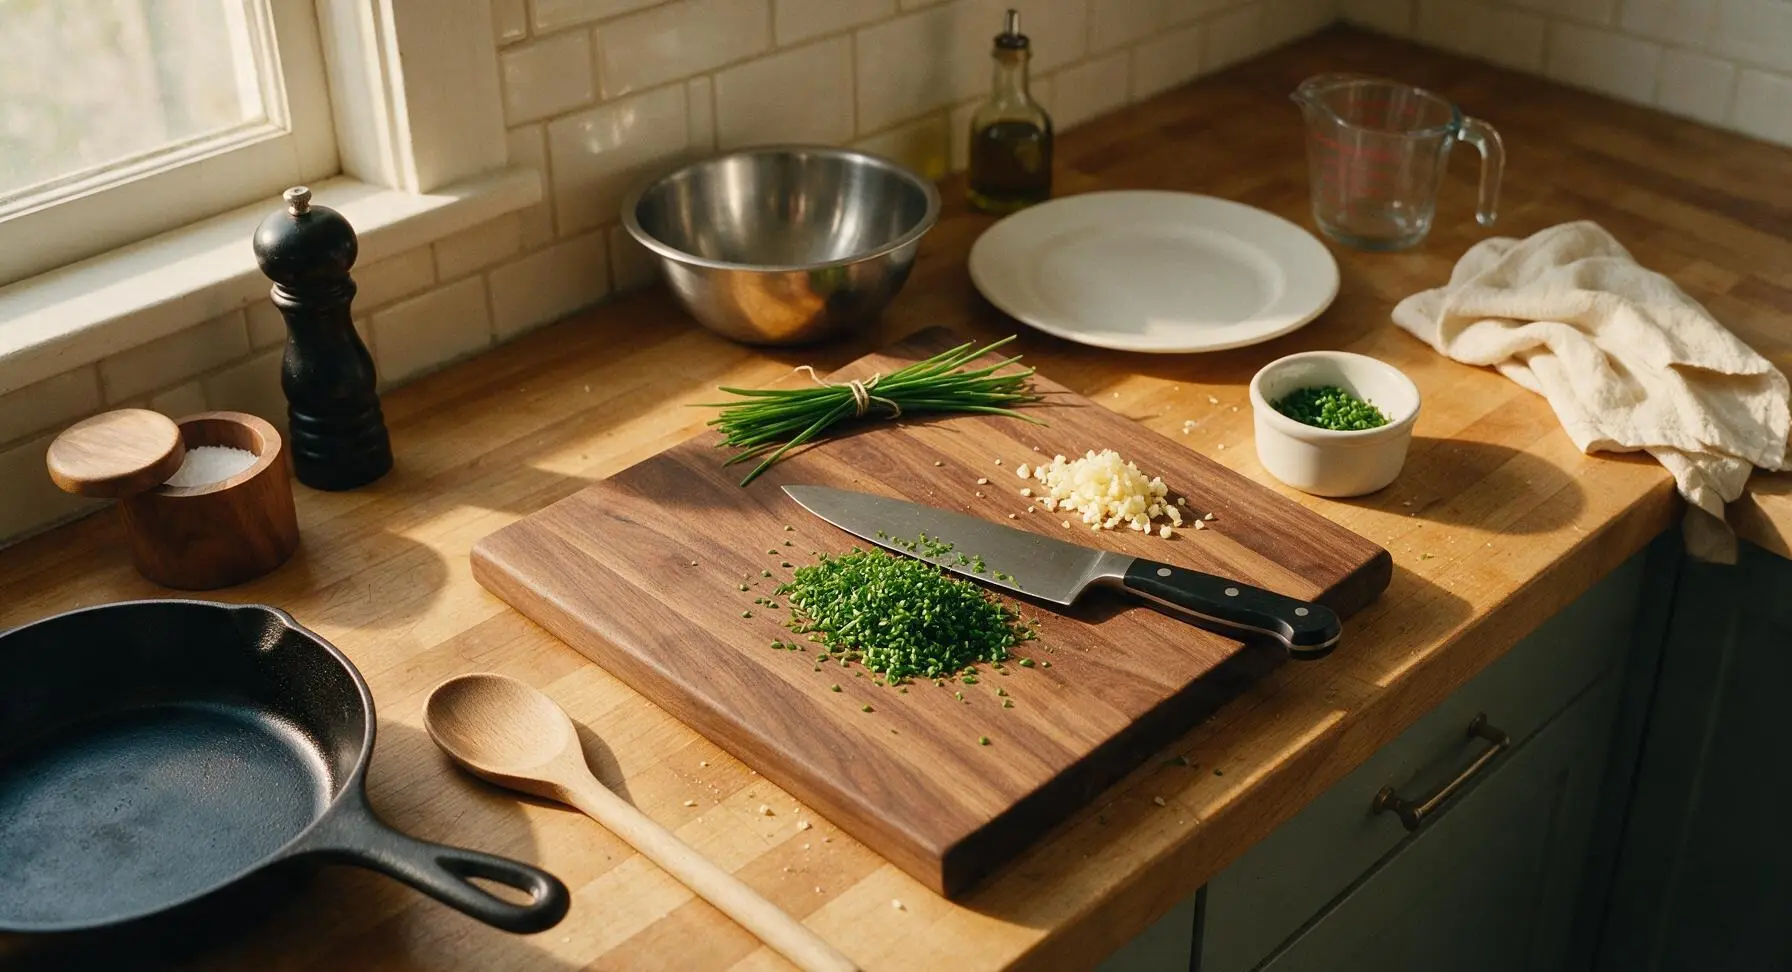
Prep Fresh Aromatics
Place the beech wood cutting board in the center of the work surface. Use the 8-inch chef’s knife to finely chop 1/4 cup of fresh chives, then mince the 2 garlic cloves. Transfer 1 tablespoon of the chopped chives to the small matte white ramekin and set aside for final garnish; keep the remaining chives with the minced garlic to add to the filling.
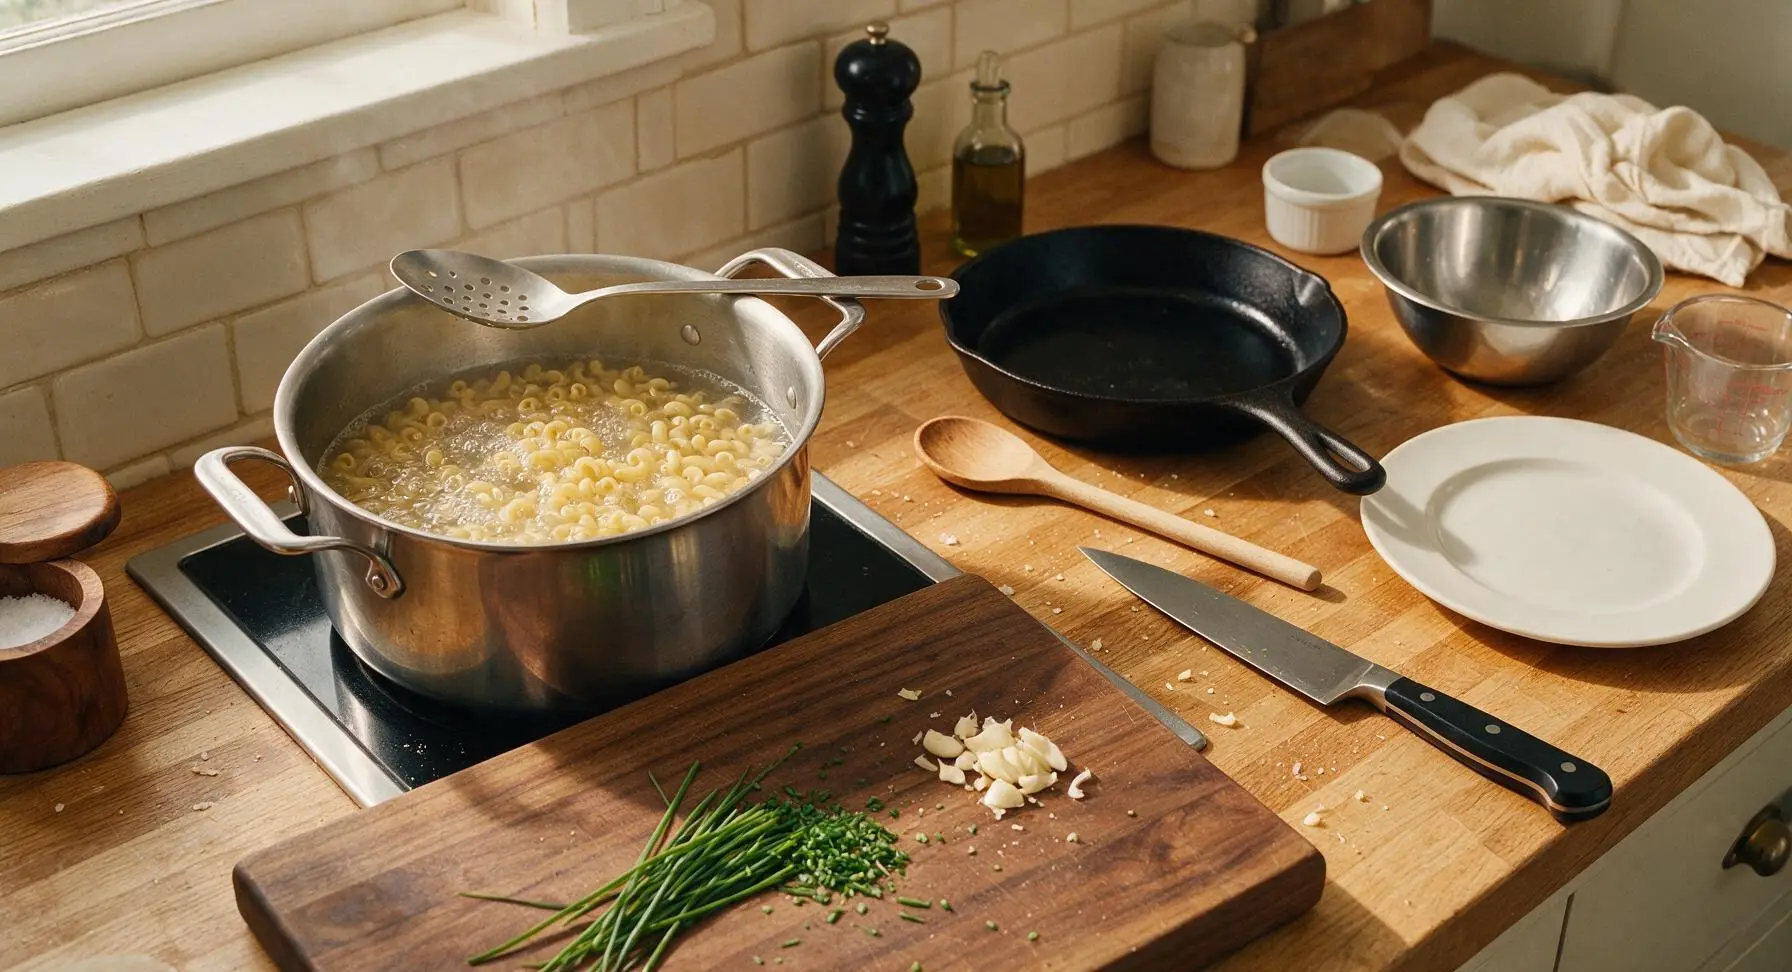
Cook Pasta Al Dente
Fill the 4L stainless steel stock pot with heavily salted water and bring to a rolling boil over high heat. Add the dry elbow macaroni, stir once with the slotted stainless steel spoon to prevent sticking, and cook for 6 minutes (2 minutes less than the package’s al dente direction) so pasta is very firm to the bite; it will finish cooking during baking. Drain well, do not rinse (rinsing removes surface starch that helps sauce cling to pasta), and set aside.
Whisk Dijon Cream Sauce
Place the 1.5L stainless steel saucepan over medium heat, add the unsalted butter. Once butter is fully melted and foaming (about 1 minute), add the reserved minced garlic and sauté for 30 seconds until fragrant, taking care not to brown the garlic (it will turn bitter). Stir in the all-purpose flour, whisking constantly with the stainless steel whisk for 1 minute to form a smooth, pale golden roux. Slowly pour in the whole milk and vegetable broth while whisking continuously to prevent lumps. Stir in the Dijon mustard, kosher salt, and black pepper. Simmer for 3-4 minutes, whisking often, until the sauce thickens enough to coat the back of a spoon (run a finger across the coated spoon; the line should hold cleanly). Remove from heat, stir in 3/4 cup of the grated white cheddar until fully melted and smooth.
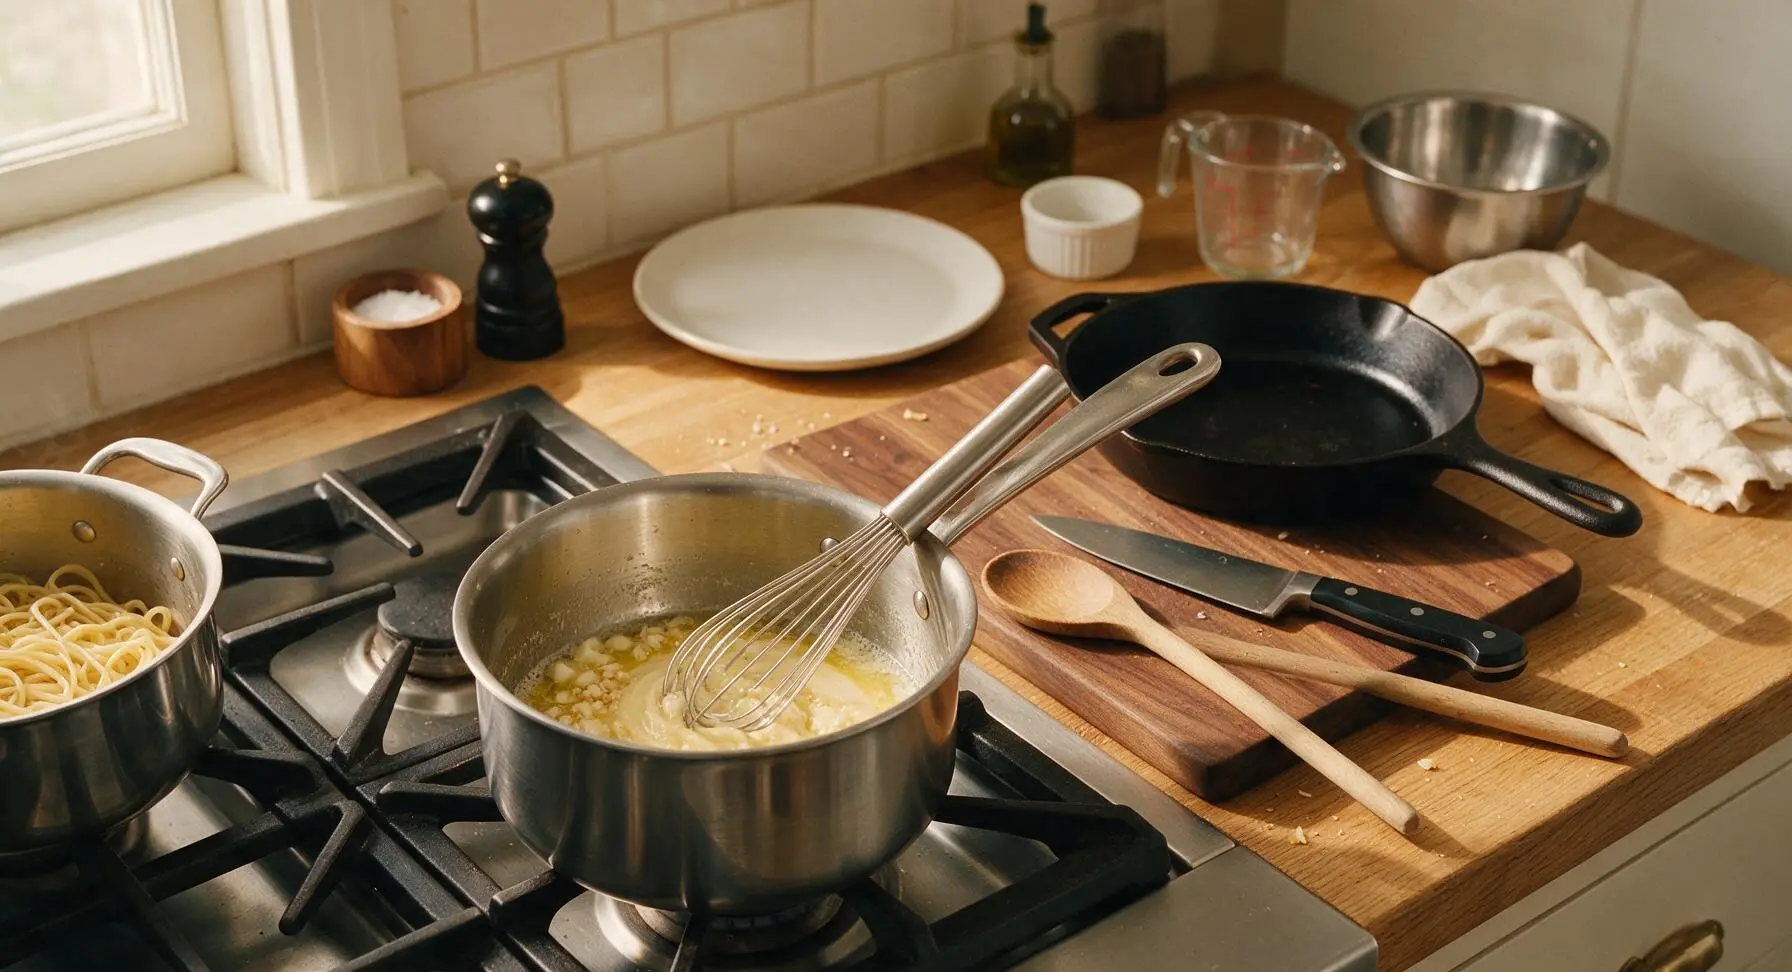
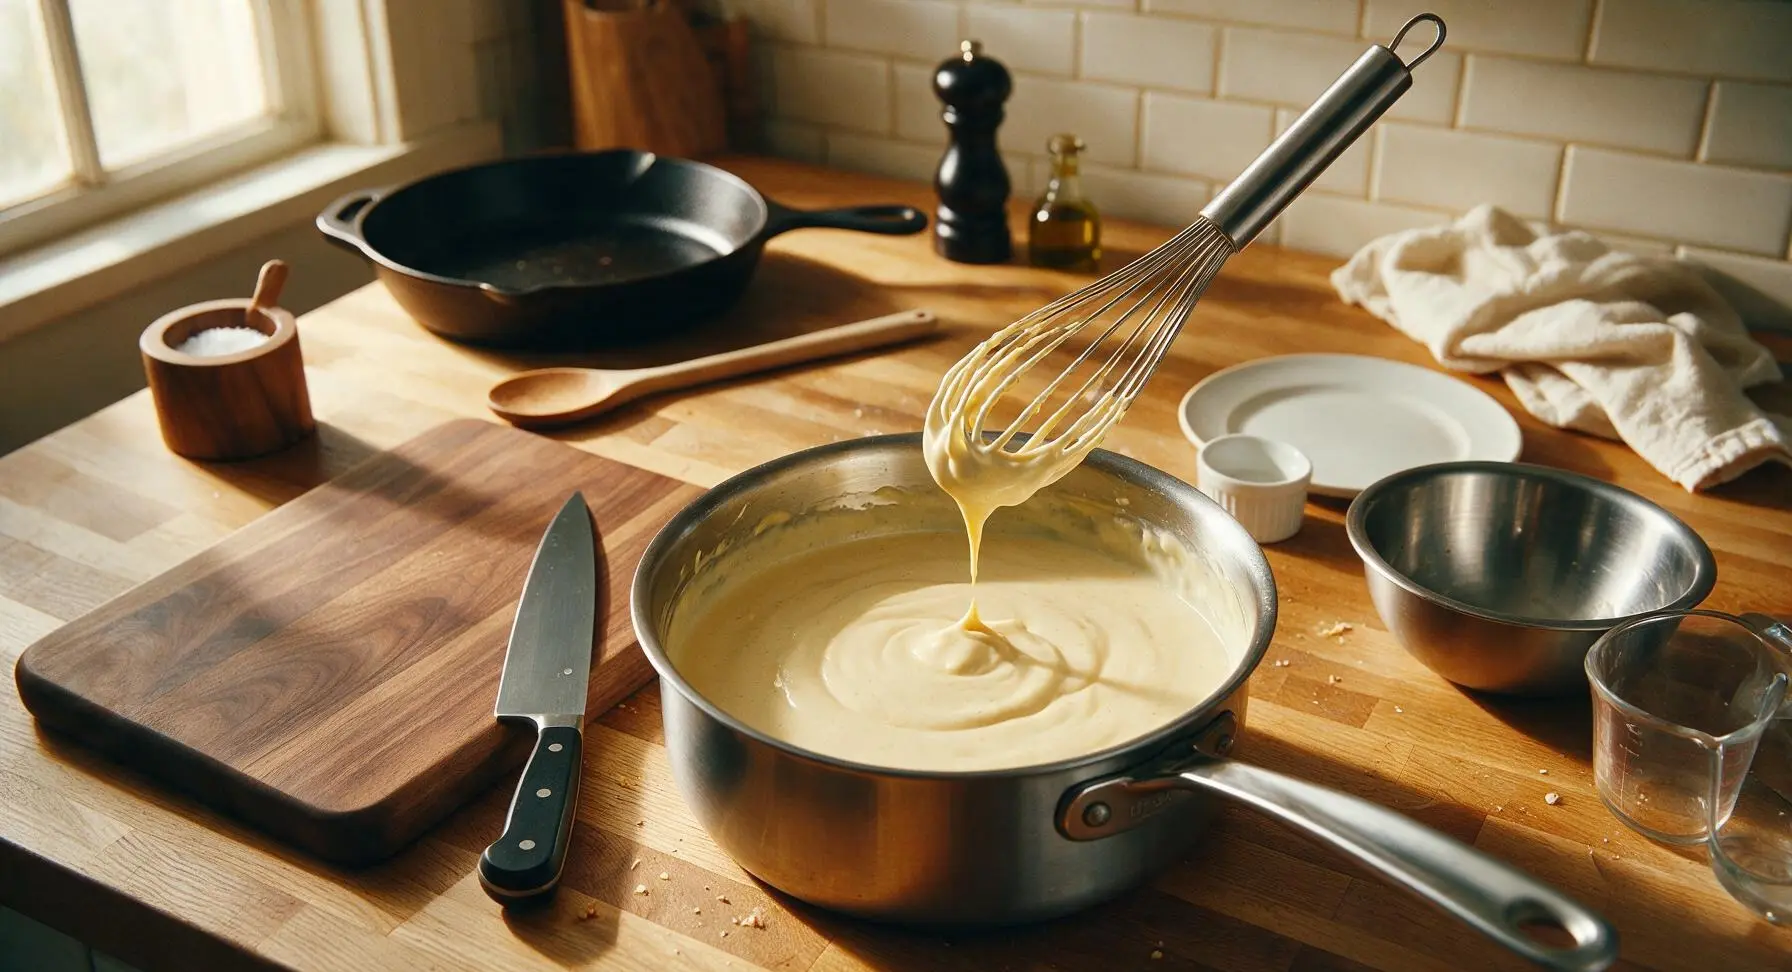
Mix Filling Ingredients
Add the drained, firm elbow macaroni to the medium brushed stainless steel mixing bowl. Flake the drained tuna into large, bite-sized chunks with a fork and add to the bowl, along with the thawed green peas, remaining non-reserved chopped chives, and the finished Dijon cheese sauce. Use the matte sage green silicone spatula to gently fold all ingredients together until every pasta piece is evenly coated in sauce; take care not to over-mix or mash the tuna into tiny pieces, as larger chunks create better texture.
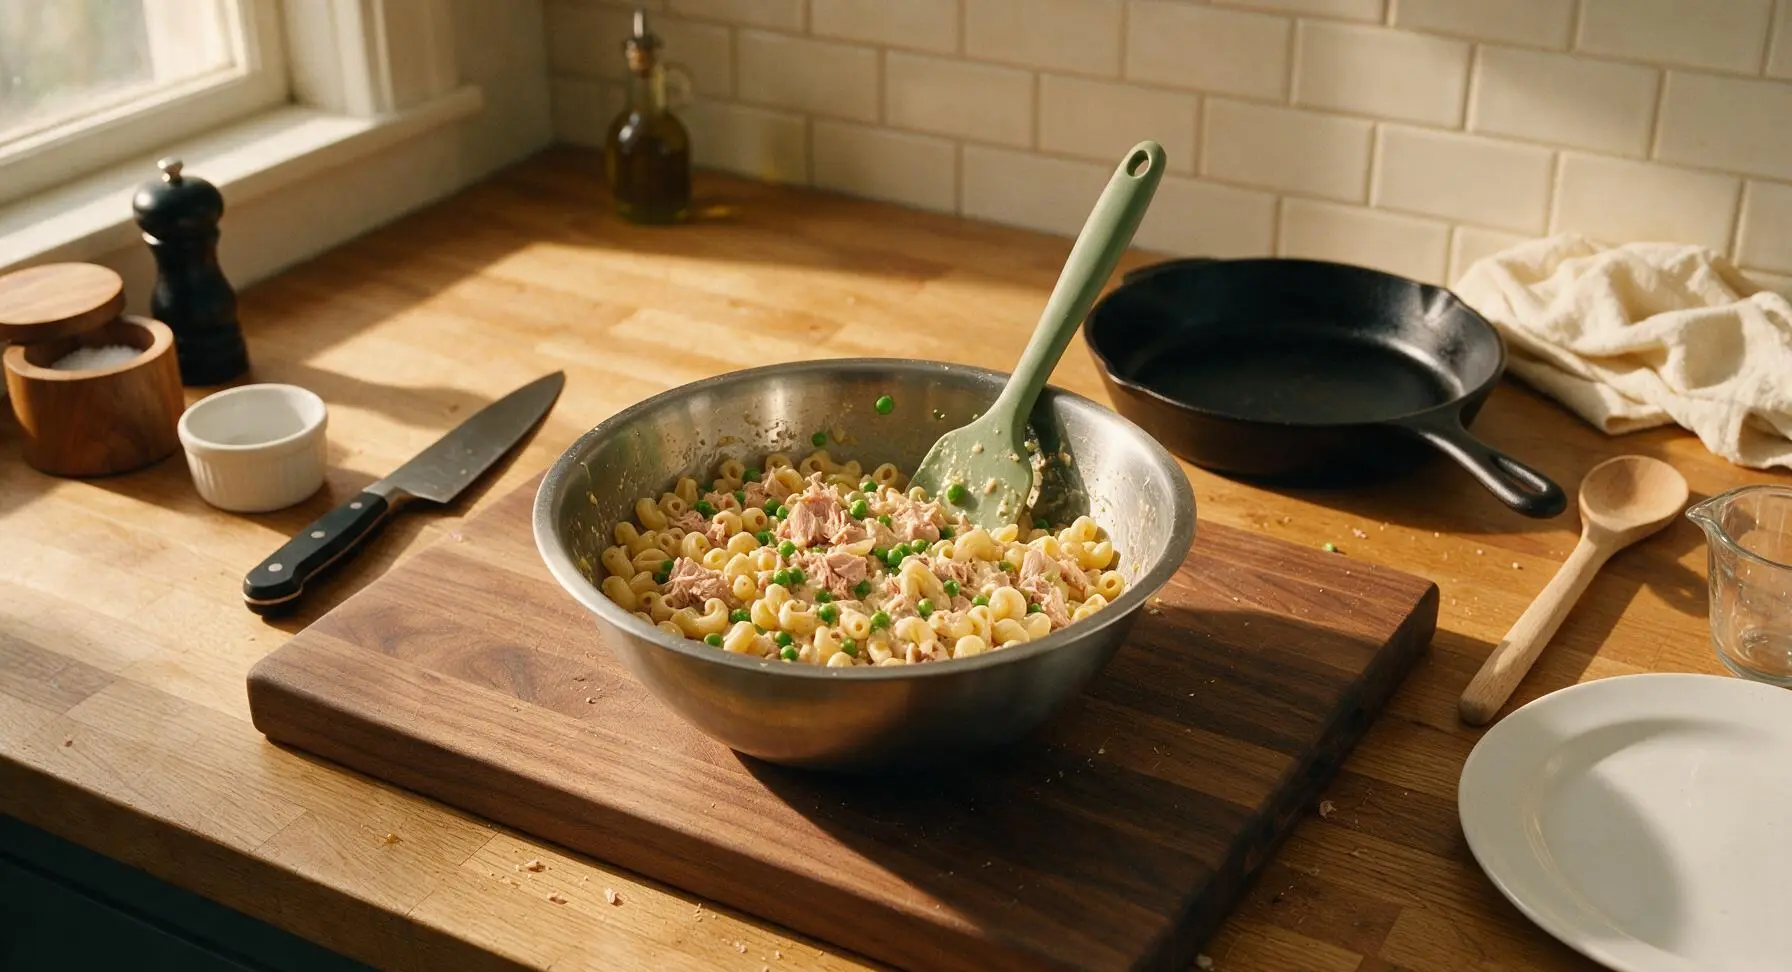
Add Filling to Dish
Use the silicone spatula to scrape every bit of the filling mixture from the mixing bowl into the 2-quart cream white ceramic baking dish. Spread the filling into a gentle, even layer across the dish; do not press the mixture down tightly, as keeping it light and loose will result in a fluffier, less dense casserole.
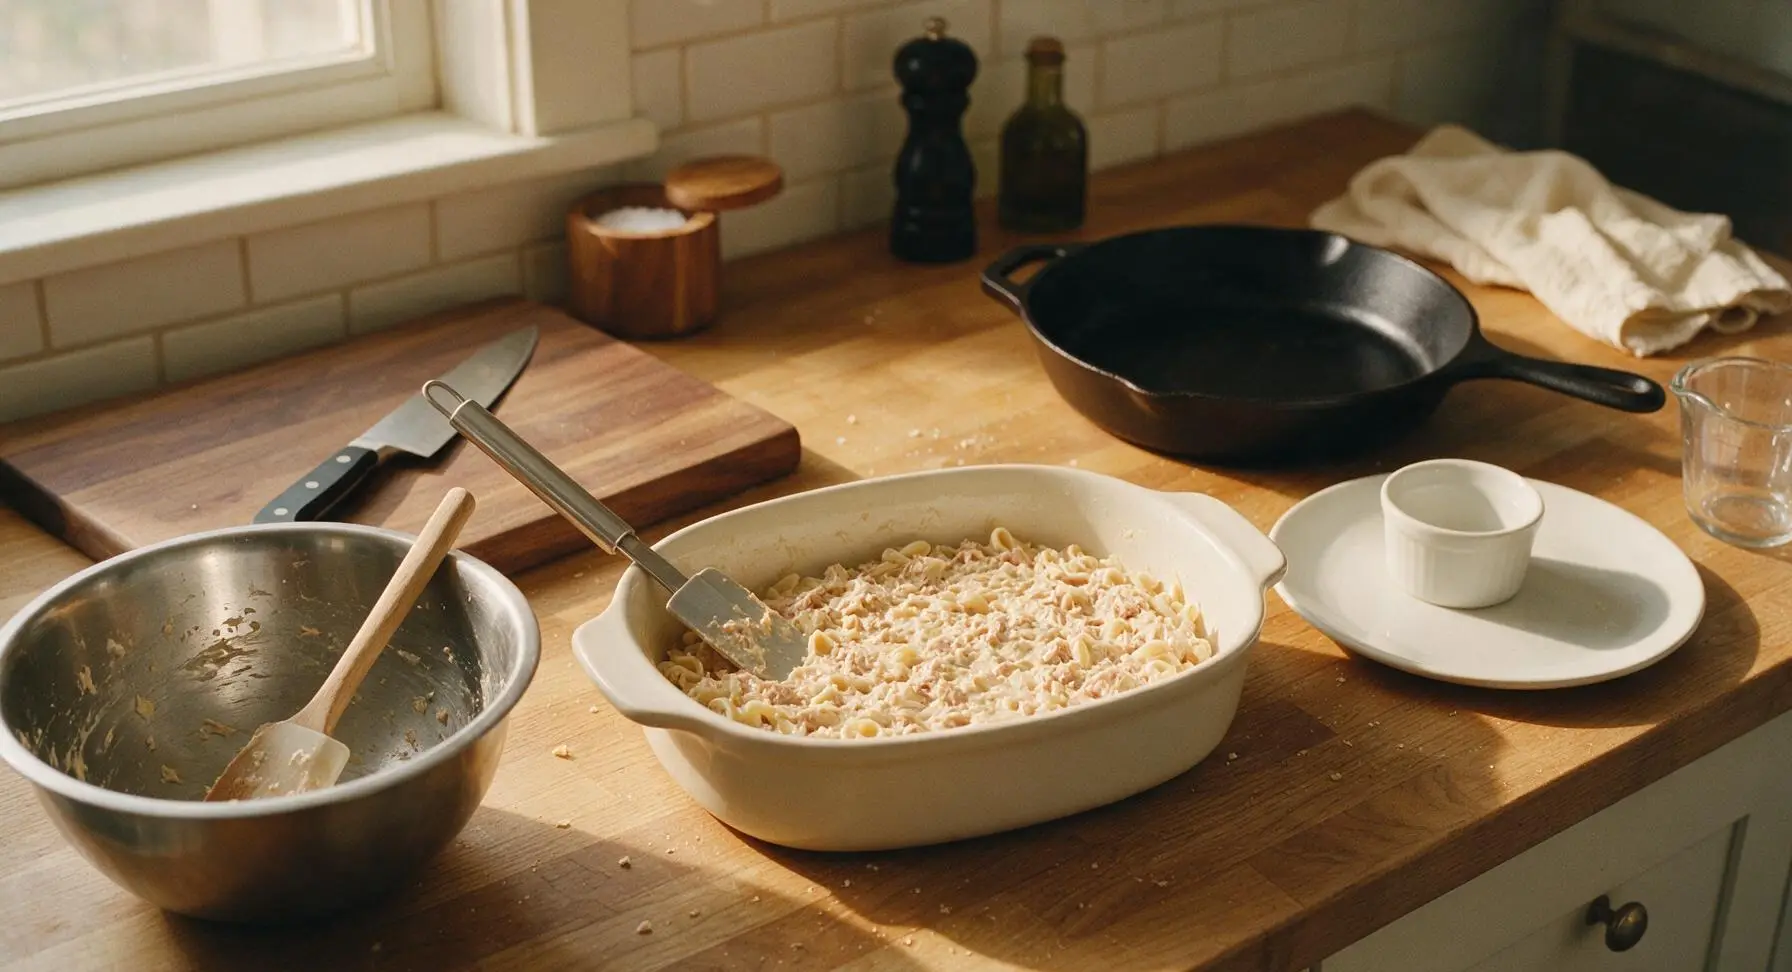
Top with Breadcrumbs
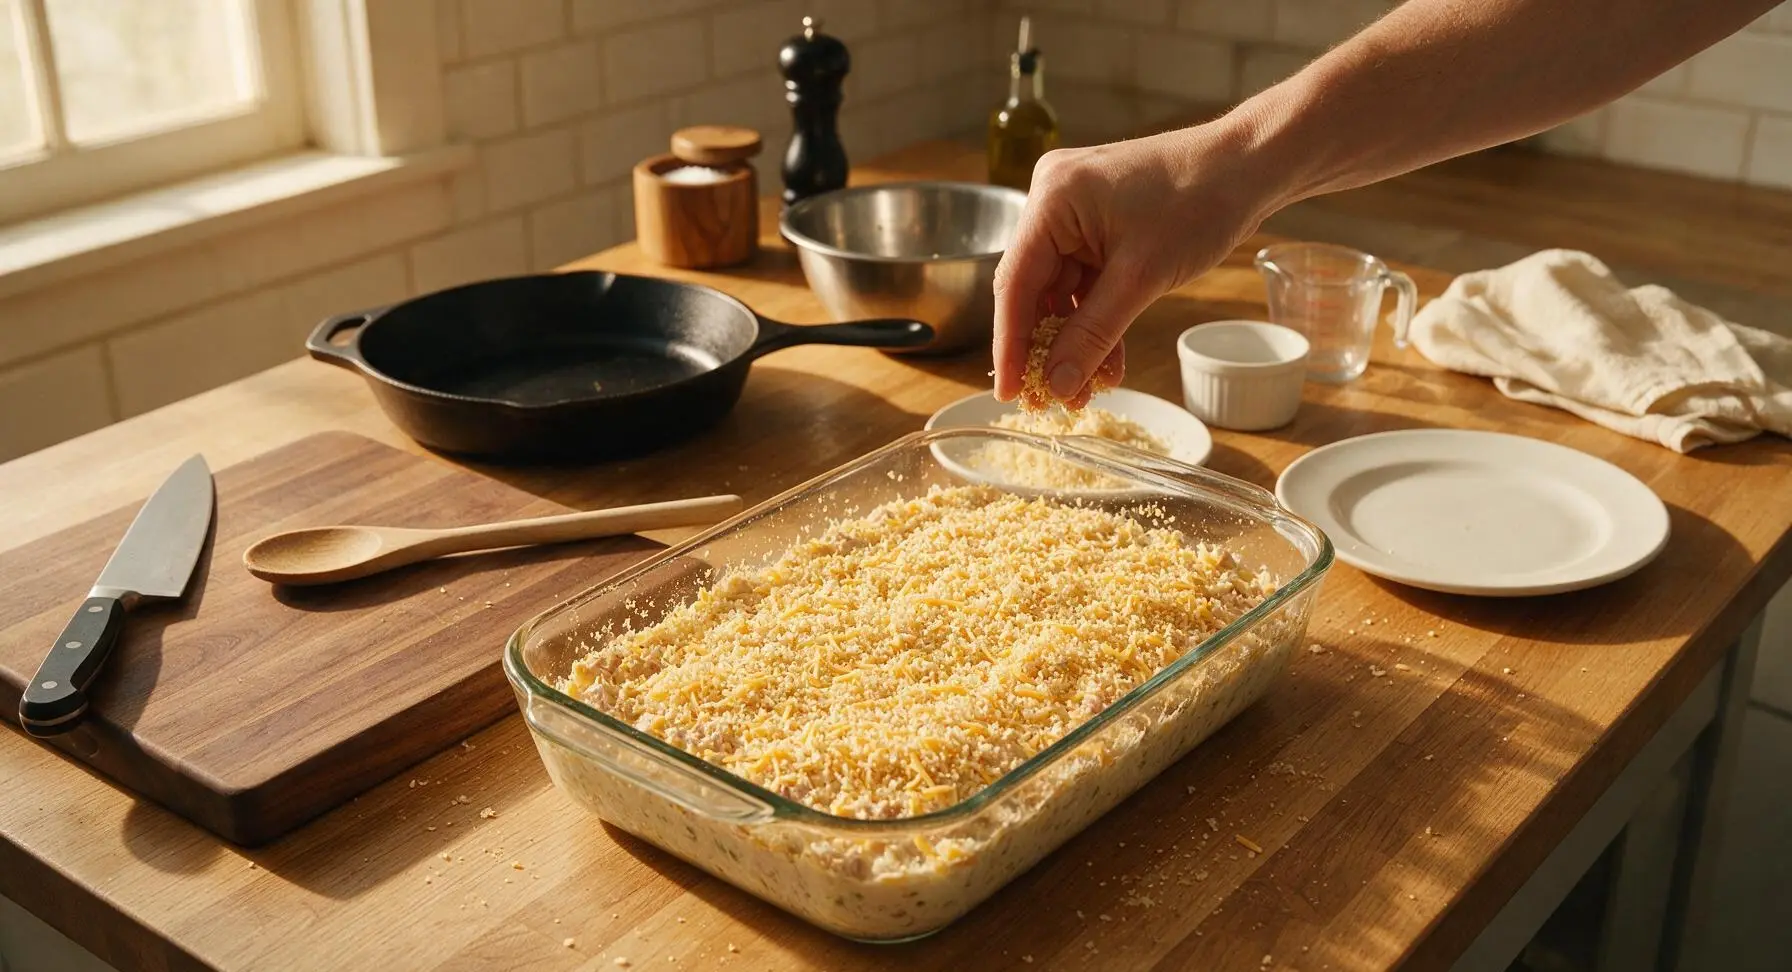
Toss the panko breadcrumbs with the remaining 1/4 cup grated white cheddar in a small pile until evenly mixed. Sprinkle the breadcrumb-cheddar mixture in a thin, uniform layer across the entire top of the casserole filling, covering all bare spots to create an evenly crisp top after baking.
Bake Casserole Until Bubbly
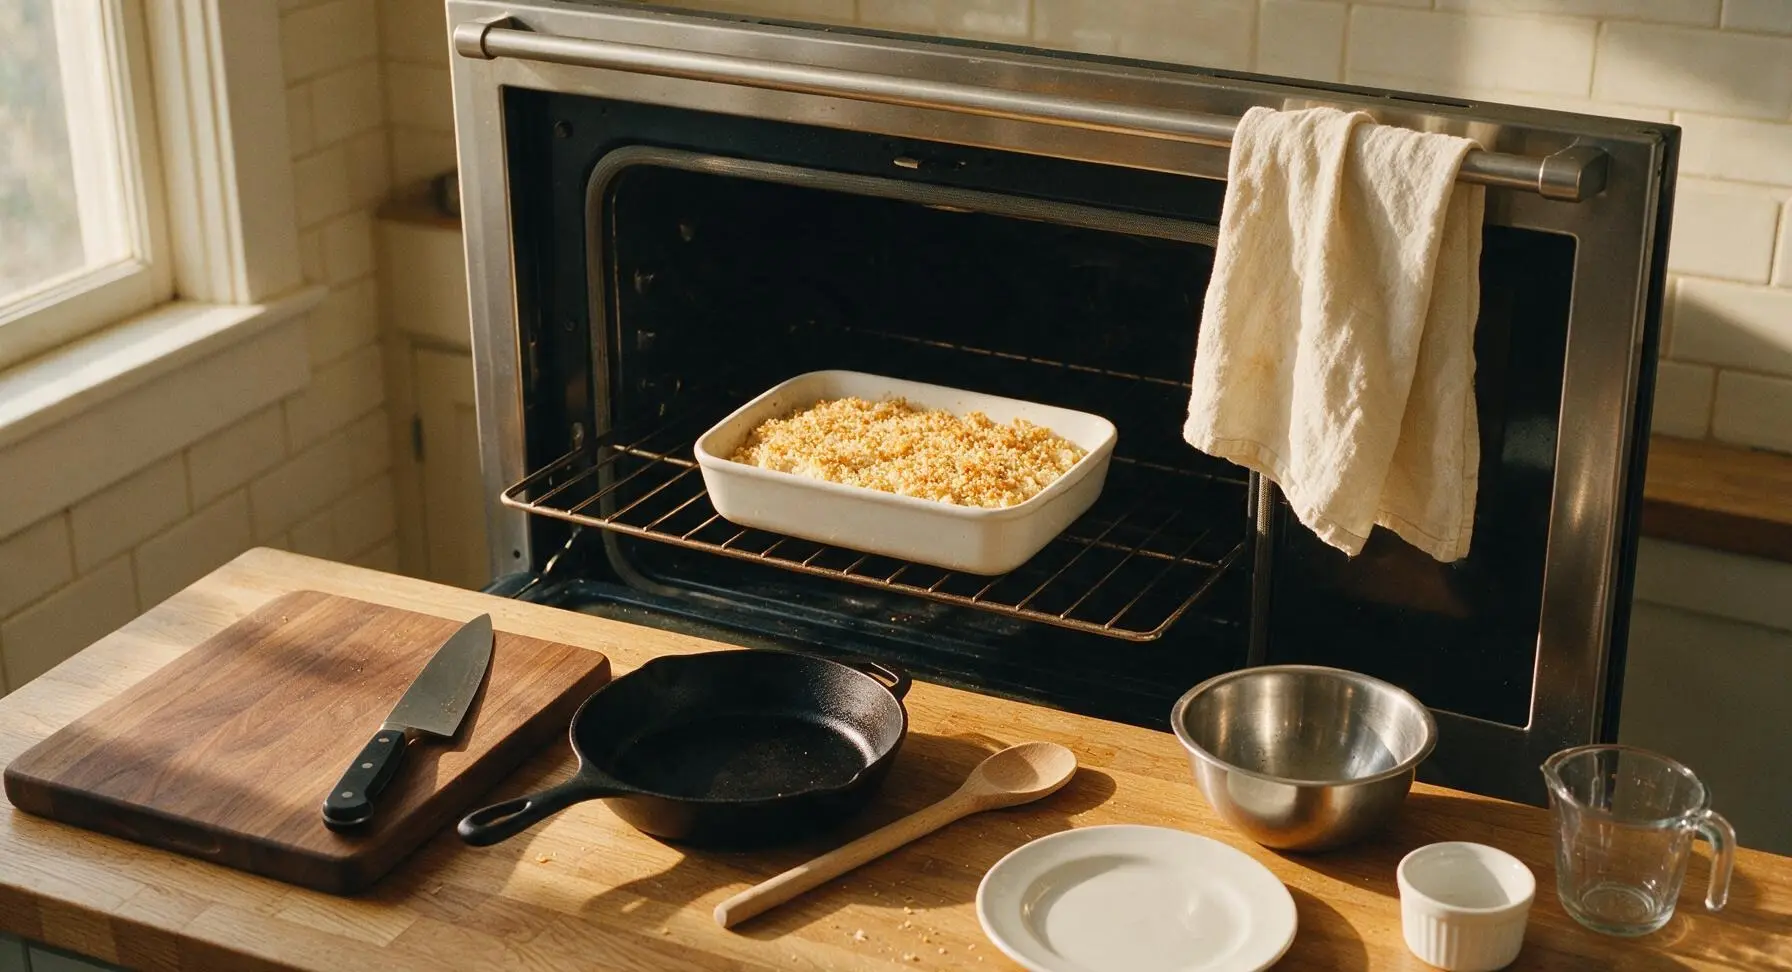
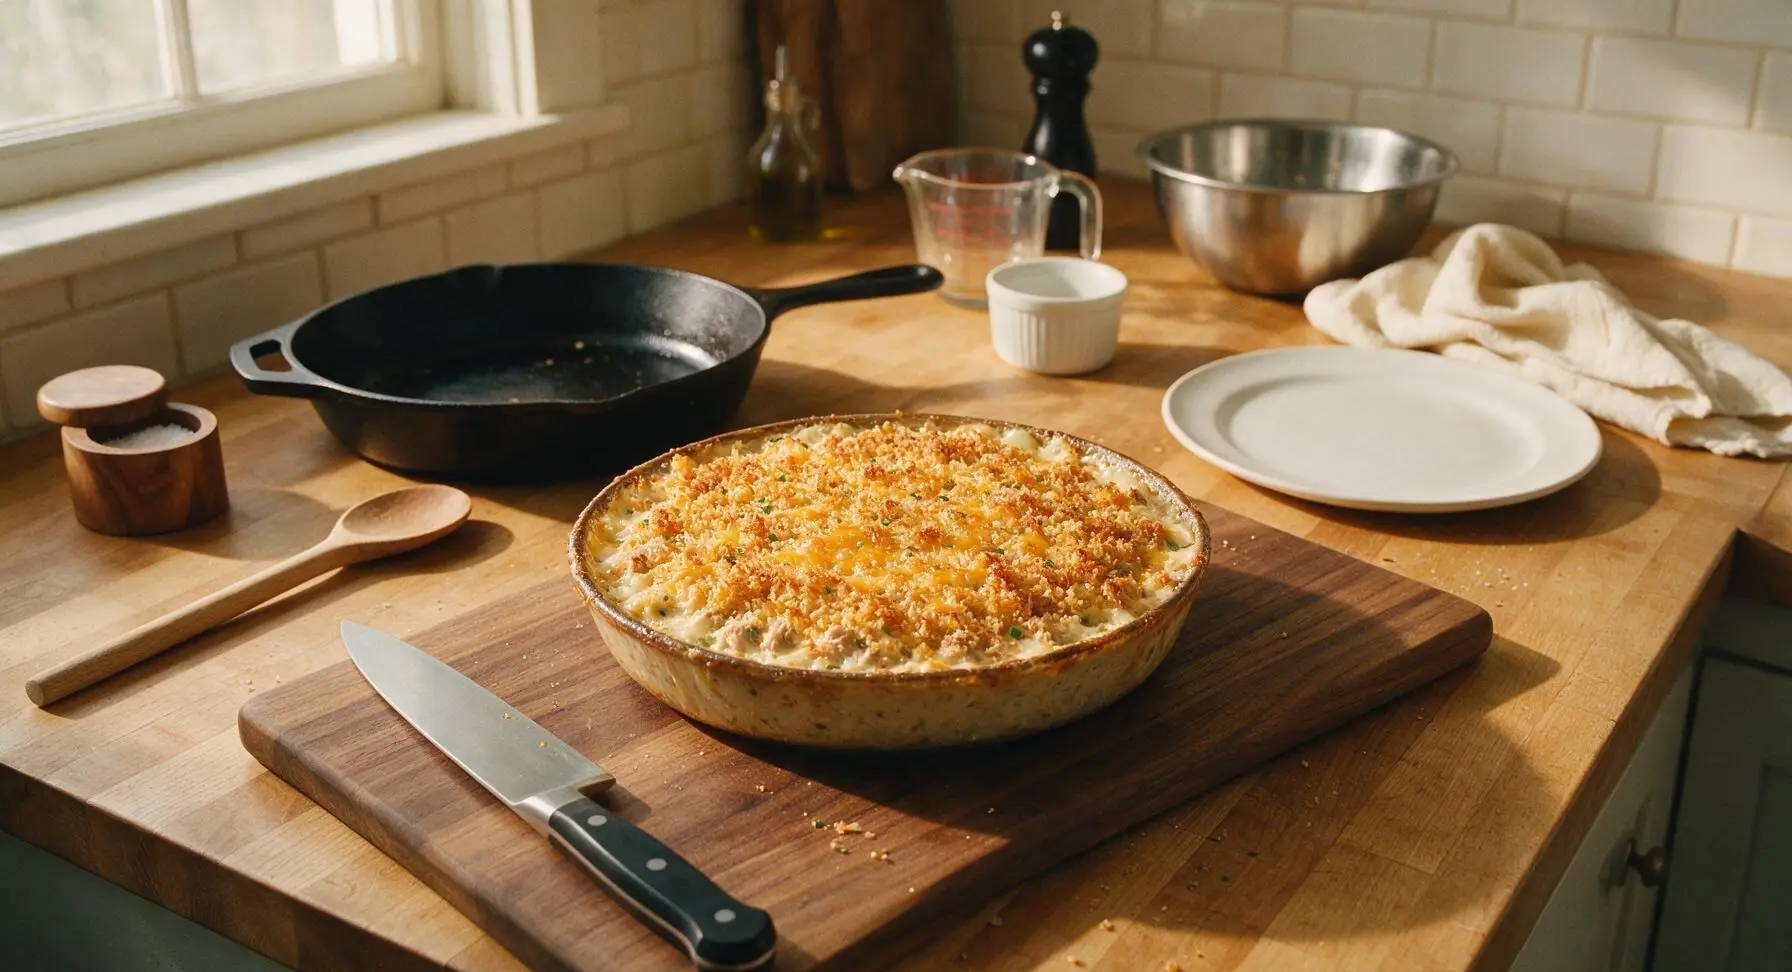
Carefully place the filled baking dish on the middle rack of the preheated 375°F (190°C) oven. Bake for 25 minutes, until the creamy sauce is actively bubbling around the edges of the dish and the panko top is deep golden brown and crisp. If the top browns faster than the sauce bubbles (usually around the 18 minute mark), tent the dish loosely with a small piece of aluminum foil to prevent burning while the filling finishes cooking.
Garnish and Rest Casserole
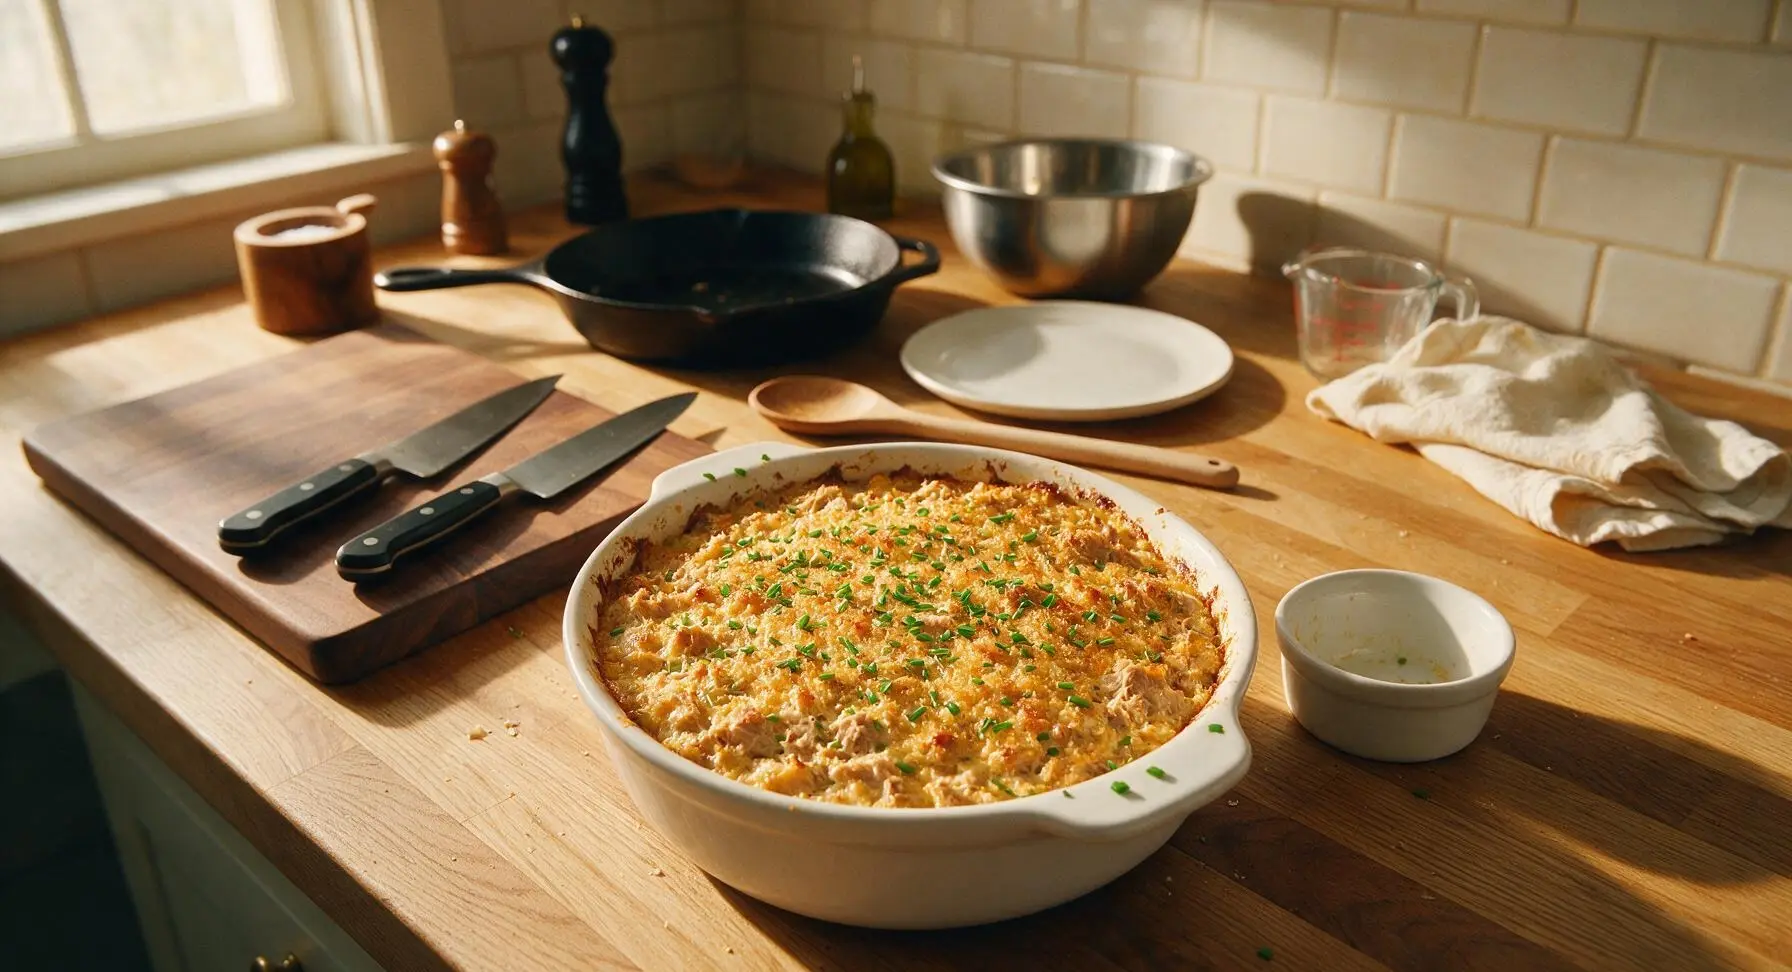
Let the baked casserole rest for 5 minutes on the counter to allow the sauce to set slightly (this prevents runny, loose sauce when serving). Sprinkle the reserved fresh chopped chives from the ramekin evenly across the golden breadcrumb top before scooping to serve.
Tips
2.Skip rinsing cooked pasta: the starchy coating on the noodle surface helps the creamy Dijon sauce cling evenly to every piece, instead of sliding off and pooling at the bottom of the baking dish.
3.Let the casserole rest the full 5 minutes after baking: straight out of the oven, the sauce is thin and runny, but the short rest allows it to thicken and set so every scoop holds its shape without being watery.






OMG this casserole was such a game changer for our weeknight family dinner! I’ve been making the same old tired tuna noodle casserole for years and the Dijon + chive twist adds such a bright, zingy kick that I didn’t know I was missing. My two picky kids went back for seconds, even the one who swears he hates ‘fish food’. 30 minute cook time is chef’s kiss for busy school nights, no fancy ingredients needed. 10/10 will be adding this to our regular rotation!
Brought this to our neighborhood block party potluck last weekend and people were literally asking me for the recipe before they even finished their first serving! I did add a little extra crispy fried onion topping because who doesn’t love that, and it was SO good. Only note: I’d probably cut the Dijon by a tiny bit next time if I’m making it for a crowd that doesn’t love tangy flavors, but that’s just personal preference. Easy to throw together even when I was running late to set up for the potluck, total win!
Made a big batch of this on Sunday for my weekly meal prep and it reheated like an absolute dream all week long! No soggy noodles, no weird separated sauce, just that cozy creamy tuna flavor every single lunch. I swapped in whole wheat egg noodles to add a little extra fiber and couldn’t even tell the difference. Super easy, affordable, way better than sad desk takeout. Will be making this monthly for sure!
Wait this is way better than the sad canned tuna meals I’ve been surviving on in my dorm lol. I didn’t have fresh chives so I used dried, and it still slapped. Super cheap to make, didn’t require any fancy equipment — I just baked it in my little toaster oven and it turned out perfect. 10/10 for broke college students who are sick of ramen.
So happy I found this recipe! I used gluten-free elbow macaroni instead of regular egg noodles and it came out perfectly — no weird gritty GF pasta texture, the creamy Dijon sauce coated every noodle so well. My husband, who turns his nose up at all my gluten-free recipe experiments, said this is one of his favorite dinners I’ve made all year. Only took 30 minutes, zero stress!
This reminds me of the tuna casserole my mom used to make back in the 70s, but the Dijon adds such a nice updated twist! I added a handful of frozen peas and carrots like we always did growing up, and the chives gave it such a fresh, herby flavor that didn’t taste like the old canned soup version I’m used to. My grandkids ate two helpings each when they came over for Sunday supper. Easy, cozy, nostalgic — can’t ask for better than that.
Tried this last night after soccer practice with the kids and it was a total home run. I was a little worried the Dijon would be too strong for my youngest who hates mustard, but it mellowed out perfectly when it baked and just gave the sauce a nice depth instead of tasting like straight mustard. I did accidentally use light sour cream instead of regular because that’s what I had in the fridge, and it still turned out creamy and delicious. Any idea if this freezes well?
Y’all, I’m a self-proclaimed tuna casserole connoisseur and this recipe absolutely knocked it out of the park. I’ve tried dozens of recipes over the years that are either too bland, too watery, or so loaded with cheese you can’t even taste the tuna, but this one is perfectly balanced. The chives cut through the richness, the Dijon gives it that little zing, the texture is chef’s kiss. My only tiny complaint is I wish I’d made a double batch because it was gone in 10 minutes at my house.