
Tuna Noodle Casserole with Peas

title 1
Tuna Noodle Casserole with Peas
⏱️ cook time 30 minutes
🍽️ servings 6
⚡ Difficulty easy

intro

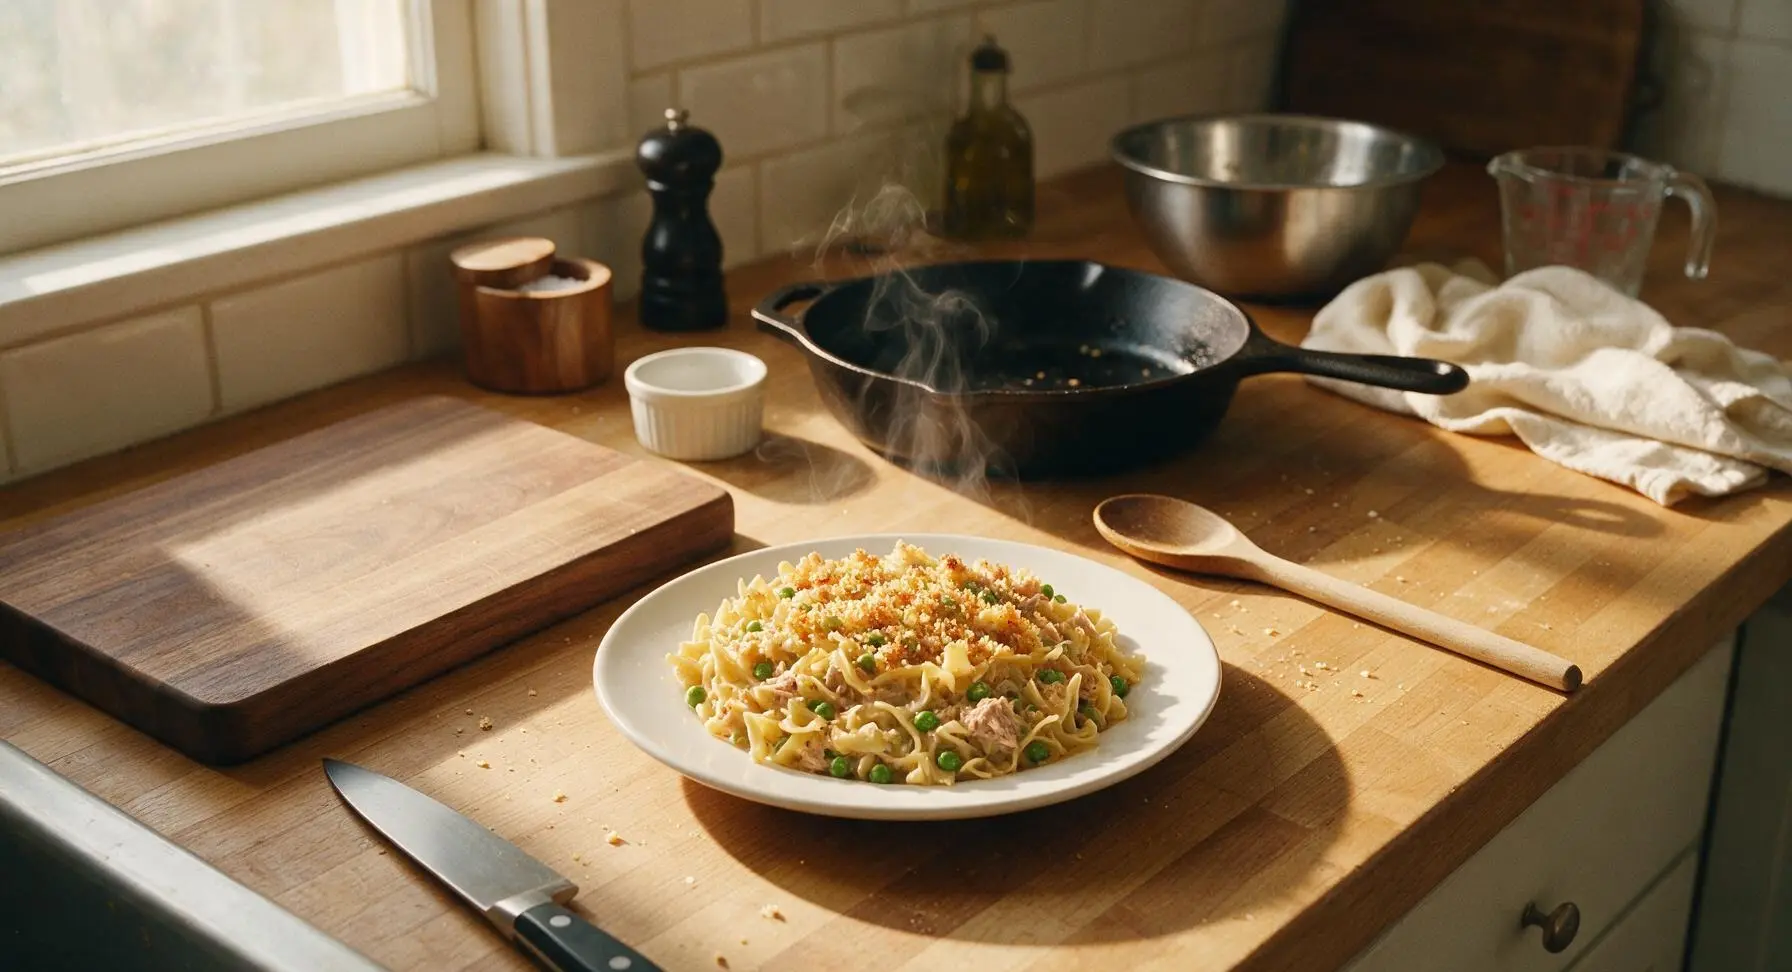
Creamy, nostalgic Midwestern comfort food made with pantry staples: tender egg noodles, flaky tuna, sweet peas, and a crisp buttery breadcrumb topping for cozy, no-fuss meals.

Ingredients
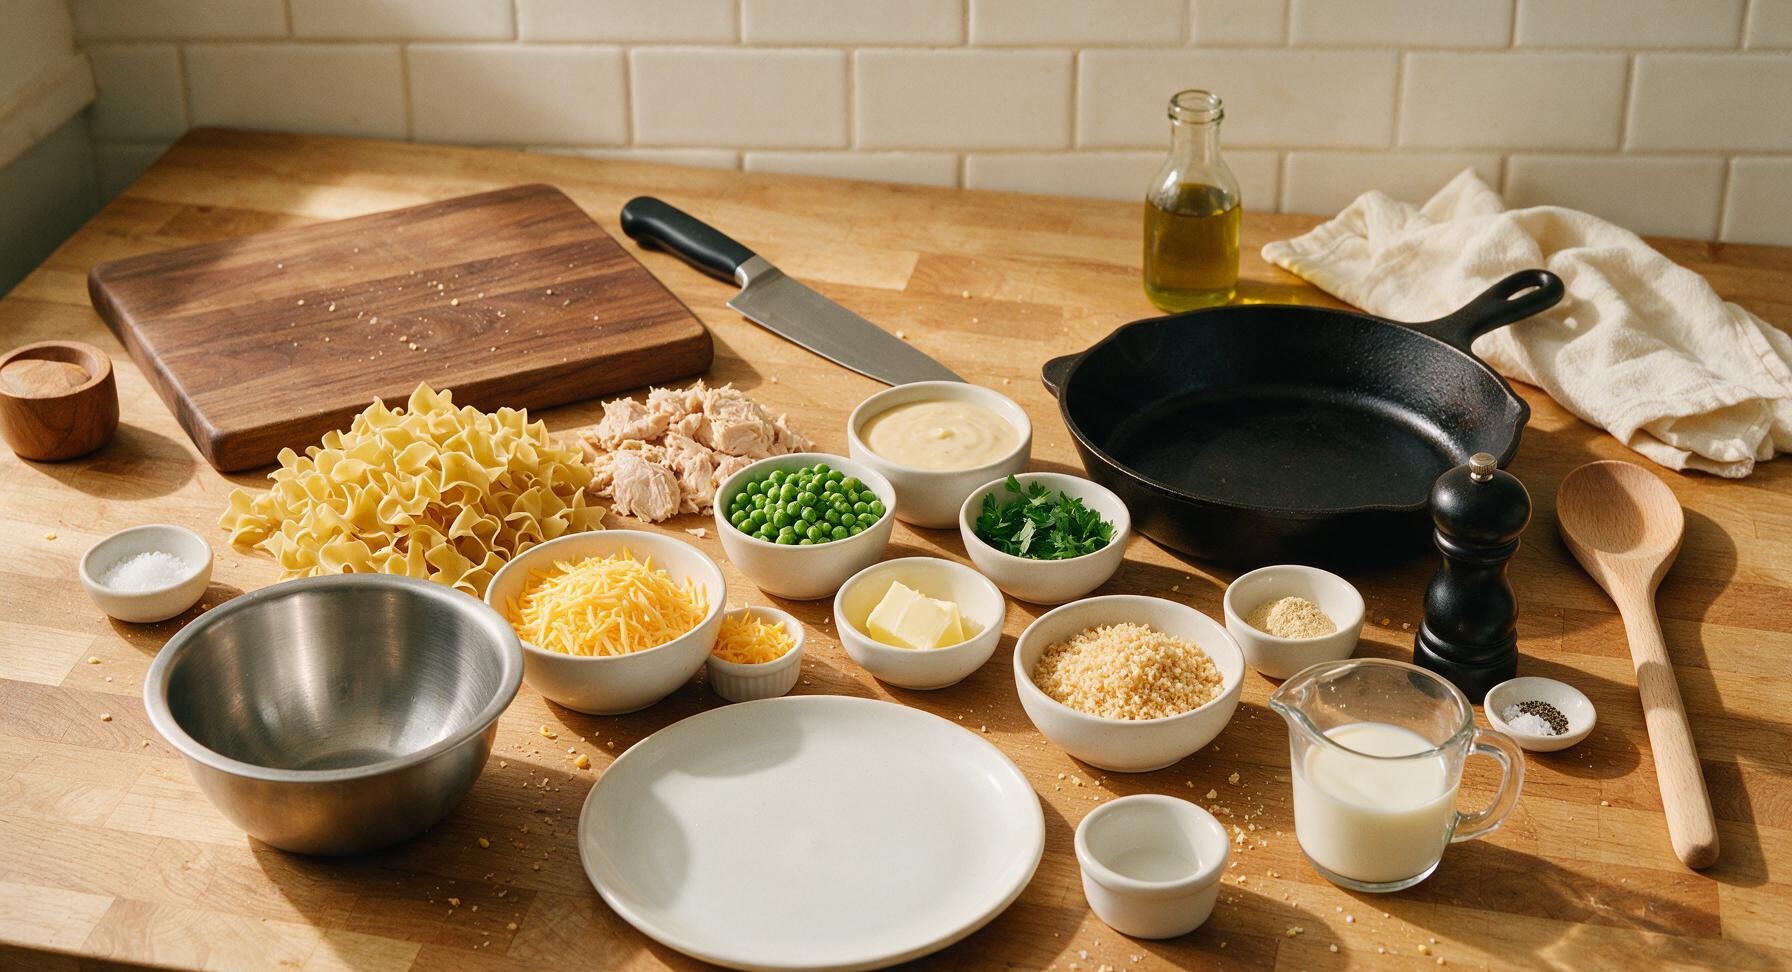
Wide egg noodles 8 oz (225g)
Canned tuna in water, drained 2 (5oz/142g) cans
Frozen green peas 1 cup (150g)
Condensed cream of mushroom soup 1 (10.5oz/298g) can
Whole milk ½ cup (120ml)
Sharp cheddar cheese, shredded 1 cup (110g), divided
Unsalted butter 2 tbsp (28g)
Panko breadcrumbs ½ cup (30g)
Garlic powder 1 tsp
Kosher salt 1.5 tsp, divided
Ground black pepper ¼ tsp
Fresh flat-leaf parsley, chopped 2 tbsp

Steps

1

Cook Egg Noodles

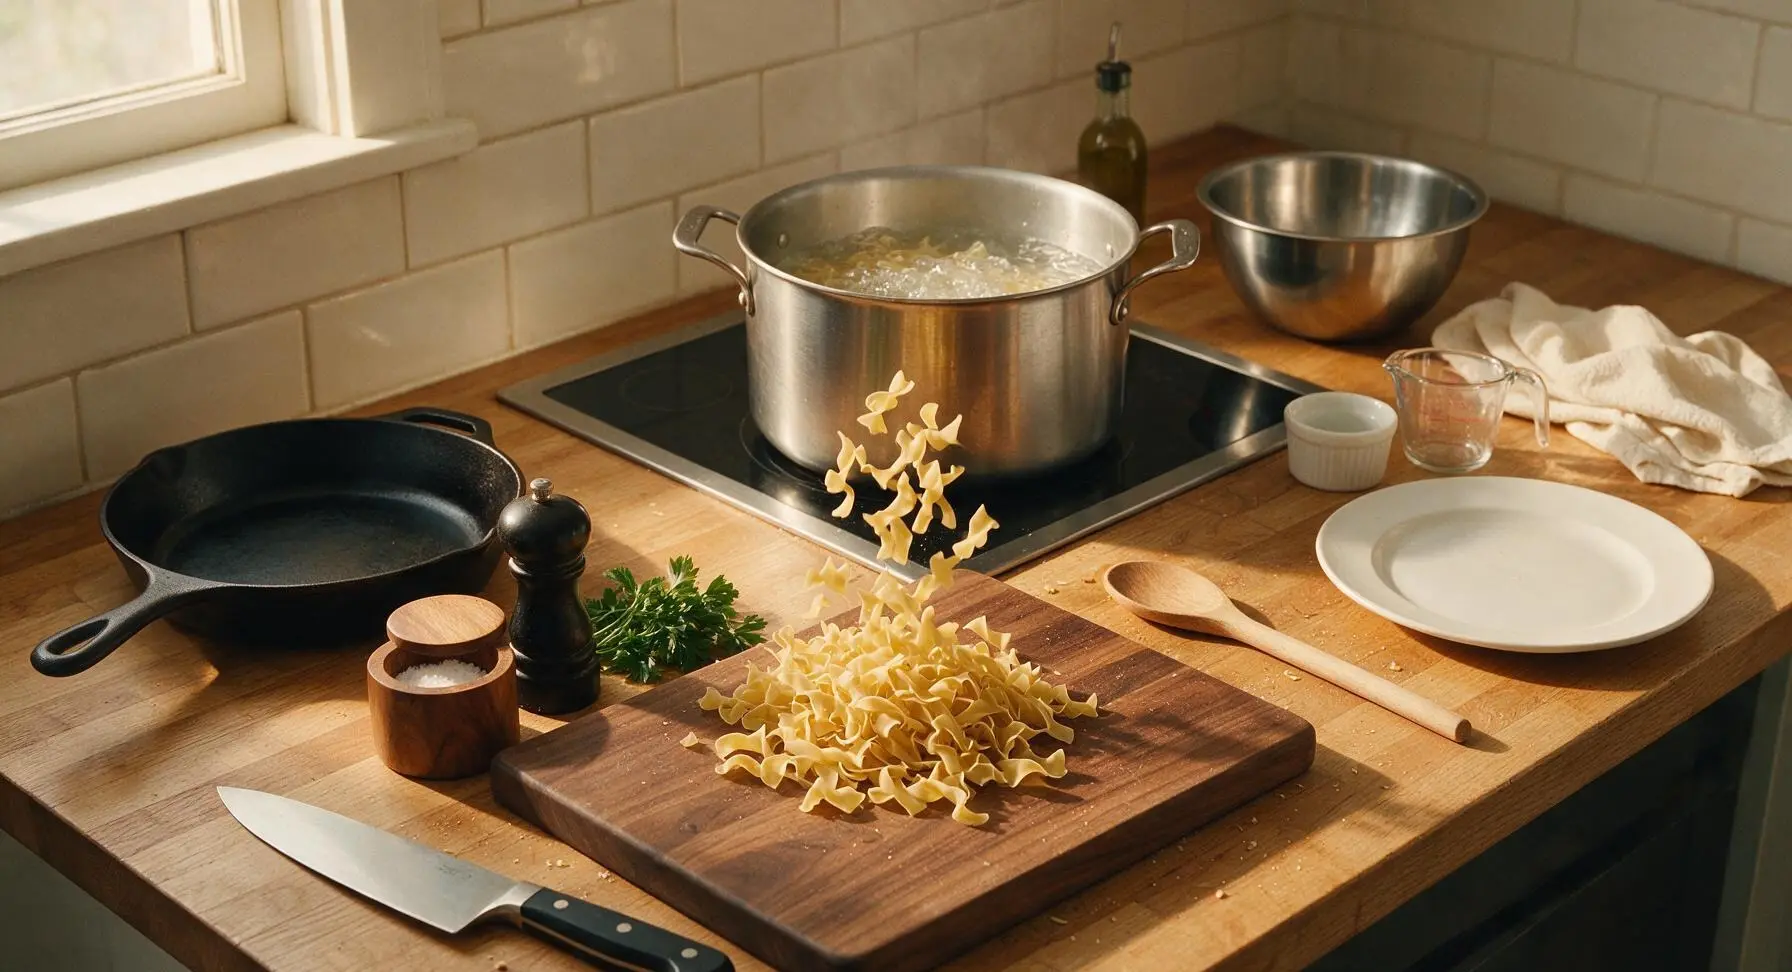
Preheat the countertop convection oven to 375°F (190°C). Fill the 4-quart brushed stainless steel stock pot two-thirds full of cold tap water, add 1 teaspoon of kosher salt, and set on the induction cooktop over high heat to bring to a rolling boil. Add 8 ounces of wide egg noodles, and cook for 2 minutes less than the package's directed al dente cook time (approximately 6 minutes for most brands); noodles will be slightly firm at the center, as they will finish cooking in the oven.
Step 1
step1:Cook Egg Noodles
2

Drain Noodles and Peas

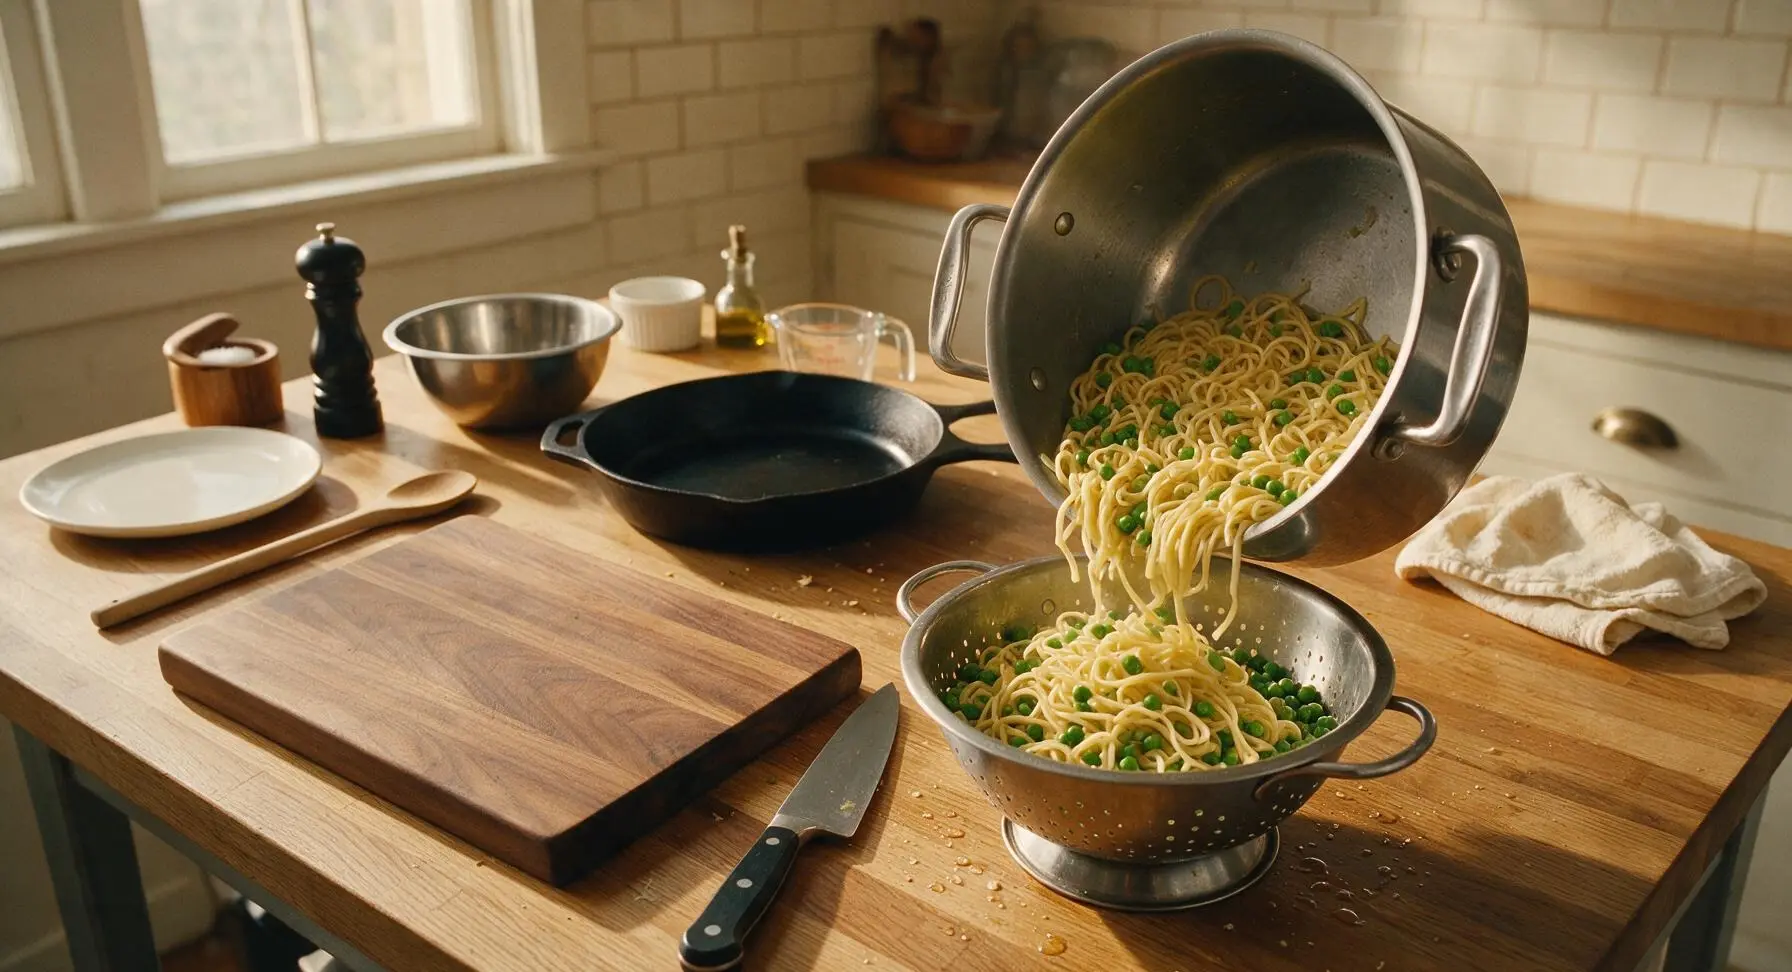
When the noodles are par-cooked, add 1 cup of frozen sweet peas directly to the pot of hot noodles and water, stir once with the silicone spatula to submerge the peas (the hot water will quickly thaw them without turning them mushy). Immediately pour the entire noodle and pea mixture into the stainless steel colander set on the front right of the counter to drain fully; do not rinse the noodles, as residual starch helps sauce adhere. Shake the colander gently to remove excess water.
Step 2
step2:Drain Noodles and Peas
3

Combine Casserole Base

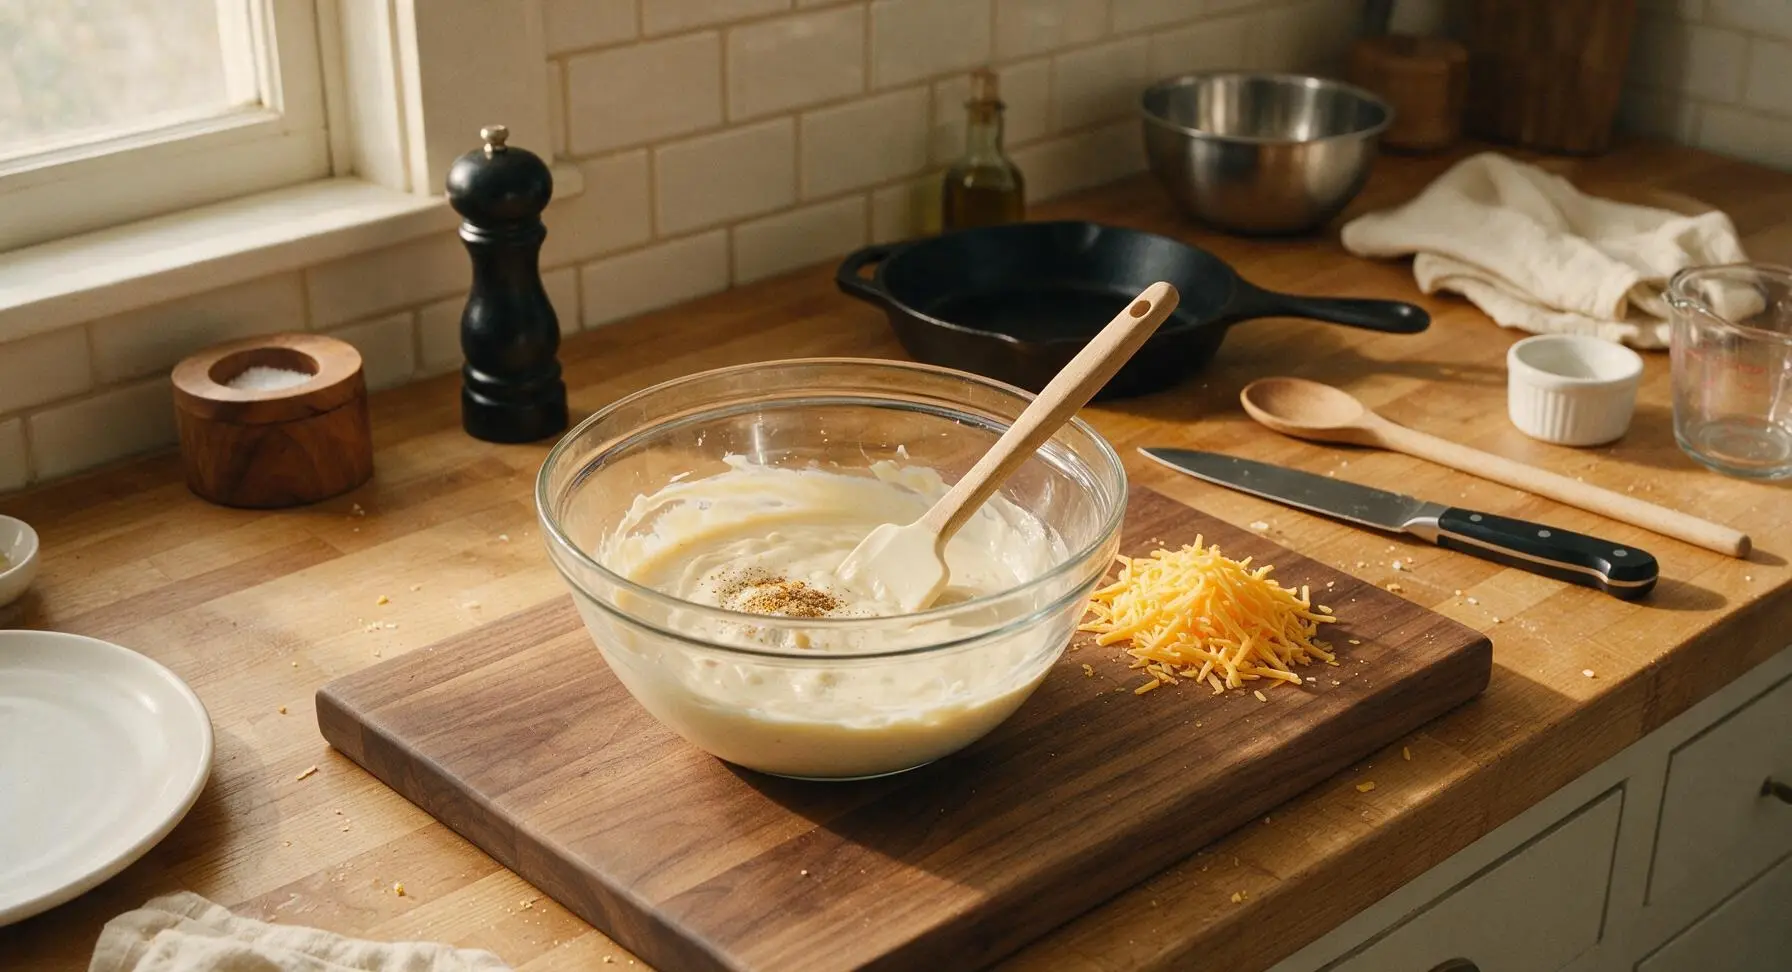
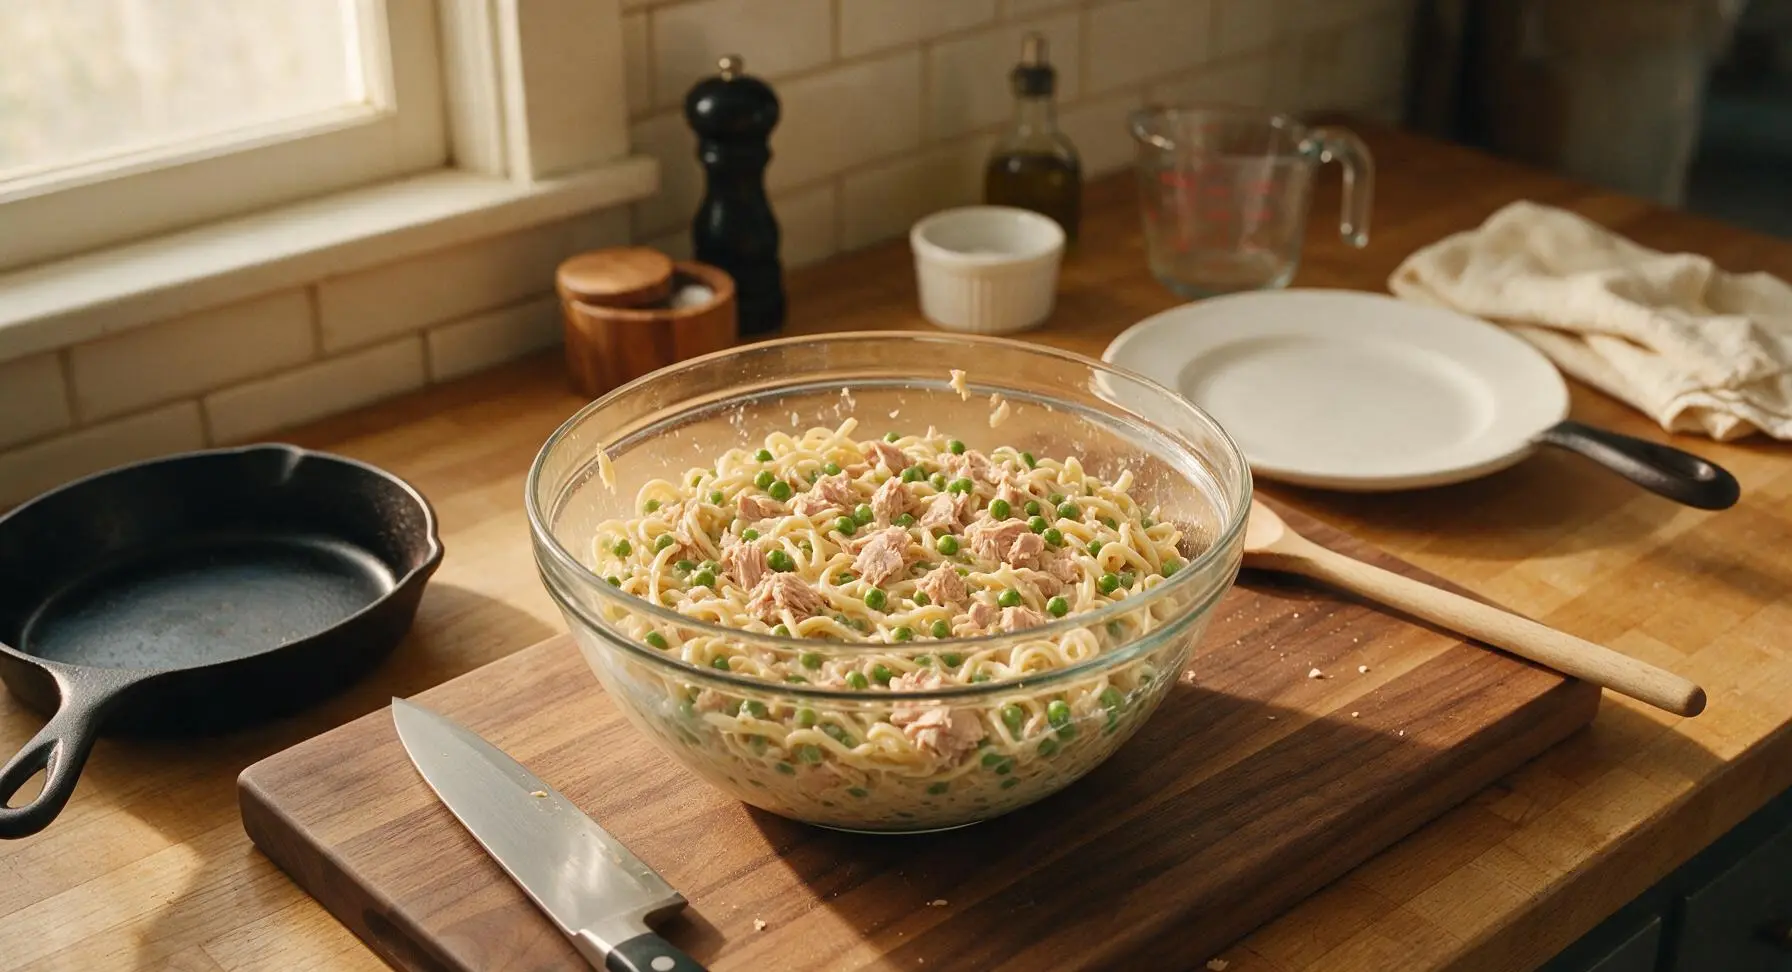
In the 2-quart clear glass mixing bowl set on the beech wood cutting board, stir together the condensed cream of mushroom soup, whole milk, garlic powder, remaining ½ teaspoon kosher salt, and black pepper with the silicone spatula until completely smooth with no lumps. Fold in ¾ cup of the shredded sharp cheddar (reserving ¼ cup for topping), then add the drained noodle and pea mixture and drained, flaked canned tuna. Fold gently to coat everything evenly in sauce, taking care not to mash tuna into fine crumbs (distinct flaky chunks add pleasant texture).
Step 3
step3:Combine Casserole Base
Step 3
step3:Combine Casserole Base
4

Fill Baking Dish

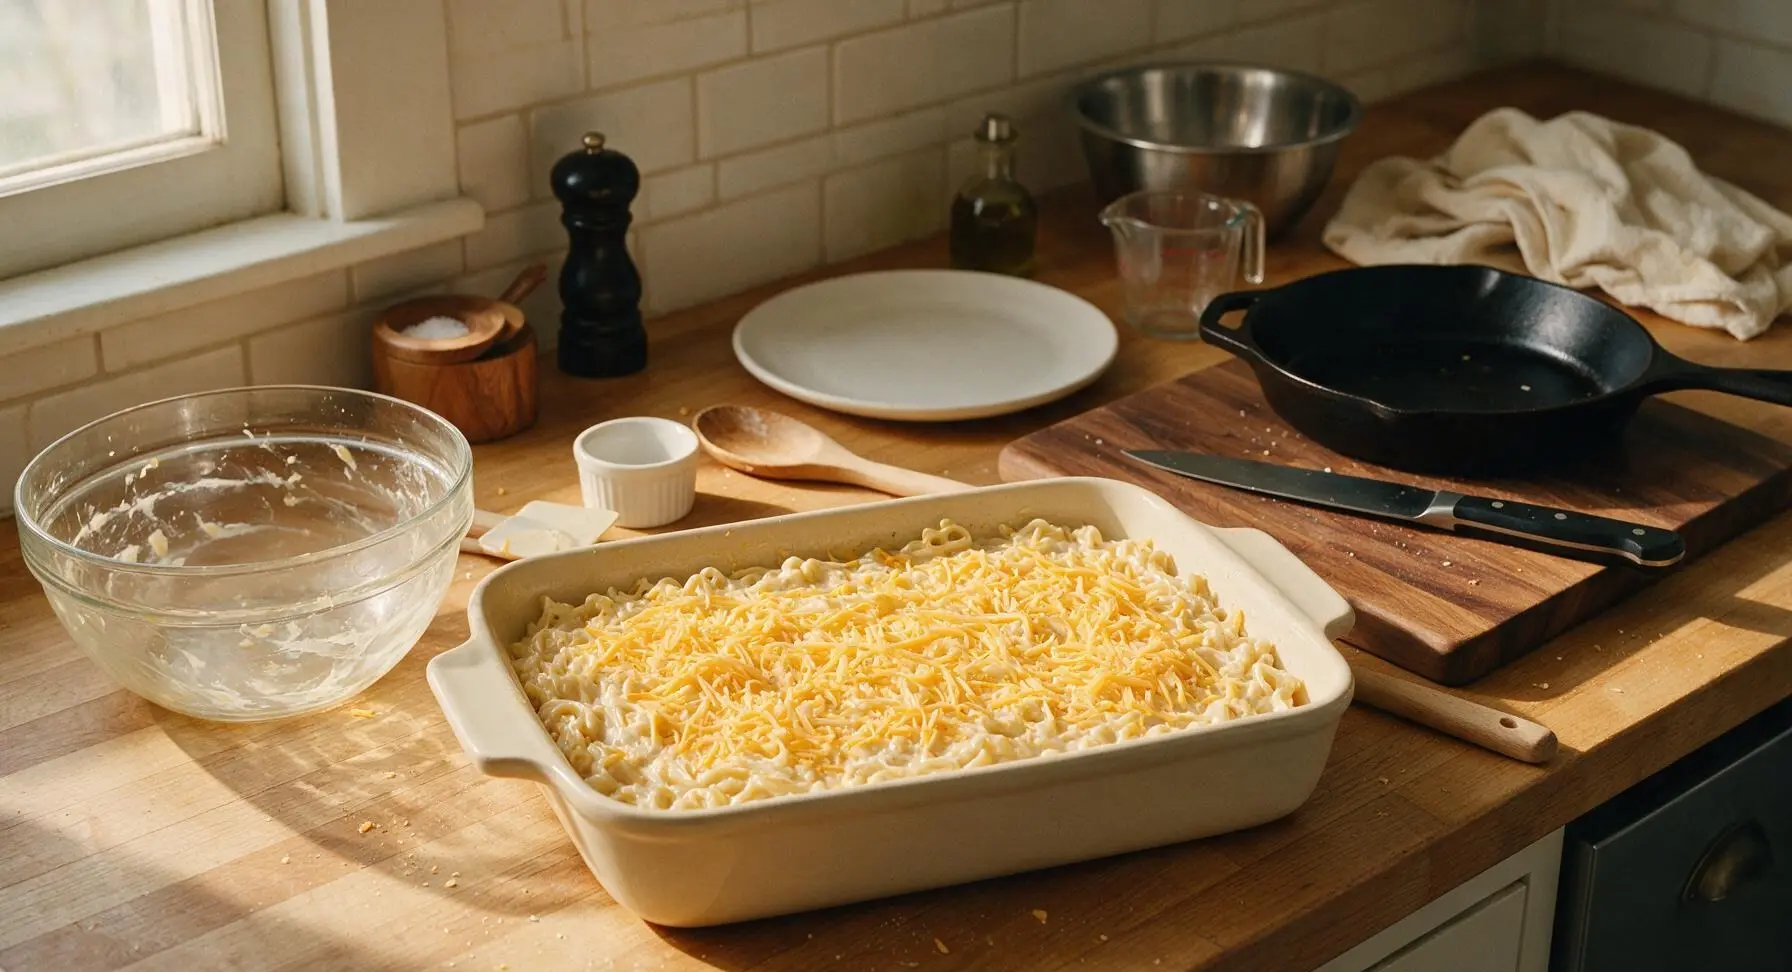
Use the silicone spatula to scrape the entire noodle mixture from the mixing bowl into the 9x13 inch matte cream ceramic baking dish, spreading it into a flat, even layer across the entire dish. Sprinkle the reserved ¼ cup shredded sharp cheddar cheese in a thin, even layer over the top of the noodle mixture.
Step 4
step4:Fill Baking Dish
5

Toast Breadcrumb Topping

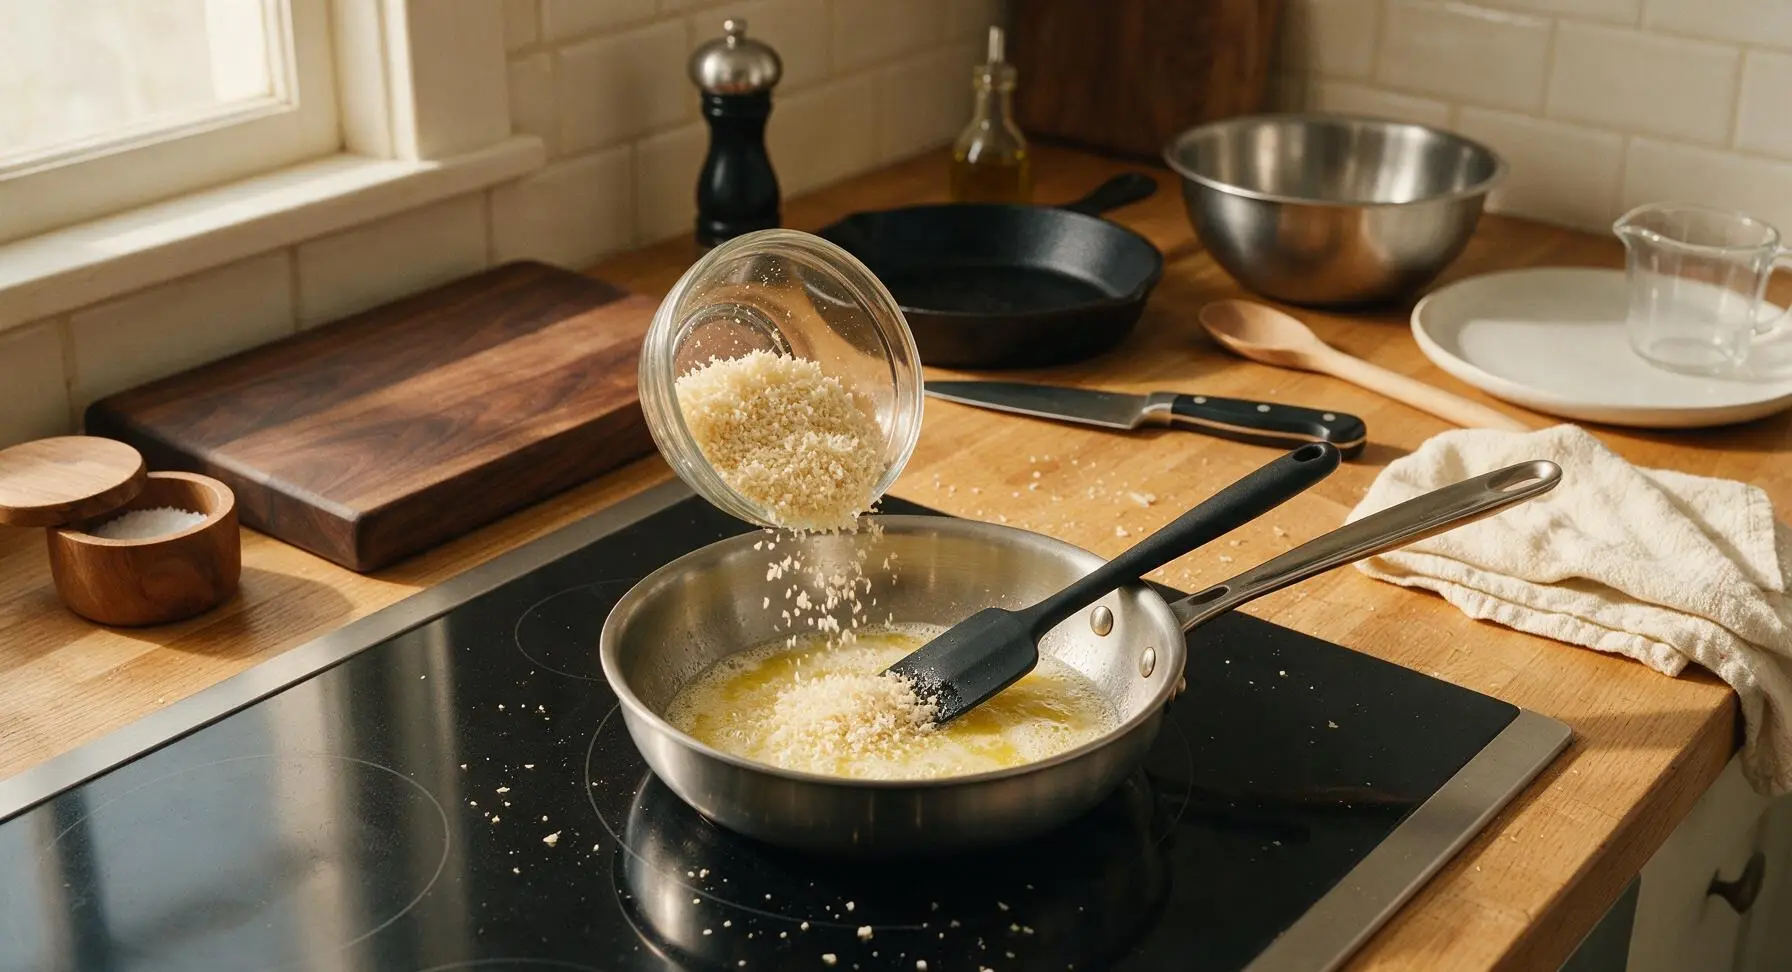
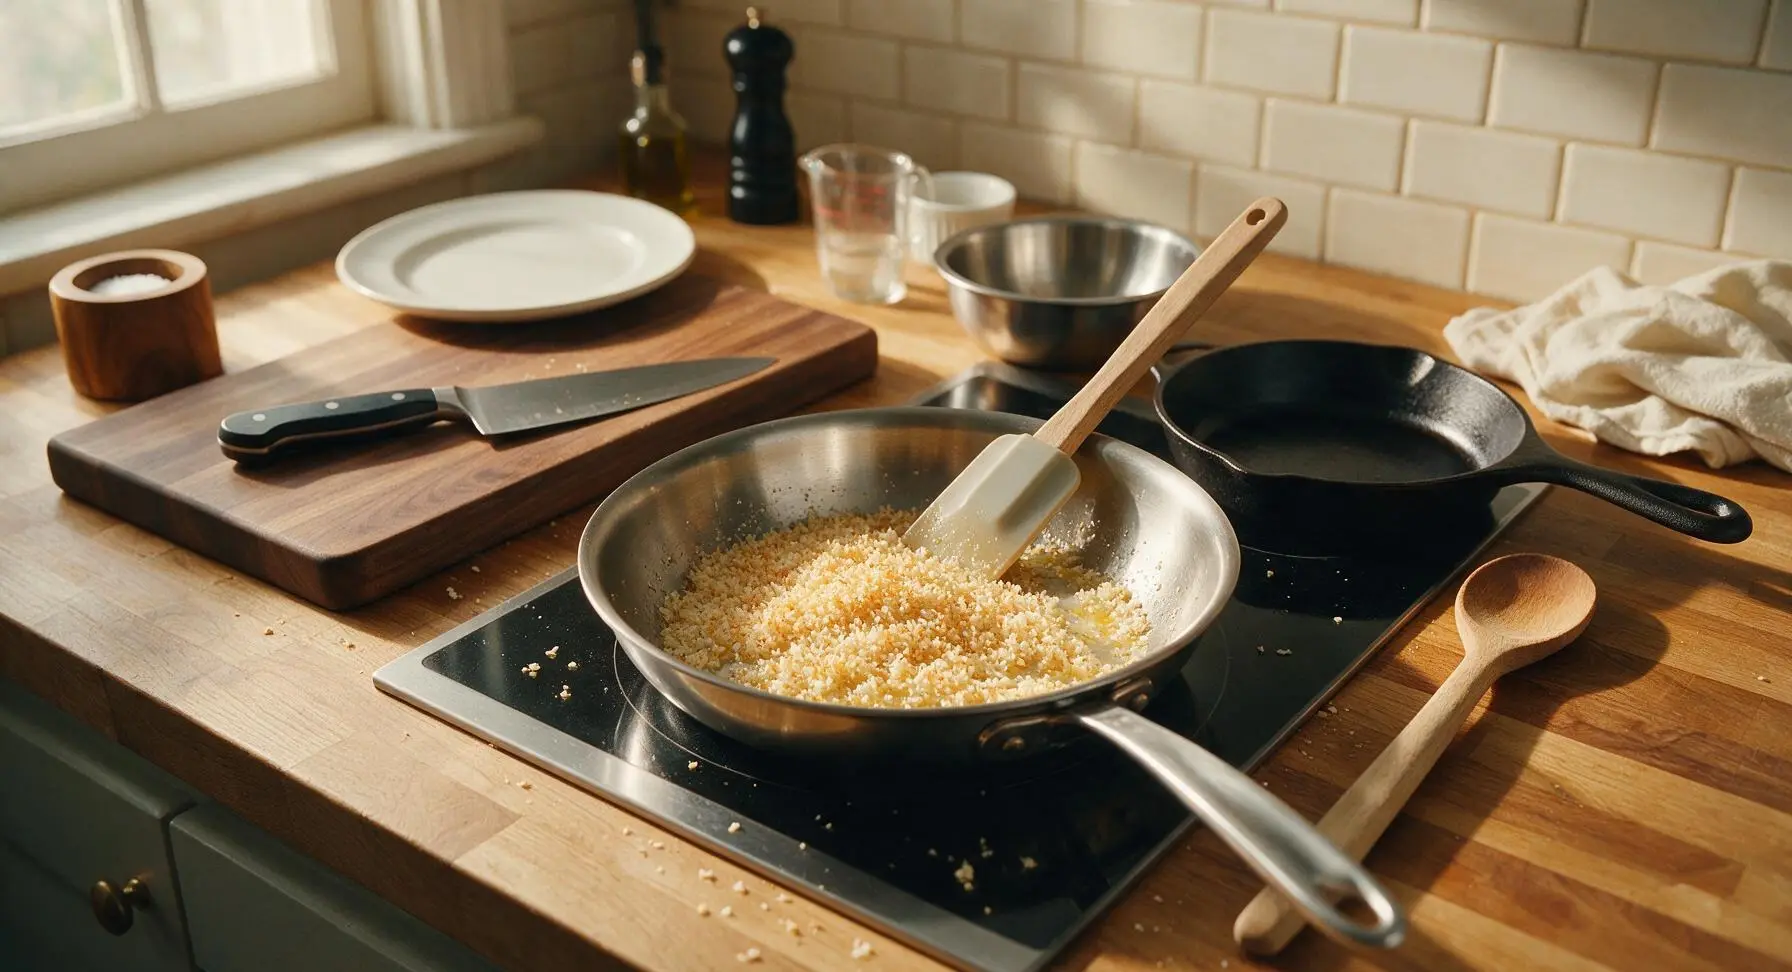
Place the 20cm polished stainless steel small skillet on the induction cooktop over medium heat. Add 2 tablespoons of unsalted butter, and once fully melted and lightly foaming, add ½ cup panko breadcrumbs. Toast, stirring constantly with the silicone spatula, for 2-3 minutes until crumbs are pale golden brown and smell nutty. Watch closely, as panko burns quickly once heated through.
Step 5
step5:Toast Breadcrumb Topping
Step 5
step5:Toast Breadcrumb Topping
6

Bake the Casserole

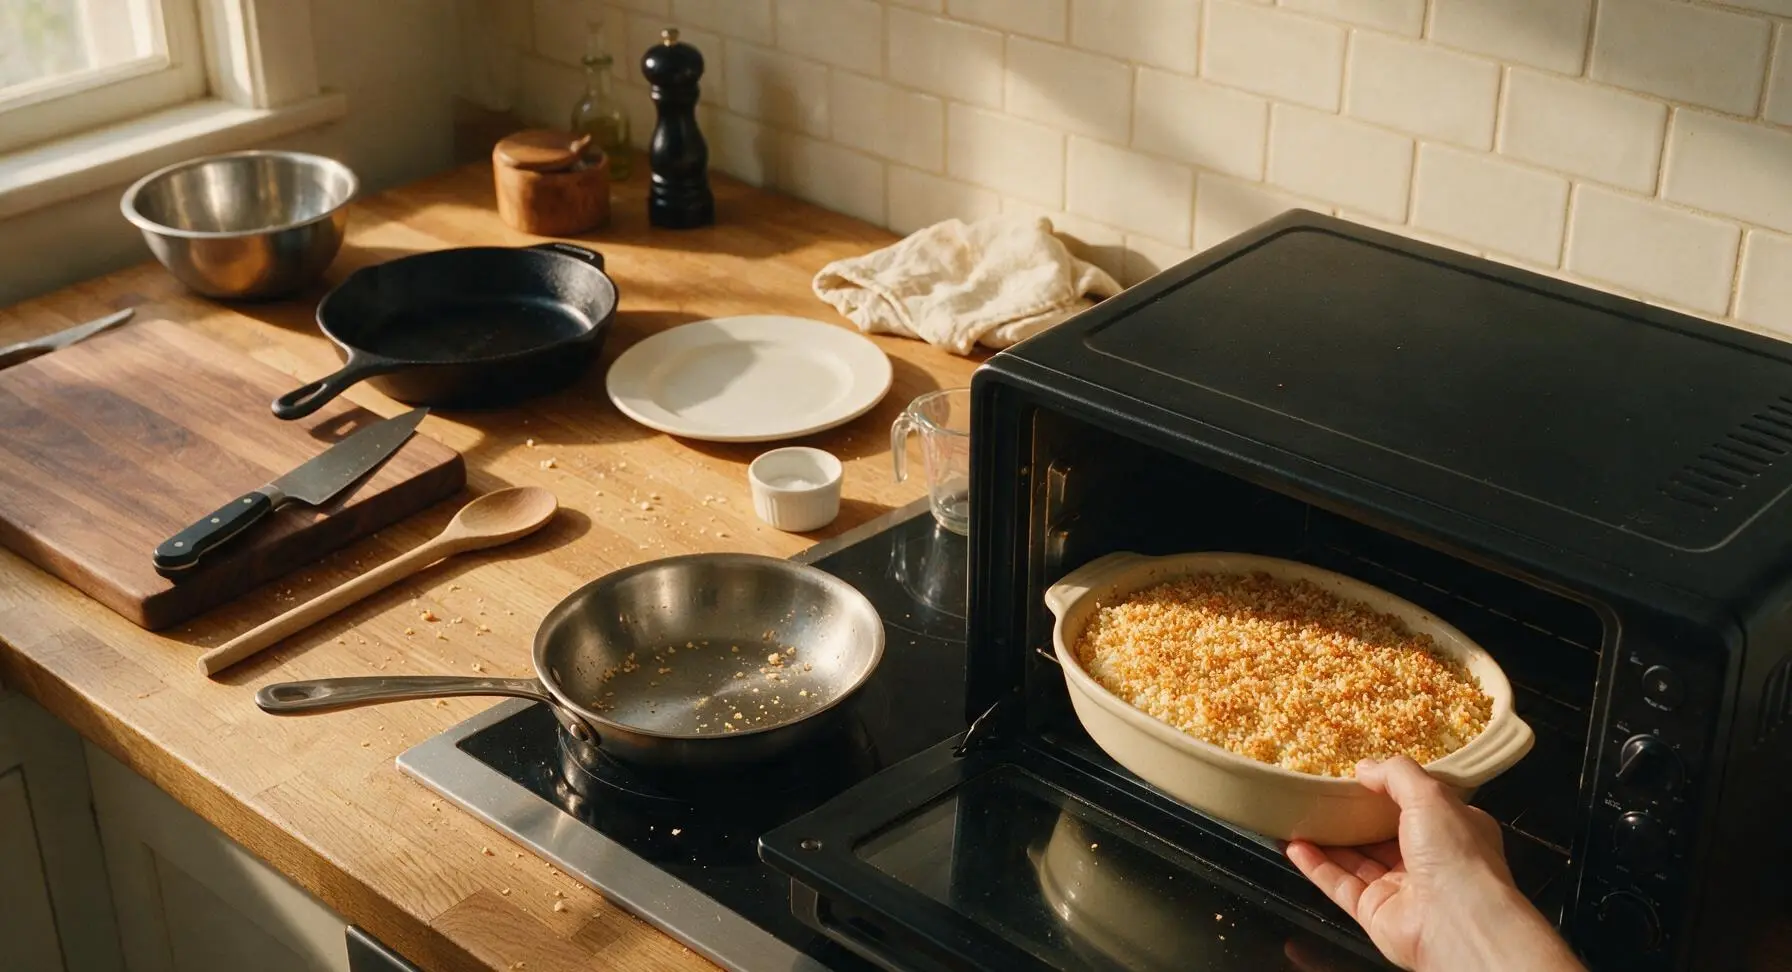
Sprinkle the toasted buttery panko crumbs evenly over the cheese-topped noodle mixture in the baking dish. Carefully slide the baking dish into the preheated countertop convection oven, and bake for 20-25 minutes, until the sauce is actively bubbling around the dish edges and the crumb topping is deep golden brown.
Step 6
step6:Bake the Casserole
7

Rest and Garnish

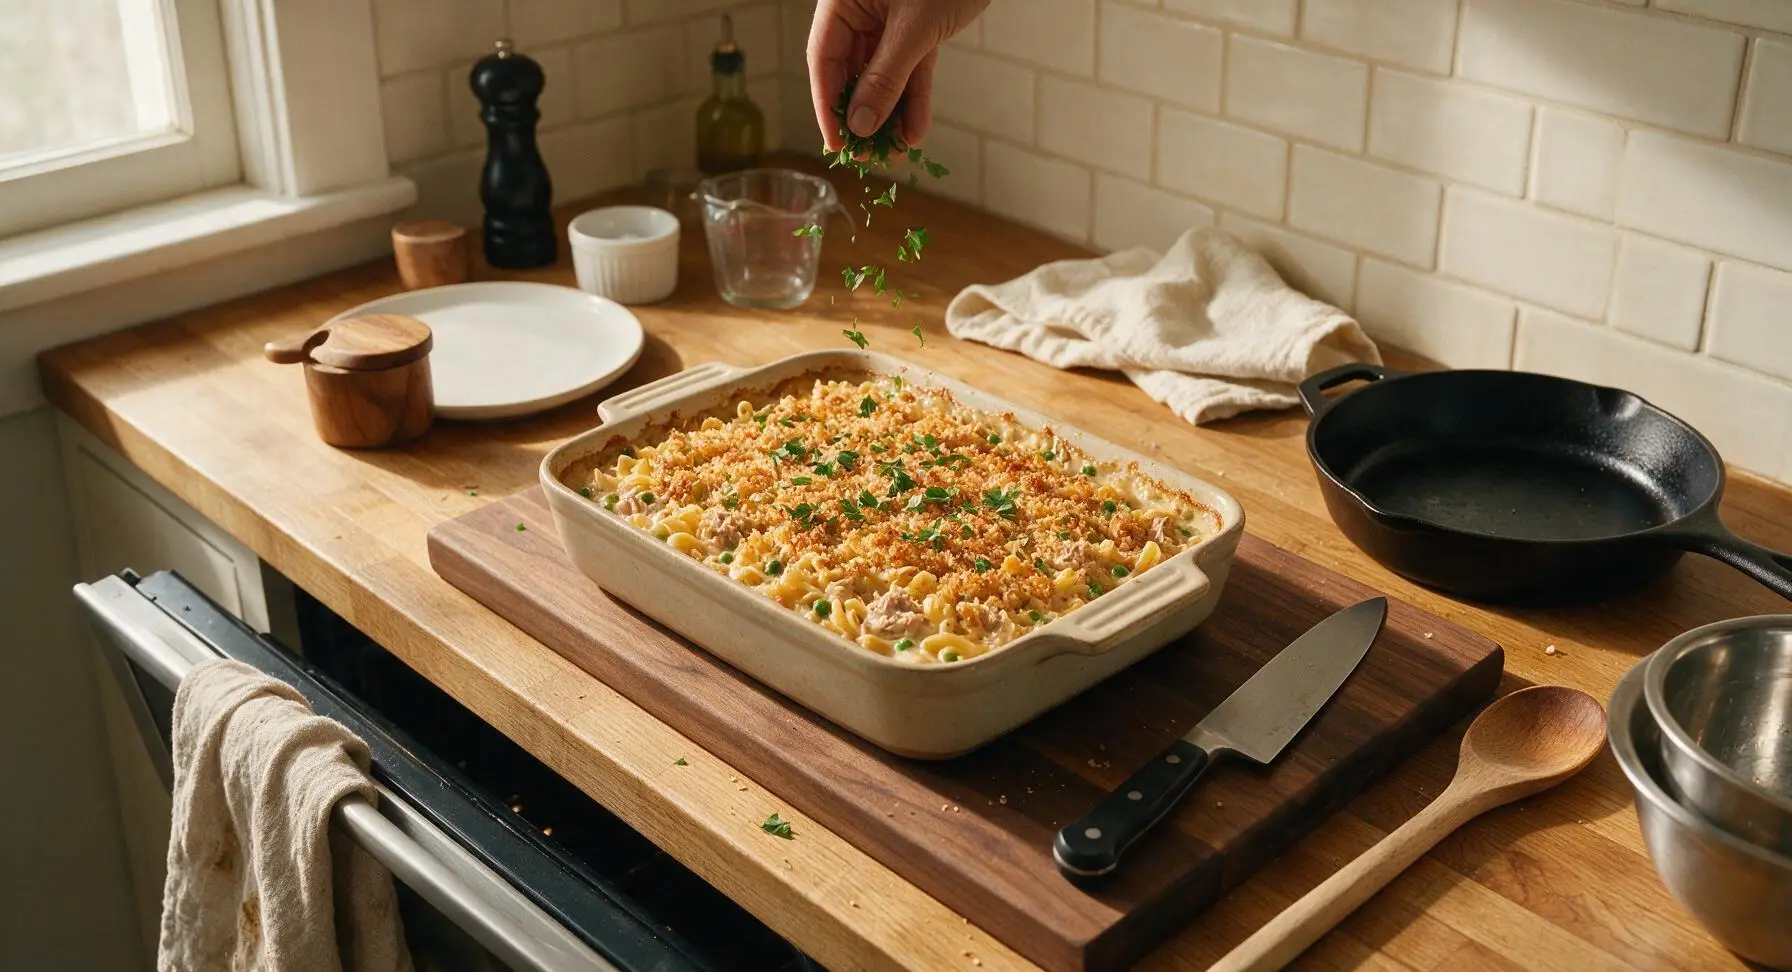
Once baked, use the linen towel to carefully remove the hot casserole from the oven, and set it on the beech wood cutting board to rest for 5 minutes. This rest allows the bubbly sauce to set slightly so servings hold their shape, rather than running across the plate. Sprinkle the top with 2 tablespoons of chopped fresh flat-leaf parsley for bright color and fresh flavor.
Step 7
step7:Rest and Garnish

Tips

1.Par-cook noodles 2 minutes short of package al dente directions: noodles will continue to absorb sauce and cook through during baking, and this prevents them from turning soft and mushy in the finished casserole.
2.Do not rinse drained noodles: the thin starchy coating left on the noodle surface helps the creamy sauce cling evenly, rather than sliding off and pooling at the bottom of the baking dish.
3.Let the casserole rest 5 minutes after baking: this short pause allows the bubbling hot sauce to thicken and set, so scoops hold their neat shape on the plate instead of running, and cools the dish to a safe, comfortable eating temperature.


✨ You May Also Like

Main Course
🍜 United Kingdom

A showstopping classic of tender seared beef, savory mushroom duxelles, and crisp prosciutto wrapped in flaky golden puff pastry, baked to juicy perfection.

⏱️ 2 hours 1Main Course ★ 4.7
Main Course
🍜 India

Tender charred marinated chicken simmered in a rich, spiced creamy tomato sauce, this iconic Anglo-Indian curry pairs perfectly with basmati rice or warm naan.

⏱️ 50 minuteMain Course ★ 4.6
Main Course
🍜 Thailand

Classic tangy, sweet, and savory Thai stir-fried rice noodles with shrimp, tofu, and crunchy garnishes, balancing all five core Thai flavor profiles.

⏱️ 30 minuteMain Course ★ 4.5
Main Course
🍜 United Kingdom

Crispy golden beer-battered cod and fluffy double-fried chips, served with tangy tartar sauce and malt vinegar: the timeless, beloved British pub comfort classic.

⏱️ 45 minuteMain Course ★ 4.7
Main Course
🍜 Mexico

Smoky, chile-marinated pork tacos with caramelized pineapple, fresh cilantro, and lime: a beloved classic Mexican street food perfect for casual summer gatherings.

⏱️ 1 hour 45Main Course ★ 4.8
Main Course
🍜 United States

Crunchy Fritos corn chips layered with savory beef chili and melted cheddar, topped with cool, zesty fixings for a beloved, cozy Tex-Mex comfort food.

⏱️ 35 minuteMain Course ★ 4.8

Tuna Noodle Casserole with Peas:Frequently Asked Questions

1.Can I use a different type of noodle if I don’t have wide egg noodles? ▾
Absolutely! Wide egg noodles give that classic soft, chewy bite, but you can swap in medium egg noodles, rotini, elbow macaroni, or even fusilli in a pinch. Just cook the pasta 1 minute less than the package directs for al dente, since it will soften further while baking in the creamy sauce to avoid mushy results.
2.Do I have to use canned tuna in water, or can I use oil-packed tuna? ▾
You can absolutely use oil-packed tuna if you prefer a richer, more luxe flavor—just drain it really well first so it doesn’t make the casserole greasy. If you use water-packed, flake it gently with a fork before mixing to avoid big, dry clumps, and skip overly mushy chunk light tuna if you want firmer, distinct flakes.
3.Can I use fresh peas instead of frozen peas in this casserole? ▾
Frozen peas work best here because they’re picked and flash-frozen at peak sweetness, but fresh shelled peas work too! If using fresh, blanch them in boiling salted water for 2 minutes then shock in ice water before adding, so they stay tender-crisp. Canned peas are not recommended, as they have a soft texture and tinny aftertaste.
4.Is there a substitute for condensed cream of mushroom soup if I don’t have any? ▾
You bet! Swap in an equal amount of condensed cream of chicken, cream of celery, or even cheddar cheese soup for a fun flavor twist. If you want to make it from scratch, simmer 1 cup sautéed mushrooms with 1 cup thick béchamel and a pinch of garlic powder until it matches the thick, creamy consistency of canned condensed soup.
5.Can I make this casserole ahead of time for meal prep? ▾
Absolutely! Assemble the entire casserole (hold the breadcrumb topping until right before baking) and cover it tightly in plastic wrap, then refrigerate for up to 3 days. When you’re ready to bake, add the buttery breadcrumbs, tack on 5-7 minutes of bake time to account for the cold pan, and cook until the center is bubbly.
6.Why does my tuna noodle casserole always turn out dry? ▾
Dry casserole usually stems from one of two common issues: overcooking your noodles before baking, or not adding enough liquid to the sauce. Remember to undercook noodles by 1 minute, and if your condensed soup is extra thick, stir in an extra 2-3 tablespoons of milk to keep the sauce loose enough to coat every noodle as it bakes.
7.How do I get that perfect crispy, buttery breadcrumb topping? ▾
For the ideal crisp top, mix plain panko breadcrumbs with melted salted butter (1 tablespoon butter per ½ cup crumbs) until every crumb is evenly coated. Sprinkle the crumbs over the casserole in the last 15 minutes of baking, instead of adding them at the start, so they don’t get soggy from absorbing the creamy sauce below.
8.Can I mix extra vegetables into this casserole? ▾
Of course! This recipe is super flexible for add-ins. Try stirring in ½ cup sautéed diced onion, ½ cup chopped roasted red peppers, ½ cup steamed corn, or extra sautéed sliced mushrooms for more depth. Just pat any added veggies dry before mixing in, so extra water doesn’t thin out the rich, creamy sauce.
9.Can I use plant-based milk instead of whole milk to make this dairy-free? ▾
You can make a dairy-free swap easily! Unsweetened plain oat milk is your best bet, since it has a creamy, neutral flavor that won’t overpower the other ingredients. Pair it with dairy-free condensed cream of mushroom soup, and use olive oil instead of butter for the breadcrumb topping for a fully dairy-free bake.
10.How long do leftovers last, and what’s the best way to reheat them? ▾
Leftovers will stay fresh stored in an airtight container in the fridge for 3-4 days. To reheat, scoop individual portions into a microwave-safe dish, add a tiny splash of milk to loosen the sauce, cover with a damp paper towel, and microwave in 30-second bursts until heated through. You can also reheat the whole pan in a 350°F oven for 15-20 minutes.
11.Do I need to cover the casserole with foil while it bakes? ▾
Yes, cover the pan tightly with foil for the first 25 minutes of baking to trap steam and make sure the noodles cook evenly without drying out. Remove the foil for the last 15 minutes, add your buttered breadcrumbs, and bake uncovered so the topping gets golden and crisp, and the edges bubble and caramelize slightly.
12.Can I freeze this tuna noodle casserole to eat later? ▾
Absolutely! Assemble the unbaked casserole in a freezer-safe aluminum pan, wrap it tightly in two layers of plastic wrap and a layer of foil, and freeze for up to 3 months. Thaw it in the fridge overnight before baking, add the breadcrumb topping, and bake as directed, adding 10 minutes of cook time if the center is still cold.
13.What type of canned tuna works best for this recipe? ▾
Solid white albacore tuna packed in water is my top pick, because it has a firm, flaky texture and mild, clean flavor that doesn’t overpower the creamy sauce. Chunk light tuna works fine for a budget-friendly option, but it has a softer, more shredded texture and slightly stronger fish flavor that some people find less ideal for casseroles.
14.Do I need to thaw frozen peas before stirring them into the casserole? ▾
No need to thaw frozen peas first! The small, flash-frozen peas will cook perfectly straight from the freezer as the casserole bakes, and thawing them ahead can lead to mushy, overcooked peas. Just give them a quick rinse under cold water to knock off loose ice crystals, pat dry, and stir them right into the mix.
15.Can I add cheese to this recipe, and if so, what kind works best? ▾
Cheese is a delicious, totally welcome addition! Stir ½ cup shredded sharp cheddar or Monterey Jack into the creamy sauce for a subtle cheesy tang, or sprinkle an extra ¼ cup over the top right before adding breadcrumbs for a gooey, melty layer. Skip soft cheeses like brie or feta, as they can separate or make the sauce grainy when baked.
16.What size baking dish should I use for this recipe? ▾
A standard 9x13 inch (3-quart) glass or ceramic baking dish is perfect, as it gives the casserole enough room to bubble up without spilling over, and creates an even layer of crispy topping across the whole surface. If you only have a smaller 2-quart dish, split the mixture between two pans or reduce quantities by a third to avoid overflow.

Comments (6)

2 hours ago

OMG this was such a game changer for our crazy weeknight dinner rush! I only had 30 minutes to get something on the table before soccer practice and this came together so easily. My two kids ate seconds, even the one who swears he hates peas! Will absolutely be adding this to our regular meal rotation.

30 minutes ago

So glad this worked out for your busy weeknight! It’s the perfect quick, cozy meal for packed schedules—pro tip, you can toss in a little extra shredded cheddar on top before baking if your crew loves extra cheese!

3 days ago

Brought this to our neighborhood potluck last weekend and it was a total hit! I did add a little extra crispy fried onion on top because that’s how my grandma always made tuna casserole, and people were going back for thirds. Only reason it’s not 5 stars is I wish the recipe specified what type of tuna works best— I used oil-packed and it was great, but curious if water-packed is better?

2 days ago

I’ve used both! Water-packed is lighter if you don’t want it too rich, but oil-packed adds so much more flavor imo. I usually drain it really well either way!

2 days ago

Great question! Both work perfectly, like MidwestCook22 said—water-packed gives a lighter, brighter flavor while oil-packed adds extra richness. We usually reach for water-packed for weeknights but love oil-packed for potlucks too!

1 week ago

SO good! I made a big batch on Sunday for meal prep and it held up perfectly all week for lunches. The peas add such a nice pop of sweetness against the creamy sauce and tuna, no sad desk lunch here! I portioned it out into 5 containers and it reheated like a dream in the microwave, no weird soggy noodles. 10/10 for meal prep folks.

5 days ago

Okay, full transparency: I’m a total newbie in the kitchen and I was nervous I’d mess this up, but it was so easy! 30 minutes total, no fancy steps, and it tasted exactly like the tuna casserole my mom used to make when I was a kid. I even forgot to thaw the peas first and it still turned out fine? Wild.

3 days ago

Welcome to cooking, Jake! That’s the best part of this recipe— it’s super forgiving. I’ve thrown in frozen corn, leftover diced carrots, even a little chopped celery when I had it lying around and it always works out. Can’t wait to hear what other recipes you try!

2 weeks ago

Made this last night when it was pouring rain and we needed some serious comfort food. It hit every single spot! Creamy, savory, the peas keep it from feeling too heavy, and the crunchy top layer? *Chef’s kiss.* Wait, quick question—can I make this a day ahead and bake it right before dinner when we have friends over?

1 week ago

I did this for a dinner party last month! I assembled everything the night before, kept it covered in the fridge, and added about 10 extra minutes to the bake time since it was cold going in the oven. Turned out perfect, no one knew I prepped it ahead!

1 week ago

Absolutely you can prep it ahead! Just assemble the casserole, cover tightly, and store in the fridge for up to 24 hours before baking. Like Mia said, add 8-10 minutes to the cook time if it’s straight from the fridge, and you’re golden. Hope your friends love it!

yesterday

Really solid recipe! I swapped the regular egg noodles for gluten-free egg noodles and used gluten-free cream of mushroom soup, and it turned out amazing. You couldn’t even tell it was GF! My husband who eats literally everything said he liked it better than the regular version he grew up on. Will definitely make this again, might add a little lemon zest next time for a bright kick.



