
Turkey Fry
intro
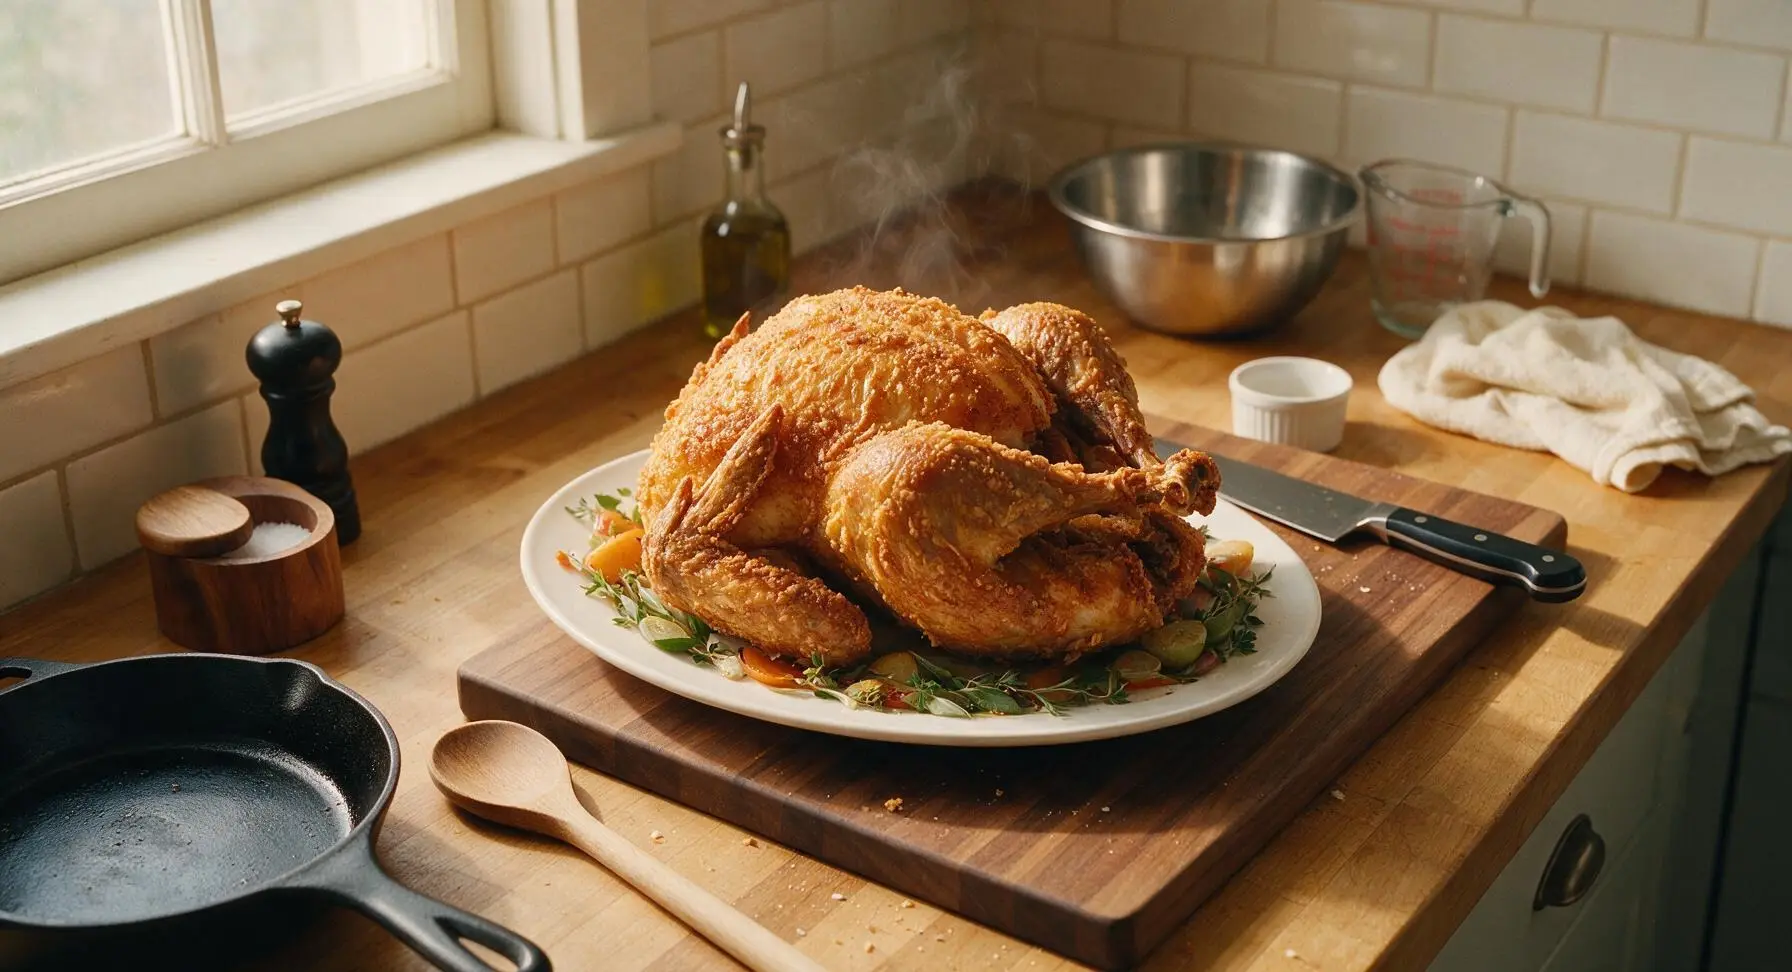
Juicy, perfectly seasoned whole turkey with shatteringly crisp golden skin, cooked fast in hot oil for a showstopping Thanksgiving centerpiece that beats roasted turkey every time.
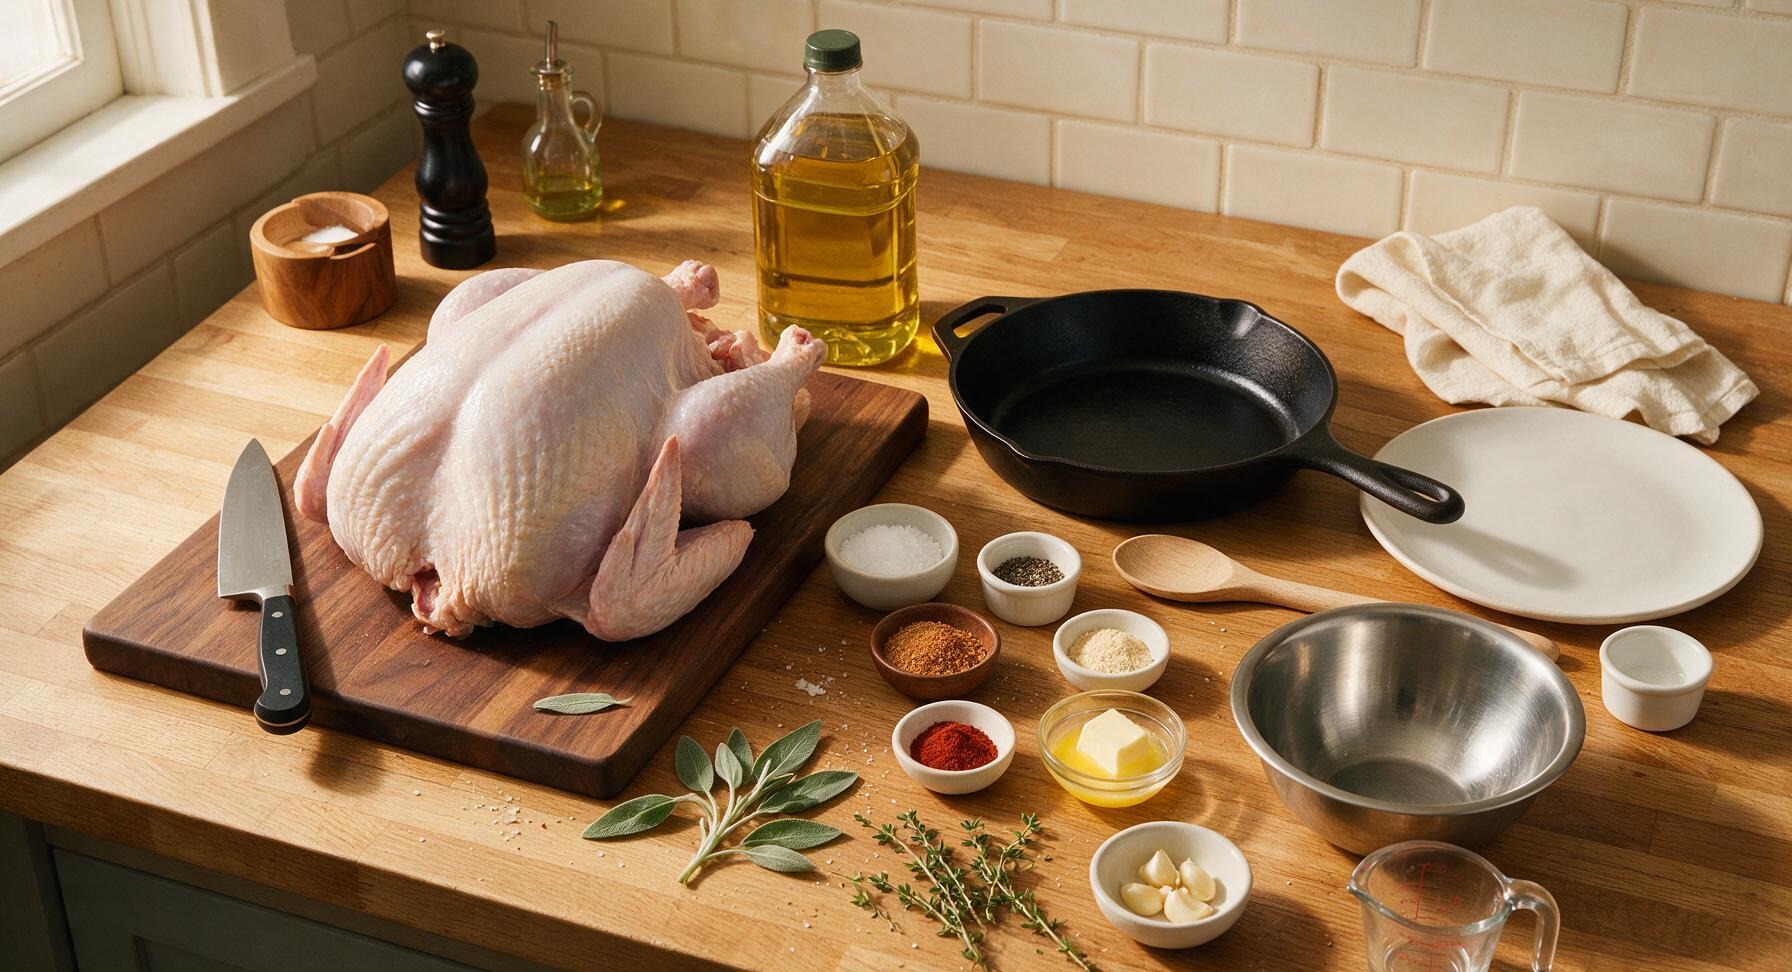
Ingredients
Steps
Prep and Pat Dry Turkey
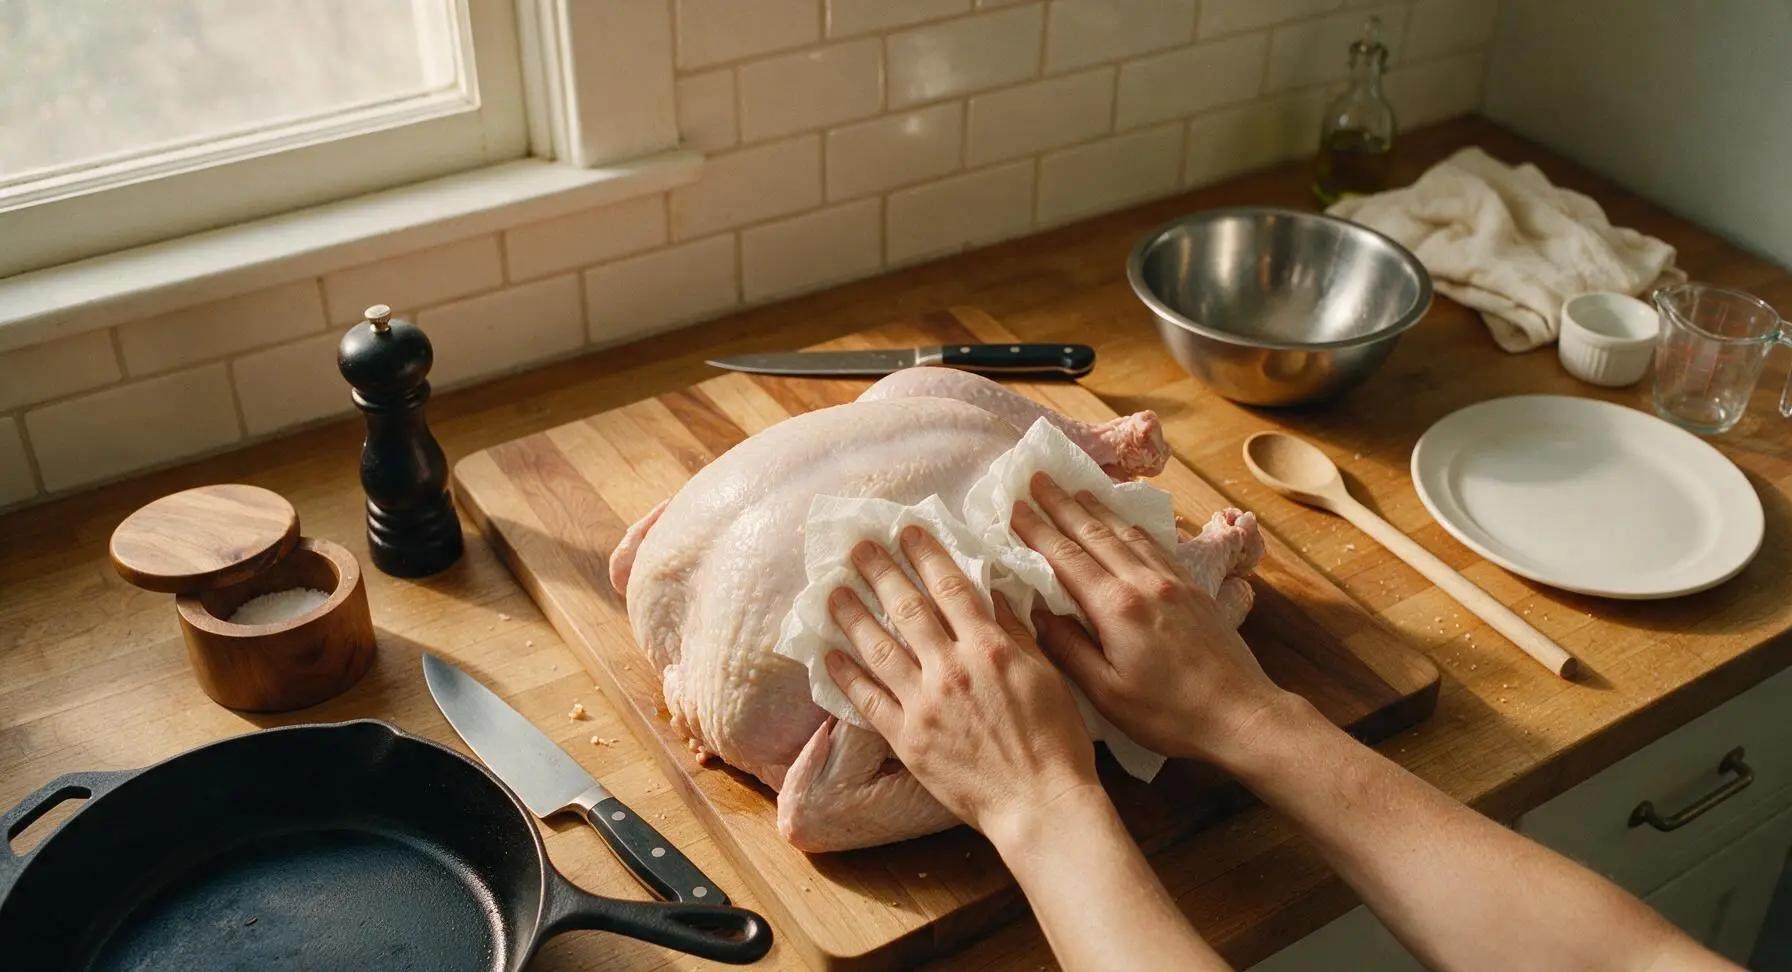
Remove the 12lb whole turkey from packaging, and extract the neck and giblet bag from the body and neck cavities (reserve for gravy if desired). Set the turkey on the large maple cutting board. Use unprinted white paper towels to thoroughly pat every surface of the turkey—outer skin, interior cavity, and under the wing and leg joints—completely dry. Any remaining moisture will cause dangerous hot oil splatter during frying. The skin should feel fully matte and dry to the touch, with no damp or slimy spots remaining.
Season Turkey Evenly
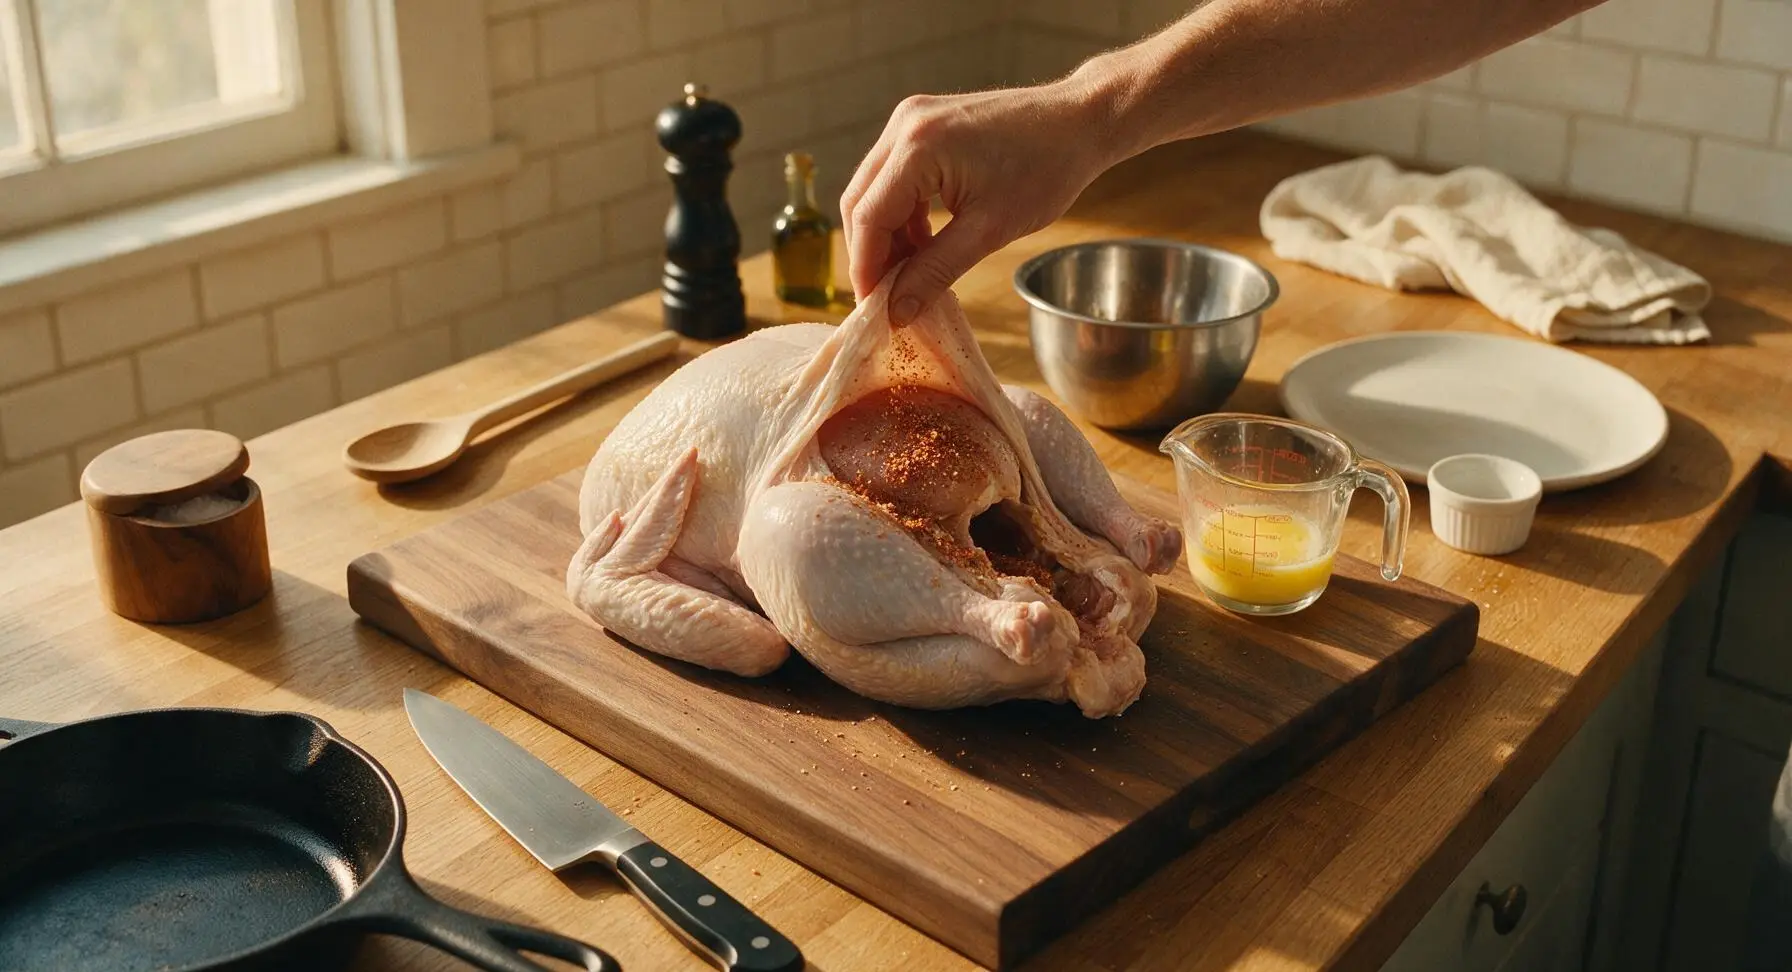
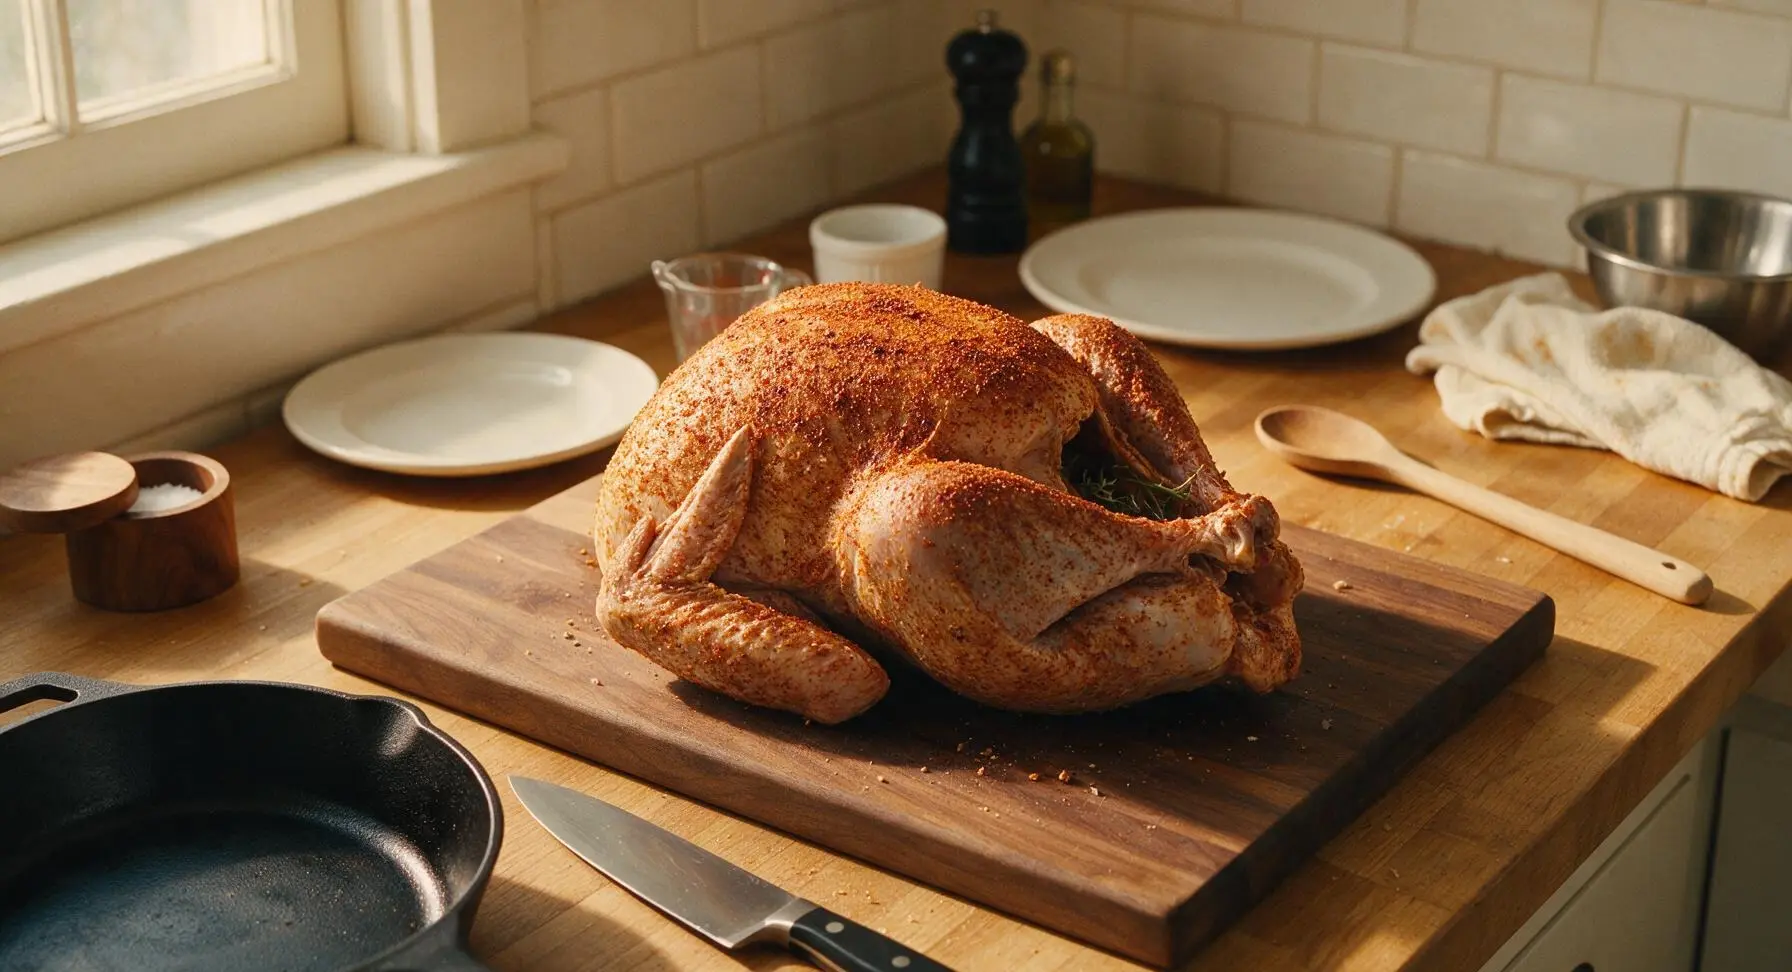
In the small stainless steel mixing bowl, combine 3 tbsp kosher salt, 1 tbsp black pepper, 2 tbsp Cajun seasoning, 1 tbsp garlic powder, and 1 tsp smoked paprika. Gently lift the turkey skin away from the breast and thigh meat, taking care not to tear the delicate skin. Rub half the seasoning mix and all 4 tbsp melted butter directly onto the exposed meat under the skin. Rub the remaining seasoning mix all over the outer skin and inside the turkey cavity. Tuck 4 sage sprigs, all thyme sprigs, and crushed garlic cloves into the cavity. Let the seasoned turkey rest at room temperature for 20 minutes before frying.
Heat Frying Oil
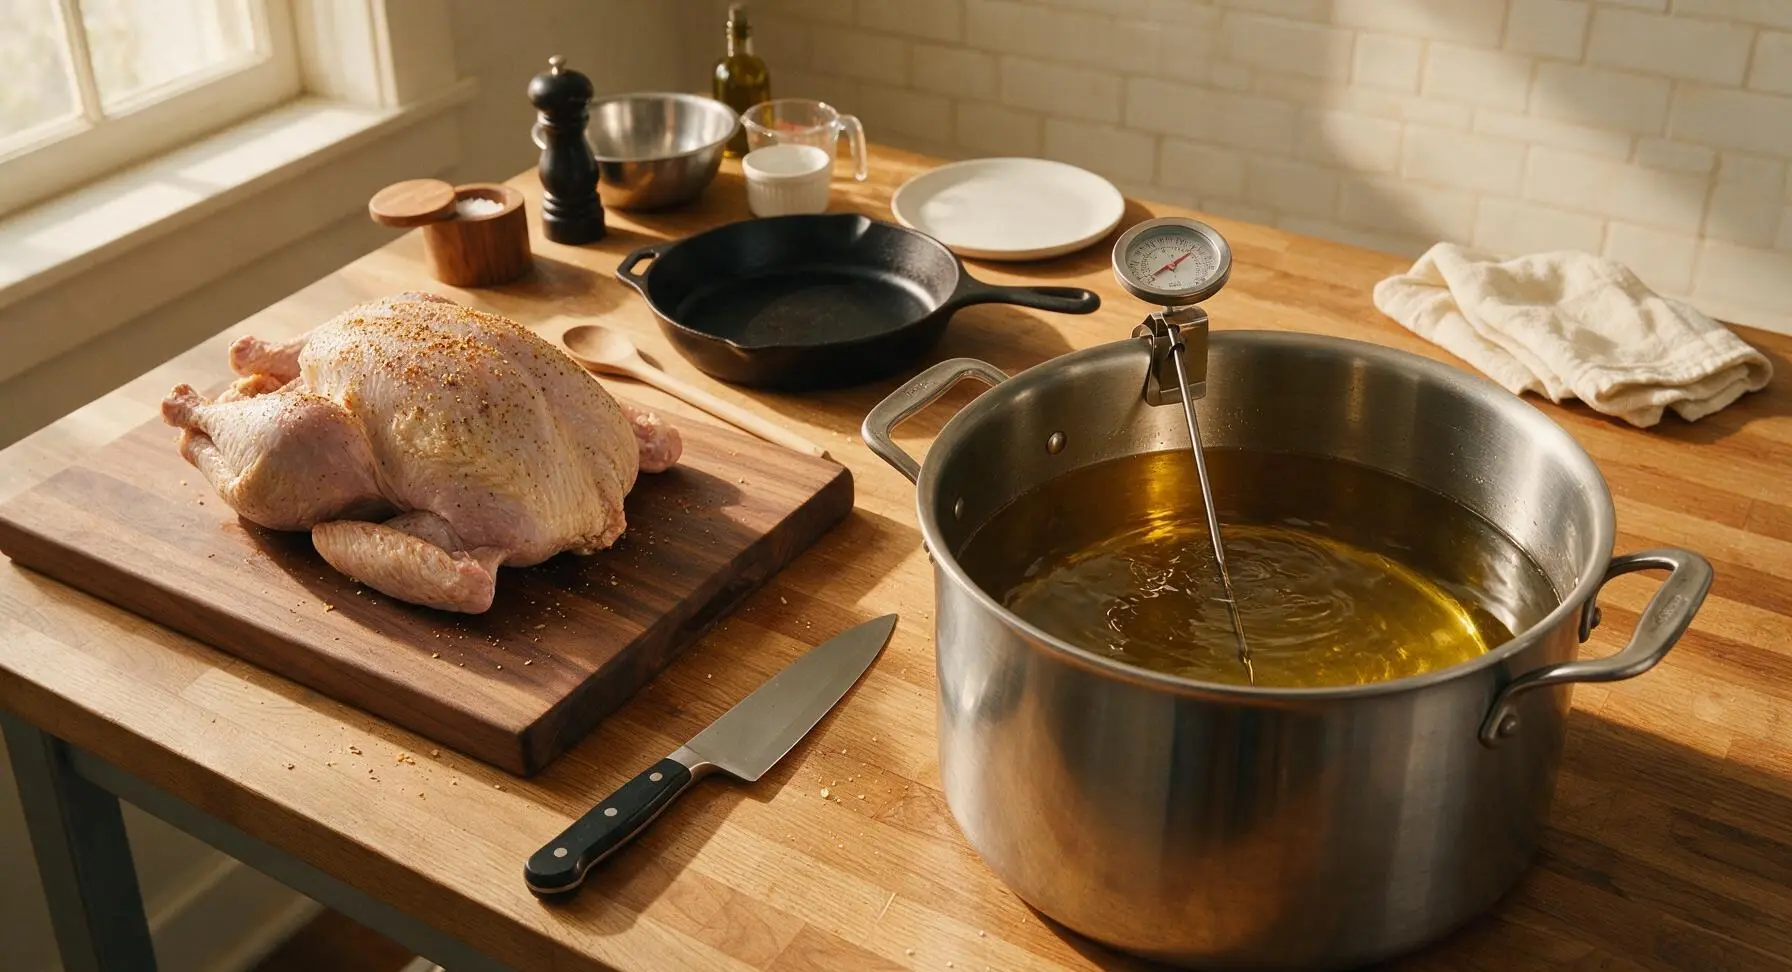
Set the 30-quart electric stainless steel turkey fryer pot on the clear right section of the soapstone counter. Pour 1 gallon of peanut oil into the pot, then attach the long-stem deep fry thermometer to the pot rim so the probe tip is submerged 2 inches into the oil, not touching the pot bottom. Turn the fryer on and heat the oil to a steady 350°F (175°C). This will take approximately 15 minutes; monitor the temperature closely to avoid overheating.
Lower Turkey Into Oil
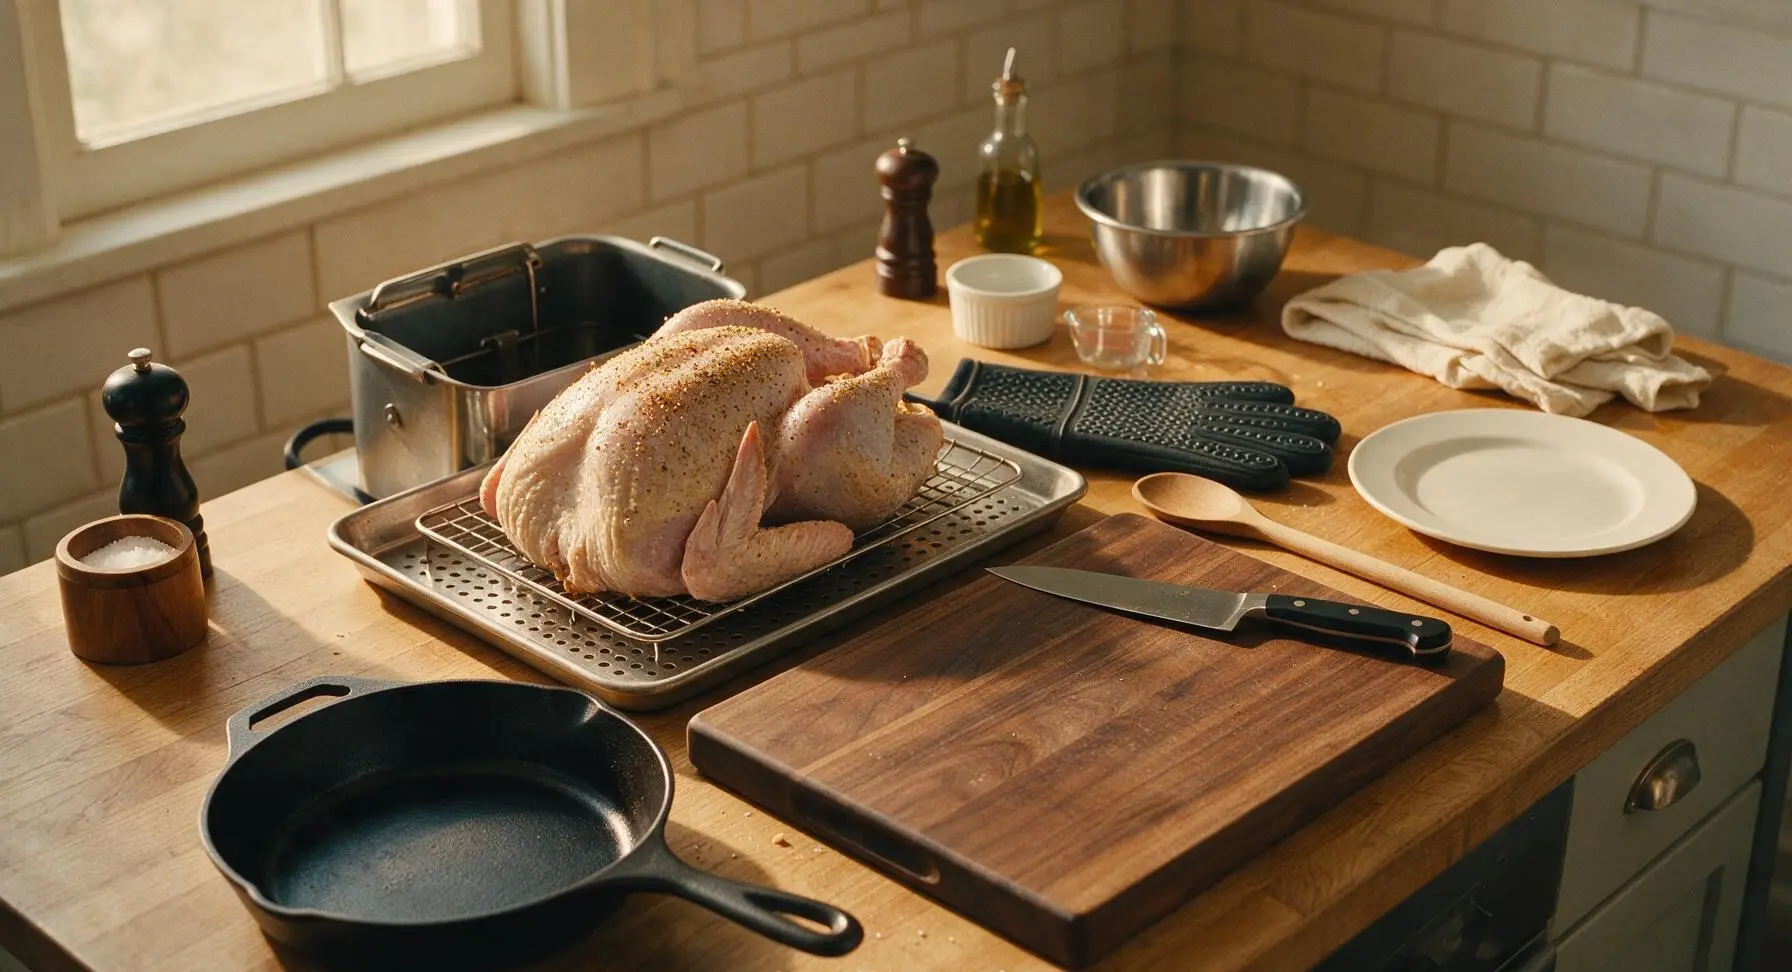
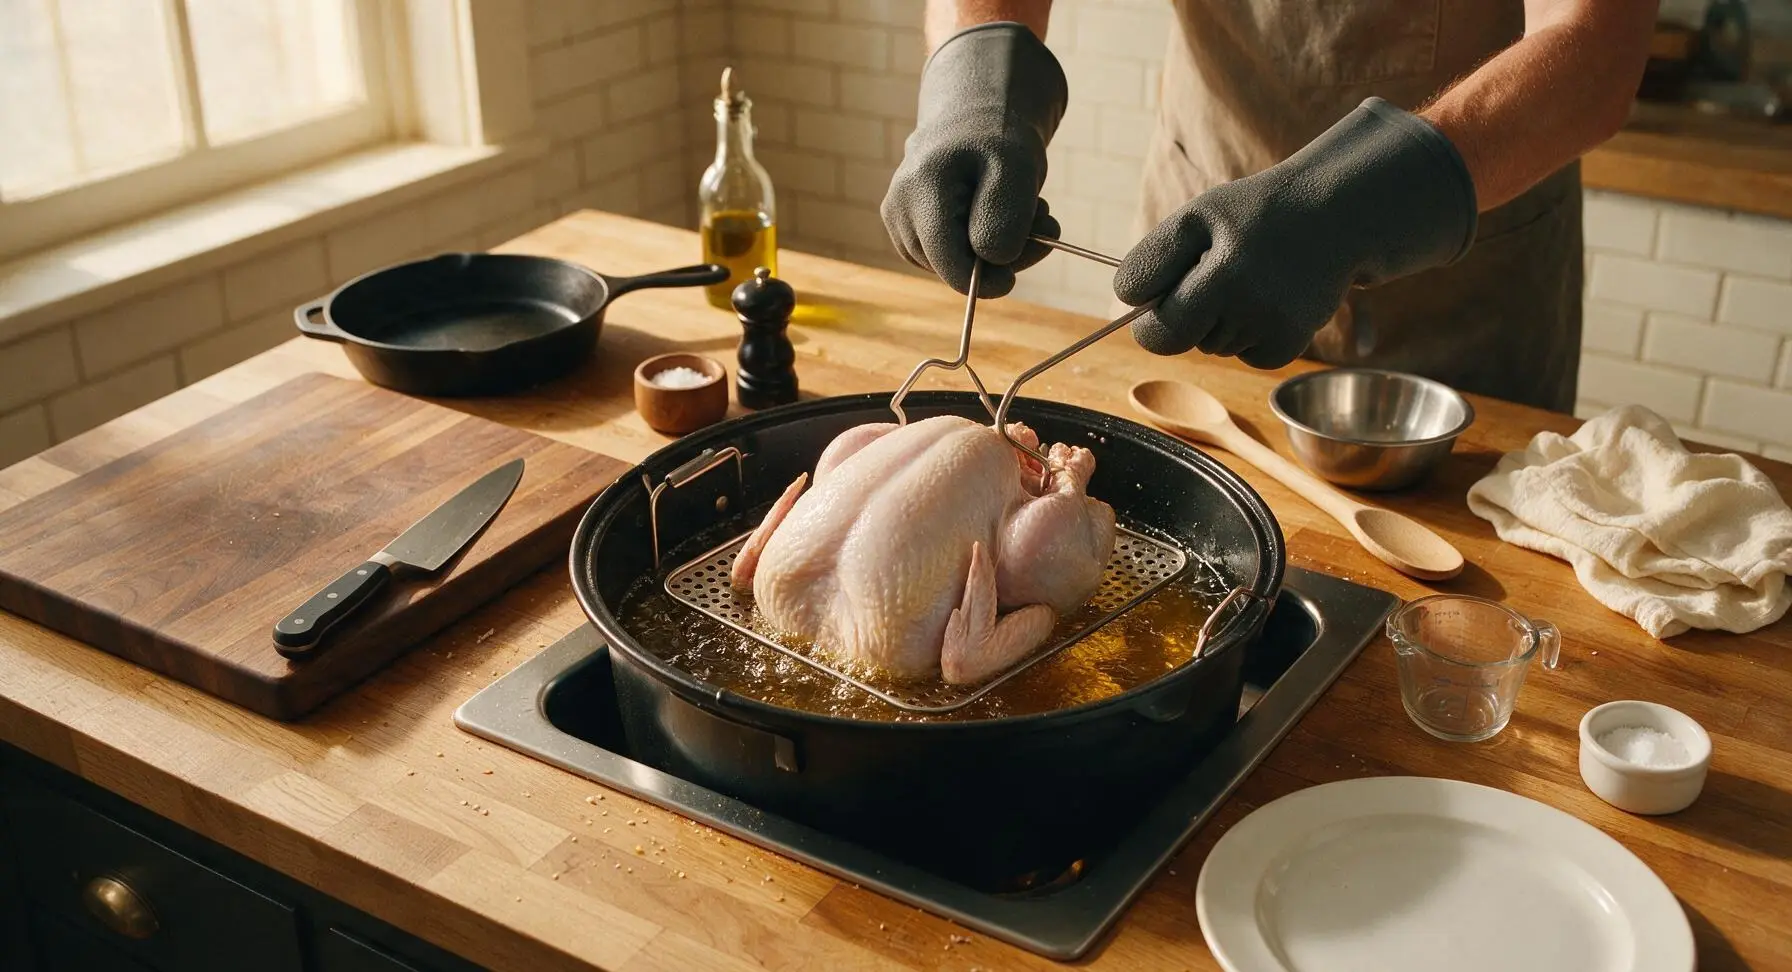
Once the oil holds a steady 350°F, turn off the fryer momentarily as a safety precaution to reduce splatter risk. Set the turkey breast-side up on the fryer’s perforated poultry rack. Put on the long charcoal silicone oven mitts to protect your arms from hot oil splatter. Use the long metal lifting hook to slowly, gently lower the rack and turkey completely into the hot oil. The oil should cover the turkey by 1 inch; add a small amount of extra oil if needed, but never fill the pot more than 2/3 full to avoid boil-over.
Fry at Steady Temperature
Turn the fryer back on, and adjust the heat to maintain a steady oil temperature of 325°F (the temperature will drop 25-30 degrees when the cold turkey is added, so adjust settings gradually). Fry the turkey for 3 1/2 minutes per pound, totaling 42 minutes for the 12lb bird. Do not cover the pot while frying, as trapped condensation can cause splatter. Halfway through cooking, use the lifting hook to gently turn the rack to ensure even browning on all sides.
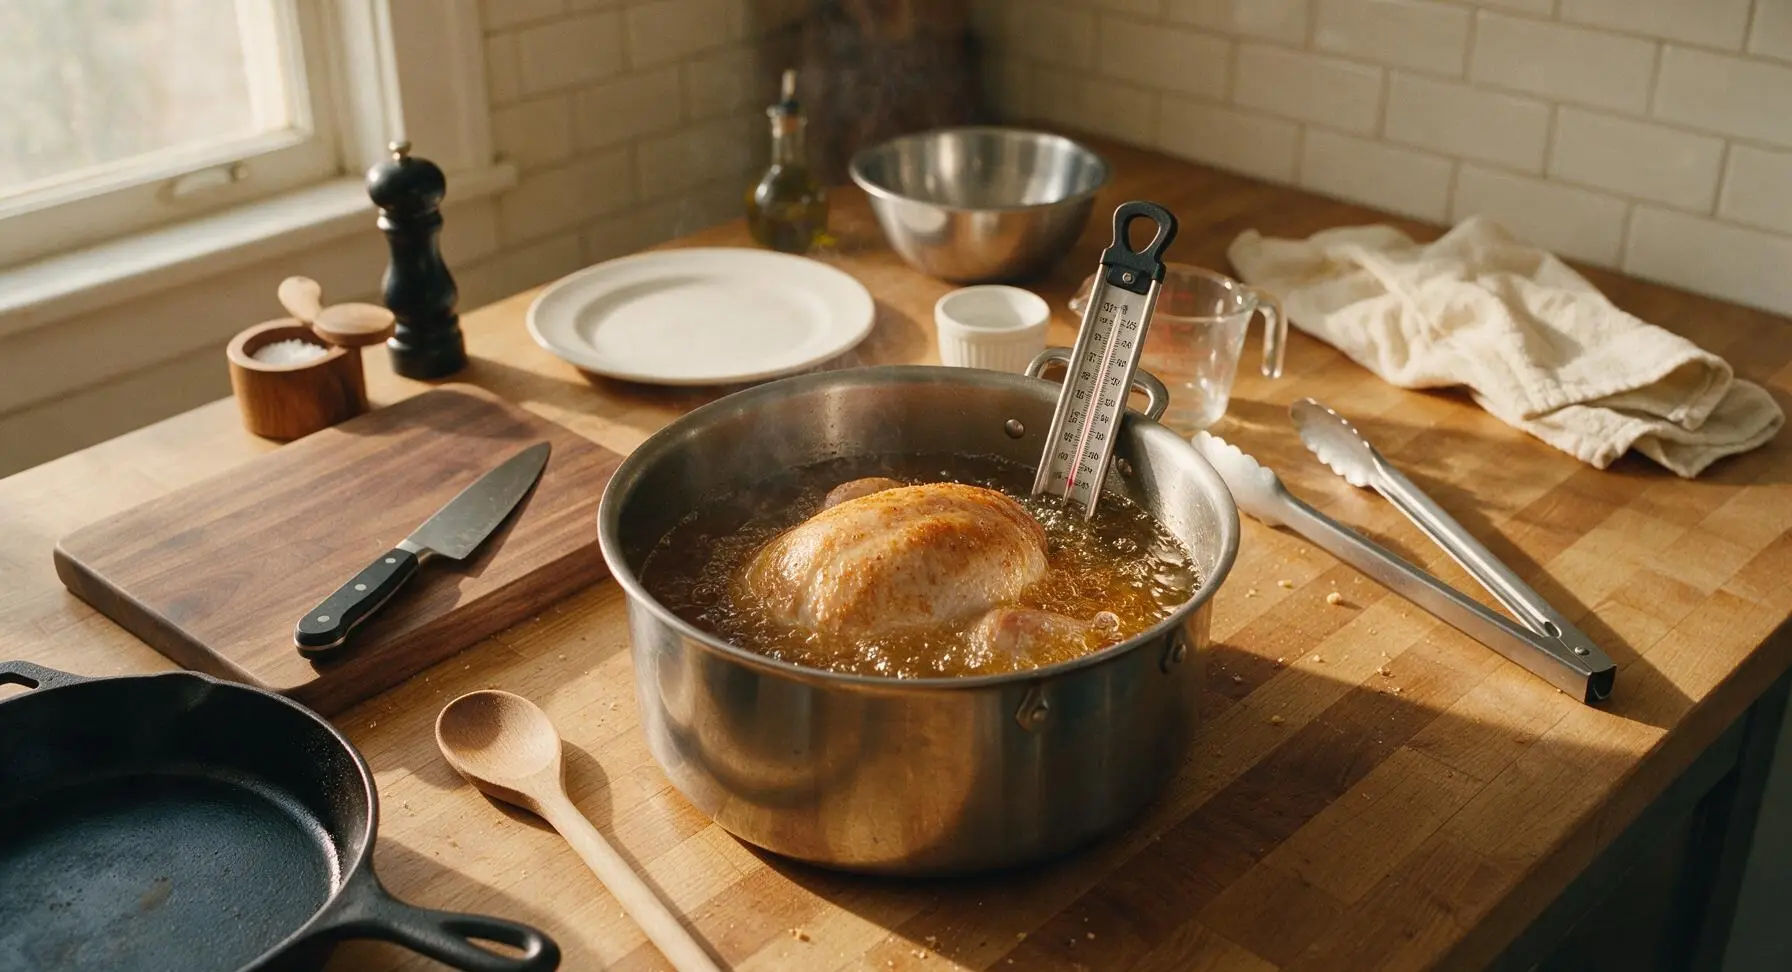
Check Doneness Temperature
After 42 minutes of cooking, use the lifting hook to slowly raise the turkey rack just above the oil level. Insert the digital instant-read meat thermometer into the thickest part of the turkey thigh, taking care not to touch bone, which will give a false high reading. The turkey is fully cooked and safe to eat when the thermometer reads 165°F (74°C). If the temperature is lower, lower the turkey back into the oil and cook for 5 additional minutes before rechecking.
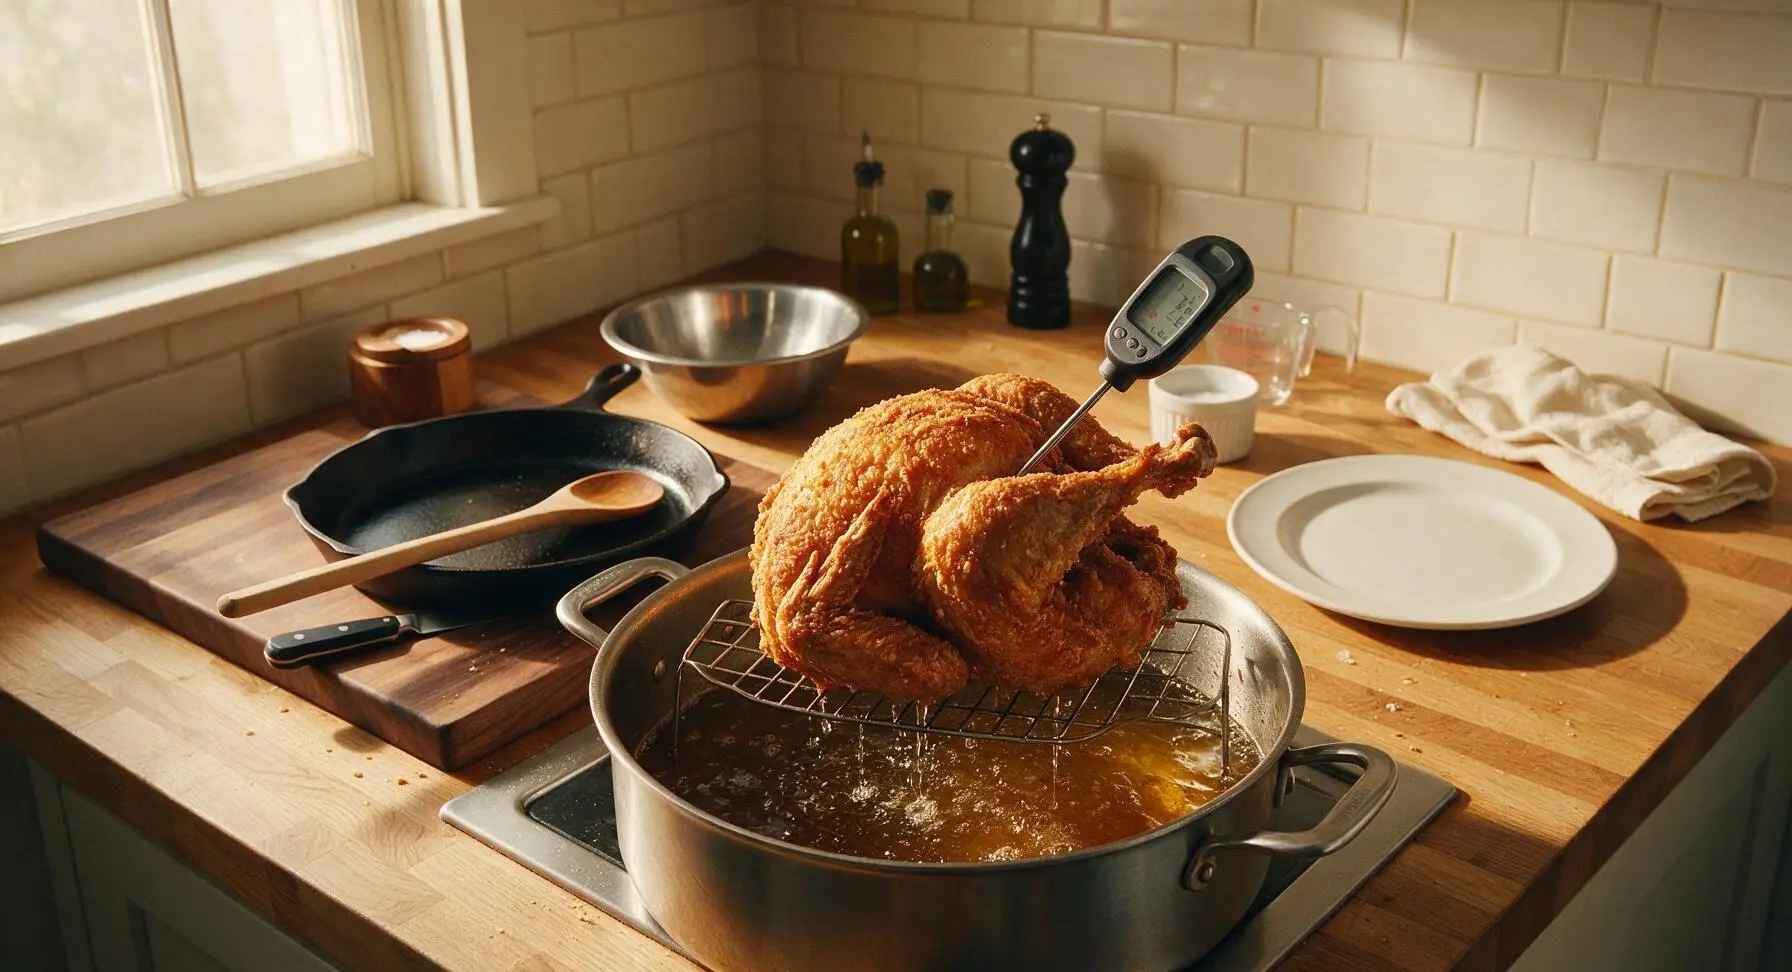
Drain and Rest Turkey
Once the turkey reaches 165°F, carefully lift the rack completely out of the oil, and hook it onto the pot’s built-in edge ledge to let excess oil drain off the turkey for 10 minutes. Resting allows the meat juices to redistribute through the muscle fibers, so every slice stays juicy instead of running out when carved. Turn off the fryer and let the oil cool completely for 3-4 hours before handling for disposal or future use.
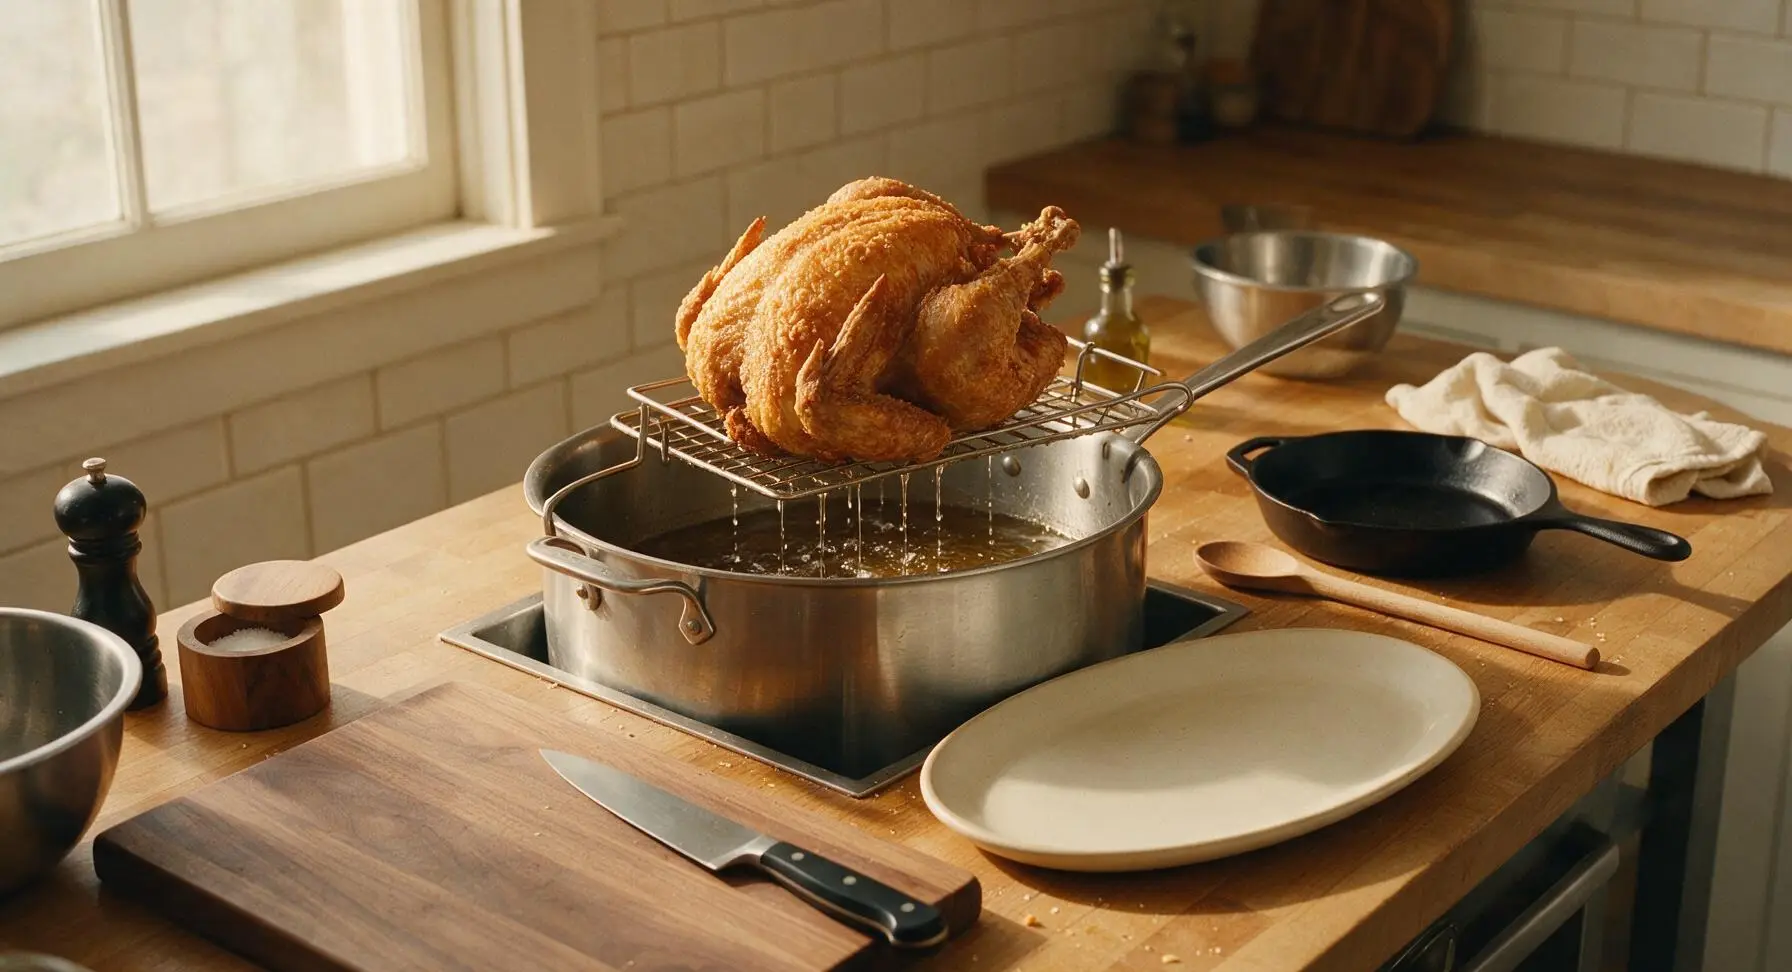
Plate and Garnish
Carefully transfer the drained turkey from the rack to the large matte cream ceramic serving platter. Fry the remaining 2 sage sprigs for 10 seconds in the hot oil until crisp, then scatter them across the turkey breast as garnish. Let the turkey rest 5 more minutes on the platter before carving to serve.
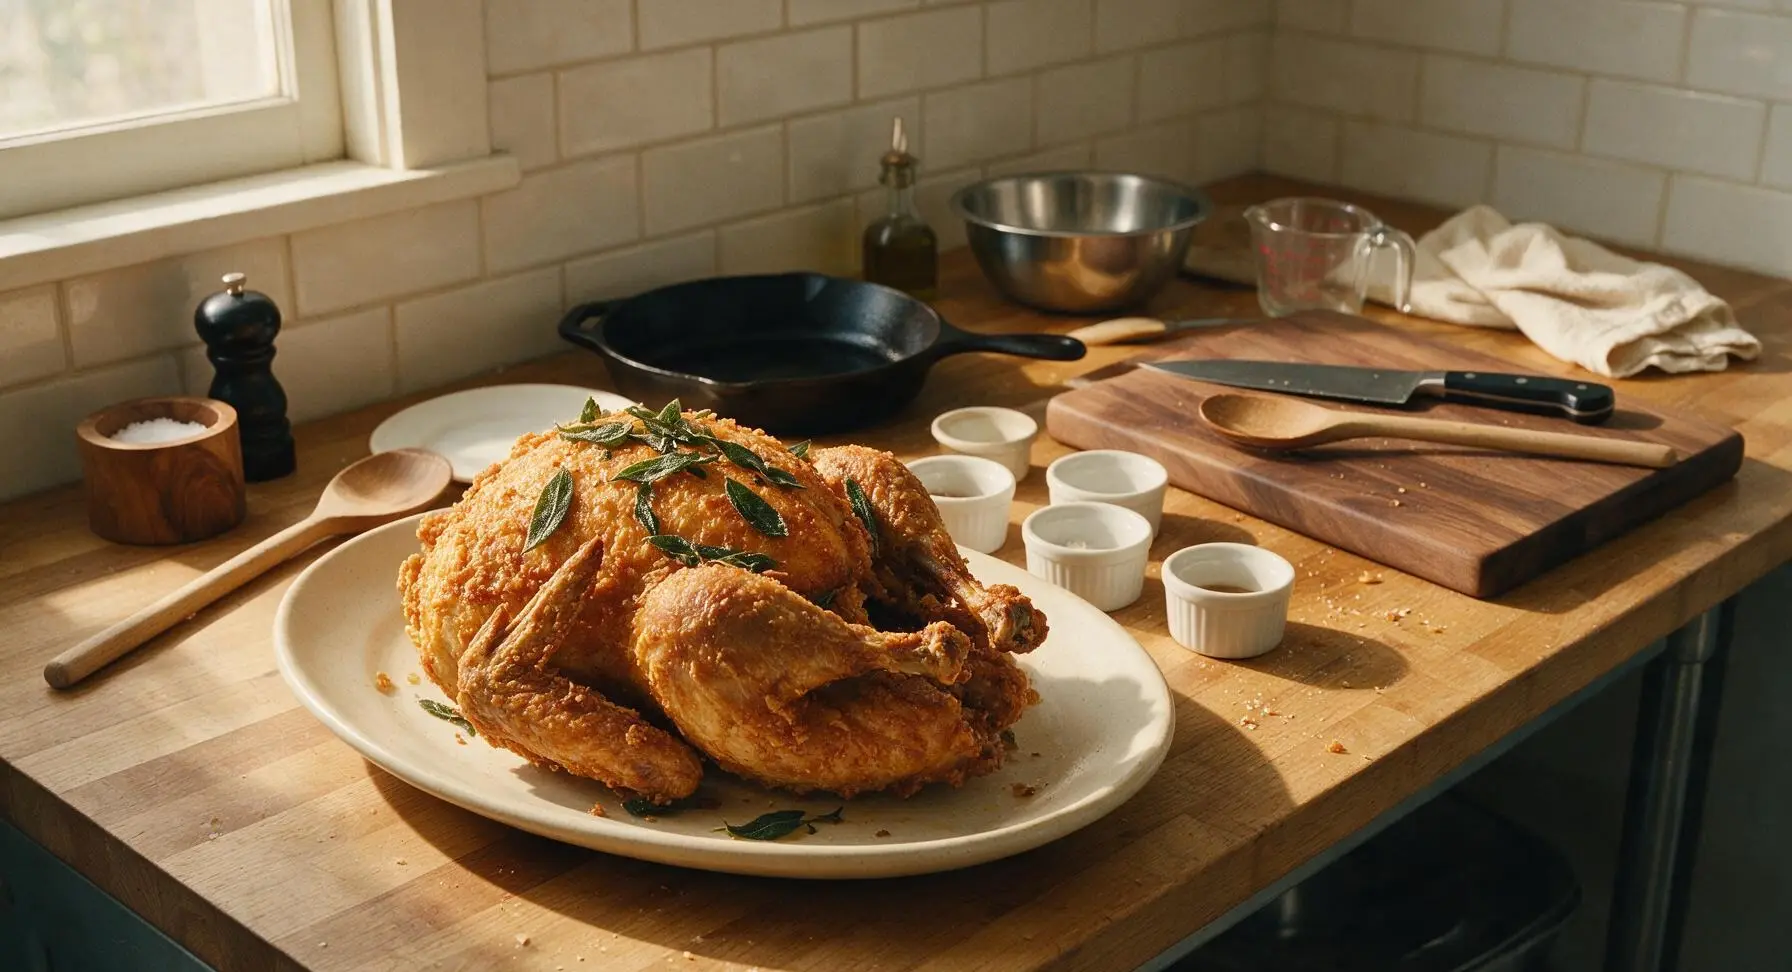
Tips
2.Always use a clip-on deep fry thermometer to monitor oil temperature, rather than guessing. Peanut oil has a high smoke point, but temperatures above 375°F will burn the turkey skin before the meat cooks through, create bitter off-flavors, and increase fire risk.
3.Resist the urge to carve the turkey immediately after removing it from the oil. The full 15-minute rest period (10 minutes draining on the pot, 5 minutes on the platter) allows muscle fibers to relax and reabsorb juices, so every bite is moist instead of having juices run all over the cutting board.






OMG y’all, I made this for our Sunday family dinner last weekend and every single person went back for seconds! The skin was SO crispy, not greasy at all, even my picky 7 year old ate two turkey legs. Total game changer for our holiday meals going forward, I’ll never roast a turkey in the oven again.
Wait, 45 minutes total cook time? I was skeptical because my usual roasted turkey takes 3+ hours, but this was perfectly cooked all the way through, juicy breast meat and that shatteringly crisp skin? Wild. Only note is make sure you pat the turkey completely dry before frying, that’s non-negotiable for crispiness.
Was so happy to find a fried turkey recipe that doesn’t call for any weird seasoned coatings with hidden gluten! I used my go-to cajun spice rub, followed the temp instructions exactly, and it turned out perfect for my friend’s fall potluck. Zero leftovers, everyone asked for the recipe.
Okay full transparency, I was TERRIFIED to deep fry a turkey for the first time this Thanksgiving after hearing all the horror stories about oil fires. This recipe’s safety tips were so clear and easy to follow, I didn’t have a single issue! The turkey came out crispy, juicy, no burnt spots, my in-laws were actually impressed.
Wait has anyone tried making this to use for meal prep for the week? I usually make a bunch of turkey on Sundays for sandwiches, salads, wraps, and this crispy version sounds way better than my usual dry baked turkey breast. I’m worried the skin won’t stay crispy after storing it in the fridge though.
Added an extra tablespoon of smoked paprika and a teaspoon of cayenne to the rub and WOW, that little kick paired with the crispy skin was chef’s kiss. Made this for my football watch party last Sunday and the guys demolished the whole 12lb turkey in like 20 minutes. Will be making this for every game day from now on. SO good.
Wait how much oil does this actually take? I’m trying to plan for Thanksgiving and don’t want to buy way more peanut oil than I need, since that stuff is pricy! Also, can I reuse the oil afterwards for other frying?
I grew up eating deep fried turkey every Thanksgiving down south, and this recipe is just as good as my grandma’s — high praise! The cook time was spot on, I didn’t have to guess if it was done, the skin was perfectly golden and crispy, no raw spots near the bone. My kids loved it so much they asked if we can have turkey for Christmas too.
Full disclosure: I live in a tiny apartment with no outdoor space, so I used my countertop indoor turkey fryer for this and it worked like a charm! No mess, no fire risk, crispy skin exactly as advertised. Perfect for anyone who doesn’t have a big backyard for the big outdoor fryer setups.
I hosted Friendsgiving for 12 people this year and made this fried turkey plus a traditional roasted one for people who were skeptical. The fried one was gone in half the time! So many people said they’d never had fried turkey before and were shocked how juicy it was. Only con is my house smelled like fried food for two days, totally worth it though.
Uh, quick PSA: don’t skip the part about making sure the turkey is completely thawed before you lower it into the oil. I learned that the hard way last year, had a huge oil boil over. Followed this recipe step by step this time, waited until the turkey was 100% thawed and patted dry, and it was perfect. Crispy, juicy, zero drama.
This is perfect for anyone doing low carb or keto! No flour coating, no sugary glazes, just crispy skin and juicy, flavorful meat. I seasoned mine with garlic powder, onion powder, black pepper, and a little thyme, and it was so satisfying. Even my non-keto husband said it was the best turkey I’ve ever made.
Took my fryer out to the driveway for this last Saturday, cracked a couple beers, had the game on the portable speaker, fried this bad boy up. Best turkey I’ve ever made, hands down. The 45 minute cook time left me plenty of time to hang out with the neighbors instead of being stuck in the kitchen basting a turkey all afternoon. Total win.
I am notoriously terrible at cooking poultry, it always comes out either dry or undercooked no matter what I do. I followed this recipe exactly, used a meat thermometer to check the internal temp like it said, and it came out PERFECT. Crispy outside, juicy inside, my roommates thought I ordered it from a fancy BBQ place. Win for me!
Made this for my office potluck earlier this week and I swear, people were talking about it for days! The crispy skin held up even after I transported it 20 minutes to the office, it was still warm and juicy when we cut into it. I got so many recipe requests I just sent the link to the whole team. 10/10, will be making this again for the holiday party.
I added a little hickory smoked salt to the rub and it gave the turkey that amazing campfire smoky flavor without having to smoke it for 8 hours. The skin was so crispy I could hear the crunch from across the table. 100% adding this to my regular rotation, not just for holidays.
Okay the leftovers from this are insane. I made turkey sandwiches, turkey noodle soup, even turkey and gravy over biscuits for breakfast the next day, and the meat was still so juicy and flavorful. Way better than leftover oven roasted turkey that gets all dry after a day in the fridge. My family already asked when I’m making another one.