
Udon Scrambled Eggs
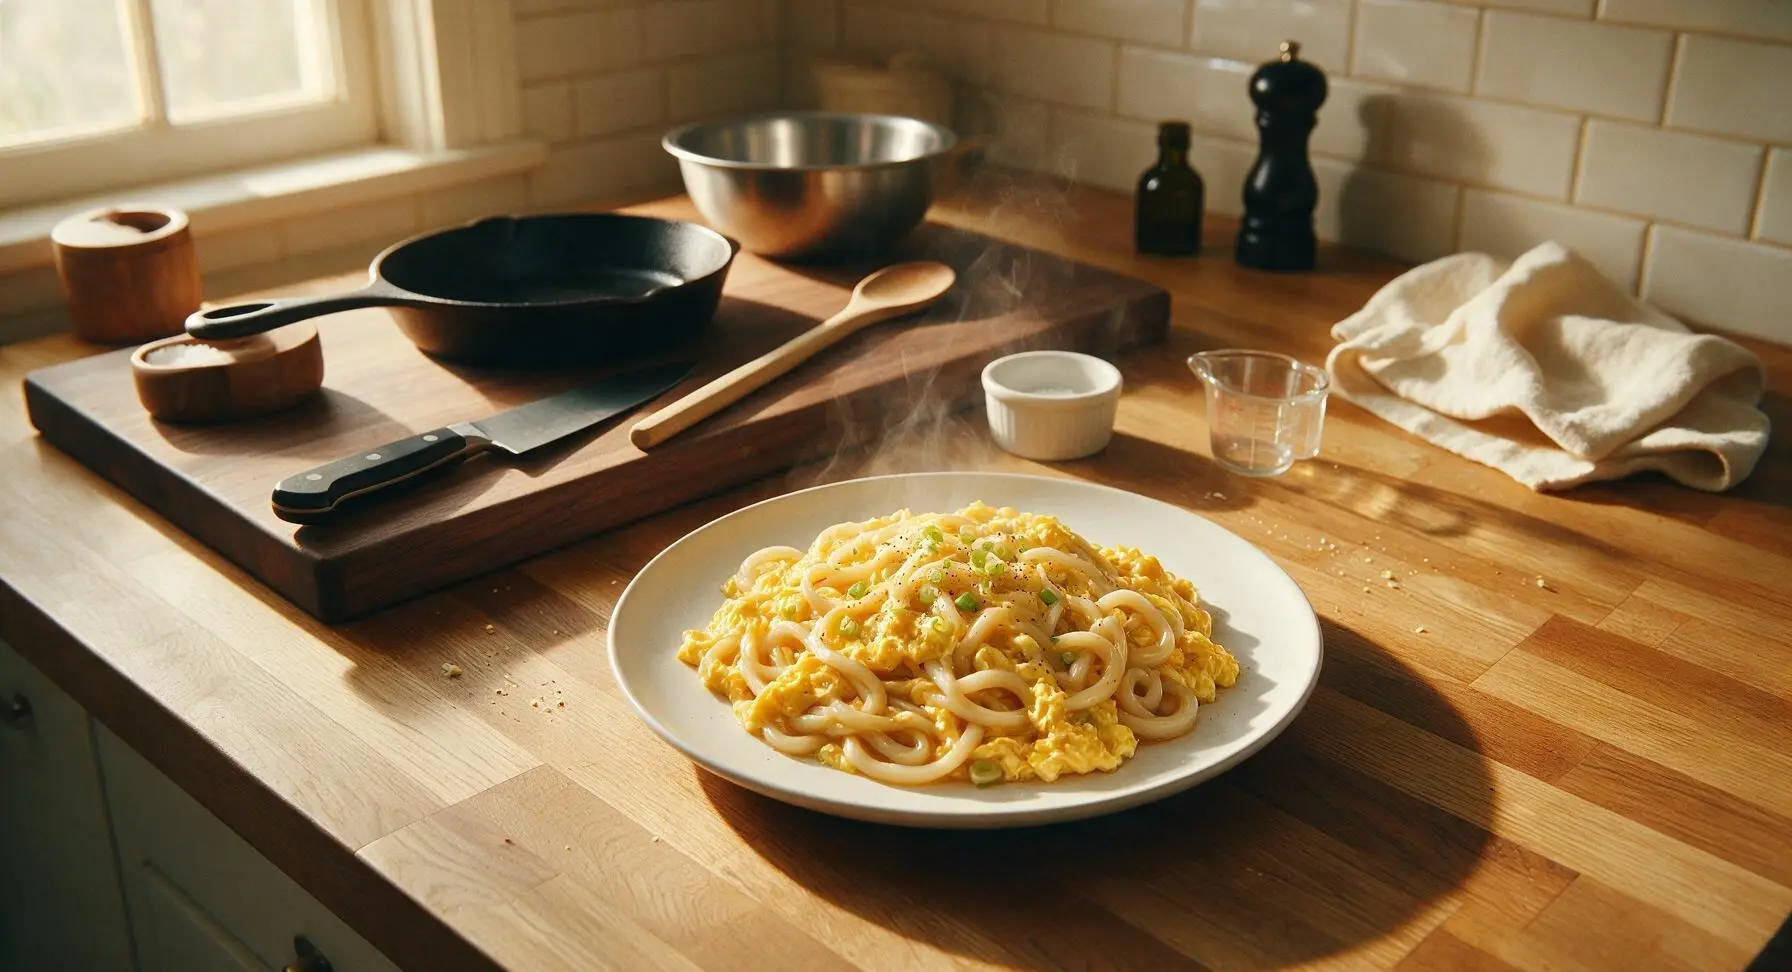
intro
Silky soft scrambled eggs tangled with chewy fresh udon, coated in buttery umami seasoning, for a cozy, fast meal ready in 15 minutes.
Ingredients
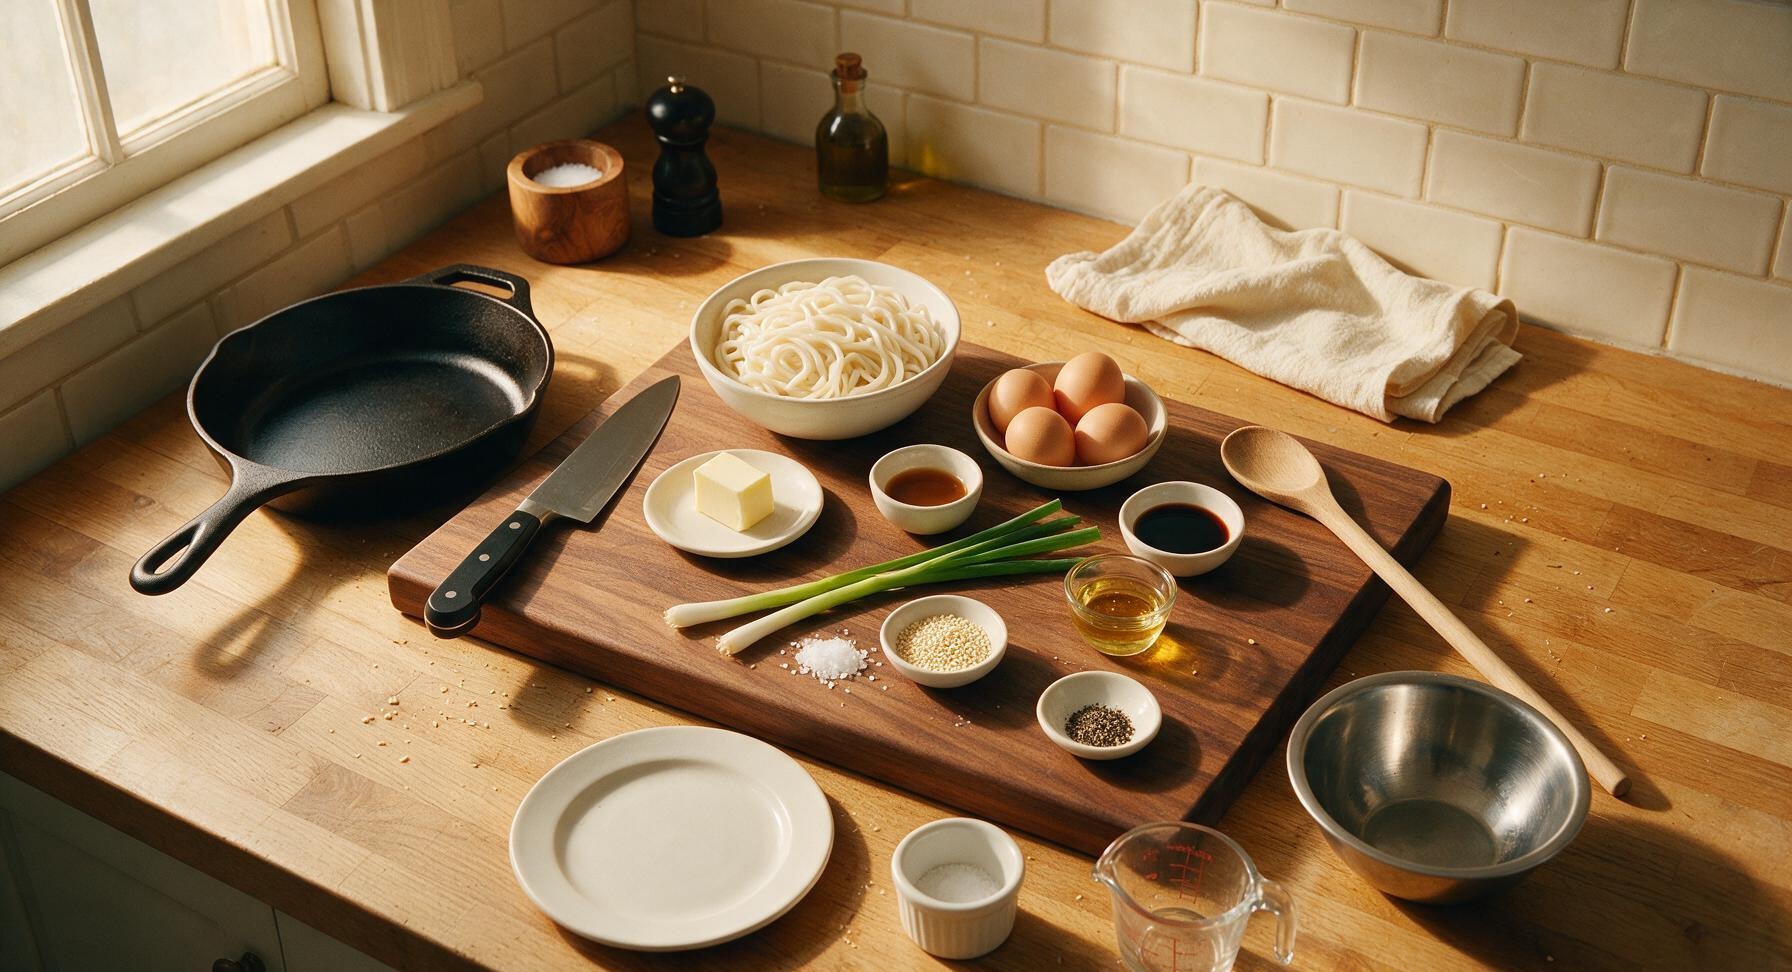
Steps
Prep Base Ingredients
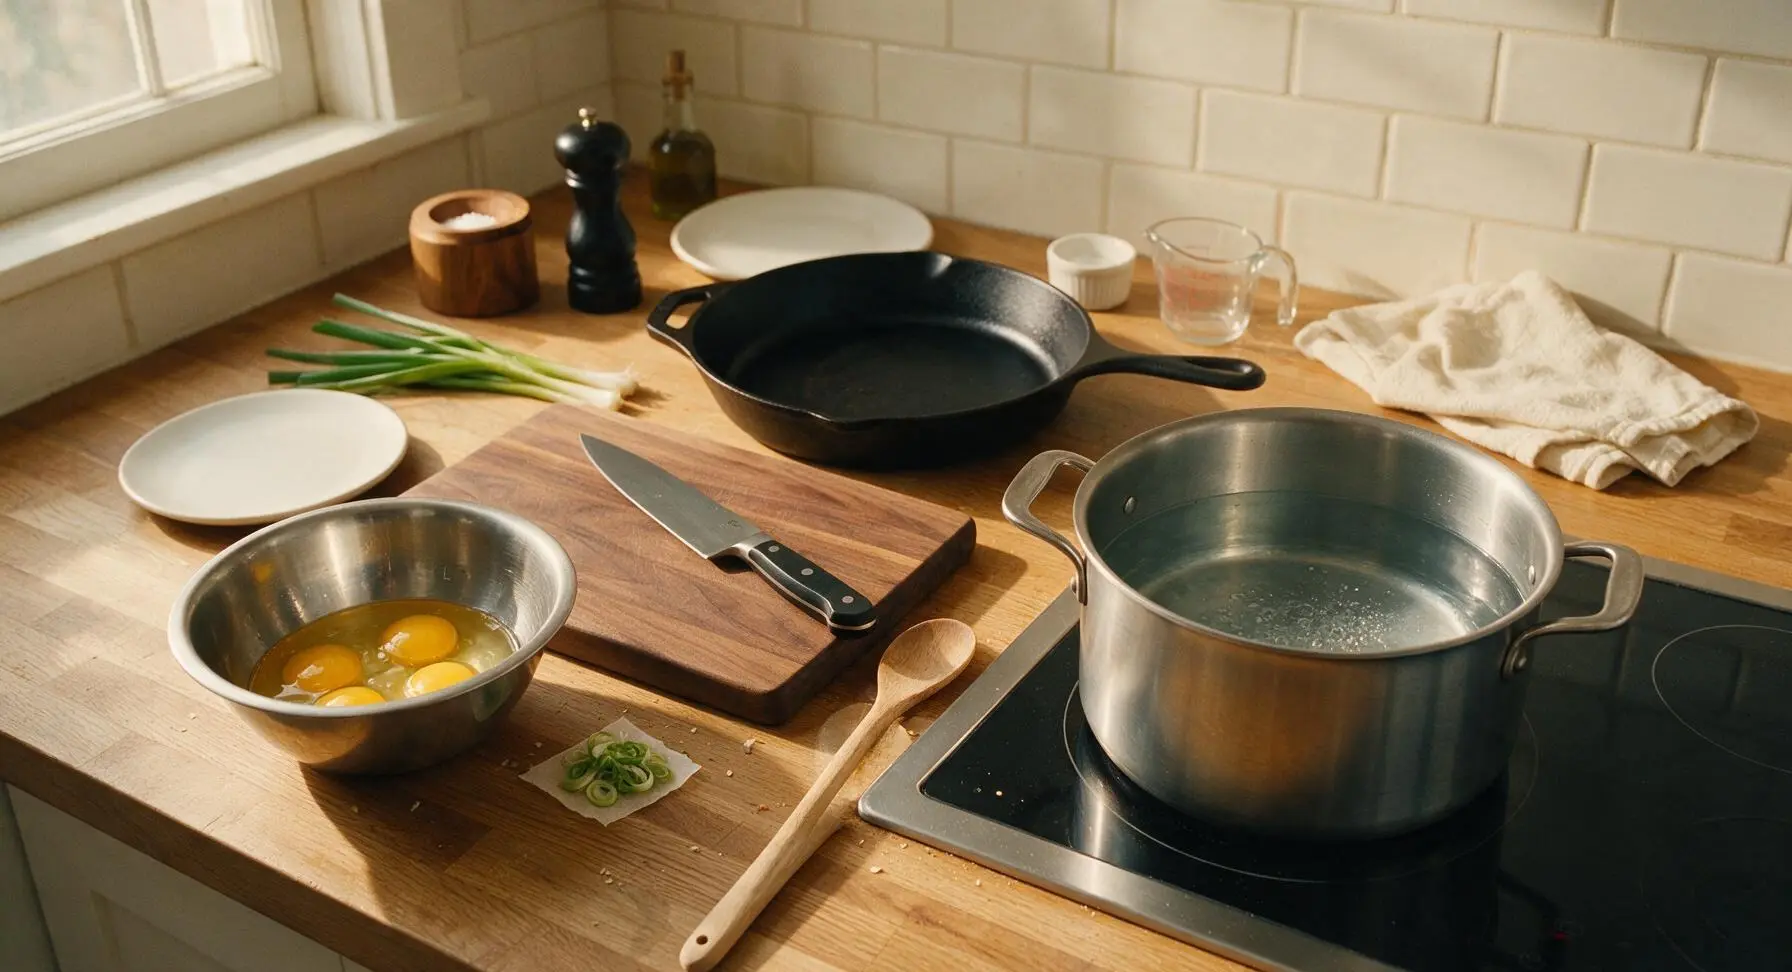
Fill the 3L brushed stainless steel stock pot with 2L cold water, set it on the right induction burner over high heat to bring to a rolling boil (212°F/100°C). While water heats, rinse 2 scallions taken from the fixed background bunch, pat dry with the corner of the indigo cotton towel, thinly slice the bright green tops to yield 1 tablespoon of garnish, and set aside. Crack all 4 large eggs into the small brushed stainless steel mixing bowl.
Season and Beat Eggs
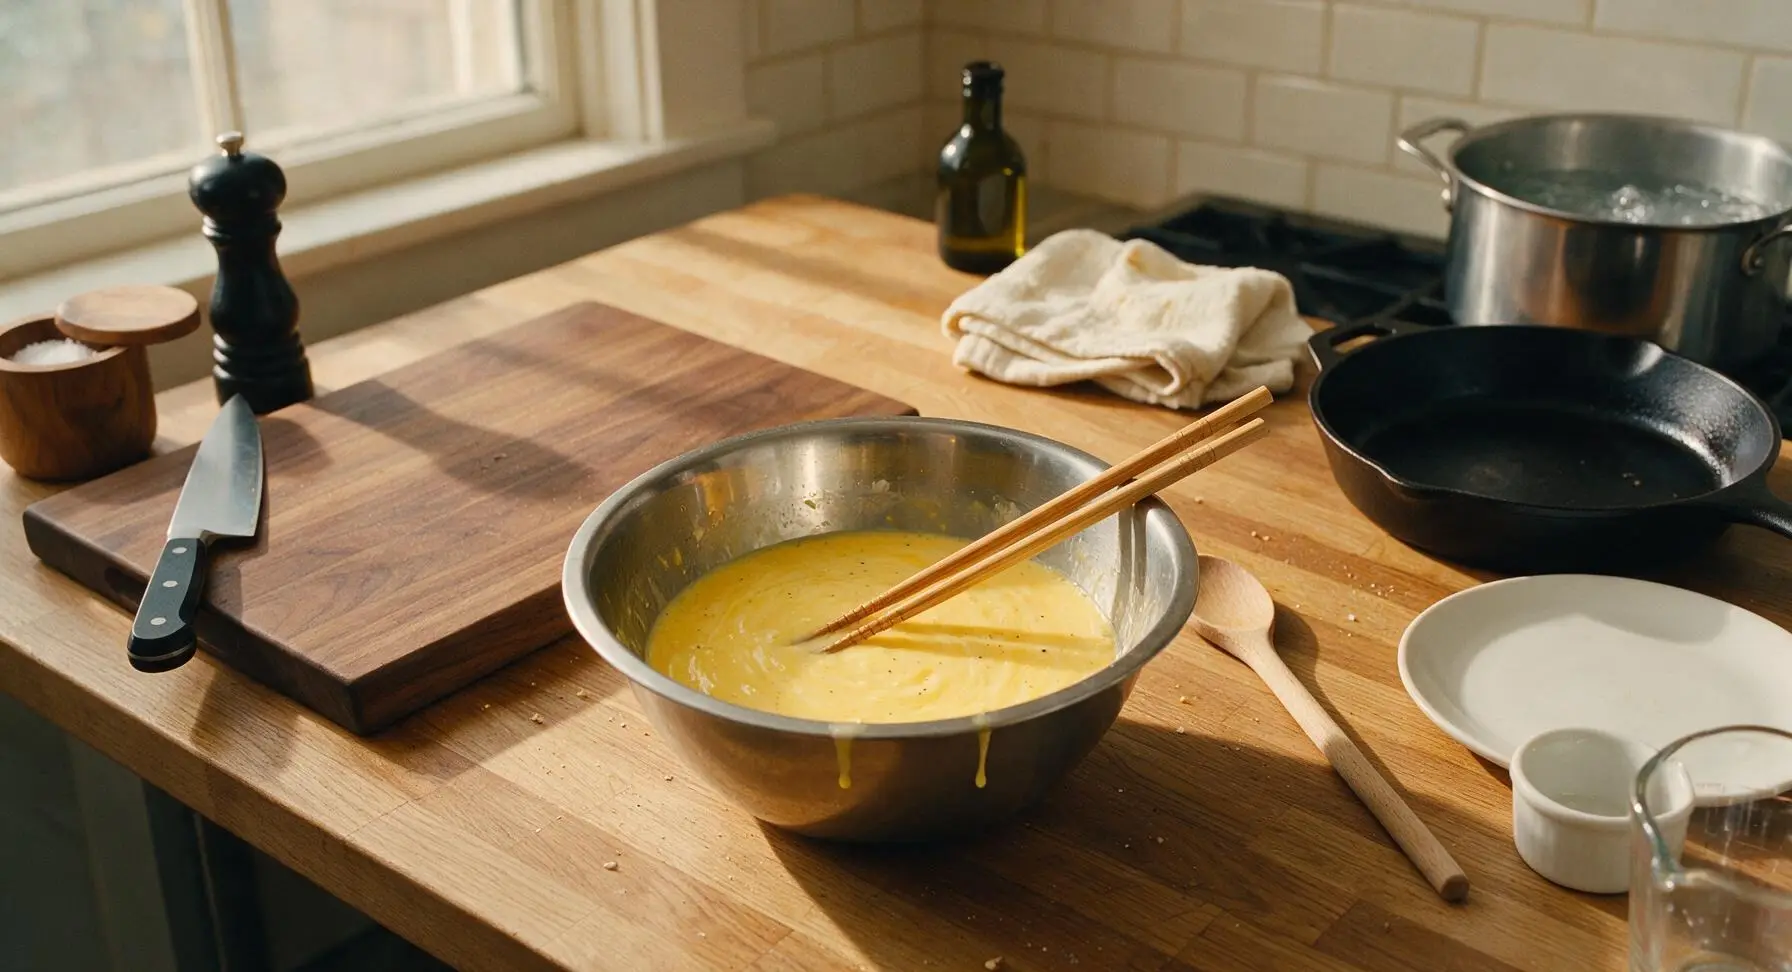
Add 1 teaspoon mirin, 1 tablespoon of the measured low-sodium soy sauce, and ⅛ teaspoon freshly ground black pepper to the eggs in the mixing bowl. Use the natural bamboo cooking chopsticks to beat the mixture gently for 30 seconds, until yolks and whites are fully combined with no streaks of clear white remaining, taking care not to whip in too many air bubbles (this keeps scrambled eggs silky, not spongy).
Cook Fresh Udon
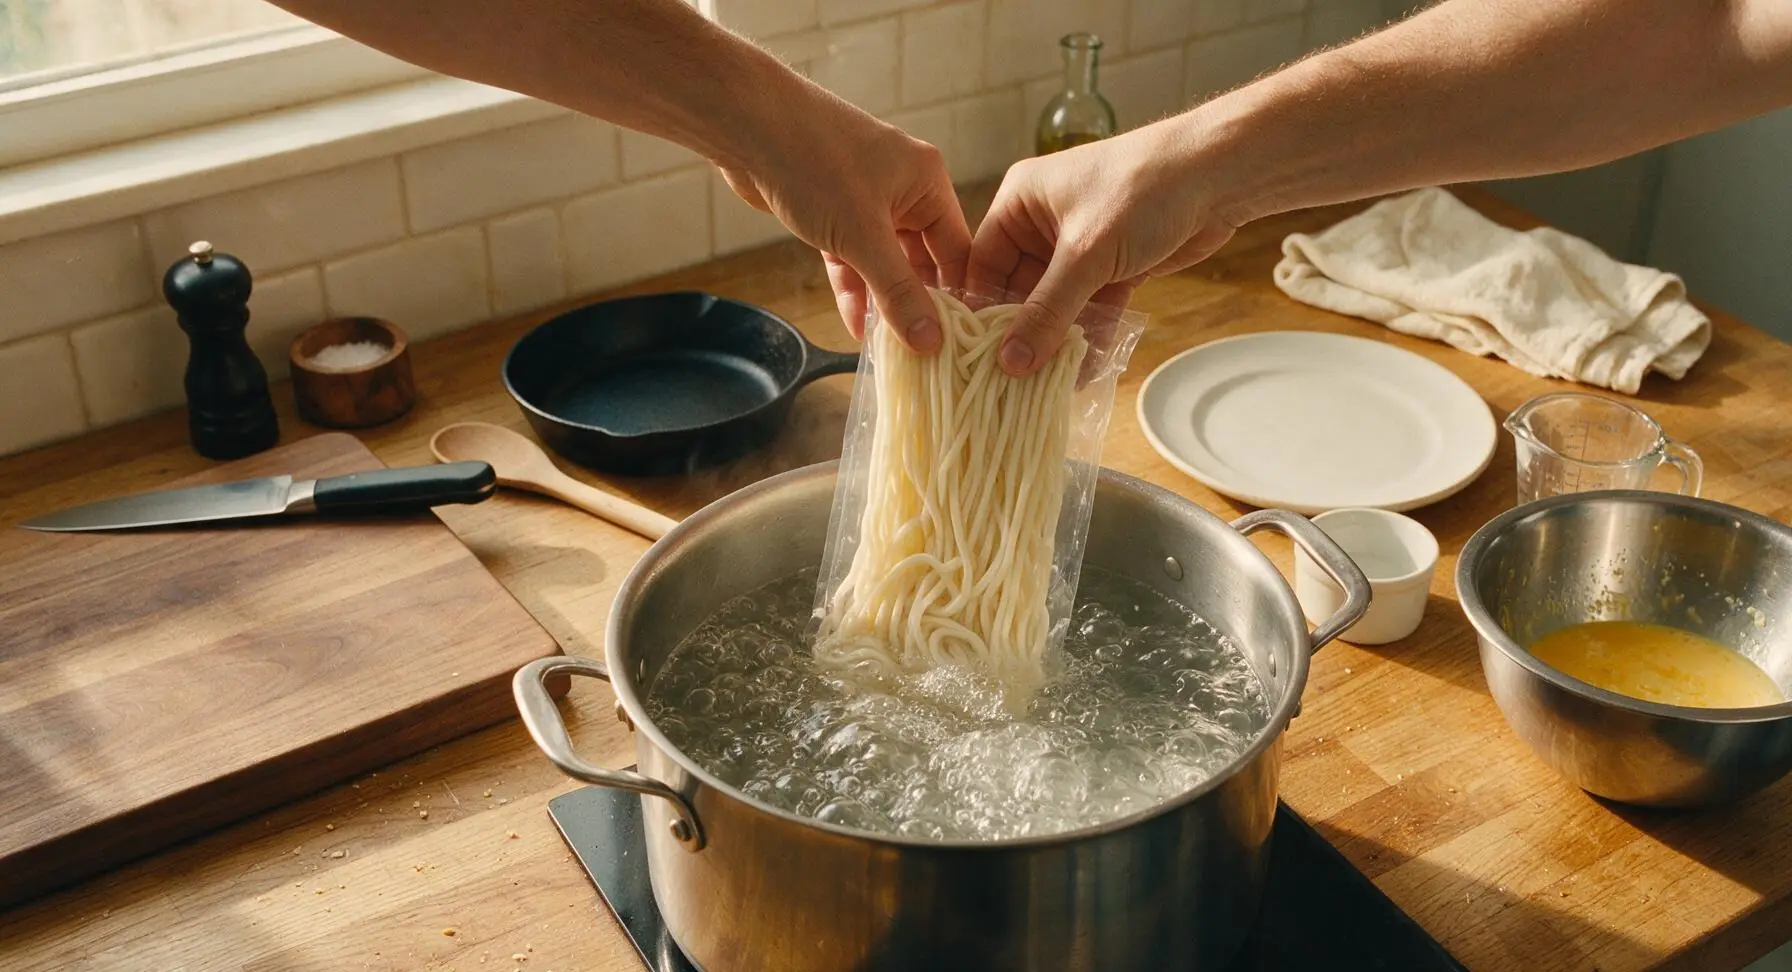
Once the pot of water reaches a full rolling boil, add the 320g fresh udon noodles. Stir gently with the bamboo chopsticks to separate the noodles, and cook for exactly 2 minutes (fresh udon cooks very quickly; overcooking leads to mushy noodles). Do not add salt to the water, as the soy sauce in the egg mixture provides enough seasoning.
Drain Noodles, Heat Pan
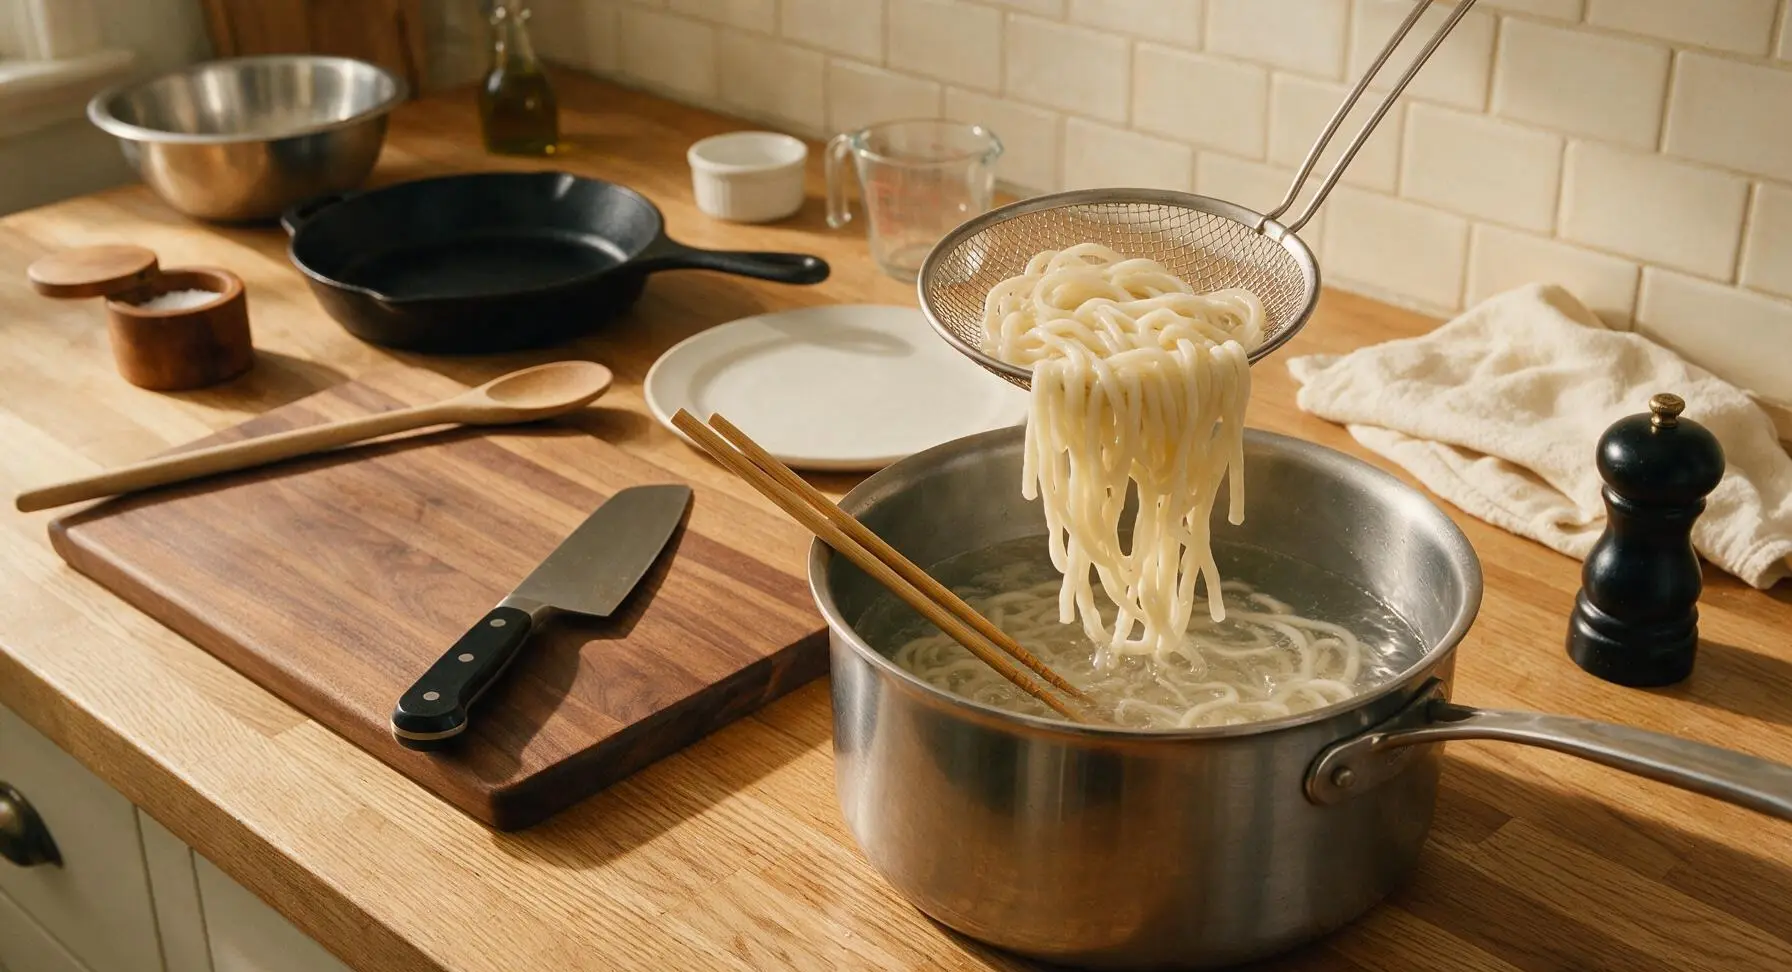
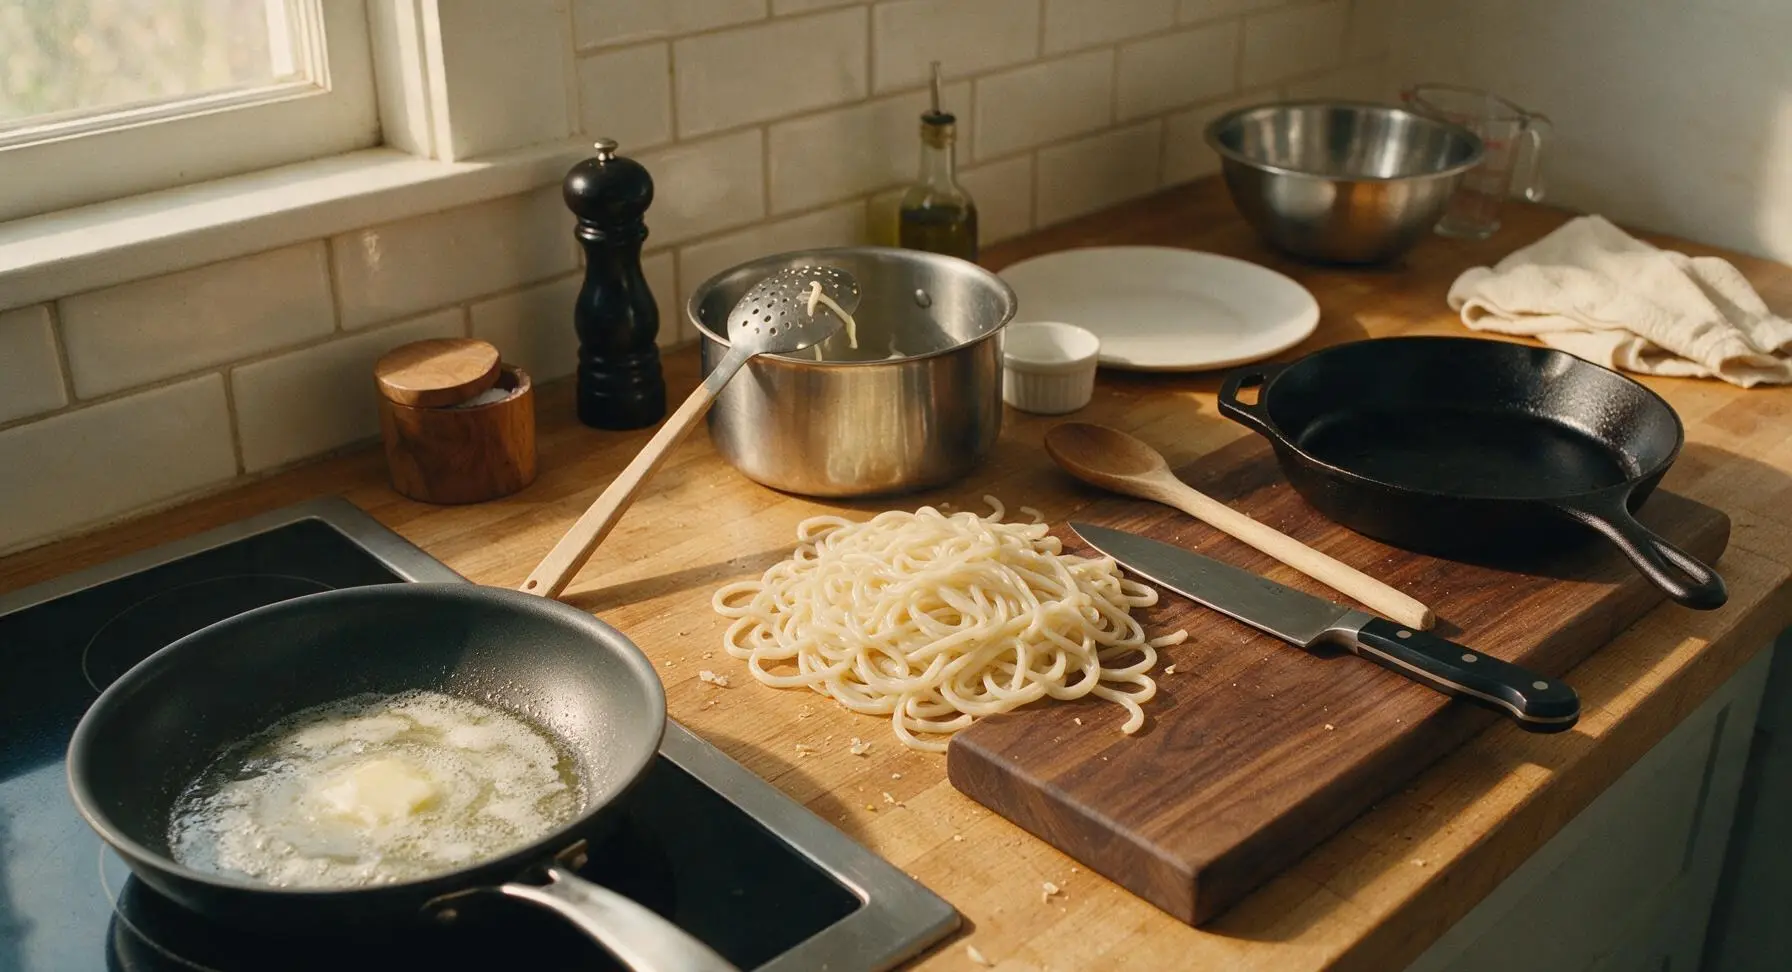
Use the slotted spoon to lift all cooked udon from the boiling water, shake off excess water gently (do not rinse—starch on the noodle surface helps the egg cling), and set aside temporarily. Place the 20cm matte charcoal non-stick frying pan on the empty left induction burner over medium-low heat (325°F/160°C), add 1 tablespoon unsalted butter, and swirl until fully melted and foamy, but not browned.
Soft-Scramble the Eggs
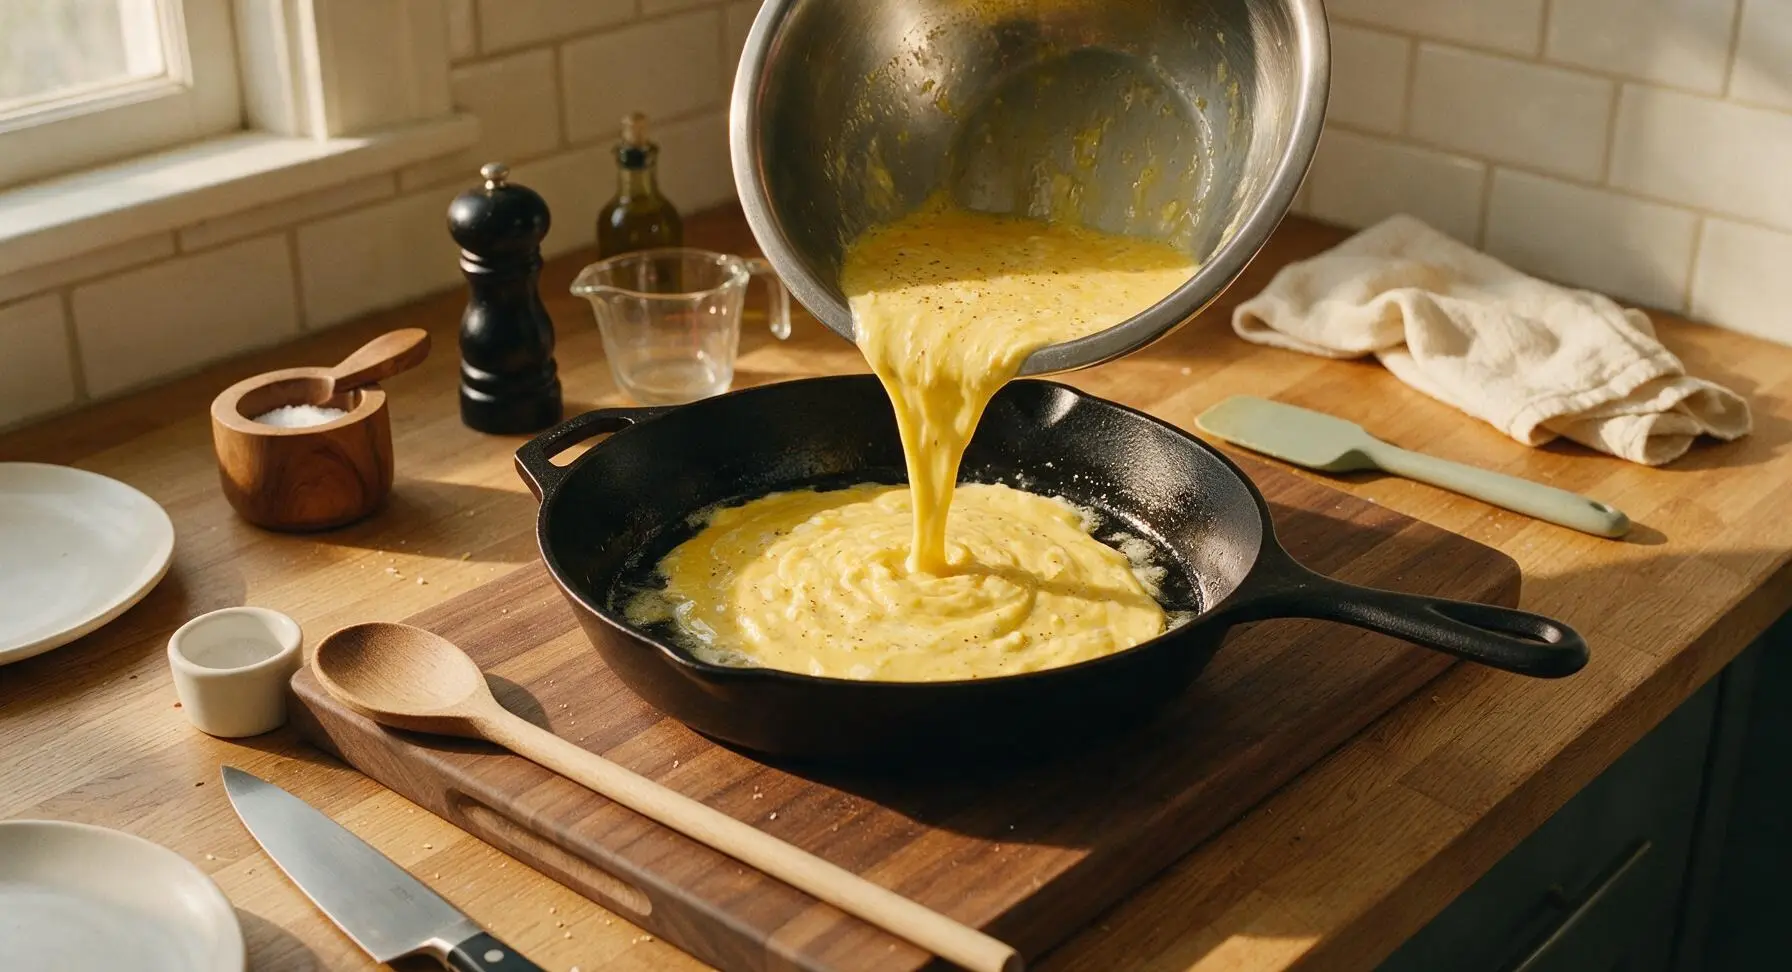
Pour the beaten egg mixture into the melted butter in the frying pan. Let the eggs sit undisturbed for 10 seconds, then use the pale sage green silicone spatula to push the set edges of the egg gently toward the center of the pan, tilting the pan to let uncooked egg flow into the empty spaces. Cook for 45 seconds total, until eggs are about 70% set—soft, wet curds will form, with no dry, crumbly sections.
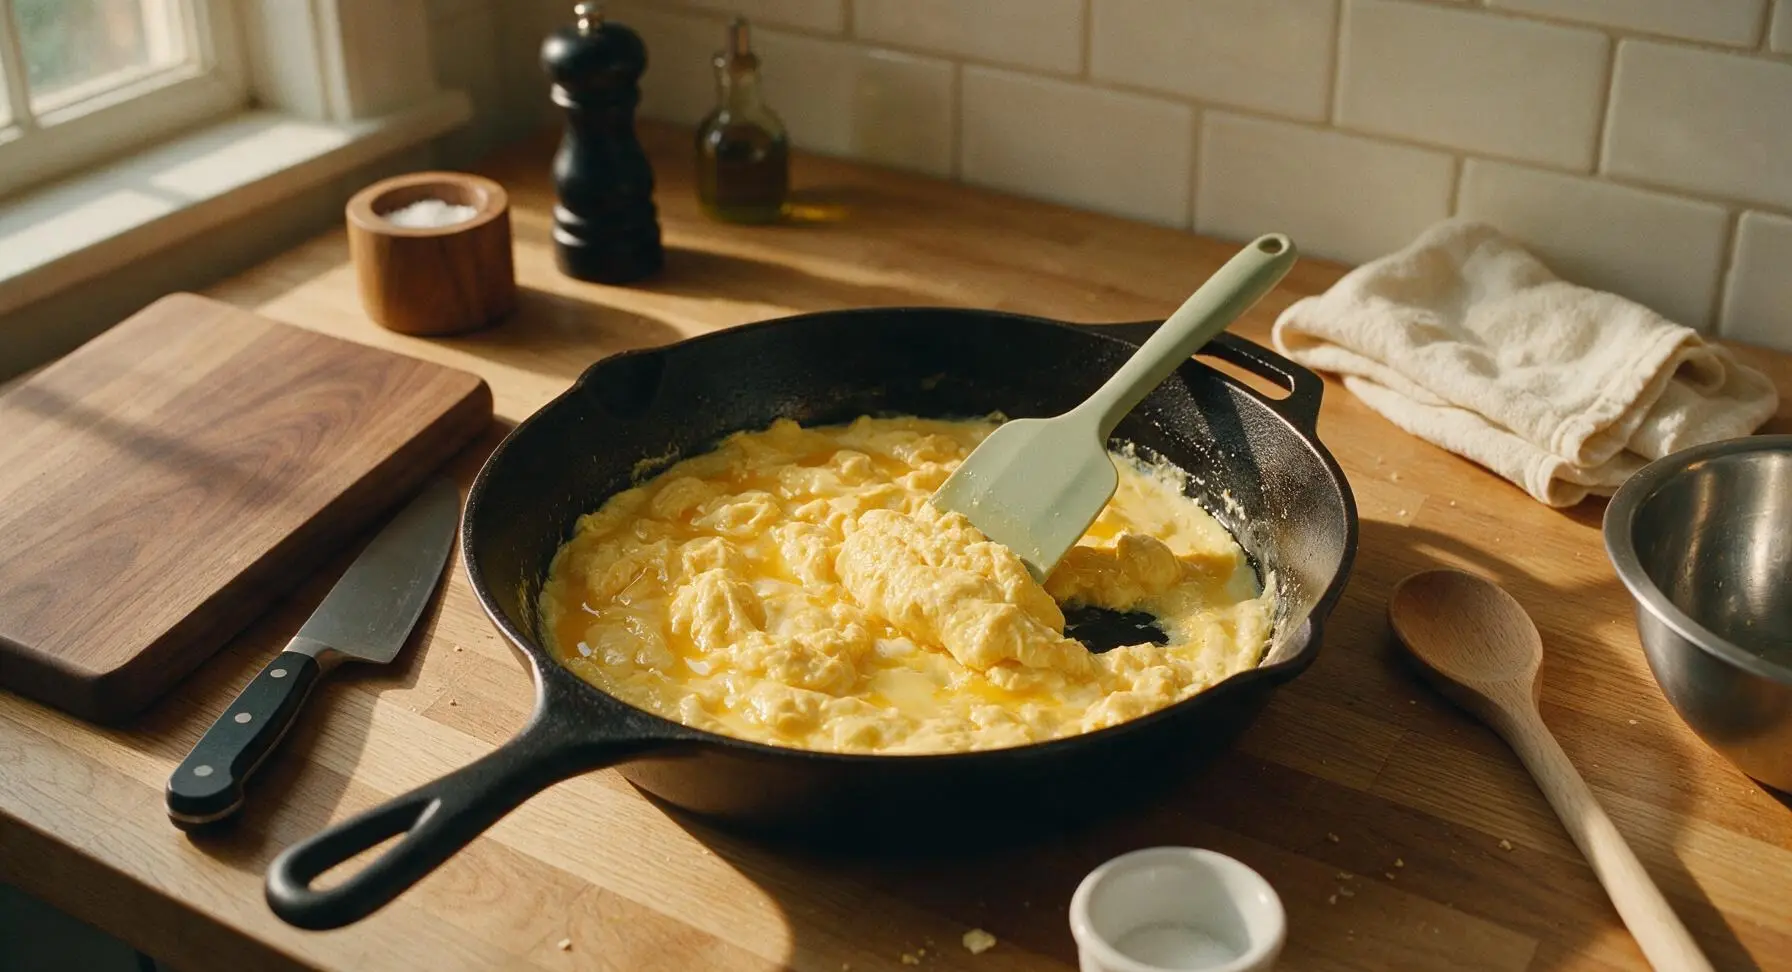
Toss Eggs with Udon
Add the drained, warm udon noodles directly to the pan with the partially set eggs. Use the bamboo chopsticks to toss the noodles and eggs together gently for 30 seconds, keeping the heat on medium-low, until the remaining runny egg cooks just enough to coat every noodle strand in a thin, silky layer. Turn off the heat immediately—residual pan heat will finish cooking the egg without making it dry. Drizzle with 1 teaspoon toasted sesame oil and the remaining 1 tablespoon soy sauce, toss once more to distribute evenly.
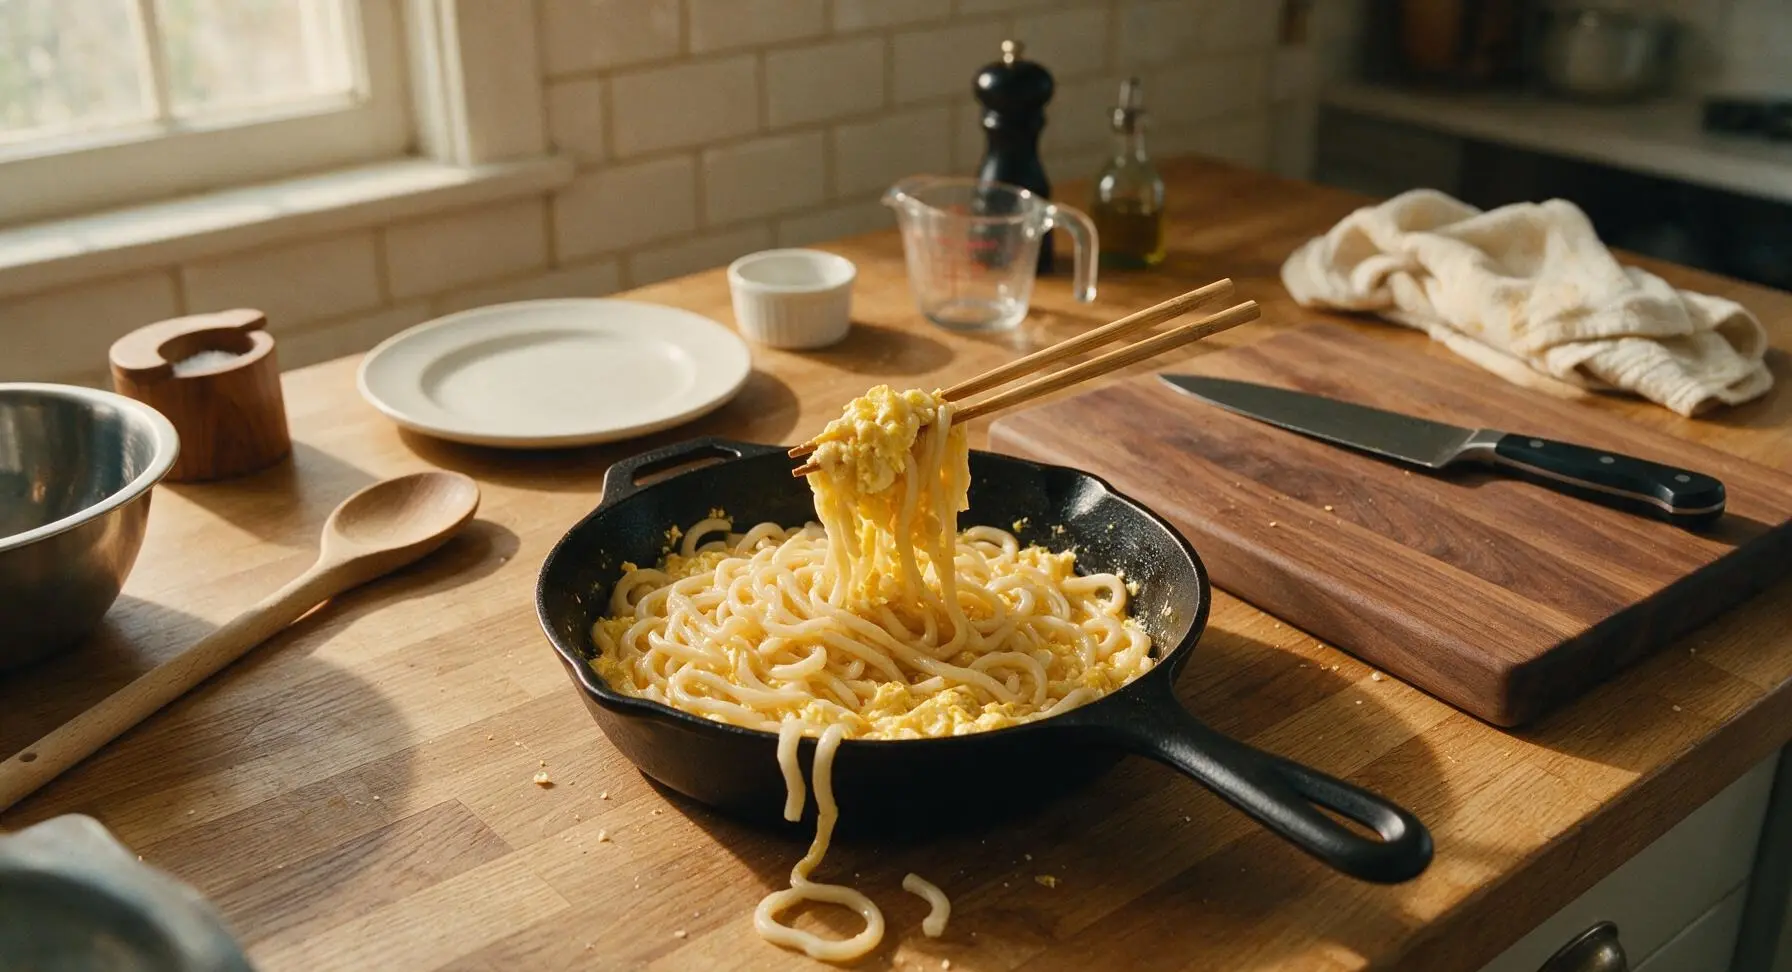
Plate and Garnish
Transfer the udon and egg mixture to the off-white hand-thrown ceramic shallow serving bowl, piling it loosely in the center. Top evenly with the reserved sliced scallion greens, 1 teaspoon toasted white sesame seeds, and a tiny pinch of flaky sea salt. Add a light twist of freshly ground black pepper if desired, and serve immediately while hot.
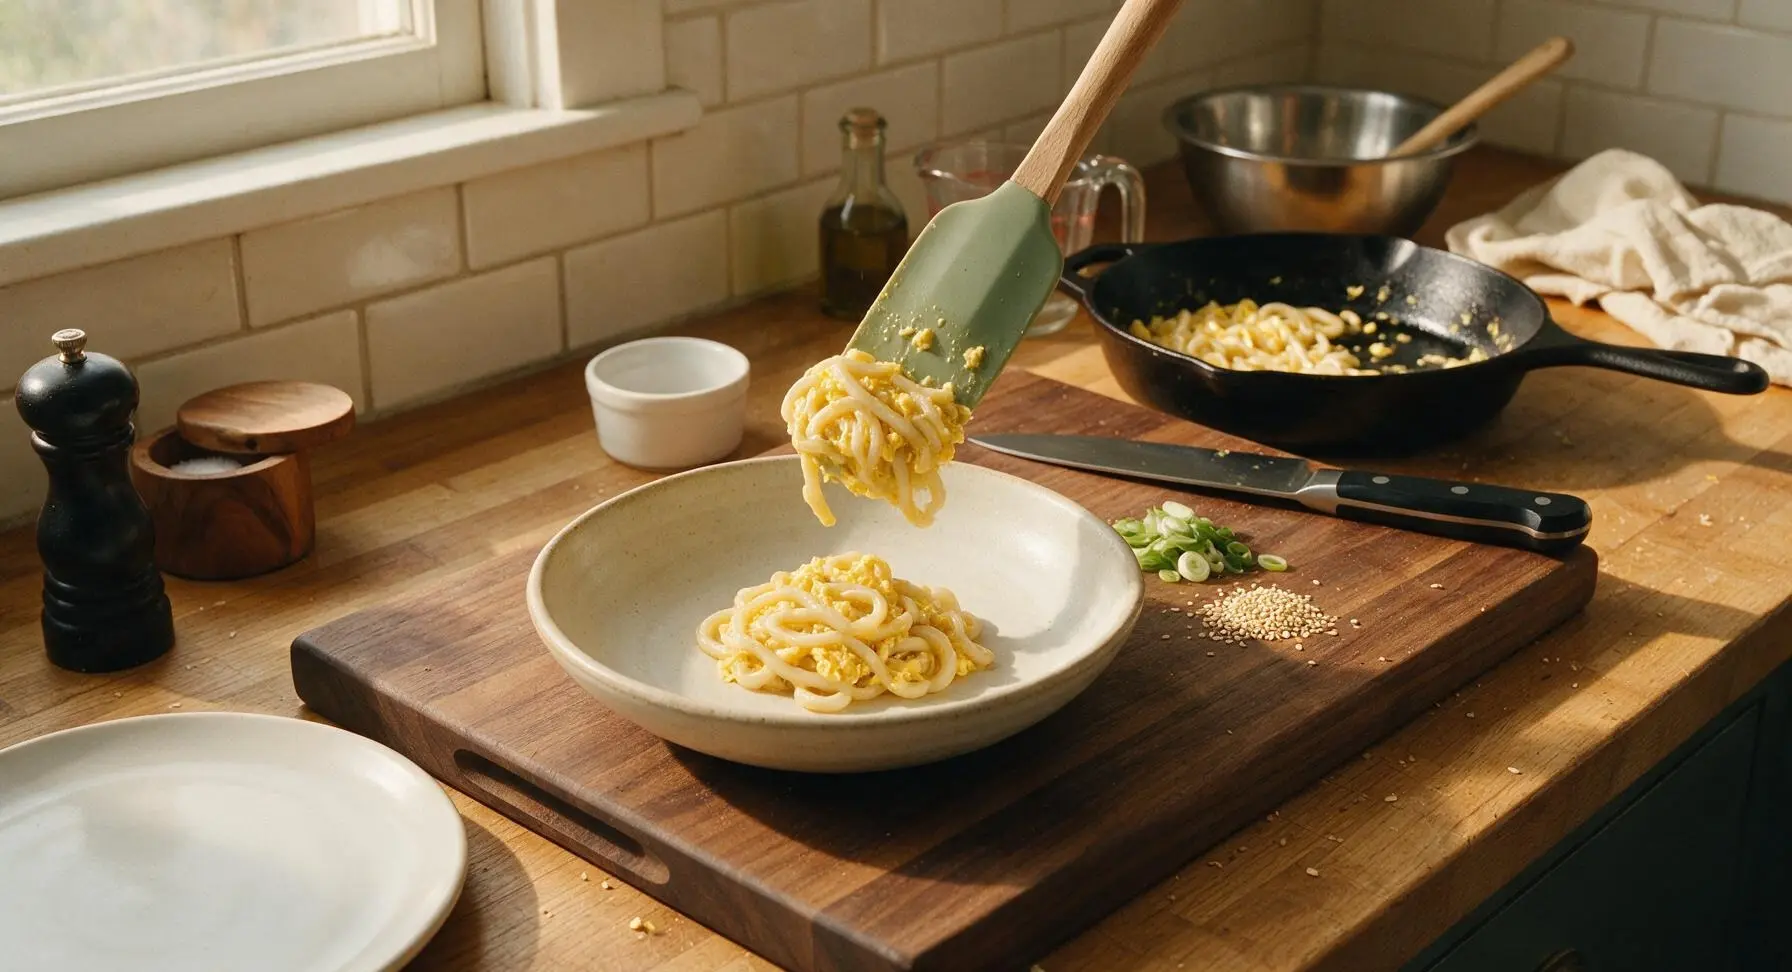
Tips
2.Cook eggs on medium-low heat only: high heat causes egg proteins to seize up into tough, rubbery curds; low, gentle heat creates the soft, melt-in-your-mouth curds that define this dish, and prevents the egg from browning or developing crispy edges.
3.Remove the pan from heat while eggs look slightly underdone: residual heat from the pan and warm udon will finish cooking the egg in 30 seconds as you toss, preventing dry, crumbly eggs that ruin the dish’s signature creamy mouthfeel.






OMG this udon scrambled eggs recipe is a total game changer for my busy weekday mornings! 10 minutes cook time? I can throw this together before my first Zoom call no problem. The chewy udon mixed with fluffy eggs hits every single time. I added a splash of soy sauce and a sprinkle of furikake on top, chef’s kiss.
My kids went absolutely crazy for this! I was scrambling (pun totally intended) to find a quick dinner after soccer practice last night, and I had a pack of udon and eggs in the fridge so I gave this a shot. All three boys asked for seconds, and my husband even asked if I could make it for his work potluck next week. SO good.
Super easy recipe, perfect for my weekly meal prep! I made a big batch on Sunday and portioned it out for quick work lunches. Only note is that I wish I’d added a little extra seasoning because it was a touch bland when I reheated it day 3, but a dash of chili crisp fixed that right up. Will make again for sure.
Wait why have I never thought to put udon in my scrambled eggs before?? This is the lazy comfort food I’ve been searching for my whole adult life. I tossed in some leftover sautéed spinach and mushrooms from last night’s dinner and it was *chef’s kiss*. Zero cleanup, maximum flavor, 10/10.
Okay this was pretty good but I messed up my udon! I overcooked the noodles first so they got all mushy when I tossed them with the eggs. Still edible, but definitely not as chewy as I wanted. Will try again though because the flavor combo is genius.
Made this for my roommate brunch last weekend and everyone was begging for the recipe! I served it with a side of crispy bacon and some sliced avocado on top, and people went back for thirds. It looks fancy but takes literally no effort, which is my favorite kind of brunch recipe.
Bro this recipe saved my life during finals week. I have like zero groceries in my dorm except frozen udon, eggs, and random soy sauce packets from takeout, and this took me 8 minutes to make in my tiny dorm kitchen. Way better than spending $12 on takeout for lunch.
I swapped the regular udon for gluten-free udon noodles and this turned out absolutely perfect! I was worried the GF noodles would get gummy, but they held up great with the soft scrambled eggs. Finally a quick breakfast I don’t have to modify a ton for my dietary needs.
Really solid recipe! I added a handful of shredded cheese to the eggs while they cooked and a drizzle of hot honey on top, and it was insane. Only reason it’s not 5 stars is I wish there was a little more guidance on how high to keep the heat for the eggs so they don’t get rubbery.
I’ve been making variations of egg and noodle dishes my whole life, but this udon version is my new favorite. It’s so gentle on my stomach, easy to make even when my arthritis is acting up, and it tastes so cozy. I make it for lunch at least twice a week now.
This is perfect for my post-gym meals! I get home starving and don’t want to wait 30 minutes for food, and this has plenty of protein from the eggs and carbs from the udon to refuel. I add a little extra egg white to bump up the protein even more, works like a charm.
I ordered something similar to this at a little Japanese spot downtown last month and paid $16 for it, so when I saw this recipe I knew I had to try it. Tastes almost exactly the same for a fraction of the cost! I did add a little splash of mirin to match the restaurant version, and it was spot on.
Made this last night when I got home late from walking the dog and was too tired to make a whole big dinner. I was a little skeptical that udon and eggs would be filling enough, but I added a fried egg on top (extra runny yolk, duh) and it was so satisfying. 10/10 lazy dinner win.
Just made this at 2am after a concert and it’s the best late night snack I’ve ever made. No fancy ingredients, no mess, hits so hard when you’re tired and hungry. Will absolutely be making this after every night out from now on.
Great base recipe! I added some pan-fried tofu cubes and a splash of tamari to make it a full vegetarian meal, and it was so hearty. Perfect for nights when I don’t feel like putting a ton of effort into dinner but still want something that tastes intentional.
My toddler is going through that phase where she refuses to eat literally anything I put in front of her, but she devoured this! She loved slurping the udon noodles and didn’t even complain about the eggs. This is going into our regular weeknight rotation for sure.
It’s a good recipe but it’s pretty high in sodium if you use regular soy sauce like I usually do. Next time I’ll use low-sodium soy sauce and maybe add a little ginger for extra flavor without the extra salt. Still a solid quick meal option, just something to note for folks watching their sodium intake.
Brought this to my neighborhood potluck last weekend and it was the first dish gone! I made a double batch in my big skillet, set out toppings like scallions, sesame seeds, chili oil, and shredded cheese so people could dress their own servings, and everyone was raving about it. Who knew such a simple 10-minute recipe would be such a massive hit?