
Vanilla Porter
intro
Smooth, roasty vanilla porter with deep malt, subtle chocolate, and warm vanilla notes, perfectly balanced for sipping on cool autumn evenings with friends.
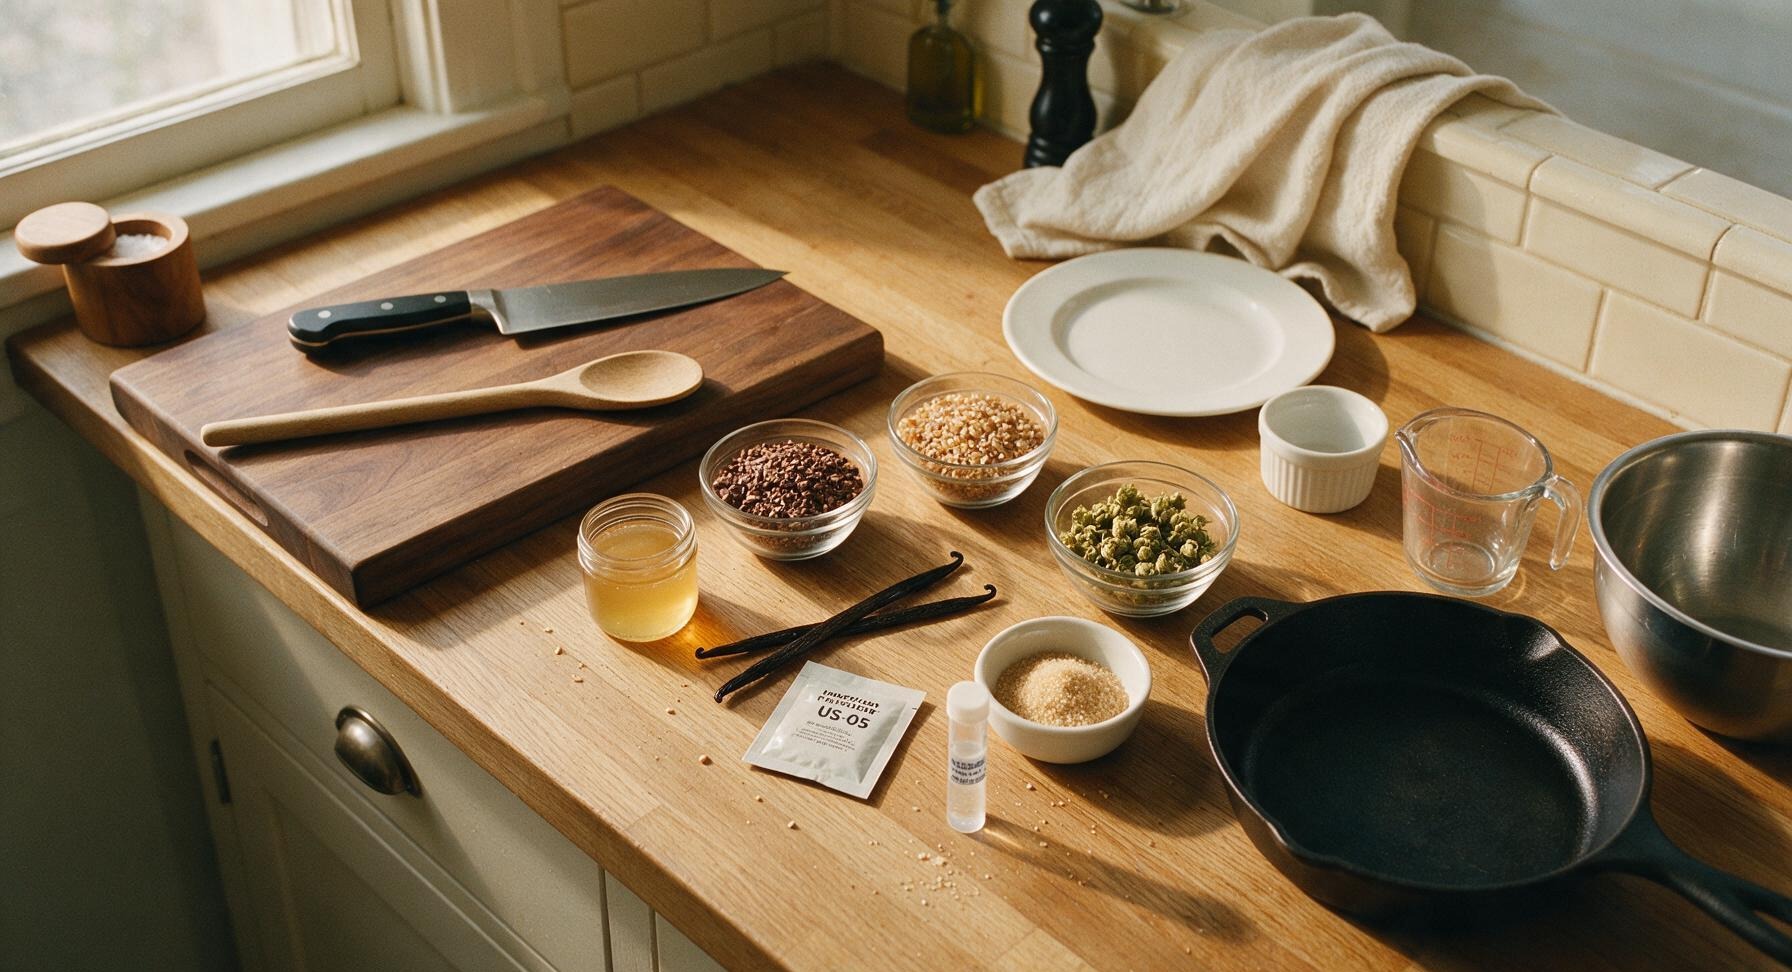
Ingredients
Steps
Sanitize All Equipment
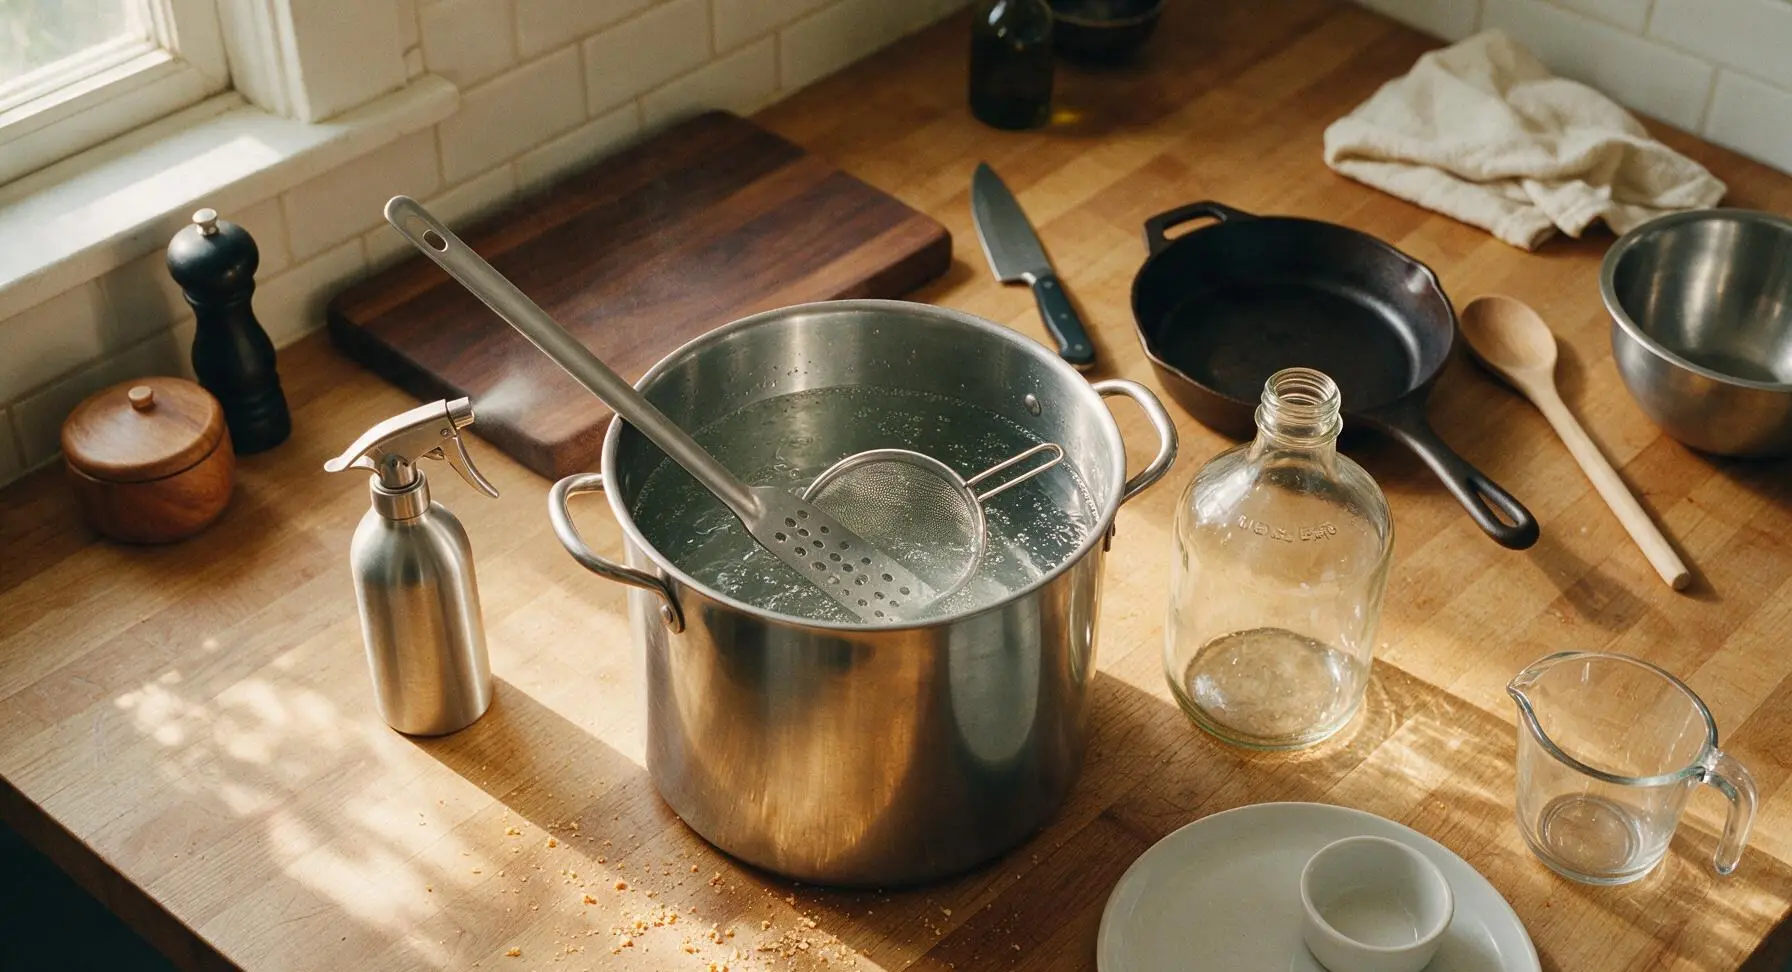
Start by mixing 15ml no-rinse brewing sanitizer with 4L of cool filtered water in the 5-gallon stainless steel brew kettle. Submerge the mash paddle, fine-mesh strainer, fermentation airlock, auto-siphon, and the inner neck of the glass carboy in the solution for 2 full minutes. Spray all remaining equipment contact surfaces with sanitizer from the spray bottle, then set items on the clean counter to air dry completely—no wiping is needed, as the food-safe residue leaves no aftertaste. This step eliminates bacteria and wild yeast that cause off-flavors.
Steep Specialty Grains
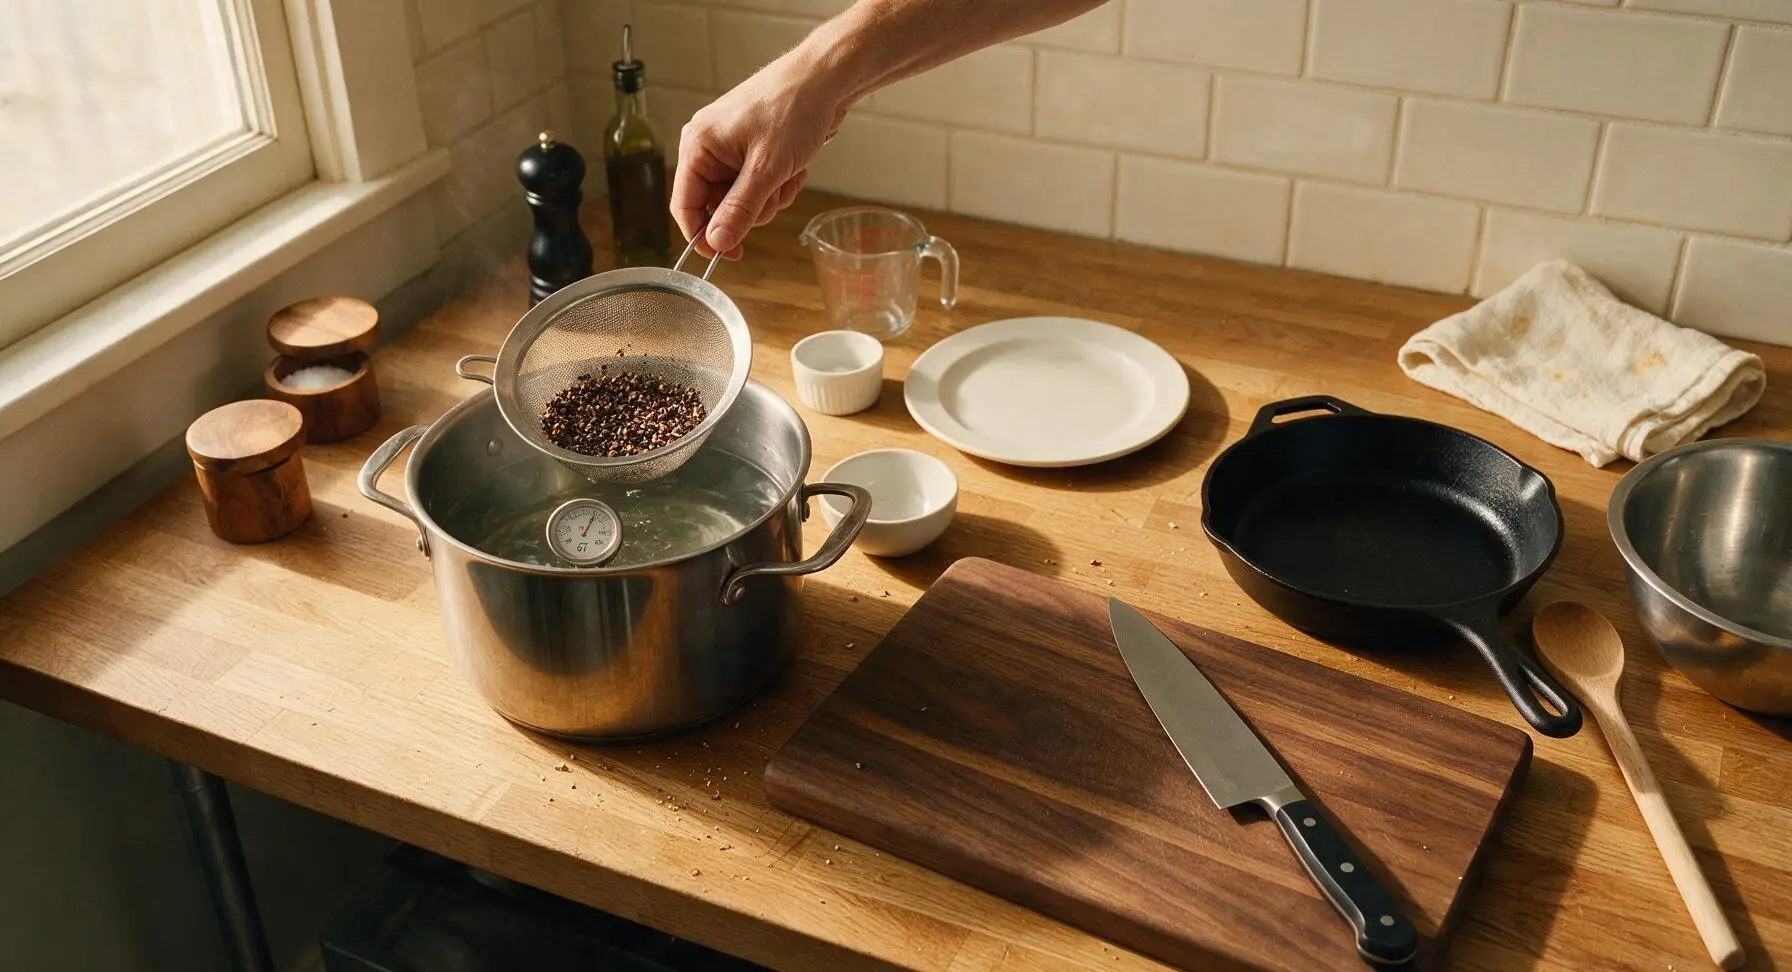
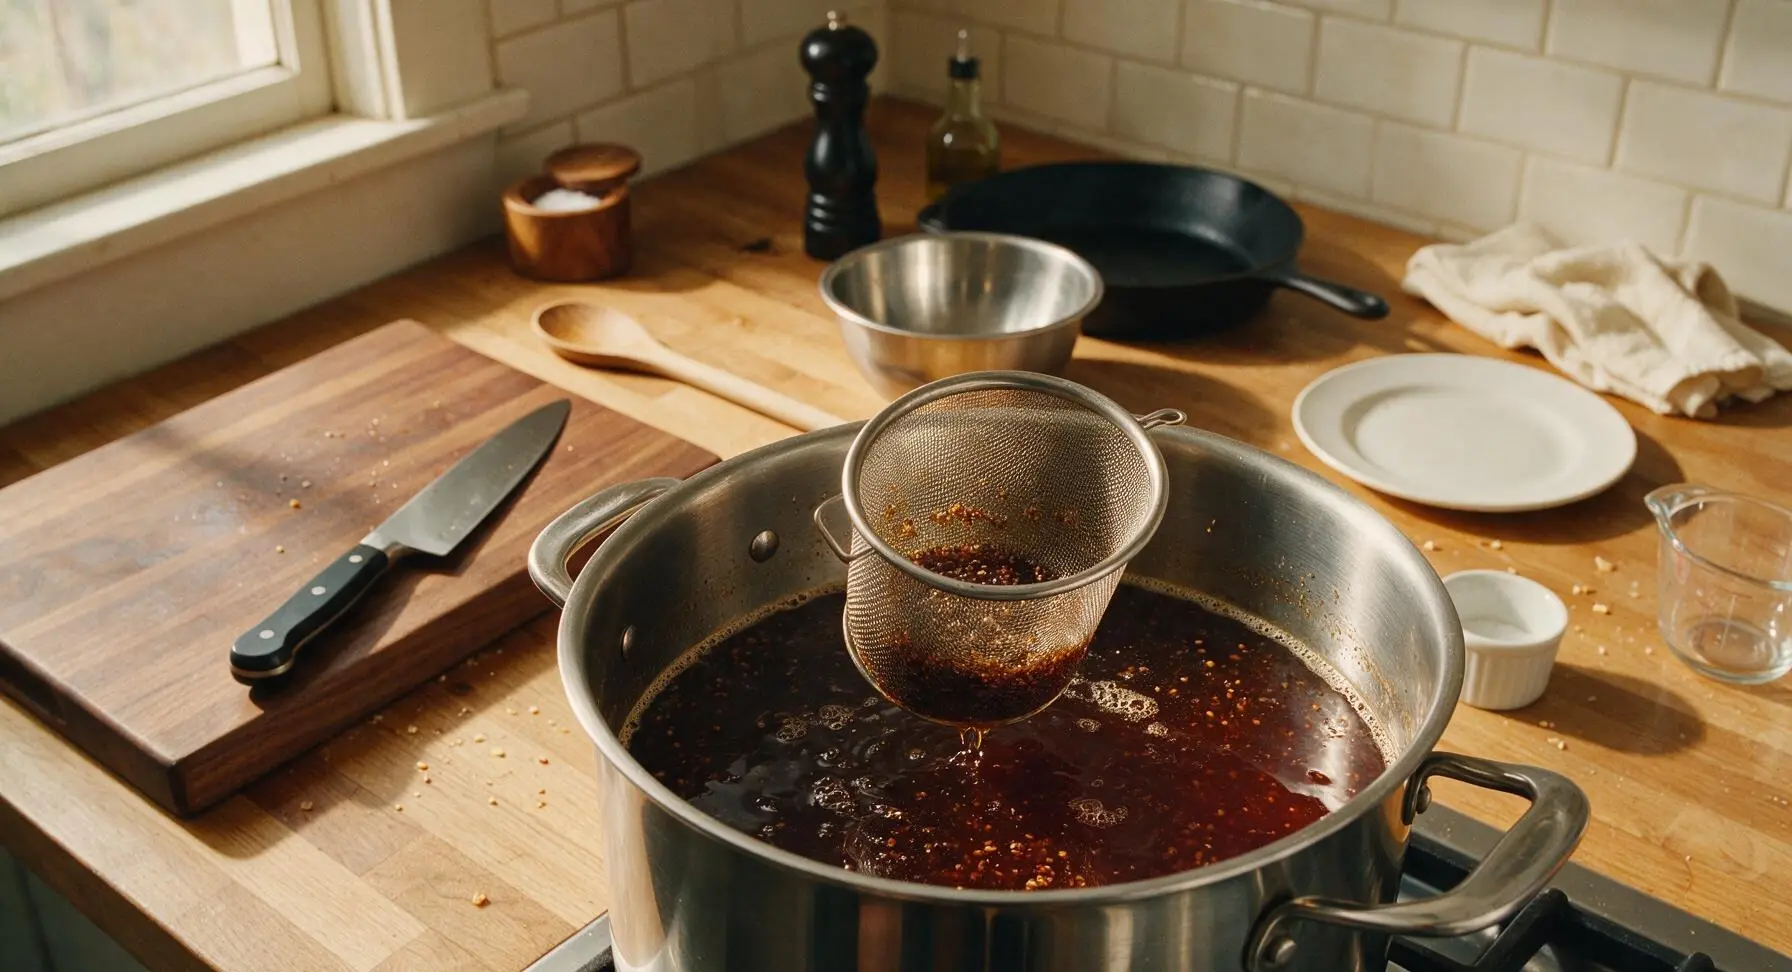
Empty the sanitizer solution from the kettle, then fill it with 11L of cool filtered water and heat to a steady 67C (153F), monitored via the kettle's built-in thermometer. Place the crushed chocolate malt and crystal malt in the fine-mesh strainer, lower the strainer into the heated water, and steep for 20 minutes, maintaining a constant temperature between 65-68C. Do not allow the grain water to boil, as this extracts harsh, astringent tannins. The liquid will darken to a deep mahogany color as malt sugars and roast flavors leach out.
Boil the Wort
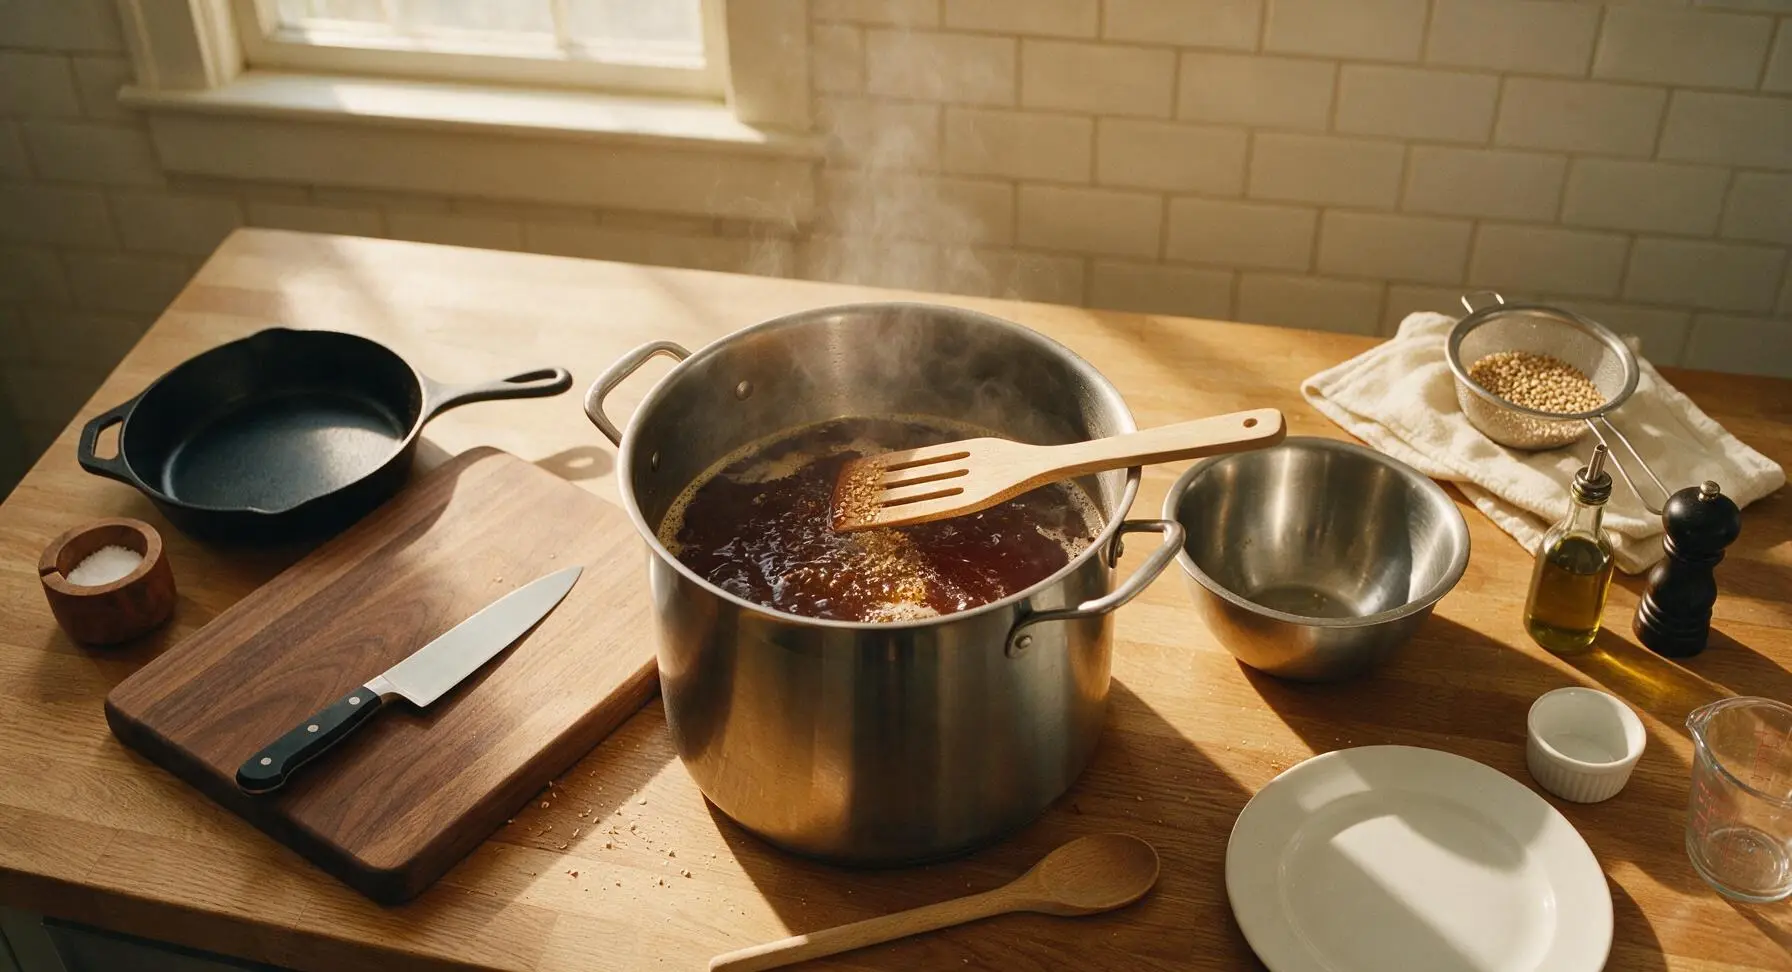
Lift the grain strainer out of the kettle, allowing all liquid to drain back into the pot (do not squeeze the strainer, as this adds tannins). Bring the mahogany wort to a gentle, rolling boil at 100C (212F). Slowly stir in the full 3.3kg of pale liquid malt extract with the slotted mash paddle, stirring constantly until the extract is fully dissolved with no sticky clumps remaining. Maintain a steady rolling boil for 60 full minutes, adjusting heat as needed to prevent sticky boilovers.
Add Hops in Stages
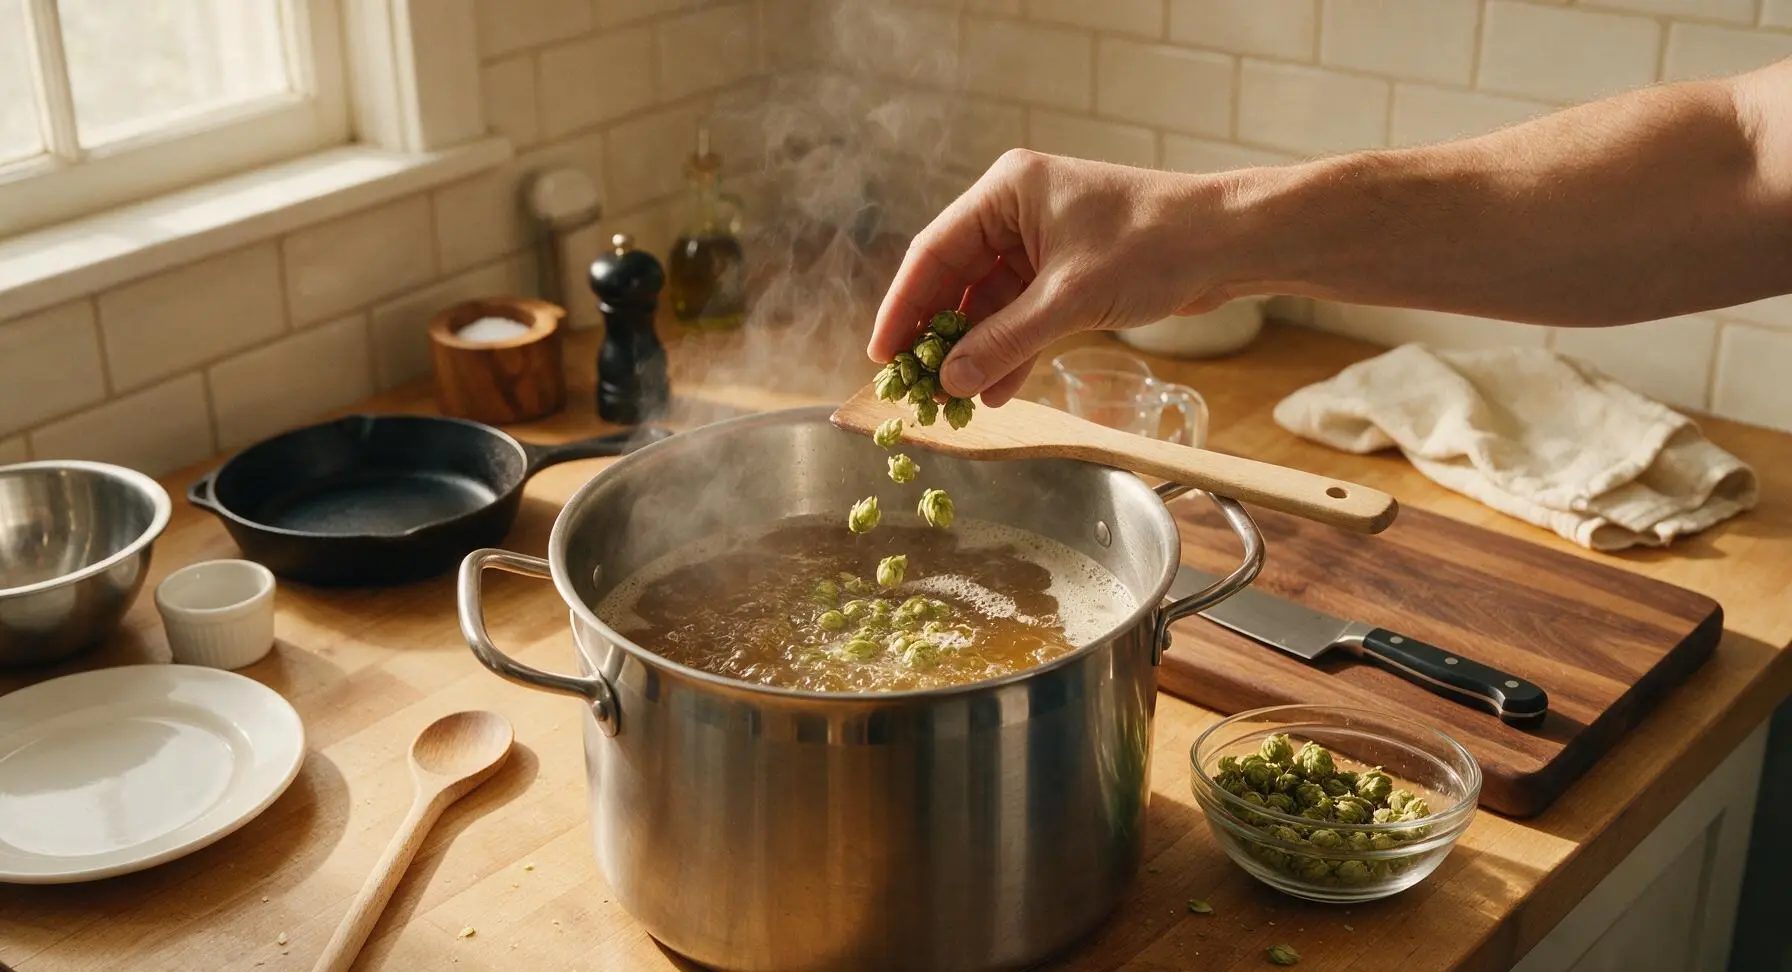
Add 20g of the East Kent Goldings hops to the boiling wort as soon as the 60-minute boil begins, to add balanced bittering that cuts through malt sweetness. Add the remaining 8g of hops during the final 5 minutes of the boil to preserve bright, earthy, floral hop aroma without adding extra bitterness. Skim any large clumps of hot break foam from the wort surface as it forms, for a clearer final beer.
Cool and Pitch Yeast
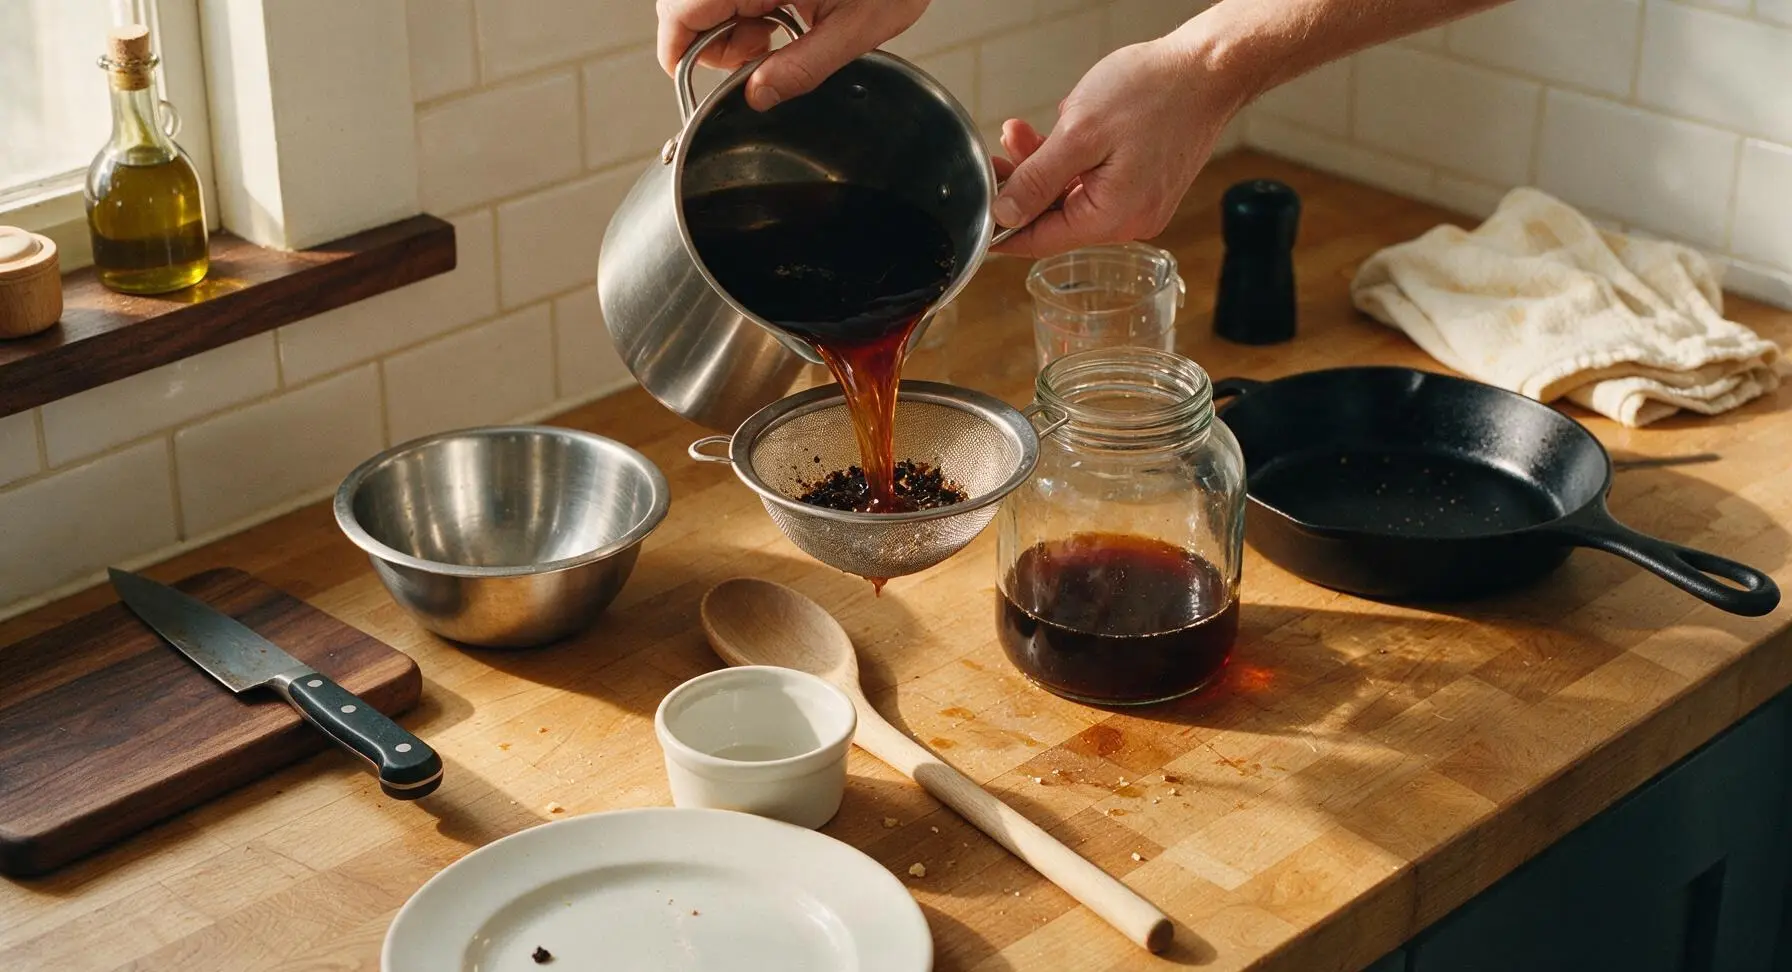
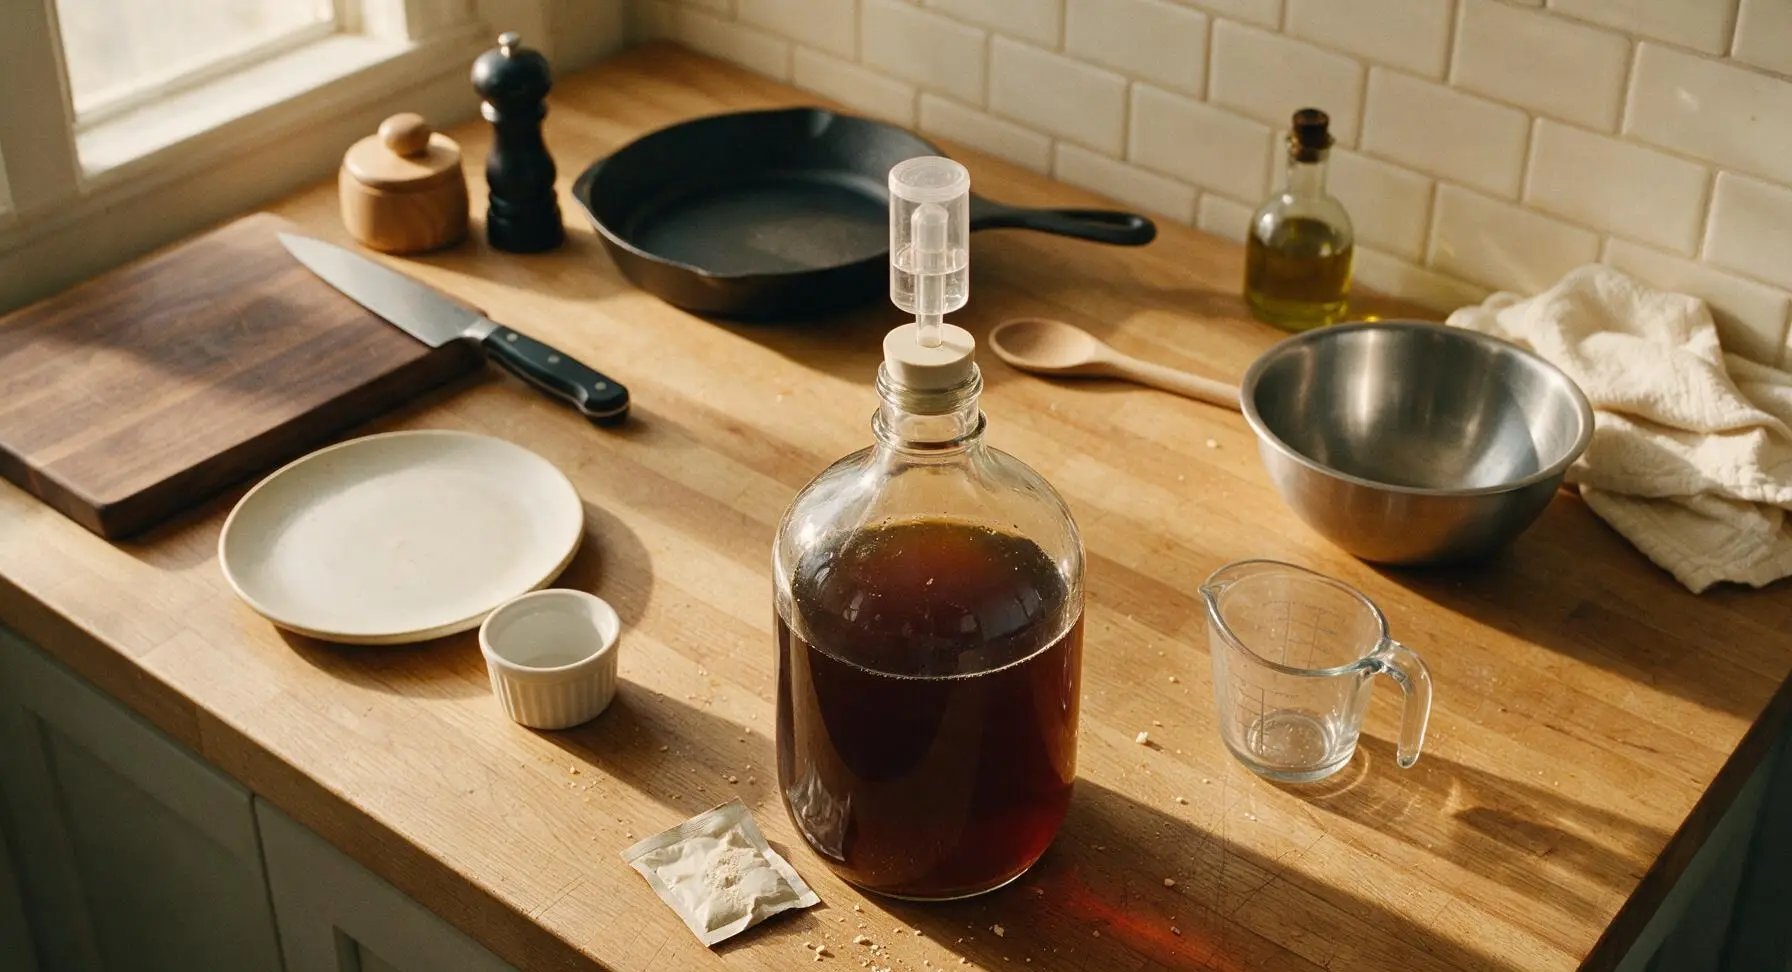
When the 60-minute boil ends, remove the kettle from heat and cool the wort as quickly as possible to 21C (70F) by setting the kettle in an ice water bath (off frame). Once cooled, pour the wort through the fine-mesh strainer into the sanitized glass carboy, then top up with cool filtered water to reach the 5-gallon volume mark. Sprinkle the full 11g packet of American ale yeast evenly over the wort surface, seal the carboy mouth with a sanitized rubber stopper, and insert the water-filled three-piece airlock.
Add Vanilla, Ferment
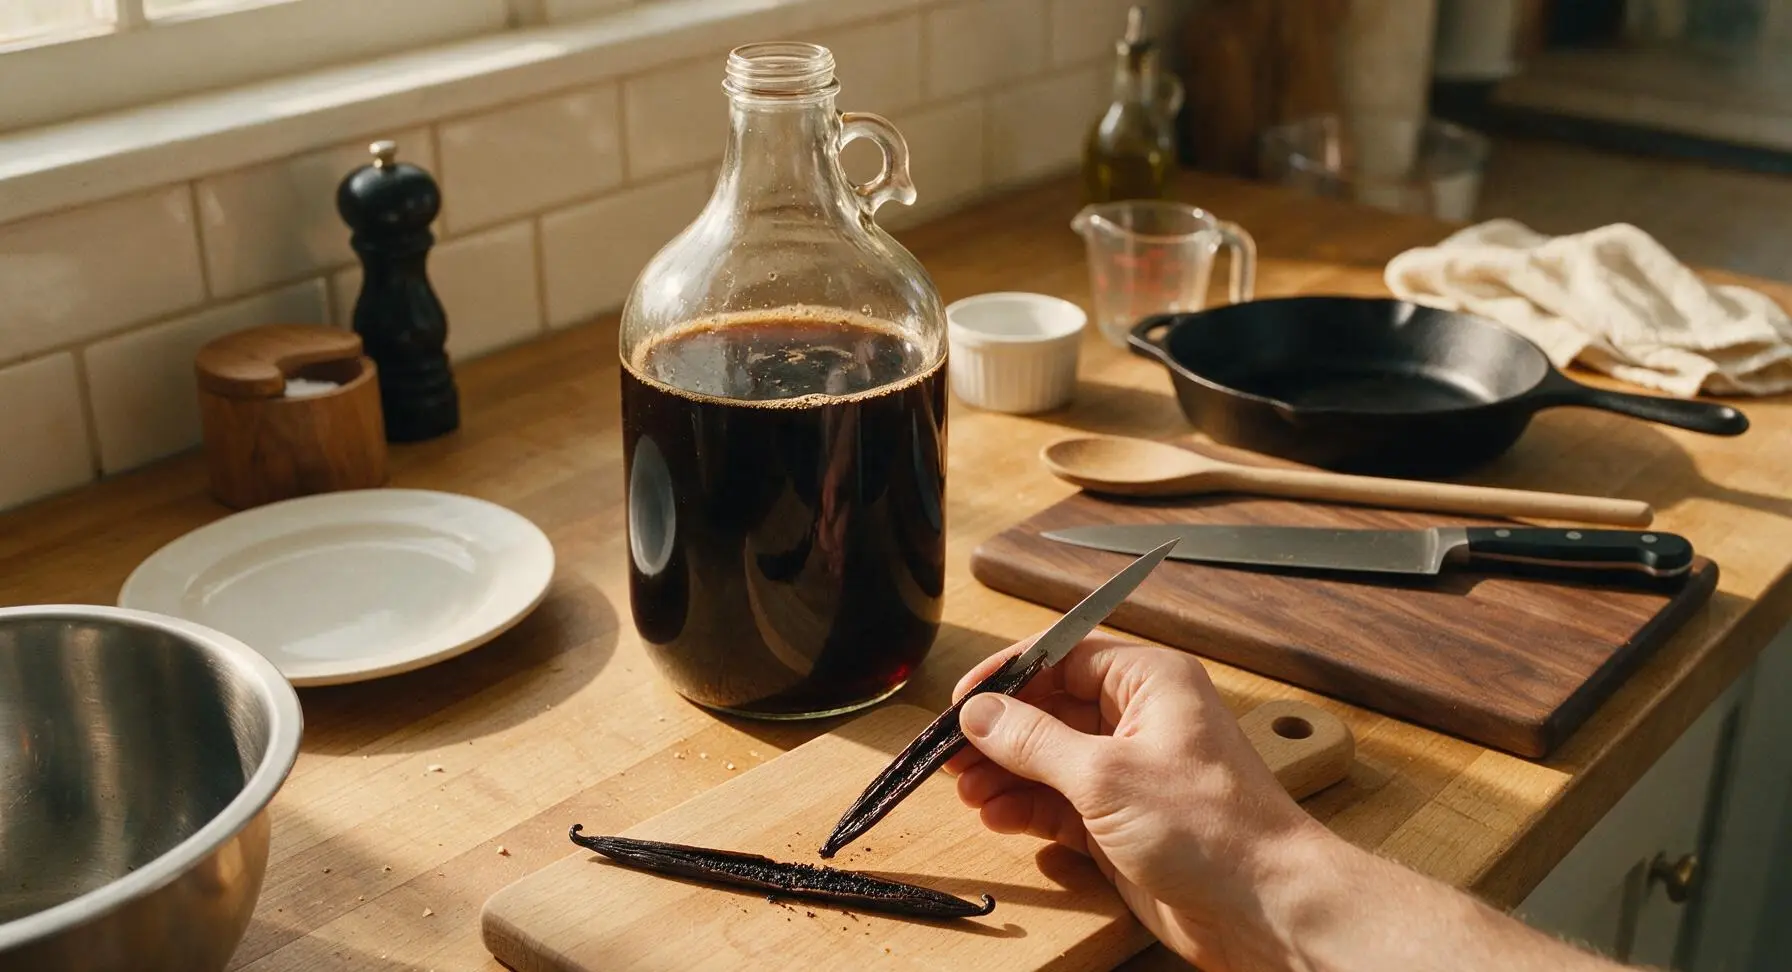
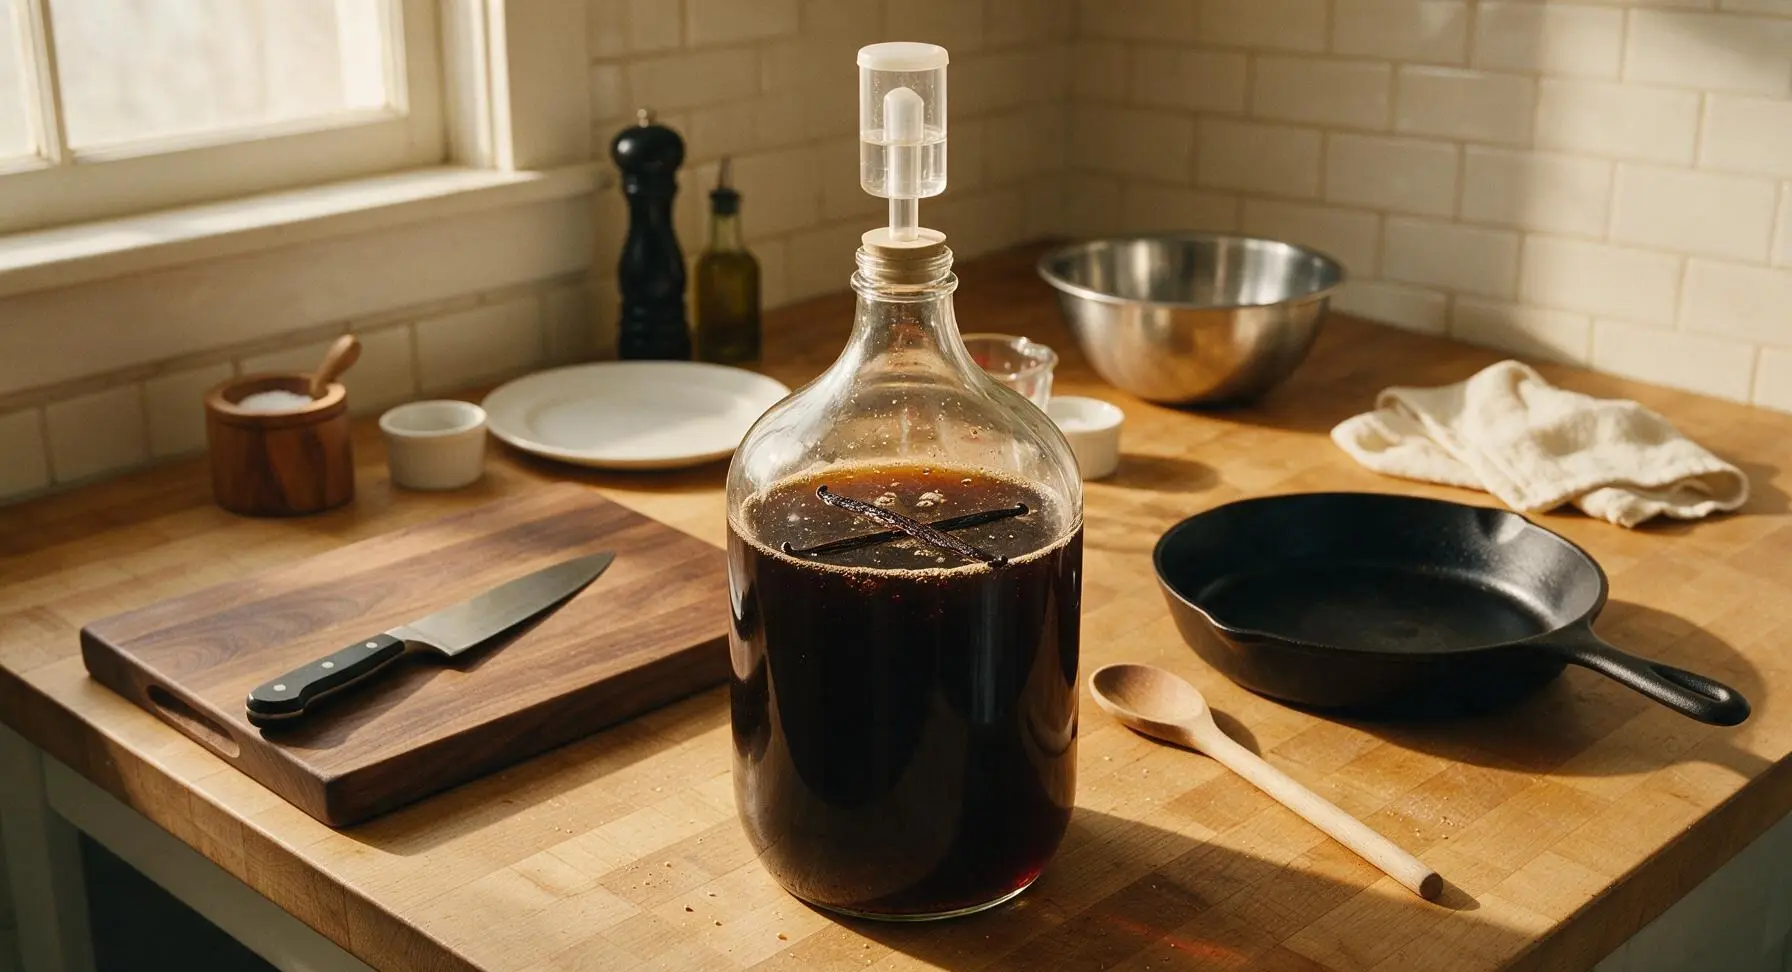
Store the sealed carboy in a dark, temperature-stable spot at 18-21C (65-70F) for 3 days of active primary fermentation, until bubbling in the airlock slows to 1 bubble every 30 seconds. Use the paring knife to split both Madagascar vanilla beans lengthwise on the small beech cutting board, scrape out the sticky seed caviar, then drop both the seeds and split pods into the carboy. Reseal the airlock and allow the beer to ferment for an additional 10 days at the same temperature, until all airlock bubbling stops and the beer begins to clear.
Bottle and Condition
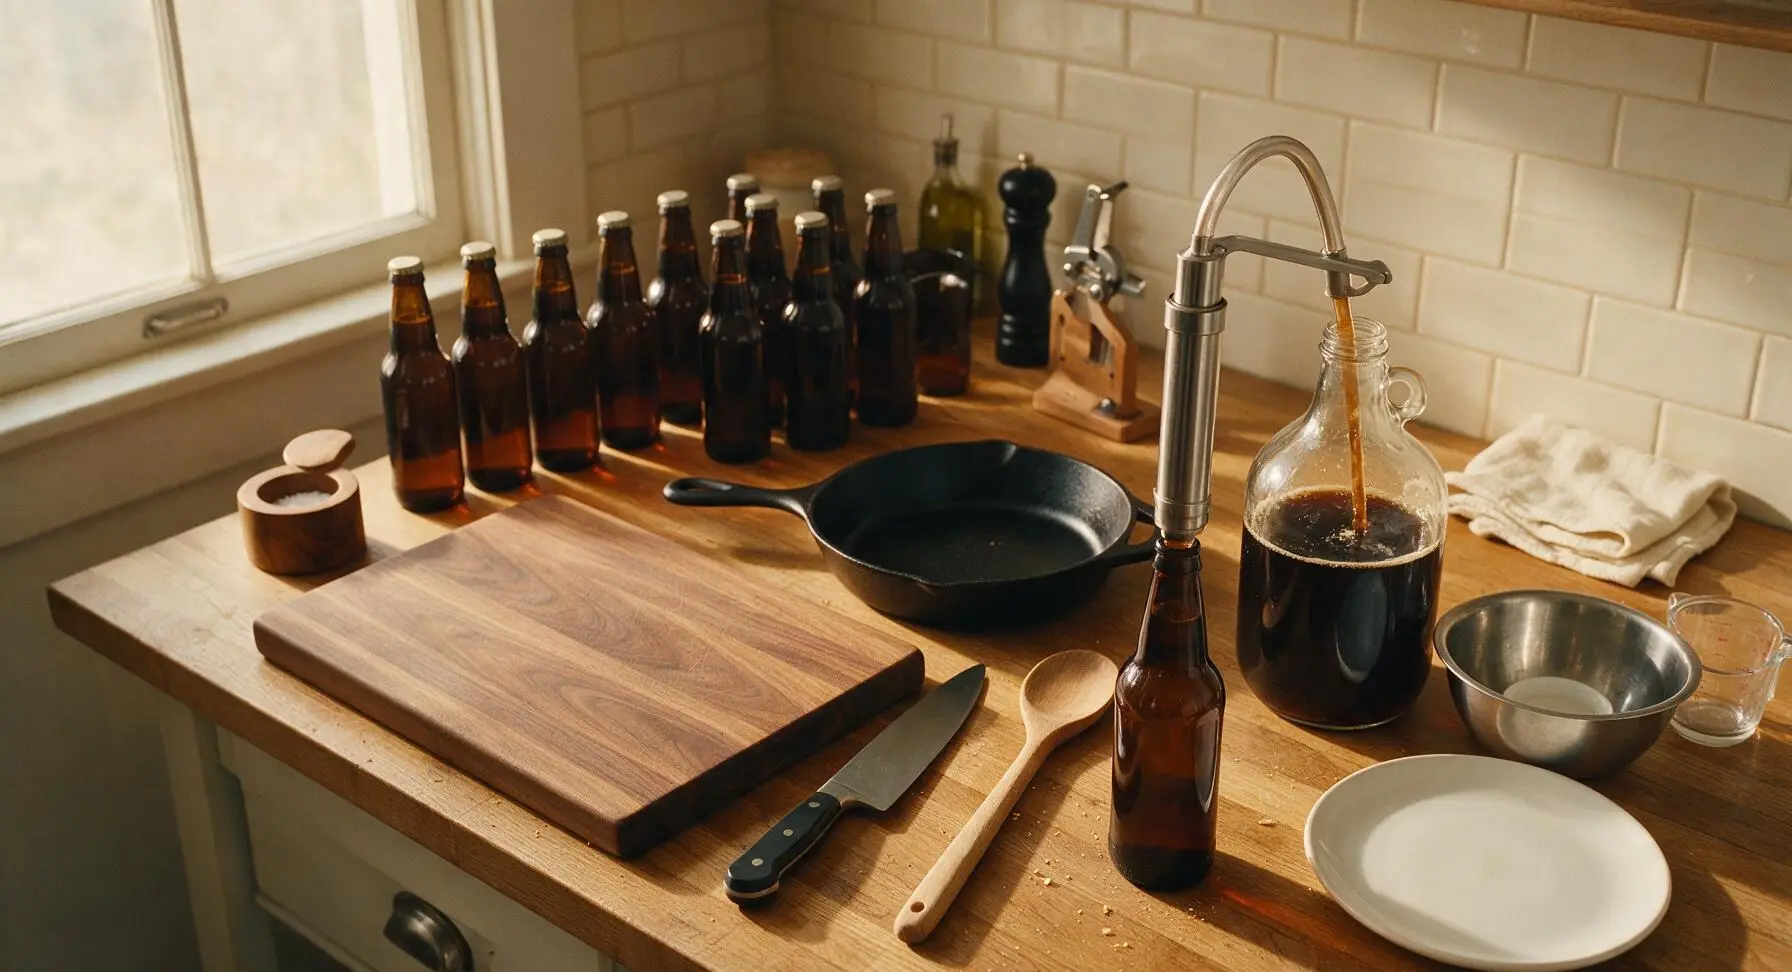
Once fermentation is complete, dissolve 150g of light brown priming sugar in 250ml of boiling water, cool to room temperature, and add to the bottom of a sanitized bottling vessel. Use the stainless steel auto-siphon to transfer the finished beer from the carboy onto the sugar solution, stirring gently to evenly distribute the sugar (which will create natural carbonation). Fill sanitized amber 12oz glass bottles with beer, leaving 2cm of headspace per bottle, then crimp sanitized crown caps onto each bottle using the wooden bottle capper. Store bottles in a cool, dark spot for 2 weeks to carbonate and condition before chilling and serving.
Tips
2.Cool your boiled wort to 21C within 30 minutes using an ice bath: rapid cooling reduces the risk of bacterial contamination, prevents harsh astringent tannin extraction, and helps form a tight cold break for clearer, smoother final beer.
3.Choose plump, slightly oily Madagascar vanilla beans instead of vanilla extract for infusion: artificial or alcohol-based extract can add a harsh, perfumed vanilla note, while whole beans infuse a soft, round, creamy vanilla flavor that blends seamlessly with the porter's chocolate and roast malt notes.






OMG, this vanilla porter turned out even better than the craft version I grab at my local bottle shop! The cook time felt totally manageable even for medium difficulty, I was worried I’d mess up the vanilla infusion but the step-by-step was so clear. Brought a growler to my buddy’s football watch party last weekend and everyone was begging for the recipe. Total game changer for my homebrew rotation!
I was a little intimidated to try homebrewing since I usually stick to baked goods for potlucks, but my husband has been begging for a homemade beer recipe so I gave this a shot. SO good! It’s rich, not too bitter, and the vanilla comes through without tasting artificial. We served it at our neighborhood cookout and even the people who “don’t like dark beer” had two glasses.
Tried this last weekend, and I think I messed up the temperature during the mash? Mine came out a little thinner than I expected, but the vanilla flavor was still spot on. Going to give it another go in a couple weeks once I pick up a better thermometer, really excited to nail it because the taste profile is exactly what I’ve been searching for.
Game changer! I’ve made a few different porter recipes before and they always come out too heavy or too hoppy, but this one is perfectly balanced. I added an extra half vanilla bean because I love that warm, sweet note and it did not disappoint. My partner said it tastes like the fancy porter we had on our anniversary trip to Asheville. Will absolutely be making this on repeat for our weekend bonfires.
Brought a batch of this to my office potluck last week and it was the first thing gone! The medium difficulty rating is totally fair, you don’t need a ton of fancy equipment to pull it off, just block out the 90 minutes of cook time and pay attention to the steps. My only note is that I’d recommend letting it condition a little longer than the recipe says if you like a smoother mouthfeel — I waited two extra weeks and it was chef’s kiss.