
vans gluten free blueberry waffles
intro
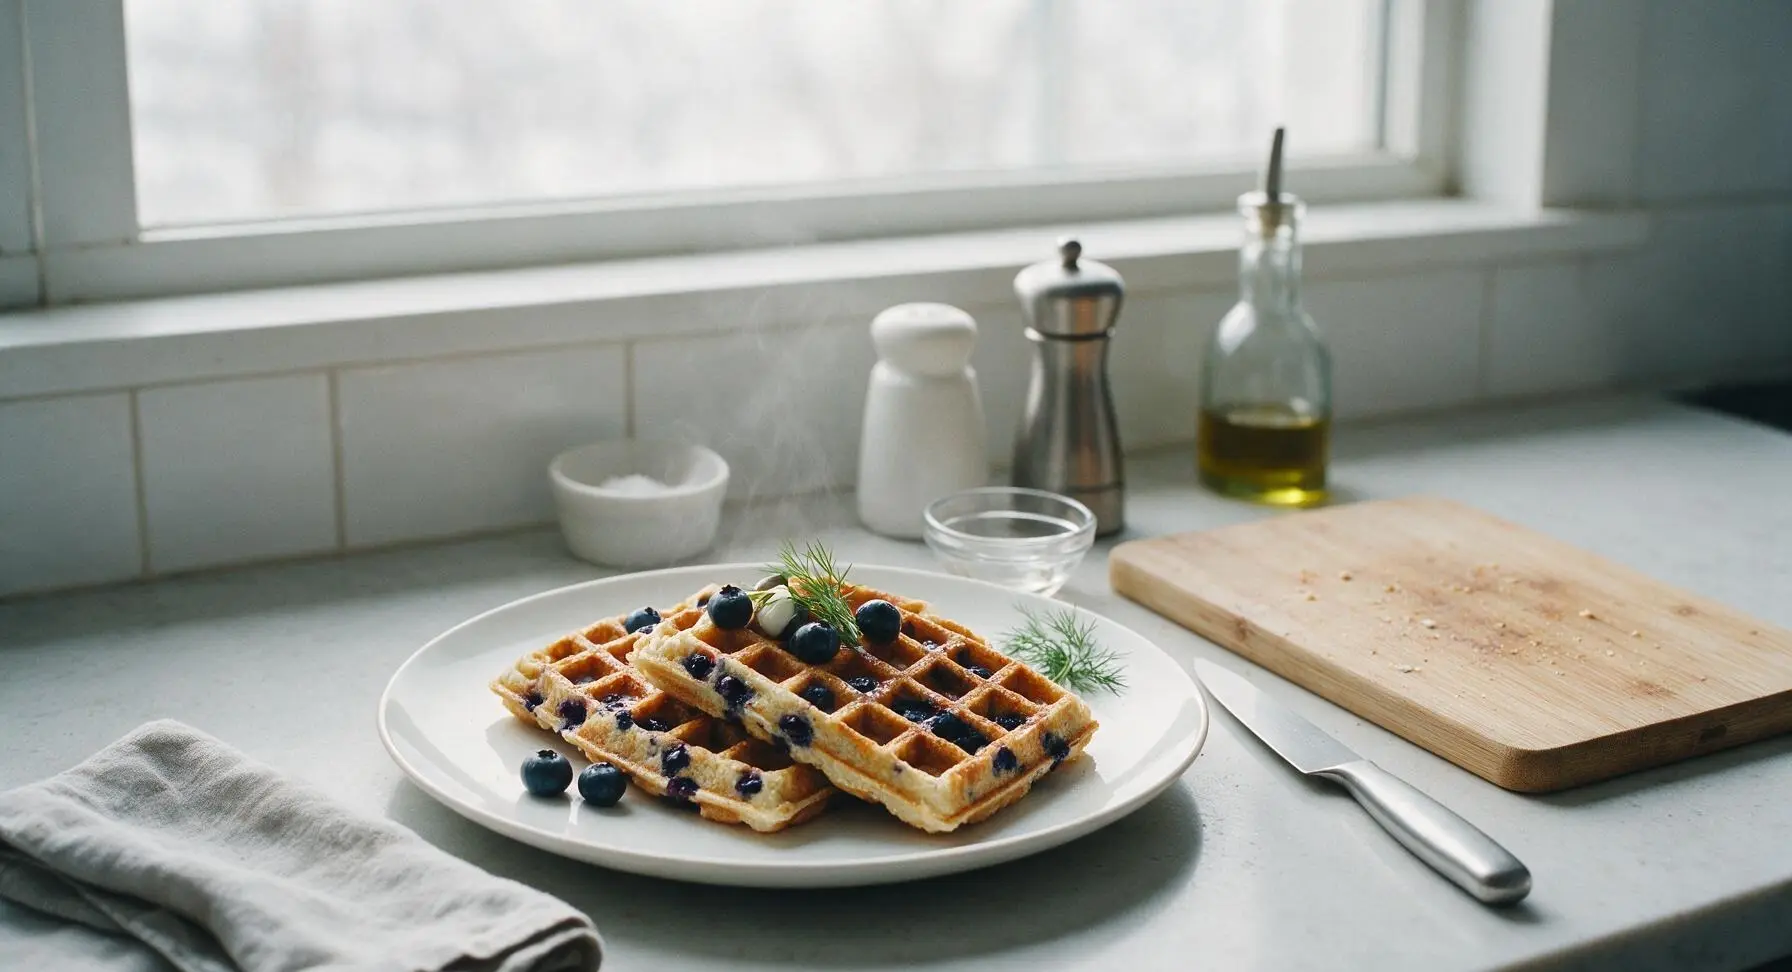
Crisp, golden copycat Van’s gluten-free blueberry waffles studded with juicy fresh blueberries, light and fluffy inside, ready in under 30 minutes for quick, cozy meals.
Ingredients
Steps
Whisk Dry Ingredients
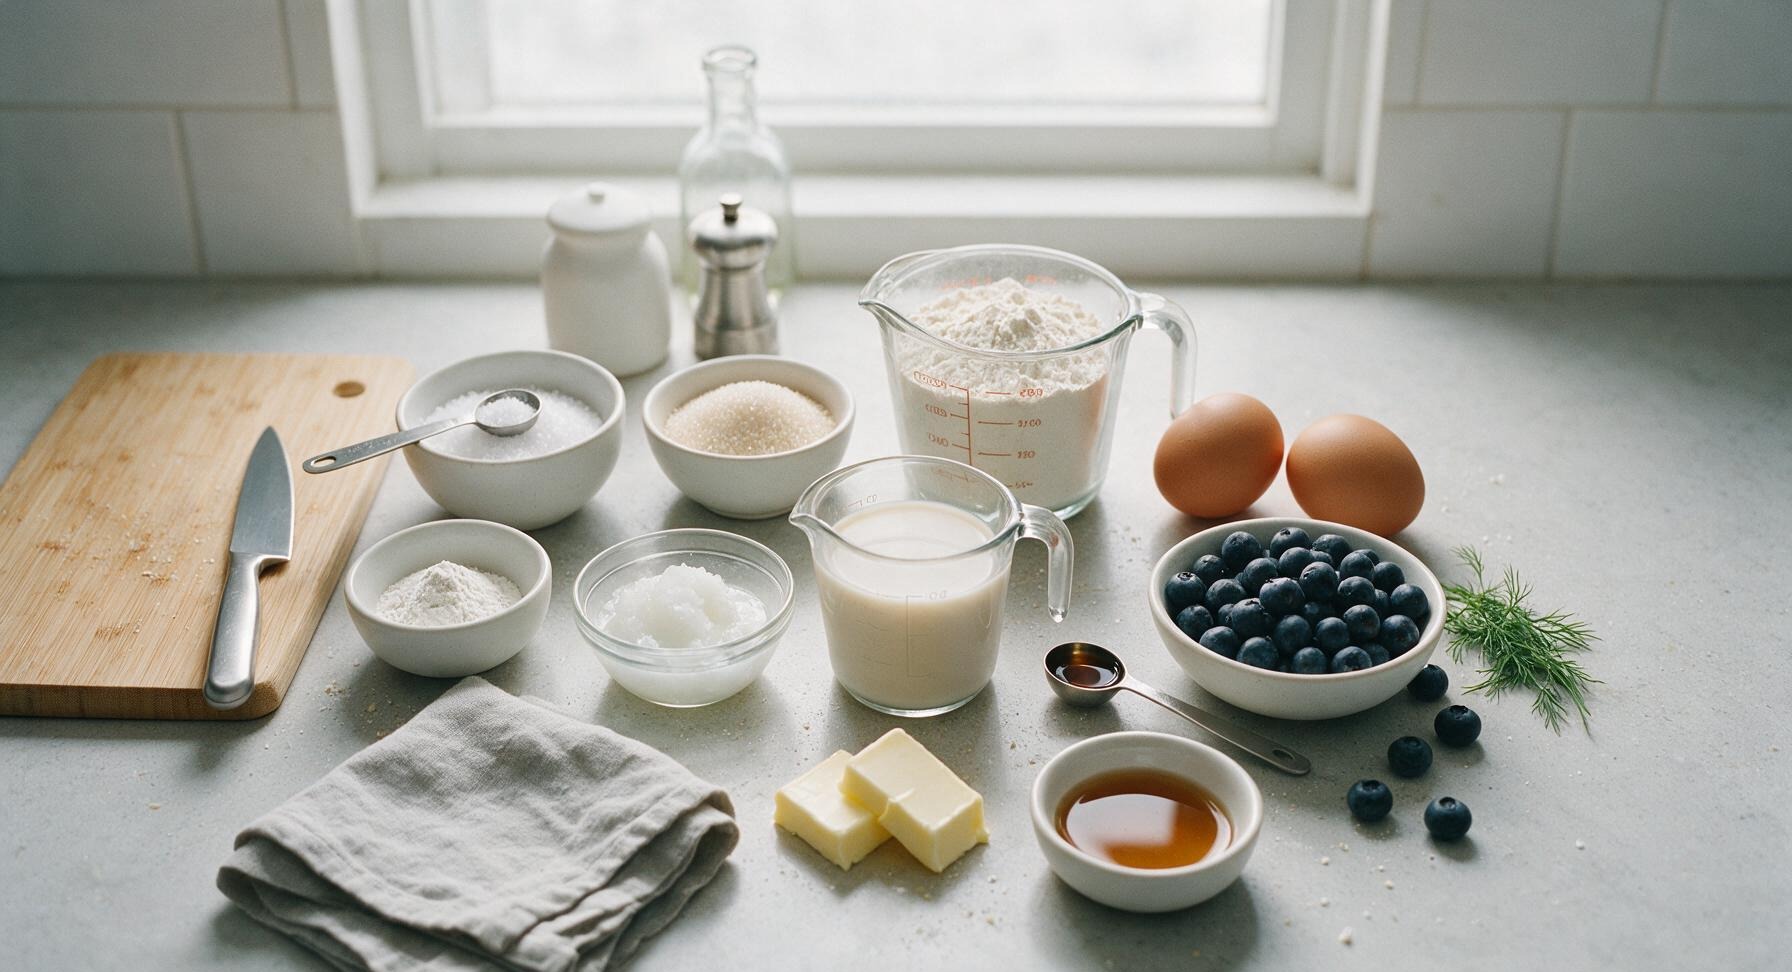
In the fixed-position light bamboo mixing bowl, combine 2 cups gluten-free all-purpose flour blend, 2 teaspoons baking powder, 1/2 teaspoon fine sea salt, and 2 tablespoons granulated cane sugar. Use the blue-handled stainless steel whisk to stir the dry ingredients for 30 seconds, until fully evenly combined with no visible clumps of baking powder or salt remaining.
Add Wet Ingredients
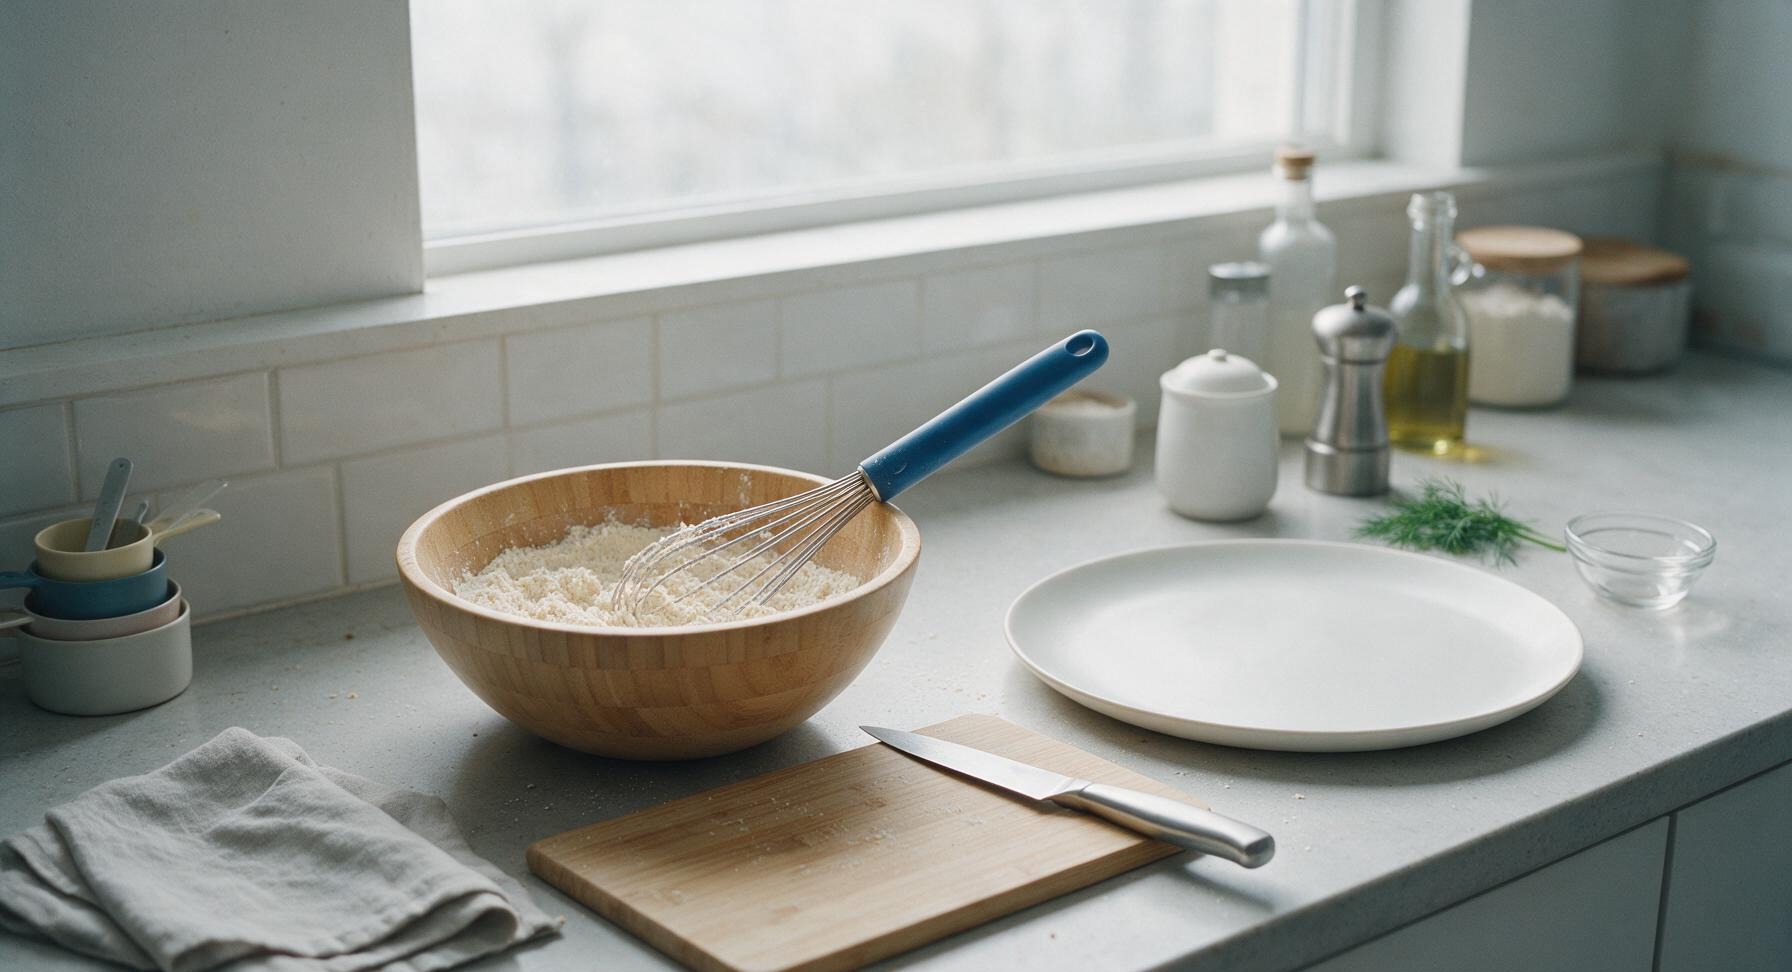
Make a 3-inch wide well in the center of the whisked dry ingredients in the bamboo bowl. Crack the 2 large eggs directly into the well, then pour in the 1 1/2 cups unsweetened oat milk, cooled melted coconut oil, and 1 teaspoon pure vanilla extract, taking care not to splash dry ingredients over the bowl edges.
Mix Smooth Batter
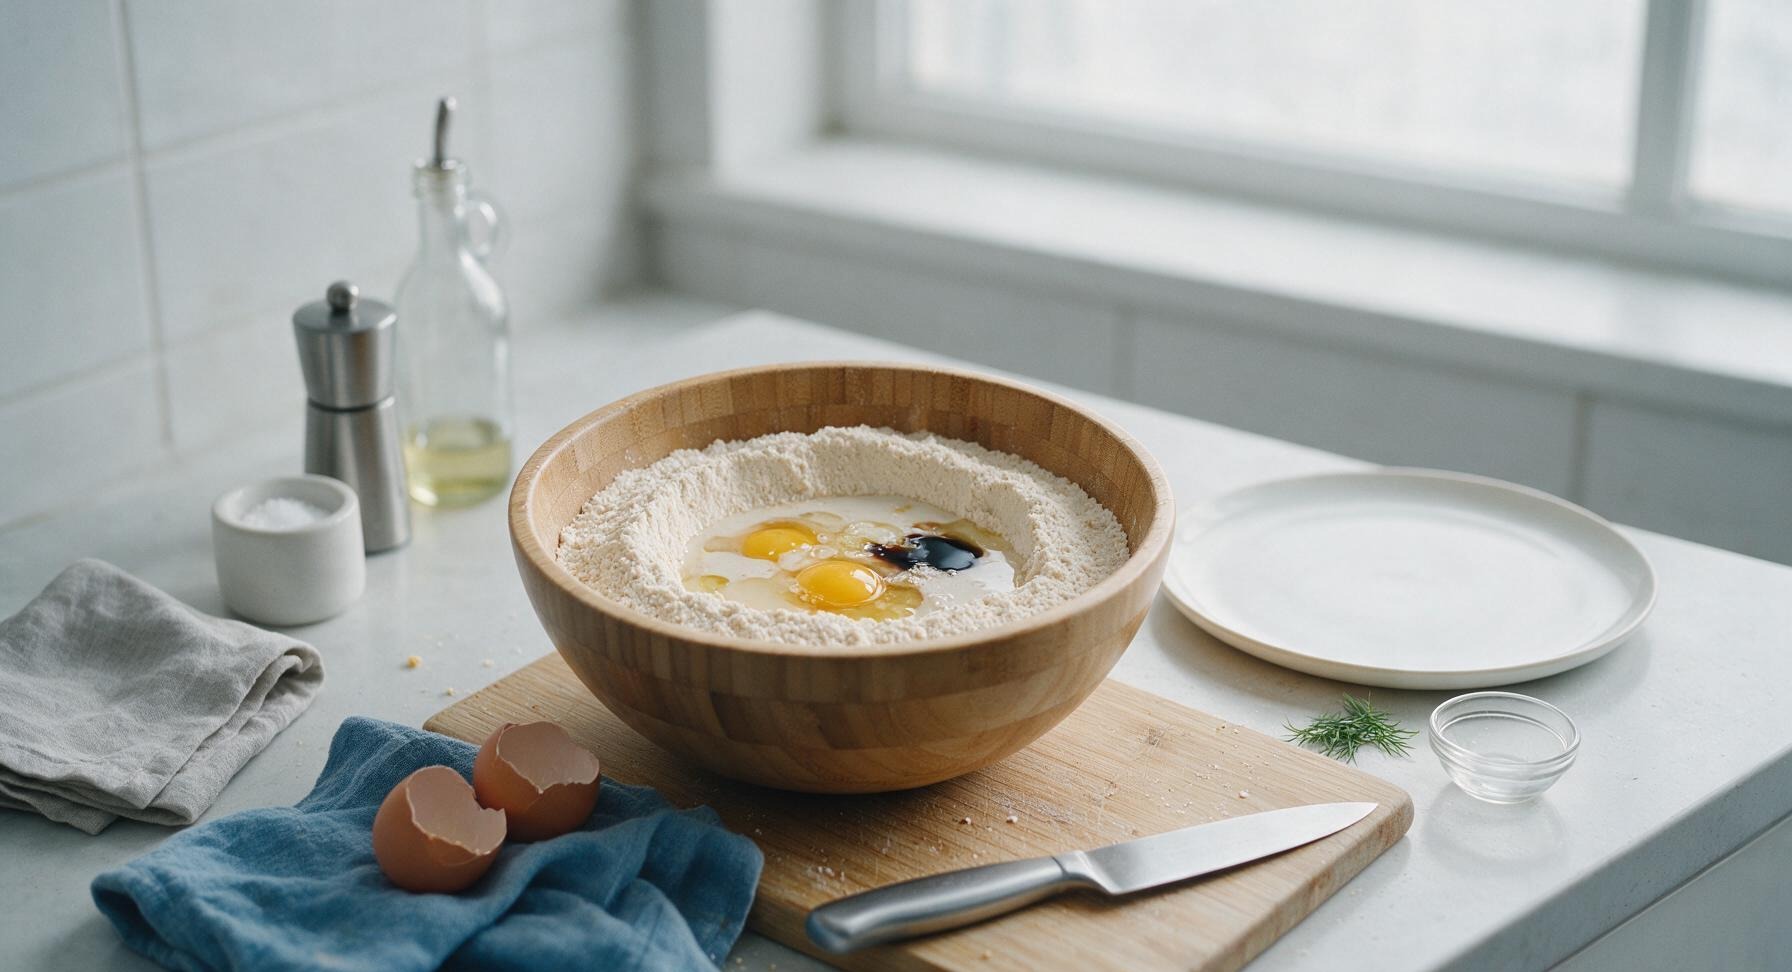
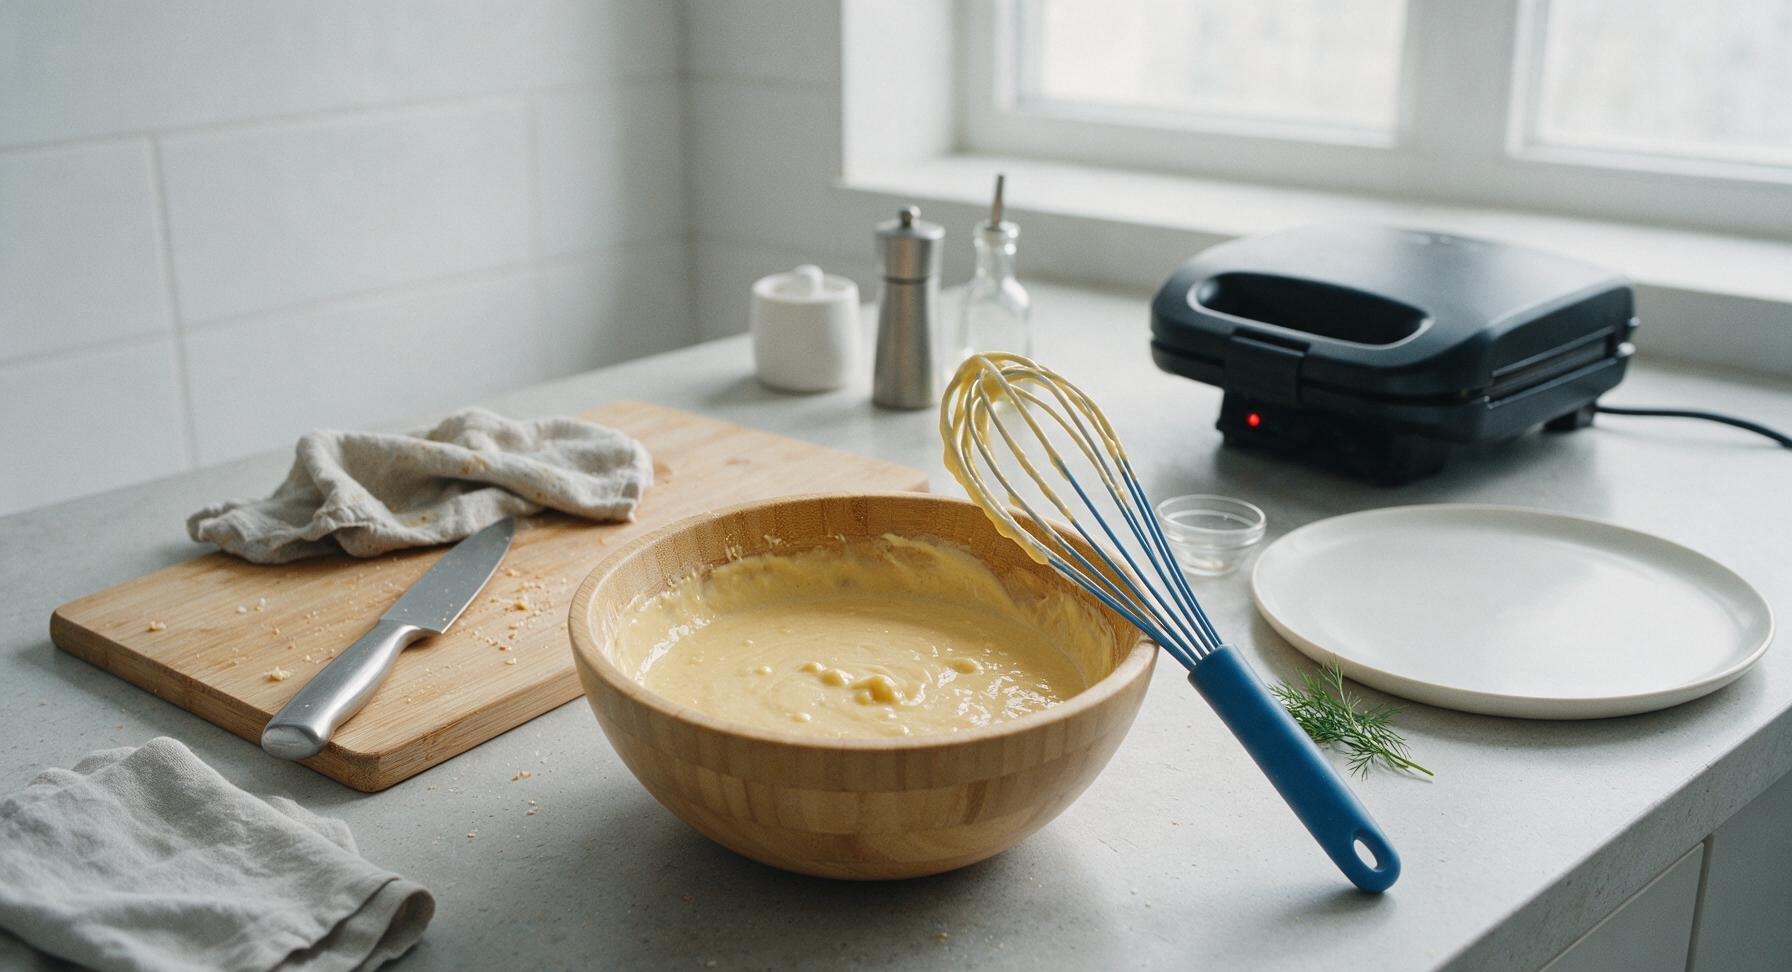
Use the blue-handled whisk to gently stir the wet ingredients into the dry, starting from the center of the well and working slowly outward to minimize lumps. Mix only until no dry flour streaks remain; the batter will be thick but pourable, with a few small lumps visible (do not overmix, as this creates tough, gummy gluten-free waffles). Let the batter rest for 3 minutes to allow the baking powder to activate, and plug in the waffle iron to preheat to 375°F (190°C) during this rest time.
Fold in Blueberries
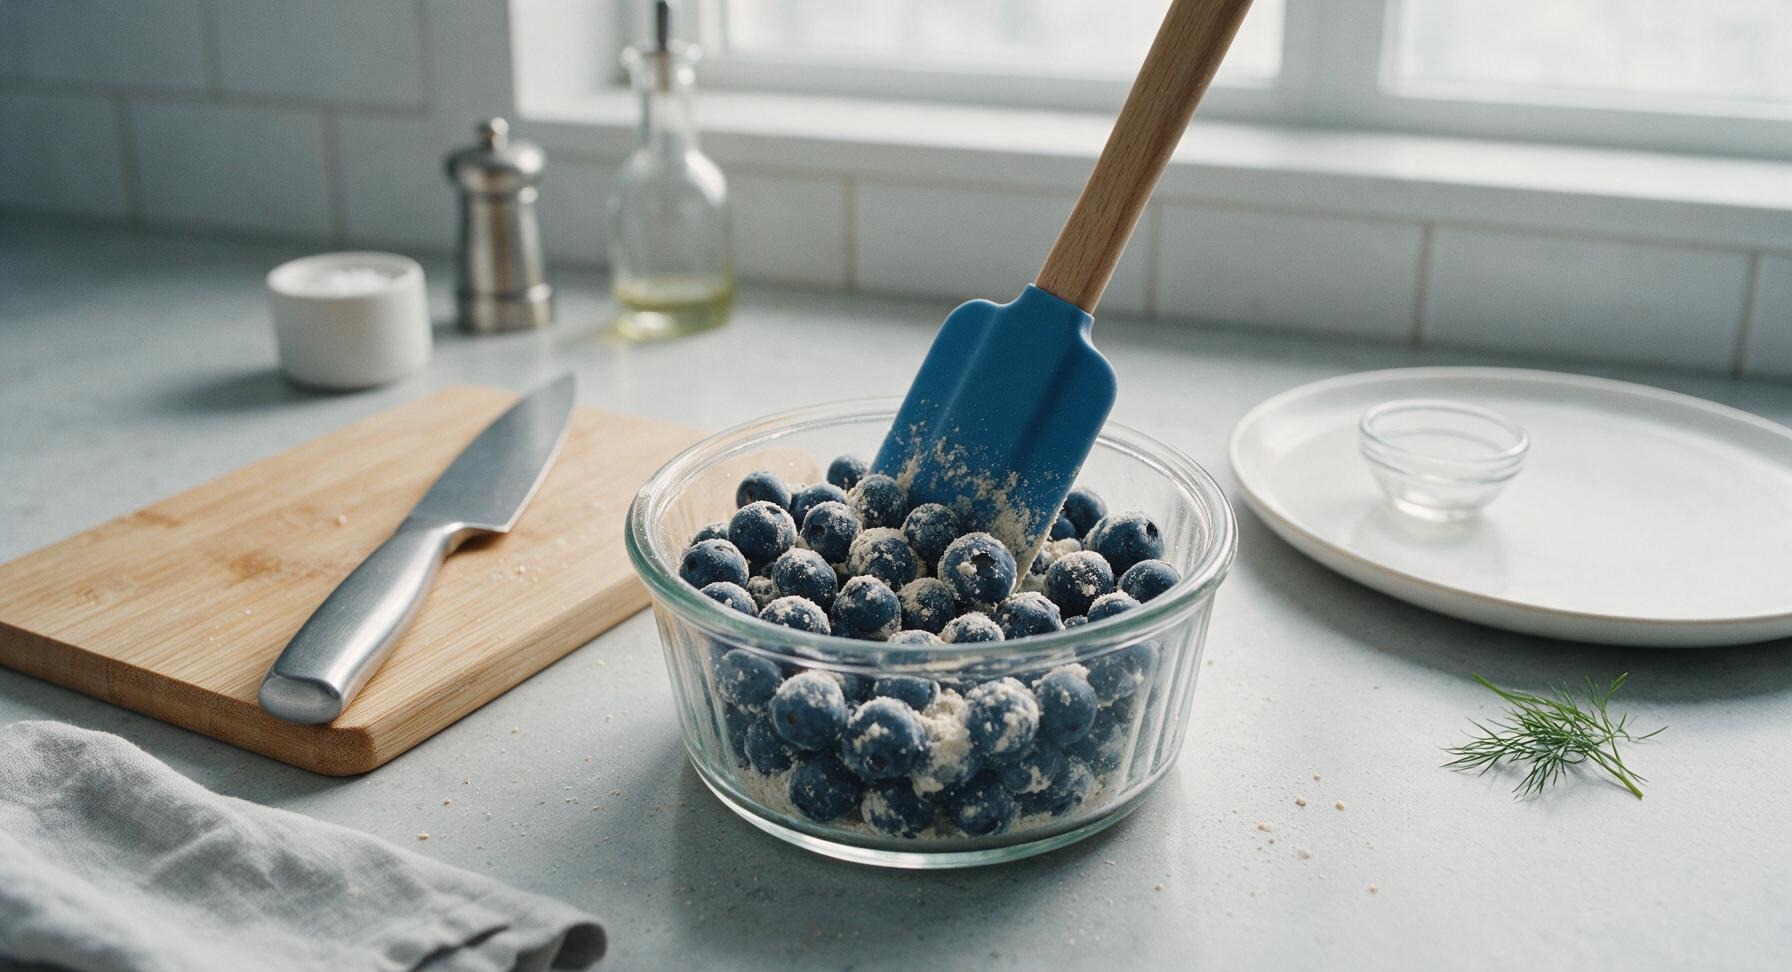
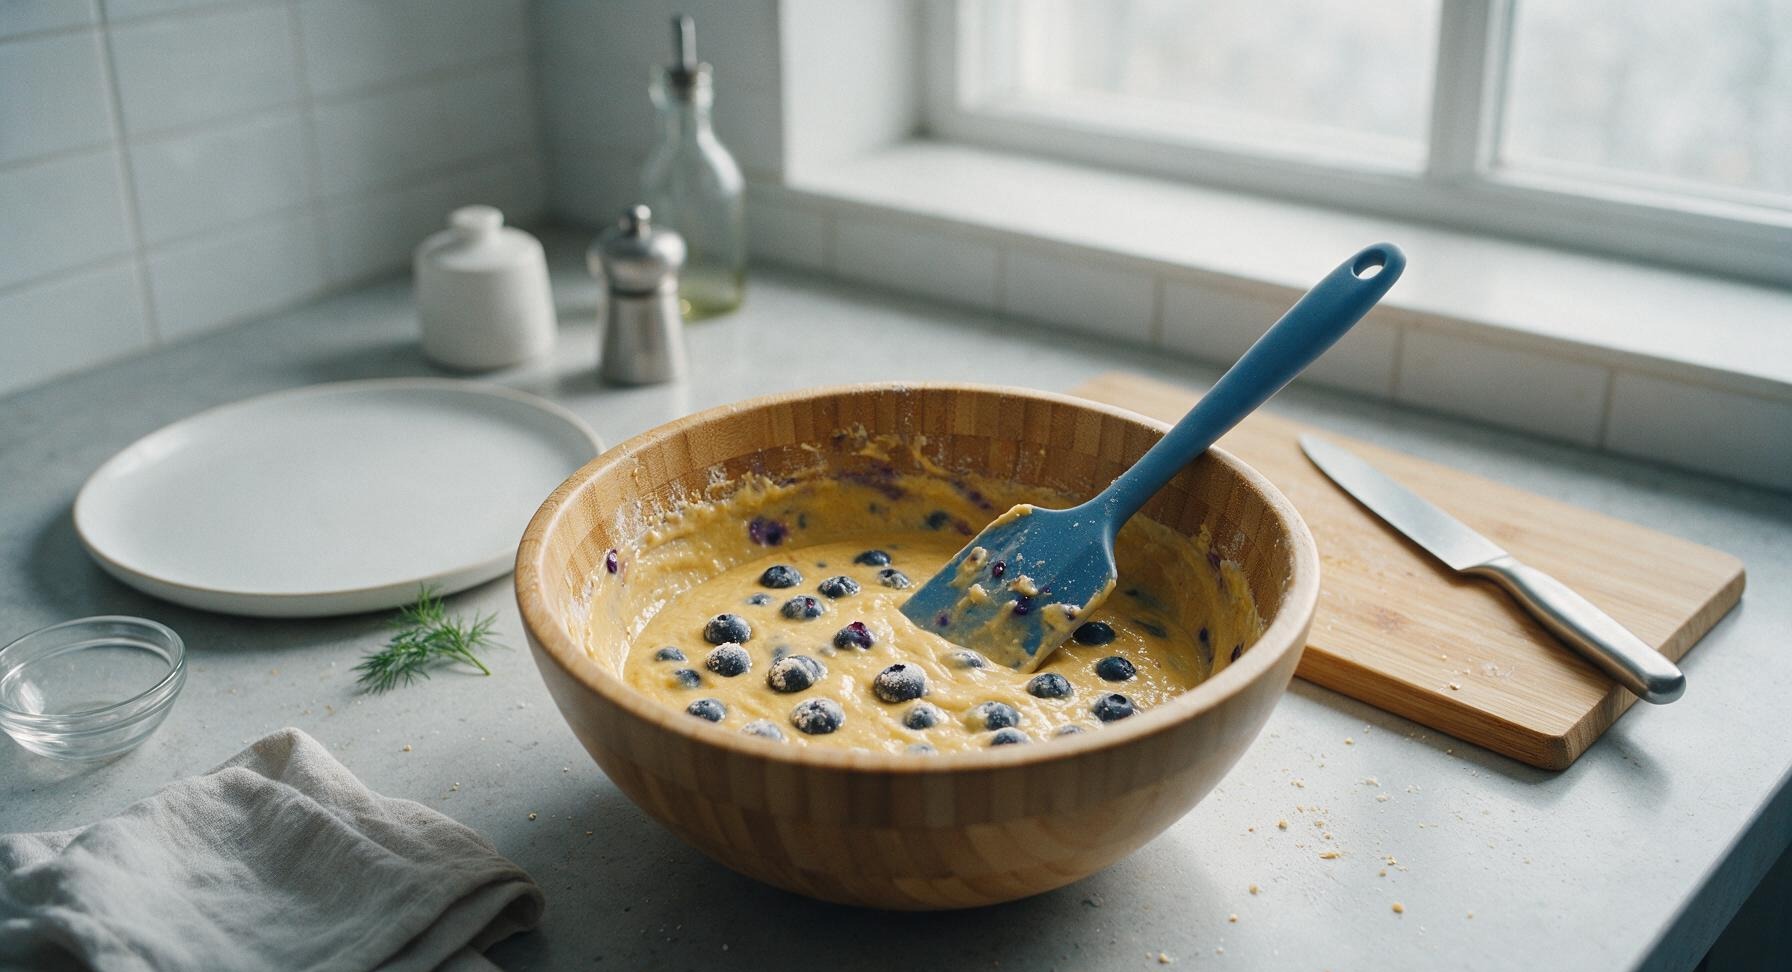
Scoop 1 cup of fresh blueberries into a small dish, toss with 1/4 teaspoon of reserved gluten-free flour until every berry is lightly coated (this prevents berries from sinking and burning on the waffle iron grids). Use the blue silicone spatula to gently fold the floured blueberries into the rested batter, stopping as soon as berries are evenly distributed—do not over-stir, as mashing berries will turn the batter purple and create uneven cooking.
Cook Crisp Waffles
Once the waffle iron’s ready indicator light turns green (signaling it has reached 375°F / 190°C), pour exactly 1/2 cup of batter directly onto the center of the lower waffle grid—do not spread the batter, as the iron lid will press it evenly across the surface. Close the lid and cook for 3.5 to 4 minutes, until the waffle is deep golden brown, crisp at the edges, and no steam escapes from the iron seams. Do not open the lid before 3 minutes, as this will tear the delicate gluten-free waffle. Transfer cooked waffles to a wire rack to rest for 1 minute to retain crispness while you cook the remaining batter.
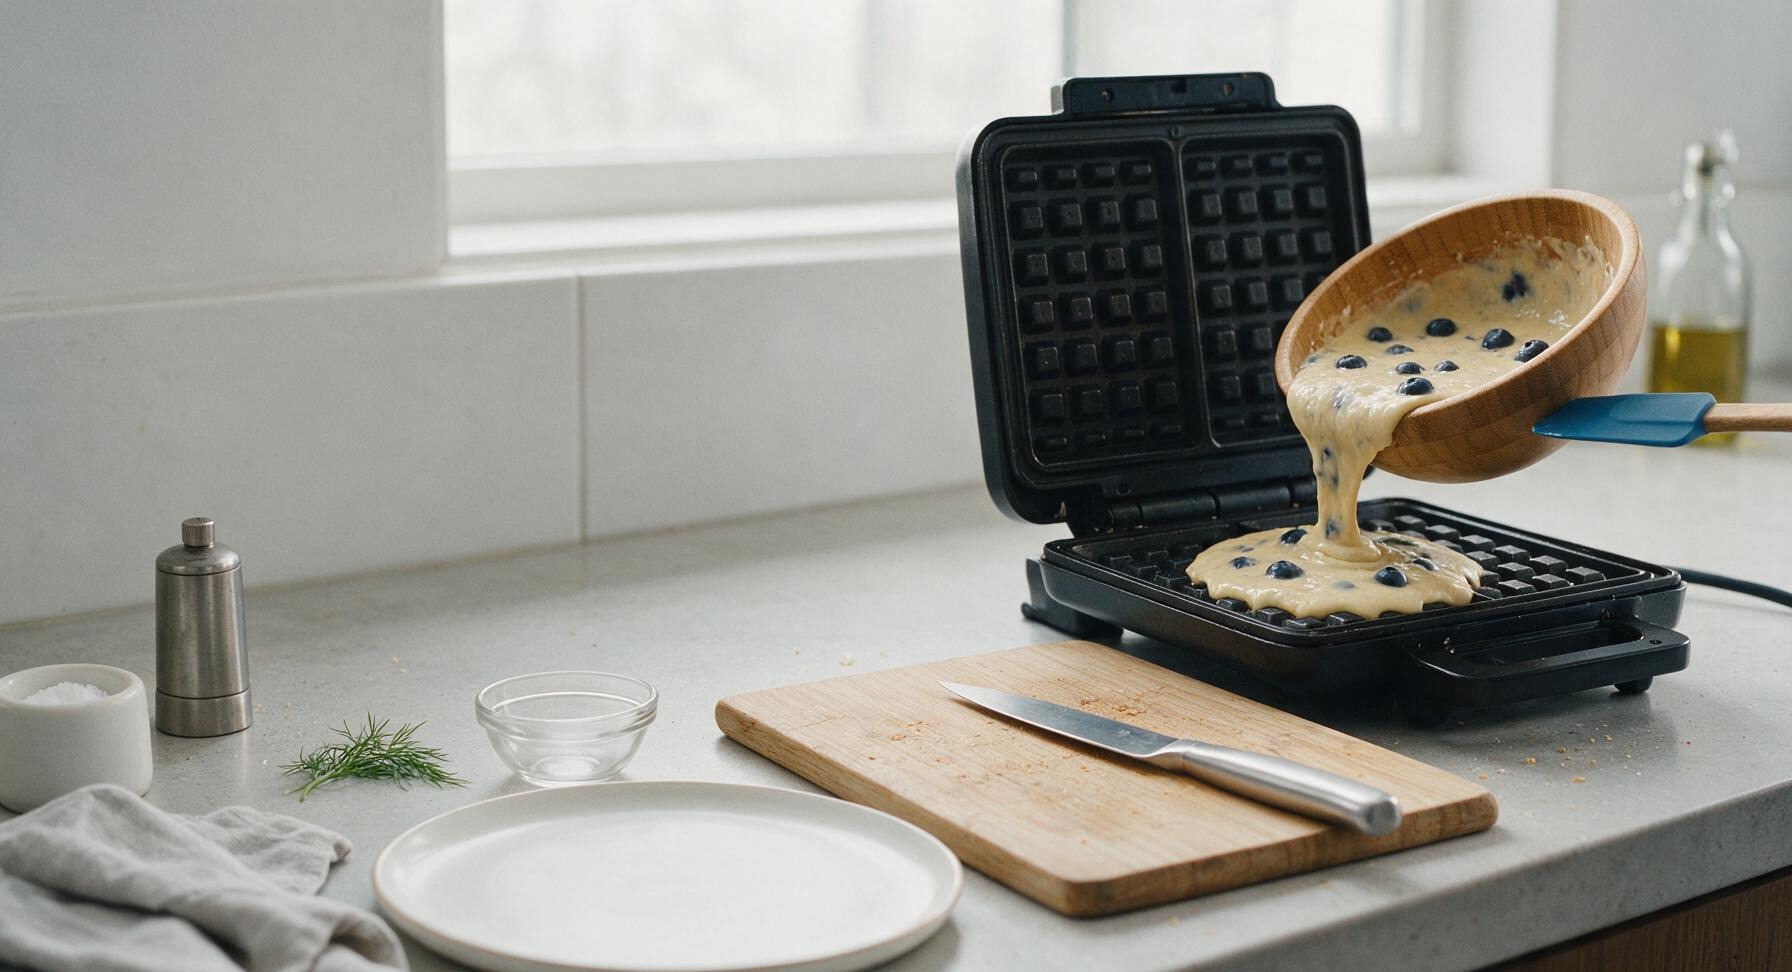
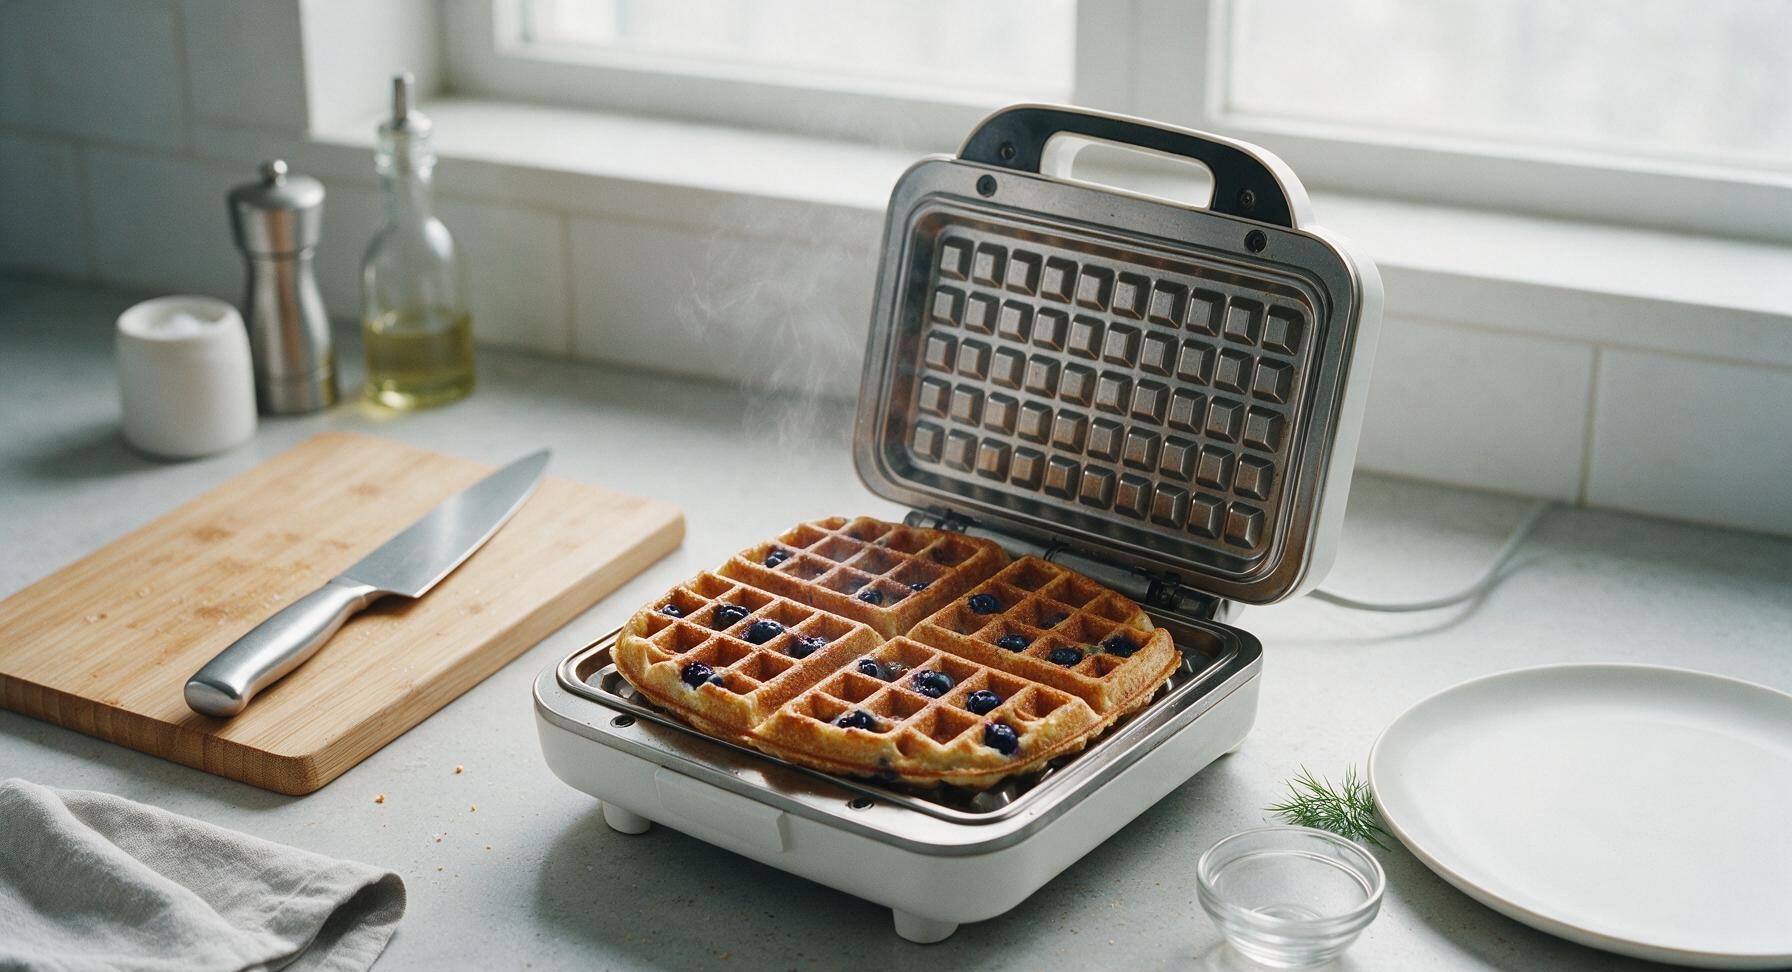
Plate and Garnish
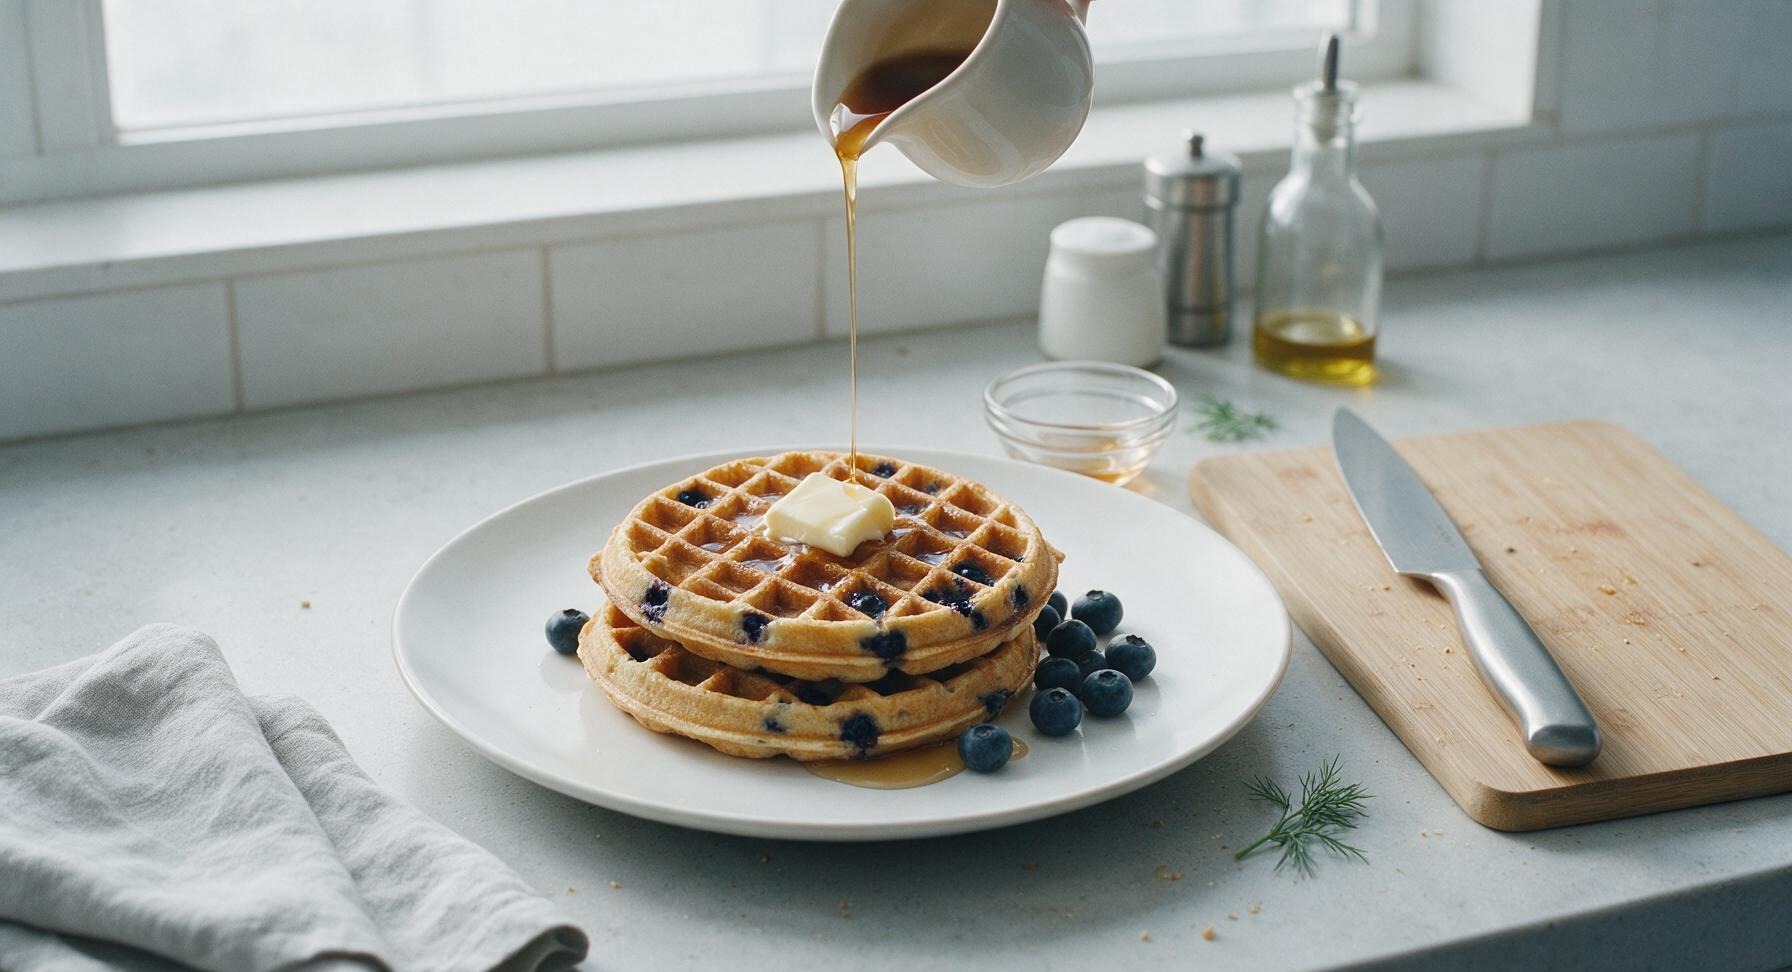
Stack two cooked waffles slightly offset on the top matte cream ceramic dinner plate from the fixed stack at right. Top the waffles with a 1-tablespoon pat of salted butter, a small handful of the remaining 1/4 cup fresh blueberries, and a light drizzle of pure maple syrup from the cream syrup pitcher, letting a small amount of syrup pool lightly in the plate well.
Tips
2.Avoid overmixing the waffle batter: gluten-free flour blends do not contain gluten to strengthen the structure, so overstirring creates a gummy, dense texture instead of light, crisp waffles. Stop mixing as soon as dry flour streaks disappear—small lumps are normal and will cook out completely.
3.Do not stack cooked waffles directly on a plate while cooking batches: stacking traps hot steam between waffles, which turns crisp edges soft and soggy in minutes. Rest cooked waffles on a wire rack set over a baking sheet in a 200°F oven to keep them crisp and warm for up to 20 minutes.






OMG these are a total game changer! My 6 and 8 year old are obsessed with Van’s blueberry waffles but they’ve gotten so pricey at the grocery store lately. I made a double batch this morning for meal prep and they taste IDENTICAL to the store-bought ones. Crispy on the outside, fluffy inside, loaded with jammy blueberry flavor — even my picky husband didn’t notice they were homemade! Already planning to make a bigger batch next weekend to stock the freezer.
Made these before a big day hike last weekend and they held up so well! I’m gluten intolerant so I’ve been missing easy, portable breakfasts that don’t leave my stomach cramping mid-trail. These were so easy to throw together, cooked up in 3 minutes per waffle in my ancient hand-me-down waffle iron, and I packed a couple with a tiny side of maple syrup to eat at the trailhead. 10/10 will be making these every weekend from now on.
Wait, I tried making these last night and my batter was super runny? Did I mess something up? I followed the measurements exactly but the waffles came out really flat, not fluffy like the photos. I used a generic grocery store gluten free all purpose flour instead of the one mentioned in the recipe — would that make that big of a difference?
Brought these to my neighborhood potluck brunch last weekend and people were raving so hard I had to send the recipe to 4 different neighbors! Nobody even guessed they were gluten free — one lady said they were the best blueberry waffles she’d ever had, and she’s not even GF! I added a little lemon zest to the batter like I do with regular waffles and it paired so perfectly with the sweet blueberries.
As a broke college student with celiac, this recipe saved my breakfast budget. Van’s are like $6 a box at my campus grocery store, and I already had all the GF flour and frozen blueberries in my dorm pantry. Okay, fine, I borrowed my roommate’s tiny waffle maker, but these came out so good I ate 3 straight off the iron. Super easy even for someone who burns toast half the time, fr.
These are my new Sunday meal prep staple! I make a big batch, portion them out, and they last all week for quick breakfasts before I drop the kids at school and head to work. Only thing is I wish they got a little crispier in my waffle maker — any fellow GF bakers have tips for that?
Has anyone tried making these dairy free? My toddler is allergic to dairy as well as gluten, so I usually swap cow’s milk for unsweetened oat milk and butter for refined coconut oil in baking — curious if that works here or if it messes up the waffle texture?
SO good. I’ve tried 3 different copycat Van’s waffle recipes over the last year and this is the only one that actually gets that slightly sweet, not-too-dense texture right. I used fresh blueberries instead of frozen because I had them on hand, and they burst so nicely while cooking, leaving little juicy pockets all through the waffles. Topped with a little homemade whipped cream and extra maple syrup for a lazy Saturday breakfast, chef’s kiss.
Total beginner question here — how long do you actually cook these in the waffle iron? I just got my first waffle maker last week for my apartment and I always either undercook things so they’re raw in the middle or burn them to a crisp. This recipe looks too good to mess up!