
Vegan Mac and Cheese
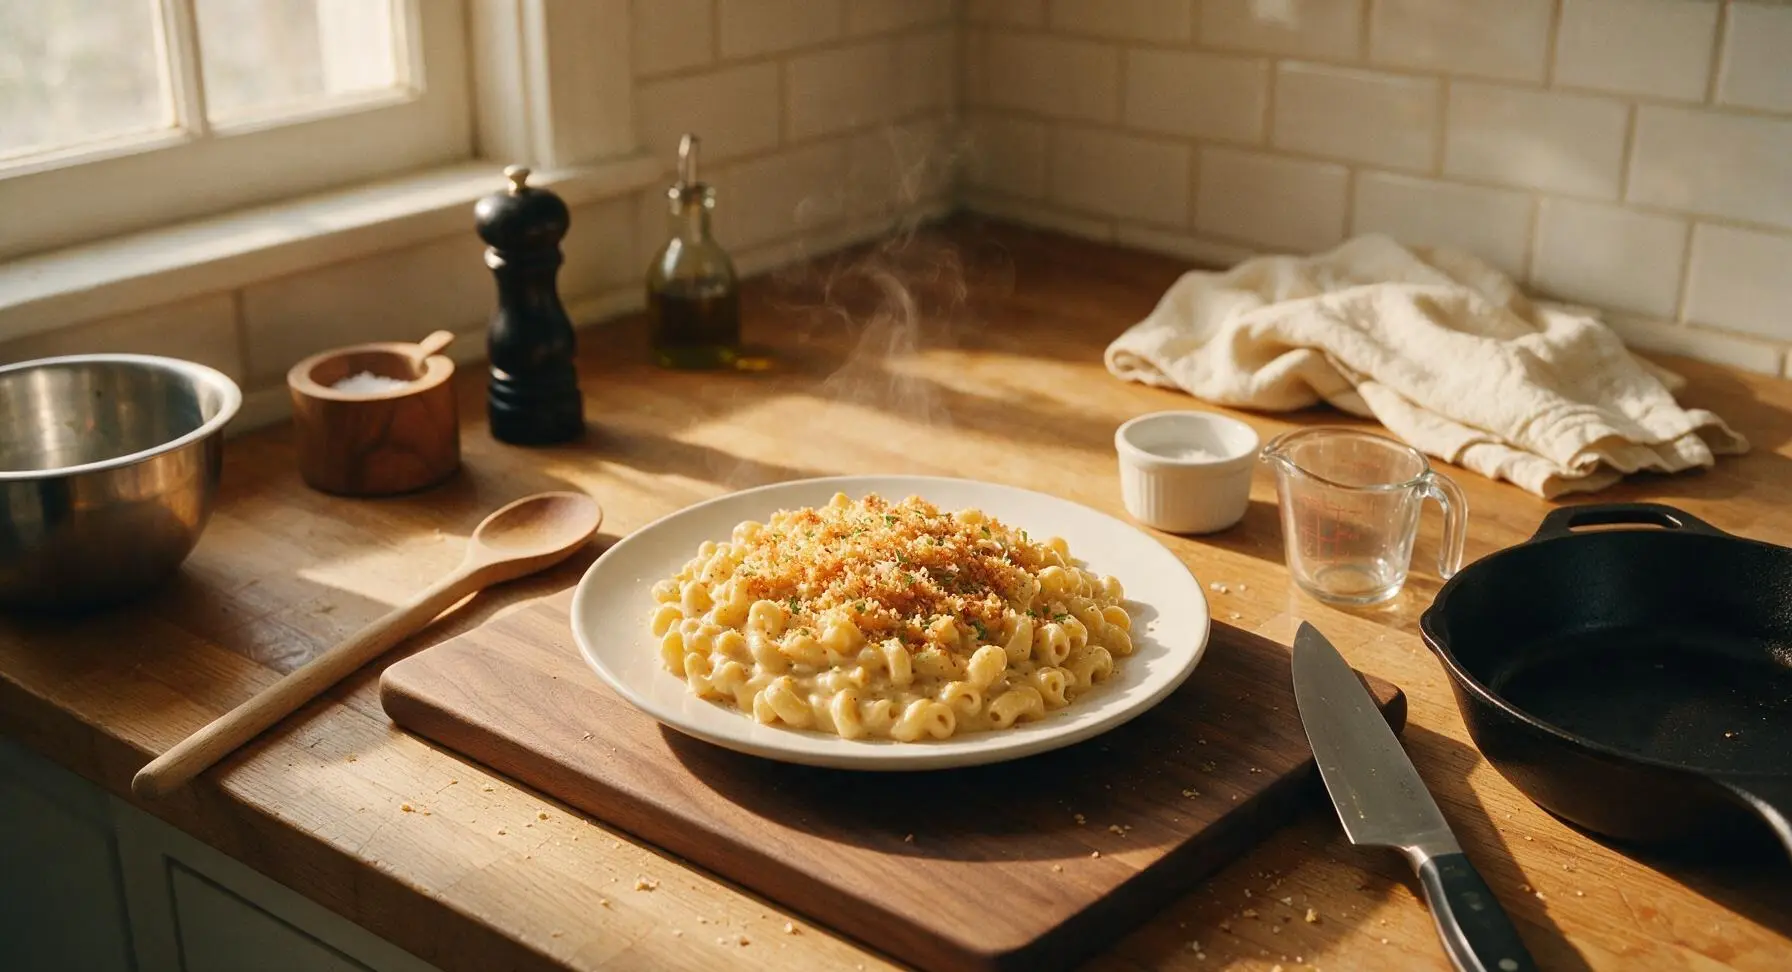
intro
Ultra-creamy, tangy vegan mac and cheese with a crispy toasted panko top, ready in 30 minutes for cozy, satisfying plant-based comfort food any night of the week.
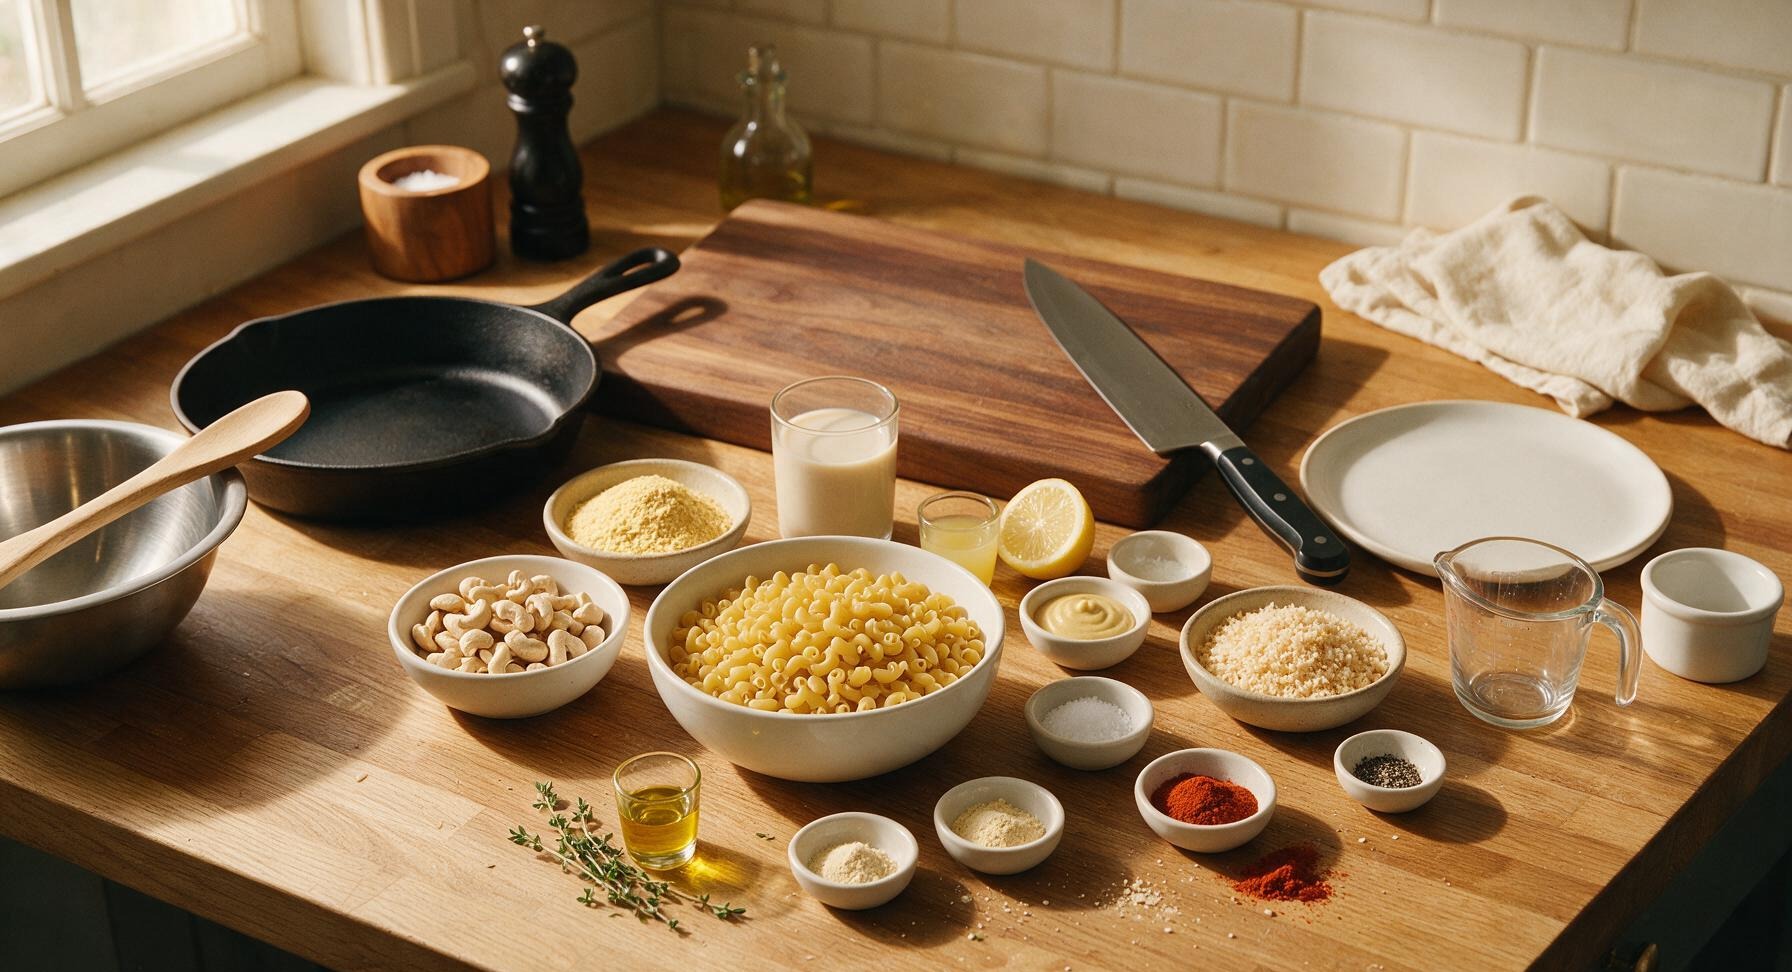
Ingredients
Steps
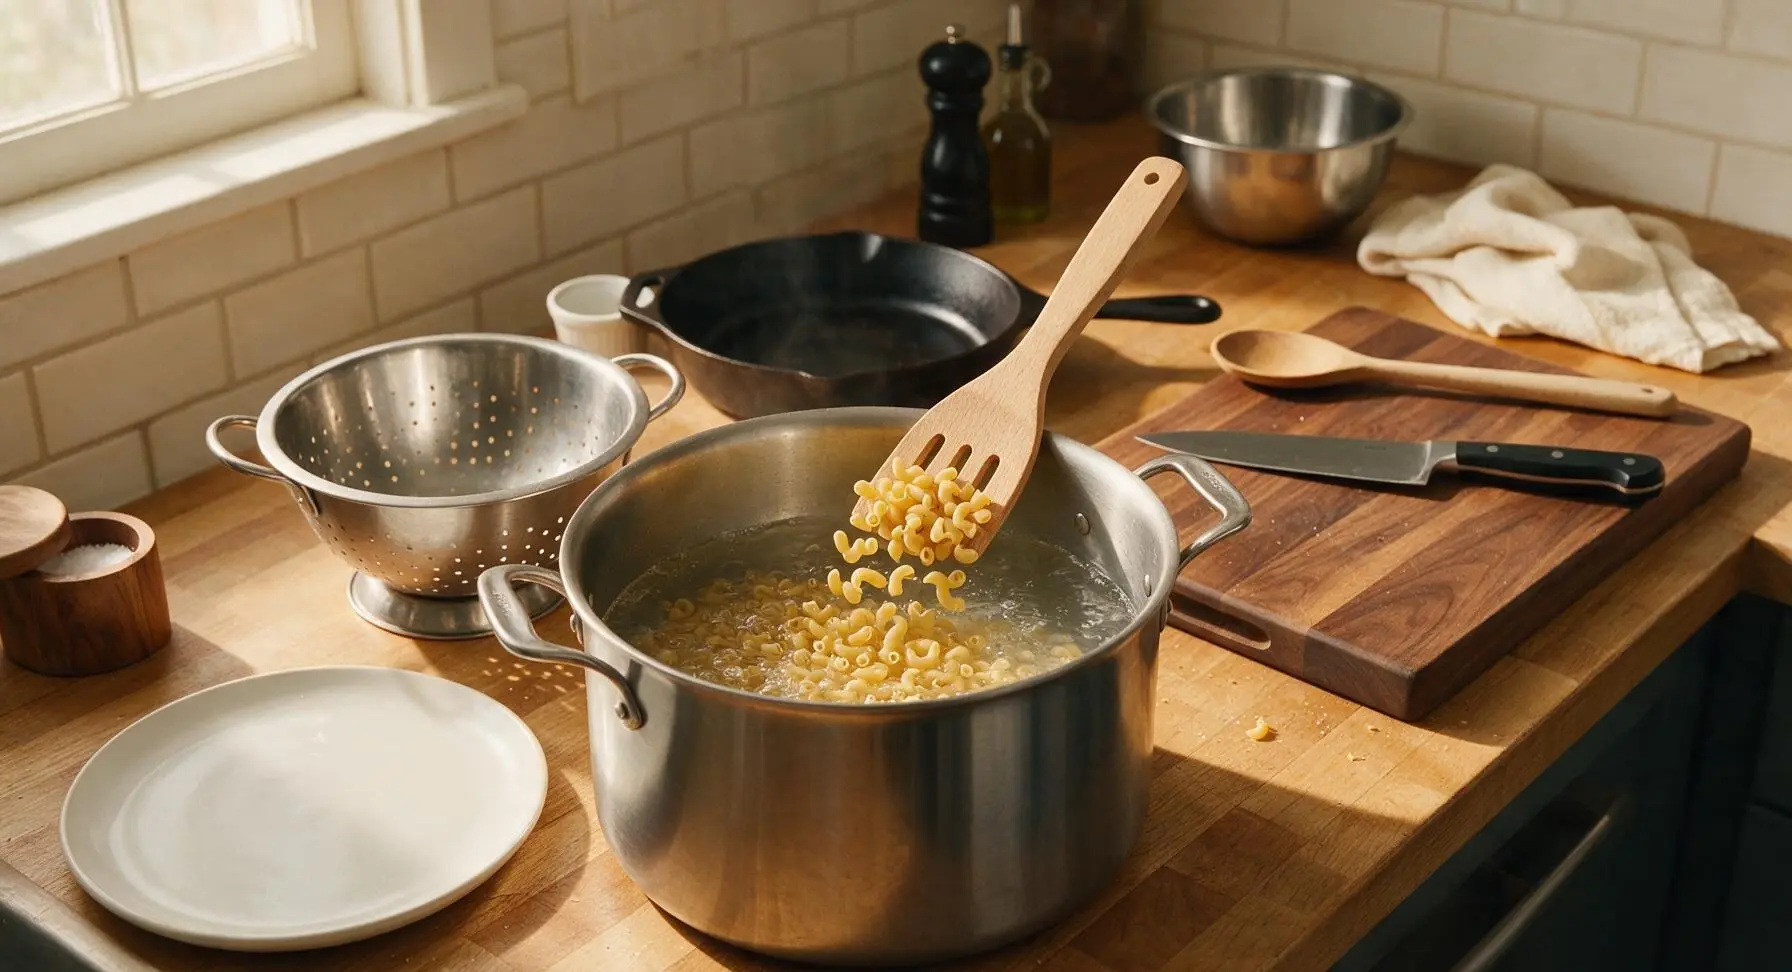
Cook Pasta Al Dente
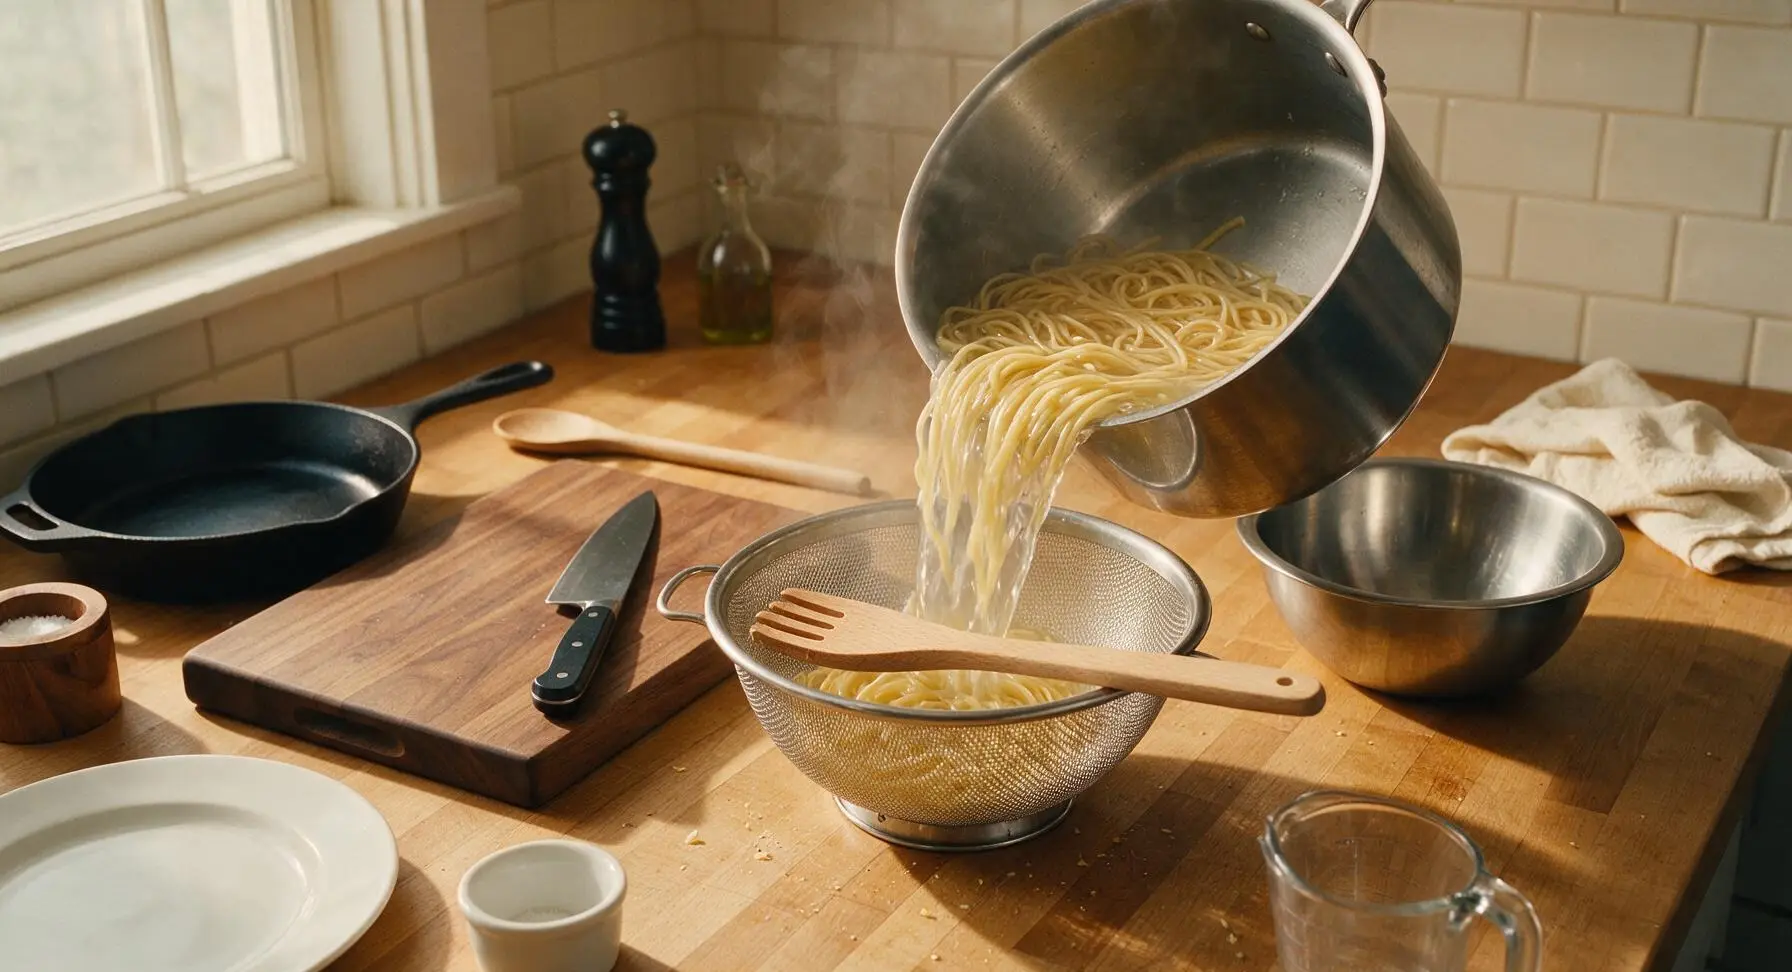
Fill the 4L brushed stainless steel stock pot with 3L of cold water, place over high heat and bring to a rolling boil. Add 1 tsp of fine sea salt to the water, then pour in 225g dry elbow macaroni. Stir immediately with the beech wood pasta fork to prevent noodles from sticking to the pot bottom. Cook for 8 minutes (2 minutes less than the package’s recommended al dente time), until noodles are tender but have a distinct firm bite when bitten into. Reserve 1/4 cup of pasta water before draining, if desired, to thin sauce later.
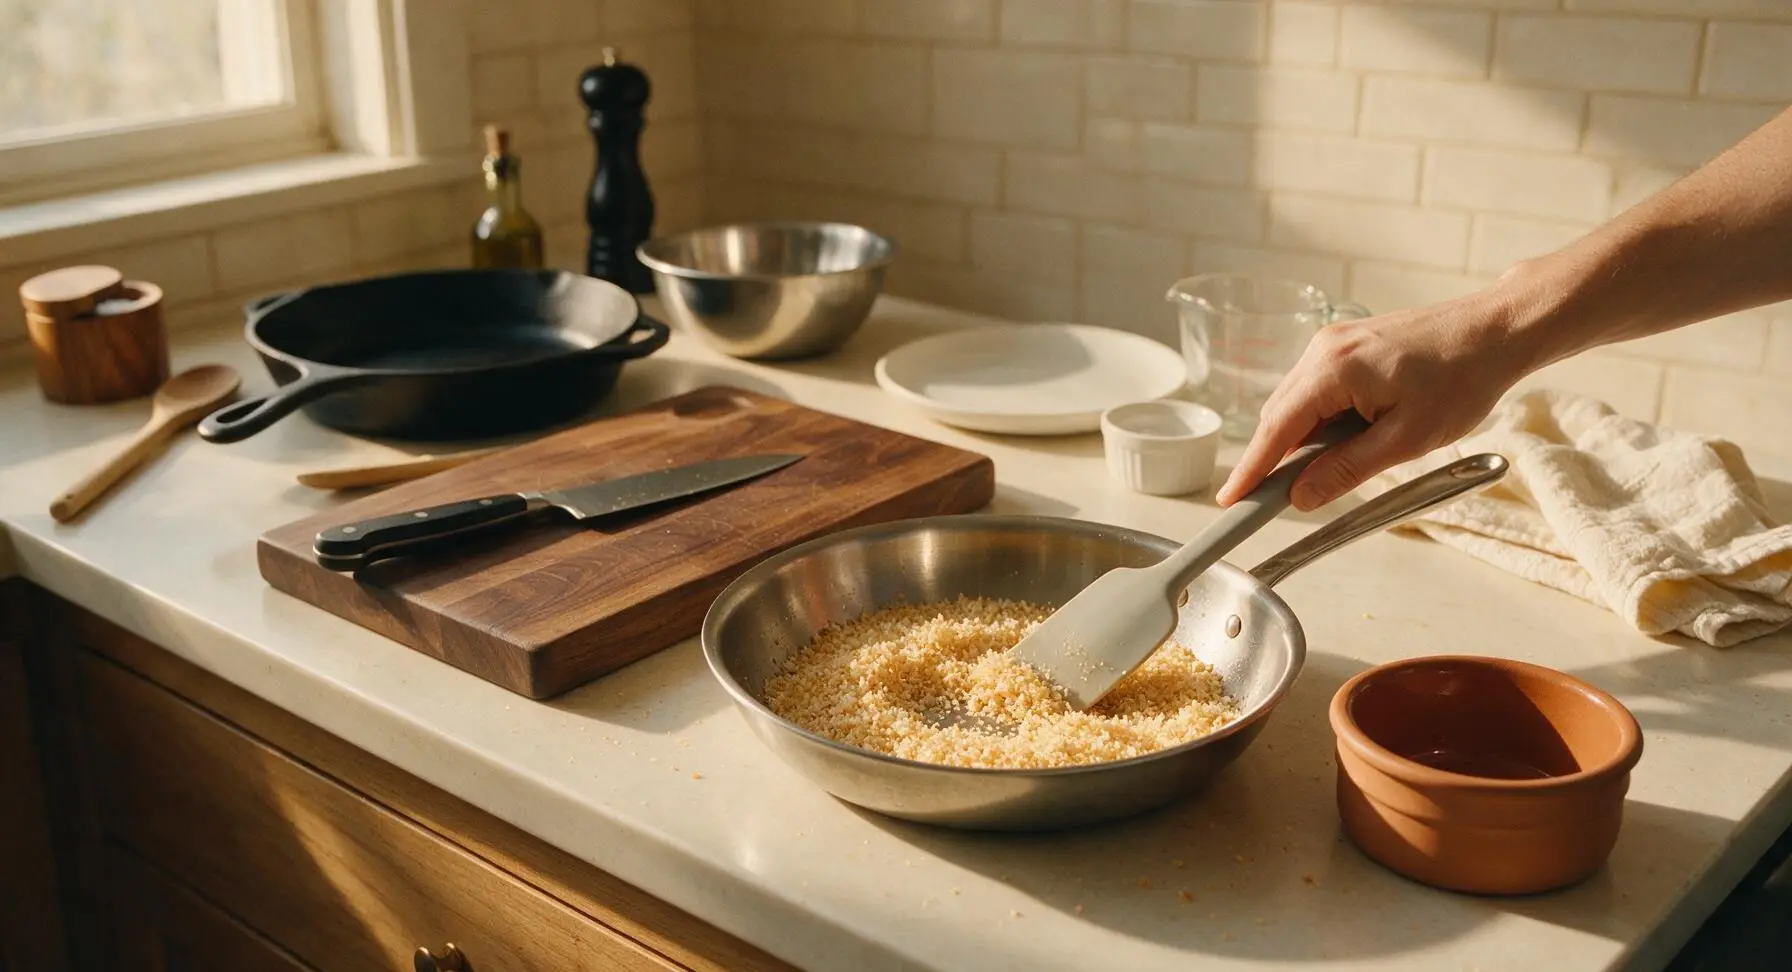
Toast Panko Topping
While the pasta cooks, heat 1 tsp extra virgin olive oil in the 20cm polished stainless steel skillet over medium-low heat. Add 30g vegan panko breadcrumbs, stirring constantly with the light grey silicone spatula for 2-3 minutes. Cook until crumbs turn an even light golden brown and release a nutty, toasty aroma. Immediately transfer crumbs to the small terracotta ramekin to stop the cooking process and prevent burning; set aside.
Quick-Soak Cashews
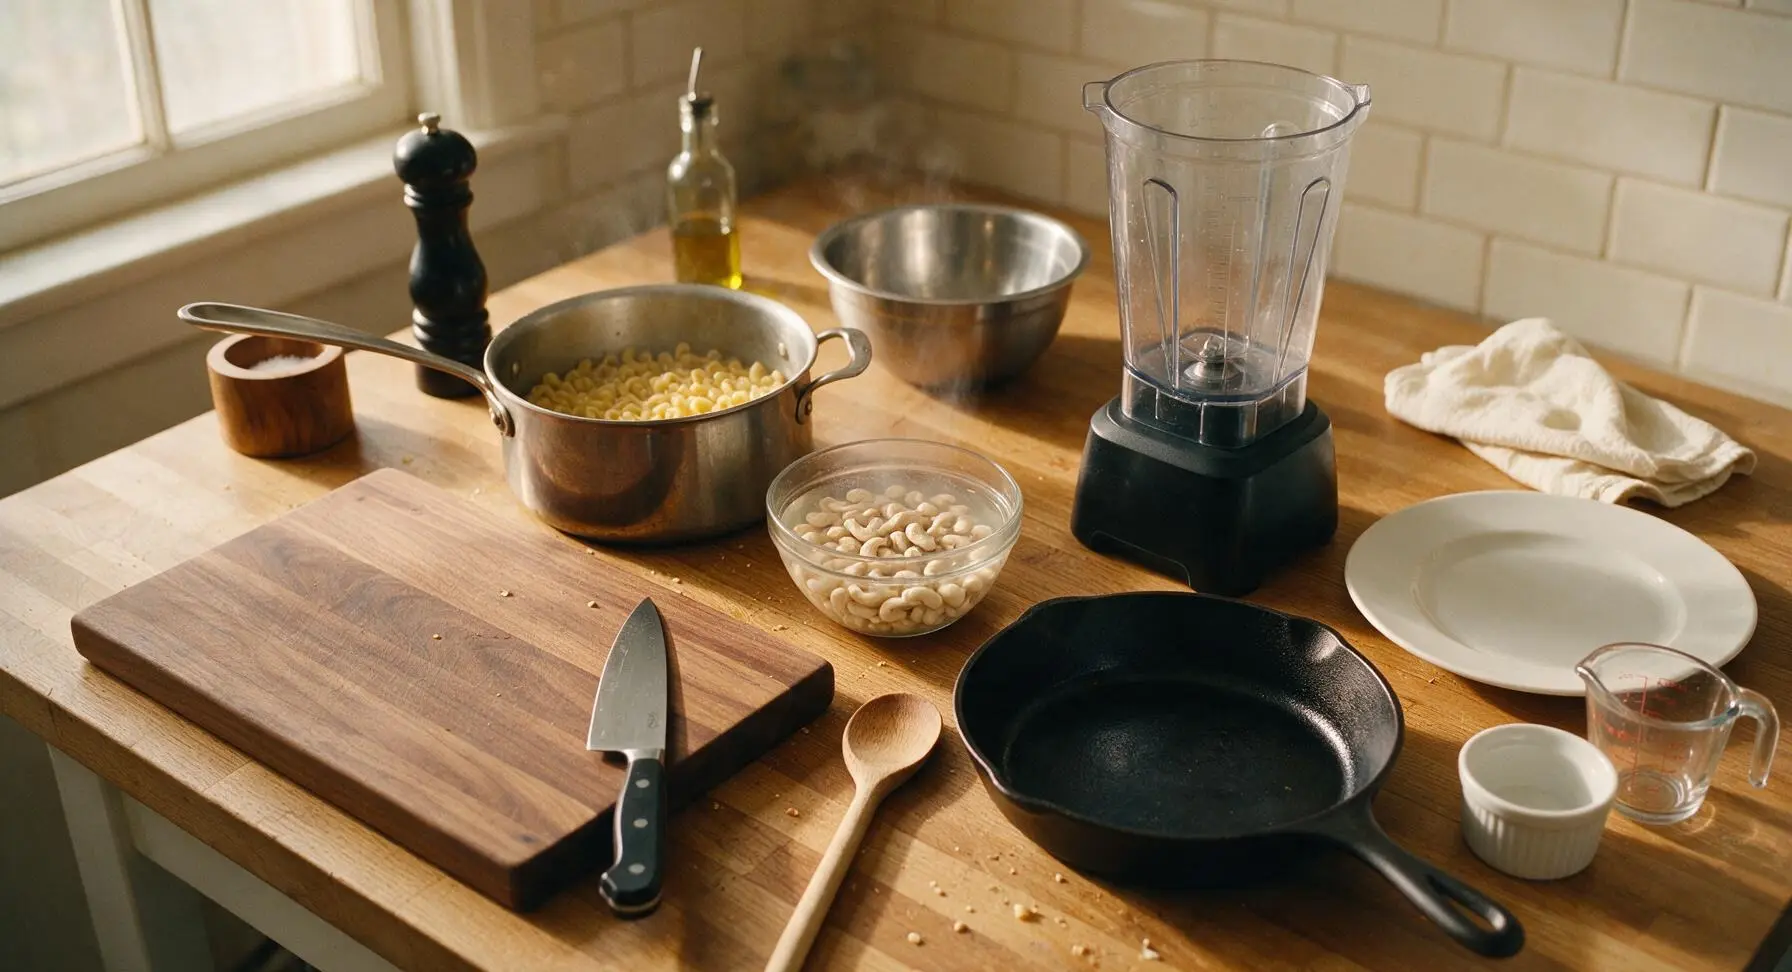
While pasta cooks and crumbs toast, place 100g raw unsalted cashews in a small heatproof bowl, cover completely with boiling water, and let soak for 5 minutes. This quick hot-water soak softens cashews enough to blend into a perfectly smooth sauce without requiring overnight soaking. Drain cashews fully after soaking, discarding the soaking water.
Drain Cooked Pasta
Once pasta reaches the firm al dente texture, pour the entire contents of the stock pot into the fine mesh stainless steel colander to drain. Do not rinse the pasta, as the starchy coating on the noodle surface helps the cheese sauce cling evenly. Return drained pasta to the empty stock pot, set off the heat, and cover loosely to keep warm while you make the sauce.
Blend Cheese Sauce
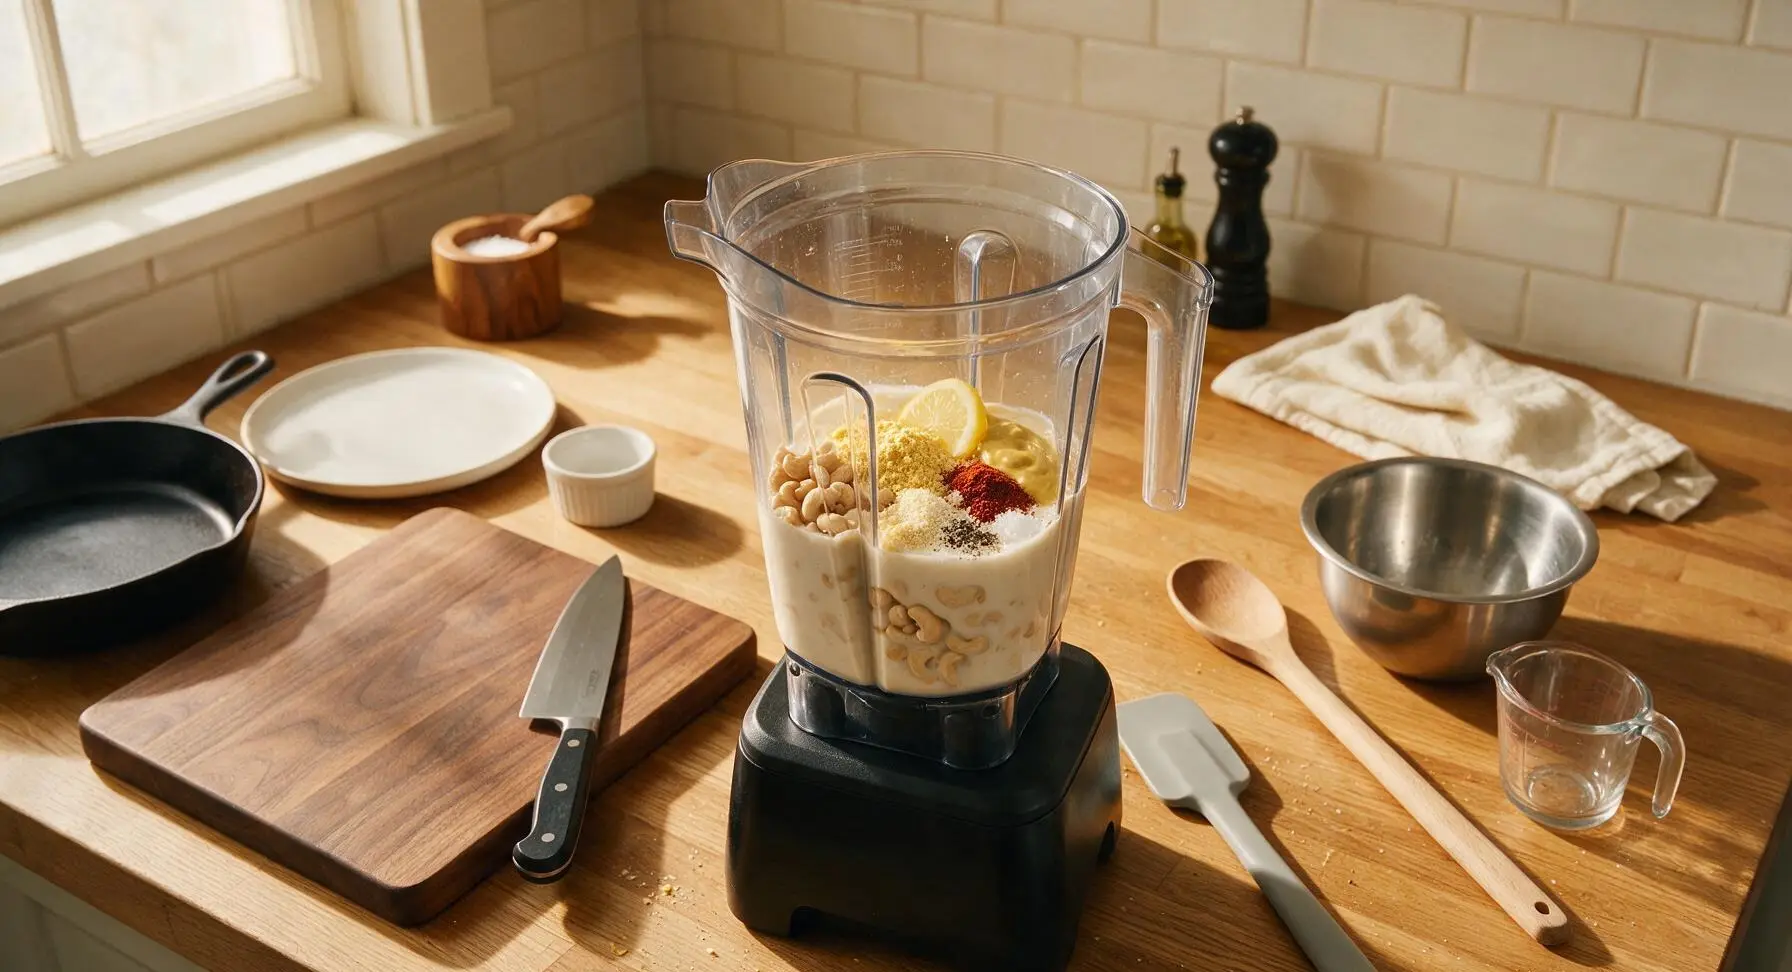
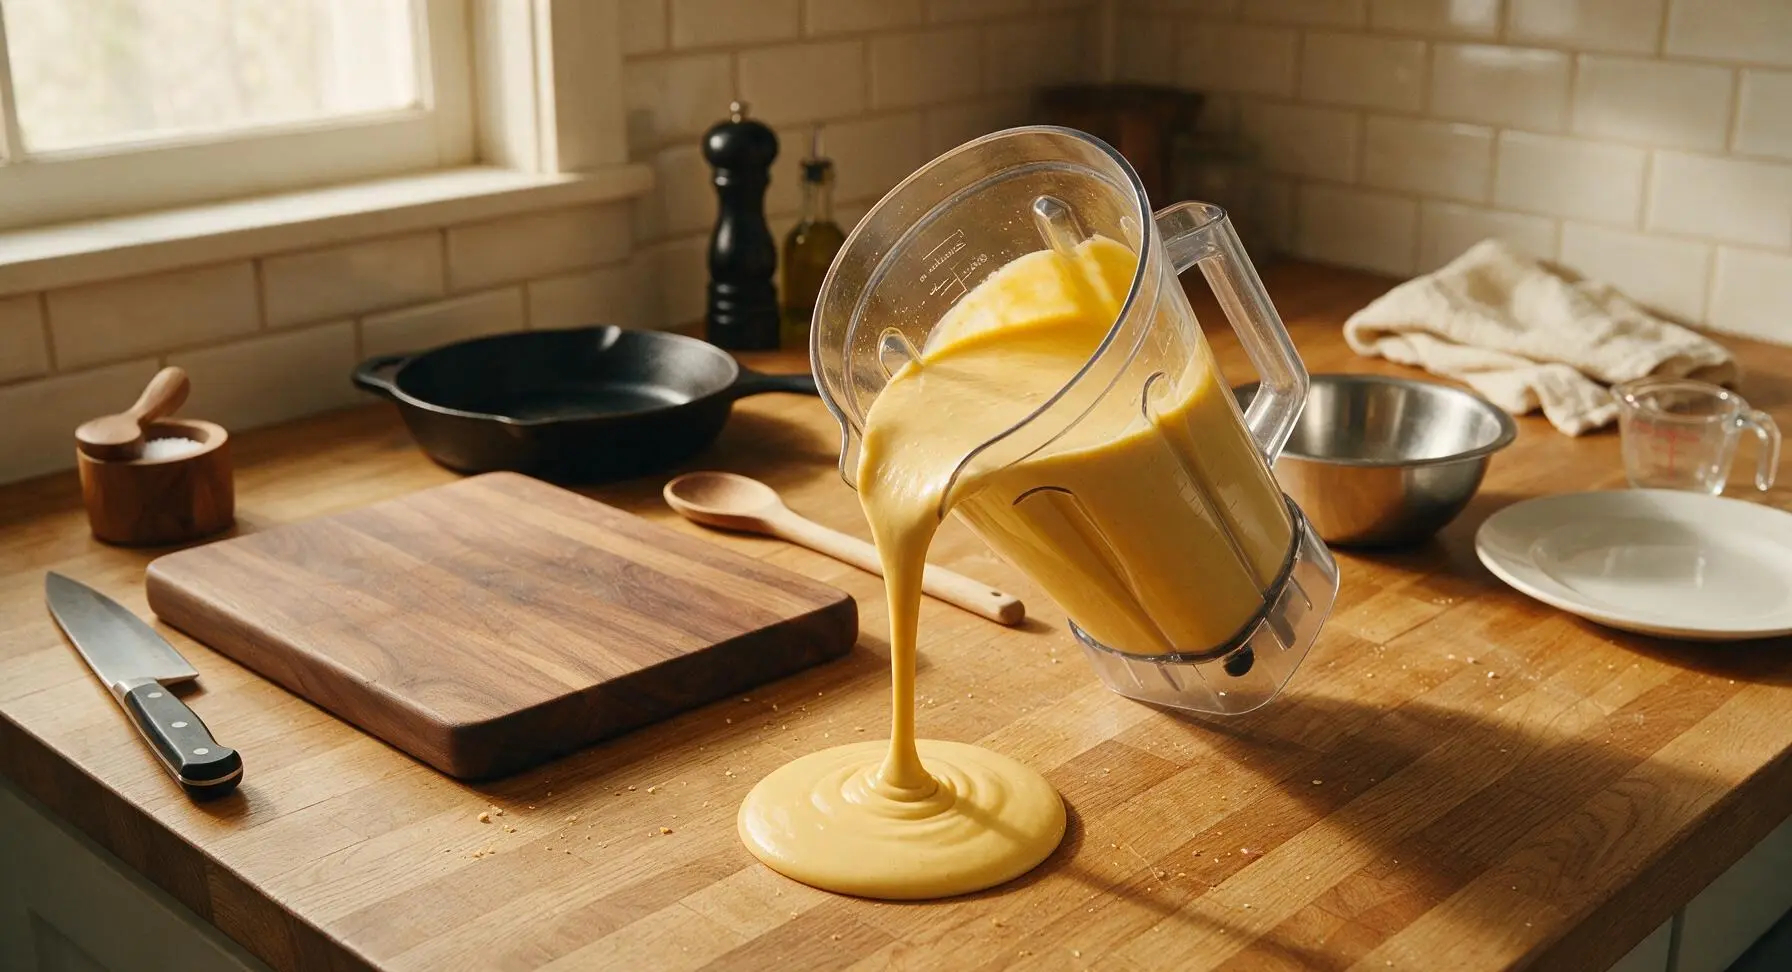
Add the drained soaked cashews, 240ml unsweetened oat milk, 3 tbsp nutritional yeast, 1 tbsp fresh lemon juice, 1 tsp garlic powder, 1 tsp onion powder, 1/2 tsp smoked paprika, 1 tsp Dijon mustard, remaining 1/2 tsp sea salt, and 1/4 tsp black pepper to the 1L Tritan blender jar. Secure the lid tightly, blend on high speed for 60-90 seconds, stopping once to scrape down the jar sides with the silicone spatula to ensure no lumps remain. The finished sauce should be completely smooth, glossy, and pale golden, with no gritty cashew texture when rubbed between two fingers.
Toss Pasta in Sauce
Pour the entire batch of blended cheese sauce into the stock pot with the warm drained pasta. Stir gently with the silicone spatula over low heat for 2 minutes, until sauce is fully heated through and coats every elbow noodle evenly. If sauce feels too thick, stir in 1-2 tbsp of reserved pasta water or extra oat milk to reach a smooth, creamy consistency that clings to noodles without pooling.
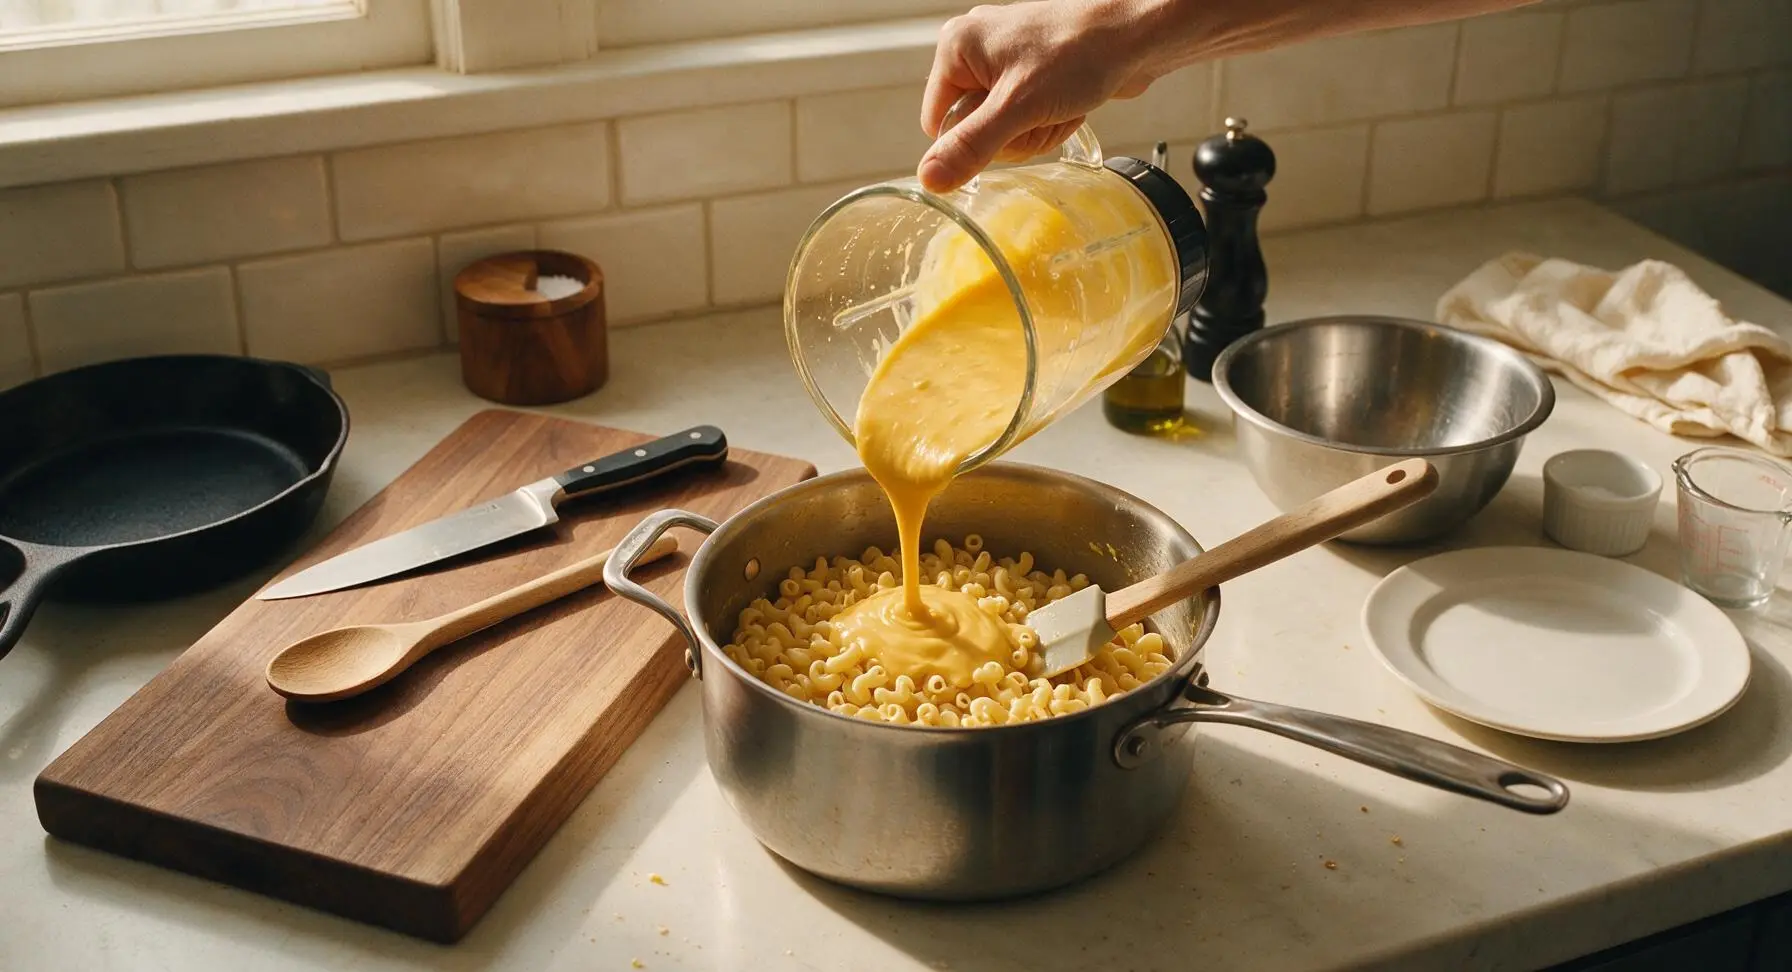
Plate and Garnish
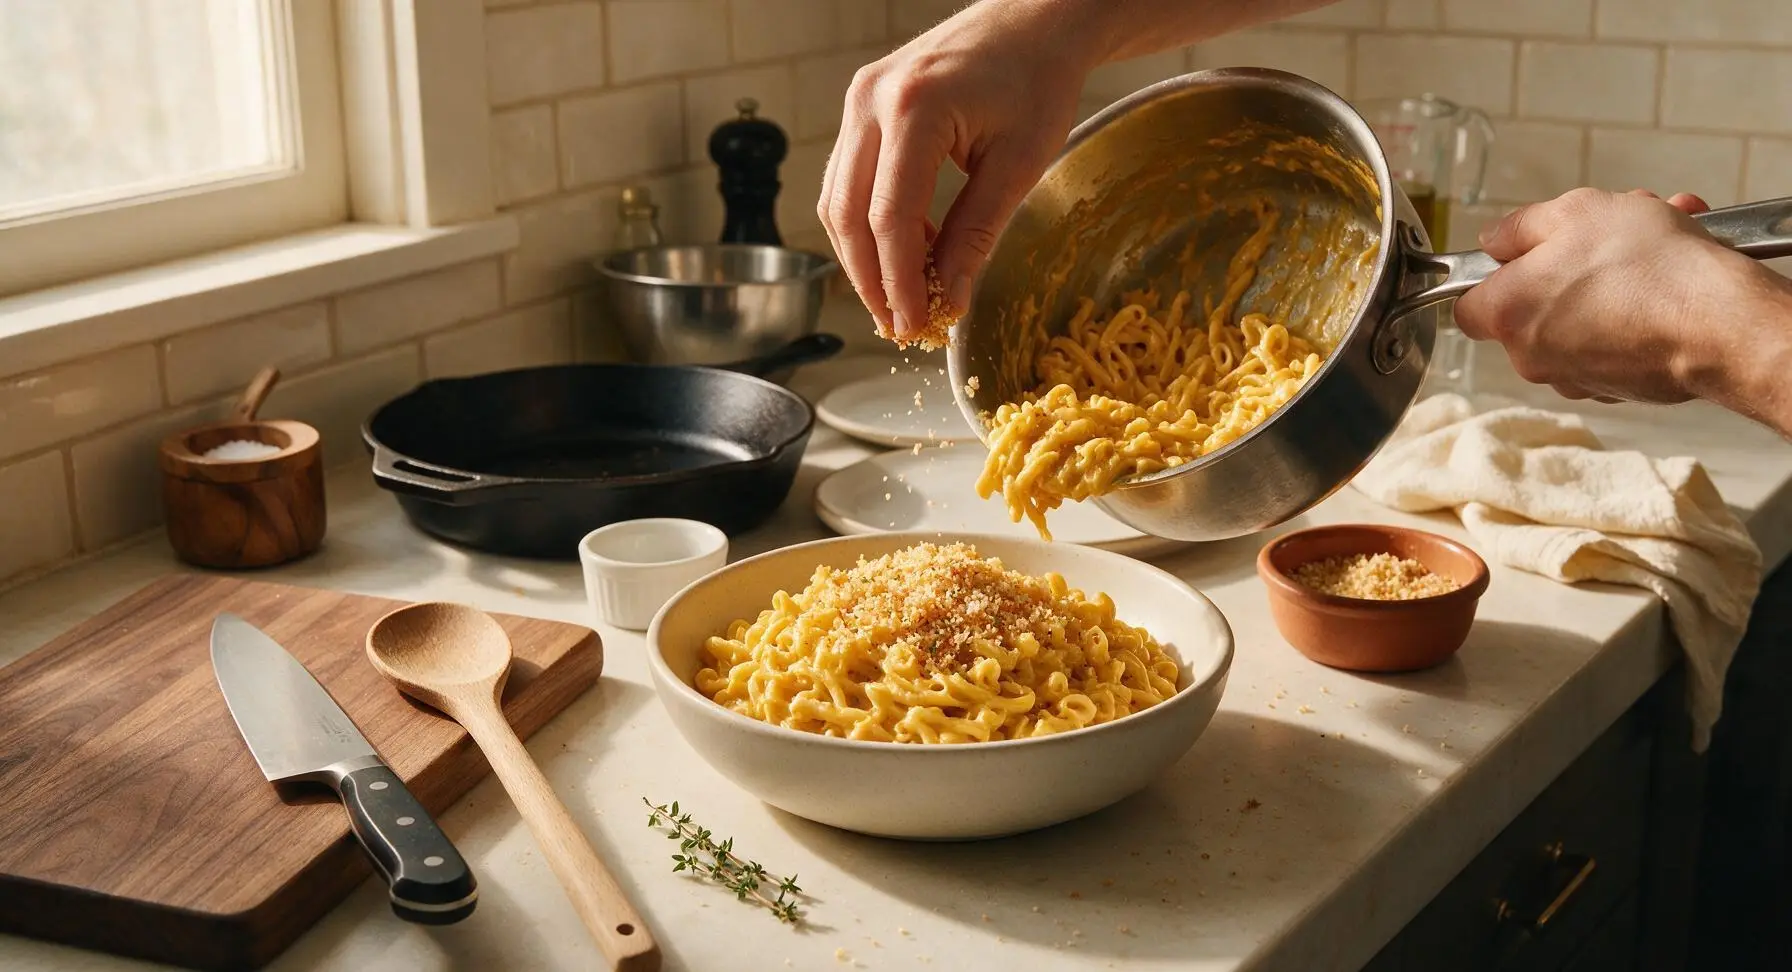
Scoop a generous 1.5 cup portion of sauced mac and cheese into the matte off-white ceramic pasta bowl. Sprinkle 1 tbsp of toasted panko breadcrumbs evenly across the top, add a light pinch of extra smoked paprika for color, and tuck one small fresh thyme sprig into the edge of the pasta as garnish. Serve immediately while warm, before the sauce thickens as it cools.
Tips
2.Add 1 tsp of white miso paste to the blender with other sauce ingredients for extra umami depth: it adds a subtle savory, cheesy note that mimics the flavor of dairy cheddar without adding any distinct miso taste.
3.Don’t over-blend or overheat the sauce: excessive heat can cause cashew-based sauces to become overly thick and gummy; blend just until smooth, and heat only long enough to warm through when tossing with pasta.






OMG this is the BEST vegan mac I’ve ever made! I was so skeptical no dairy could get this creamy, but the sauce came together so smooth in 10 minutes flat. My 7 year old who swears she ‘hates vegan food’ went back for thirds. Total game changer for our weeknight family dinners!
Made this for my dorm meal prep this week and it’s so much better than the boxed stuff I used to live off of. 20 minutes total cook time? Perfect for when I’m cramming for midterms and don’t want to order takeout for the third night in a row.
Brought this to my neighborhood potluck last weekend and EVERYONE was asking for the recipe, even the people who make fun of my vegan food! I added a little breadcrumb topping and broiled it for 2 minutes at the end, chef’s kiss.
Full transparency: I am NOT vegan, I just stumbled on this recipe because I was out of milk and cheese and needed a quick mac fix. I was fully prepared to be underwhelmed, but HOLY COW this is SO good. I might actually make this even when I have dairy in the fridge.
Made this for my granddaughter who’s vegan when she came to visit last week. I was worried it wouldn’t taste like the mac and cheese I’ve made her since she was little, but she said it was even better! So easy to follow too, even for an old lady like me who struggles with new recipes.
Really solid recipe! The flavor is spot on, but mine came out a little thicker than I wanted after it sat in the fridge for meal prep. Tasted great, just had to add a splash of oat milk when I reheated it. Will definitely make again though!
How have I never tried nutritional yeast before? This sauce is so cheesy I had to double check I didn’t accidentally add real cheddar. Made this for date night with my vegan partner and they were so impressed. 10/10, will be in our regular rotation.
As someone who’s been lactose intolerant for 10 years, I’ve tried every sad vegan mac recipe on the internet. This one is almost perfect! I used almond milk instead of cashew milk because that’s what I had, and it was just a tiny bit nutty for my taste, but still way better than any store bought option.
Made this for our office potluck today and the whole pan was gone in 10 minutes. Multiple coworkers asked if I used real cheese! Super easy to throw together before work too, no fancy steps or weird hard to find ingredients.
Quick question! I have a nut allergy so I can’t use cashews for the base—has anyone tried this with sunflower seeds instead? I’m dying to make this but don’t want to waste ingredients if it doesn’t work.
Made this for my two teen boys who are obsessed with those neon orange boxed mac cups. They gave it two thumbs up and asked when I’m making it again. I didn’t even tell them it was vegan until after they finished eating, total win.
I love that this is actually creamy without dumping a whole block of processed vegan cheese into it. The whole food base makes me feel way better about eating a giant bowl after my long run. Added a little hot sauce on top, chef’s kiss.
20 minute cook time? That’s exactly what I need for chaotic school nights. I’ve made this three times in the last two weeks, and every single time there are zero leftovers. Even my super picky toddler shovels it down without throwing it on the floor. That’s a 5 star review in itself.
Wait, did I do something wrong? My sauce was kinda grainy? I blended it for like 2 minutes but it still had a little texture. Flavor was great though, just not as smooth as the photos look.
I’ve tried so many fancy vegan mac recipes from fancy cookbooks that take an hour to make and have 20 ingredients, and this one beats all of them. Simple, quick, cheap to make, and tastes exactly like the baked mac I grew up eating in the south. Obsessed.
This is so cheap to make! I calculated the cost per serving and it’s like $1.20, which is way cheaper than buying frozen vegan dinners. Perfect for my broke college student budget. I added frozen peas to mine to get some veggies in.
My kid just went off to college and went vegan this semester, so I’ve been testing recipes to make when they come home for fall break. This one is a definite keeper! It’s creamy, comforting, and tastes just like the mac I made for them when they were little. Can’t wait to surprise them with it.
Packed this for my day hike last weekend and it was the perfect post-hike meal. Held up great in the cooler, didn’t get weird or gummy like some pasta dishes do when they’re cold, and was so filling after 6 miles of trails.
I was worried the easy difficulty rating meant it would be bland, but no! The flavor is so rich and layered, you’d think it took way more effort than 20 minutes. I served it with some crispy tofu nuggets on the side and it made the perfect cozy Sunday dinner.
Quick note for my gluten free folks: I used brown rice elbow pasta and this turned out perfectly! No weird texture, the sauce clung to the noodles just as well as it does with regular pasta. Finally a gluten free vegan mac that doesn’t suck!