
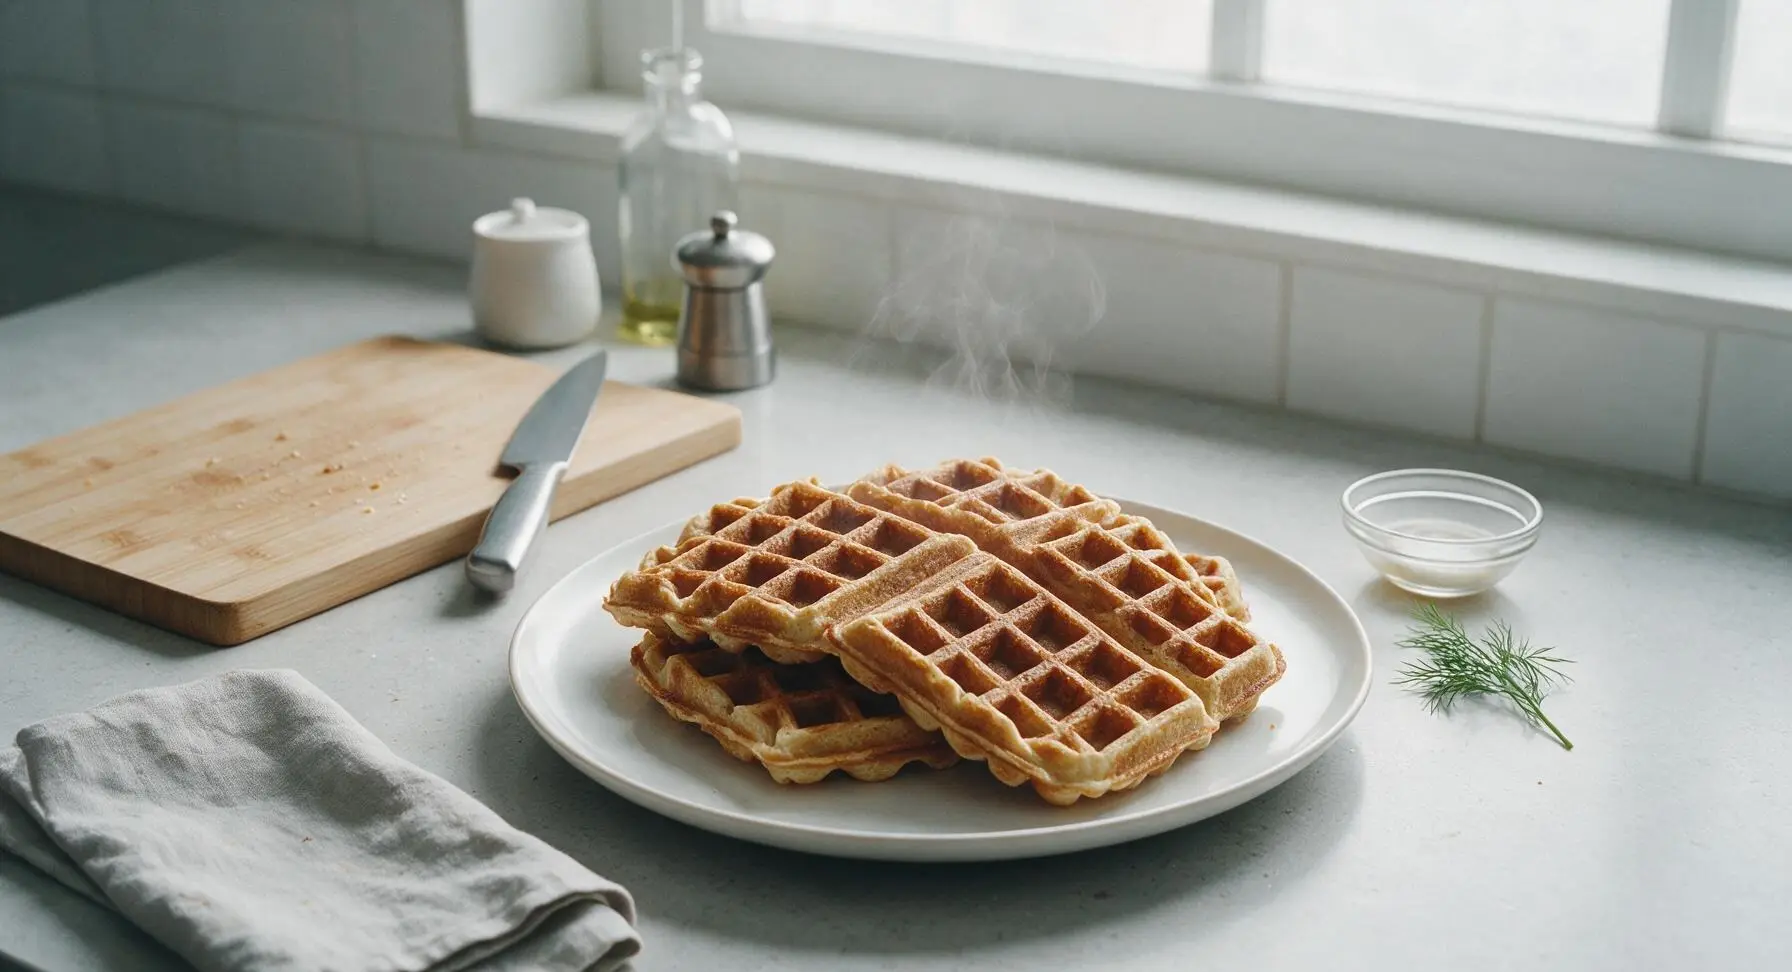
vegan waffle mix

title 1
vegan waffle mix
⏱️ cook time 4 minutes per waffle
🍽️ servings 4
⚡ Difficulty easy

intro

Crisp-edged, fluffy homemade vegan waffle mix, a shelf-stable pantry staple that makes restaurant-worthy waffles in minutes with zero dairy or eggs.

Ingredients
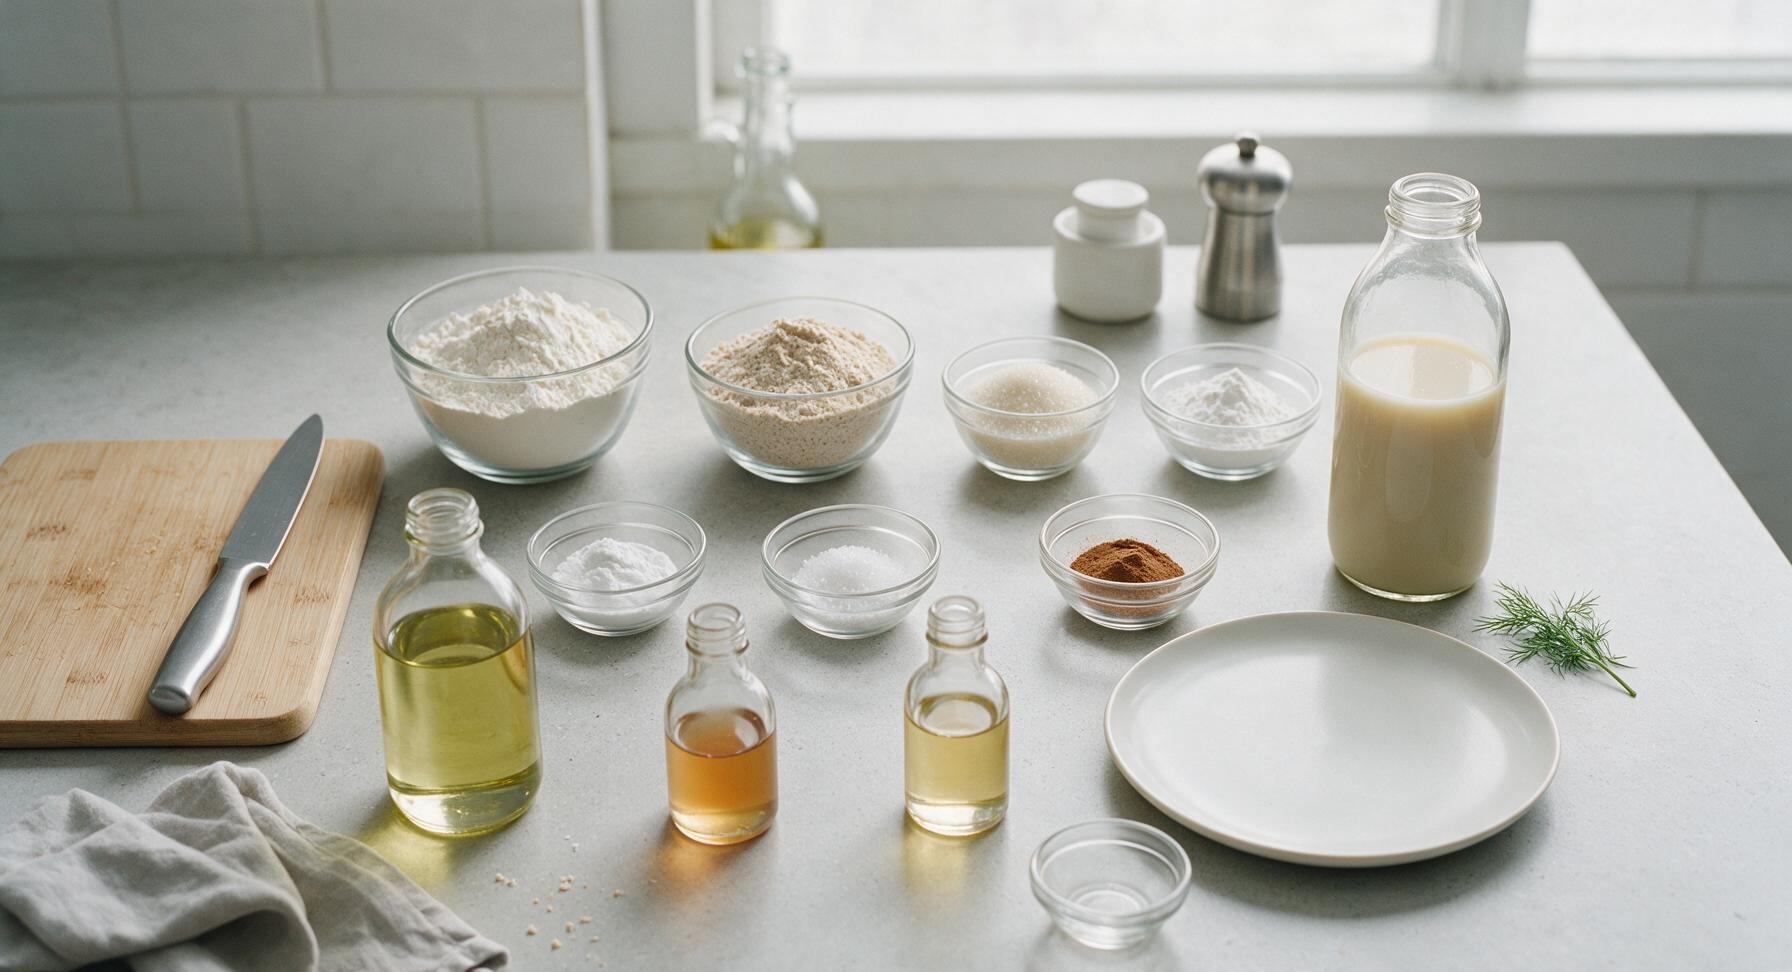
All-purpose flour 2 cups (240g)
Whole wheat pastry flour 1 cup (120g)
Organic cane sugar 2 tbsp (25g)
Baking powder 4 tsp (16g)
Baking soda 1 tsp (5g)
Fine sea salt 1/2 tsp (3g)
Ground cinnamon 1 tsp (2g)
Unsweetened oat milk 1.5 cups (360ml, for making waffles)
Neutral avocado oil 1/4 cup (60ml, for making waffles)
Apple cider vinegar 1 tsp (5ml, for making waffles)
Pure vanilla extract 1 tsp (5ml, for making waffles)

Steps

1

Combine Base Flours

Add 2 cups (240g) all-purpose flour and 1 cup (120g) whole wheat pastry flour to the large clear glass mixing bowl. Use the stainless steel wire whisk to stir the flours together for 30 seconds until evenly blended, with no darker streaks of whole wheat flour visible. Tap the side of the bowl gently to settle the flour into an even layer.
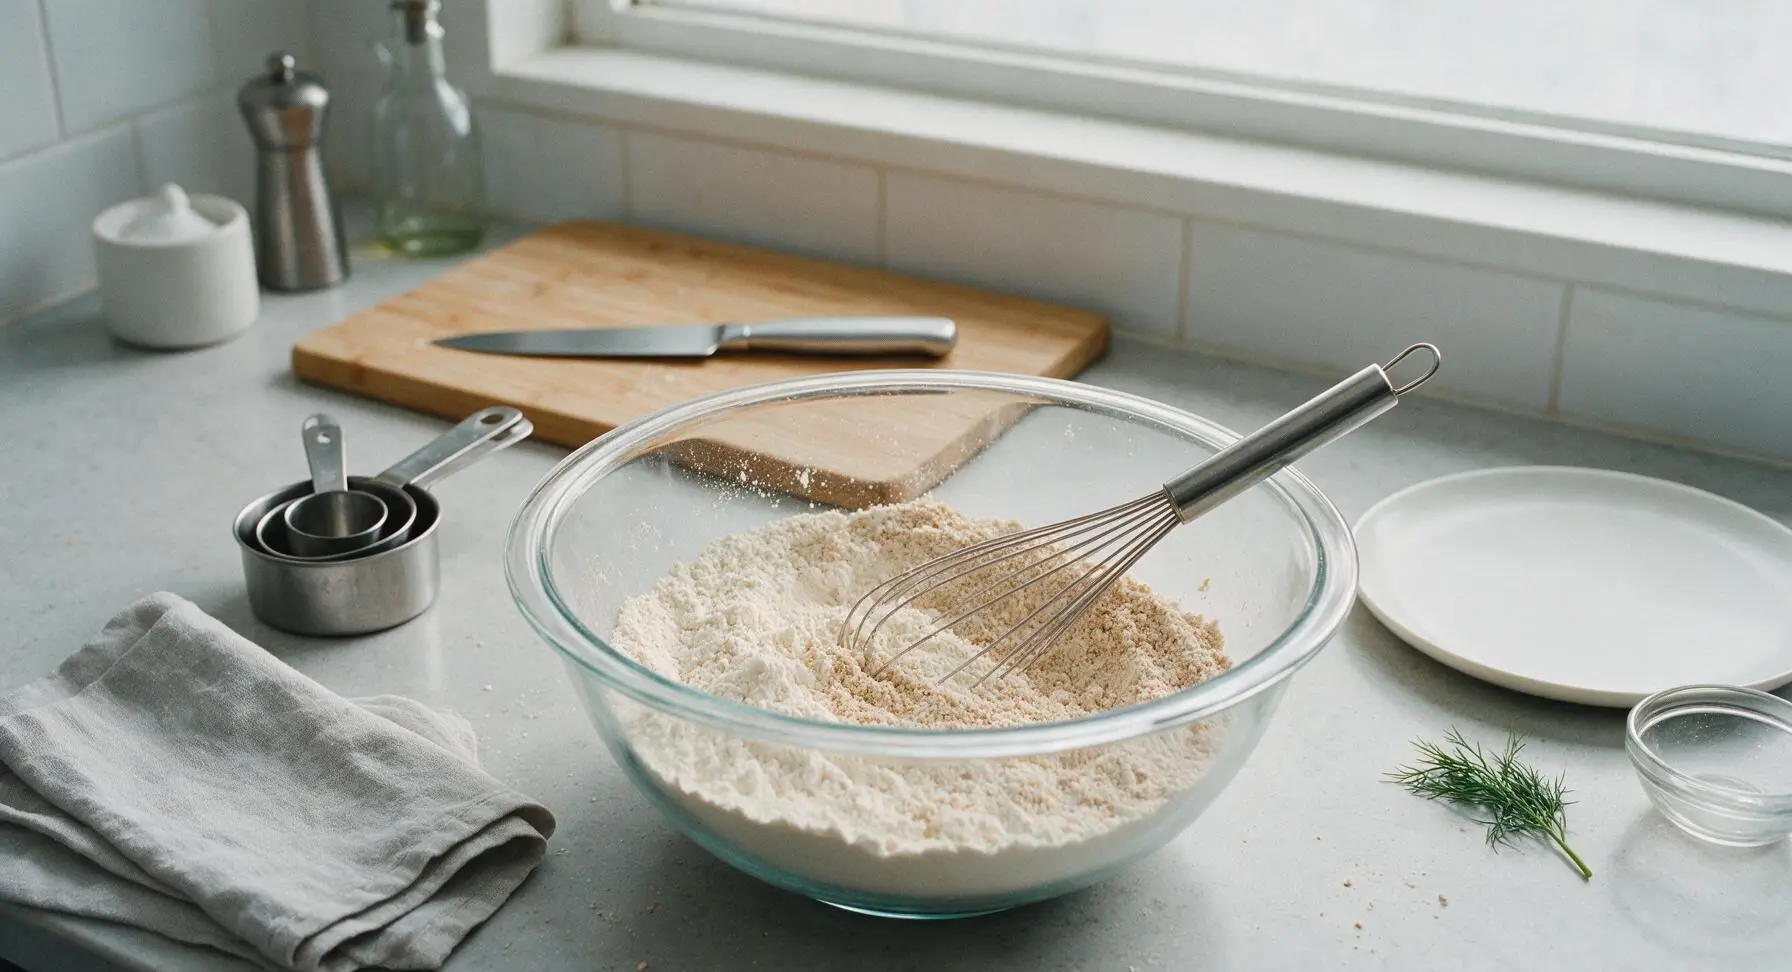
Step 1
step1:Combine Base Flours
2

Add Leavening and Salt

Measure and add 4 tsp baking powder, 1 tsp baking soda, and 1/2 tsp fine sea salt to the flour mixture. Sprinkle the ingredients evenly across the top of the flour rather than dumping them in one spot to prevent clumping during mixing.
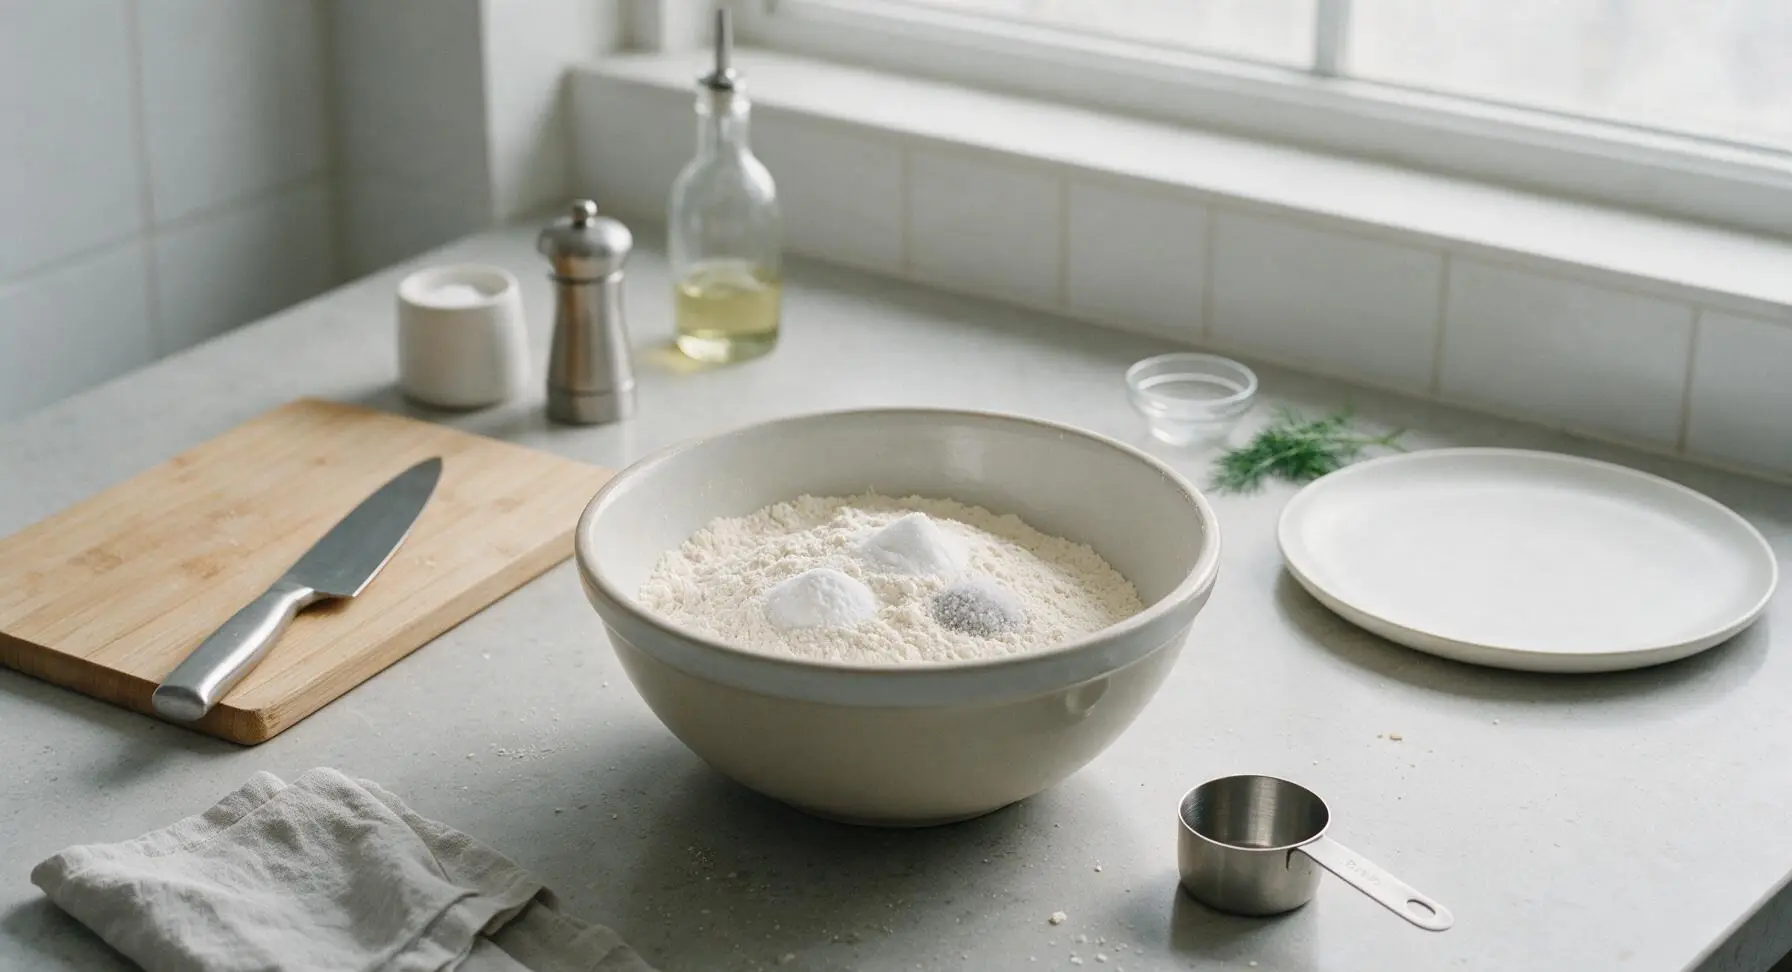
Step 2
step2:Add Leavening and Salt
3

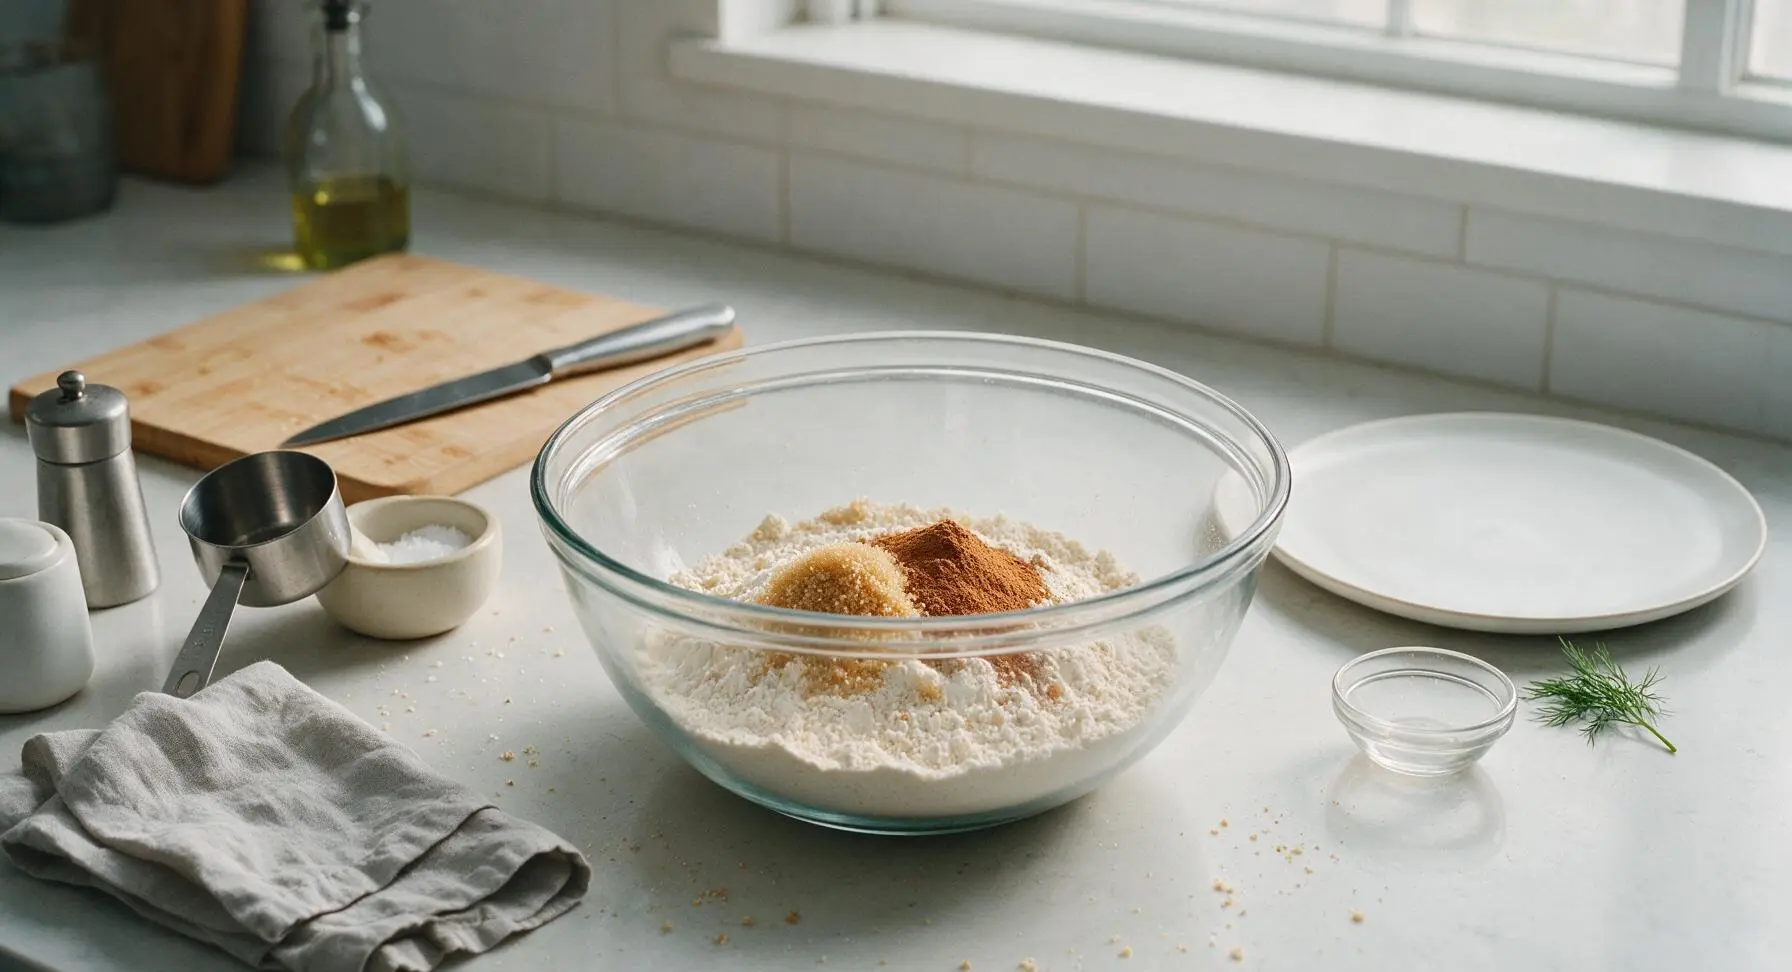
Add Sugar and Spice

Measure and add 2 tbsp organic cane sugar and 1 tsp ground cinnamon to the mixing bowl. For an extra warm autumn note, add an optional 1/4 tsp freshly grated nutmeg at this stage if desired.
Step 3
step3:Add Sugar and Spice
4

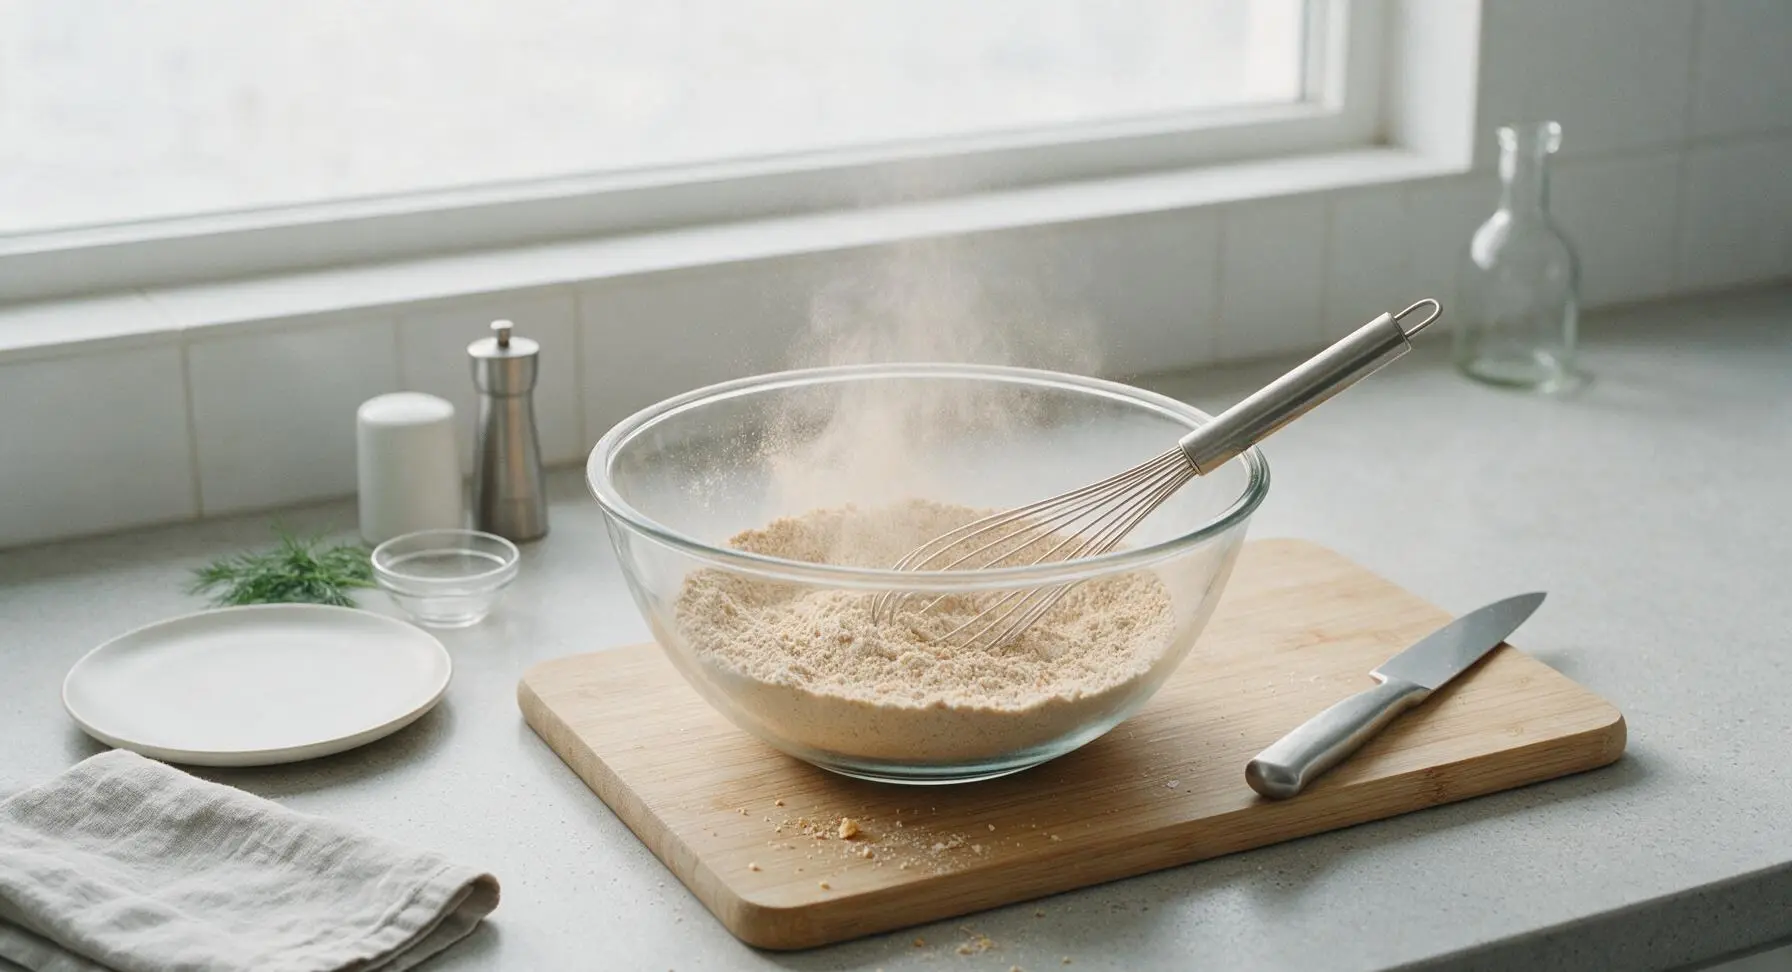
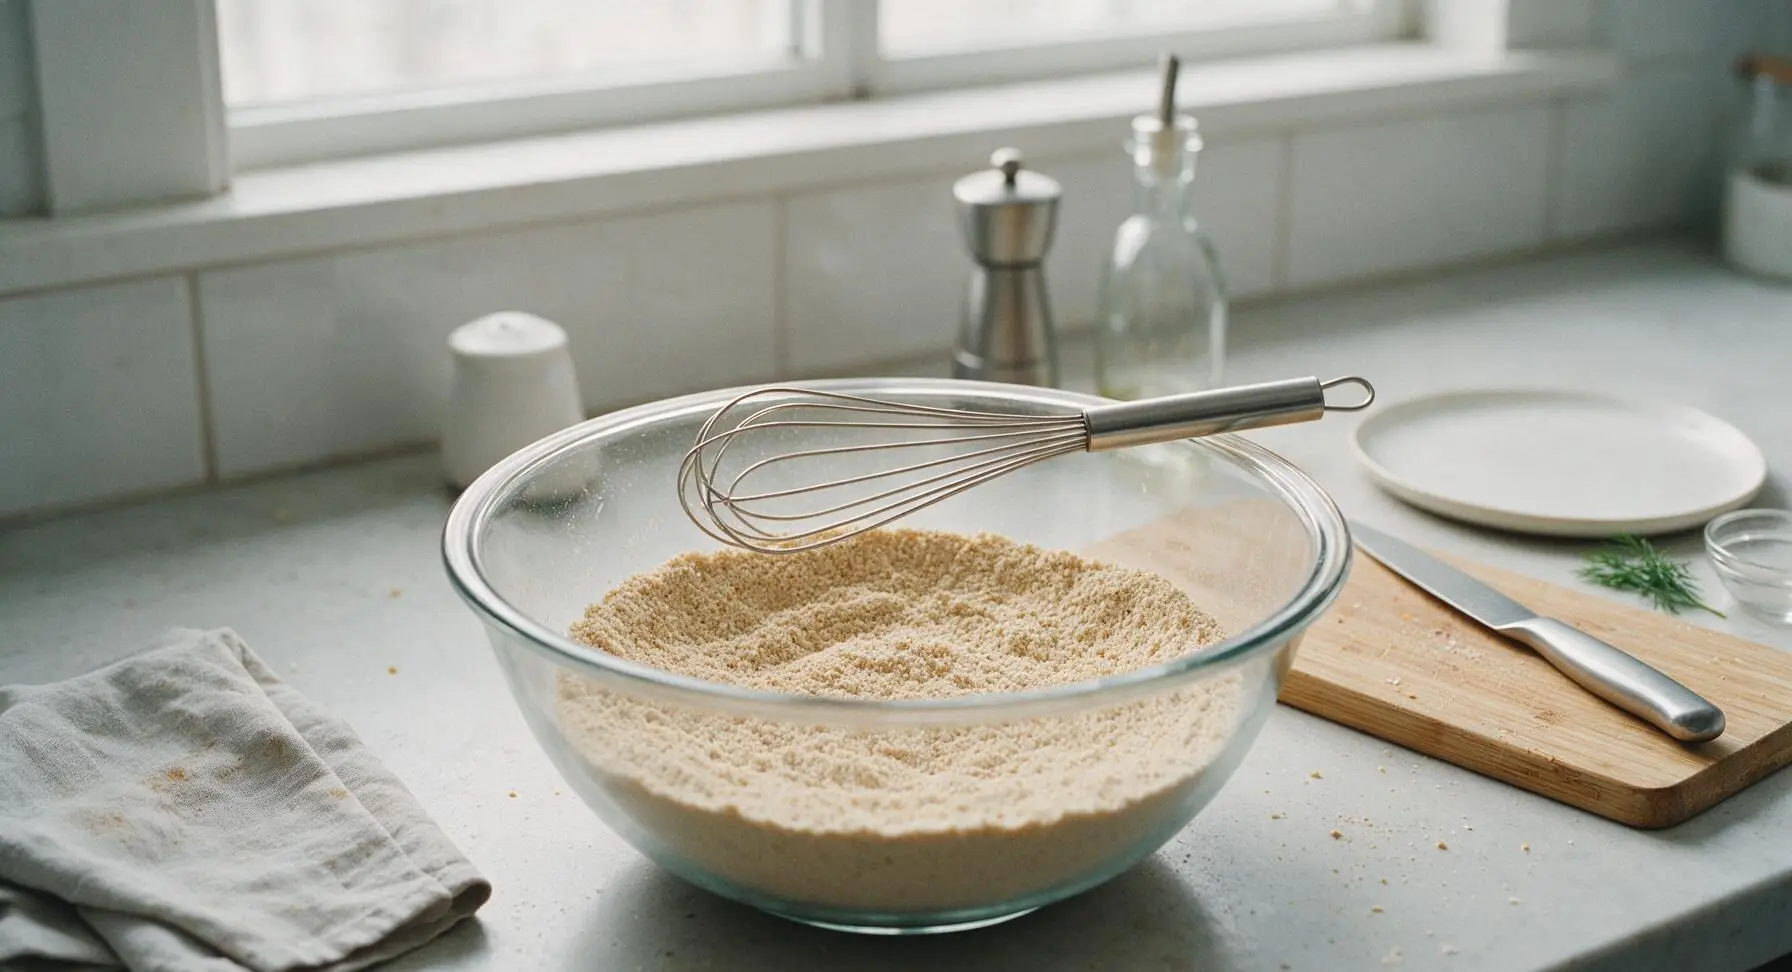
Whisk Until Uniform

Use the wire whisk to mix all dry ingredients together thoroughly for 1 full minute, scraping the sides and bottom of the bowl regularly to ensure no pockets of leavening or spice remain. The finished dry mix should be a uniform pale tan color, with no darker streaks of cinnamon or clumps of baking powder visible.
Step 4
step4:Whisk Until Uniform
Step 4
step4:Whisk Until Uniform
5

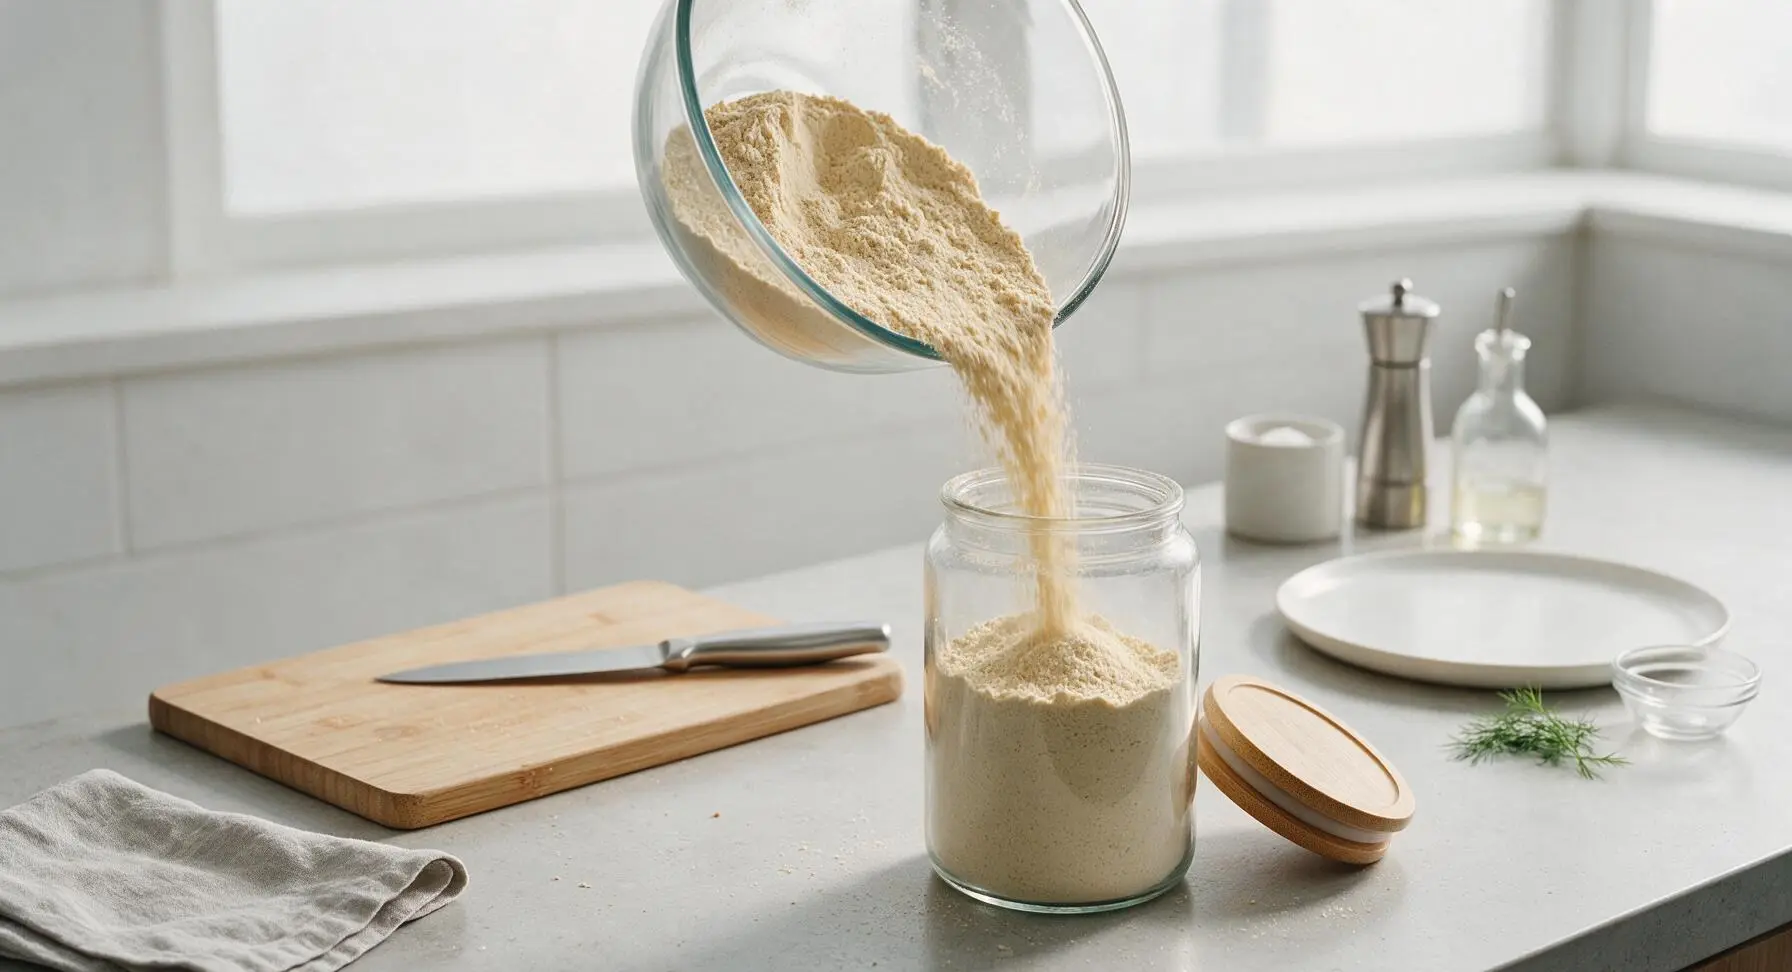
Transfer to Storage Jar

Carefully pour the fully blended dry waffle mix into the 1L clear glass storage jar with the bamboo lid. Seal the lid tightly; the mix will stay fresh in a cool, dark pantry for up to 3 months. Ensure no moisture enters the jar to preserve leavening power.
Step 5
step5:Transfer to Storage Jar
6

Mix Waffle Batter

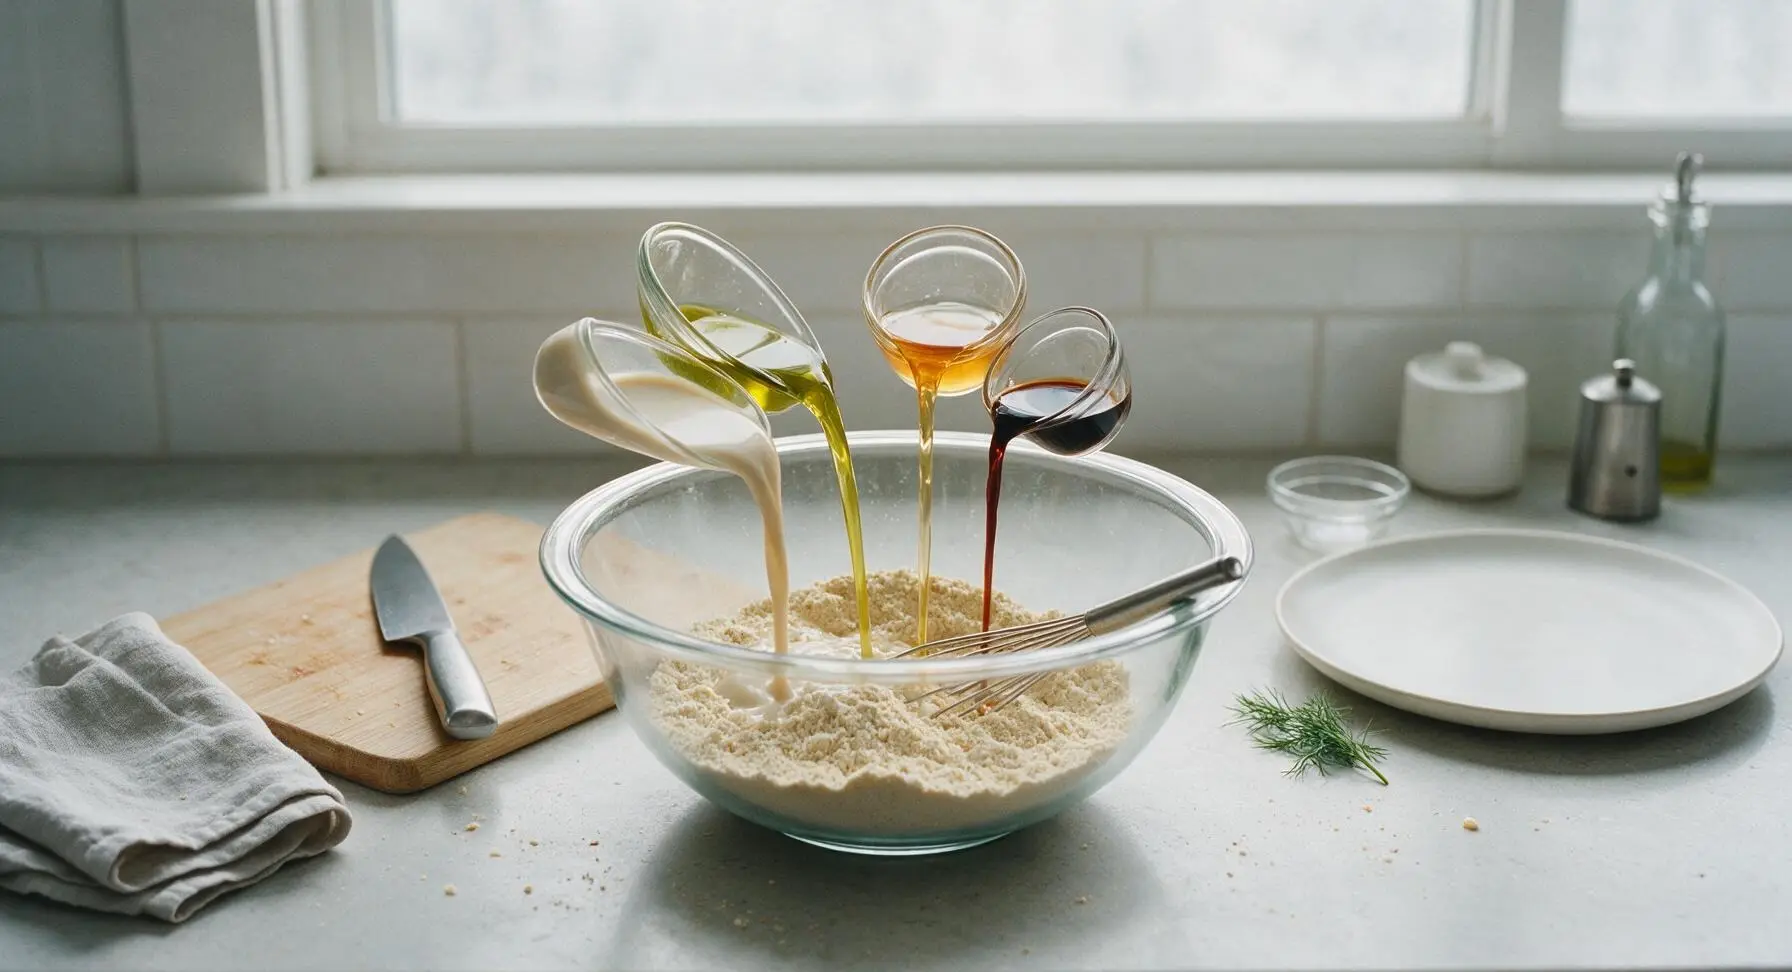
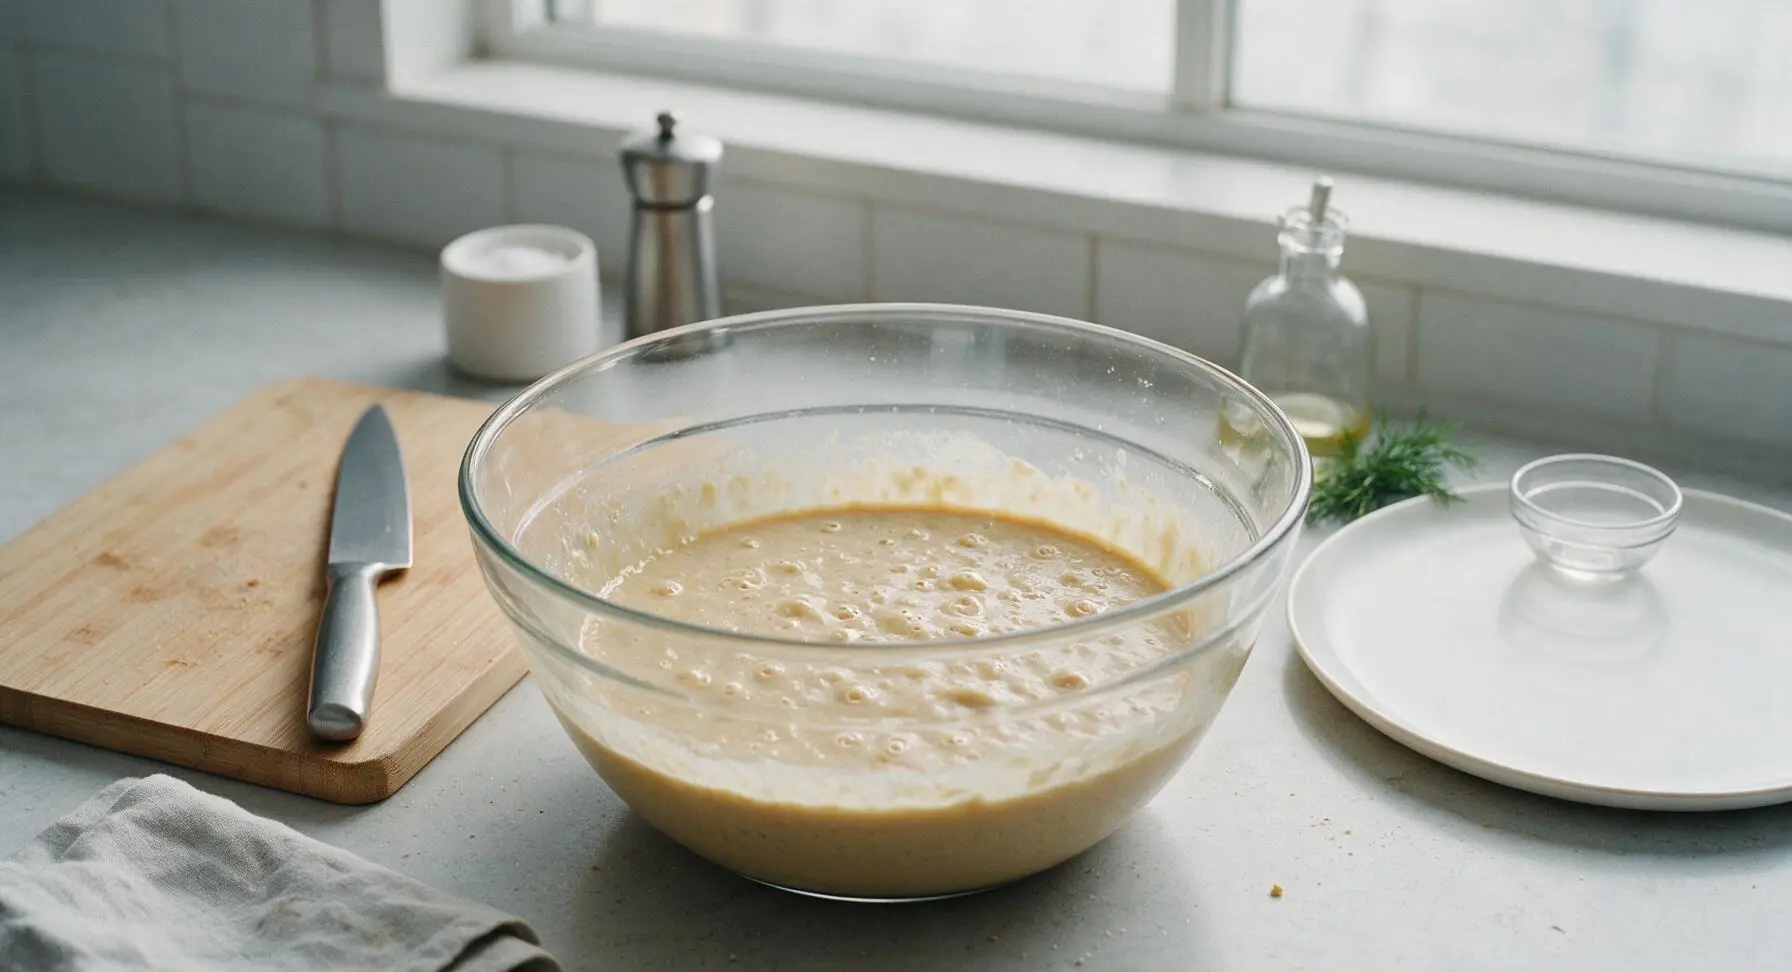
To make waffles from the mix, measure 2 cups of the dry waffle mix back into the mixing bowl. Add 1.5 cups unsweetened oat milk, 1/4 cup neutral avocado oil, 1 tsp apple cider vinegar, and 1 tsp vanilla extract. Stir gently with the whisk just until combined; a few small lumps in the batter are ideal, as overmixing will make tough waffles. Let the batter rest for 5 minutes to activate the leavening, until small bubbles appear across the surface.
Step 6
step6:Mix Waffle Batter
Step 6
step6:Mix Waffle Batter
7

Cook Waffles Until Crisp

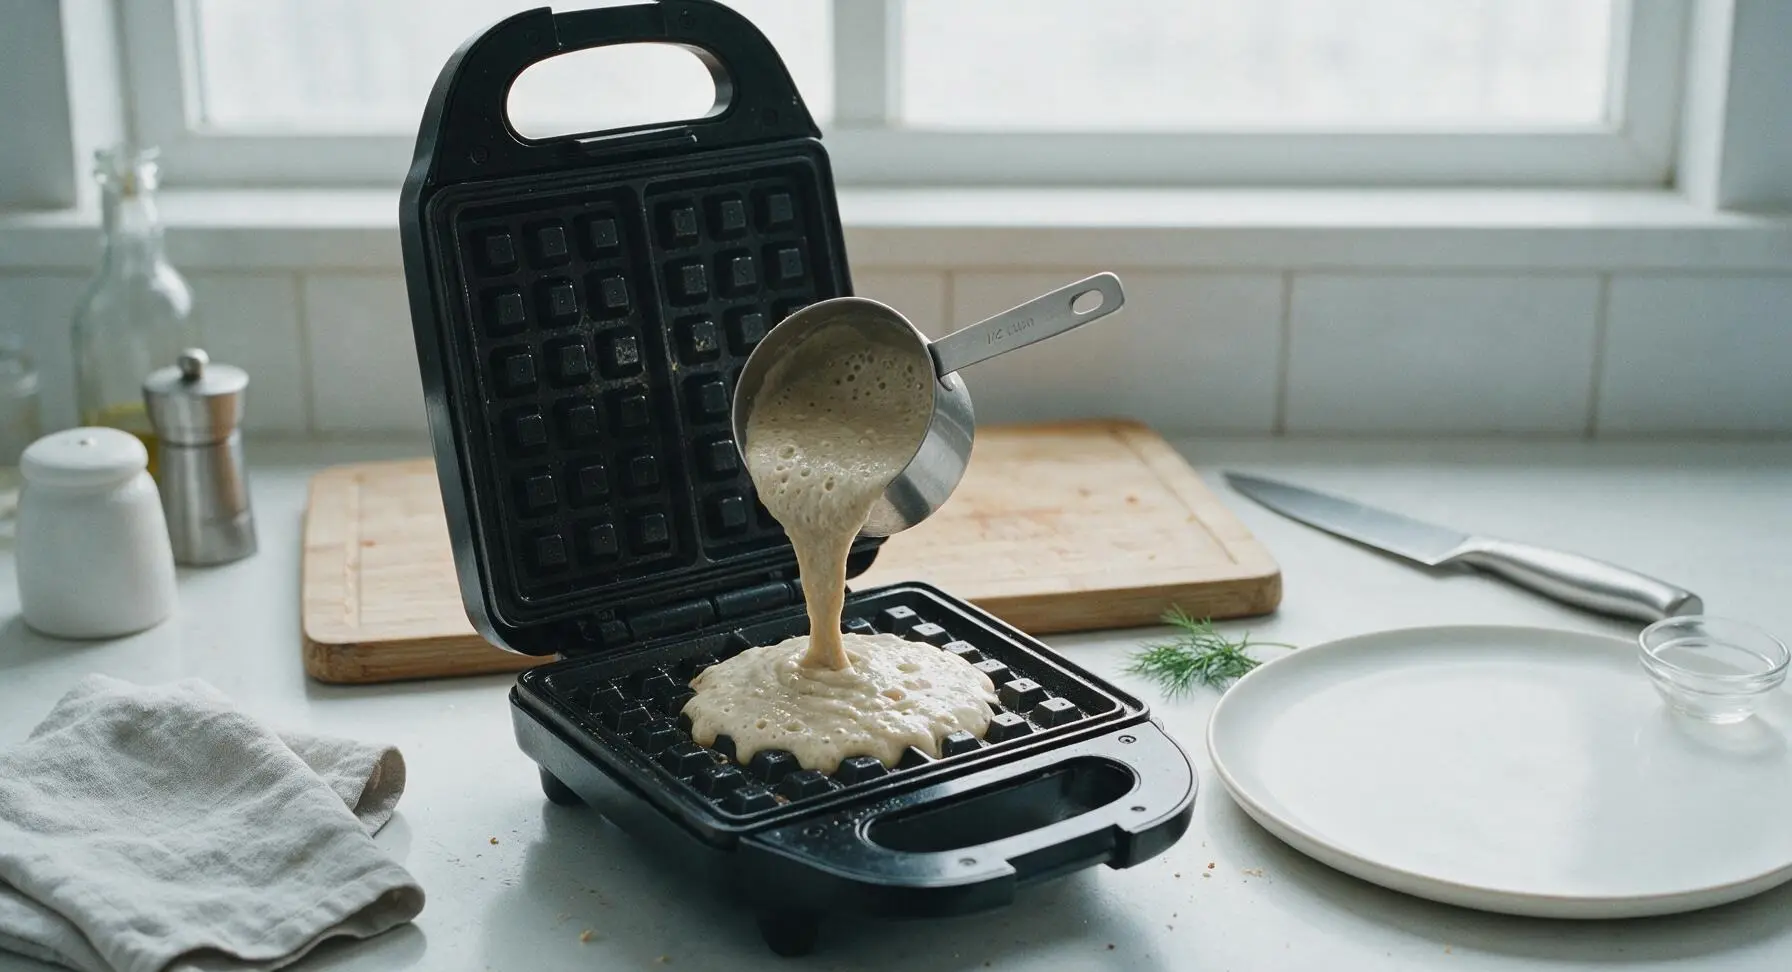
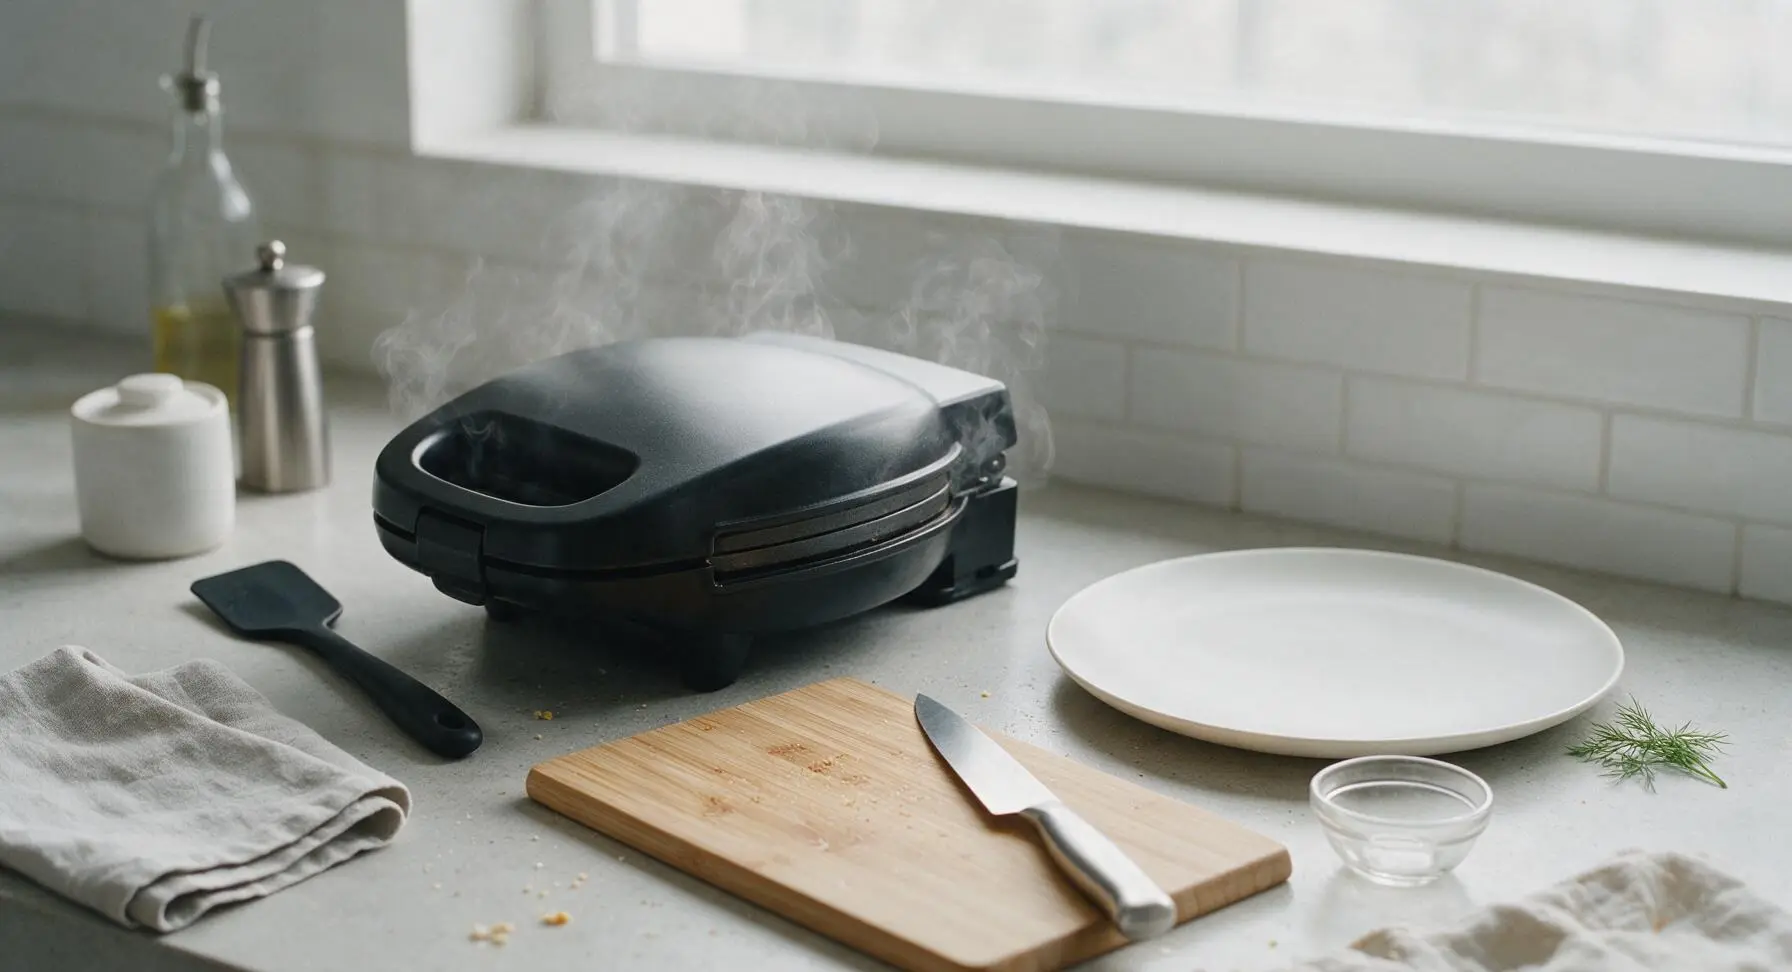
Preheat the matte black waffle iron to medium-high heat (375°F / 190°C). Lightly coat the plates with a thin layer of oil if needed. Pour 1/2 cup of batter onto the center of the preheated waffle iron, close the lid, and cook for 3.5 to 4 minutes, until steam stops escaping from the iron edges and the waffle is deep golden brown and crisp to the touch. Do not open the lid early, as this will cause the waffle to split.
Step 7
step7:Cook Waffles Until Crisp
Step 7
step7:Cook Waffles Until Crisp
8

Plate Fresh Waffles

Carefully lift the finished waffle from the iron using the black silicone spatula, transfer it to the matte cream ceramic dinner plate. Cook a second waffle, stack it slightly offset on the first, and serve warm with maple syrup or desired toppings.
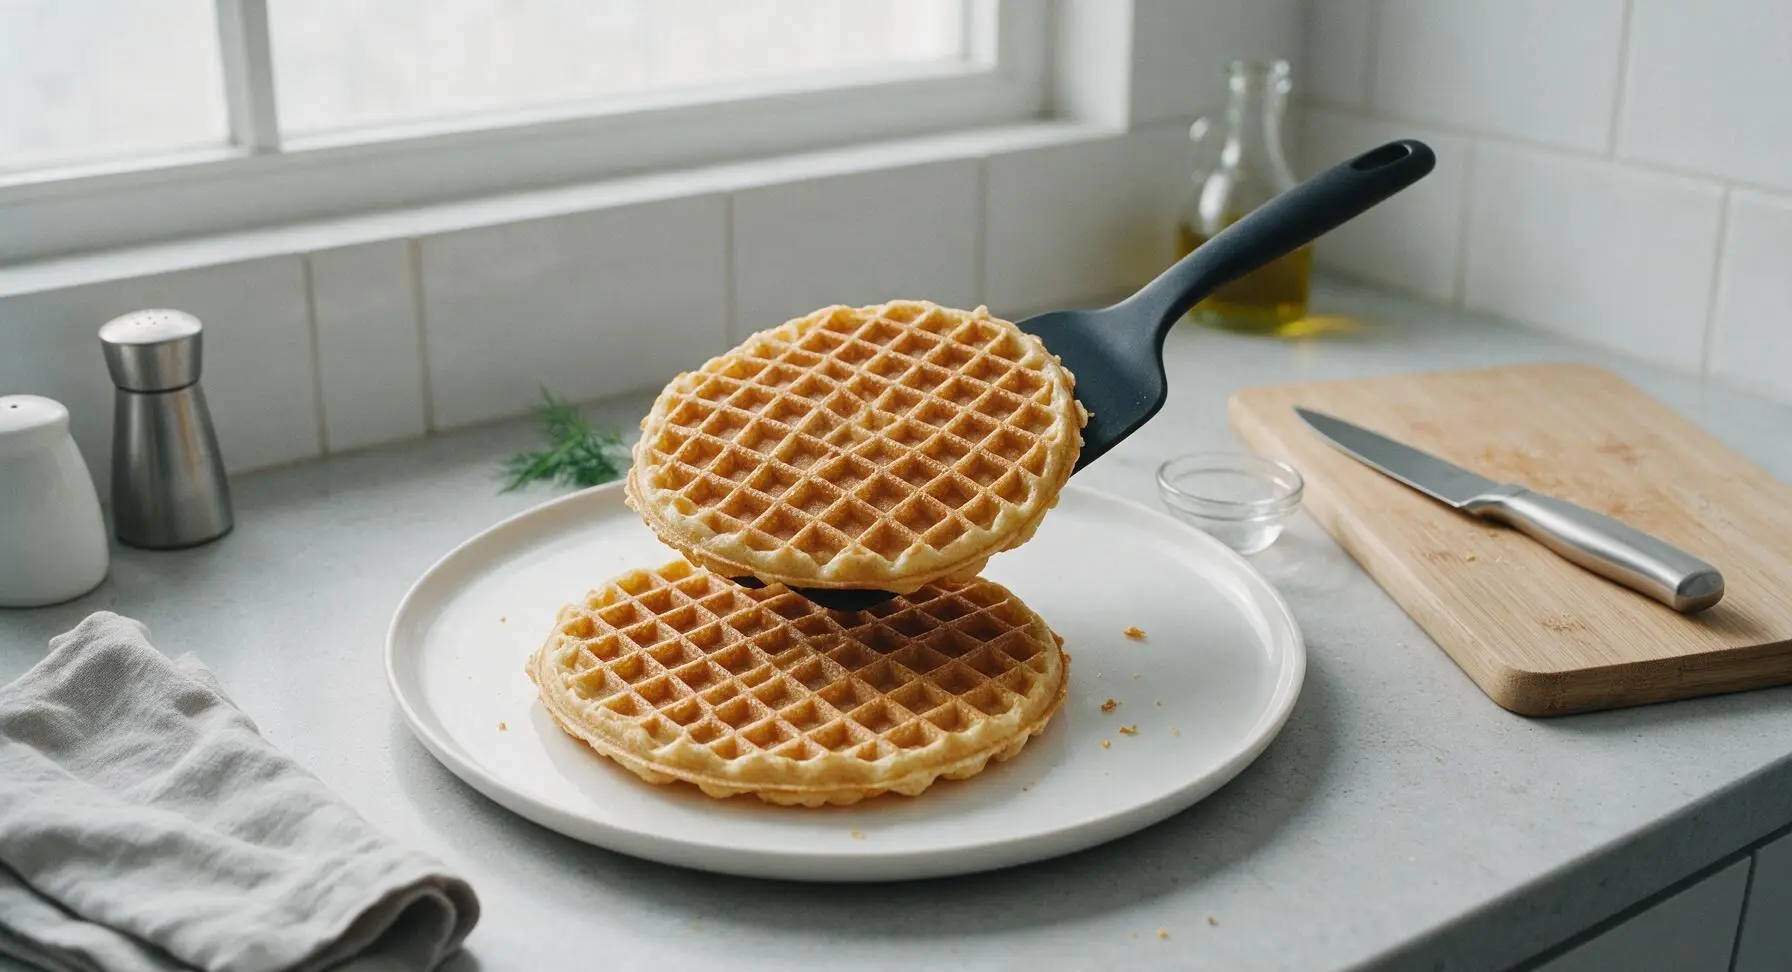
Step 8
step8:Plate Fresh Waffles

Tips

1.Ensure all mixing tools and the storage jar are completely dry before assembling the dry mix: even a tiny amount of residual moisture will activate the leavening early, leading to flat, dense waffles and reducing the mix’s shelf life to less than a week.
2.When mixing batter from the dry mix, stop stirring as soon as no dry flour pockets remain: a few small lumps are ideal, as overmixing develops gluten in the flour and creates tough, chewy waffles instead of light, crisp ones.
3.Wait until steam stops escaping from the waffle iron edges before opening the lid to check doneness: escaping steam means moisture is still cooking out of the batter, and opening early can split the waffle or leave it soggy in the center.


✨ You May Also Like

Breakfast
🍜 United States

Crisp-edged, fluffy lard griddle cakes are a nostalgic homestyle staple, with rich savoriness from rendered lard, perfect topped with maple syrup or savory gravy.

⏱️ 25 minuteBreakfast ★ 4.8
Breakfast
🍜 United States

Flaky, buttery homemade buttermilk biscuits smothered in creamy, peppery pork sausage gravy: a beloved, hearty Southern American comfort food classic.

⏱️ 35 minuteBreakfast ★ 4.8
Breakfast
🍜 United States

Golden, custardy brioche stuffed with sweet cream cheese and fresh berries, pan-fried to crisp perfection. An indulgent, cozy breakfast perfect for slow weekend mornings.

⏱️ 30 minuteBreakfast ★ 4.7
Breakfast
🍜 United States

Flaky, buttery Southern-style biscuits stuffed with savory salty country ham, a portable, satisfying classic perfect for casual on-the-go meals.

⏱️ 25 minuteBreakfast ★ 4.8
Breakfast
🍜 United States

Iconic puffy baked pancake popularized in Seattle, with crisp golden edges and soft custardy center, served warm with classic sweet toppings.

⏱️ 35 minuteBreakfast ★ 4.6
Breakfast
🍜 United States

Fluffy, golden pancakes studded with juicy peak-summer mixed berries, drizzled with maple syrup for a bright, comforting, crowd-pleasing family breakfast.

⏱️ 25 minuteBreakfast ★ 4.7

vegan waffle mix:Frequently Asked Questions

1.How long will this homemade vegan waffle mix stay shelf-stable in my pantry? ▾
When stored in a fully airtight, sealed container in a cool, dry spot away from direct sunlight or stovetop heat, this mix will stay fresh and leavening-effective for up to 6 months. If you spot damp, hard clumps, odd off odors, or discoloration, toss the batch—this means moisture seeped in and ruined the dry ingredients.
2.Can I adjust this recipe to make a gluten-free version of the waffle mix? ▾
Absolutely! Swap the all-purpose flour and whole wheat pastry flour for a certified gluten-free 1:1 baking blend that includes xanthan gum for the best texture. Keep all other dry ingredient ratios identical, and your gluten-free mix will be just as shelf-stable, producing light, crisp waffles that match the original. Skip single-ingredient gluten-free flours like almond or coconut, as they create dense, tough results.
3.Why does the mix call for both baking powder and baking soda if it has no dairy or eggs? ▾
That dual leavening combo is the secret to restaurant-worthy texture without animal products! Baking powder delivers most of the fluffy lift when batter hits a hot waffle iron, while the small amount of baking soda boosts golden browning and balances subtle bitter notes from the whole wheat pastry flour for a smooth, well-rounded flavor.
4.What ingredients do I need to add to the dry mix when I’m ready to make waffles? ▾
No fancy specialty vegan ingredients required! For every 2 cups of dry mix, stir in 1 ½ cups of unsweetened plant milk (oat, soy, or almond all work great), 2 tablespoons of neutral oil like canola or avocado, and 1 teaspoon of vanilla extract. The batter comes together in 2 minutes, with no separate egg replacer needed for great texture.
5.Can I use this waffle mix to make pancakes too, or is it only for waffles? ▾
This mix pulls double duty to save pantry space! For light, fluffy pancakes, thin your prepared waffle batter with an extra 2 to 3 tablespoons of plant milk to reach a smooth, pourable consistency, then cook on a preheated greased griddle like regular pancake batter. The leavening ratio is balanced perfectly for both waffles and pancakes.
6.Can I reduce or replace the organic cane sugar to make a lower-sugar version of the mix? ▾
You can safely cut the organic cane sugar by half without ruining texture, though your waffles will have slightly less crisp, golden edges. Never swap in liquid sweeteners like maple syrup for the dry mix, as that introduces moisture that ruins shelf stability—stick to dry granulated swaps like coconut sugar if you want a different flavor profile.

Comments (7)

2 days ago

OMG this is such a game changer for busy school mornings! I keep a mason jar of this mix in my pantry and my kids beg for waffles every weekday now—no weird preservatives, totally vegan, and they cook up so crispy in 4 minutes flat. SO good, I brought a batch of pre-made waffles from the mix to our neighborhood potluck last weekend and everyone asked for the recipe!

1 week ago

Meal prep win! I mixed up three big jars of this to last the whole month, and it’s held up perfectly in the pantry so far. Tastes way better than the store-bought vegan waffle mix that’s always got that weird chemical aftertaste. I add a dash of cinnamon and a pinch of nutmeg to my batter before cooking, chef’s kiss.

3 days ago

Wait, quick question—how long does this actually stay shelf stable if I store it in an airtight glass jar? I want to make a bunch for little holiday gifts for my vegan friends but don’t want it to go bad on them a week after I give it out!

2 days ago

Great question! If stored in a fully airtight container in a cool, dark pantry, this mix stays fresh for up to 3 months! Just make sure all your tools and ingredients are totally dry when you mix it up to prevent clumping or spoilage. It makes such a cute holiday gift, I love adding a little handwritten tag with the waffle cooking instructions for the recipient :)

yesterday

My kids are super picky and normally turn their nose up at anything labeled vegan, but they devoured these waffles when I made them last night! I tossed a handful of chocolate chips into their portions and topped with maple syrup, and they didn’t even notice there was no dairy or eggs. 10/10 will be making this on repeat for our busy breakfasts.

2 hours ago

Oh that’s such a good call adding chocolate chips! My toddler is the exact same way about vegan food, I’m definitely going to try that trick this weekend for our Saturday brunch.

5 days ago

This is perfect for my tiny dorm kitchen! I don’t have a ton of storage space for fancy ingredients, and this mix is so easy to throw together with cheap pantry staples I already have. The 4 minute cook time is *chef’s kiss* for when I’m running late to 8am lectures, no sad dining hall breakfast for me!

3 days ago

So glad this works for dorm cooking! I was a broke college student once too, so I designed this mix to be low-fuss, budget-friendly, and not require any fancy equipment. Pro tip: you can even cook the batter in a sandwich press if you don’t have a dedicated waffle iron in your dorm!

1 week ago

Has anyone tried swapping the all-purpose flour for a 1:1 gluten free baking mix to make this GF? I’m gluten intolerant but would love to make a big batch for my family’s Sunday brunch spread!

5 days ago

I did this last week! Used Bob’s Red Mill 1:1 GF flour and added a tiny extra pinch of baking powder, and the waffles came out just as crispy and fluffy as the regular version. My whole family (none of whom are GF!) ate two each, no complaints.

3 days ago

Great tip from @CeliacInChicago! The 1:1 GF flour swap works perfectly for this recipe, just make sure your baking mix doesn’t have extra added thickeners that might make the batter gummy. I’ve tested it with a couple different GF blends and it turns out great every time!

2 weeks ago

Game. Changer. I made a double batch of this mix and used it to make waffle sliders for our office potluck—think crispy fried chick’n, maple aioli, pickles, the works. Everyone was raving and asking where I bought the mix, they couldn’t believe I made it from scratch and that it’s totally shelf stable!

1 week ago

Wait waffle sliders sound insane! I’m hosting a game night next weekend and I’m totally stealing that idea. Do you pour smaller amounts of batter so the waffles are slider-sized, instead of full size?

5 days ago

Yes! I pour about half the normal amount of batter onto the waffle iron so they’re the perfect slider size to hold a piece of chick’n. They were gone in like 10 minutes, zero leftovers, people were even asking for seconds!



