
vegetarian tater tot hotdish

title 1
vegetarian tater tot hotdish
⏱️ cook time 45 minutes
🍽️ servings 6
⚡ Difficulty easy

intro

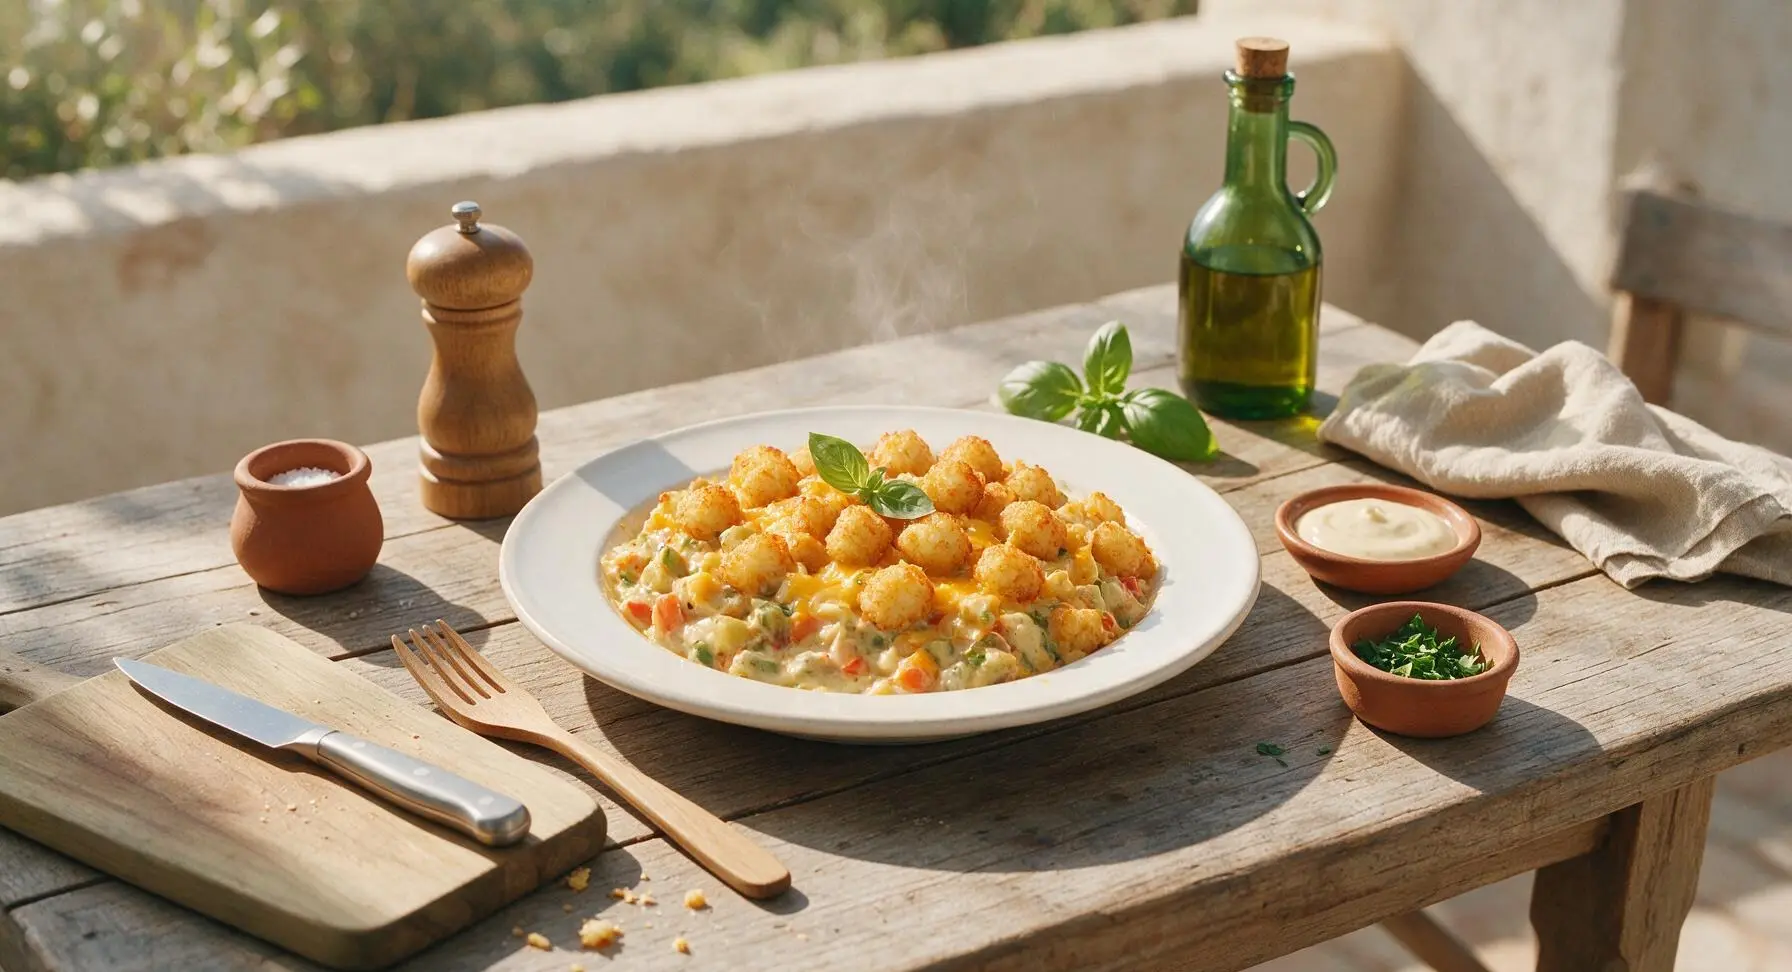
Creamy, cozy vegetarian tater tot hotdish loaded with tender veggies, melty cheddar, and crispy golden tots—classic Midwest comfort food built for sharing.

Ingredients
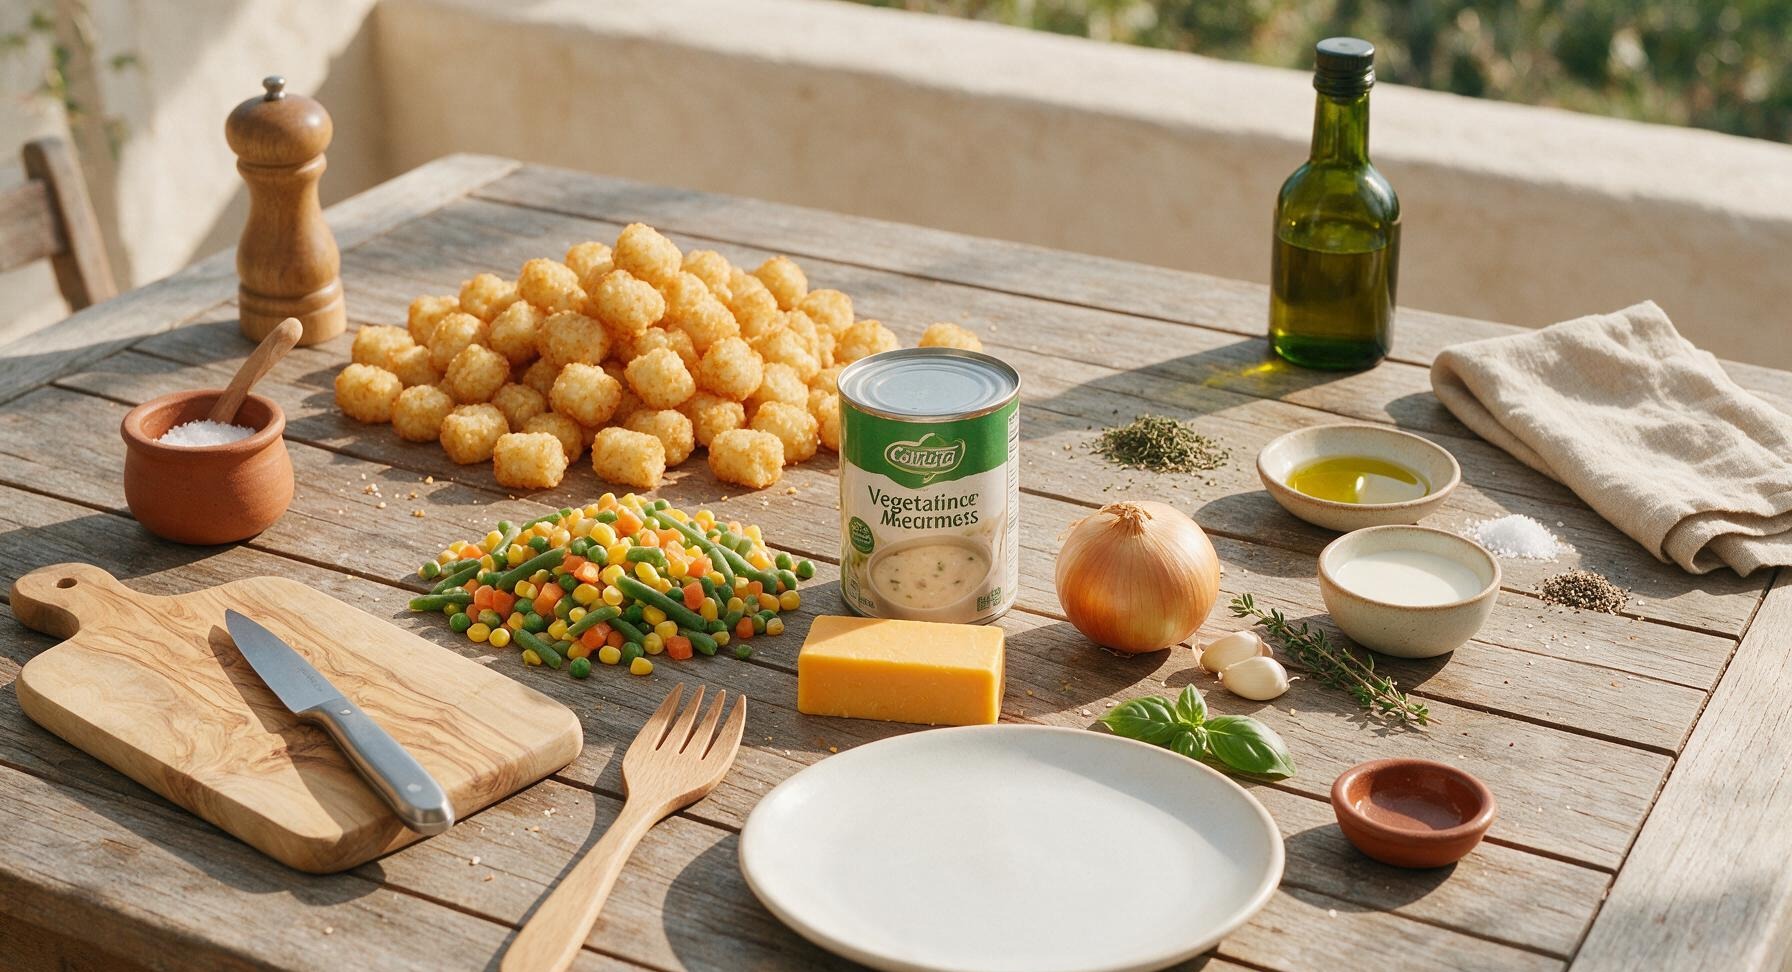
Frozen tater tots 900g (2lb)
Vegetarian cream of mushroom soup 600g (2 x 10.5oz cans)
Frozen mixed vegetables (corn, green beans, peas, diced carrot) 450g (1lb)
Sharp cheddar cheese 225g (8oz, block)
Yellow onion 1 medium (150g)
Garlic cloves 2 (10g total)
Whole milk 60ml (1/4 cup)
Extra-virgin olive oil 15ml (1 tbsp)
Dried thyme 1 tsp
Kosher salt 1 tsp
Ground black pepper 1/2 tsp
Fresh thyme sprigs 2

Steps

1

Prep Aromatics and Oven

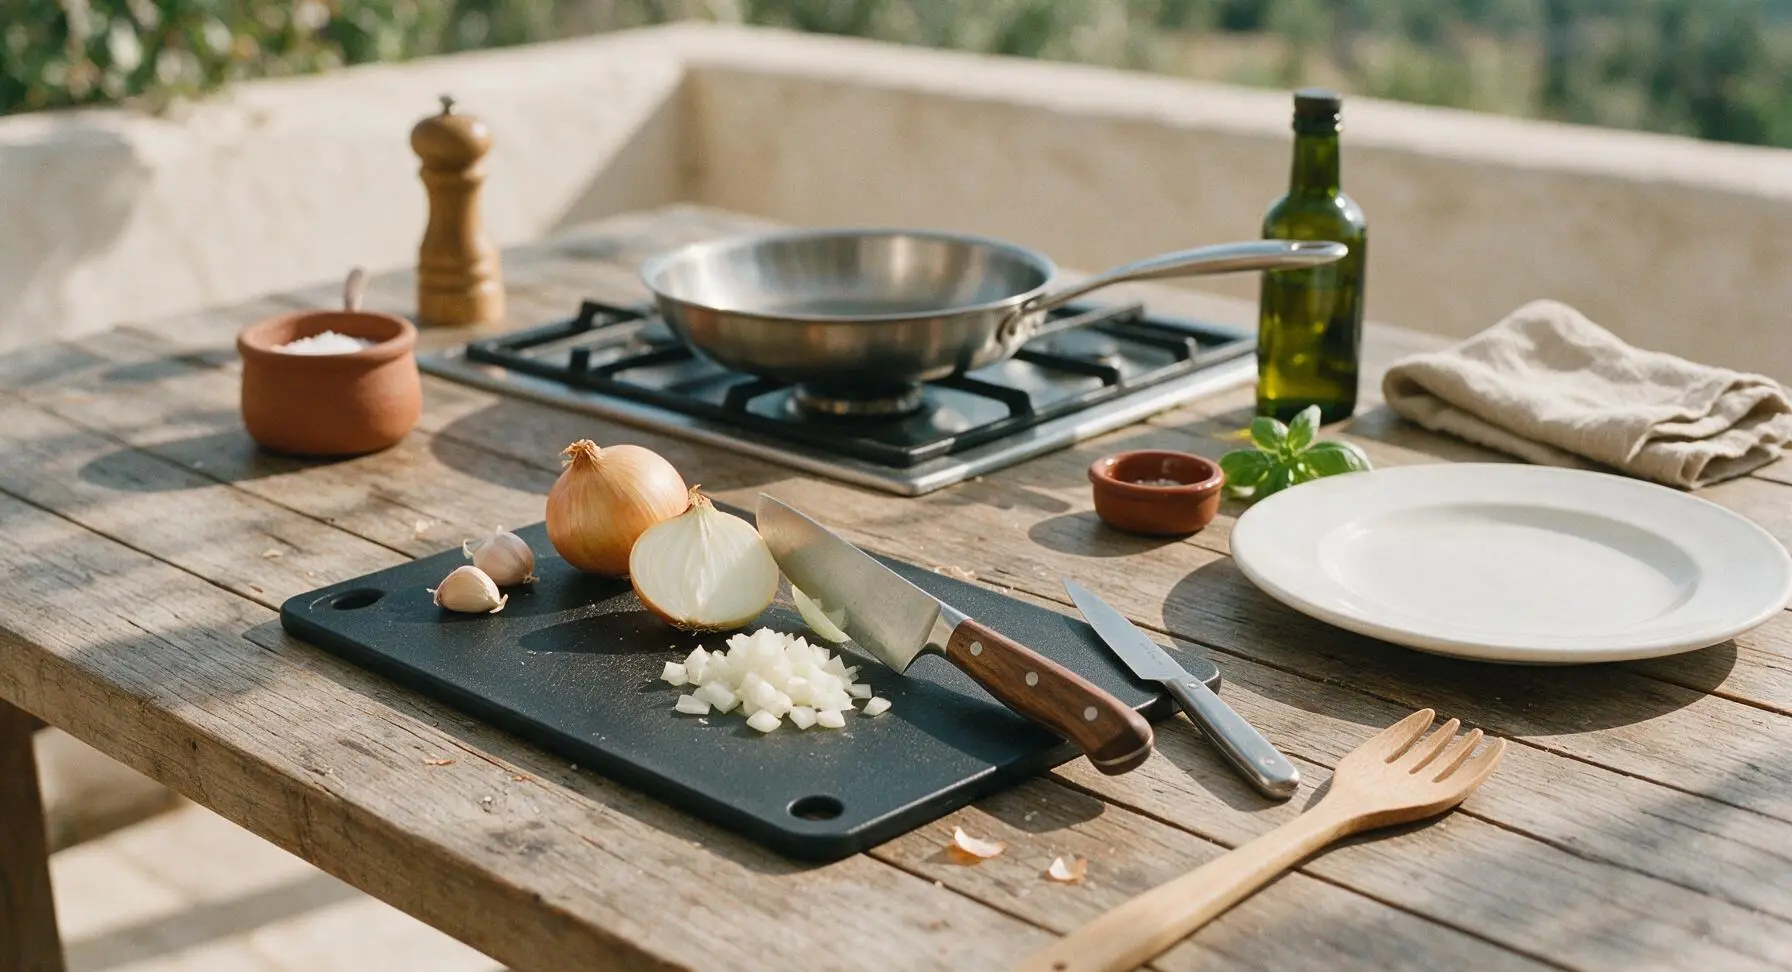
Preheat your oven to 190°C (375°F). Place the matte black polypropylene cutting board in the center of the work zone. Use the stainless steel chef knife with walnut handle to dice the yellow onion into uniform 1cm (1/2 inch) pieces, then mince the two garlic cloves finely. Set prepped aromatics aside in a small bowl.
Step 1
step1:Prep Aromatics and Oven
2

Sauté Onion and Garlic

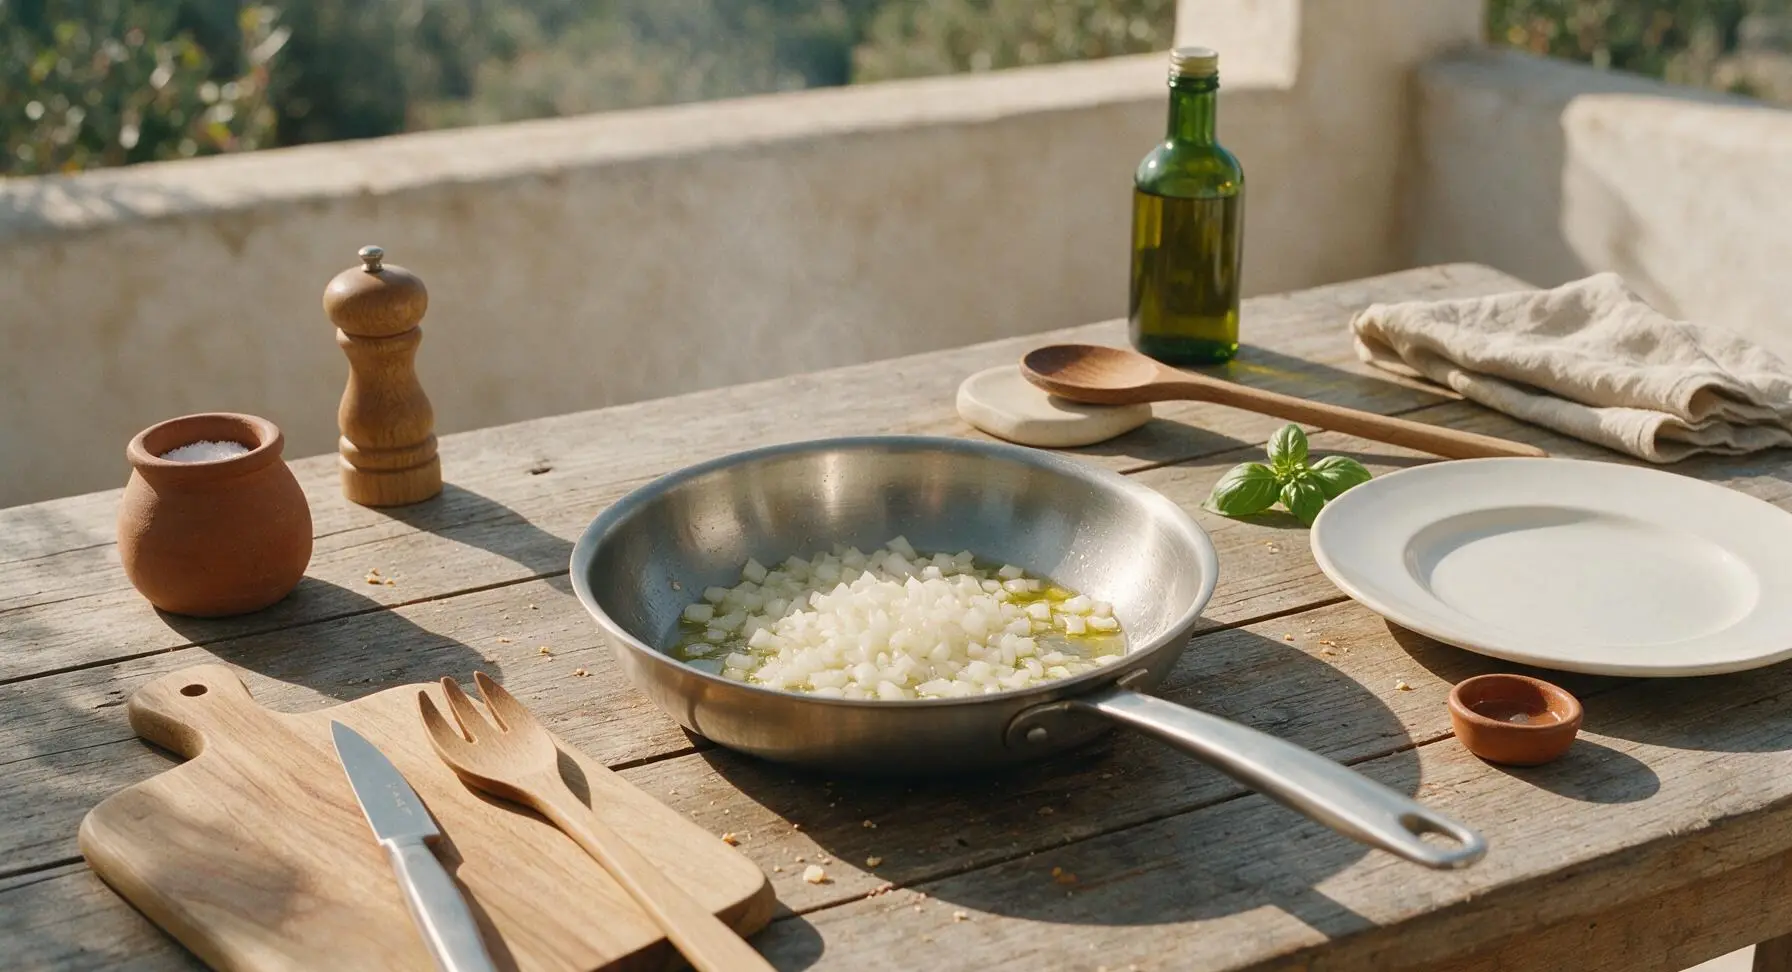
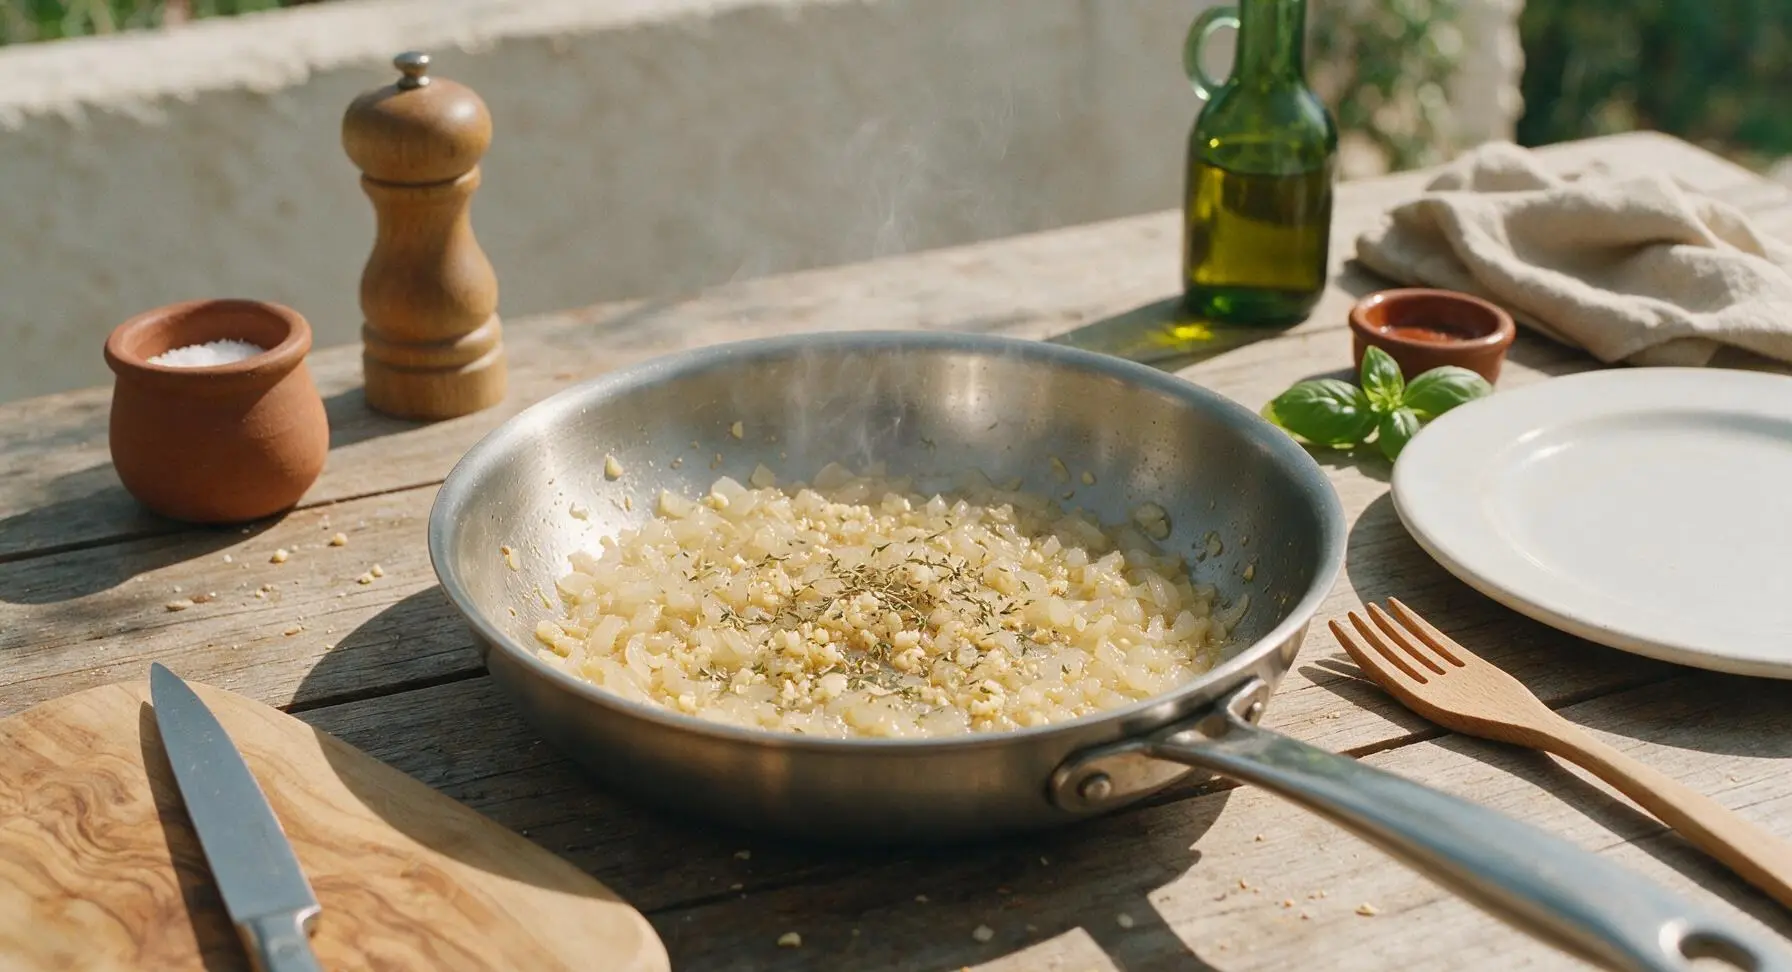
Place the stainless steel skillet over medium heat, add 1 tablespoon of extra-virgin olive oil. Once the oil shimmers (about 1 minute), add the diced onion. Sauté for 4 minutes until soft and translucent, stirring occasionally with the beech wood spoon. Add the minced garlic and dried thyme, cook for 30 seconds more until fragrant, taking care not to burn the garlic. Remove from heat.
Step 2
step2:Sauté Onion and Garlic
Step 2
step2:Sauté Onion and Garlic
3

Combine Creamy Filling

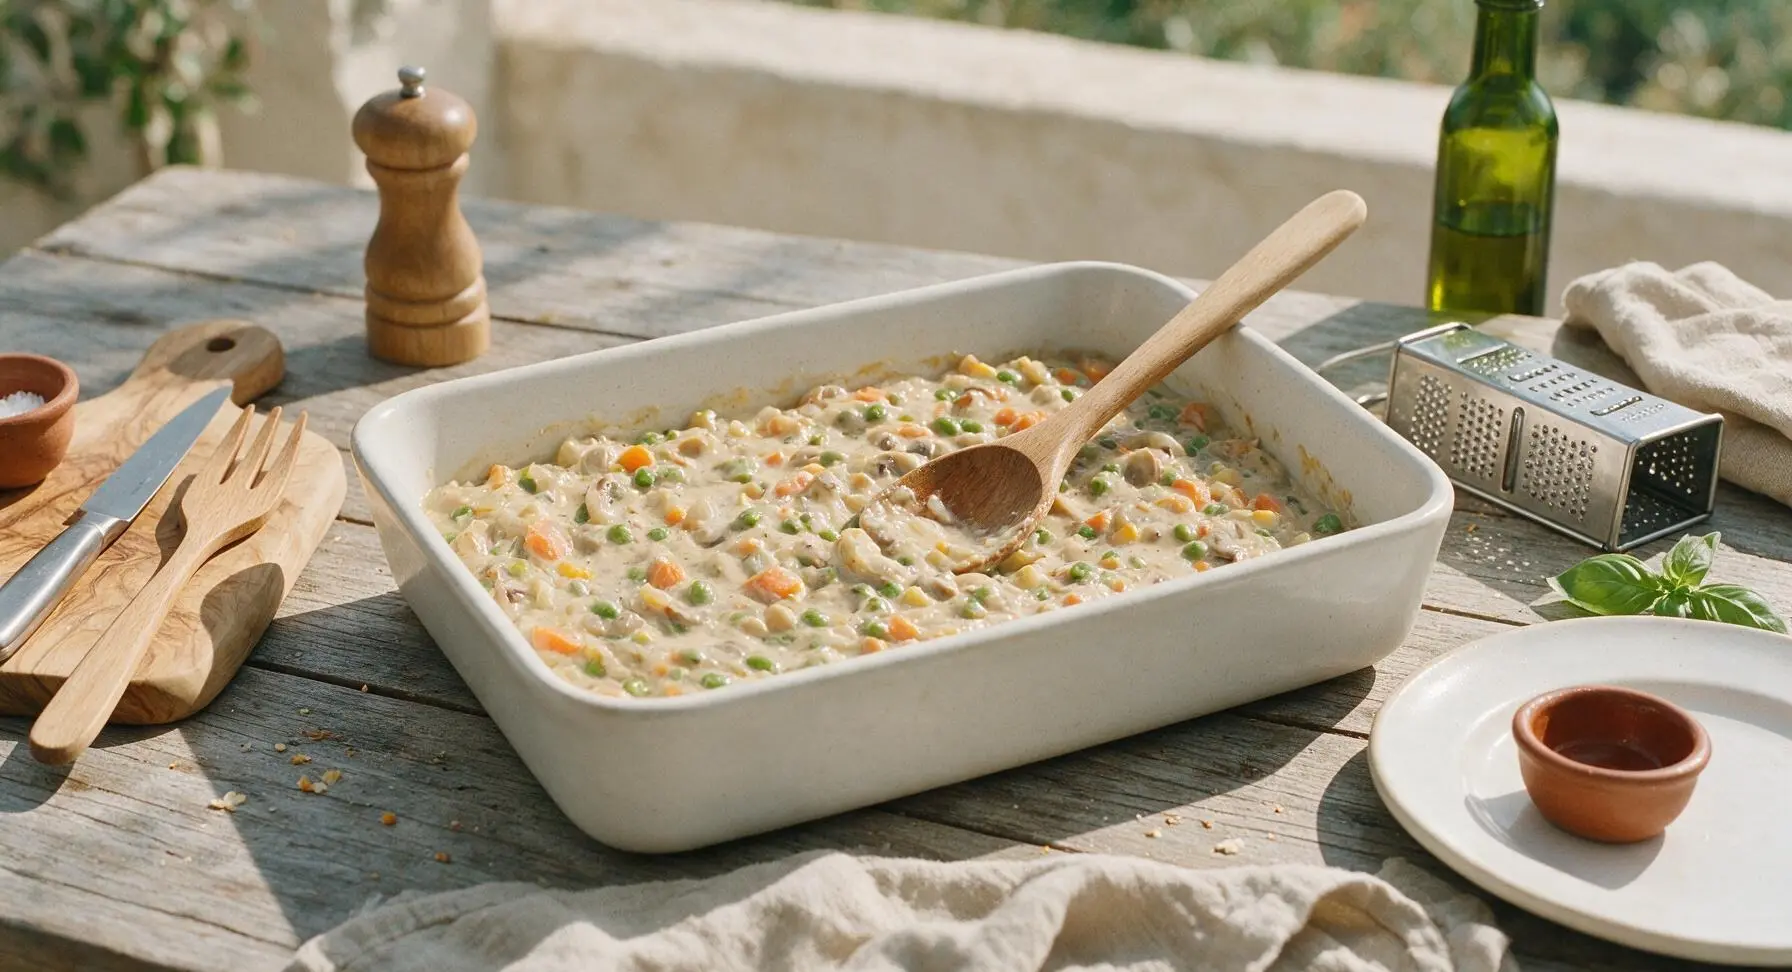
Place the 9x13 inch matte white stoneware baking dish centered in the work zone. Pour in the vegetarian cream of mushroom soup, whole milk, sautéed onion and garlic mixture, and frozen mixed vegetables. Stir with the beech wood spoon until fully combined, then season with kosher salt and ground black pepper, stirring once more to distribute seasoning evenly. The mixture should be thick but spreadable, with no dry clumps of soup remaining.
Step 3
step3:Combine Creamy Filling
4

Add First Cheese Layer

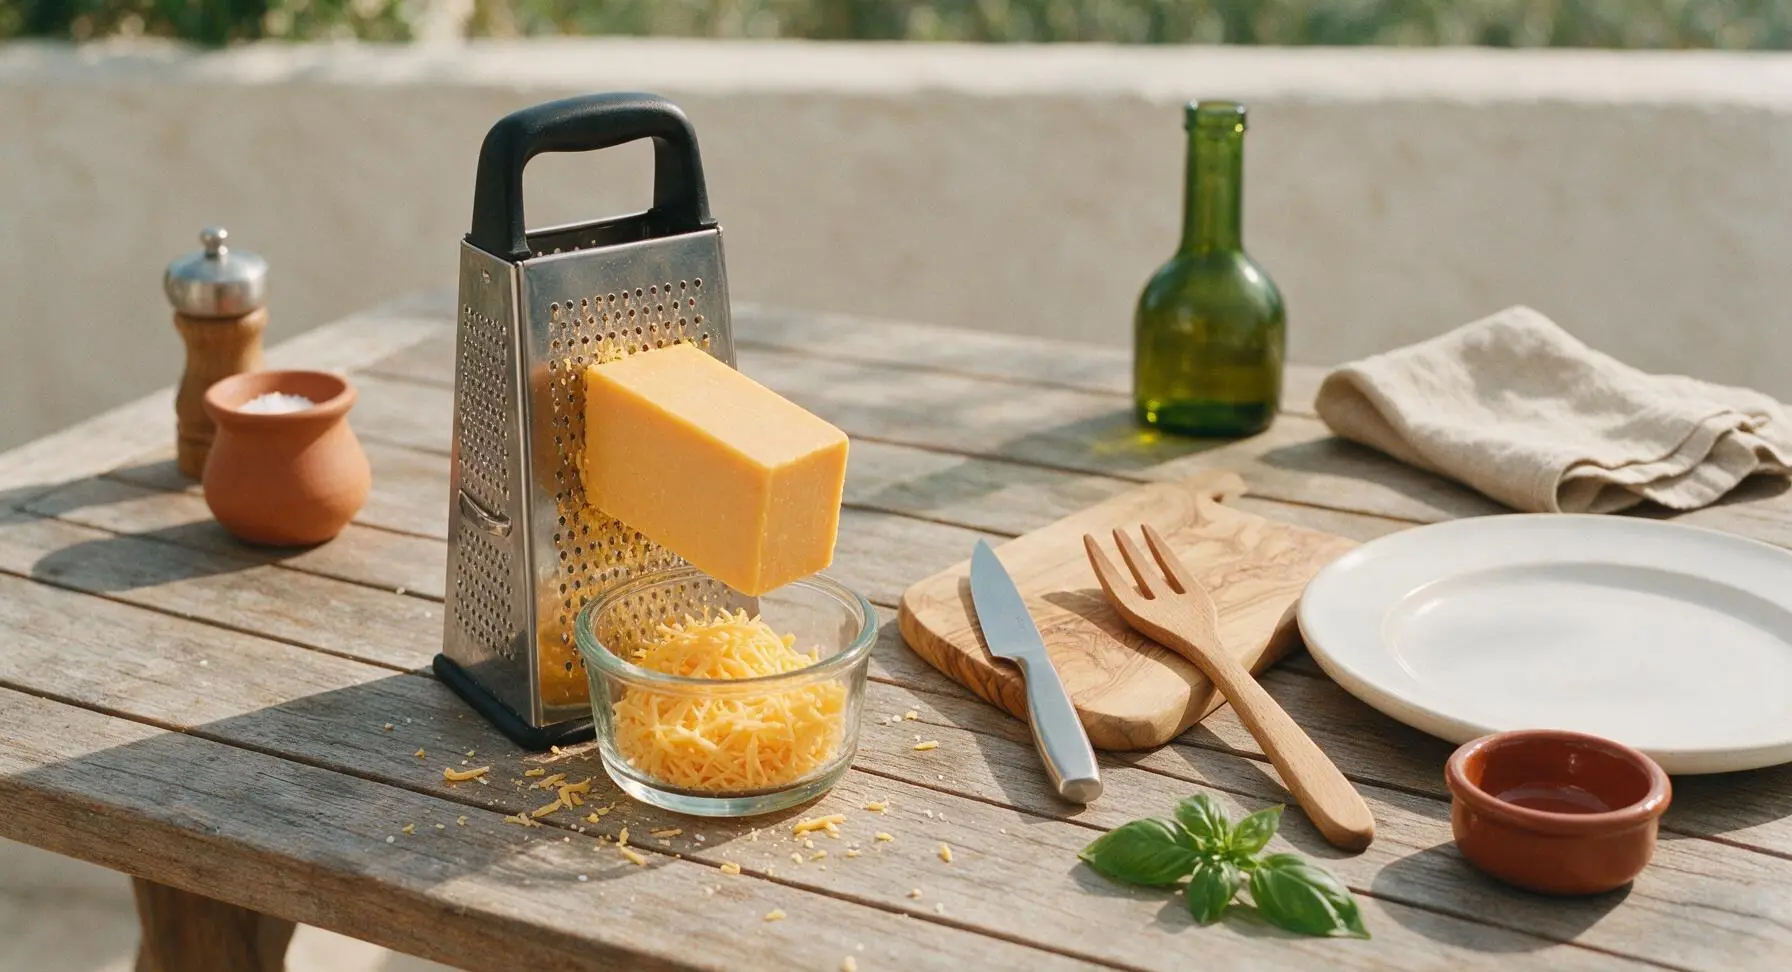
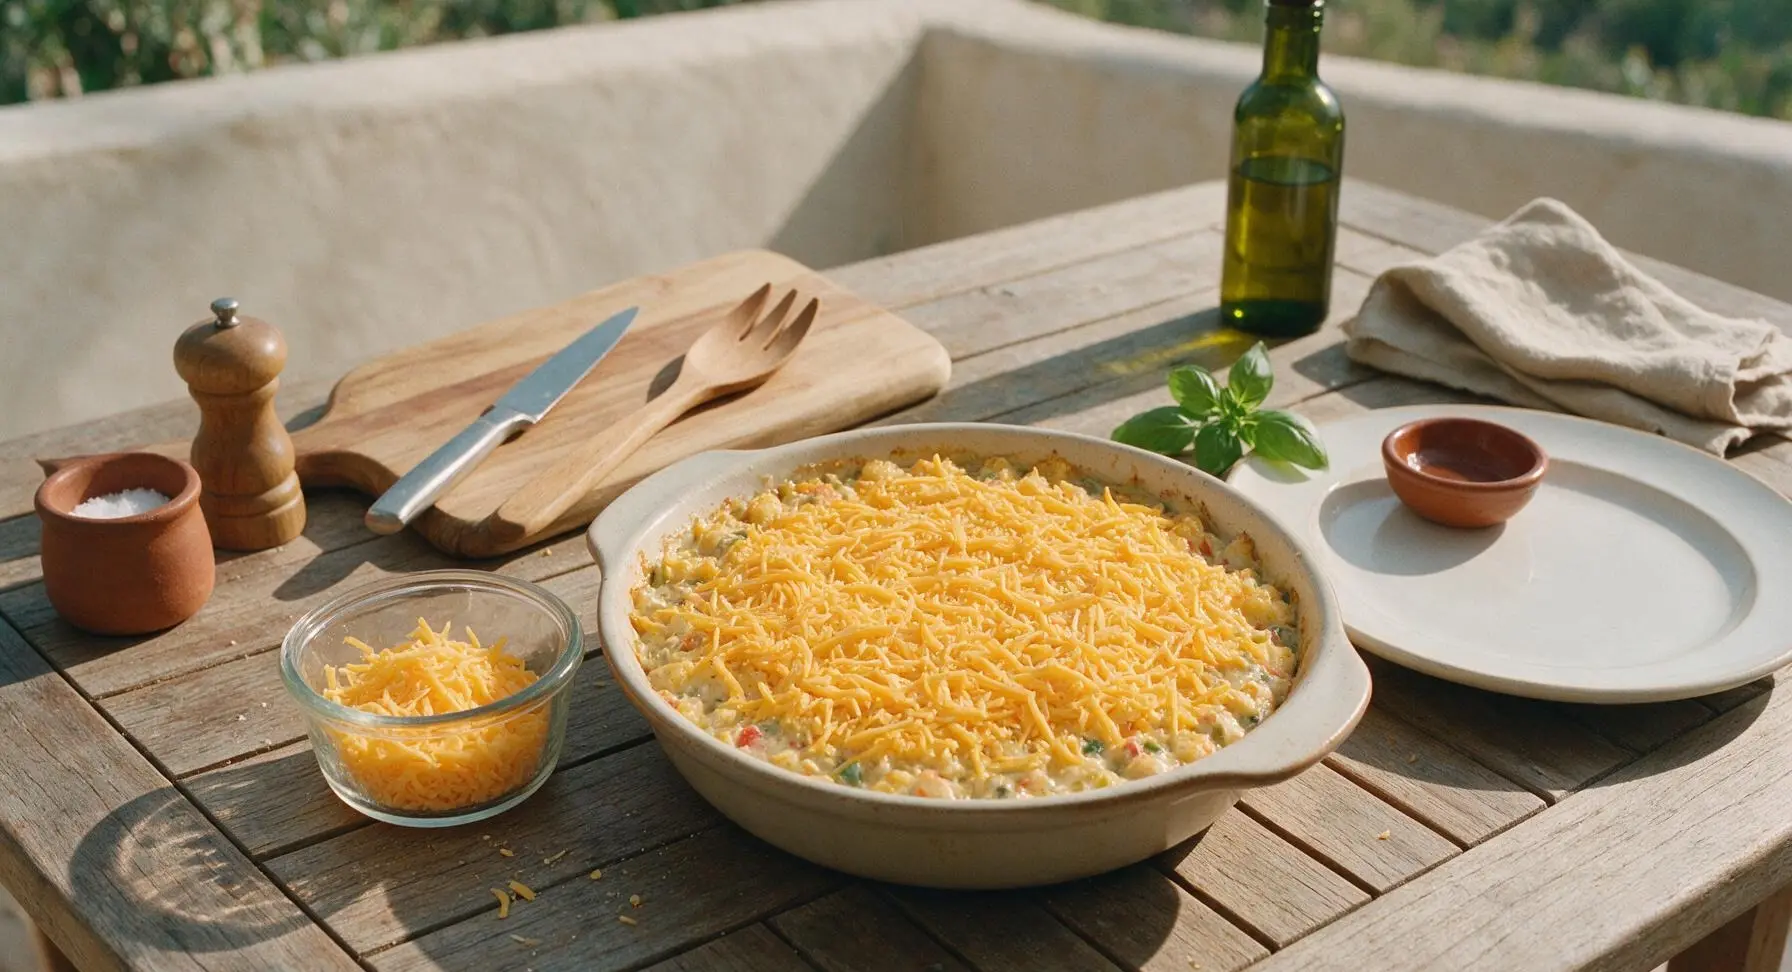
Use the stainless steel box grater to shred the entire 225g block of sharp cheddar cheese. Sprinkle two-thirds of the shredded cheese evenly over the top of the creamy vegetable filling in the baking dish, spreading it gently with the back of the wooden spoon to create a uniform layer. Reserve the remaining one-third of cheese for the final topping.
Step 4
step4:Add First Cheese Layer
Step 4
step4:Add First Cheese Layer
5

Arrange Tater Tot Topping

Arrange the frozen tater tots in tight, even rows across the entire surface of the cheese and filling, standing roughly half the tots on their cut ends for extra crispness, and laying the rest flat. Ensure no gaps remain between tots so the entire filling is covered; you may have a small handful of tots left over depending on your arrangement. Do not press the tots down into the filling.
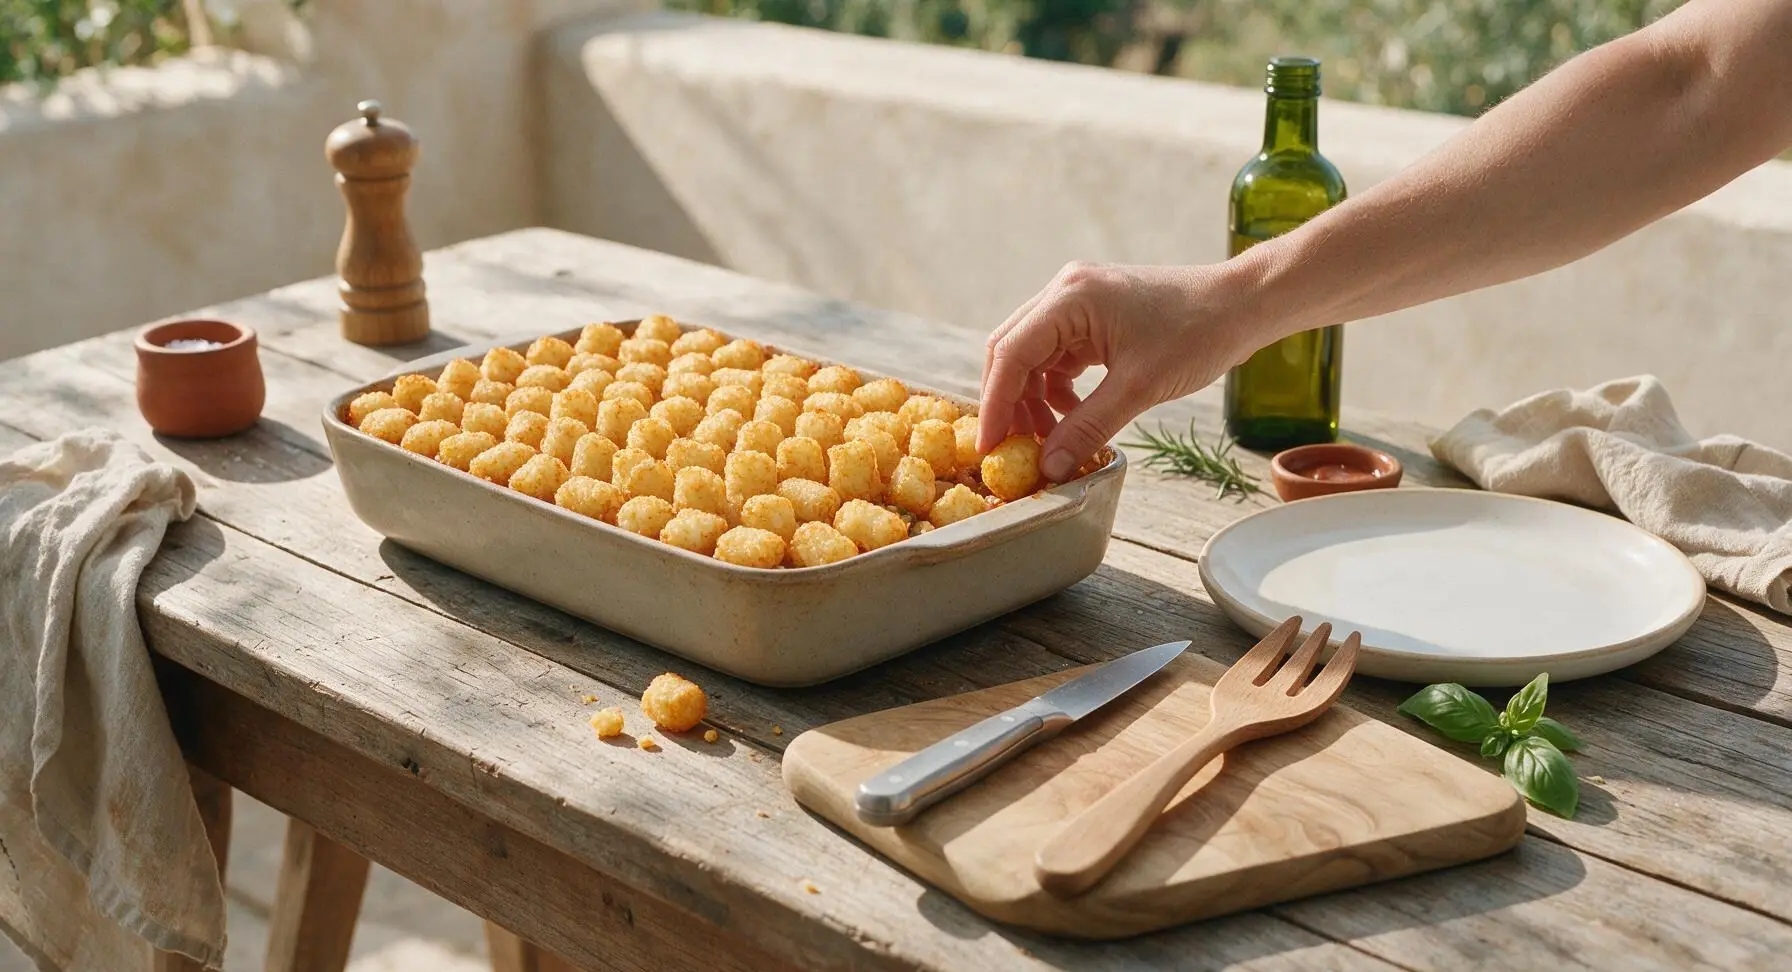
Step 5
step5:Arrange Tater Tot Topping
6

Bake Covered Until Bubbly

Cover the baking dish tightly with aluminum foil, crimping the edges to create a tight seal. Place on the middle rack of the preheated 190°C (375°F) oven. Bake for 25 minutes, until the filling is hot and bubbling around the edges of the dish. The foil traps steam to cook the tater tots through without burning their tops.
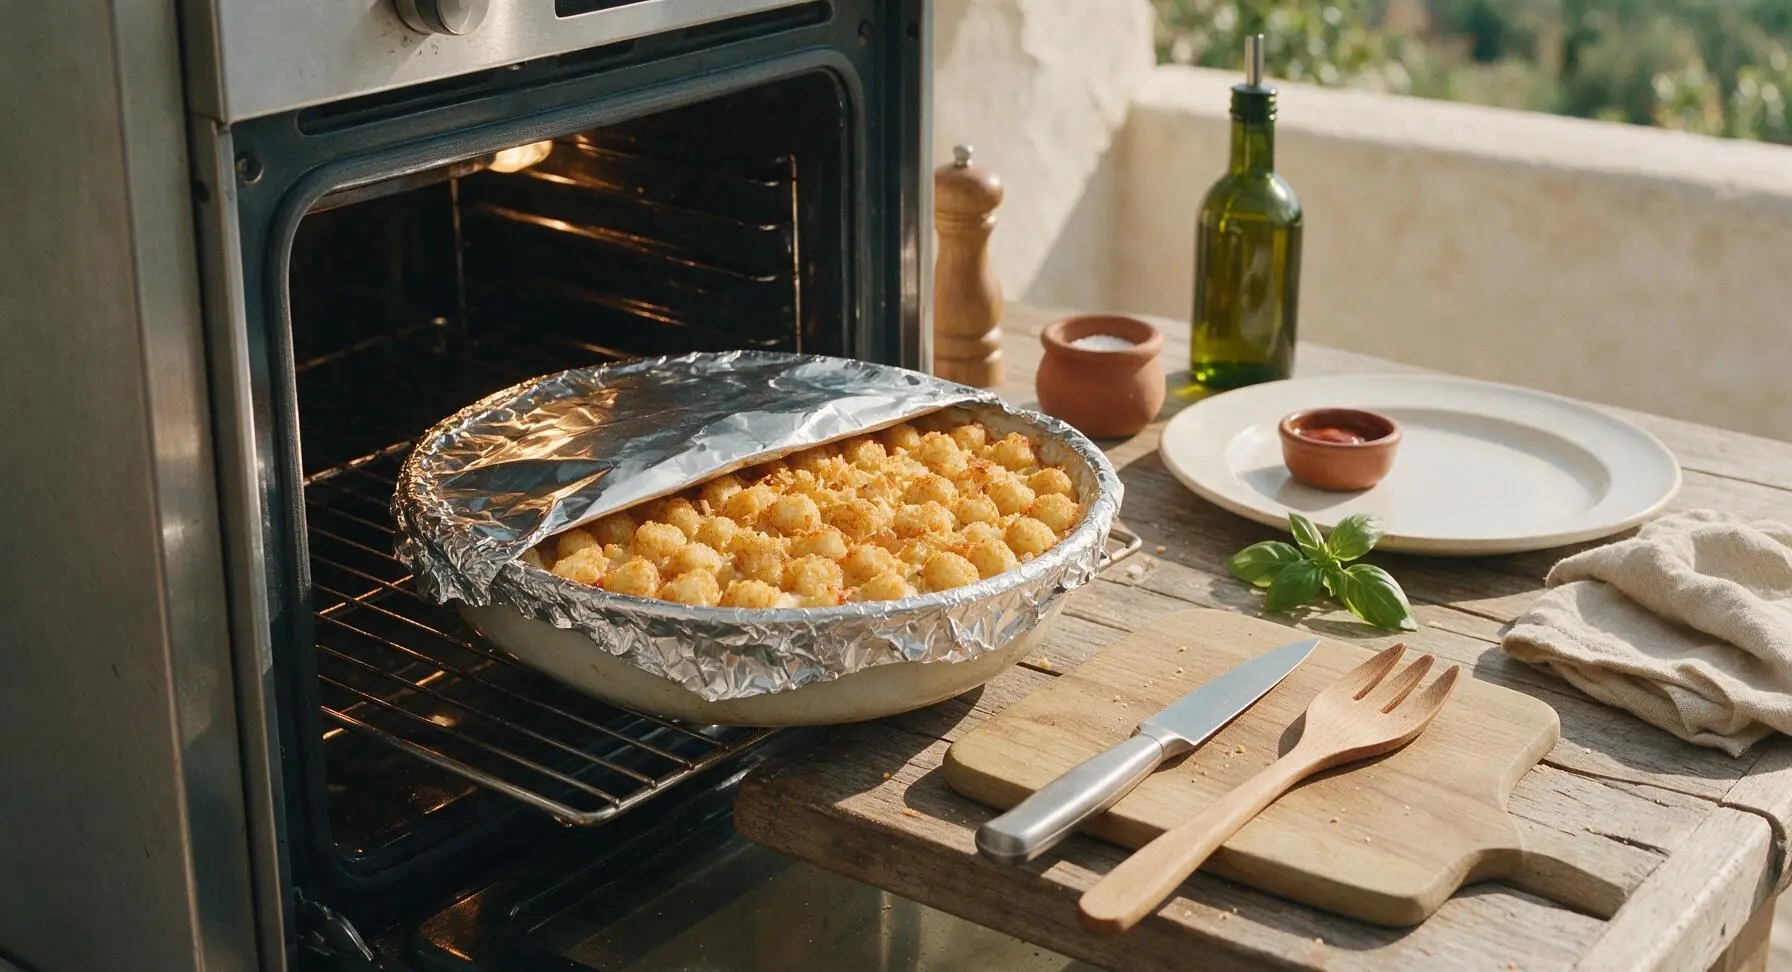
Step 6
step6:Bake Covered Until Bubbly
7

Bake Uncovered for Crispness

After 25 minutes, carefully remove the foil from the baking dish (watch for escaping hot steam). Sprinkle the remaining one-third of shredded cheddar evenly over the top of the tater tots. Return the dish to the oven, uncovered, and bake for an additional 20 minutes. The dish is done when the tater tots are deep golden brown and crispy on all edges, the cheese is fully melted and bubbling, and the filling bubbles vigorously around the pan edges. Remove from the oven.
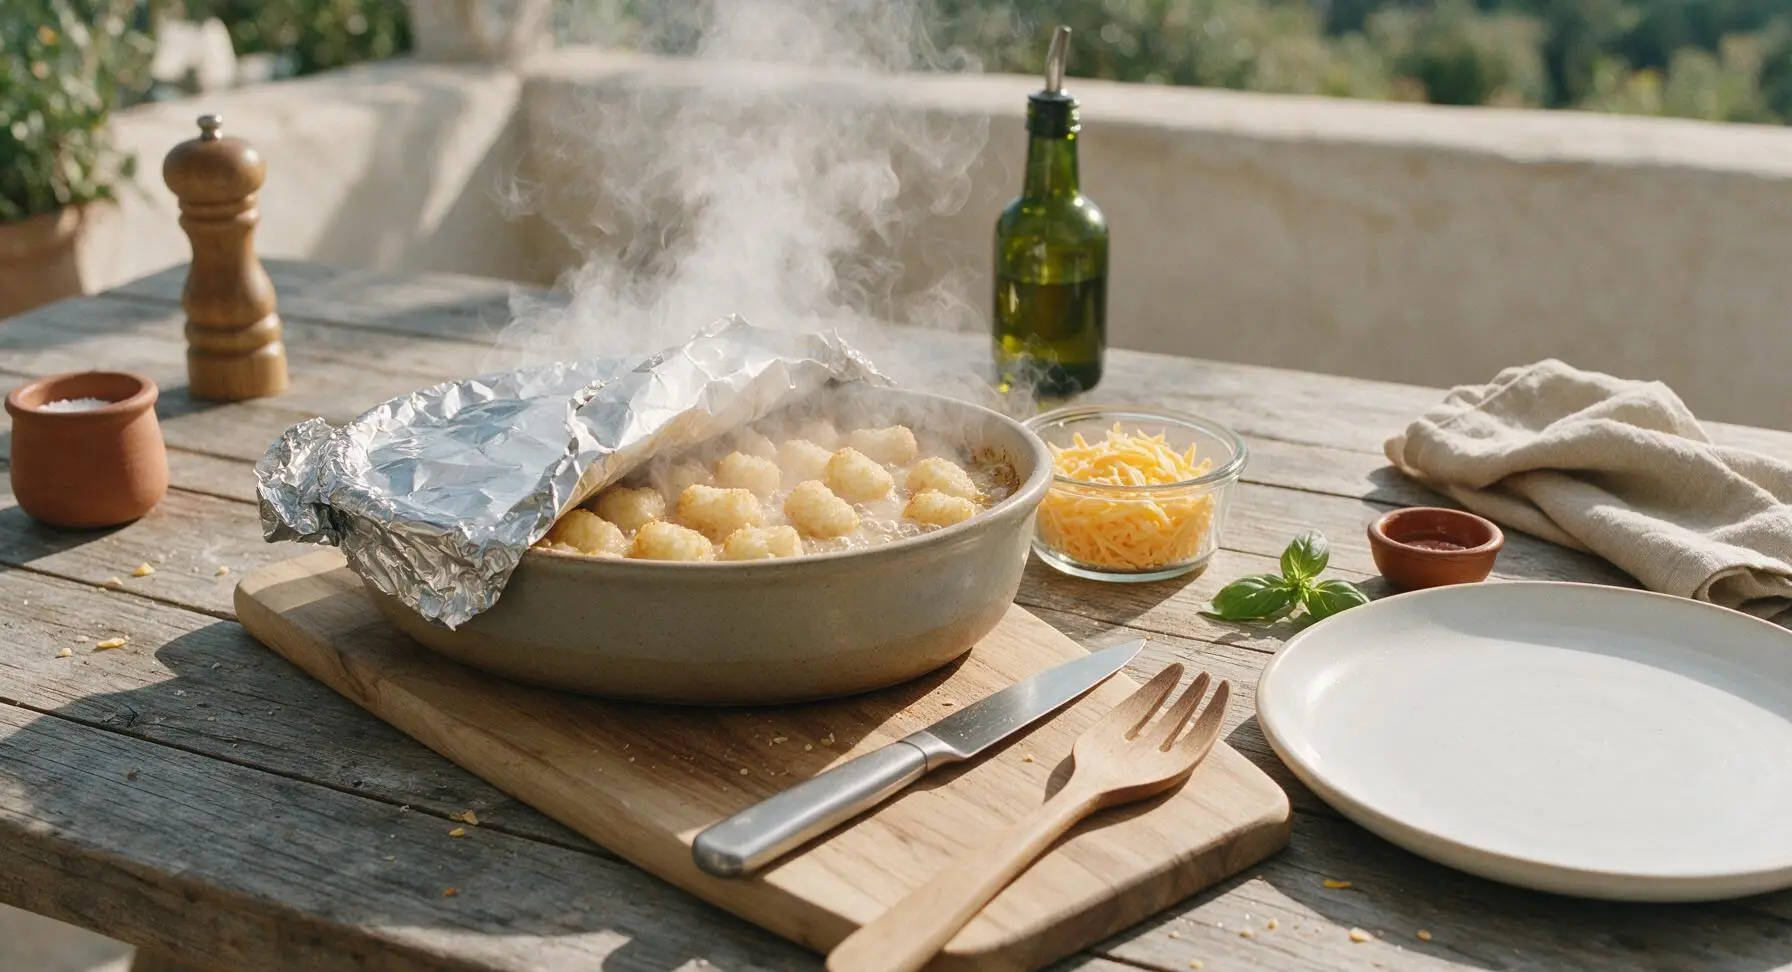
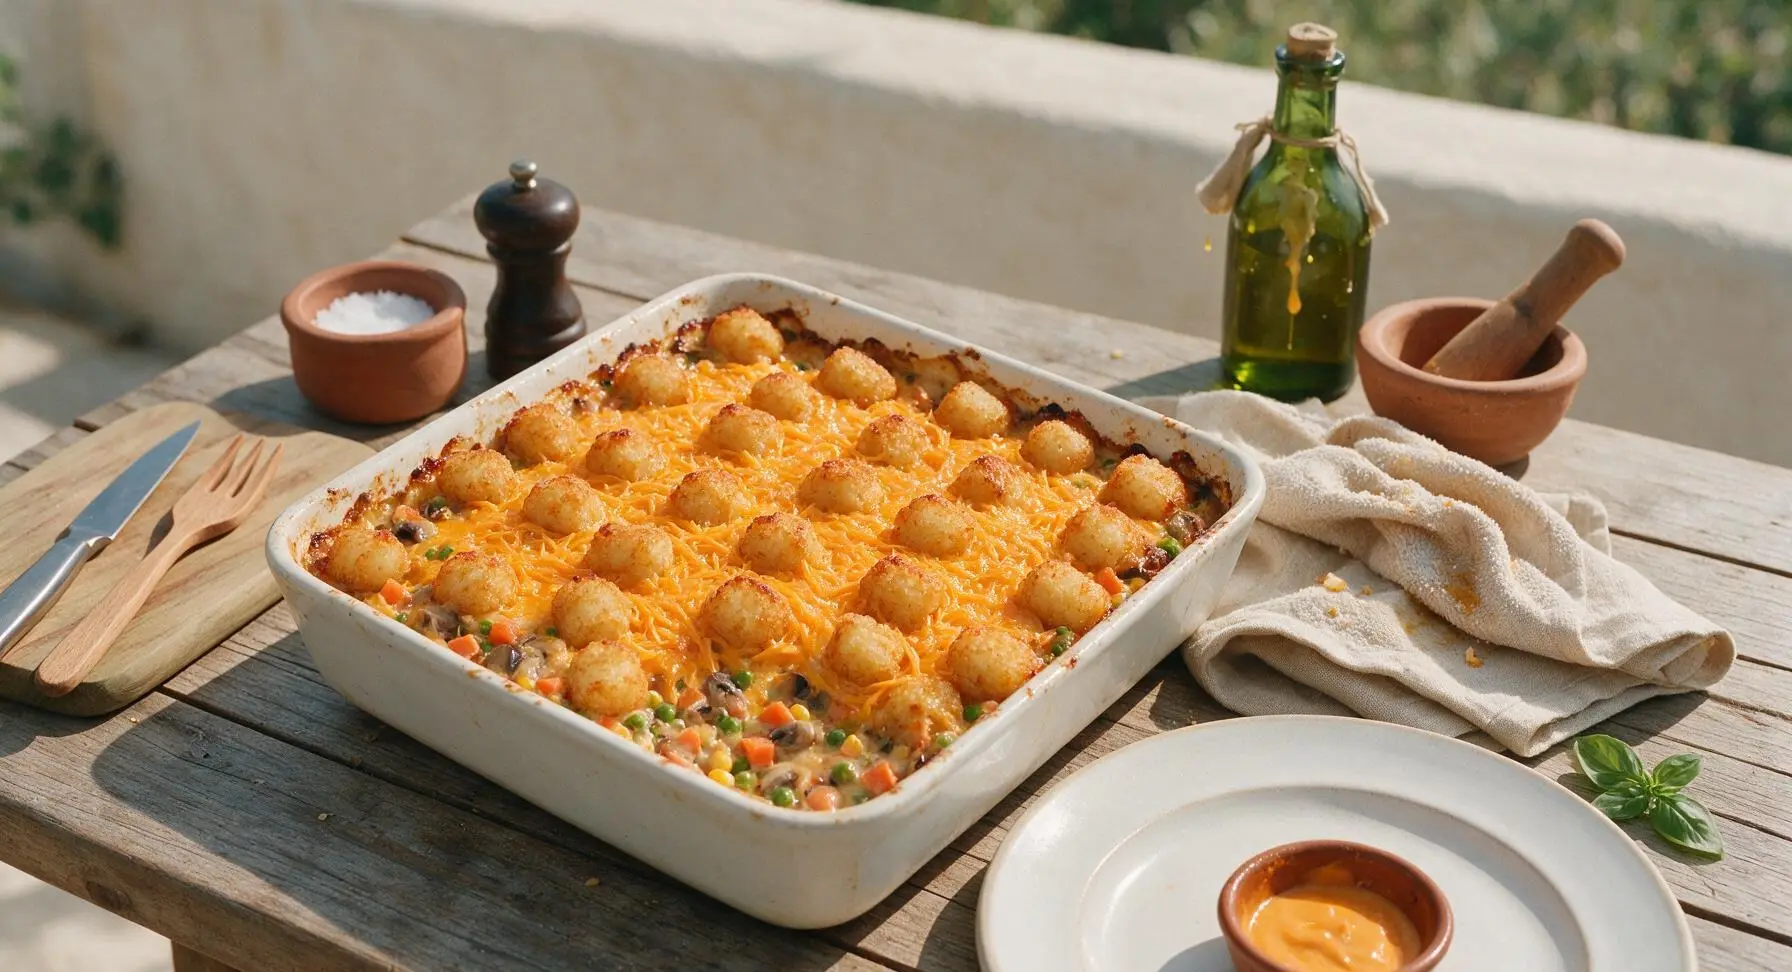
Step 7
step7:Bake Uncovered for Crispness
Step 7
step7:Bake Uncovered for Crispness
8

Rest and Serve

Let the baked hotdish rest for 5 minutes at room temperature to allow the filling to set, which makes for cleaner servings. Use the large stainless steel serving spoon to scoop a generous portion onto the matte off-white speckled stoneware dinner plate, ensuring each serving gets a mix of crispy tater tots, melted cheese, and creamy vegetable filling. Garnish with a small fresh thyme sprig before serving.
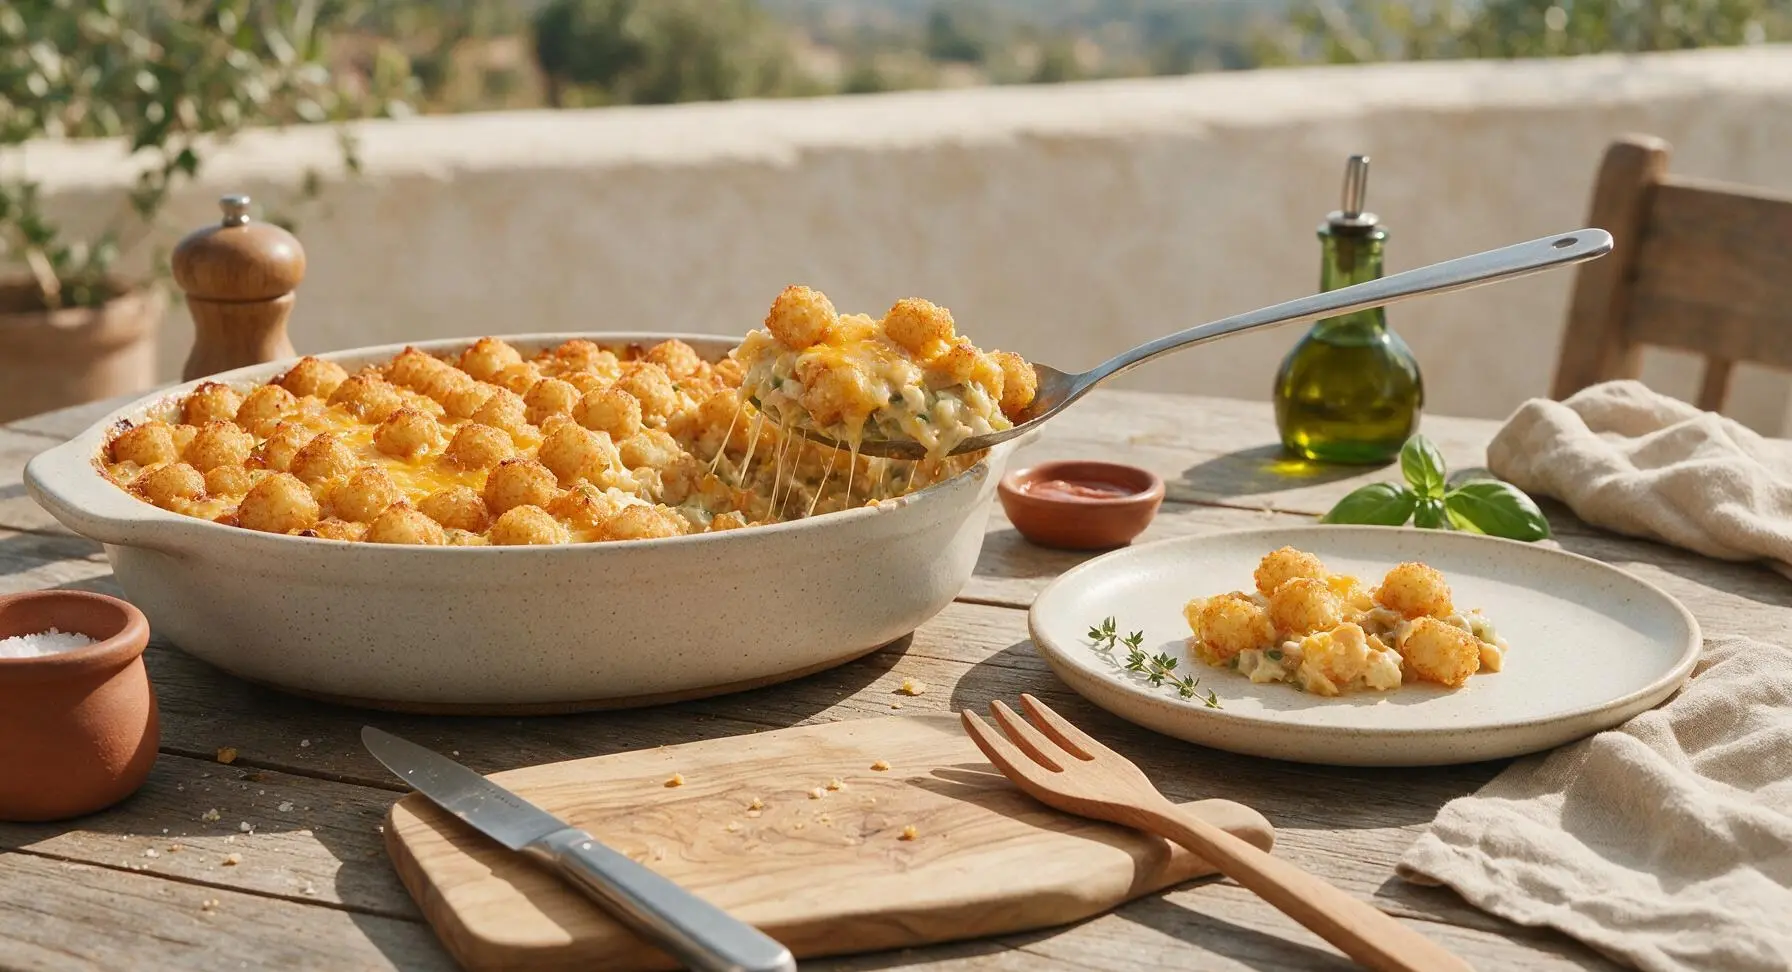
Step 8
step8:Rest and Serve

Tips

1.Skip thawing frozen tater tots and mixed vegetables before use: thawing leads to soggy, mushy results, as excess water leaches out during baking, while frozen ingredients cook up crisp-tender and hold their texture perfectly.
2.Let the baked hotdish rest for a full 5 minutes after removing it from the oven: this allows the creamy filling to set slightly, so scoops hold their neat shape instead of sliding apart on the plate when served.
3.Arrange half the tater tots standing on their cut ends rather than laying them flat: this exposes more of the tot surface to hot circulating oven air, creating extra crispy edges on every bite instead of soft, steamed undersides.


✨ You May Also Like

Main Course
🍜 United Kingdom

A showstopping classic of tender seared beef, savory mushroom duxelles, and crisp prosciutto wrapped in flaky golden puff pastry, baked to juicy perfection.

⏱️ 2 hours 1Main Course ★ 4.7
Main Course
🍜 India

Tender charred marinated chicken simmered in a rich, spiced creamy tomato sauce, this iconic Anglo-Indian curry pairs perfectly with basmati rice or warm naan.

⏱️ 50 minuteMain Course ★ 4.6
Main Course
🍜 Thailand

Classic tangy, sweet, and savory Thai stir-fried rice noodles with shrimp, tofu, and crunchy garnishes, balancing all five core Thai flavor profiles.

⏱️ 30 minuteMain Course ★ 4.5
Main Course
🍜 United Kingdom

Crispy golden beer-battered cod and fluffy double-fried chips, served with tangy tartar sauce and malt vinegar: the timeless, beloved British pub comfort classic.

⏱️ 45 minuteMain Course ★ 4.7
Main Course
🍜 Mexico

Smoky, chile-marinated pork tacos with caramelized pineapple, fresh cilantro, and lime: a beloved classic Mexican street food perfect for casual summer gatherings.

⏱️ 1 hour 45Main Course ★ 4.8
Main Course
🍜 United States

Crunchy Fritos corn chips layered with savory beef chili and melted cheddar, topped with cool, zesty fixings for a beloved, cozy Tex-Mex comfort food.

⏱️ 35 minuteMain Course ★ 4.8

vegetarian tater tot hotdish:Frequently Asked Questions

1.Do I need to thaw frozen tater tots before baking this hotdish? ▾
No, skip thawing entirely! Place frozen tots straight on top of the filling in a single, even layer. Thawing leads to soggy, mushy tots instead of that perfect crispy, golden crunchy top everyone loves. Arrange them tight but not overlapping for even crisping across every single bite.
2.What can I use if I can’t find store-bought vegetarian cream of mushroom soup? ▾
Make a quick homemade version! Sauté 8 oz sliced mushrooms and 2 tbsp diced onion in butter, whisk in 3 tbsp flour, 1.5 cups vegetable broth, and ½ cup half-and-half, then simmer until thick. It tastes fresher than canned, and you get full control over sodium and ingredient quality too.
3.Can I use fresh vegetables instead of frozen mixed veggies? ▾
You sure can! Dice fresh carrots into ¼-inch pieces, trim fresh green beans into ½-inch segments, and use fresh corn cut off the cob and sweet peas. Just parboil firmer veggies like carrots and green beans for 3 minutes first so they turn fully tender during baking, with no crunchy undercooked bits.
4.How do I keep the tater tot topping from turning soggy? ▾
Two easy tricks do the trick: first, never thaw your tots before adding them, as noted earlier. Second, don’t pile tots too thick, and bake the hotdish uncovered for the full cook time at 400°F. If your oven runs cool, bump the temp 25 degrees to ensure the tot exterior crisps up properly.
5.Can I assemble this hotdish ahead of time for a potluck or meal prep? ▾
Definitely! Assemble the filling in your baking dish, top with cheese, arrange frozen tots right on top, cover tightly, and refrigerate for up to 24 hours before baking. Add 5-7 minutes to total bake time since it’ll be cold going into the oven—no extra thawing required.
6.What cheese works best if I don’t have sharp cheddar on hand? ▾
Sharp cheddar delivers that classic tangy, melty pull, but you can swap it for colby-jack, Monterey Jack, or mild white cheddar if that’s what you have. Skip super soft cheeses like brie or crumbly cheeses like feta as your main cheese—they won’t give that smooth, melted texture the hotdish needs.
7.Can I add extra protein to make this hotdish more filling? ▾
Of course! Stir a can of rinsed, drained chickpeas, cooked lentils, crumbled vegetarian sausage, or cubed pan-fried tempeh right into the creamy veggie filling before adding cheese and tots. These add heartiness without overpowering that classic cozy hotdish flavor everyone loves.
8.How do I tell when the hotdish is fully done baking? ▾
You’ll know it’s ready when the filling around the dish edges is bubbling vigorously, the cheese is fully melted, and the tater tots on top are deep golden brown and crispy all over. That usually takes 40-45 minutes at 400°F, but start checking at 35 minutes if your oven runs hot.
9.Can I freeze this hotdish, either before or after baking? ▾
Yes, it freezes beautifully! For unbaked hotdish, assemble in a freezer-safe dish, wrap tightly in two layers of plastic and foil, and freeze for up to 3 months. Bake from frozen, covered for 30 minutes, then uncovered for 40 more minutes. Baked leftovers freeze for up to 2 months in airtight containers.
10.Why is my filling runny instead of thick and creamy? ▾
Runny filling usually happens if you added extra liquid, used a thin soup base, or skipped letting the hotdish rest 5 minutes after pulling it from the oven. That short rest lets the creamy sauce set so it doesn’t run all over your plate when you scoop. If your soup is thin, stir in 2 tbsp sour cream to thicken it pre-bake.
11.Do I need to sauté the yellow onion before adding it to the filling? ▾
I highly recommend it! Dice the onion and sauté for 3-4 minutes in a little butter over medium heat until soft and fragrant. This takes away that sharp raw onion bite and adds a deep, savory base flavor that makes the whole dish taste richer. You can toss it in raw, but the flavor won’t be as balanced.
12.What size baking dish works best for this recipe? ▾
A standard 9x13 inch glass or ceramic baking dish is perfect—it gives you enough room for a thick, even layer of veggie filling, cheese, and a single layer of tater tots without overcrowding. If you use a smaller dish, your tot layer will be too thick and turn soggy, and filling may bubble over in the oven.
13.Can I make this hotdish in a slow cooker instead of the oven? ▾
You can! Add sautéed onion, soup, mixed veggies, and half the cheese to your slow cooker, stir to combine, then top with remaining cheese and frozen tots. Cook on low for 4-5 hours, then crank to high for the last 30 minutes with the lid off to crisp the tot topping so it doesn’t get mushy.
14.How long do leftovers stay fresh in the refrigerator? ▾
Stored in an airtight container, leftover tater tot hotdish stays fresh in the fridge for 3-4 days. Reheat individual portions in the microwave for 1-2 minutes, or reheat a whole pan in a 350°F oven for 15-20 minutes until bubbly. Broil for 1 minute at the end to re-crisp tots if you’d like.
15.How can I cut down on the sodium in this recipe? ▾
It’s easy to adjust! Look for low-sodium vegetarian cream of mushroom soup, use no-salt-added frozen mixed vegetables, and opt for low-sodium sharp cheddar, or cut the cheese amount by ¼ cup. Stir in a pinch of black pepper, garlic powder, or smoked paprika to boost flavor without adding extra salt.
16.Can I mix in other veggies beyond the standard corn, green bean, pea, and carrot blend? ▾
Go for it! Diced bell pepper, sautéed mushrooms, chopped spinach (squeezed really dry to avoid watery filling), or roasted broccoli florets all work beautifully. Just keep total veggie volume around 4 cups so you don’t throw off the creamy filling ratio, and cook firmer veggies first.
17.Why do my tater tots burn on the bottom but stay soft on top? ▾
That usually means your oven rack is positioned too low, so direct heat from the bottom element burns tot undersides before the tops crisp. Move your rack to the middle position, and rotate the dish halfway through baking if you notice uneven browning. Broil for 1-2 minutes at the end for extra golden tops, watching closely.
18.Do I need to cover the baking dish with foil while it cooks? ▾
I recommend baking it uncovered the whole time! Covering with foil traps steam, which makes tater tots soft and soggy instead of crispy. If you notice tots getting too dark before the filling is bubbly, you can tent a loose piece of foil over the top for the last 10 minutes of bake time to prevent burning.
19.What should I serve alongside this hotdish for a complete meal? ▾
This hotdish is a hearty, full meal on its own, but it pairs perfectly with a simple side salad tossed in tangy vinaigrette, dill pickle spears, or creamy coleslaw to cut through the rich, cheesy flavor. Set out ketchup or hot sauce on the side for dipping, if that fits your personal taste.

Comments (8)

2 days ago

OMG this vegetarian tater tot hotdish was an absolute game changer for our weekly family dinner! I was worried the kids would turn their noses up at a meatless version, but they went back for SECONDS. I tossed in a little extra corn because my crew loves it, and it turned out perfect. So cozy, so easy, 10/10 will make again for the next church potluck!

yesterday

Wait how much extra corn did you add? I’m making this for my kid’s soccer team potluck this weekend and half of them are corn OBSESSED lol

yesterday

So glad your family loved it! Adding extra veggies like corn, diced bell peppers, or even mushrooms is such a great call to customize this to your crew’s tastes. For a potluck, a half cup extra of corn works perfectly without making the filling too watery!

1 week ago

Made this for meal prep this week and wow, it holds up so good in the fridge! I swapped the cream of mushroom for a homemade vegan version to keep it fully plant based, and it still came out creamy and delicious. The tater tots get perfectly crispy on top even after reheating, which is a total win. 45 minute cook time is chef’s kiss for weeknights too.

5 days ago

Love that vegan swap! Homemade cream of mushroom is such a great upgrade, I’ll have to add that as a variation note in the recipe. So happy it works for meal prep too!

3 days ago

Brought this to our neighborhood block party last weekend and people were begging for the recipe! I was nervous making a vegetarian dish for a crowd that’s mostly meat and potatoes people, but even my ultra-carnivore brother in law had two servings. Only note: I’d maybe cover it for the first 20 minutes of baking so the tots don’t get too dark before the filling is heated through.

2 days ago

Oh that cover tip is genius! I made this last week and my edges got super crispy almost burnt, I’ll have to try that next time!

2 days ago

Thanks for the great feedback, Patty! That foil cover trick for the first half of bake time is such a pro move, especially if your oven runs hot like mine does. I’ve added that tip to the recipe instructions for other bakers!

yesterday

Super easy recipe, even I can’t mess this up! My teen daughter is vegetarian and I’ve been struggling to find weeknight meals we all enjoy, and this checked every box. Minimal prep, ingredients I already had in the pantry, zero complaints from anyone at the table. Will be adding this to our regular rotation.

2 hours ago

Same! My teen went veggie 6 months ago and it’s been so hard finding meals that don’t feel like a “special” separate dish for her. This one the whole family devours!

5 minutes ago

I don’t cook like, ever, but this was so straightforward I actually pulled it off without burning anything! The hardest part was opening the bag of tater tots lmao. Turned out way better than I expected, will definitely make again when I’m craving comfort food and don’t want to order takeout.

2 weeks ago

I’ve been making the traditional ground beef version of tater tot hotdish for my grandkids for 40 years, so I was skeptical about a vegetarian take. I made it when my granddaughter came to visit last week, and honestly? It’s just as hearty and tasty as the original! I used a mix of green beans and peas in the filling, just like I do with my usual recipe.

1 week ago

That means so much coming from a hotdish pro! I grew up eating the classic beef version too, so making sure this vegetarian take had that same cozy, nostalgic flavor was my top priority. So happy it got your grandkid stamp of approval!

2 hours ago

Just started trying to eat less meat this month and this is the first recipe that didn’t make me feel like I was missing out! It’s so rich and filling, I didn’t even notice there was no beef in it. Only thing I’d change is maybe add a little more seasoning next time, I thought it was a touch bland for my taste, but that’s an easy fix.

5 days ago

This is my new go-to Sunday meal prep! I cut it into 6 individual portions and it lasts all week for lunches. It reheats like a dream in the microwave, no sogginess at all. I added a sprinkle of paprika on top before baking for a little smoky kick, and it’s chef’s kiss.

3 days ago

The paprika trick sounds amazing! I usually put hot sauce on my portions at lunch, but a little smoky flavor baked in sounds way better. Can’t wait to try this next meal prep Sunday!

2 days ago

Love that smoky paprika addition! For anyone else meal prepping this, letting the portions cool completely before sealing your storage containers helps keep the tater tots extra crisp when reheating, too.



